Task 4: Create Custom Packets using Nmap to Scan beyond IDS/Firewall
Task 4: Create Custom Packets using Nmap to Scan beyond IDS/Firewall
Nmap is a network scanning tool that can be used for sending customized data packets to scan the target host, thus bypassing various security mechanisms such as the IDS/firewall.
Here, we will use Nmap to perform various scanning techniques such as appending custom binary data, appending a custom string, appending random data, randomizing host order, and sending bad checksums to scan the target host beyond the IDS/firewall.
In this task, we are using the Windows 10 (10.10.10.10) machine as a host machine and the Windows Server 2016 (10.10.10.16) machine as a target machine.
Click Windows Server 2016 to switch to the Windows Server 2016 machine.
Click Ctrl+Alt+Delete to activate the machine. By default, Administration user profile is selected, click Pa$$w0rd to paste the password in the Password field and press Enter to login.
Alternatively, you can also click Pa$$w0rd under Windows Server 2016 machine thumbnail in the Resources pane or Click Type Text | Type Password button under Commands (thunder icon) menu.
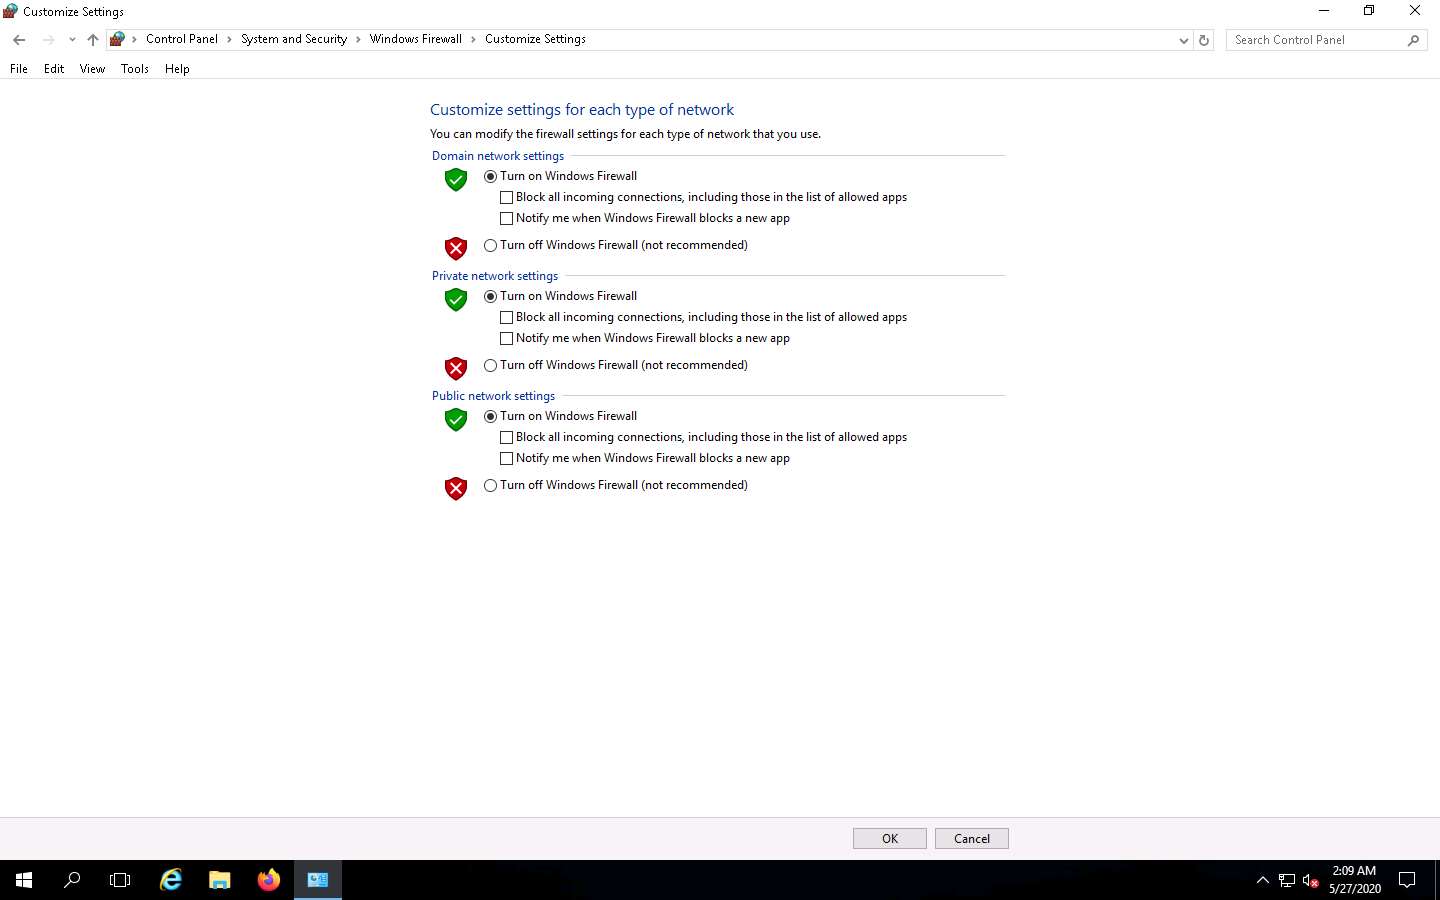
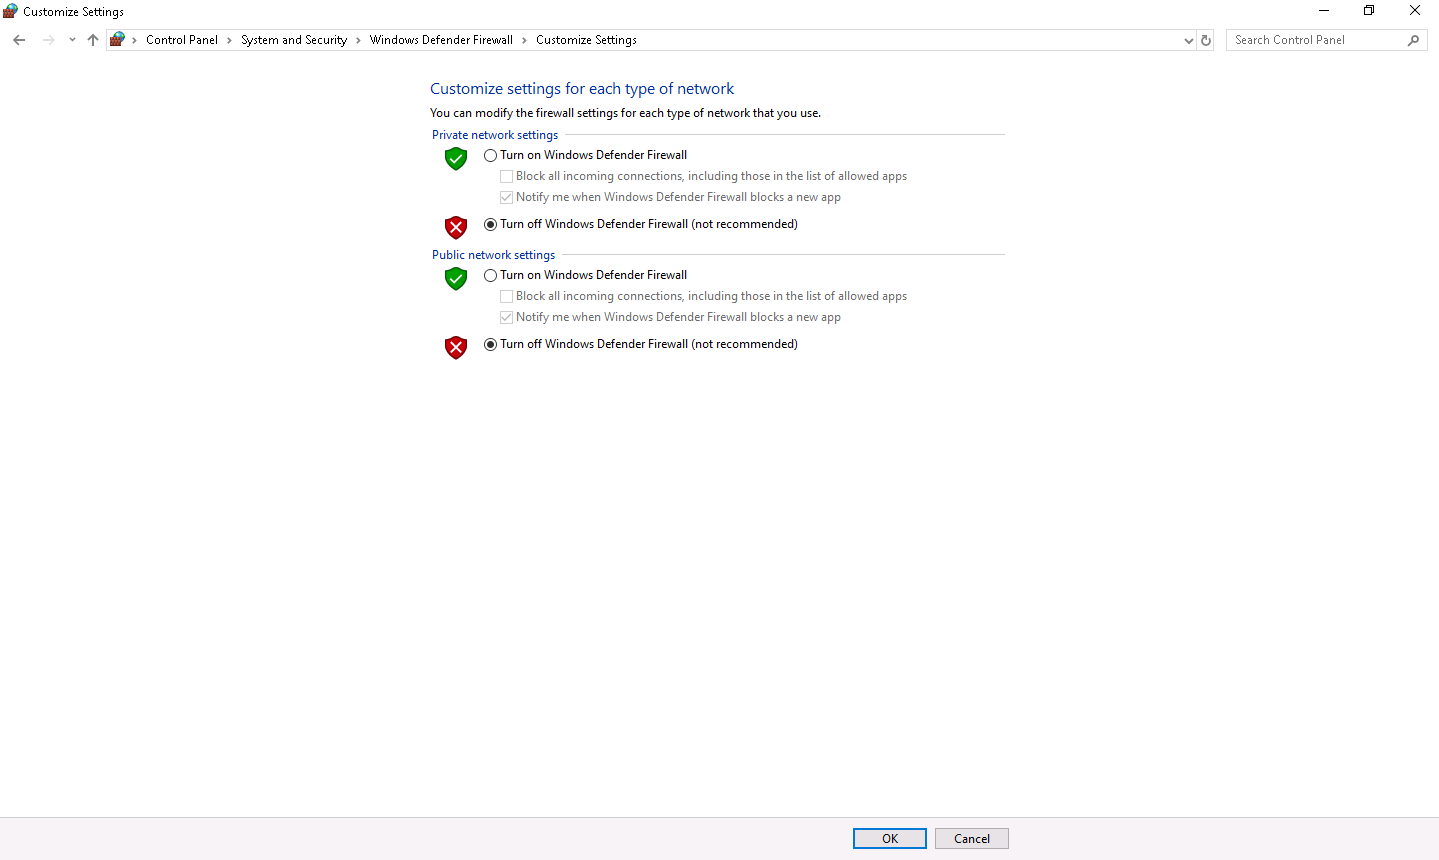
Navigate to Control Panel --> System and Security --> Windows Firewall --> Turn Windows Firewall on or off, enable Windows Firewall and click OK, as shown in the screenshot.
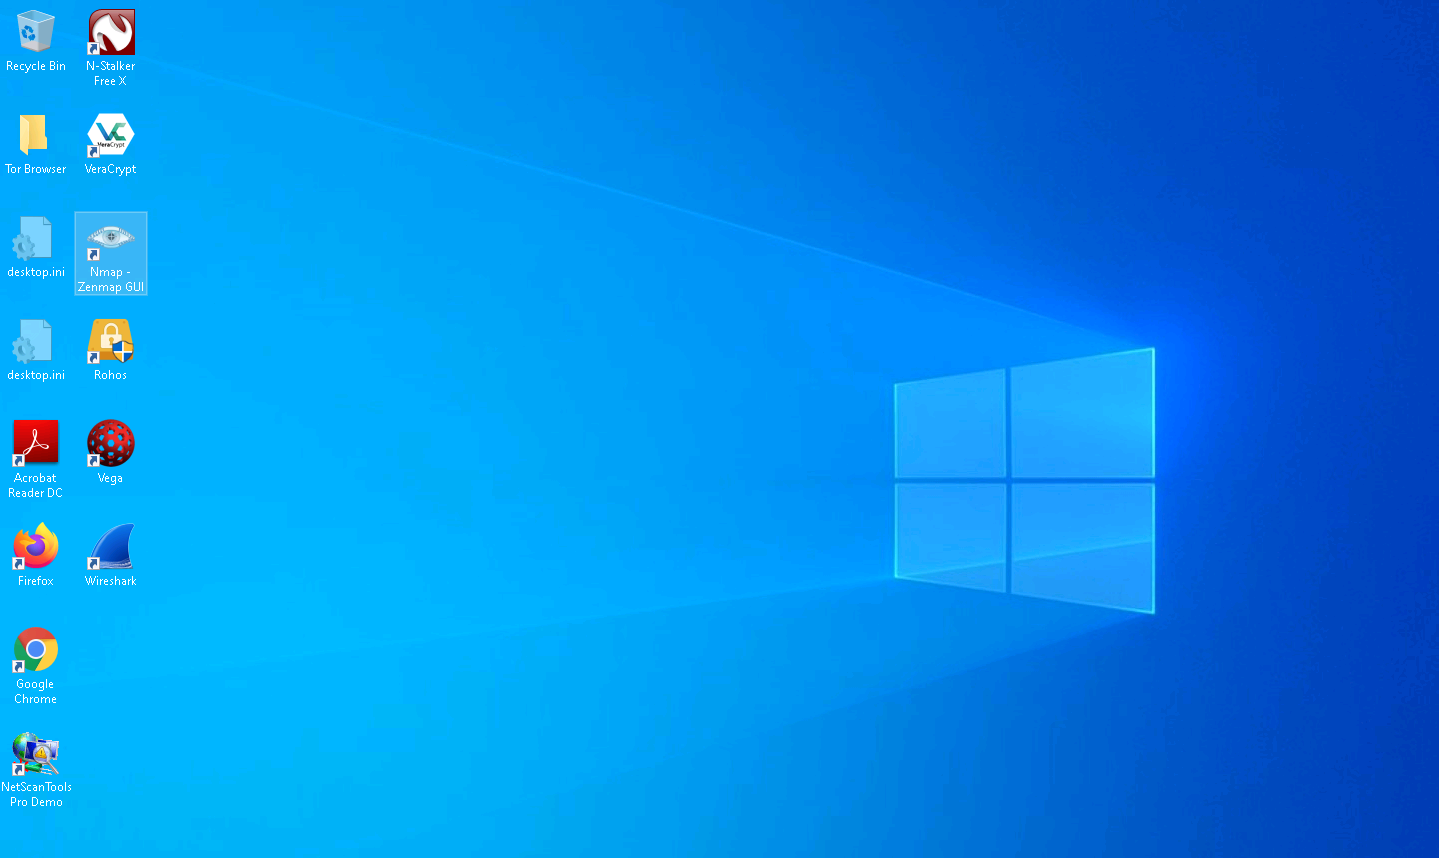
Click Windows 10 to switch to the Windows 10 machine and launch Nmap by double-clicking on the Nmap - Zenmap GUI shortcut available on the Desktop.
The Nmap - Zenmap GUI appears. In the Command field, type the command nmap [Target IP Address] --data 0xdeadbeef (here, target IP address is 10.10.10.16) and click Scan.
Nmap uses --data [hex string] (here, 0xdeadbeef) to send the binary data (o’s and 1’s) as payloads in the sent packets to scan beyond firewalls.
The scan results appear, displaying all open TCP ports and services running on the target machine, as shown in the screenshot.

In the Command field, type the command nmap [Target IP Address] --data-string “Ph34r my l33t skills” (here, target IP address is 10.10.10.16) and click Scan.
Nmap uses --data-string [string] (here, “Ph34r my l33t skills”) to send a regular string as payloads in the sent packets to the target machine for scanning beyond the firewall.
The scan results appear, displaying all open TCP ports and services running on the target machine, as shown in the screenshot.

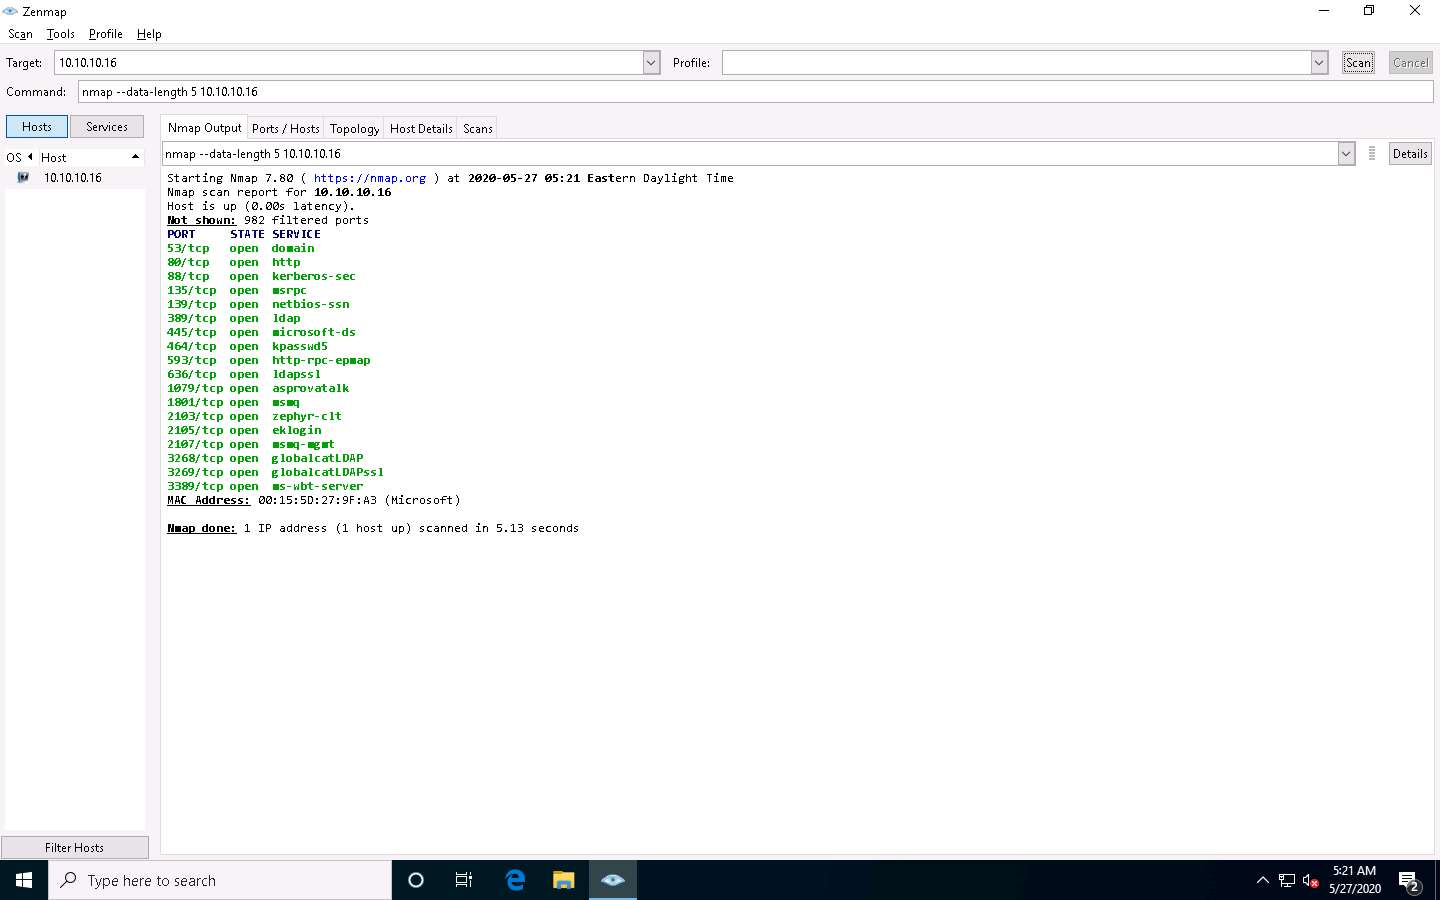
In the Command field, type the command nmap --data-length 5 [Target IP Address] (here, the target IP address is 10.10.10.16) and click Scan.
Nmap uses --data-length [len] (here, 5) to append the number of random data bytes to most of the packets sent without any protocol-specific payloads.
The scan results appear, displaying all open TCP ports and services running on the target machine, as shown in the screenshot.
In the Command field, type the command nmap --randomize-hosts [Target IP Address] (here, the target IP address is 10.10.10.16) and click Scan.
Nmap uses --randomize-hosts to scan the number of hosts in the target network in random order to scan the intended target that is beyond the firewall.
The scan results appear, displaying all open TCP ports and services running on the target machine, as shown in the screenshot.

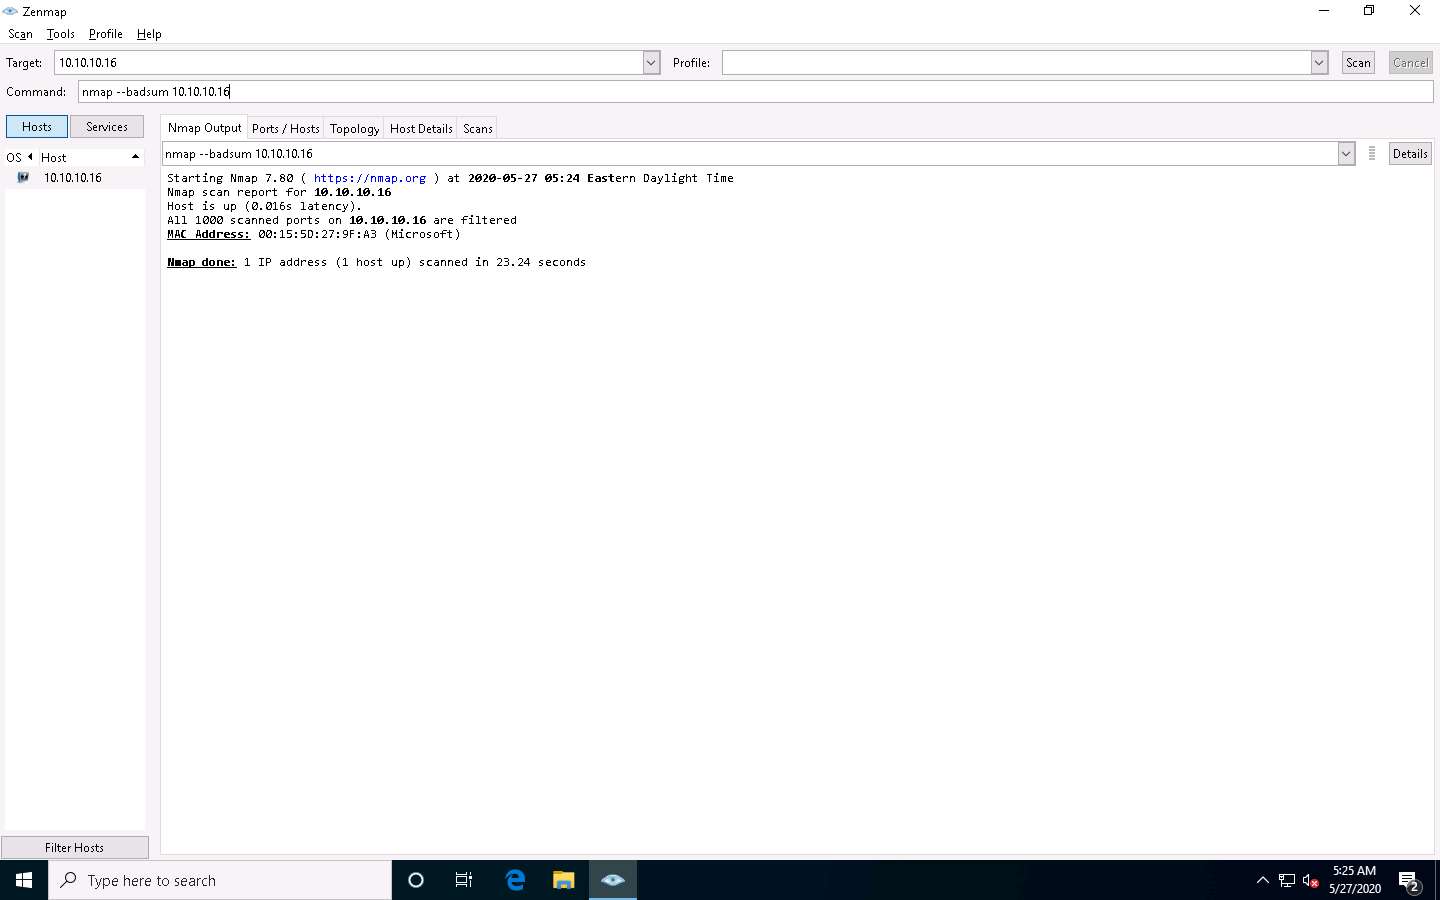
In the Command field, type the command nmap --badsum [Target IP Address] (here, the target IP address is 10.10.10.16) and click Scan.
Nmap uses --badsum to send the packets with bad or bogus TCP/UPD checksums to the intended target to avoid certain firewall rulesets.
The scan results appear, demonstrating that all ports are filtered, indicating that there is no response or the packets are dropped, and thus it can be inferred that the system is configured.
This concludes the demonstration of creating custom packets using Nmap to scan beyond the IDS and firewall.
You can also use other packet crafting tools such as NetScanTools Pro (https://www.netscantools.com), Ostinato (https://www.ostinato.org), and WAN Killer (https://www.solarwinds.com) to build custom packets to evade security mechanisms.
Close all open windows and document all the acquired information.
Turn off the Windows Firewall in the Windows 10 and Windows Server 2016 machines by navigating to Control Panel --> System and Security --> Windows Defender Firewall --> Turn Windows Defender Firewall on or off.


Comments
Post a Comment