Lab 7: Perform Enumeration using Various Enumeration Tools
Lab 7: Perform Enumeration using Various Enumeration Tools
Module 04: Enumeration
Lab 7: Perform Enumeration using Various Enumeration Tools
Task 1: Enumerate Information using Global Network Inventory
Task 2: Enumerate Network Resources using Advanced IP Scanner
Task 3: Enumerate Information from Windows and Samba Hosts using Enum4linux
The details obtained in the previous steps might not reveal all potential vulnerabilities in the target network.
There may be more information available that could help attackers to identify loopholes to exploit. As an ethical hacker,
you should use a range of tools to find as much information as possible about the target network’s systems. This lab activity
will demonstrate further enumeration tools for extracting even more information about the target system.
refer to blog
Lab Scenario
The details obtained in the previous steps might not reveal all potential vulnerabilities in the target network. There may be more information available that could help attackers to identify loopholes to exploit. As an ethical hacker, you should use a range of tools to find as much information as possible about the target network’s systems. This lab activity will demonstrate further enumeration tools for extracting even more information about the target system.
Lab Objectives
Enumerate information using Global Network Inventory
Enumerate network resources using Advanced IP Scanner
Enumerate information from Windows and Samba host using Enum4linux
Overview of Enumeration Tools
To recap what you have learned so far, enumeration tools are used to collect detailed information about target systems in order to exploit them. The information collected by these enumeration tools includes data on the NetBIOS service, usernames and domain names, shared folders, the network (such as ARP tables, routing tables,traffic, etc.), user accounts, directory services, etc.
Task 1: Enumerate Information using Global Network Inventory
Global Network Inventory is used as an audit scanner in zero deployment and agent-free environments. It scans single or multiple computers by IP range or domain, as defined by the Global Network Inventory host file.
Here, we will use the Global Network Inventory to enumerate various types of data from a target IP address range or single IP.
Click Windows 10 to switch to the Windows 10 machine, navigate to D:\CEH-Tools\CEHv11 Module 03 Scanning Networks\Scanning Tools\Global Network Inventory; then, double-click gni_setup.exe.
If a User Account Control pop-up appears, click Yes.
The Global Network Inventory - InstallShield Wizard appears. Follow the steps to install the application, using the default settings.
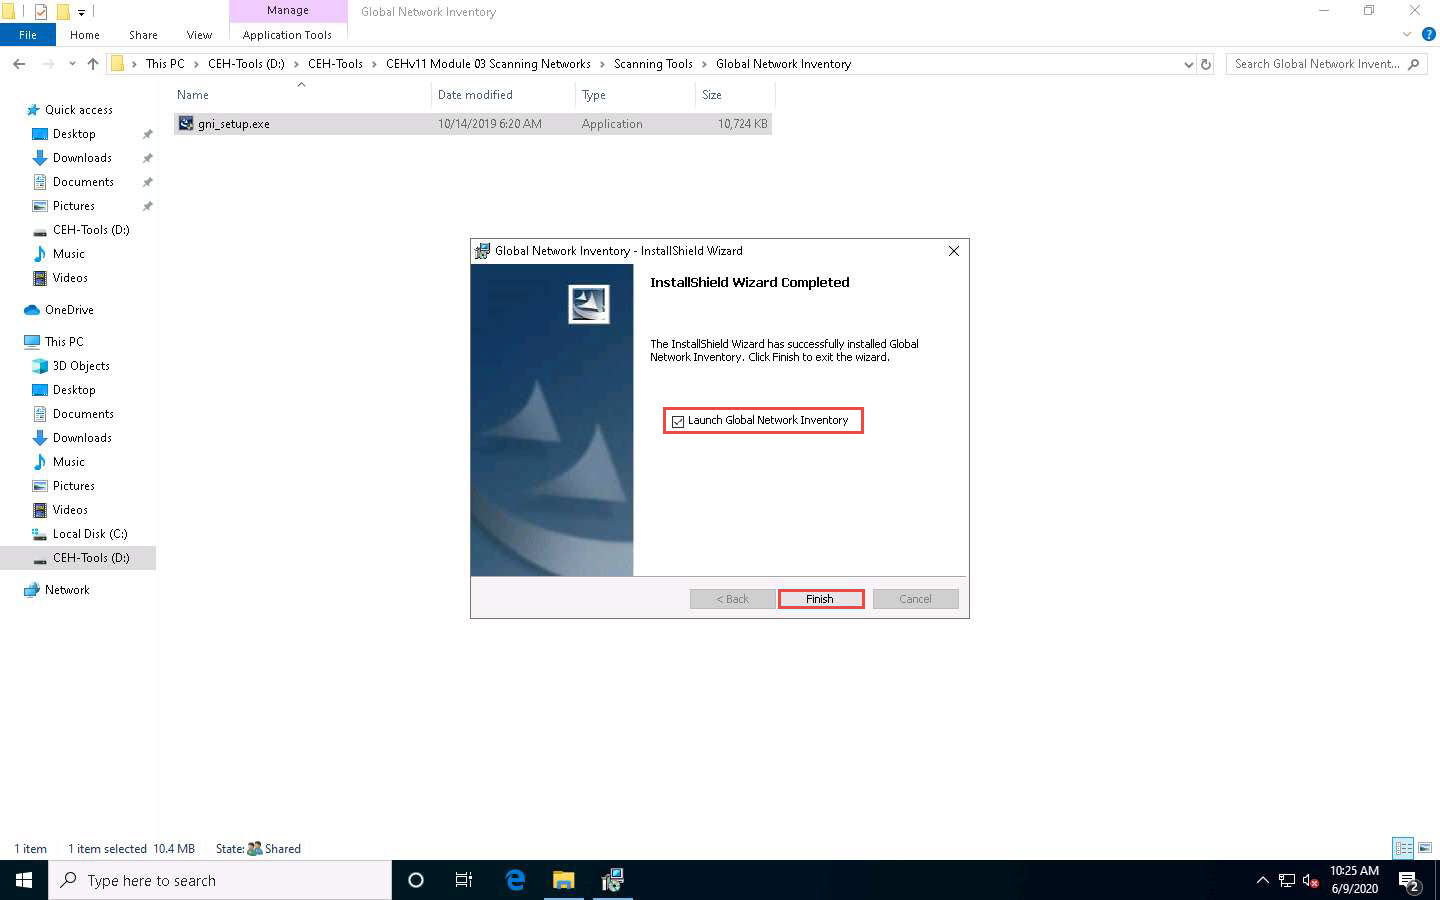
On completing the installation, ensure that the Launch Global Network Inventory checkbox is selected in the Global Network Inventory - InstallShield Wizard window; click Finish.
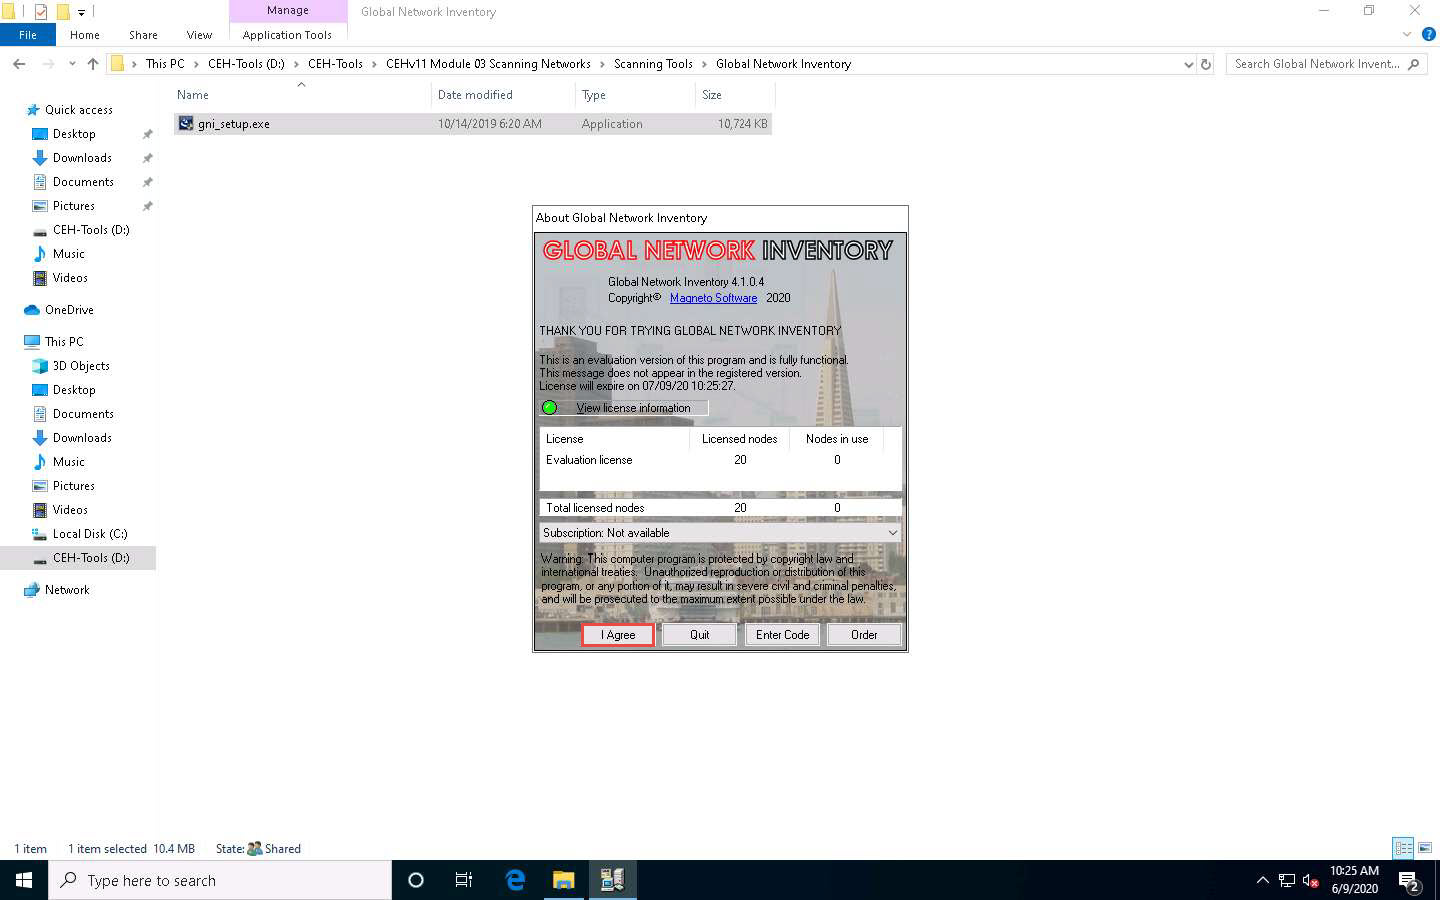
The About Global Network Inventory wizard appears; click I Agree.
The Global Network Inventory GUI appears. Click Close on the Tip of the Day pop-up.
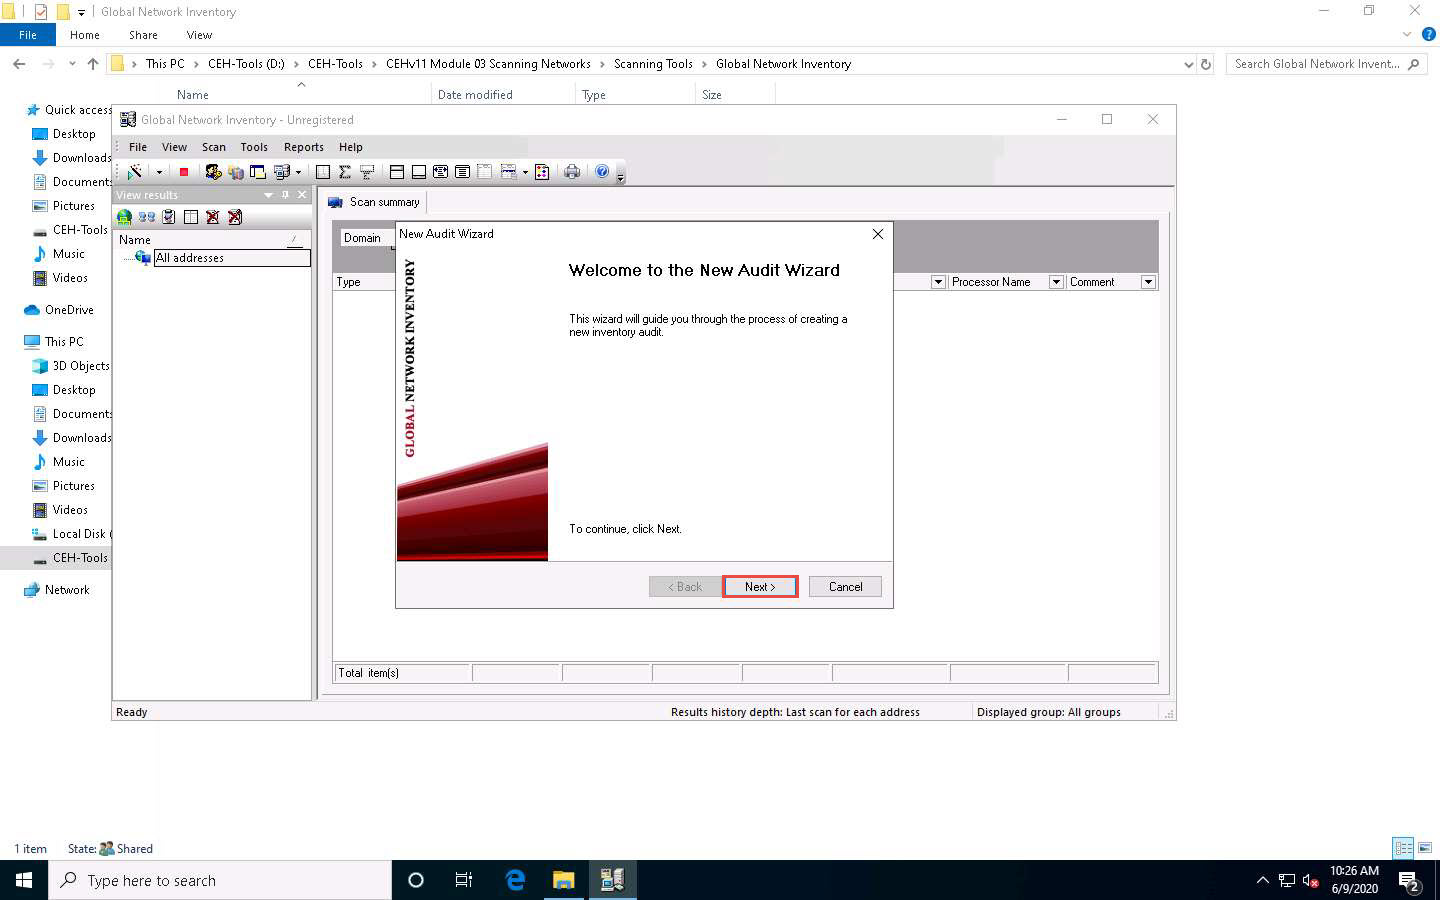
The New Audit Wizard window appears; click Next.
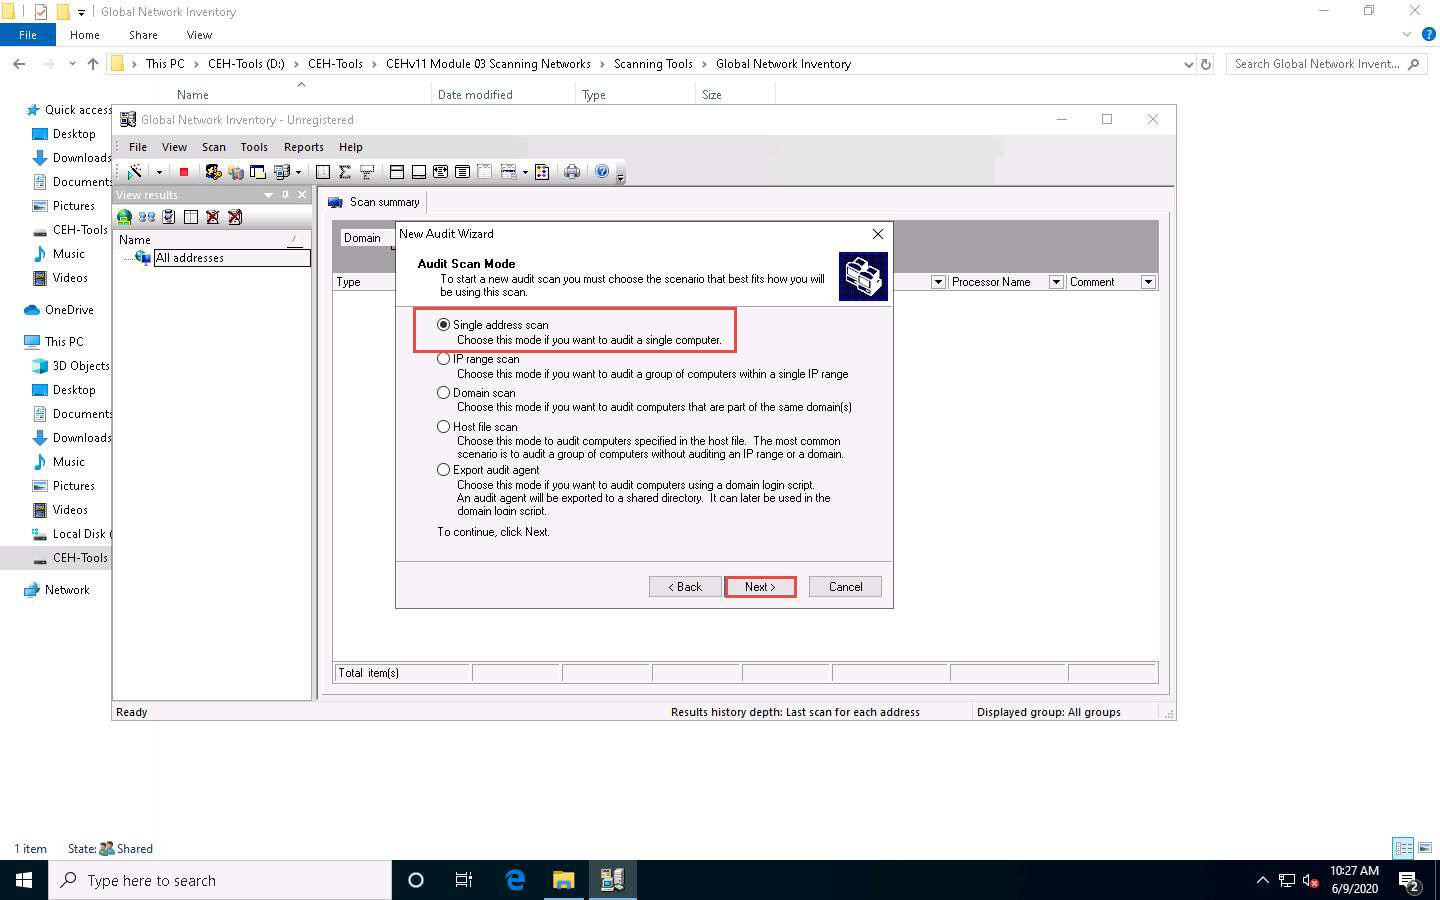
Under the Audit Scan Mode section, click the Single address scan radio button, and then click Next.
You can also scan an IP range by clicking on the IP range scan radio button, after which you will specify the target IP range.
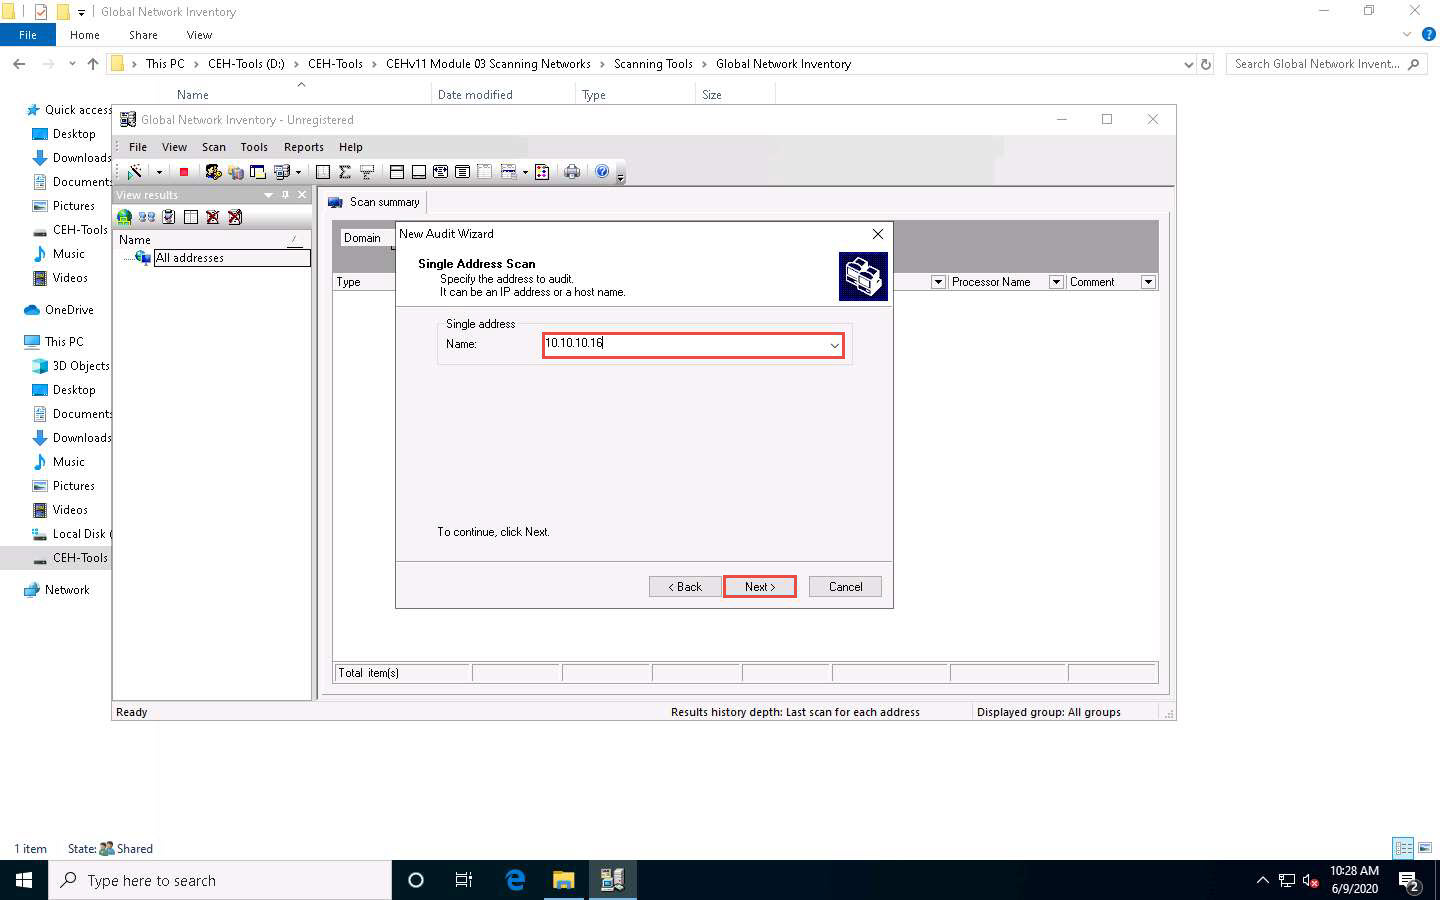
Under the Single Address Scan section, specify the target IP address in the Name field of the Single address option (in this example, the target IP address is 10.10.10.16); Click Next.
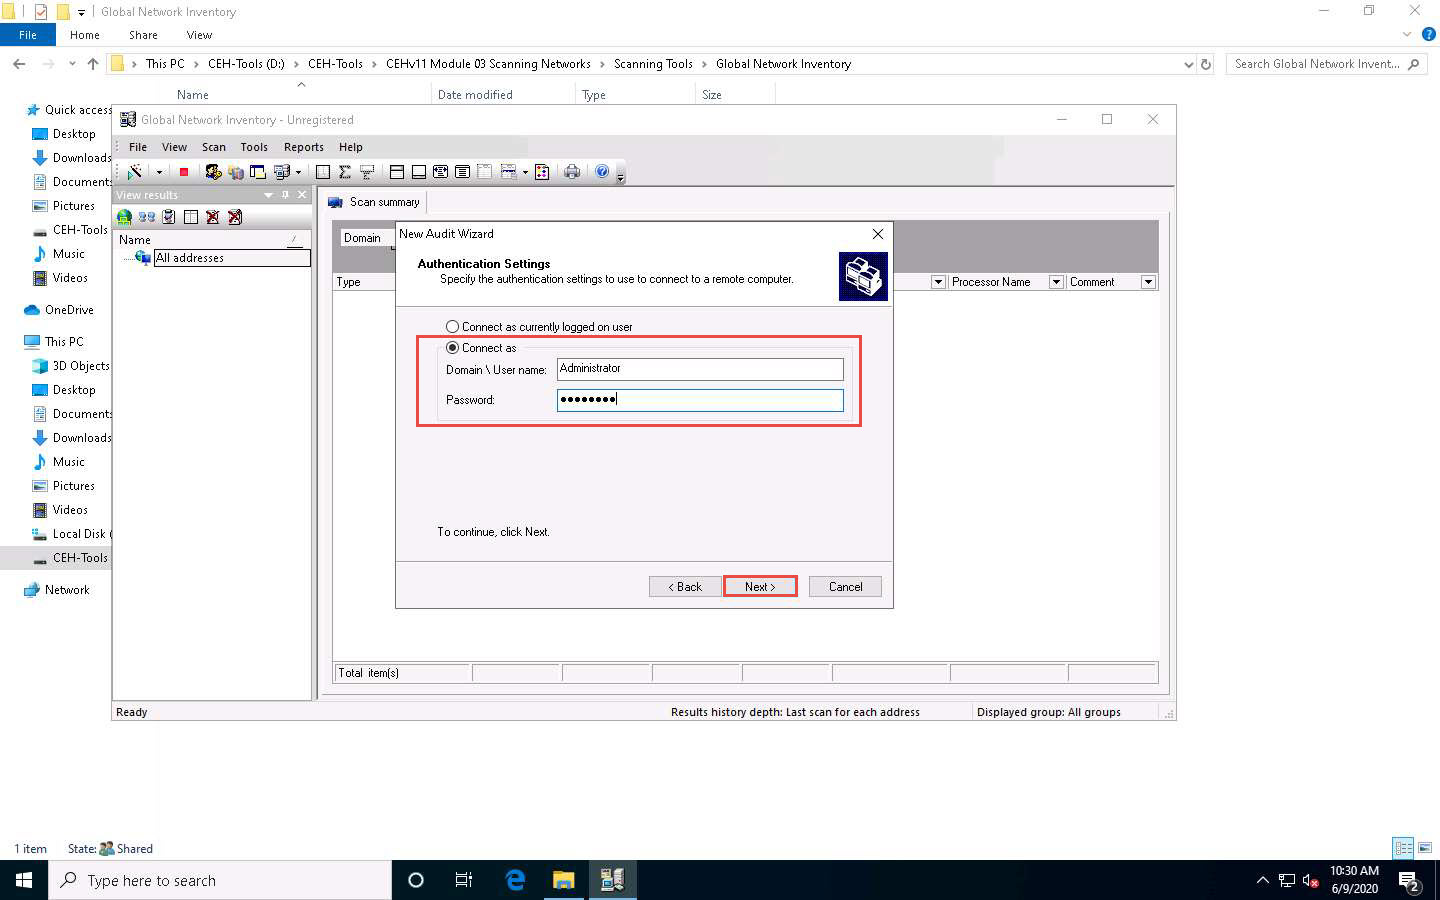
The next section is Authentication Settings; select the Connect as radio button and enter the Windows Server 2016 machine credentials (Domain\Username: Administrator and Password: Pa$$w0rd), and then click Next.
In reality, attackers do not know the credentials of the remote machine(s). In this situation, they choose the Connect as currently logged on user option and perform a scan to determine which machines are active in the network. With this option, they will not be able to extract all the information about the target system. Because this lab is just for assessment purposes, we have entered the credentials of the remote machine directly.
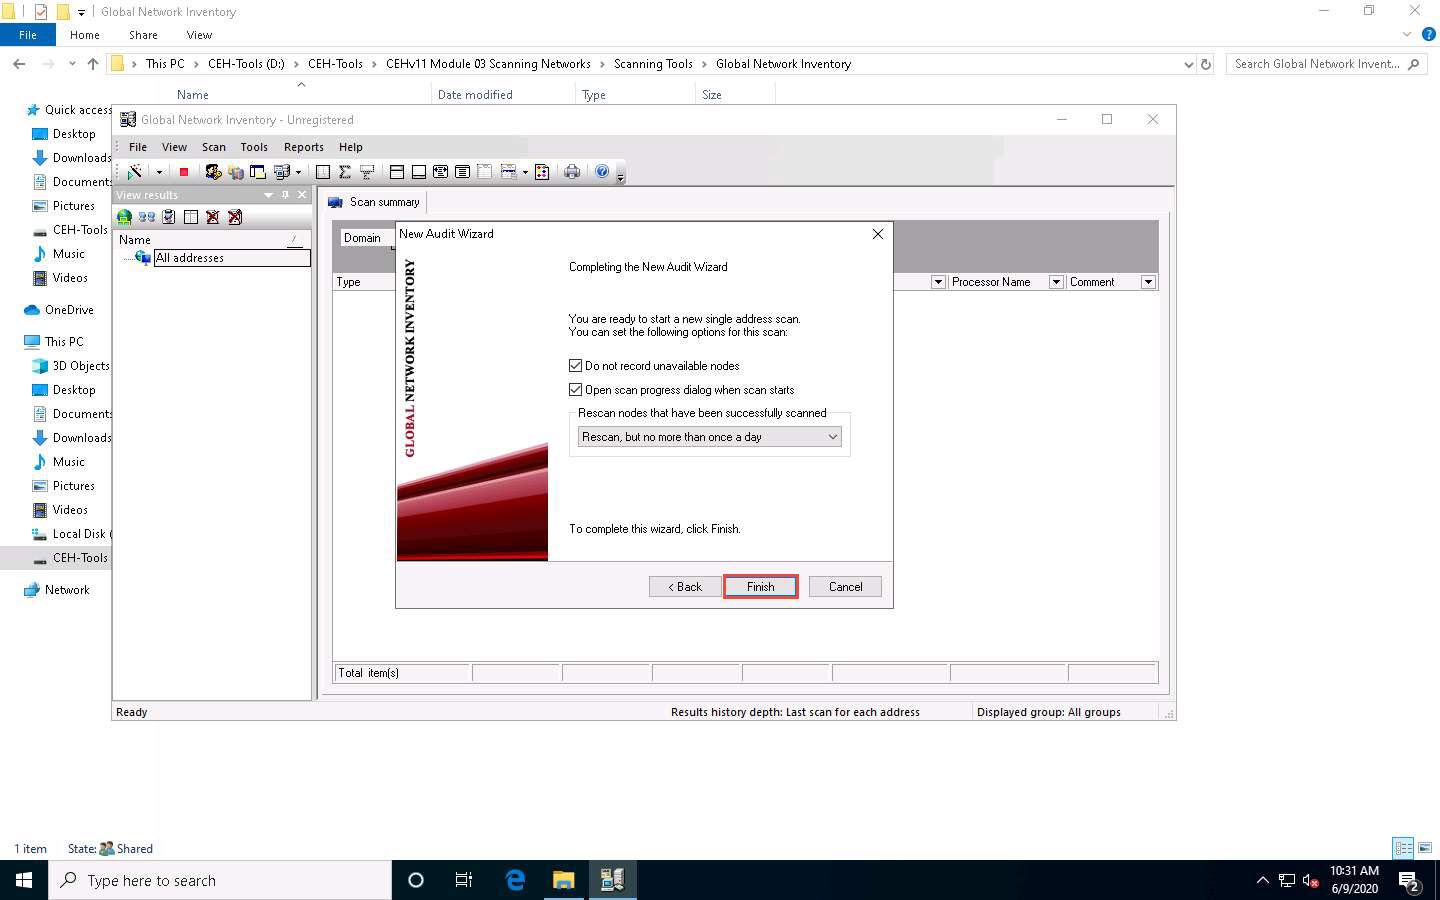
In the final step of the wizard, leave the default settings unchanged and click Finish.
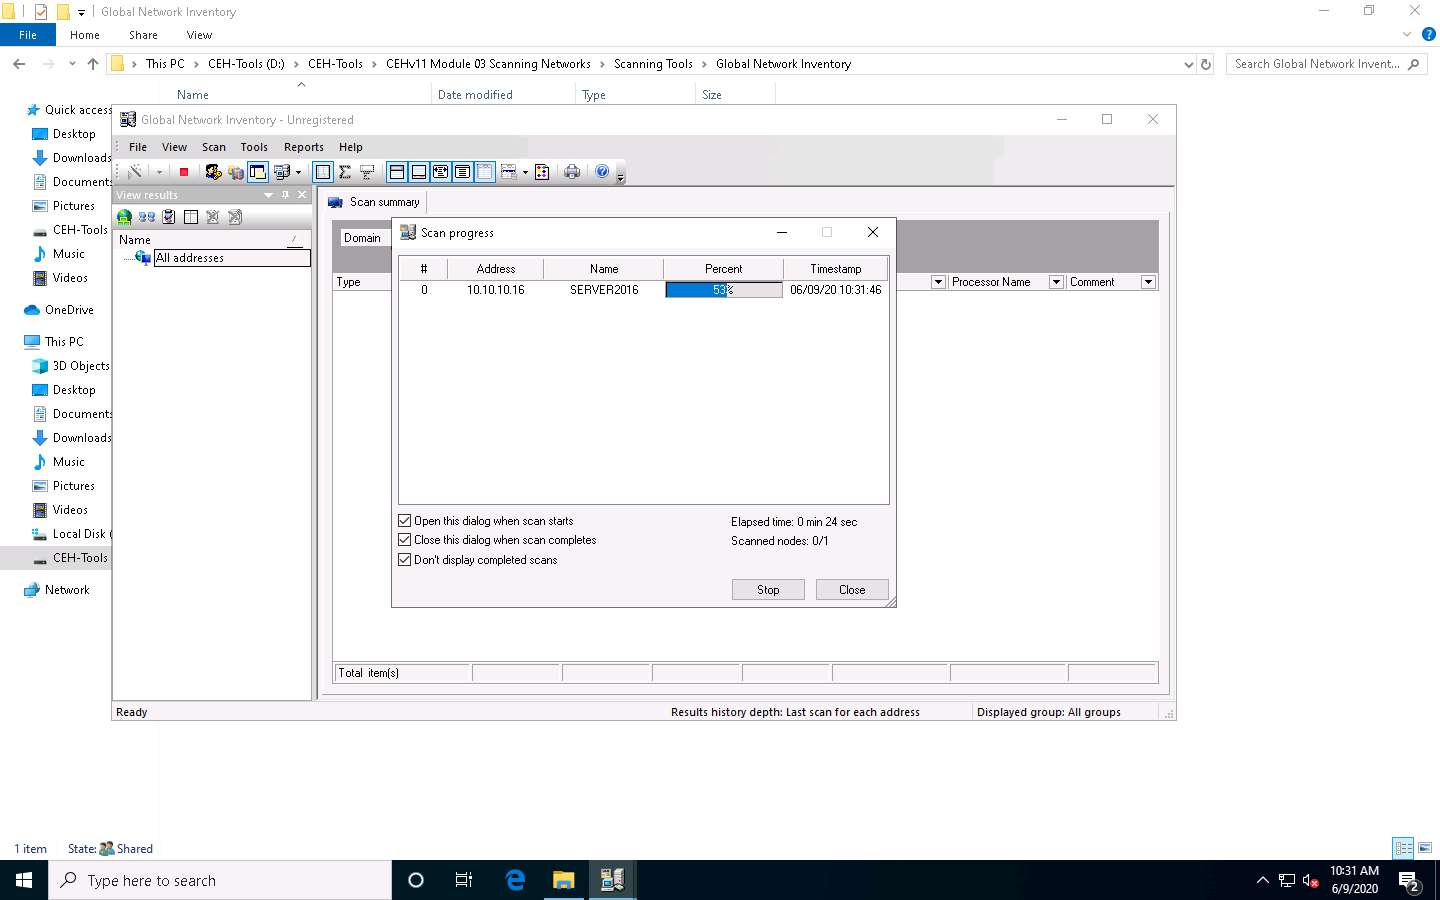
The Scan progress window will appear.
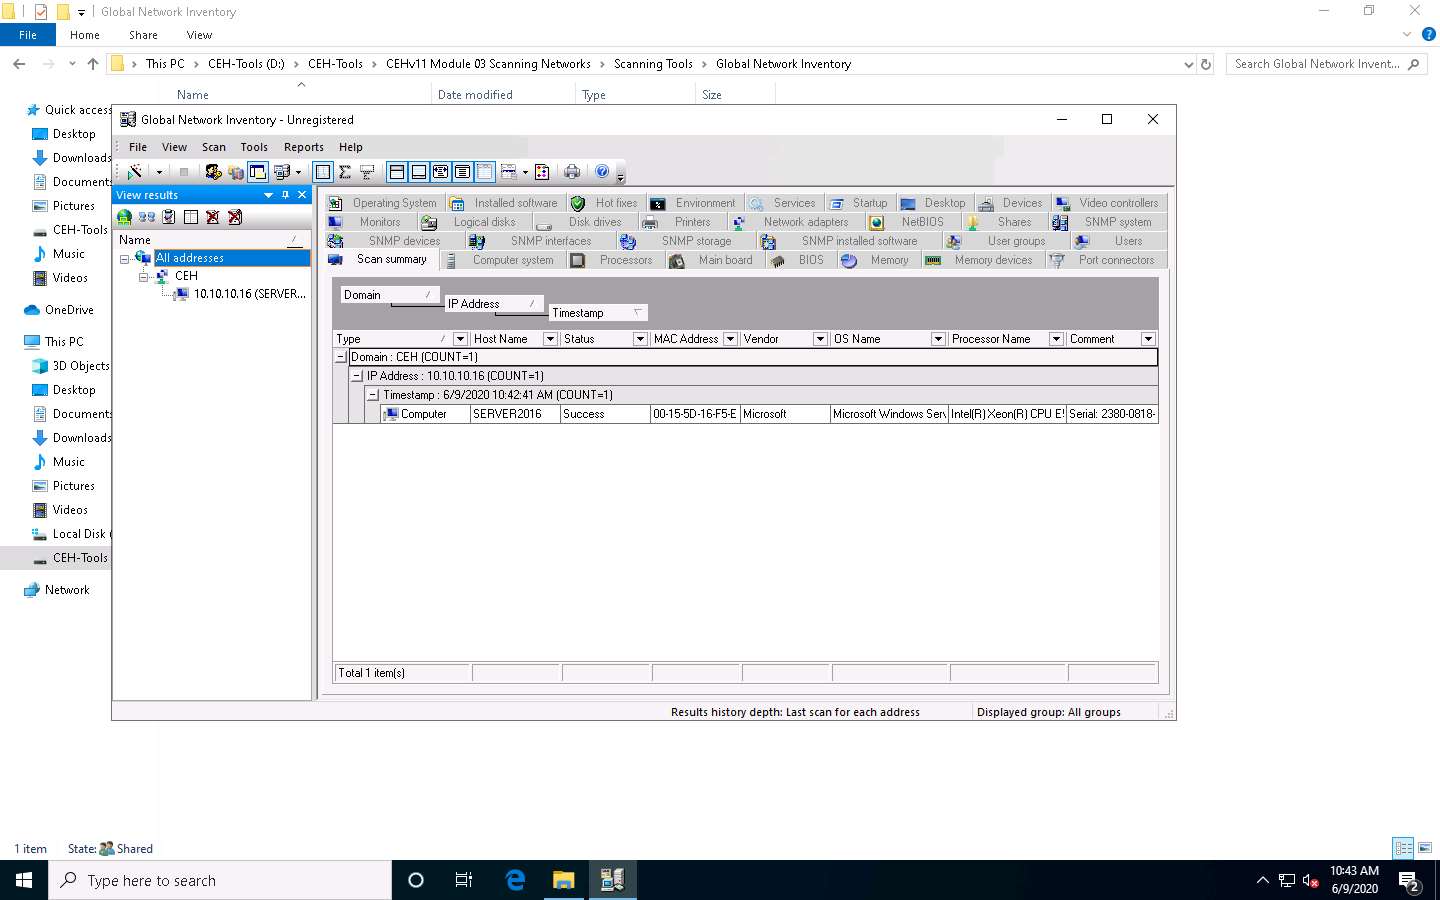
The results are displayed when the scan finished. The Scan summary of the scanned target IP address (10.10.10.16) appears.
The scan result and summary in each tab might vary in your lab environment.
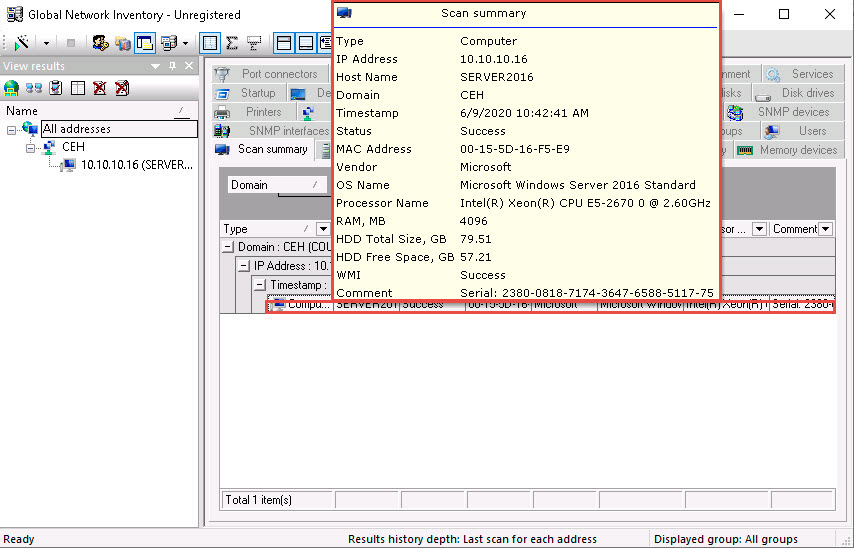
Hover your mouse cursor over the Computer details under the Scan summary tab to view the scan summary, as shown in the screenshot.
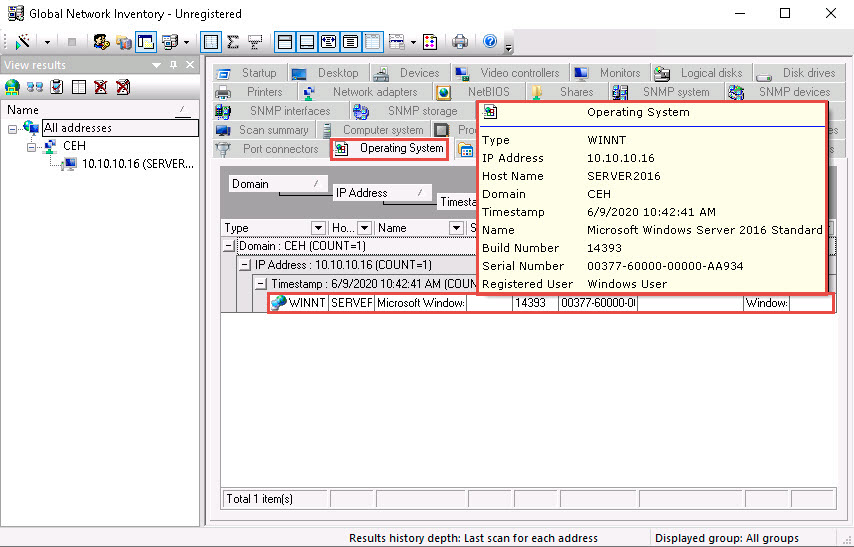
Click the Operating System tab and hover the mouse cursor over Windows details to view the complete details of the machine.
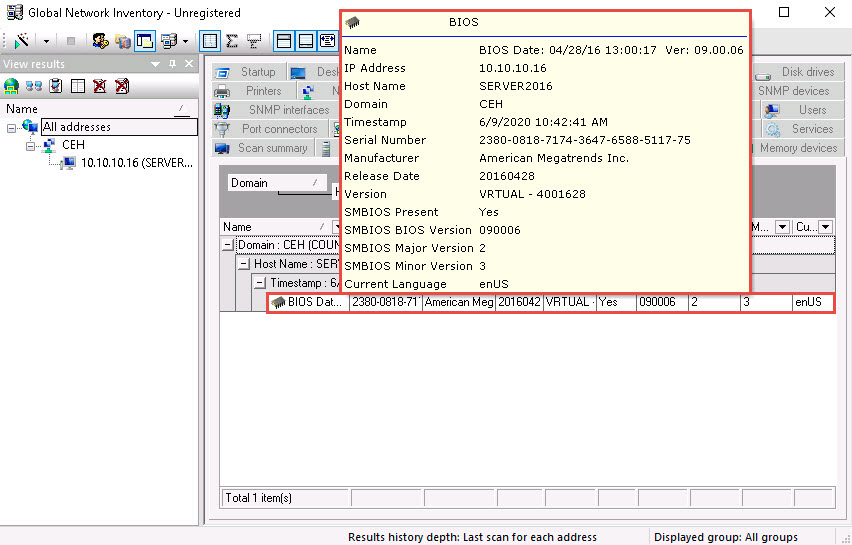
Click the BIOS tab, and hover the mouse cursor over windows details to display detailed BIOS settings information.
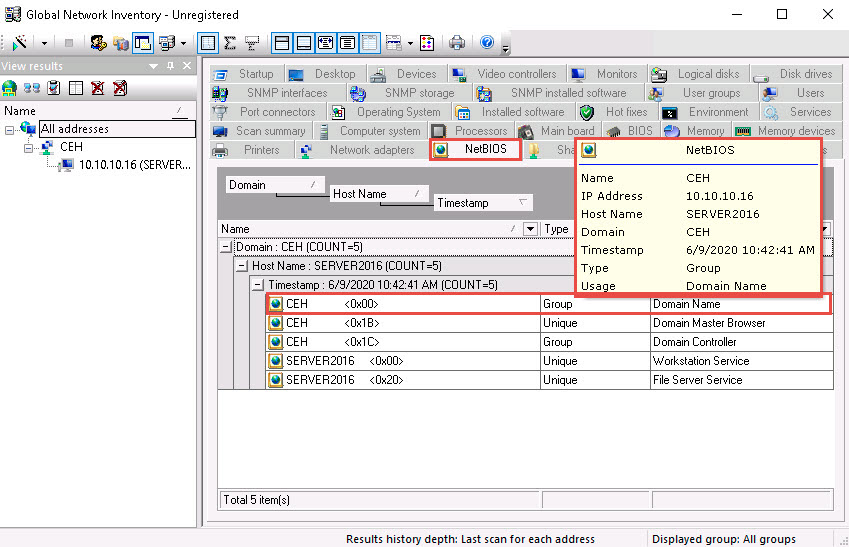
Click the NetBIOS tab, and hover the mouse cursor over any NetBIOS application to display the detailed NetBIOS information about the target.
Hover the mouse cursor over each NetBIOS application to view its details.
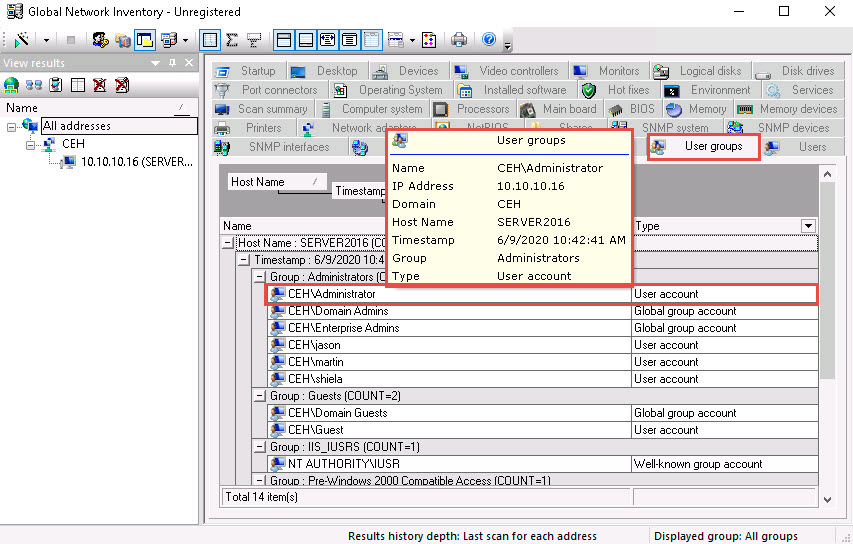
Click the User groups tab and hover the mouse cursor over any username to display detailed user groups information.
Hover the mouse cursor over each username to view its details.
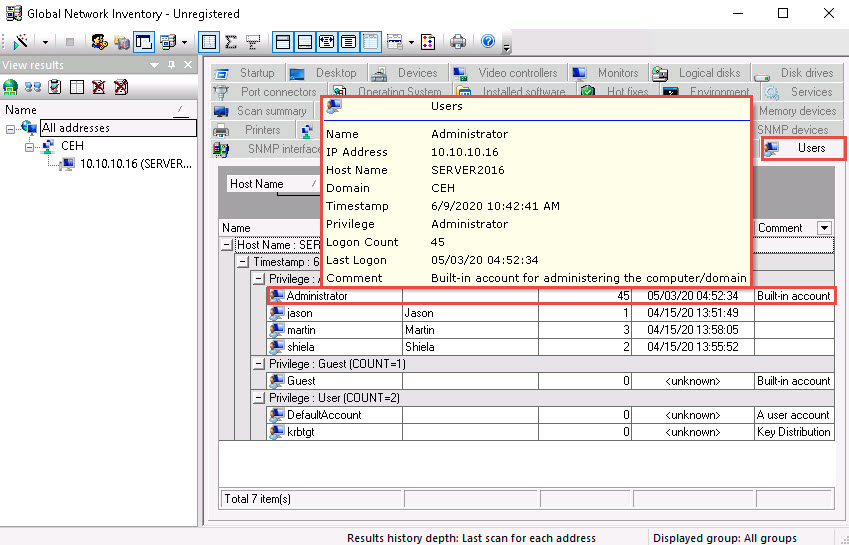
Click the Users tab, and hover the mouse cursor over the username to view login details for the target machine.
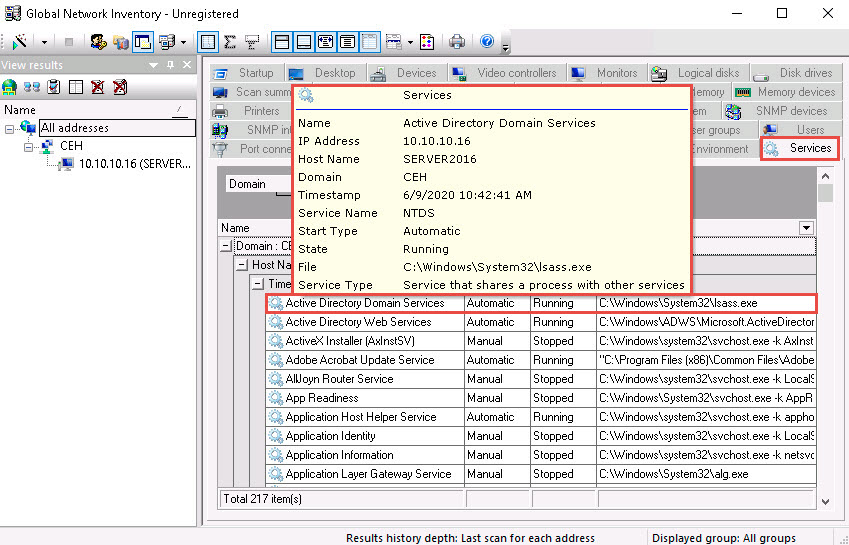
Click the Services tab and hover the mouse cursor over any service to view its details.
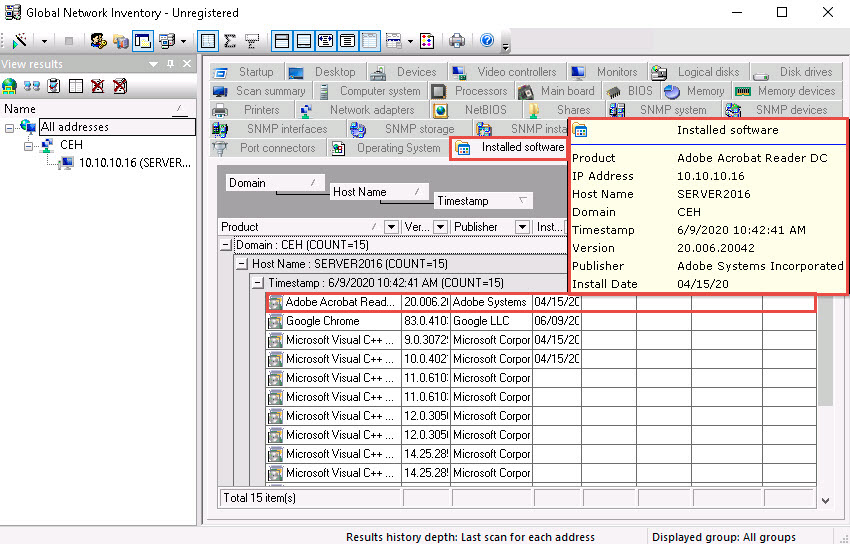
Click the Installed software tab, and hover the mouse cursor over any software to view its details.
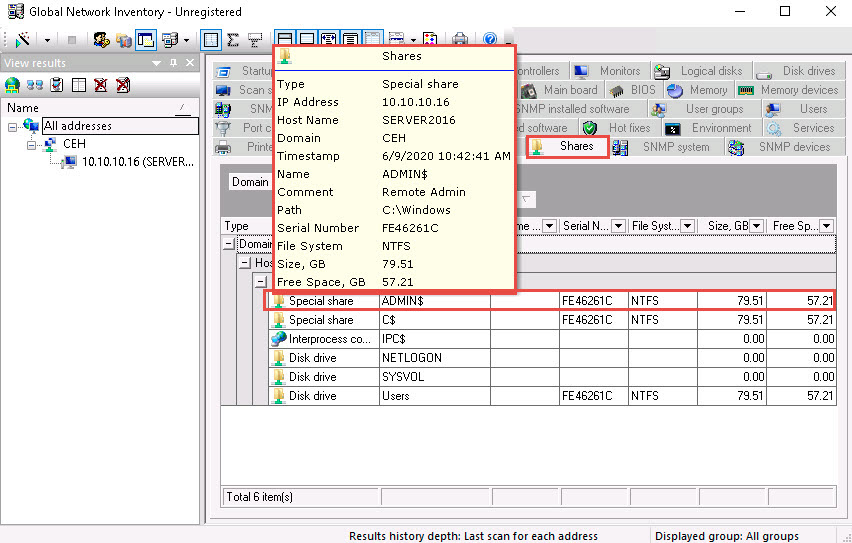
Click the Shares tab, and hover the mouse cursor over any shared folder to view its details.
Similarly, you can click other tabs such as Computer System, Processors, Main board, Memory, SNMP systems, Main board, and Hot fixes. Hover the mouse cursor over elements under each tab to view their detailed information.
This concludes the demonstration of performing enumeration using the Global Network Inventory.
Close all open windows and document all the acquired information.
Task 2: Enumerate Network Resources using Advanced IP Scanner
Advanced IP Scanner provides various types of information about the computers on a target network. The program shows all network devices, gives you access to shared folders, provides remote control of computers (via RDP and Radmin), and can even remotely switch computers off.
Here, we will use the Advanced IP Scanner to enumerate the network resources of the target network.
Click Windows Server 2019 to switch to the Windows Server 2019 machine.
Navigate to Z:\CEHv11 Module 03 Scanning Networks\Ping Sweep Tools\Advanced IP Scanner and double-click Advanced_IP_Scanner_2.5.3850.exe.
Follow the installation steps to install Advanced IP Scanner, using all the default settings.
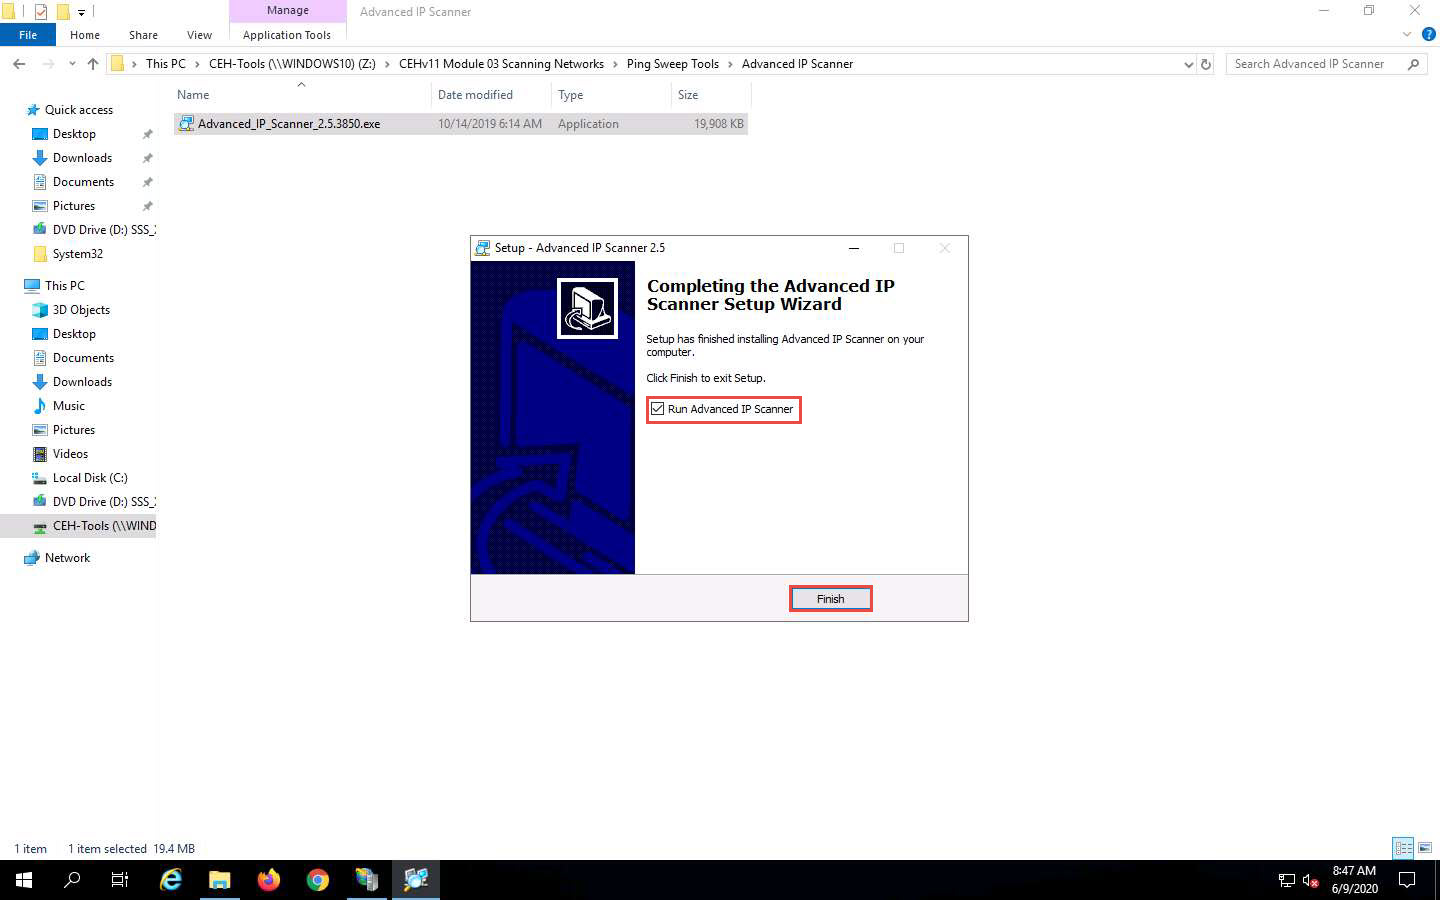
After the installation completes, ensure that the Run Advanced IP Scanner option is selected and click Finish.
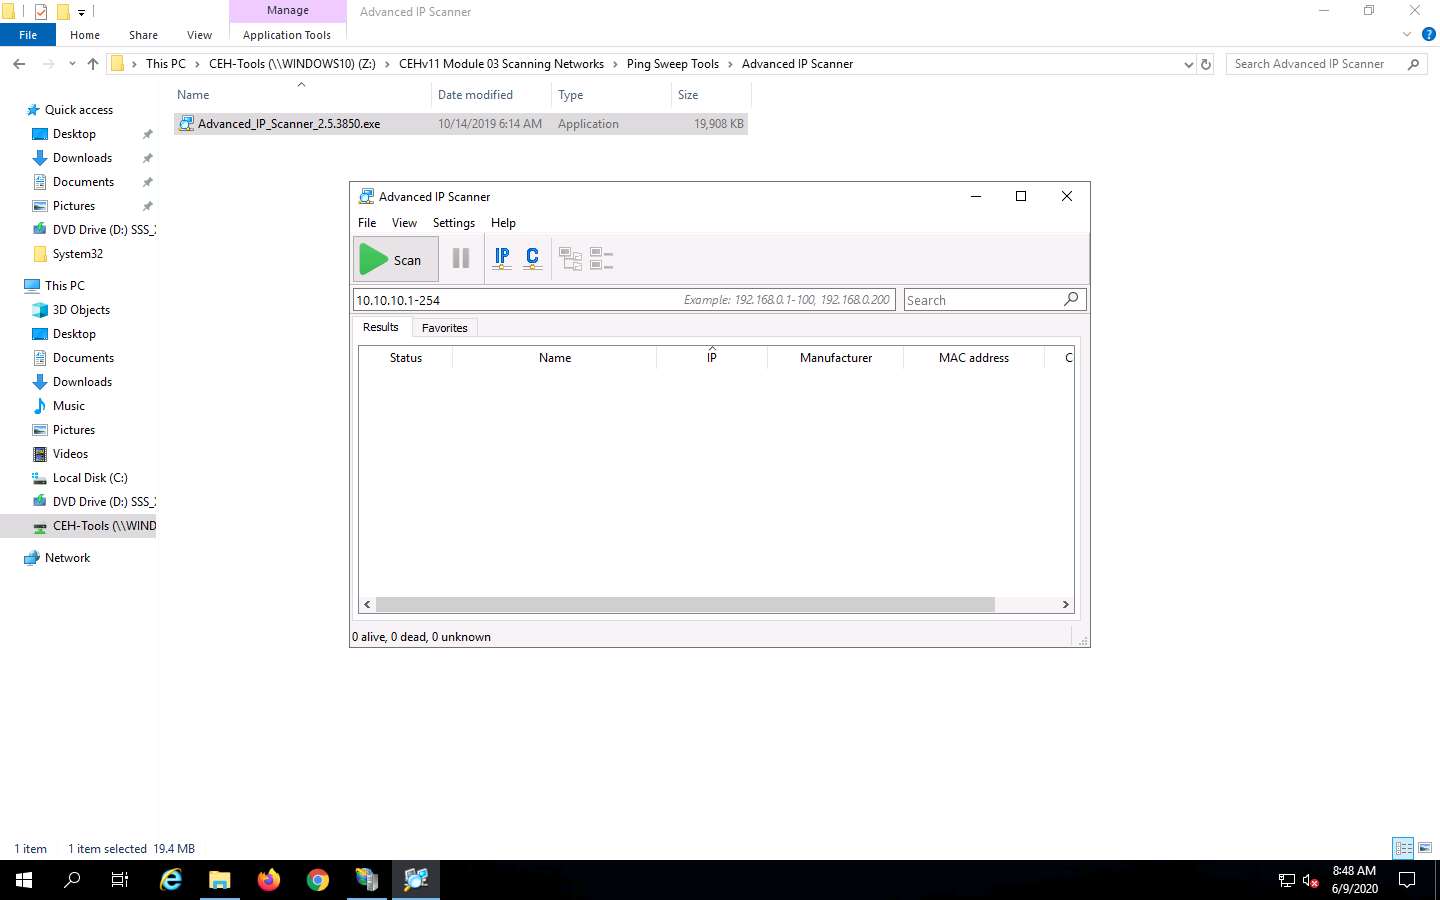
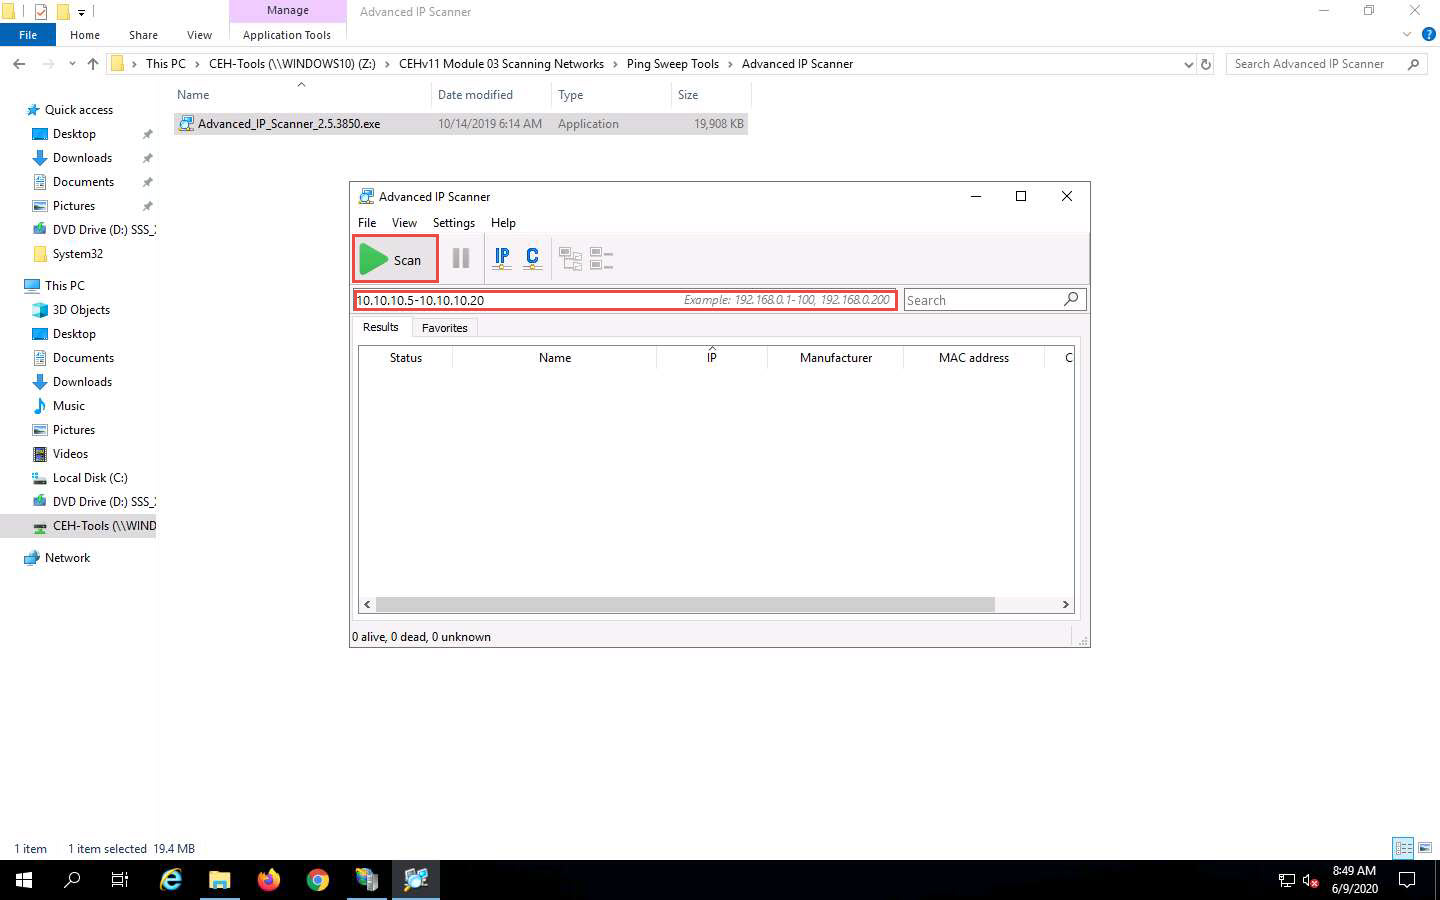
The Advanced IP Scanner GUI appears, as shown in the screenshot.
In the IP address range field, specify the IP range (in this example, we will target 10.10.10.5-10.10.10.20). Click the Scan button.
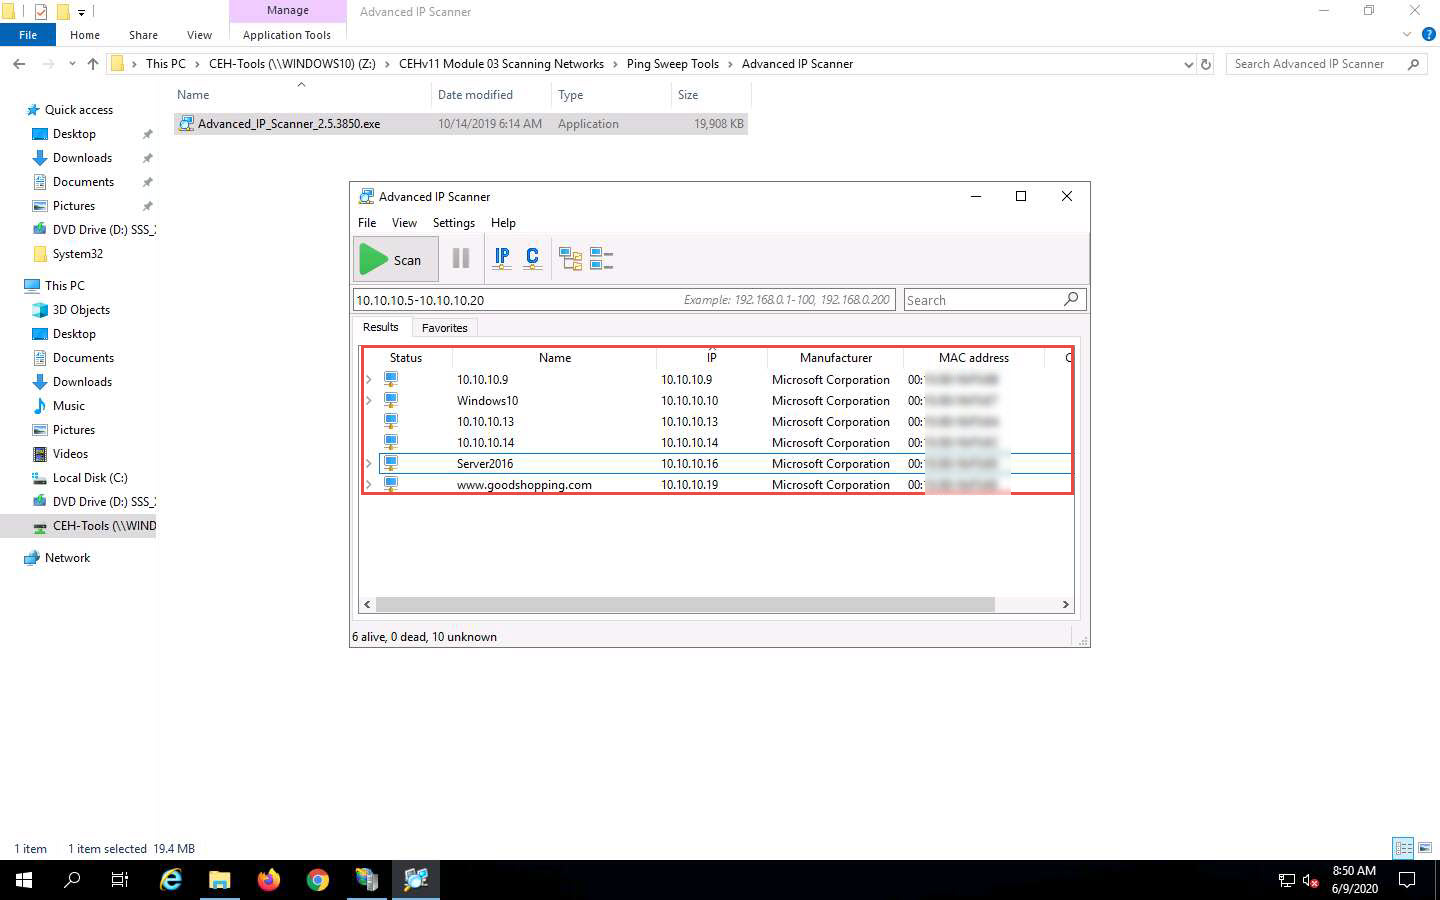
Advanced IP Scanner scans the target IP address range, with progress tracked by the status bar at the bottom of the window. Wait for the scan to complete.

The scan results appear, displaying information about active hosts in the target network such as status, machine name, IP address, manufacturer name, and MAC addresses, as shown in the screenshot.
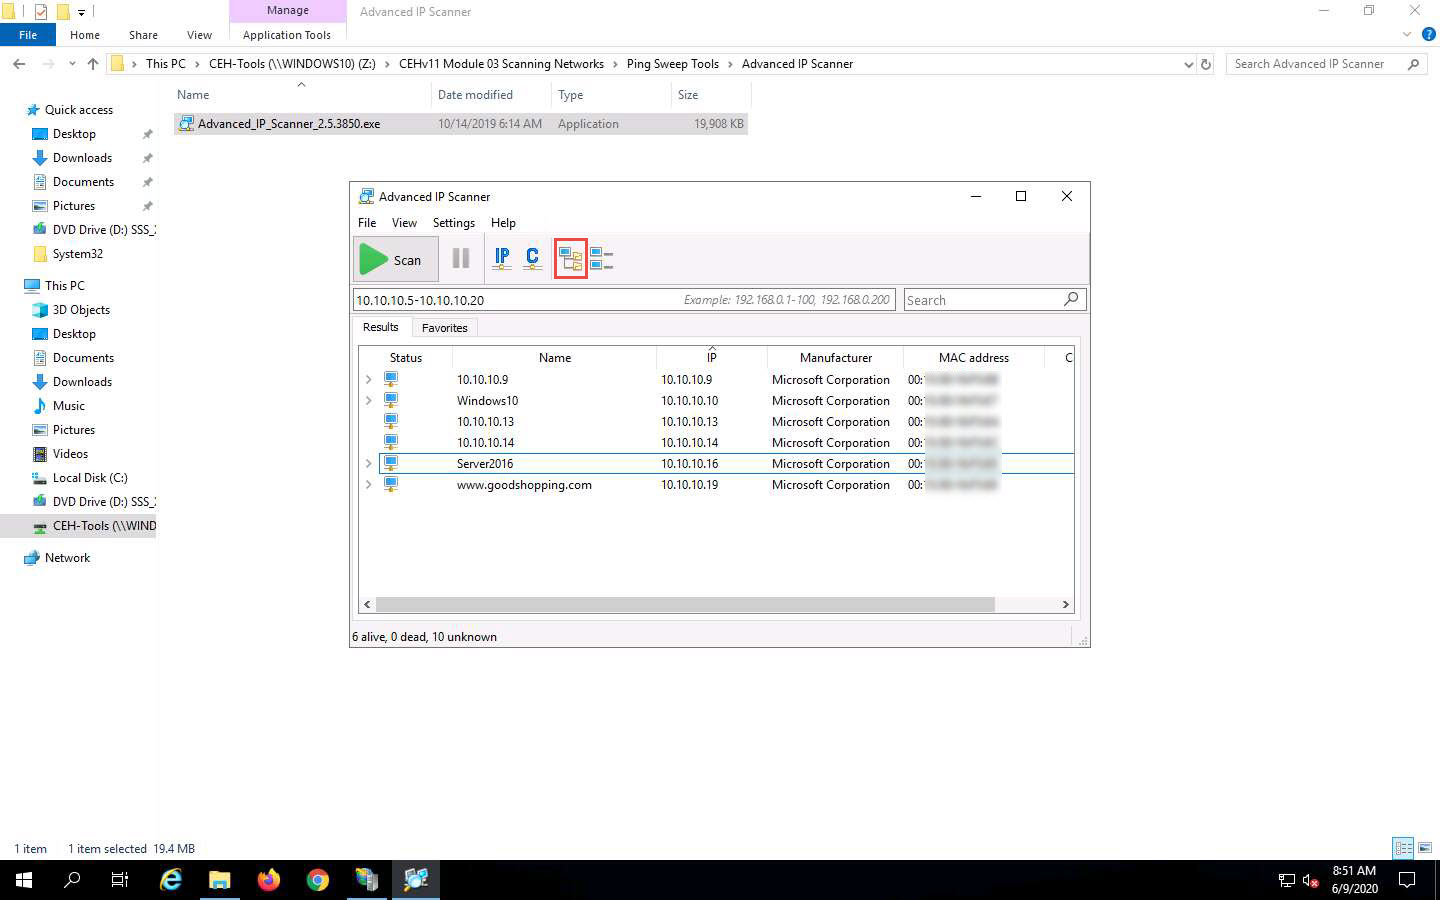
Click the Expand all icon to view the shared folders and services running on the target network.
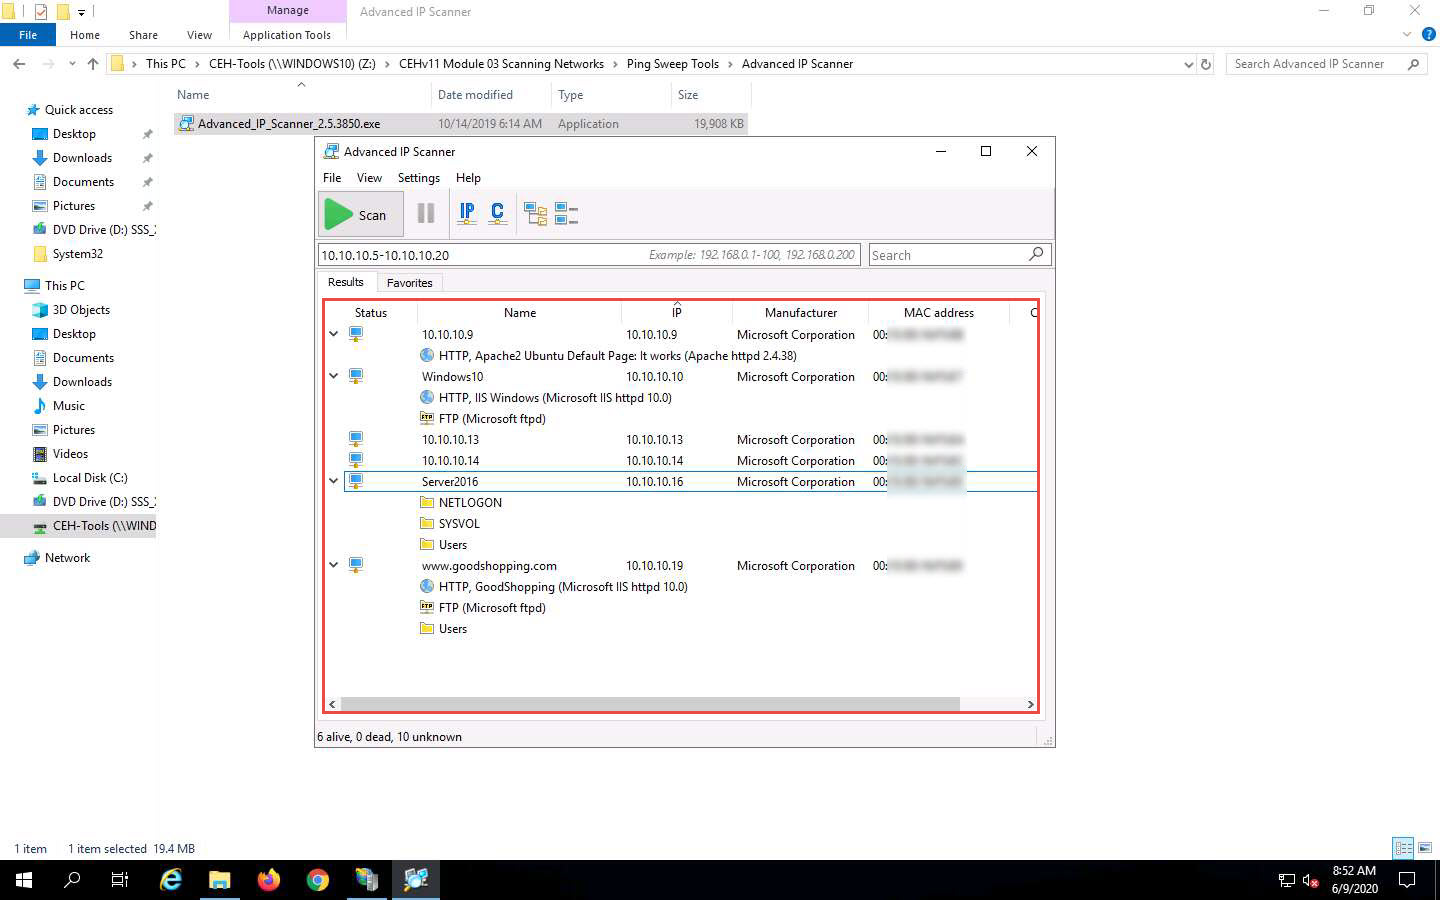
The shared folders and services running on the target network appear, as shown in the screenshot.
Right-click any of the detected IP addresses to list available options.
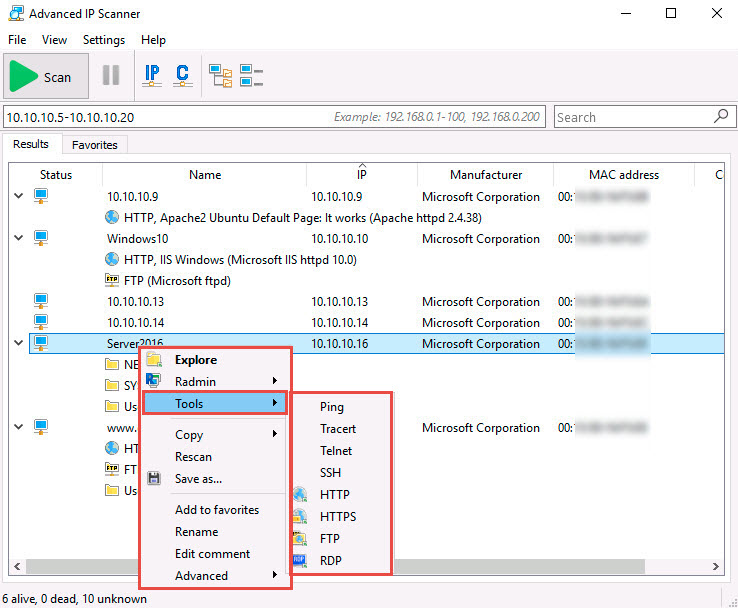
Using these options, you can ping, traceroute, transfer files, chat, send a message, connect to the target machine remotely (using Radmin), etc.
To use the Radmin option, you need to install Radmin viewer, which you can download at http://www.radmin.com.
In the same way, you can select various other options to retrieve shared files, view system-related information, etc.
This concludes the demonstration of enumerating network resources using Advanced IP Scanner.
Close all open windows and document all the acquired information.
Task 3: Enumerate Information from Windows and Samba Hosts using Enum4linux
Enum4linux is a tool for enumerating information from Windows and Samba systems. It is used for share enumeration, password policy retrieval, identification of remote OSes, detecting if hosts are in a workgroup or a domain, user listing on hosts, listing group membership information, etc.
Here, we will use the Enum4Linux to perform enumeration on a Windows and a Samba host.
Click Parrot Security to switch to the Parrot Security machine.
Click the MATE Terminal icon at the top of the Desktop window to open a Terminal window.

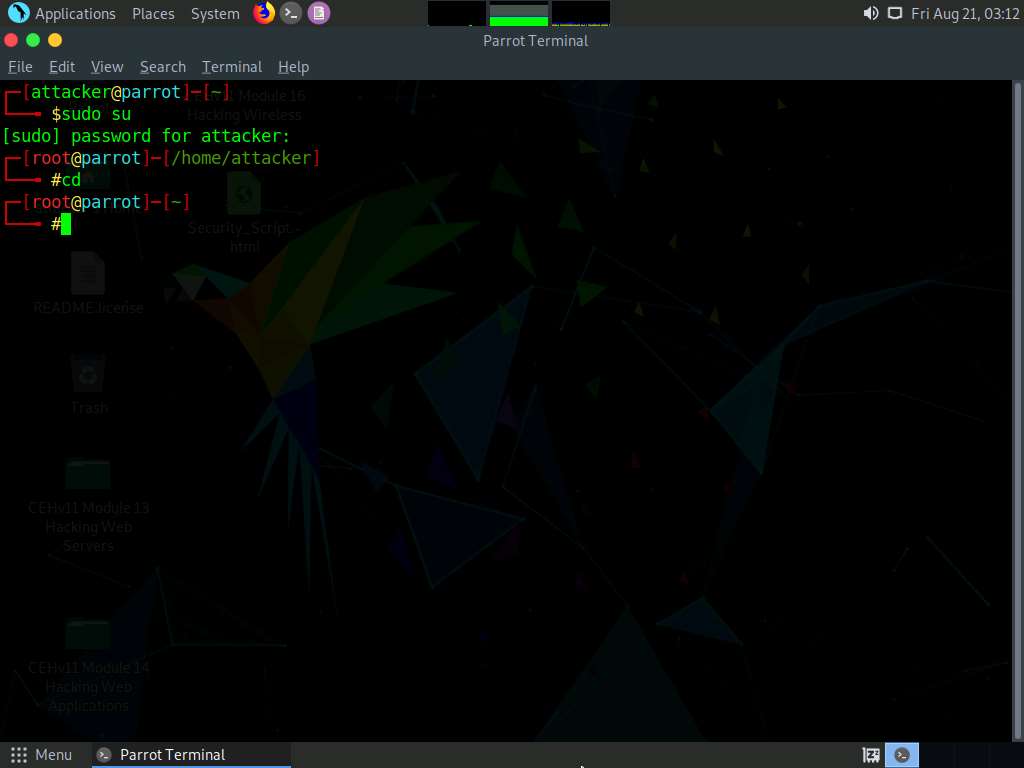
A Parrot Terminal window appears. In the terminal window, type sudo su and press Enter to run the programs as a root user.
In the [sudo] password for attacker field, type toor as a password and press Enter.
The password that you type will not be visible.
Now, type cd and press Enter to jump to the root directory.
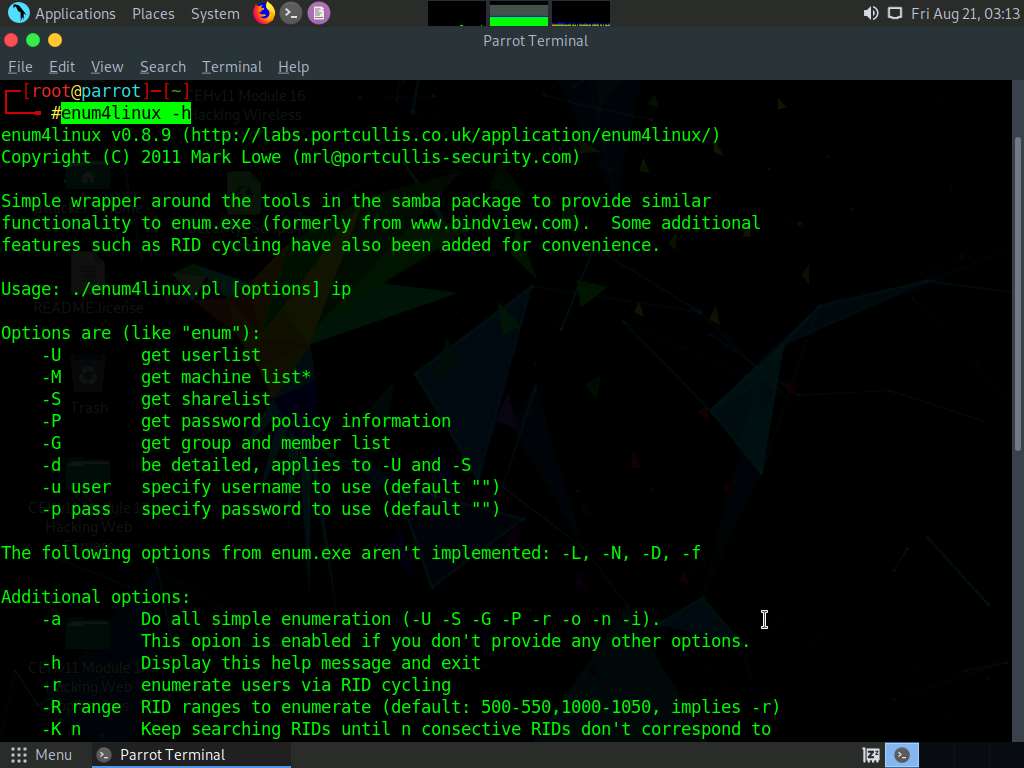
In the Parrot Terminal window, type enum4linux -h and press Enter to view the various options available with enum4linux.
The help options appear, as shown in the screenshot. In this lab, we will demonstrate only a few options to conduct enumeration on the target machine.
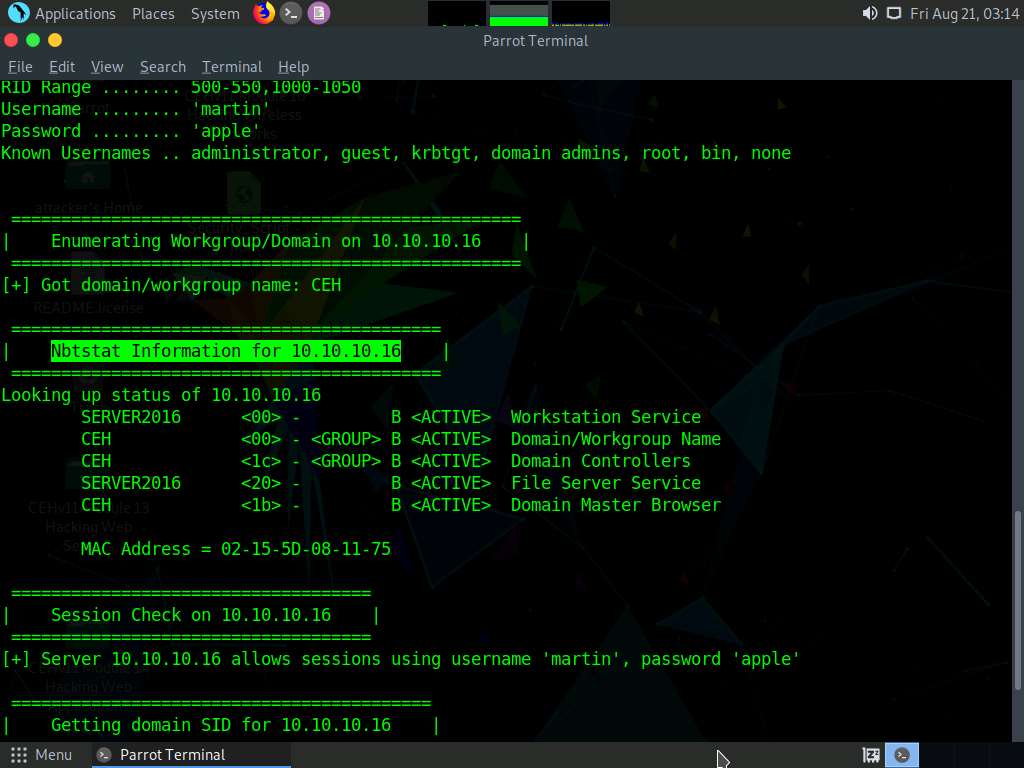
We will first enumerate the NetBIOS information of the target machine. In the terminal window, type enum4linux -u martin -p apple -n [Target IP Address] (in this case, 10.10.10.16) and hit Enter.
In this command, -u user specifies the username to use and -p pass specifies the password.
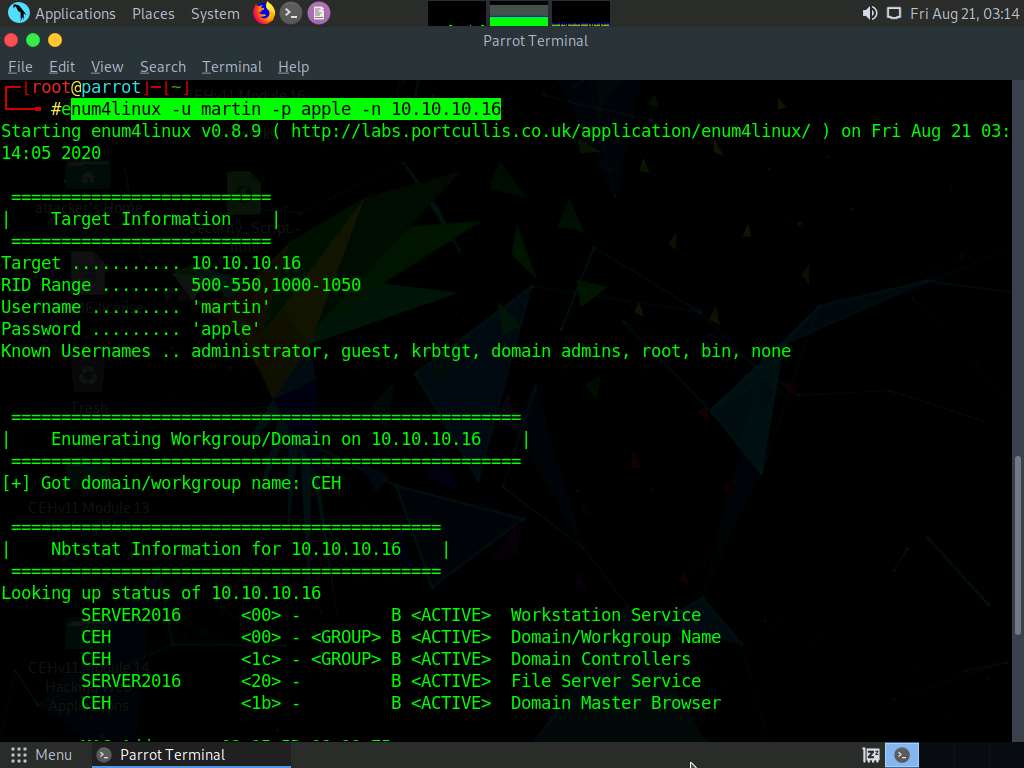
The tool enumerates the target system and displays the NetBIOS information under the Nbtstat Information section, as shown in the screenshot.
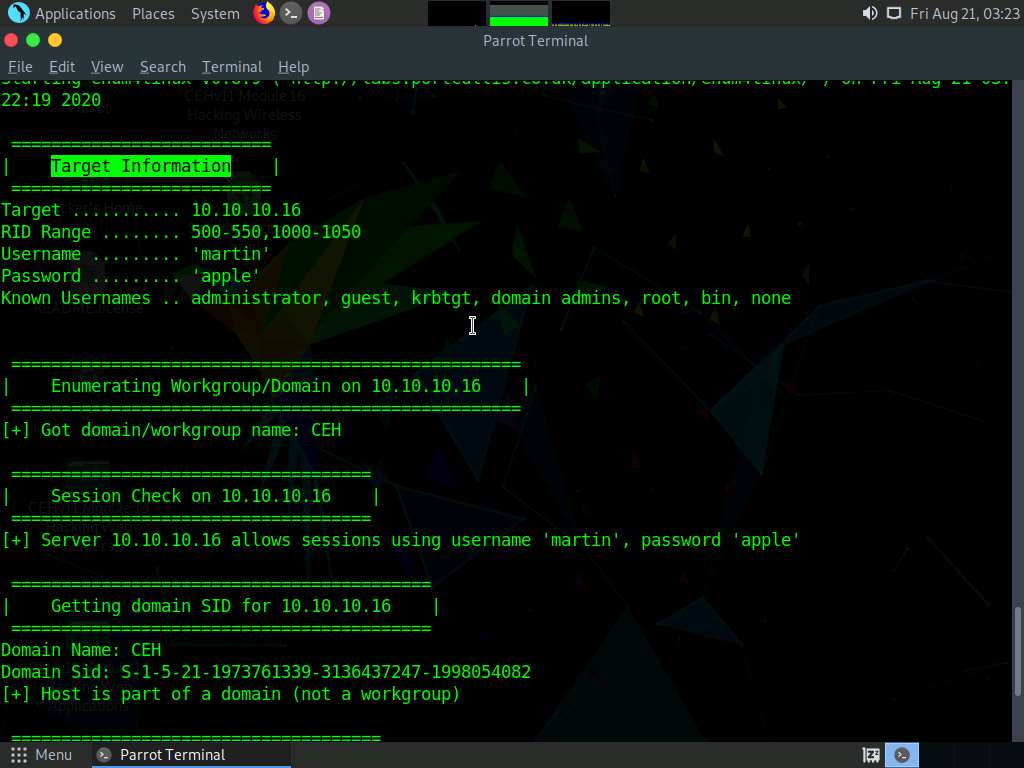
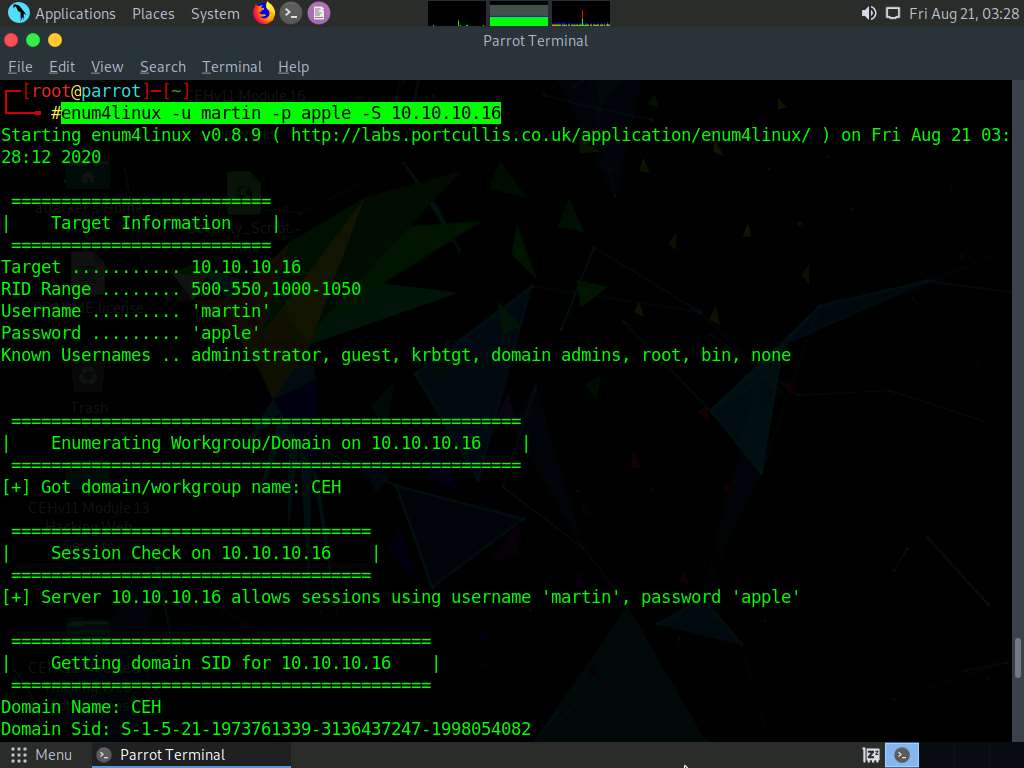
In the terminal window, type enum4linux -u martin -p apple -U [Target IP Address] (in this case, 10.10.10.16) and hit Enter to run the tool with the “get userlist” option.
In this case, 10.10.10.16 is the IP address of the Windows Server 2016; this might be different in your lab environment.
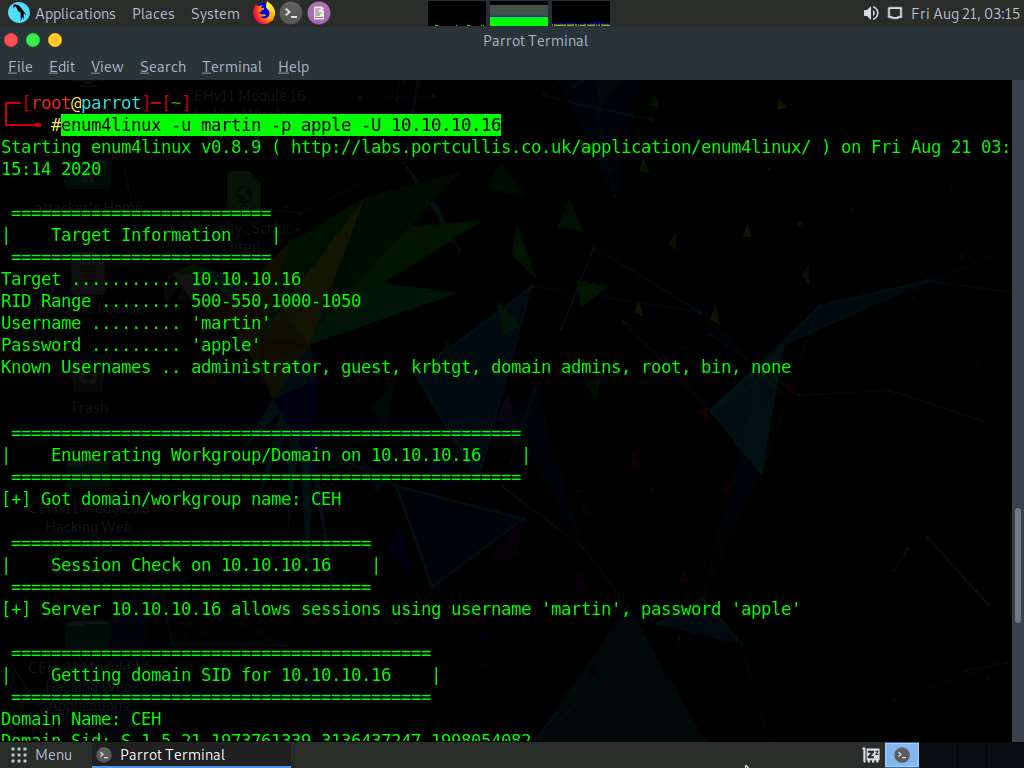
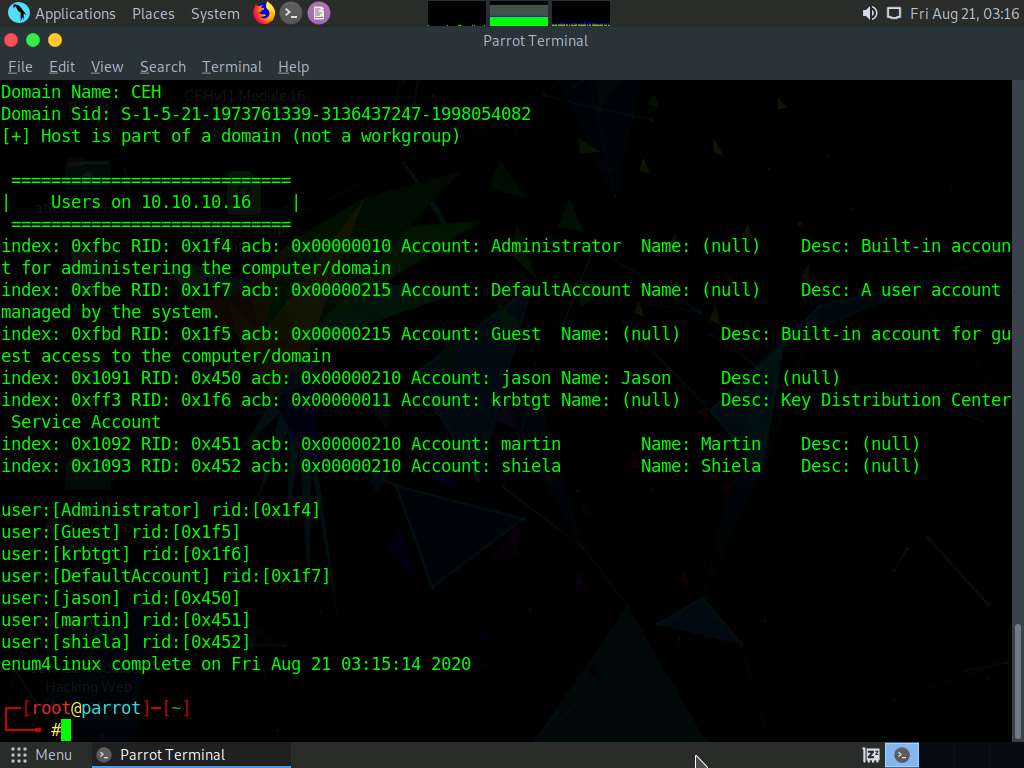
Enum4linux starts enumerating and displays data such as Target Information, Workgroup/Domain, domain SID (security identifier), and the list of users, along with their respective RIDs (relative identifier), as shown in the screenshots below.

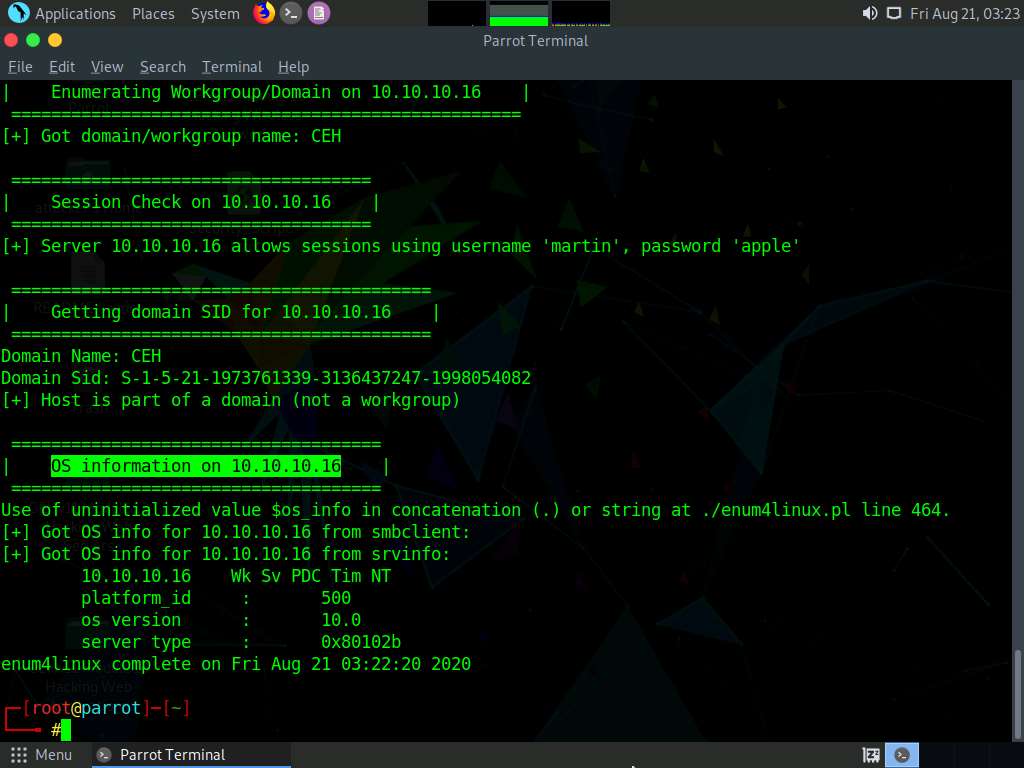
Second, we will obtain the OS information of the target; type enum4linux -u martin -p apple -o [Target IP Address] (in this case, 10.10.10.16) and hit Enter.
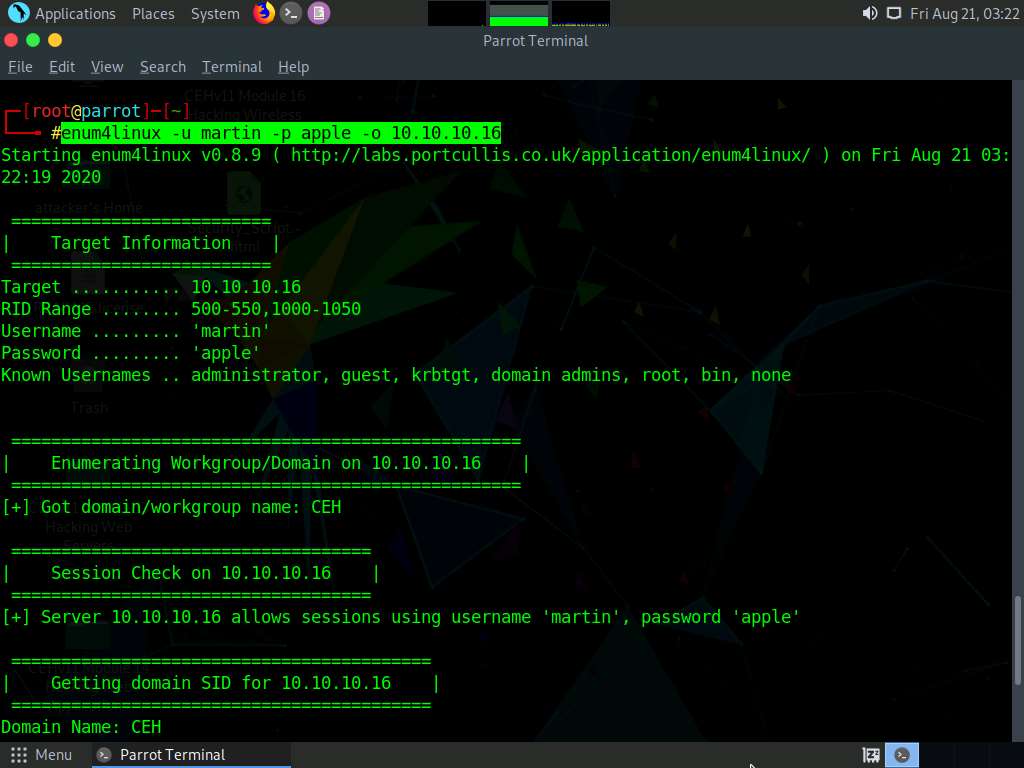
The tool enumerates the target system and lists its OS details, as shown in the screenshot.
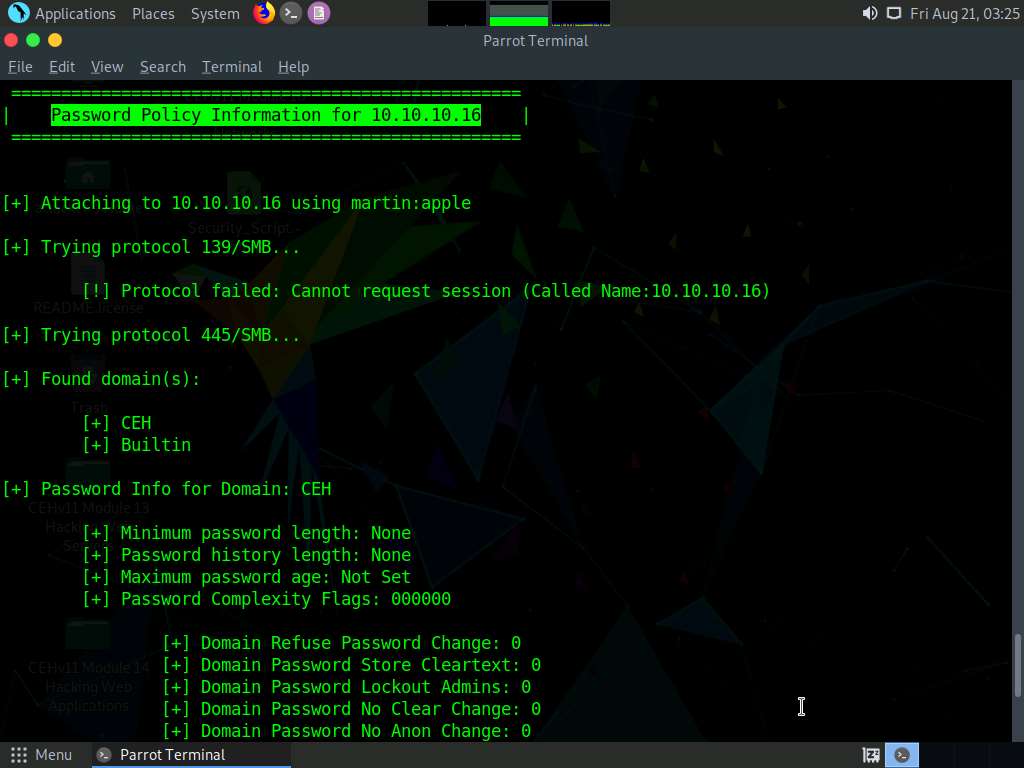
Third, we will enumerate the password policy information of our target machine. In the terminal window, type enum4linux -u martin -p apple -P [Target IP Address] (in this case, 10.10.10.16) and hit Enter.
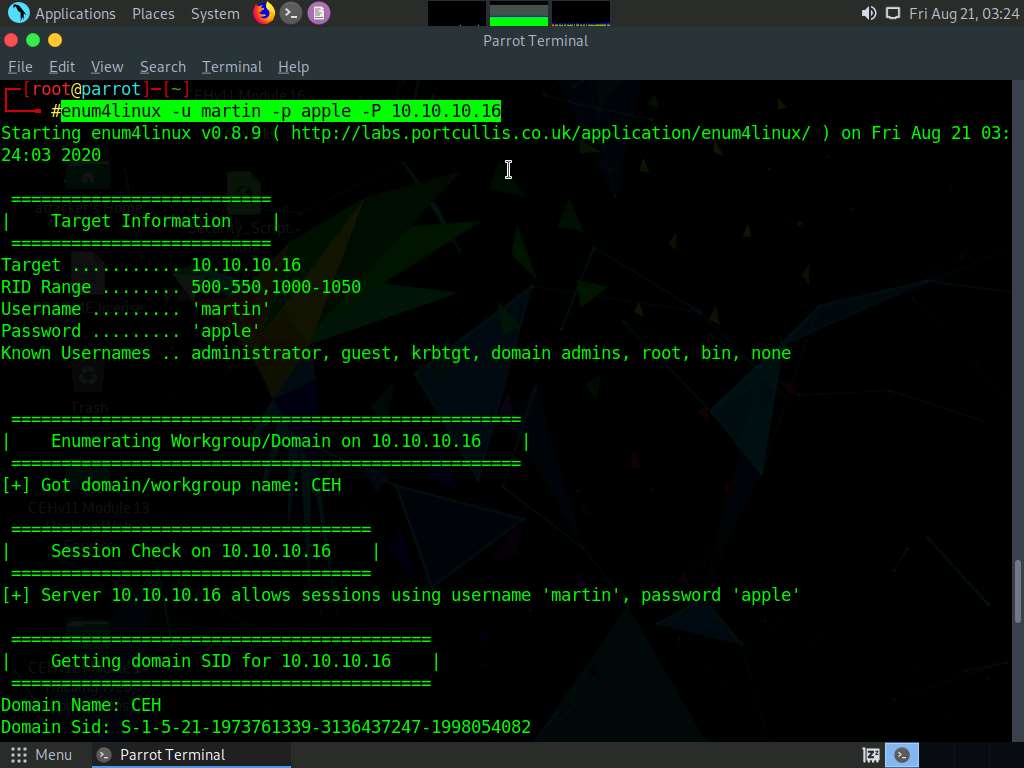
The tool enumerates the target system and displays its password policy information, as shown in the screenshot.
Fourth, we will enumerate the target machine’s group policy information. In the terminal window, type enum4linux -u martin -p apple -G [Target IP Address] (in this case, 10.10.10.16) and hit Enter.

The tool enumerates the target system and displays the group policy information, as shown in the screenshot.
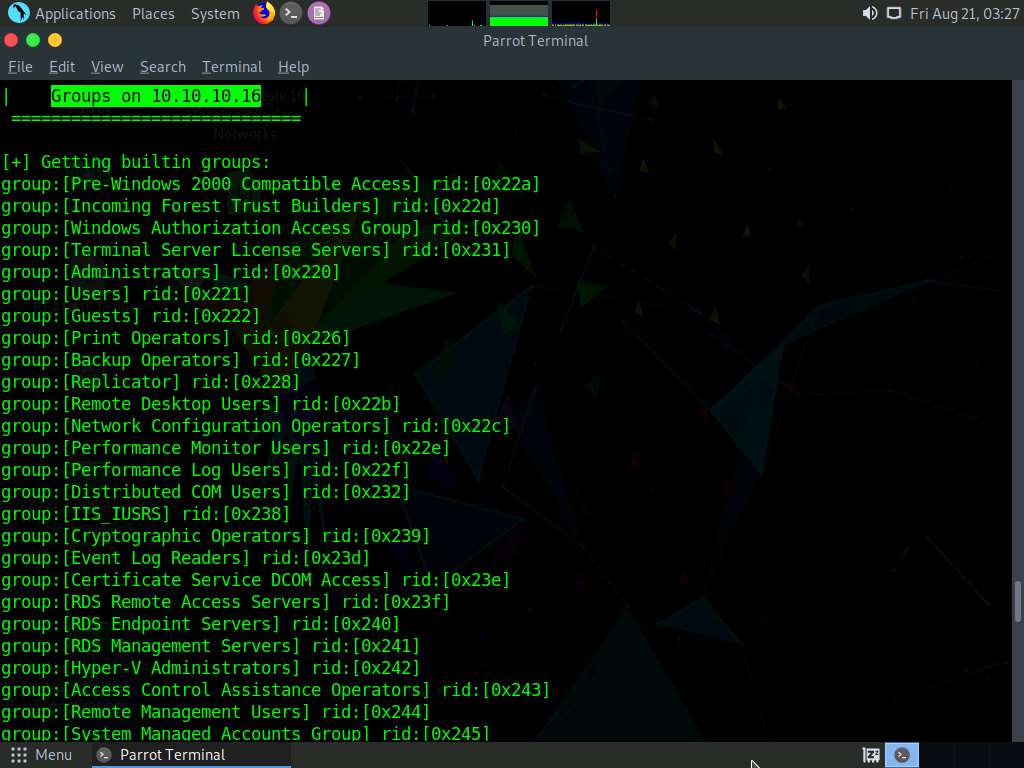
It further enumerates the built-in group memberships, local group memberships, etc. displaying them as shown in the screenshot.

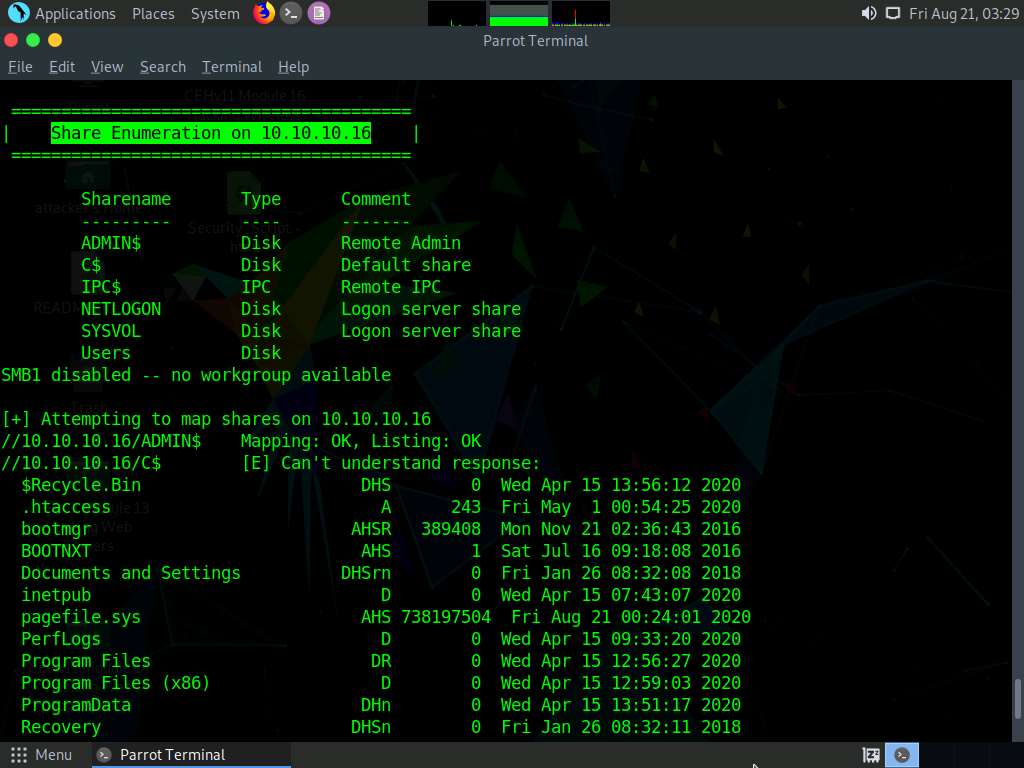
Finally, we will enumerate the share policy information of our target machine. Type enum4linux -u martin -p apple -S [Target IP Address] (in this case, 10.10.10.16) and hit Enter.
The result appears, displaying the enumerate shared folders on the target system.
This concludes the demonstration performing enumeration using Enum4linux.
Close all open windows and document all the acquired information.


Comments
Post a Comment