Lab 2: Perform Vulnerability Assessment using Various Vulnerability Assessment Tools
Lab 2: Perform Vulnerability Assessment using Various Vulnerability Assessment Tools
Module 05: Vulnerability Analysis
Lab 2: Perform Vulnerability Assessment using Various Vulnerability Assessment Tools
Task 1: Perform Vulnerability Analysis using OpenVAS
OpenVAS is a framework of several services and tools offering a comprehensive and powerful vulnerability
scanning and vulnerability management solution. Its capabilities include unauthenticated testing, authenticated testing,
various high level and low-level Internet and industrial protocols, performance tuning for large-scale scans, and a powerful
internal programming language to implement any vulnerability test. The actual security scanner is accompanied with a regularly
updated feed of Network Vulnerability Tests (NVTs)—over 50,000 in total.
Vulnerability Analysis to identify security loopholes using Parrot Security / OpenVAS // Vulnerability Assessment
- Applications --> Pentesting --> Vulnerability Analysis --> Openvas - Greenbone --> Start
- firefox --> https://127.0.0.1:9392
- admin password
- Scans --> Tasks
- wand icon --> Task Wizard
- Enter target IP or hostname = ex. 10.10.10.16 for windows server 2016
- wait for status from requested to done
- click done button
---------------------------------------------------------------------------------------------------------------------------------------
Module 05: Vulnerability Analysis
Lab 2: Perform Vulnerability Assessment using Various Vulnerability Assessment Tools
Task 2: Perform Vulnerability Scanning using Nessus
Windows
Open Firefox
https://localhost:8834/
admin password
click Policies
+ new policies (create new policies)
advanced scan ( gear icons)
name: NetworkScan_Policy
Description: Scanning a network
click discovery
turn off ping the remote host
click port scanning
click verify open TCP ports found by local port enumerators (so box is checked)
click advanced
set values of Max number of concurent TCP sessions per host and Max number of concurent TCP sessions per scan to Unlimited
click top credentials tab
click windows
specify the username and password in the window ex. CEH123 / qwerty@123
click plugins tab
click save button
click my scans
create new scan
click user defined tab and select network scan policy ( or whatever you named it)
name scan local network
scanning local network
Target = IP of target ex. 10.10.10.16 (windows server 2016)
click schedule ensure enabled switch is turned off
click save drop menu and select launch
click local network to view detailed results
click vulnerabilities tab to view vulnerabilities
you can also download the HTML and it will open a report if you click on the expand then vulnerability it will bring
you to a site listing the vulnerability tenable
---------------------------------------------------------------------------------------------------------------------------------------
Module 05: Vulnerability Analysis
Lab 2: Perform Vulnerability Assessment using Various Vulnerability Assessment Tools
Task 3: Perform Vulnerability Scanning using GFI LanGuard
GFI LanGuard scans, detects, assesses, and rectifies security vulnerabilities in your network and connected devices.
It scans the network and ports to detect, assess, and correct security vulnerabilities, with minimal administrative effort.
It scans your OSes, virtual environments, and installed applications through vulnerability check databases. It enables you
to analyze the state of your network security, identify risks, and address how to take action before it is compromised.
refer to blog or refer to nessus scanning above
---------------------------------------------------------------------------------------------------------------------------------------
Module 05: Vulnerability Analysis
Lab 2: Perform Vulnerability Assessment using Various Vulnerability Assessment Tools
Task 4: Perform Web Servers and Applications Vulnerability Scanning using CGI Scanner Nikto
Nikto is an Open Source (GPL) web server scanner that performs comprehensive tests against web servers for multiple items,
including over 6700 potentially dangerous files/programs, checks for outdated versions of over 1250 servers, and version specific
problems on over 270 servers. It also checks for server configuration items such as the presence of multiple index files and HTTP
server options; it will also attempt to identify installed web servers and software.
refer to blog or refer to nessus scanning above
Lab Scenario
The information gathered in the previous labs might not be sufficient to reveal potential vulnerabilities of the target: there could be more information available that may help in finding loopholes. As an ethical hacker, you should look for as much information as possible using all available tools. This lab will demonstrate other information that you can extract from the target using various vulnerability assessment tools.
Lab Objectives
- Perform vulnerability analysis using OpenVAS
- Perform vulnerability scanning using Nessus
- Perform vulnerability scanning using GFI LanGuard
- Perform web servers and applications vulnerability scanning using CGI Scanner Nikto
Overview of Vulnerability Assessment Tools
Vulnerability assessment tools are used to secure and protect the organization’s system or network: security analysts can use these tools to identify weaknesses present in the organization’s security posture and remediate the identified vulnerabilities before an attacker exploits them. Network vulnerability scanners analyze and identify vulnerabilities in the target network or network resources using vulnerability assessment and network auditing. These tools also assist in overcoming weaknesses in the network by suggesting various remediation techniques.
Task 1: Perform Vulnerability Analysis using OpenVAS
OpenVAS is a framework of several services and tools offering a comprehensive and powerful vulnerability scanning and vulnerability management solution. Its capabilities include unauthenticated testing, authenticated testing, various high level and low-level Internet and industrial protocols, performance tuning for large-scale scans, and a powerful internal programming language to implement any vulnerability test. The actual security scanner is accompanied with a regularly updated feed of Network Vulnerability Tests (NVTs)—over 50,000 in total.
Here, we will perform a vulnerability analysis using OpenVAS.
In this task, we will use the Parrot Security (10.10.10.13) machine as a host machine and the Windows Server 2016 (10.10.10.16) machine as a target machine.
Click on Parrot Security to switch to the Parrot Security machine.

In the login page, the attacker username will be selected by default. Enter password as toor in the Password field and press Enter to log in to the machine.
If a Parrot Updater pop-up appears at the top-right corner of Desktop, ignore and close it.
If a Question pop-up window appears asking you to update the machine, click No to close the window.
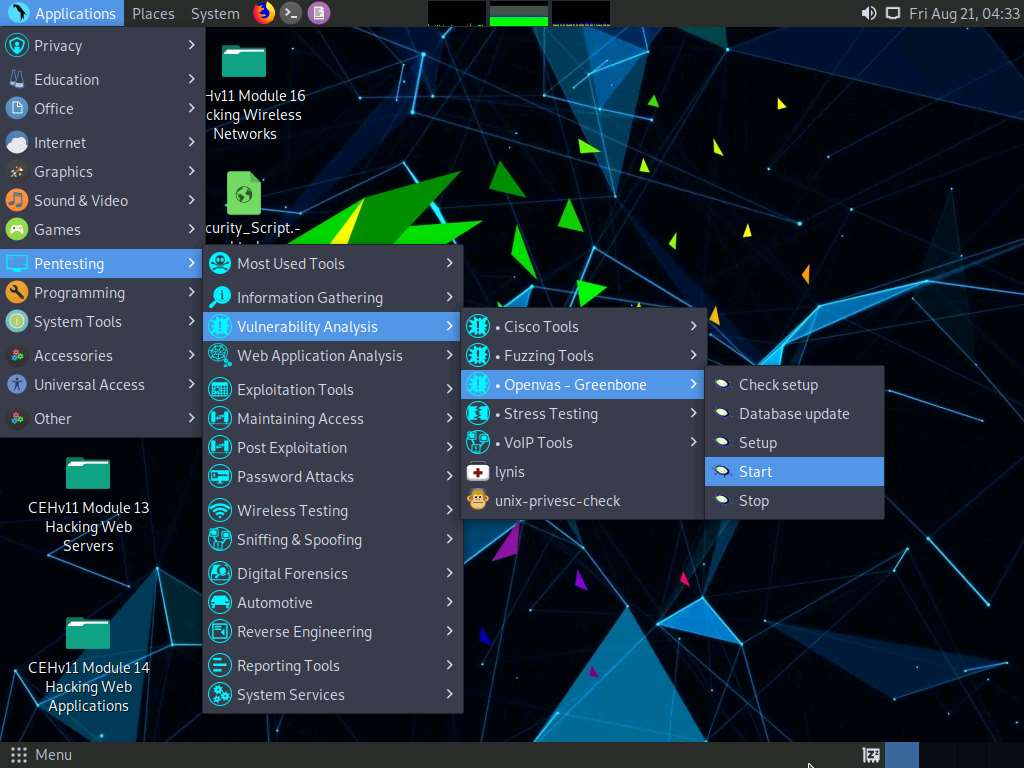
Click Applications at the top of the Desktop window and navigate to Pentesting --> Vulnerability Analysis --> Openvas - Greenbone --> Start to launch OpenVAS tool.
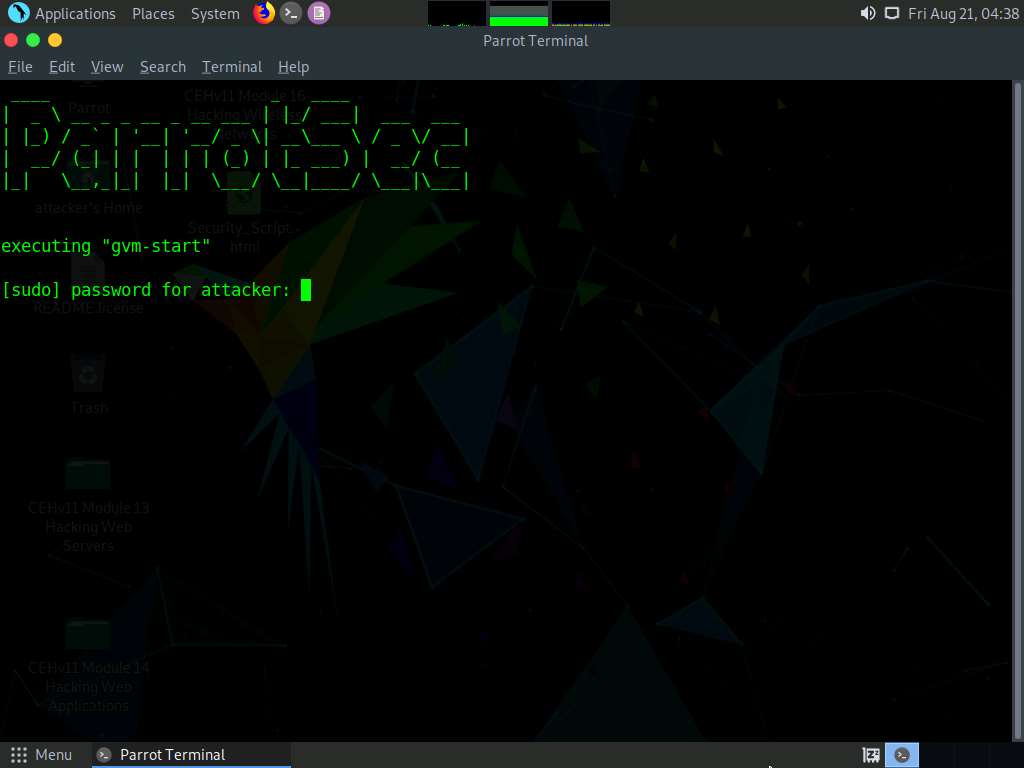
A terminal window appears, in the [sudo] password for attacker field, type toor as a password and press Enter. OpenVAS initializes.
The password that you type will not be visible.
After the tool initializes, click Firefox icon from the top-section of the Desktop.
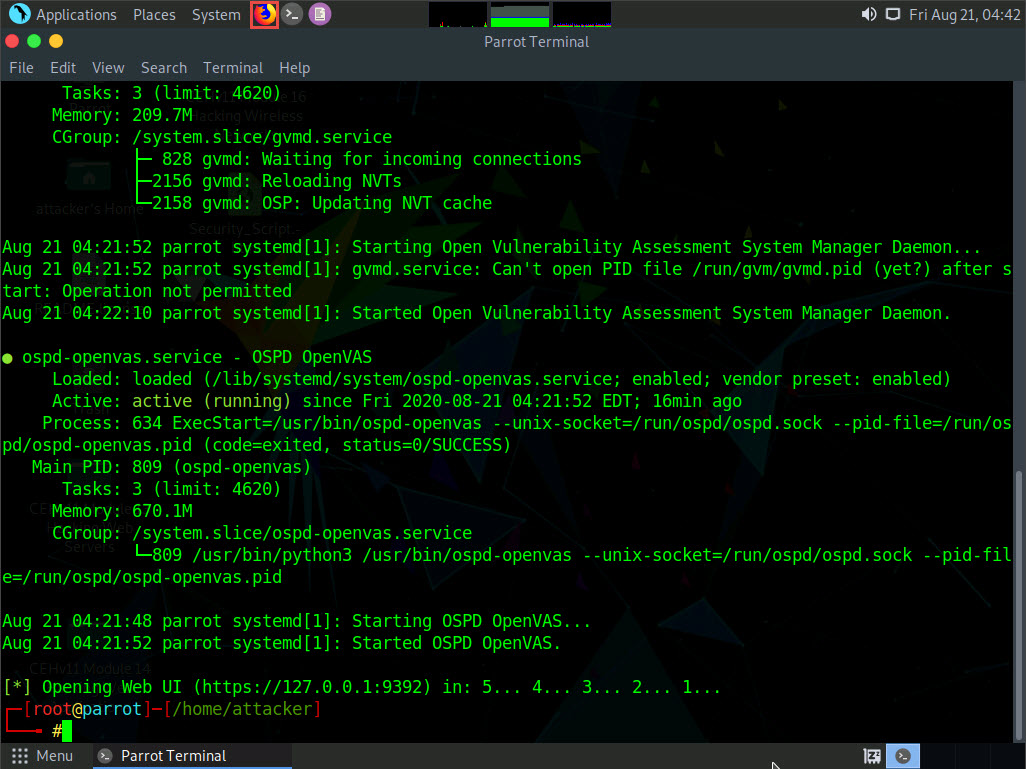
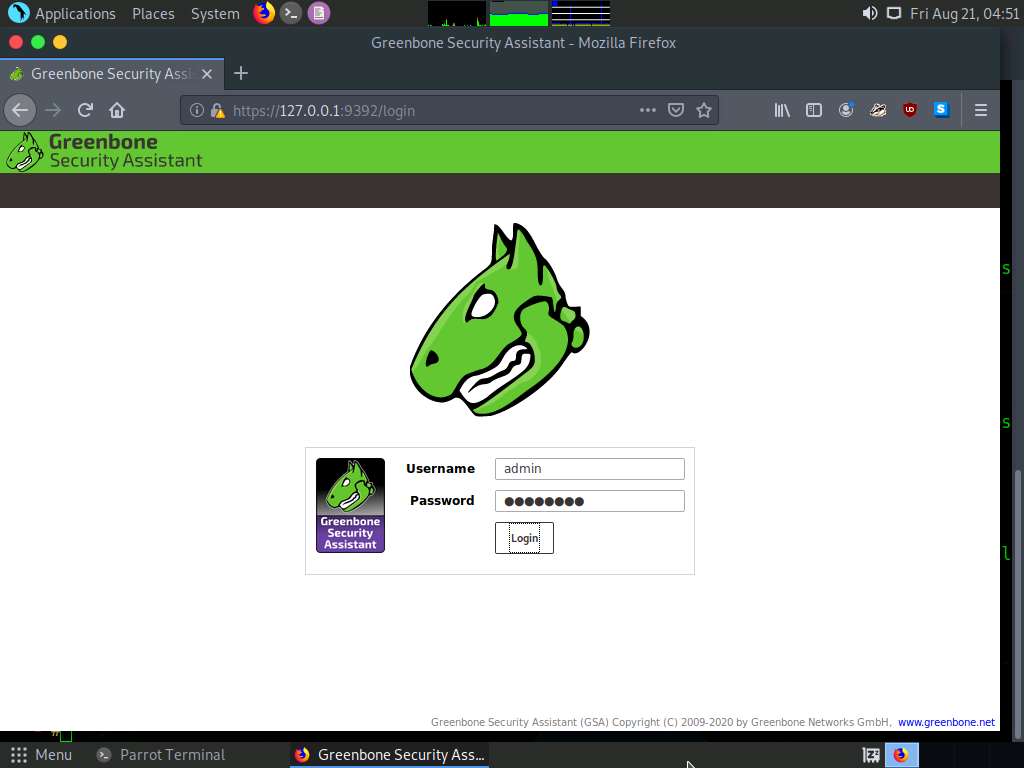
The Firefox browser appears, in the address bar, type https://127.0.0.1:9392 and press Enter.
OpenVAS login page appears, log in with Username and Password as admin and password and click the Login button.
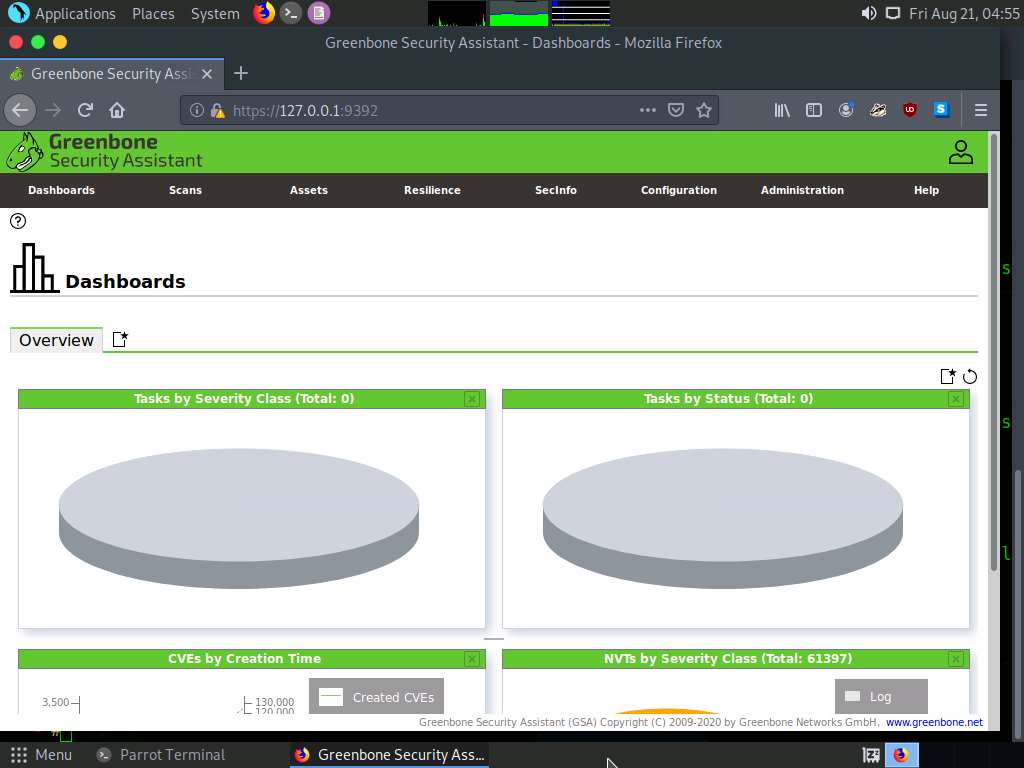
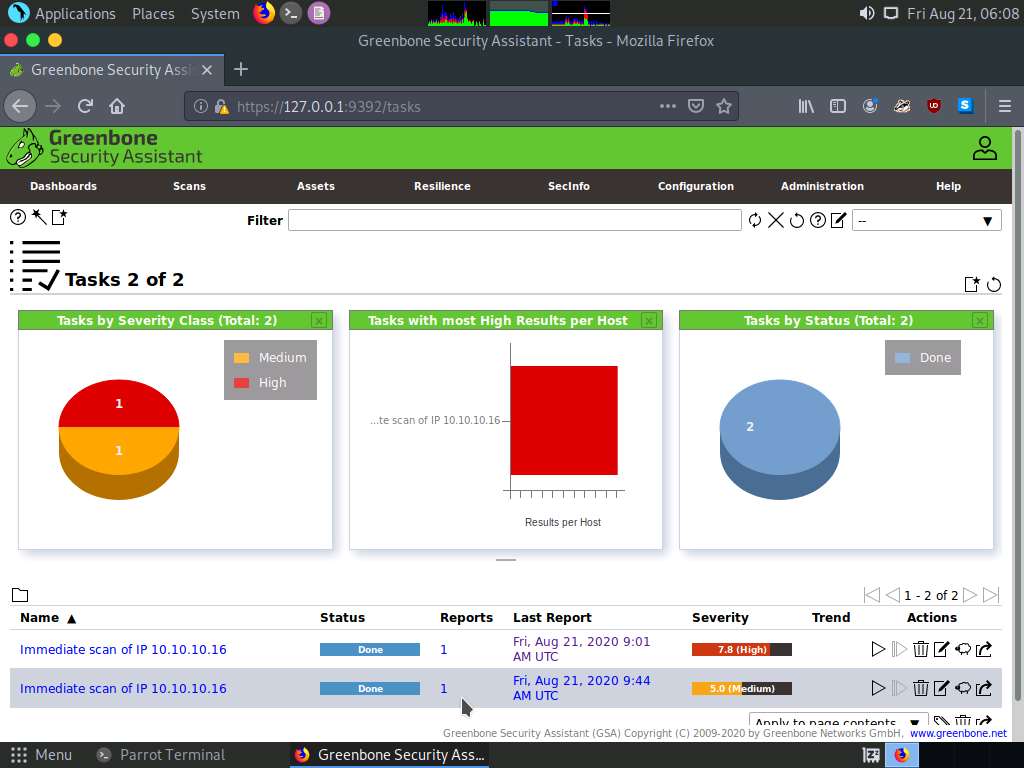
OpenVAS Dashboards appears, as shown in the screenshot.
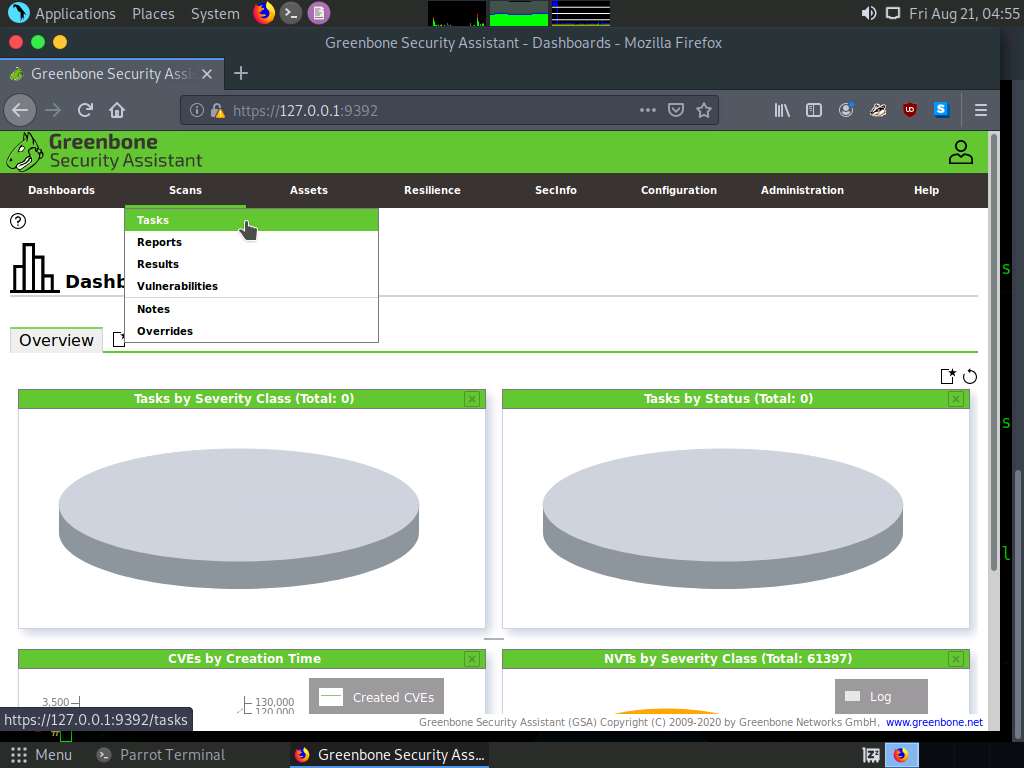
Navigate to Scans --> Tasks from the Menu bar.
If a Welcome to the scan management! pop-up appears, close it.
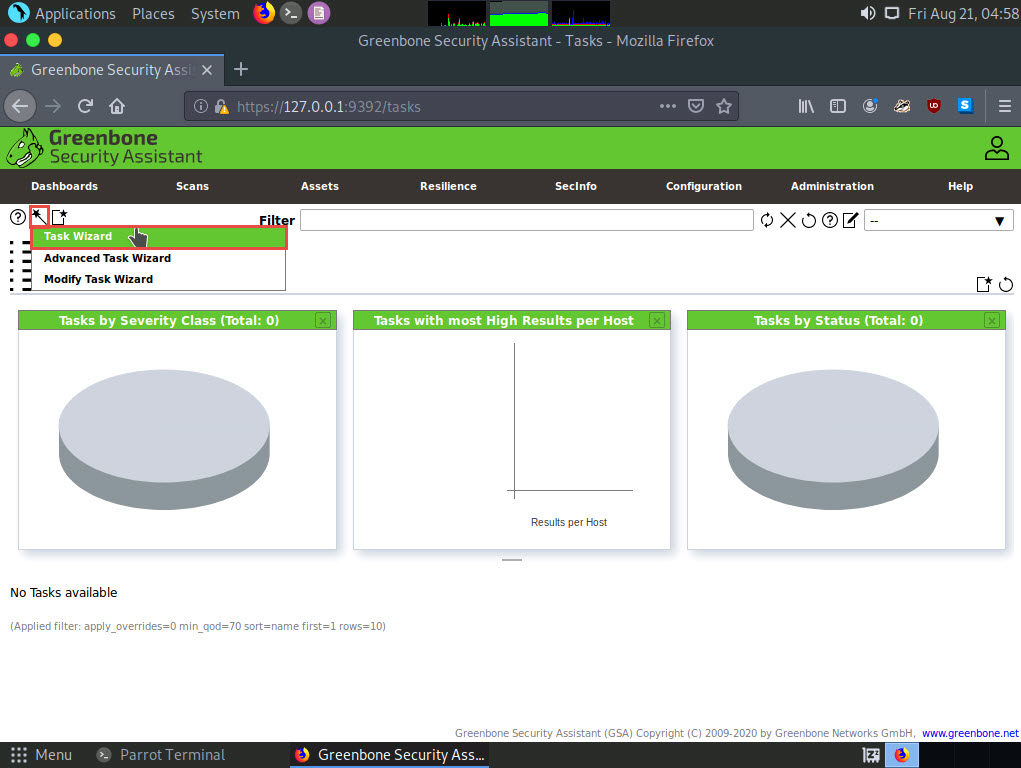
Hover over wand icon and click the Task Wizard option.
The Task Wizard window appears; enter the target IP address in the IP address or hostname field (here, the target system is Windows Server 2016 [10.10.10.16]) and click the Start Scan button.
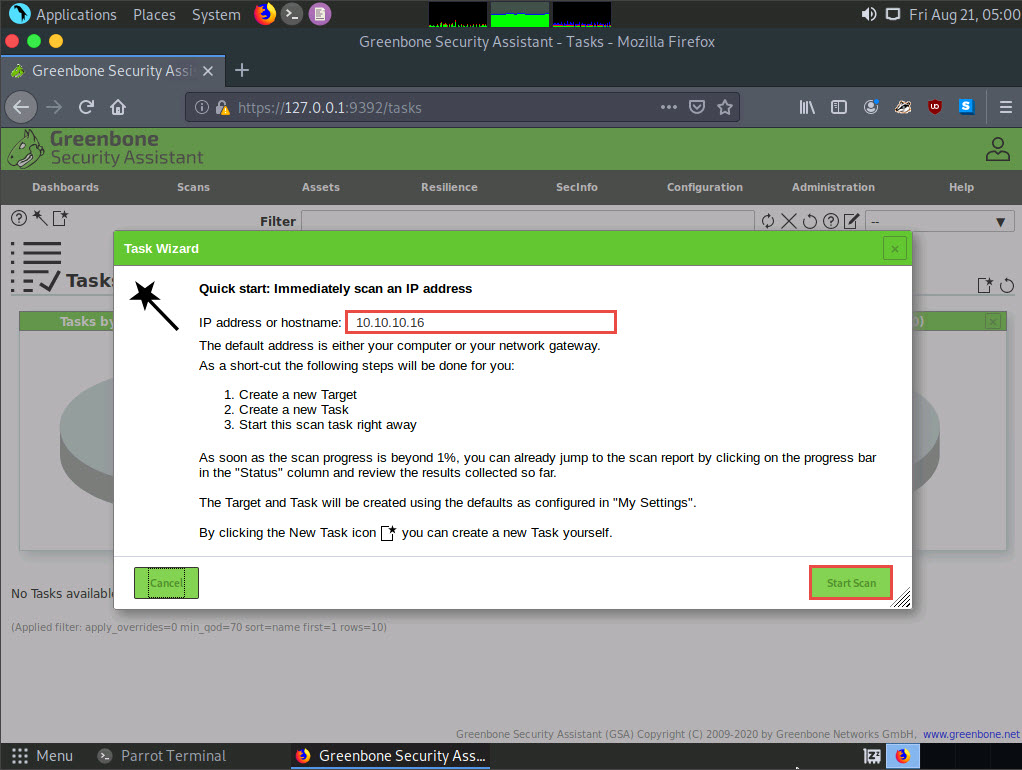
The task appears under the Tasks section; OpenVAS starts scanning the target IP address.
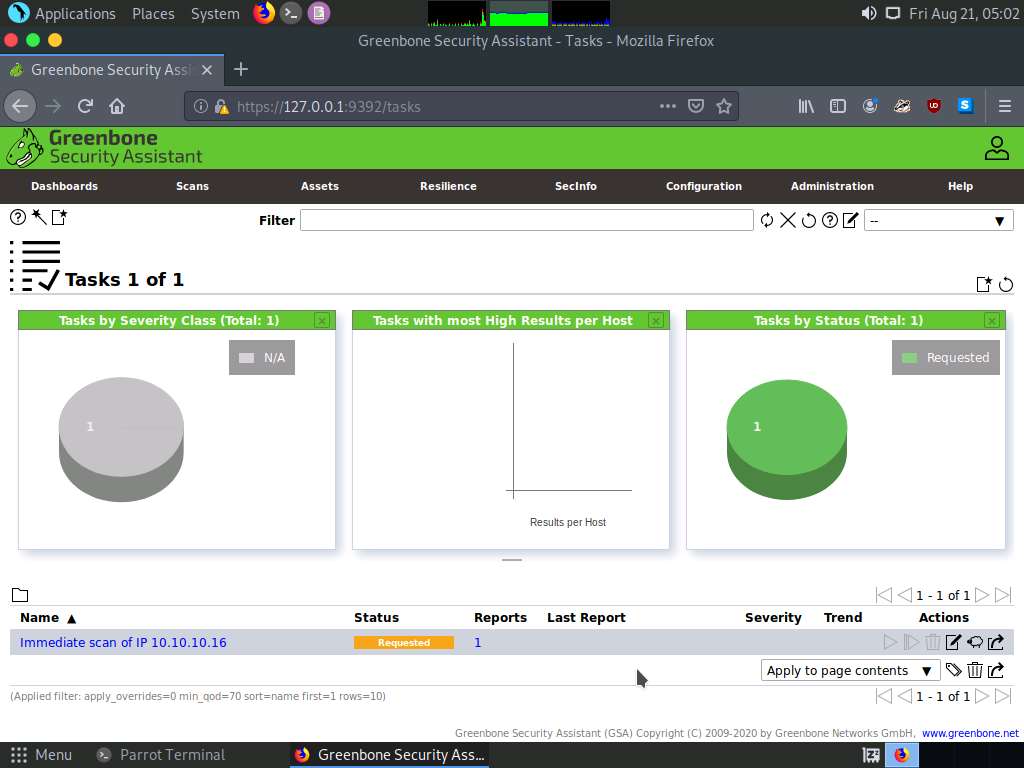
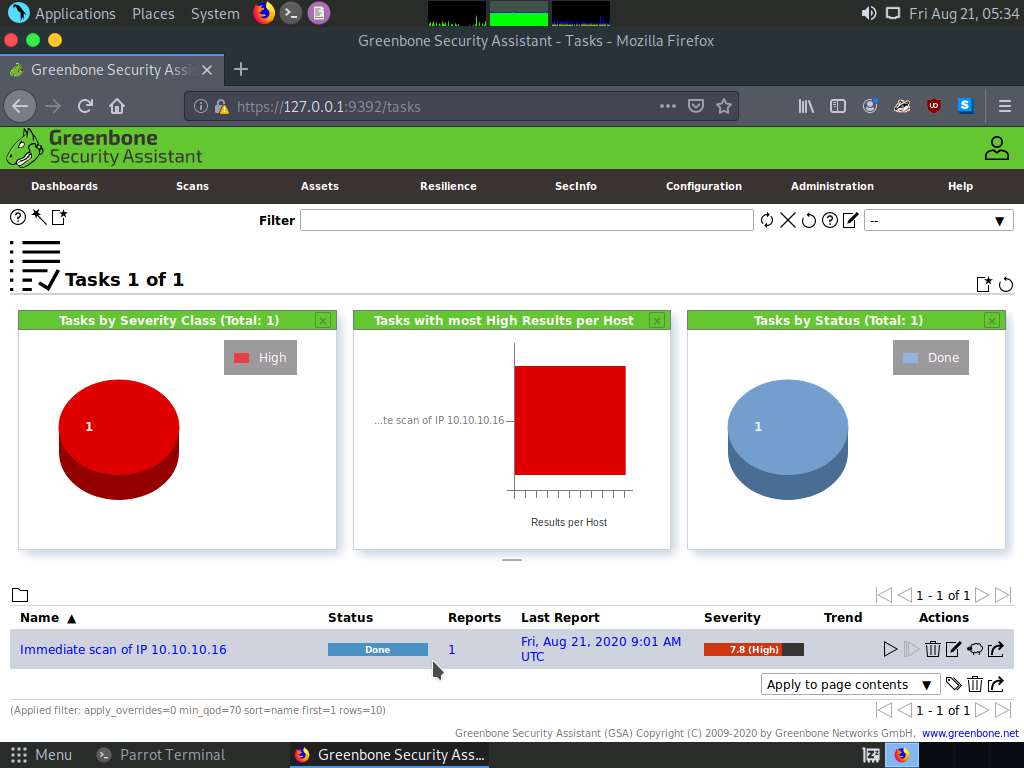
Wait for the Status to change from Requested to Done. Once it is completed, click the Done button under the Status column to view the vulnerabilities found in the target system.
If you are logged out of the session then login again using credentials admin/password.
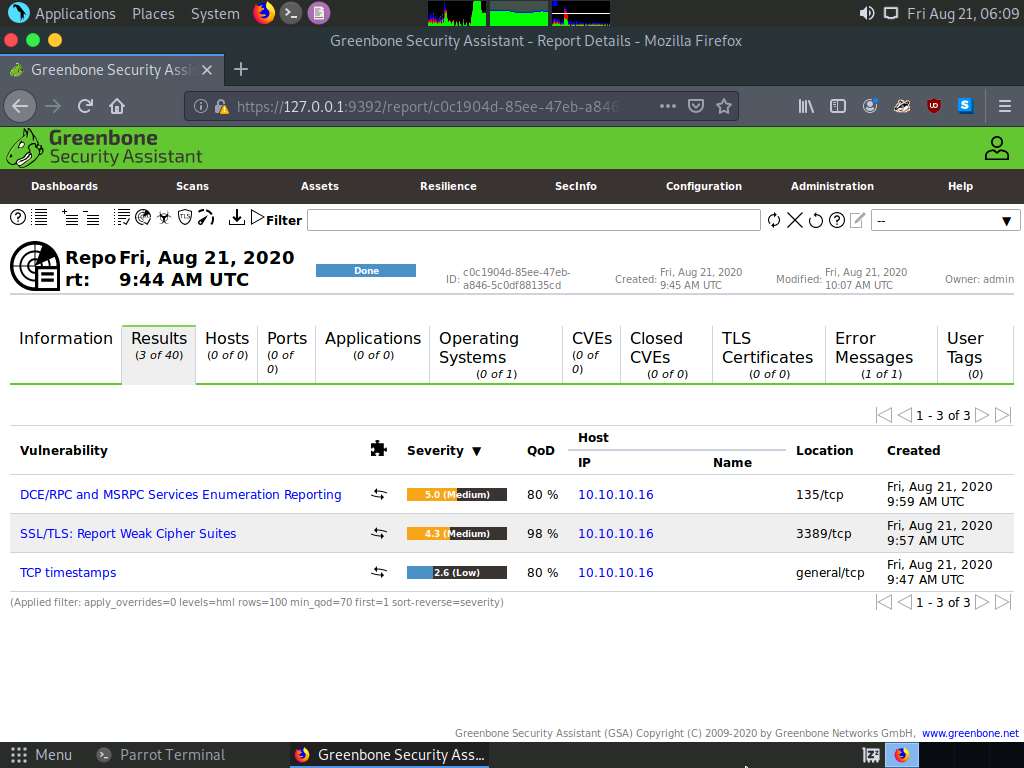
Report: Information appears, click Results tab to view the discovered vulnerabilities along with their severity and port numbers on which they are running.
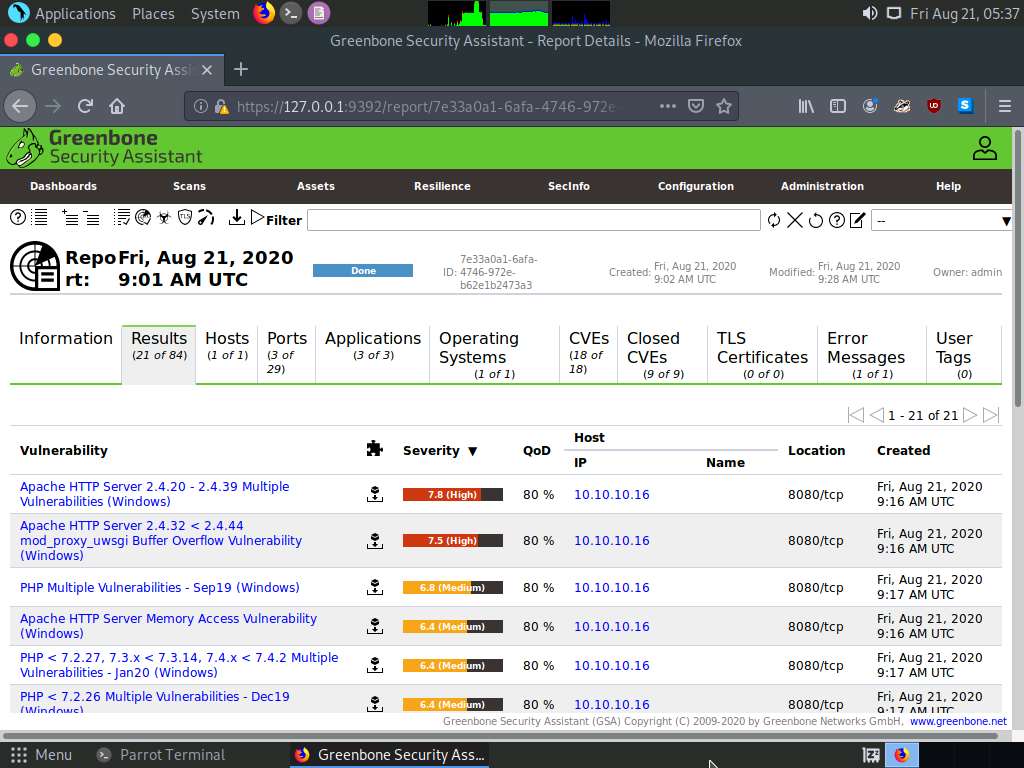
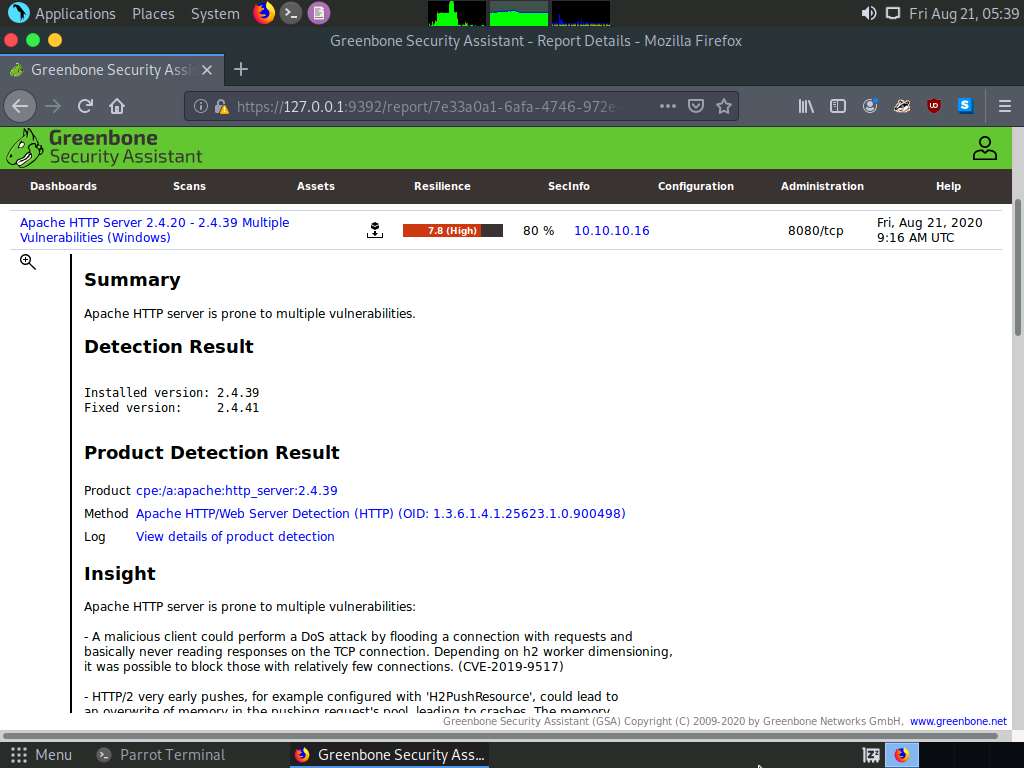
Click on any vulnerability under the Vulnerability column (here, Apache HTTP Server 2.4.20 - 2.4.39 Multiple Vulnerabilities (Windows) to view its detailed information.
Detailed information regarding selected vulnerability appears, as shown in the screenshot.
Similarly, you can click other discovered vulnerabilities under the Report: Results section to view detailed information regarding the vulnerabilities in the target system.
Next, go through the findings, including all high or critical vulnerabilities. Manually use your skills to verify the vulnerability. The challenge with vulnerability scanners is that they are quite limited; they work well for an internal or white box test only if the credentials are known. We will explore that now: return to your OpenVAS tool, and set up for the same scan again; but this time, turn your firewall ON in the Windows Server 2016 machine.
Now, we will enable Windows Firewall in the target system and scan it for vulnerabilities.
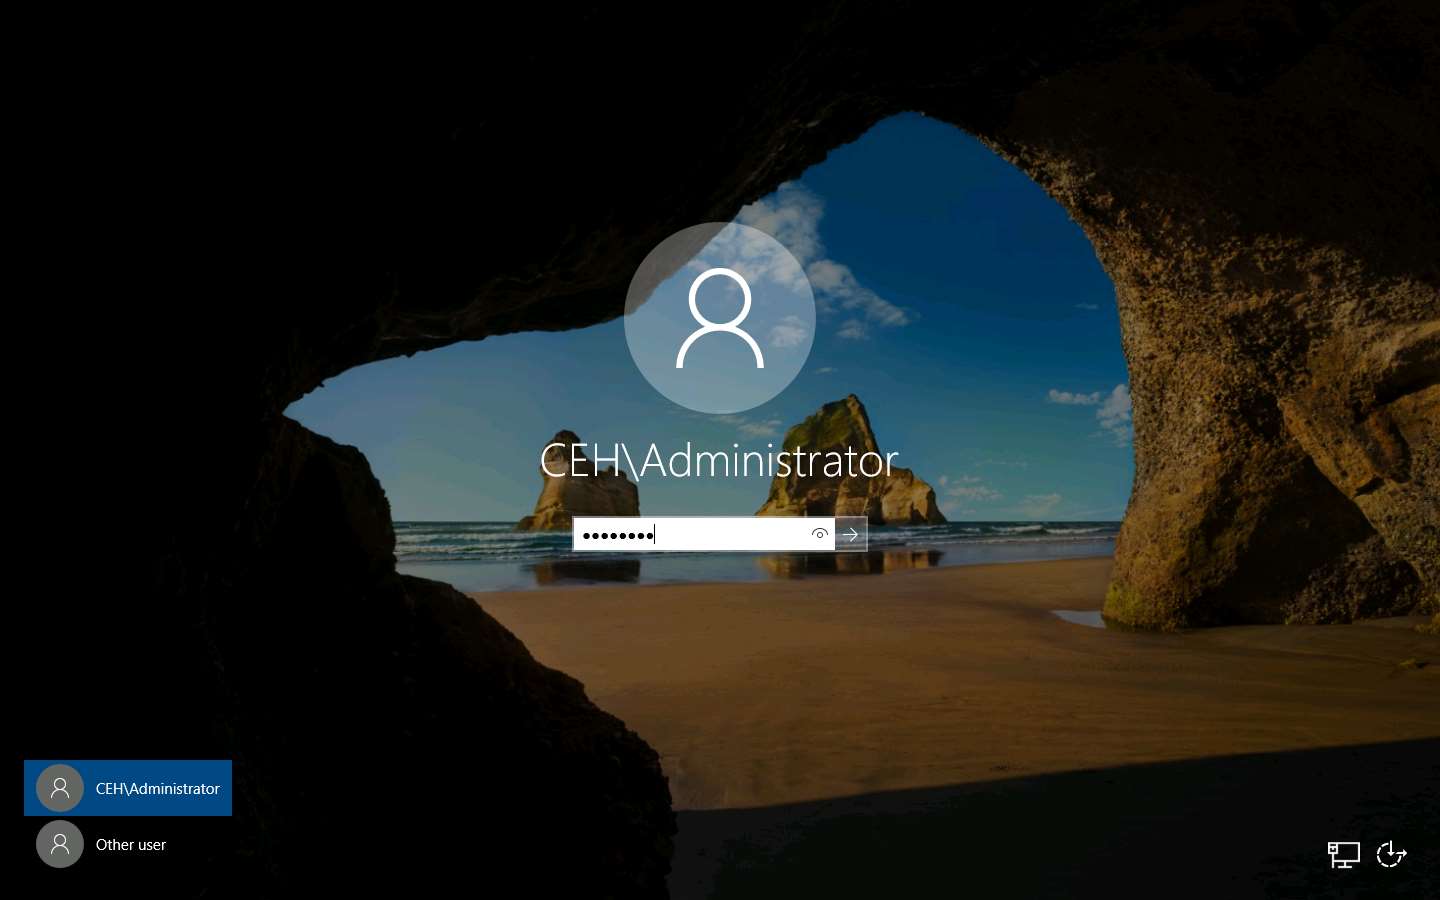
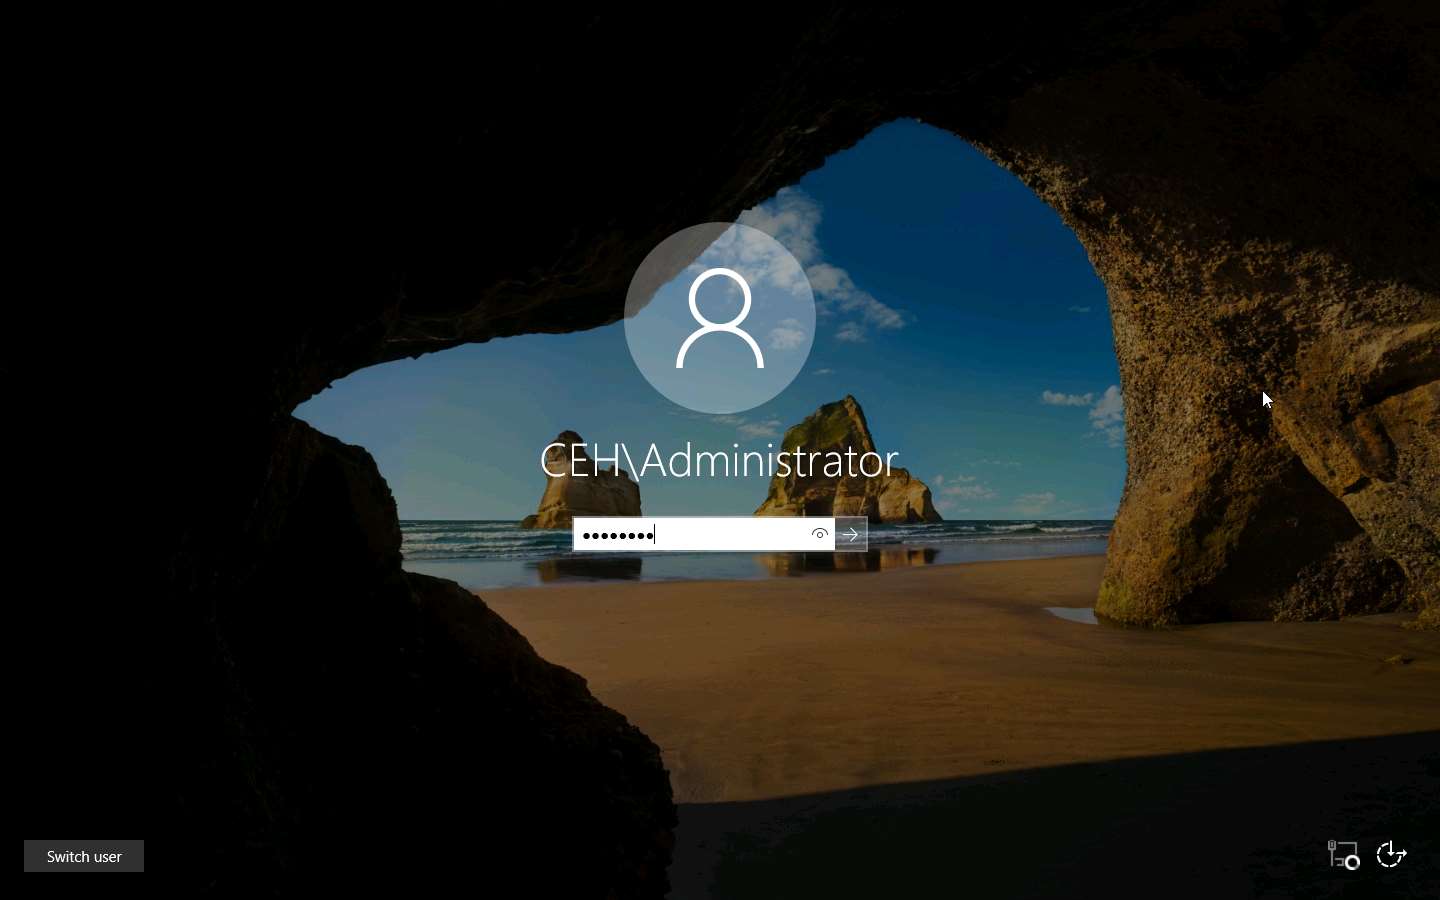
Click on Windows Server 2016 to switch to the Windows Server 2016 machine and click Ctrl+Alt+Delete to activate it, by default, Administrator user profile is selected, click Pa$$w0rd to paste the password in the Password field and press Enter to login.
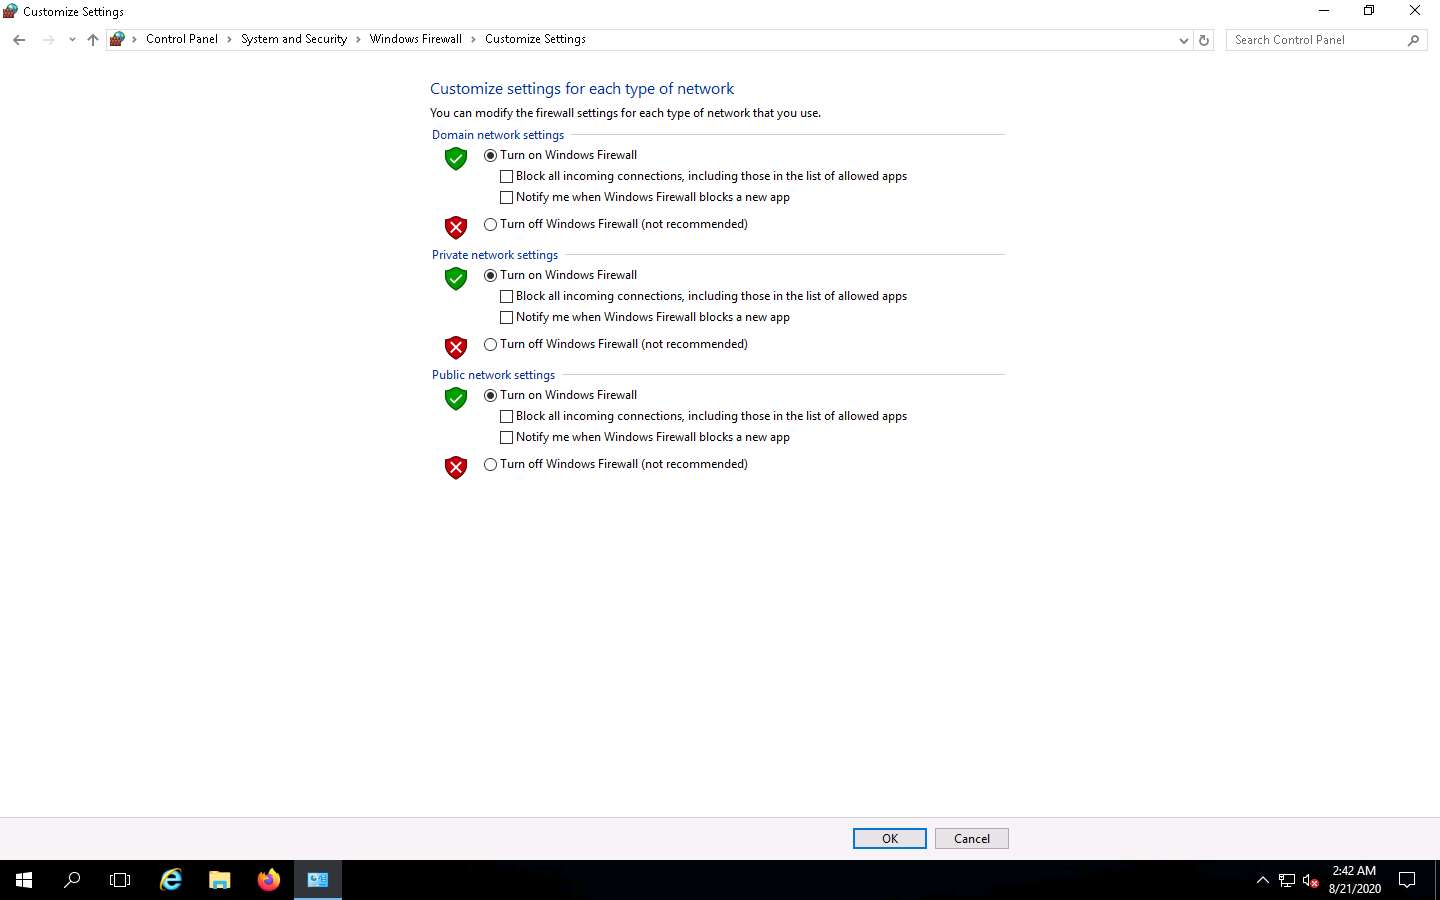
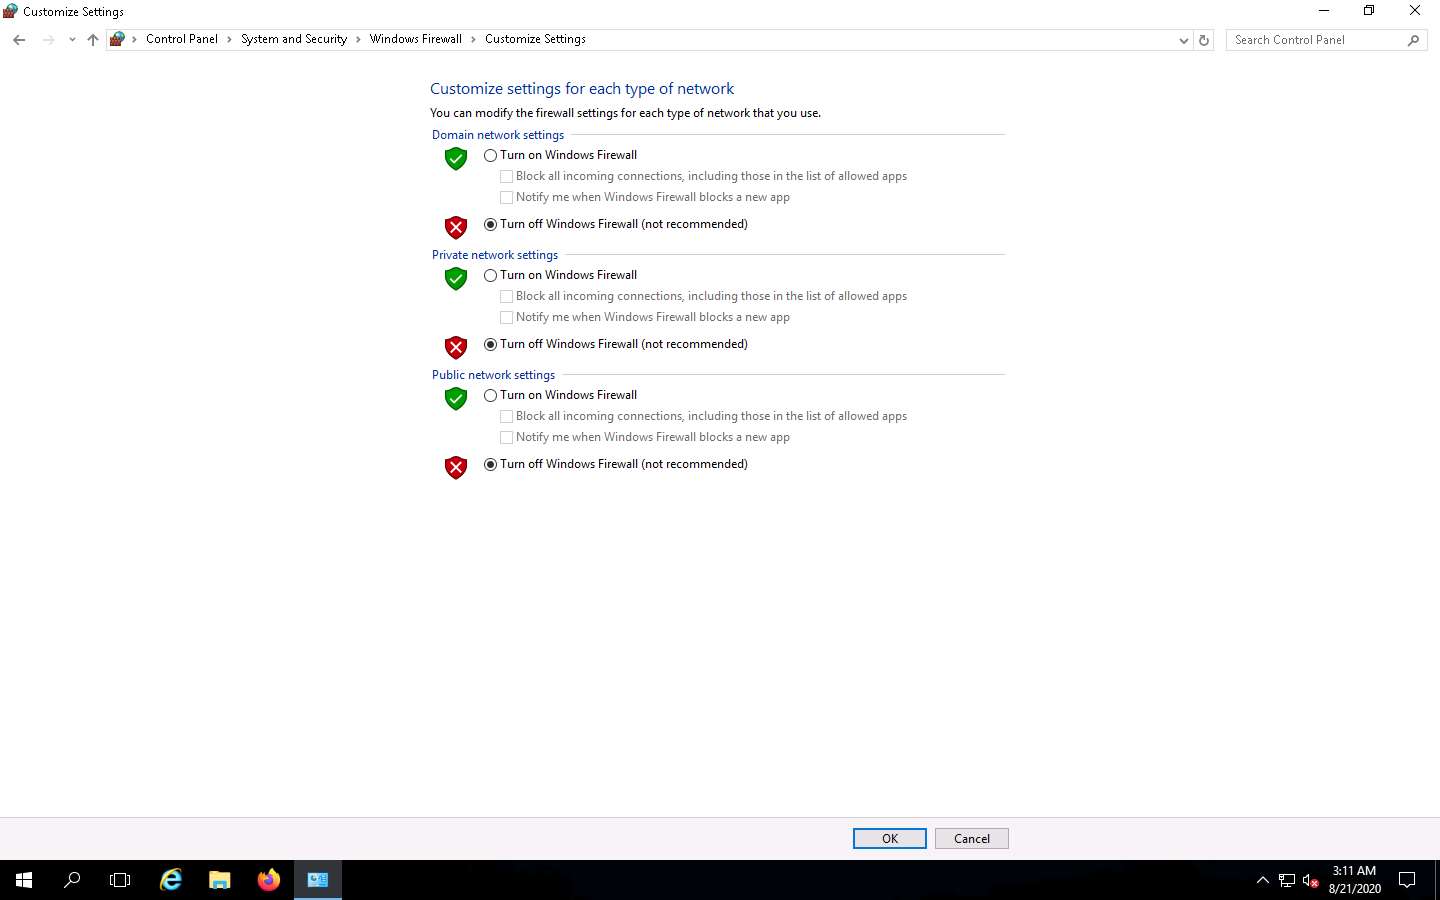
Navigate to Control Panel --> System and Security --> Windows Firewall --> Turn Windows Firewall on or off, enable Windows Firewall, and click OK.
By turning the Firewall ON, you are making it more difficult for the scanning tool to scan for vulnerabilities in the target system.
click on Parrot Security to switch to Parrot Security machine and perform Steps# 9-11 to create another task for scanning the target system.
A newly created task appears under the Tasks section and starts scanning the target system for vulnerabilities.
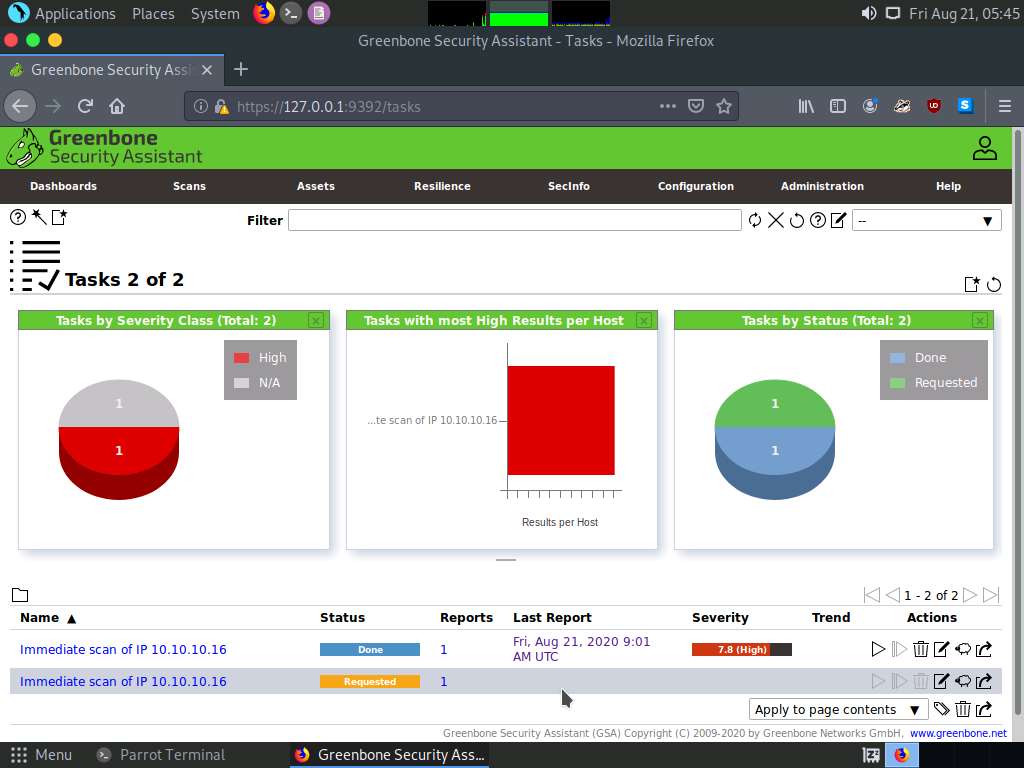
After the completion of the scan, click the Done button under the Status column.
Report: Information appears, click Results tab to view the discovered vulnerabilities along with their severity and port numbers on which they are running.
The results might vary in your lab environment.
The scan results for the target machine before and after the Windows Firewall was enabled are the same, thereby indicating that the target system is vulnerable to attack even if the Firewall is enabled.
This concludes the demonstration performing vulnerabilities analysis using OpenVAS.
Close all open windows and document all the acquired information.
Click on Windows Server 2016 to switch to the Windows Server 2016 machine and click Ctrl+Alt+Delete to activate it, by default, Administrator user profile is selected, click Pa$$w0rd to paste the password in the Password field and press Enter to login.
Navigate to Control Panel --> System and Security --> Windows Firewall --> Turn Windows Firewall on or off, disable Windows Firewall, and click OK.
Task 2: Perform Vulnerability Scanning using Nessus
Nessus is an assessment solution for identifying vulnerabilities, configuration issues, and malware, which can be used to penetrate networks. It performs vulnerability, configuration, and compliance assessment. It supports various technologies such as OSes, network devices, hypervisors, databases, tablets/phones, web servers, and critical infrastructure.
Here, we will use Nessus to perform vulnerability scanning on the target system.
Click on Windows 10 to switch to Windows 10 machine.
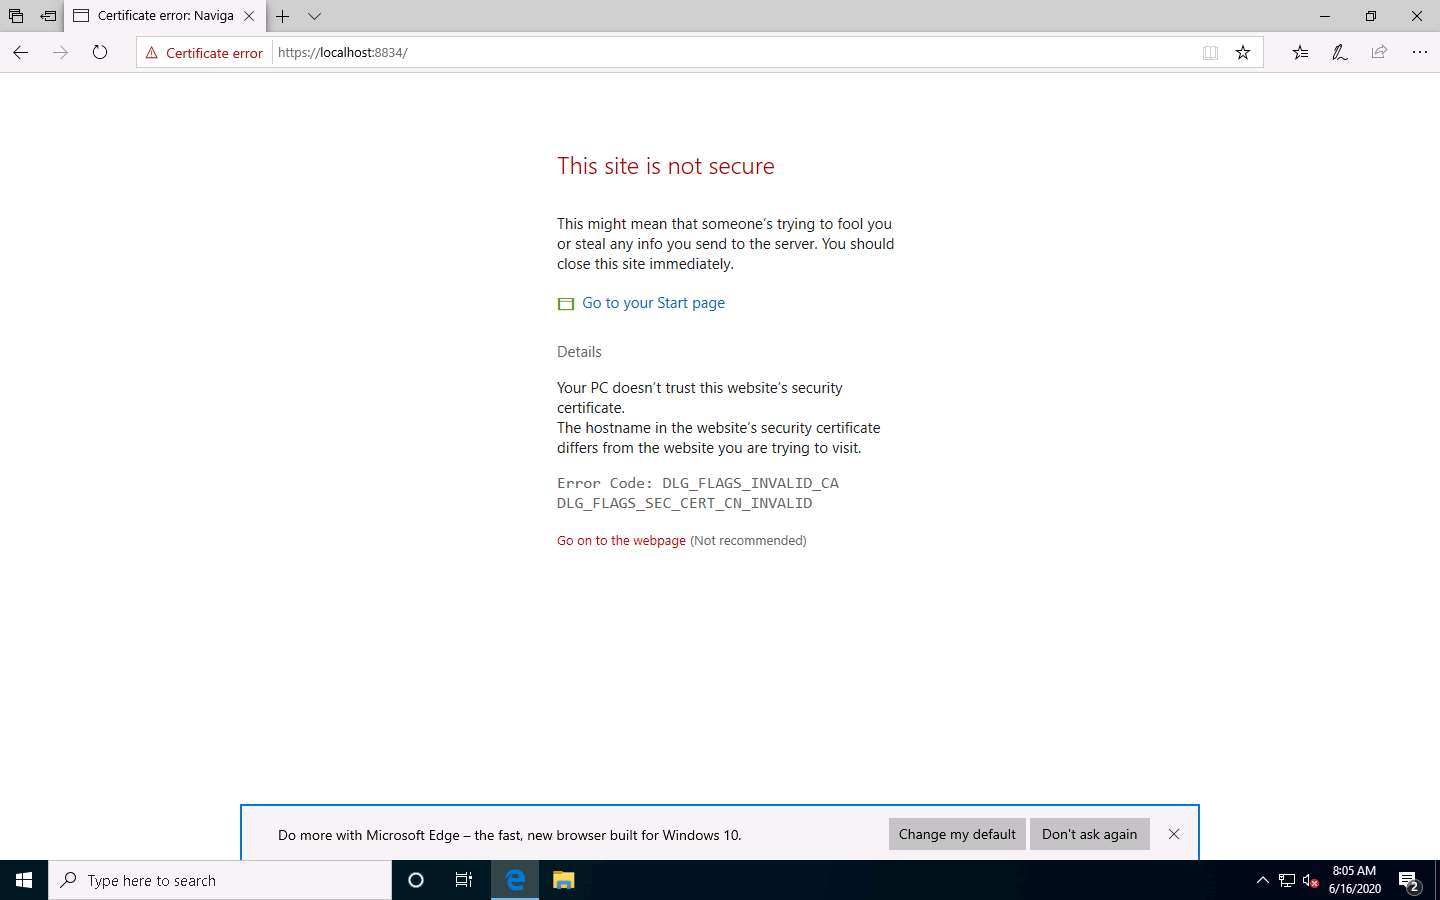
Launch any browser, (here, Microsoft Edge). In the address bar of the browser place your mouse cursor and click https://localhost:8834/ and press Enter
This site is not secure page appears, expand the Details section and click Go on to the webpage
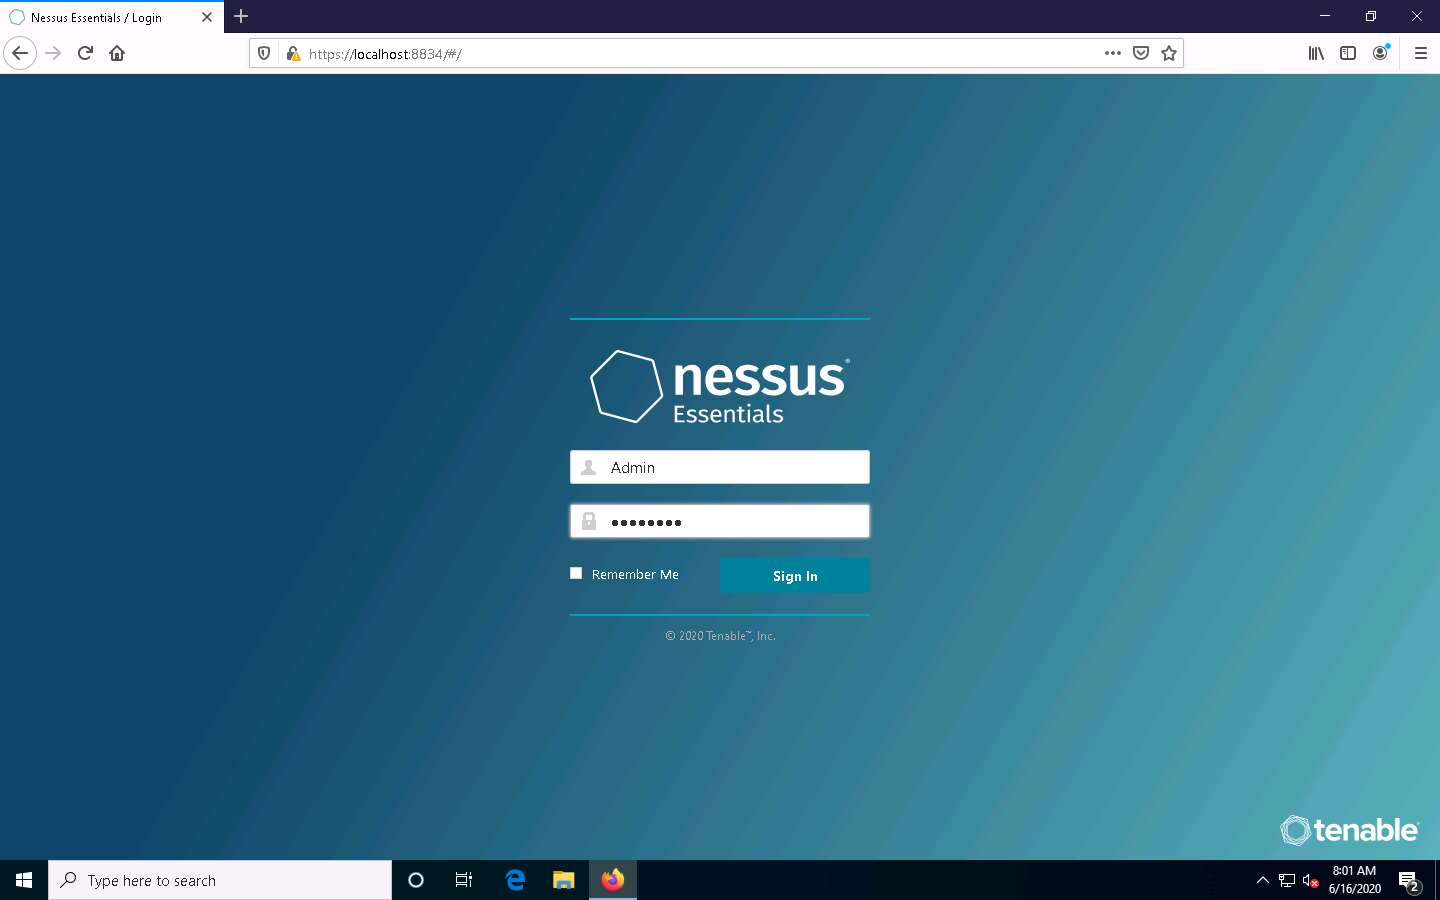
In the Nessus login page use Admin as the username and password as Password and click Sign In
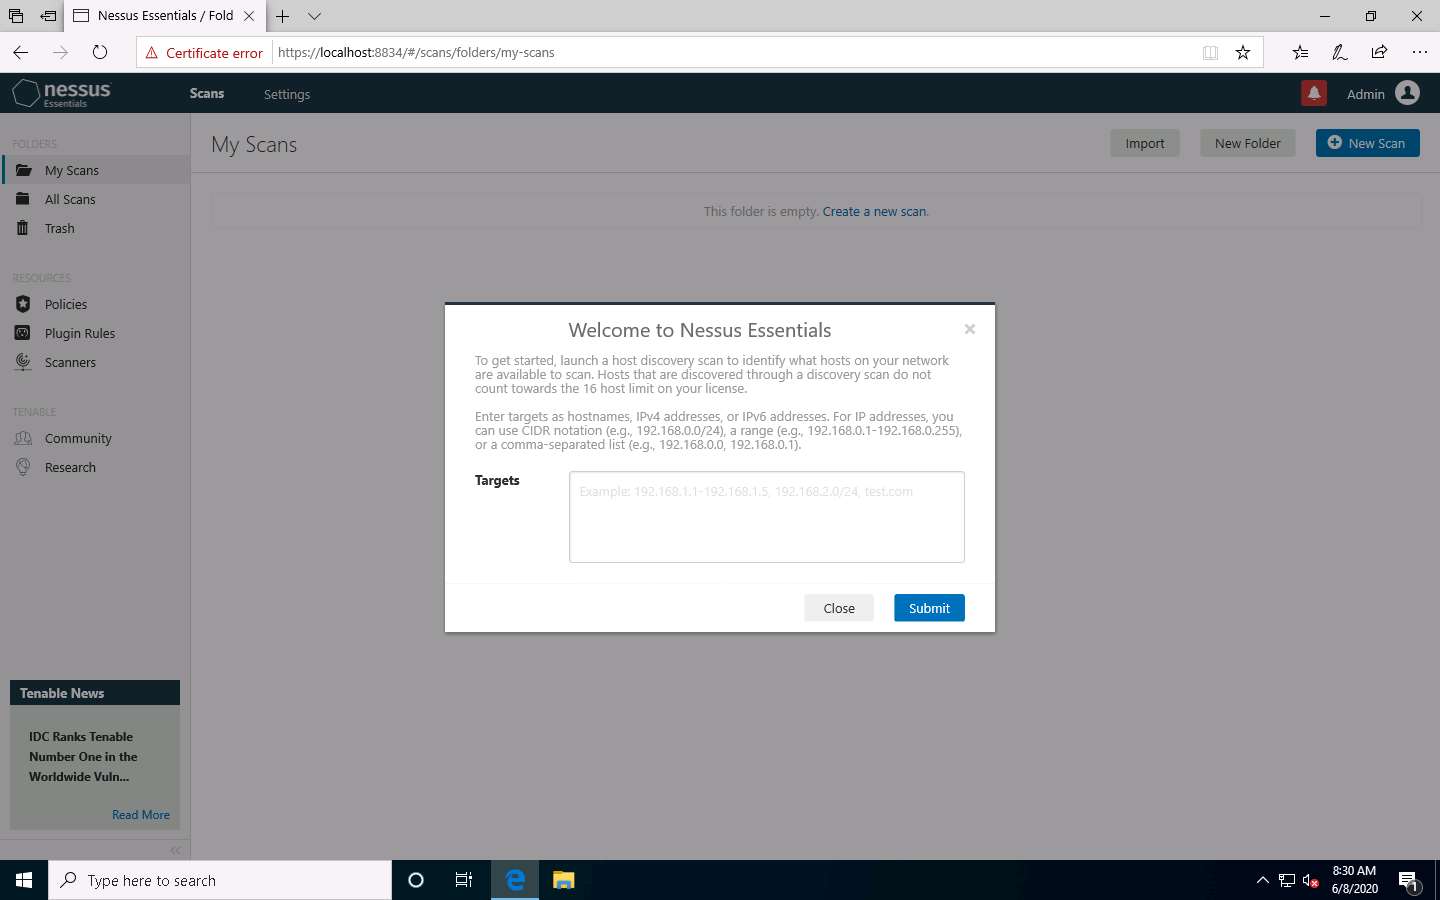
Nessus begins to initialize; this will take some time. On completion of initialization, the Nessus dashboard appears along with the Welcome to Nessus Essentials pop-up. Close the pop-up.
In the Let Microsoft Edge save and fill your password for this site next time? pop-up, click Never.
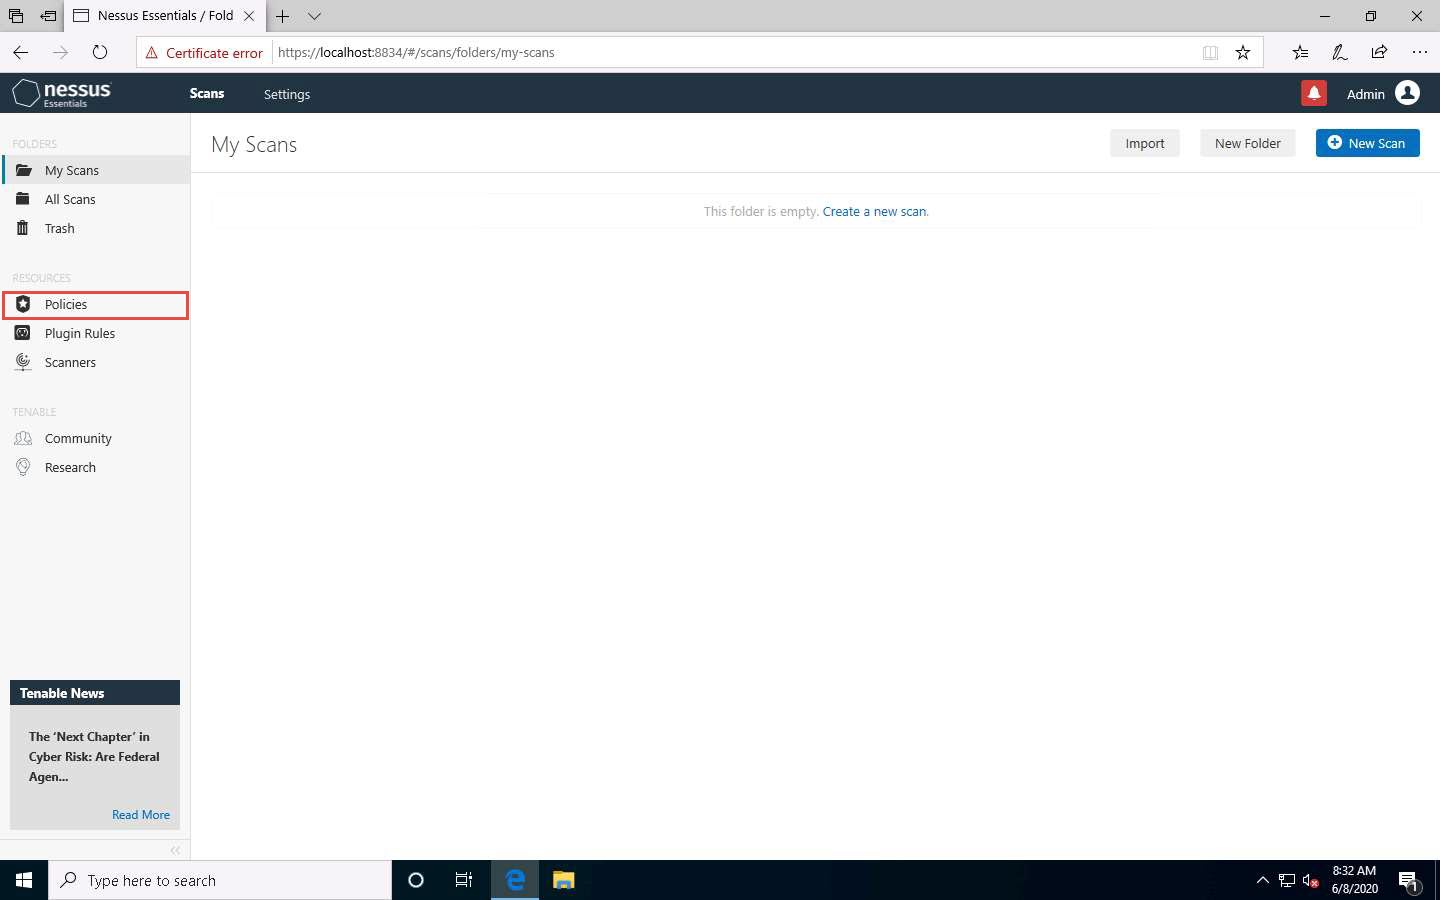
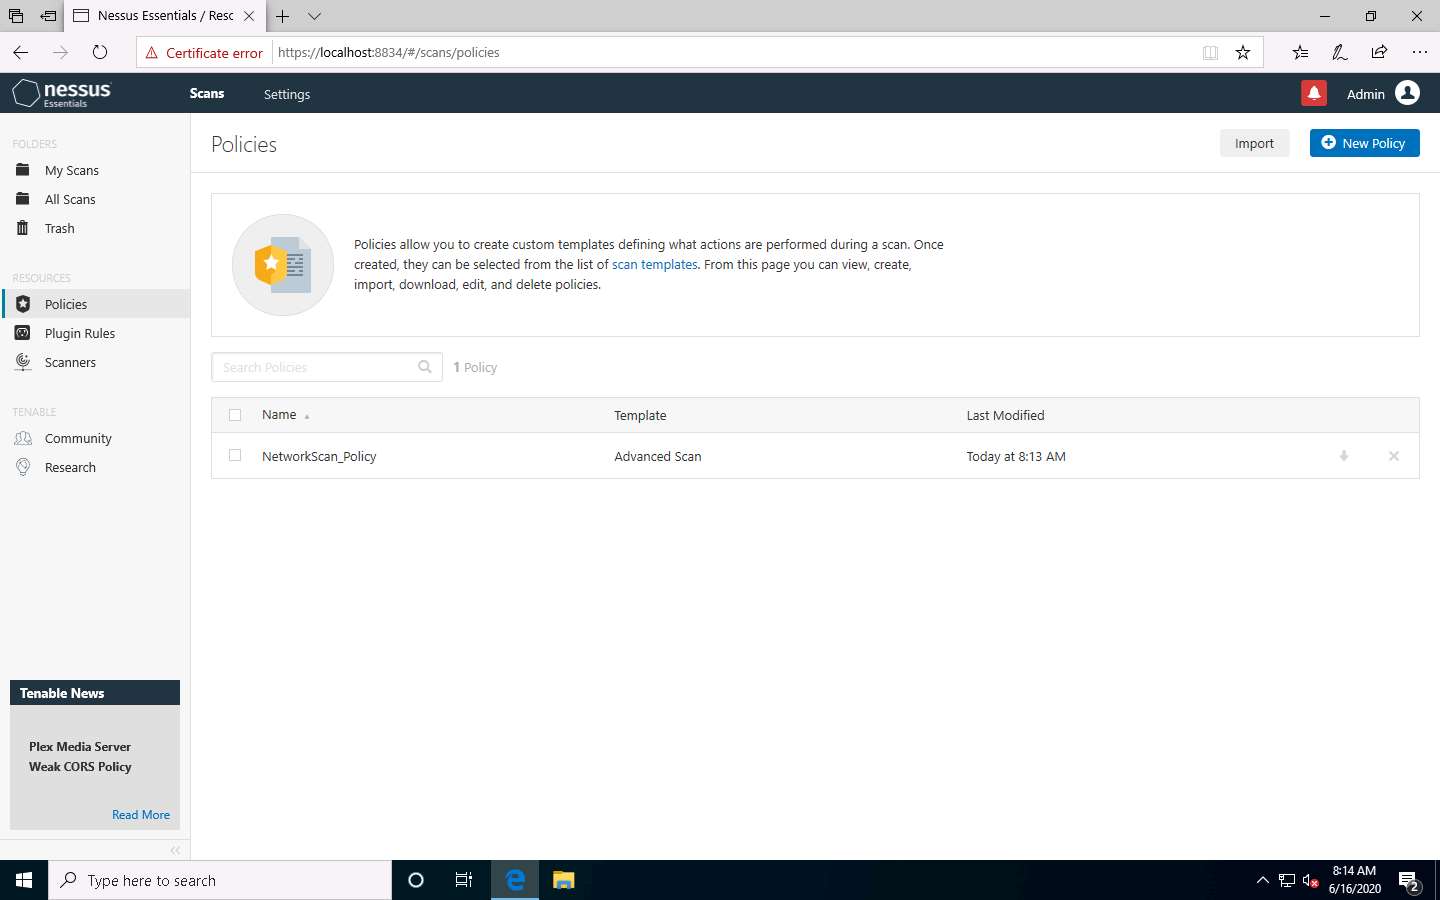
The Nessus Essentials dashboard appears; click Policies under RESOURCES section from the pane on the left.
The Policies window appears; click Create a new policy.

The Policy Templates window appears; click Advanced Scan.
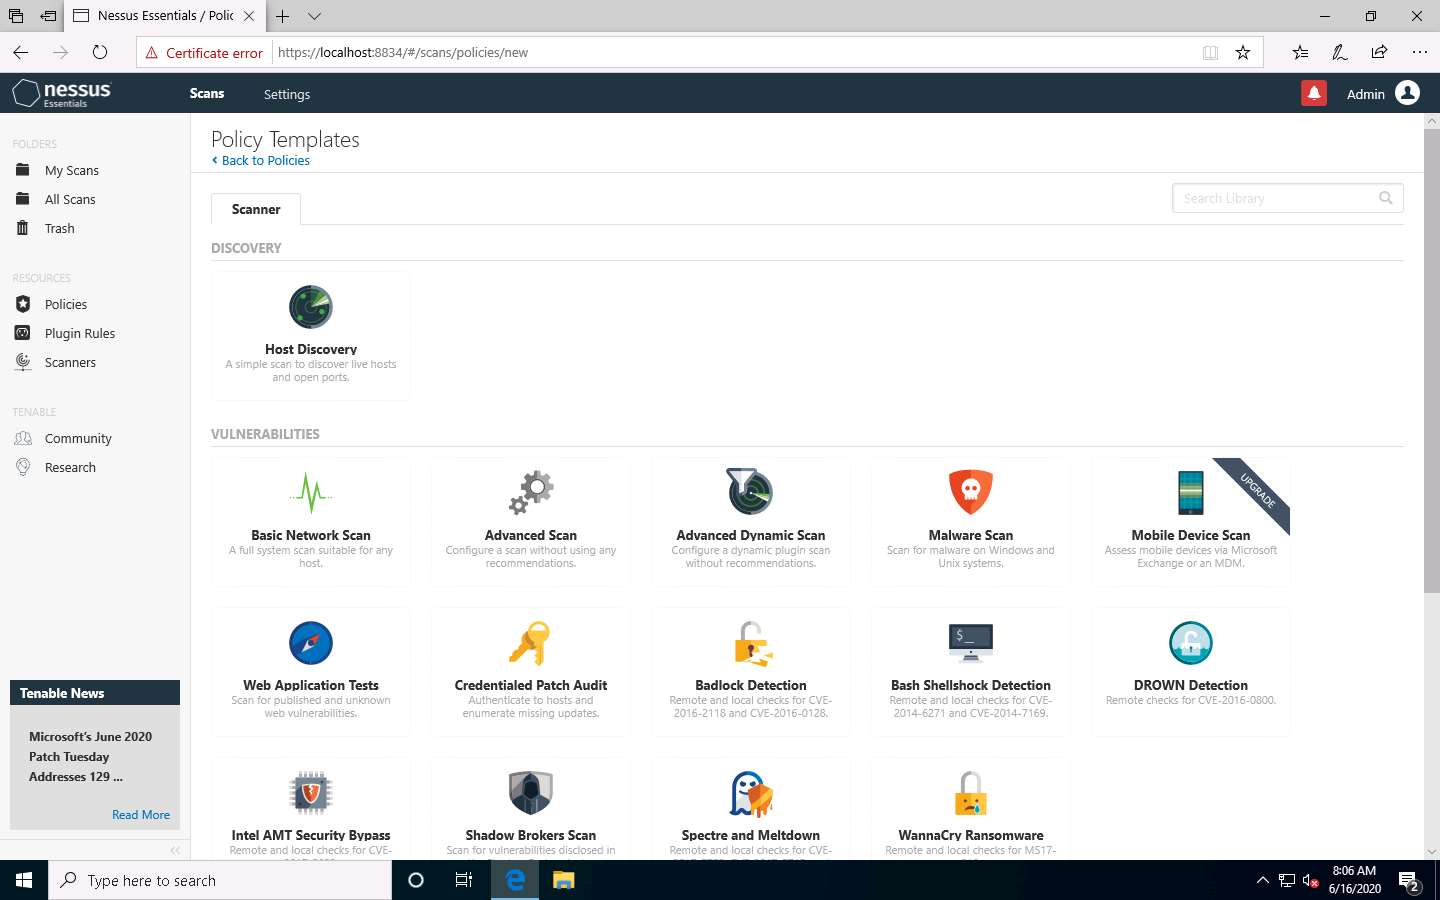
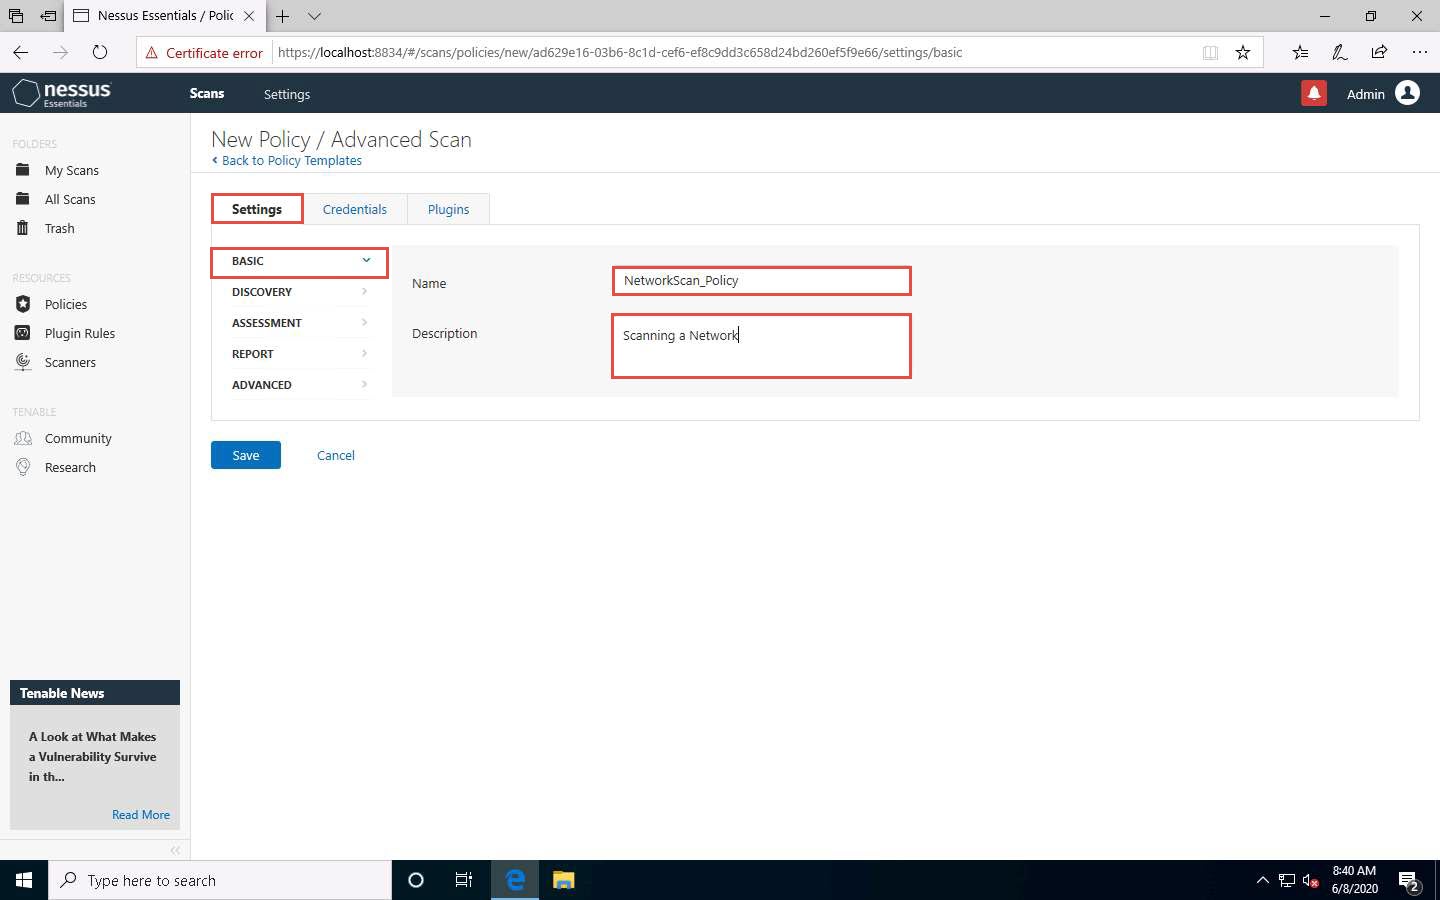
The New Policy / Advanced Scan section appears.
In the Settings tab under the BASIC setting type, specify a policy name in the Name field (here, NetworkScan_Policy), and give a Description about the policy (here, Scanning a Network).
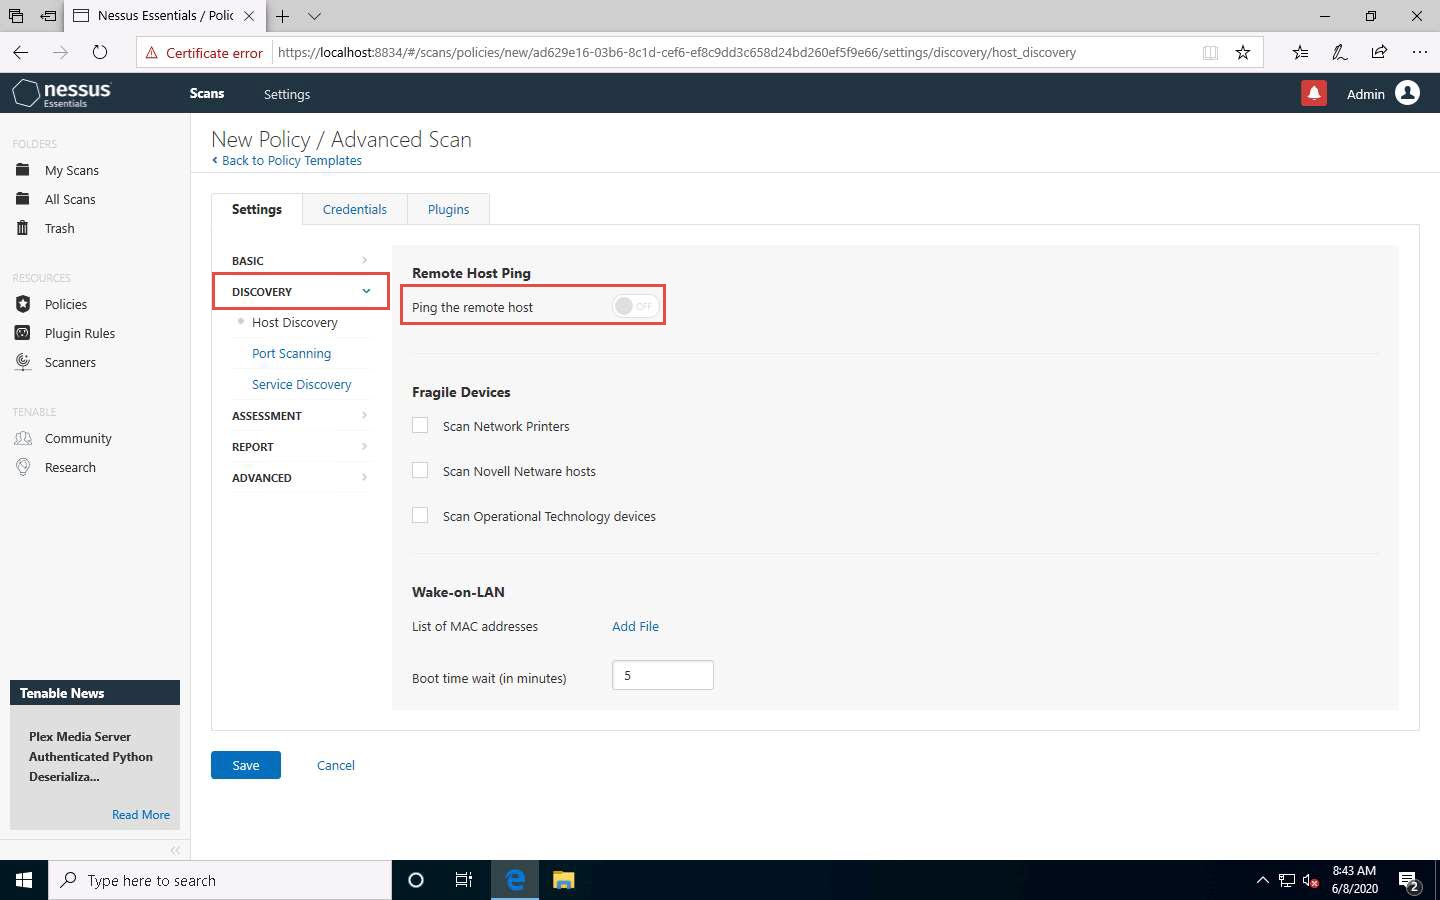
In the Settings tab, click DISCOVERY setting type and turn off the Ping the remote host option from the right pane.
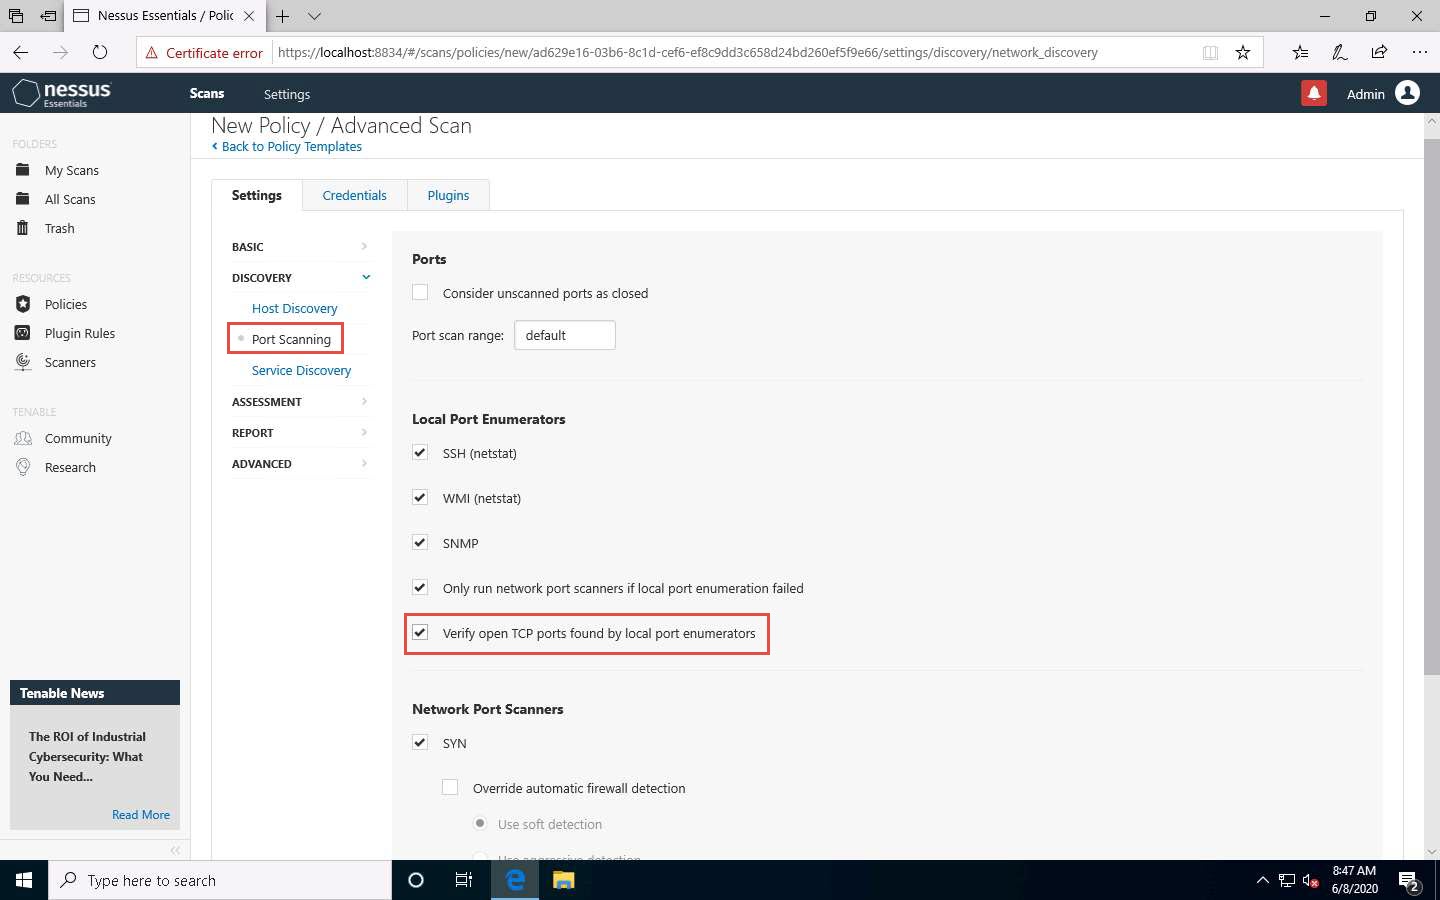
Select the Port Scanning option under the DISCOVERY setting type, and then click the Verify open TCP ports found by local port enumerators checkbox. Leave the other fields with default options, as shown in the screenshot.
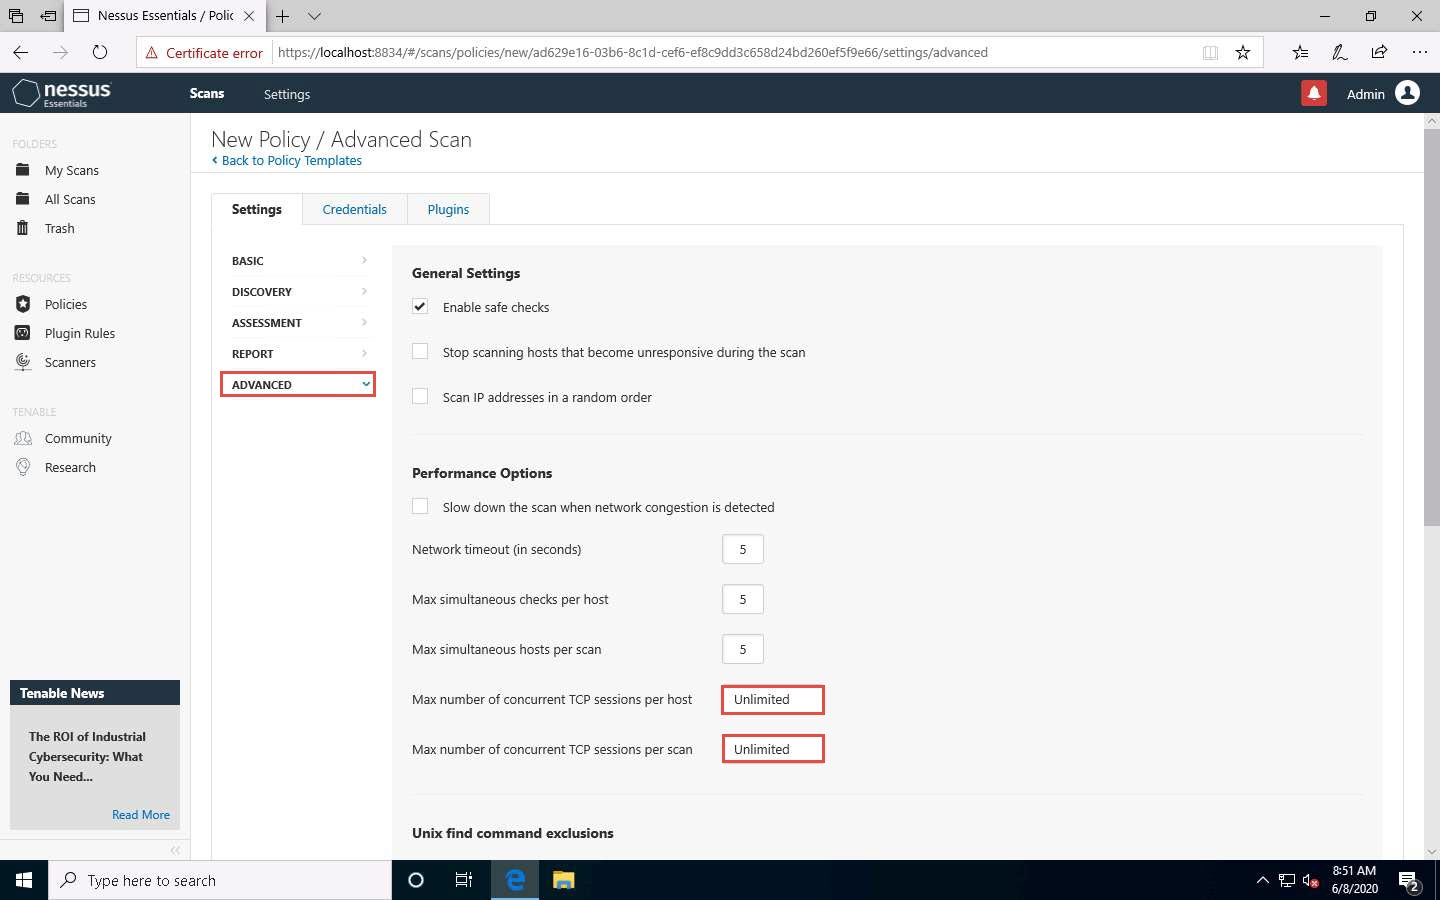
Select the ADVANCED setting type. In the right pane, under the Performance Options settings, set the values of Max number of concurrent TCP sessions per host and Max number of concurrent TCP sessions per scan to Unlimited.
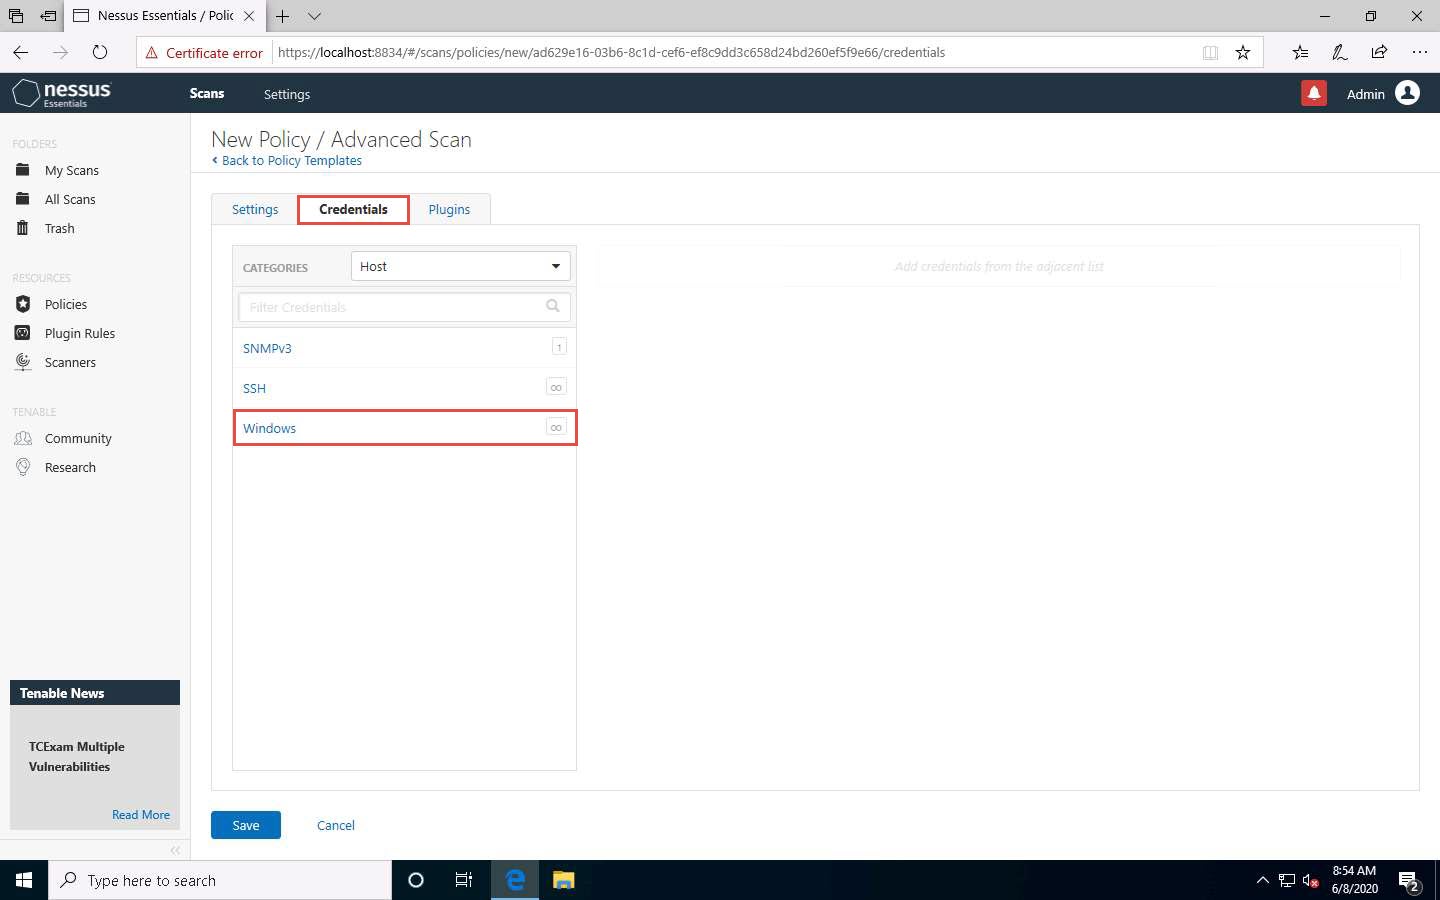
To configure the credentials of a new policy, click the Credentials tab and select Windows from the options.
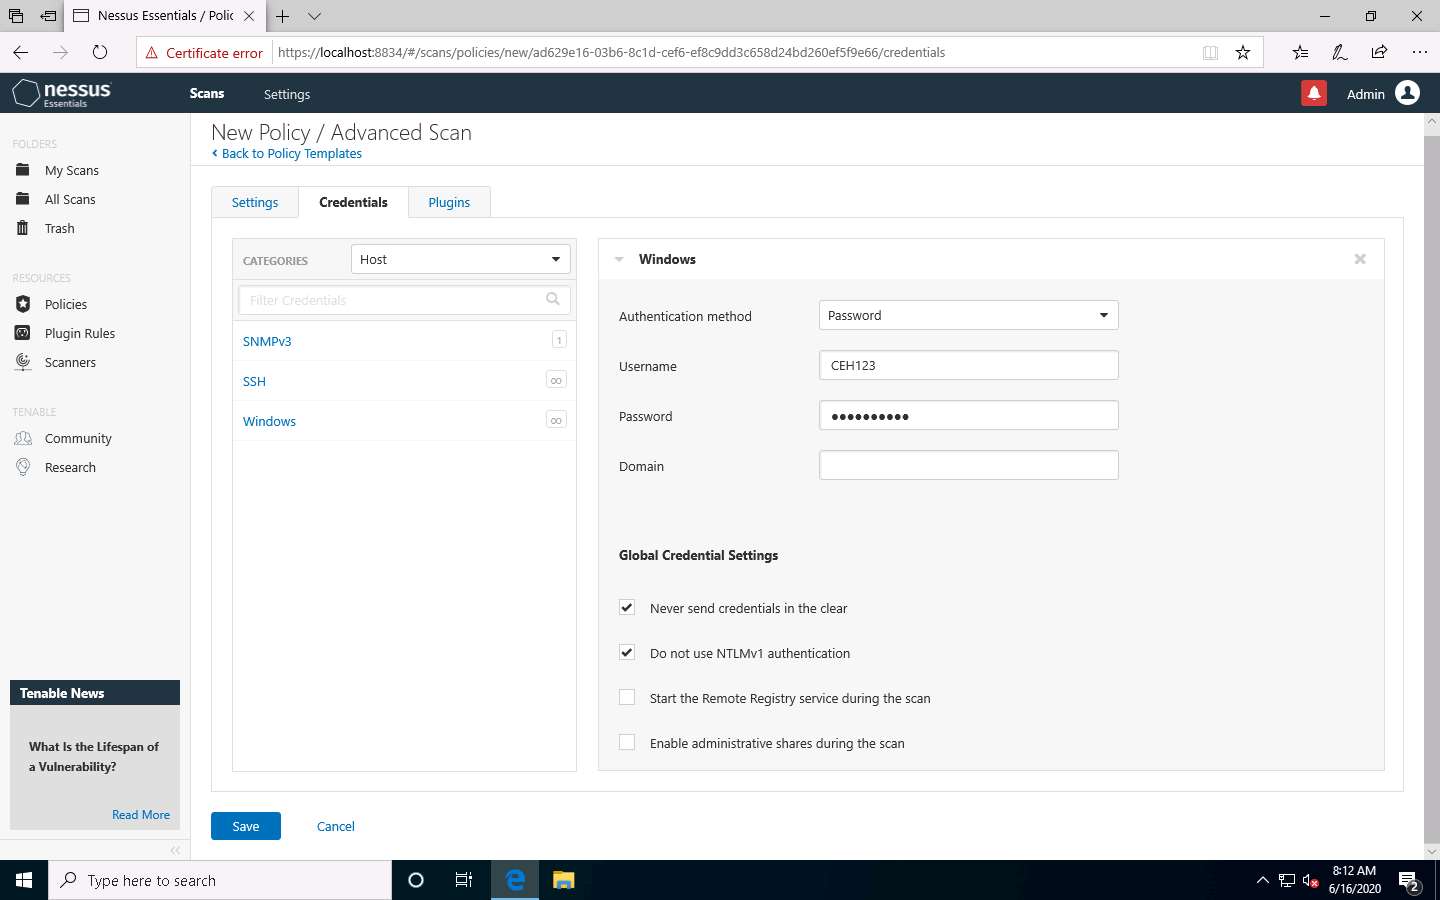
Specify the Username and Password in the window. Here, the specified credentials are CEH123/qwerty@123.
Re-enter the created user account credentials, Admin/password, if session timeout notification pop-up appears.
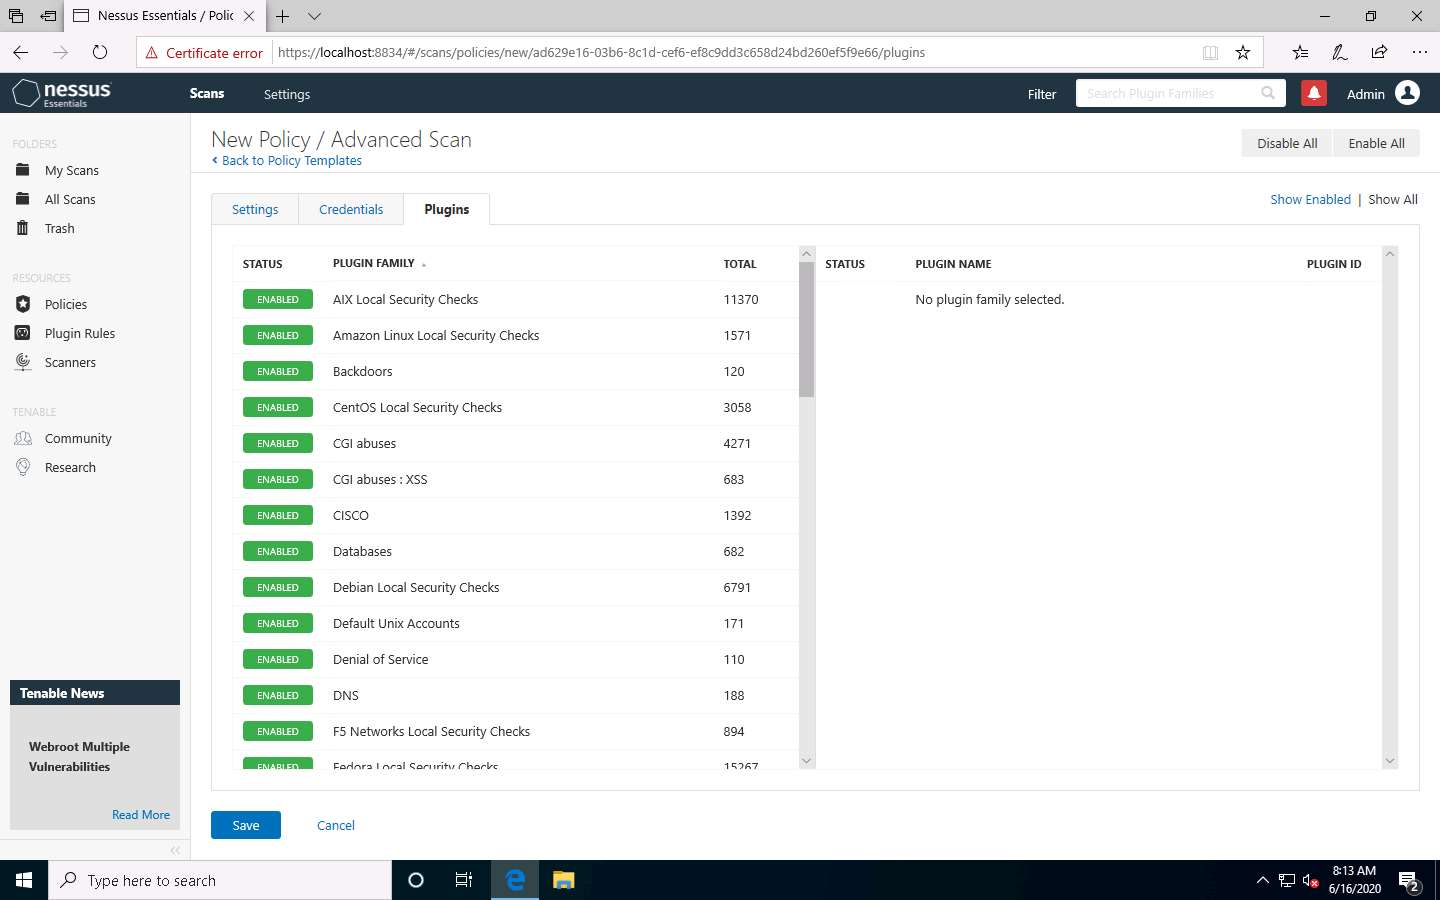
Click the Plugins tab and do not alter any of the options in this window. Click the Save button.
A Policy saved successfully notification pop-up appears, and the policy is added in the Policies window, as shown in the screenshot.
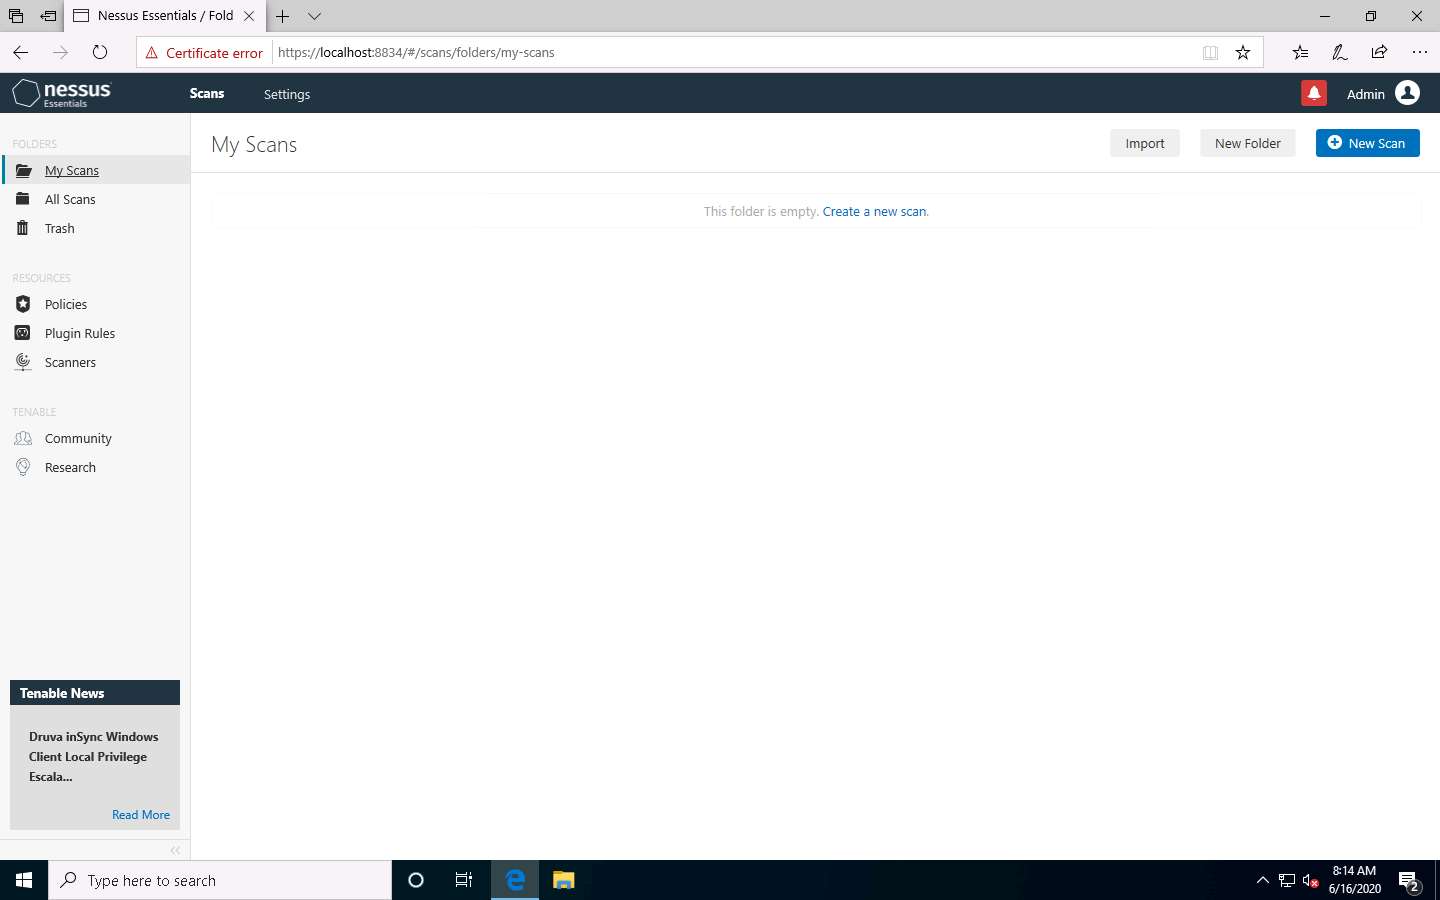
Now, click Scans from the menu bar to open My Scans window; click Create a new scan.
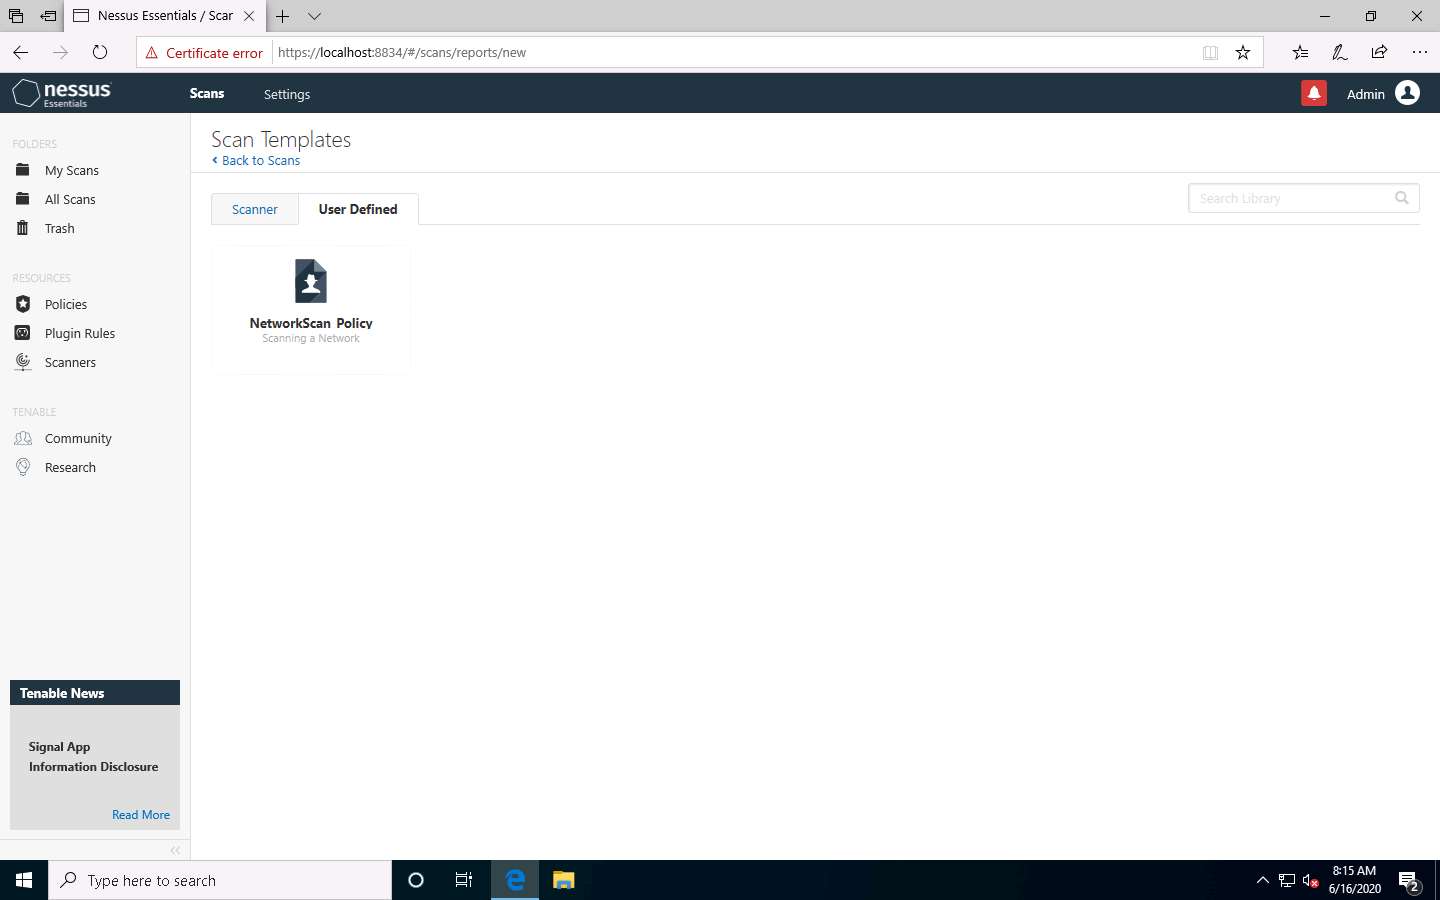
The Scan Templates window appears. Click the User Defined tab and select NetworkScan Policy.
If an API Disabled pop-up appears, refresh the browser and log in again to the Nessus Essentials using credentials (Admin/password), if it still shows the API Disabled error then clear the cache of the browser by clicking on the three dots at the top right of the browser --> Click on History --> Clear History and make sure that cache and cookies are checked and click on clear and login to the Nessus Essentials again.
The New Scan / NetworkScan_Policy window appears. Under General Settings in the right pane, input the Name of the scan (here, Local Network) and enter the Description for the scan (here, Scanning a local network); in the Targets field, enter the IP address of the target on which you want to perform the vulnerability analysis. In this lab, the target IP address is 10.10.10.16 (Windows Server 2016).
The IP addresses may vary in your lab environment.
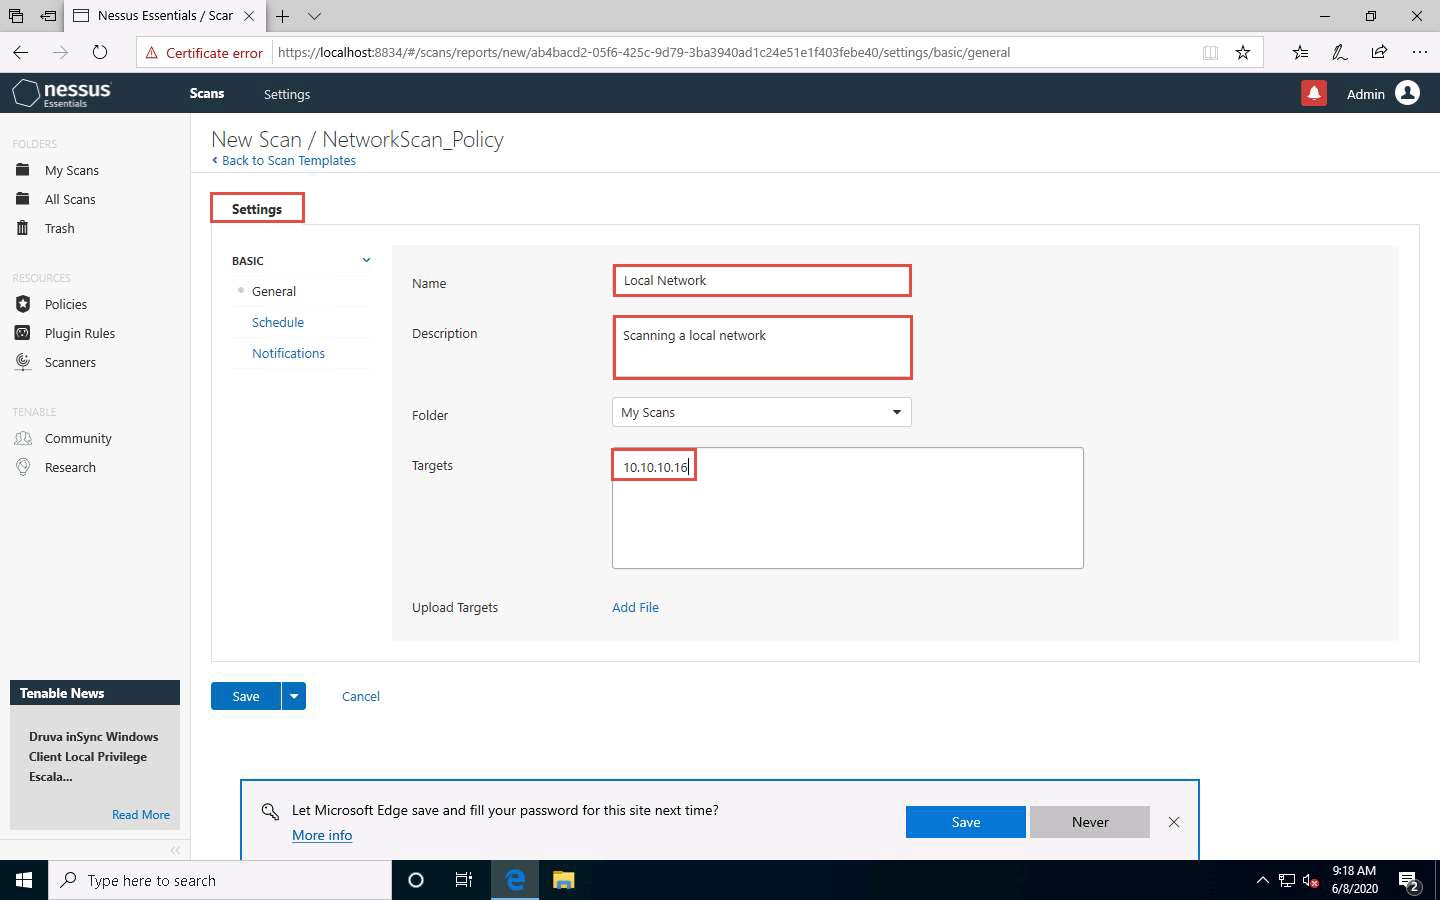
Click Schedule settings; ensure that the Enabled switch is turned off. Click the drop-down icon next to the Save button and select Launch to start the scan.
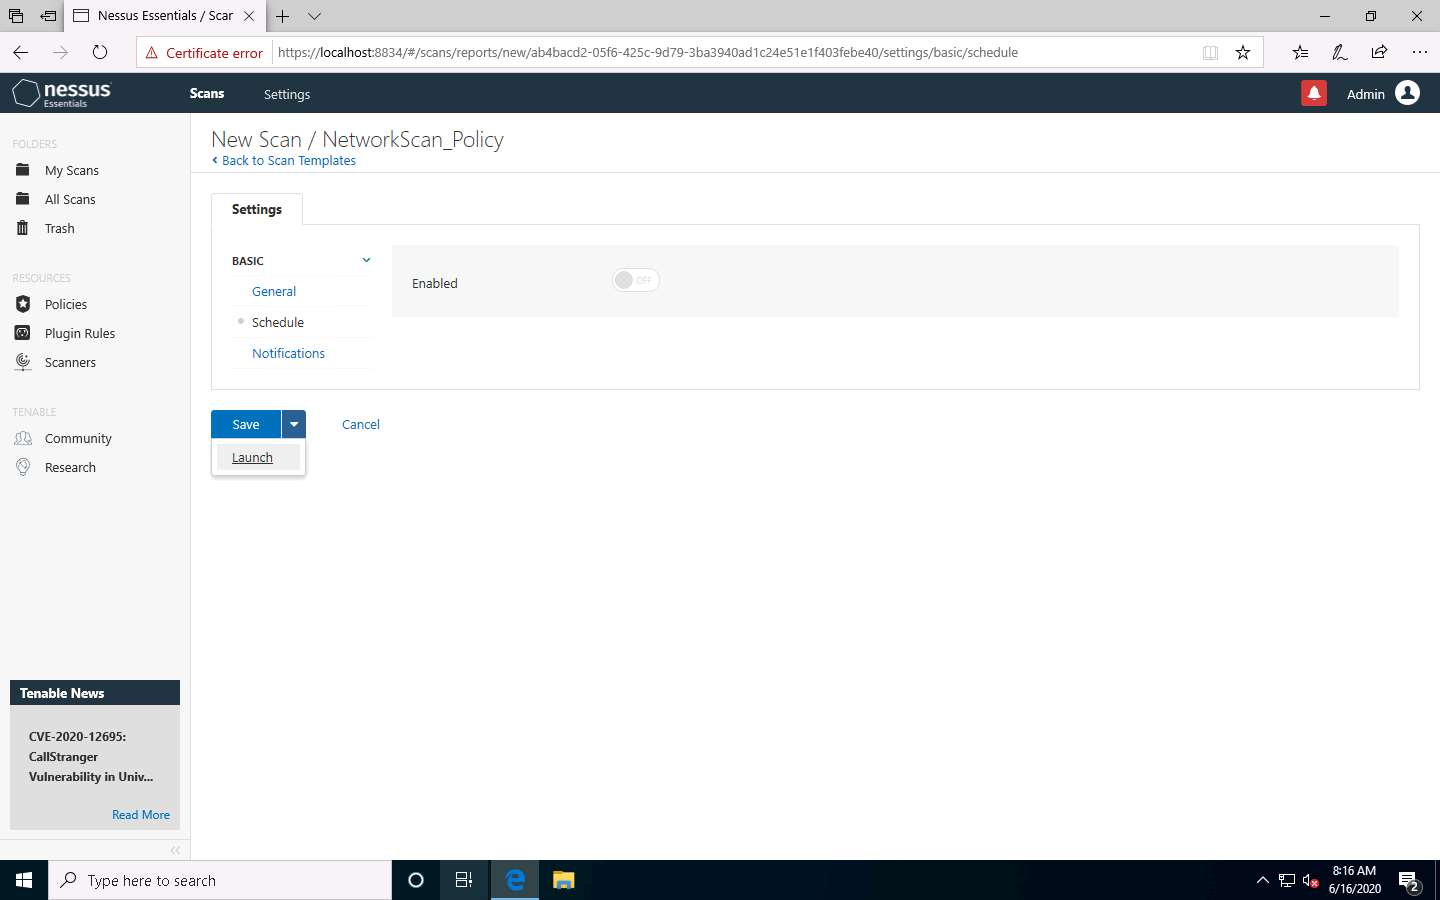
The Scan saved and launched successfully notification pop-up appears. The scan is launched, and Nessus begins to scan the target.
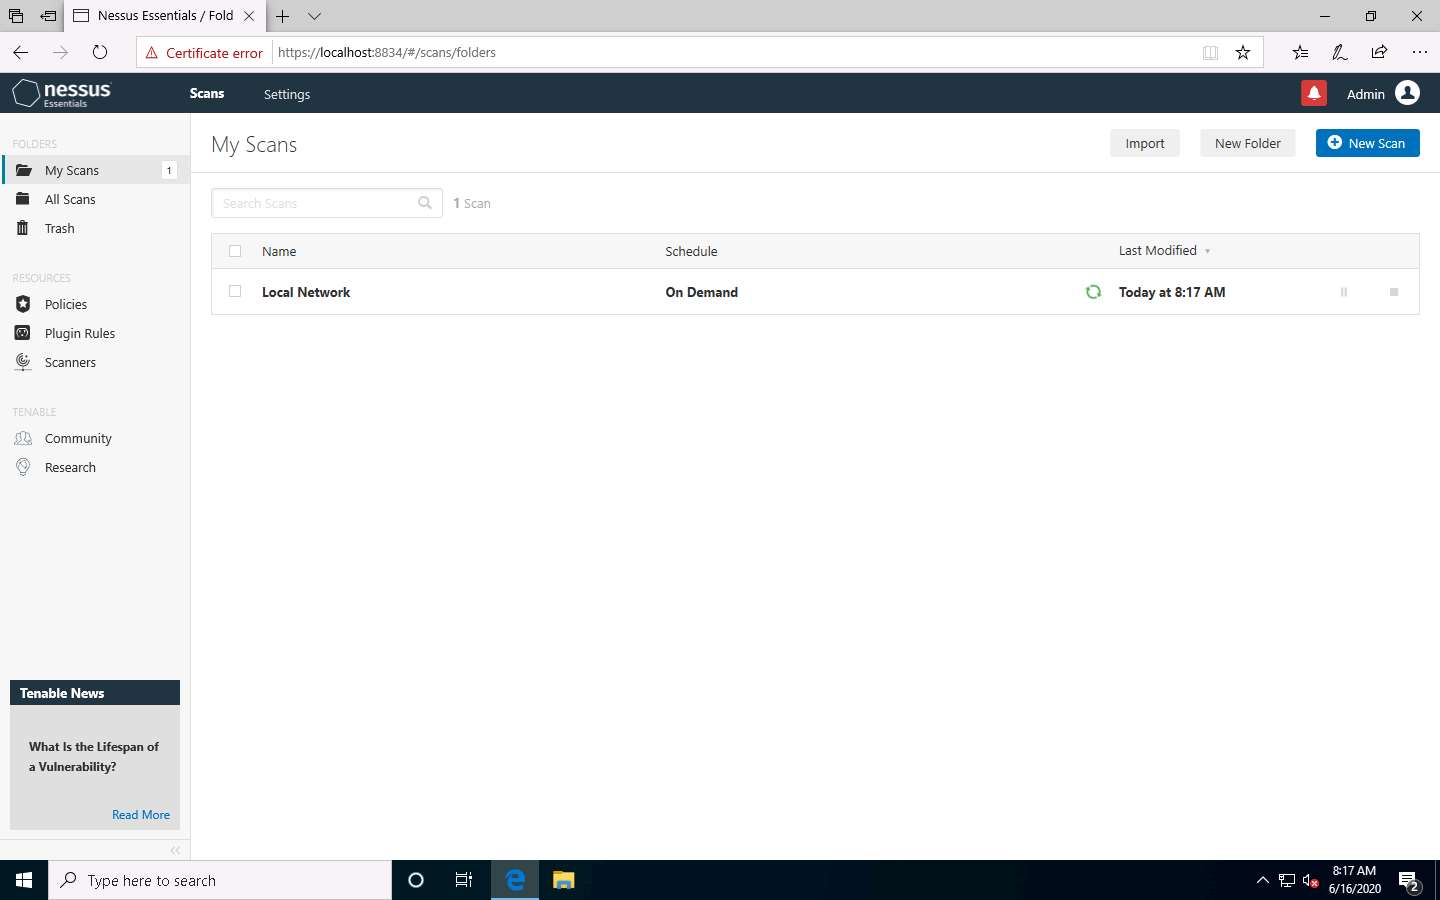
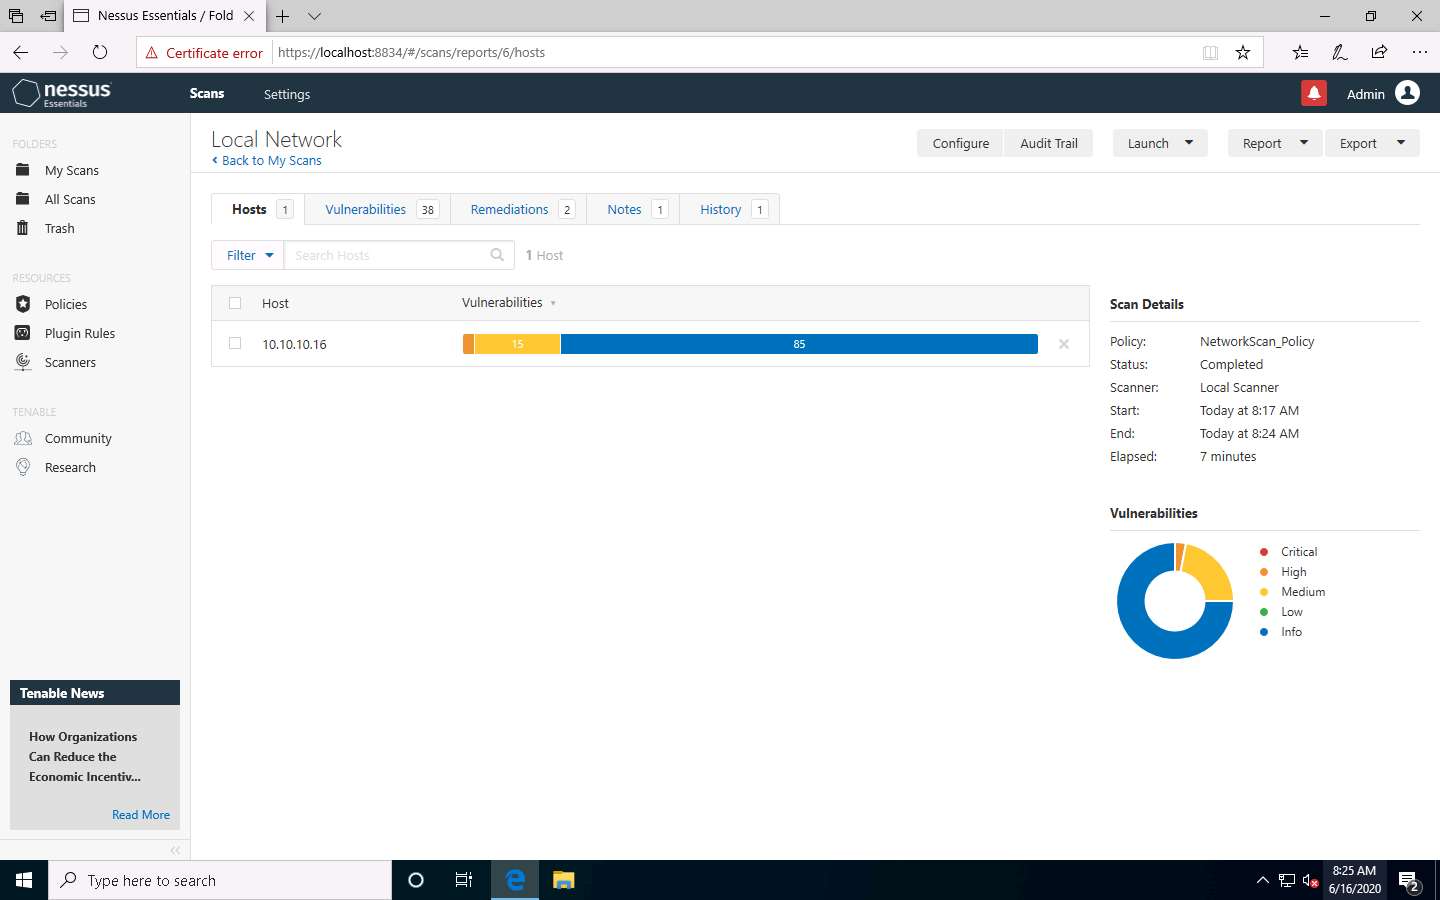
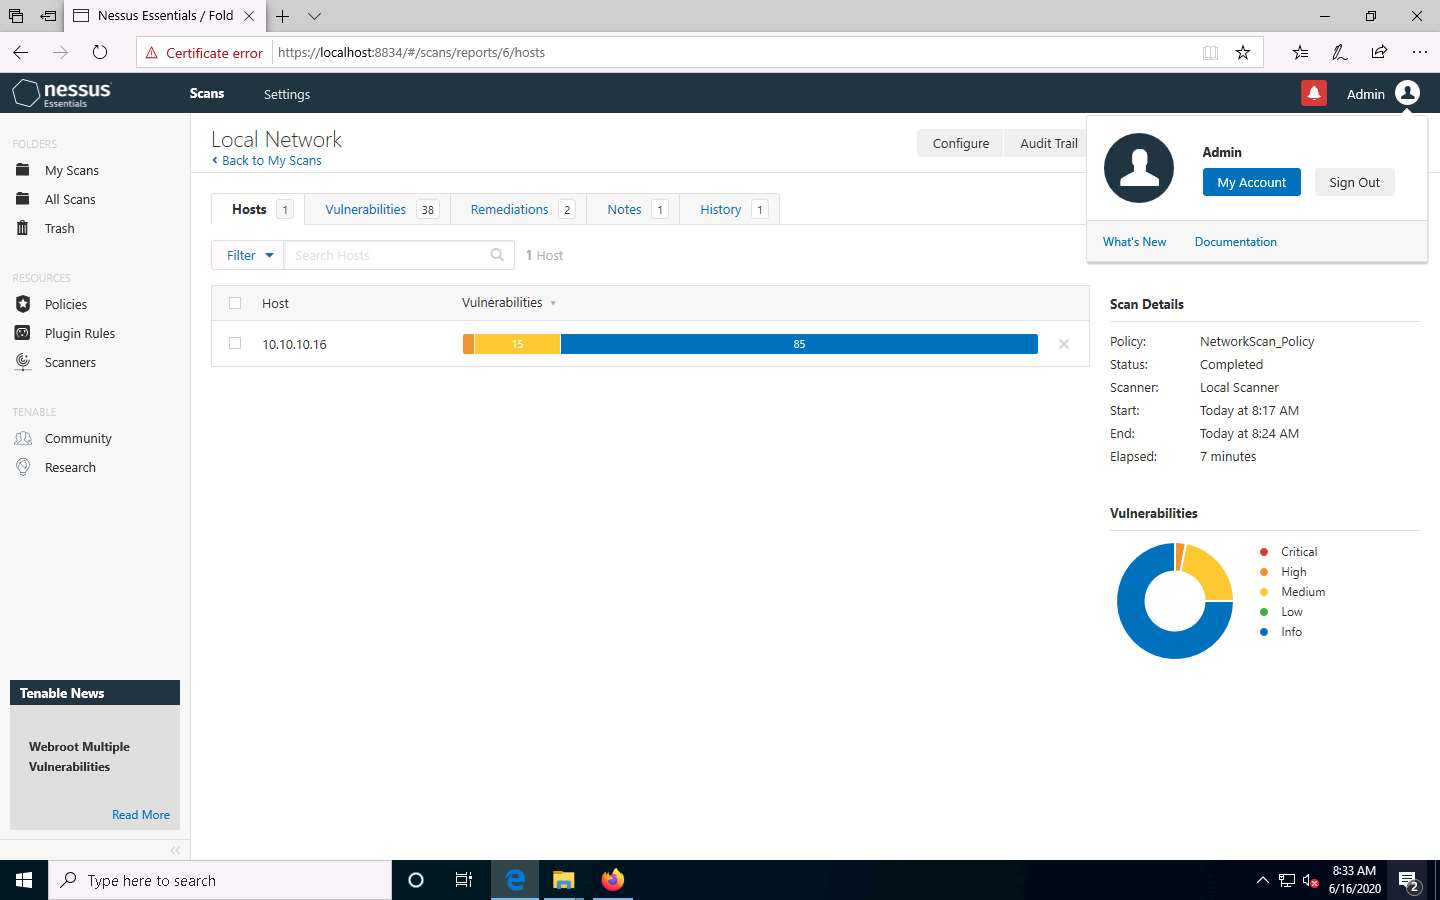
After the completion of the scan: click Local Network to view the detailed results.
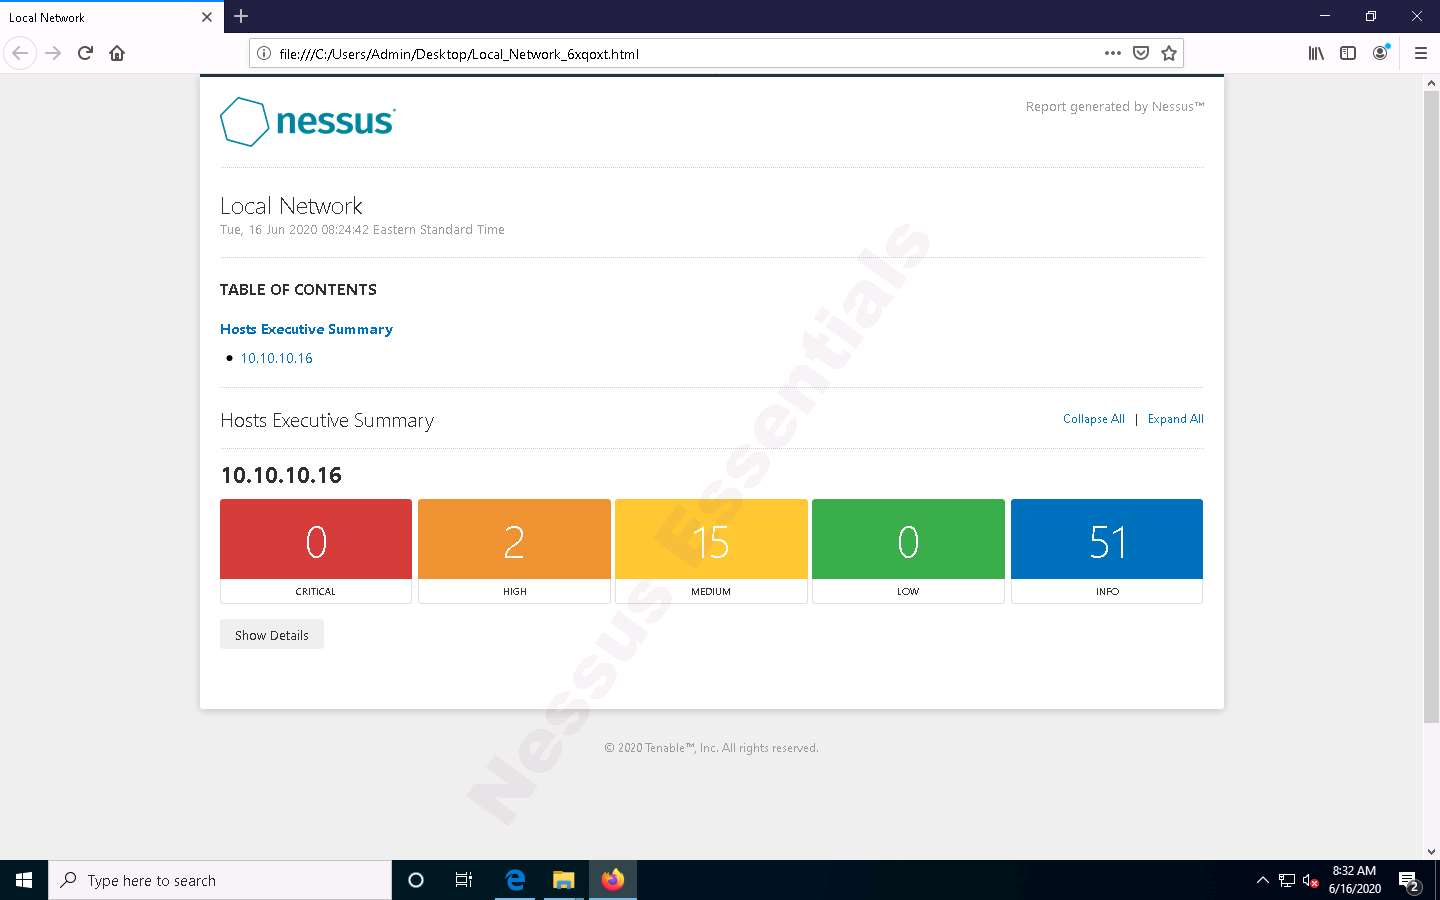
The Local Network window appears, displaying the summary of target hosts, as well as the Scan Details and Vulnerabilities categorization under the Hosts tab, as shown in the screenshot.
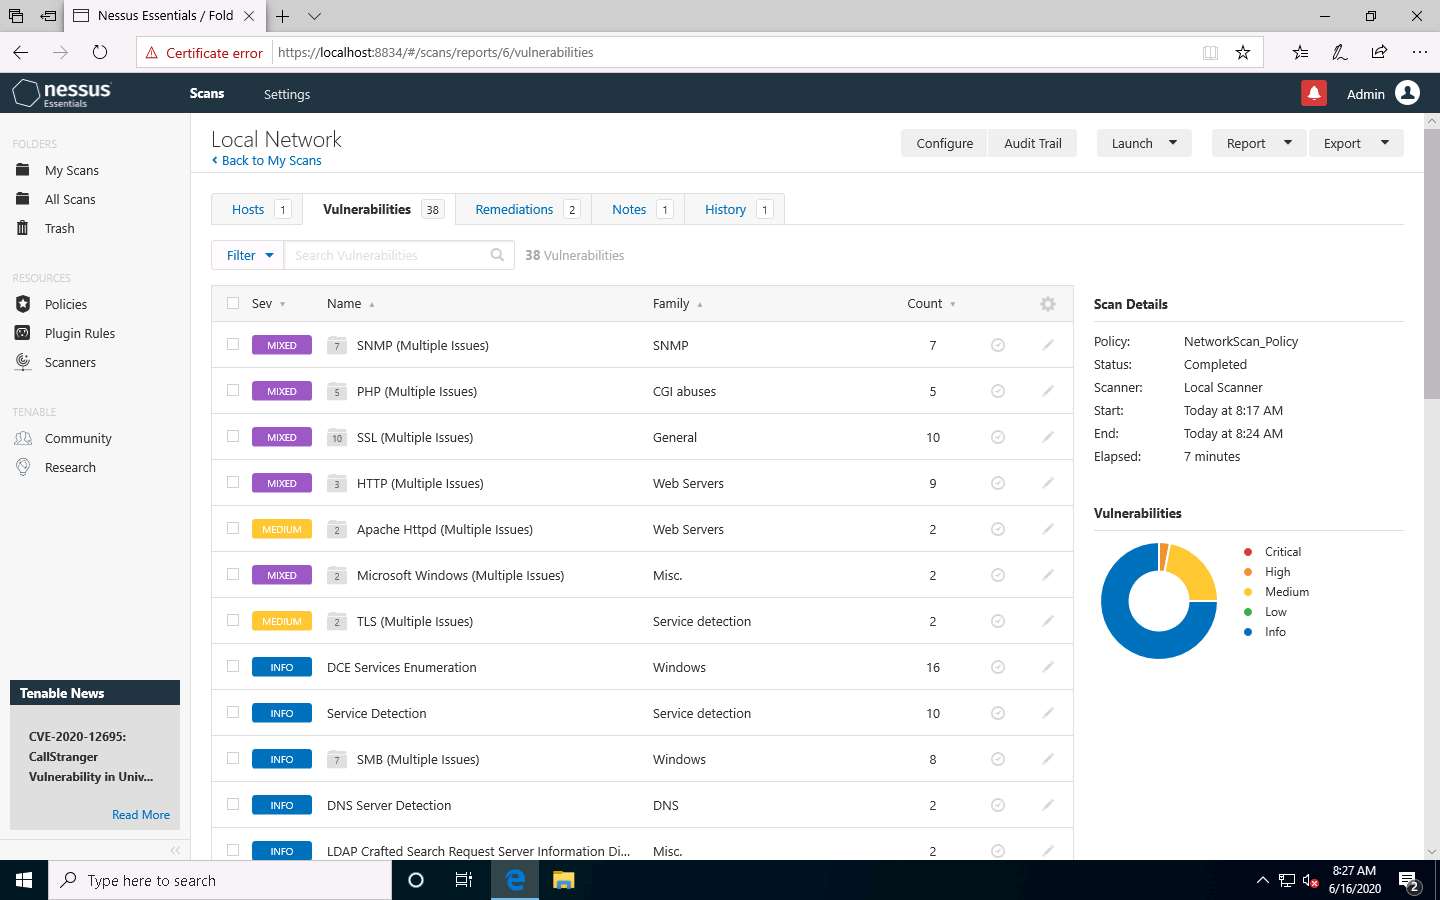
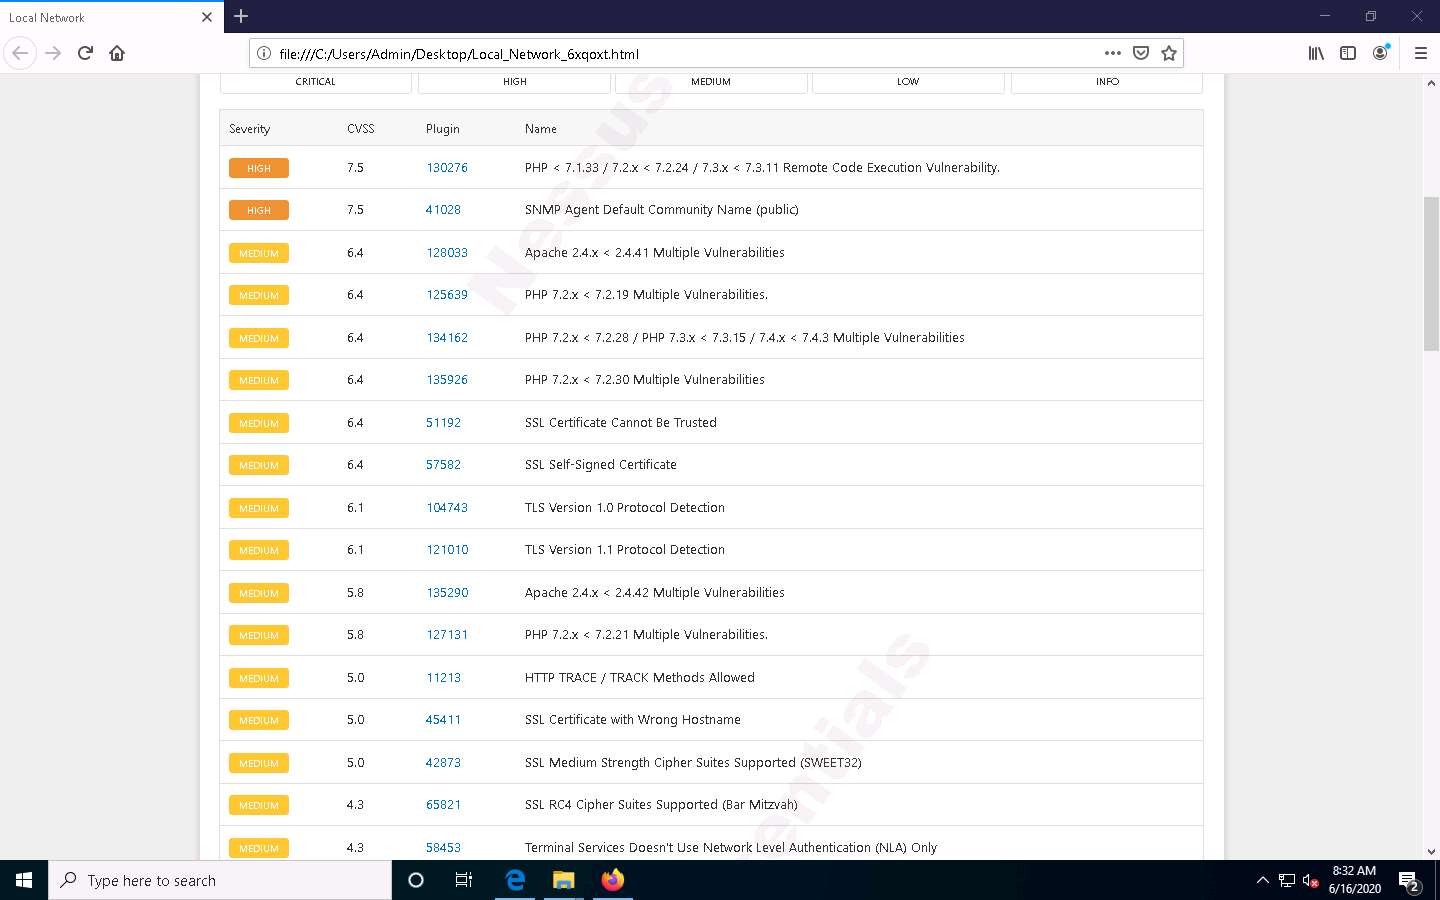
Click the Vulnerabilities tab, and scroll down to view all the vulnerabilities associated with the target machine.
The list of vulnerabilities may differ in your lab environment.
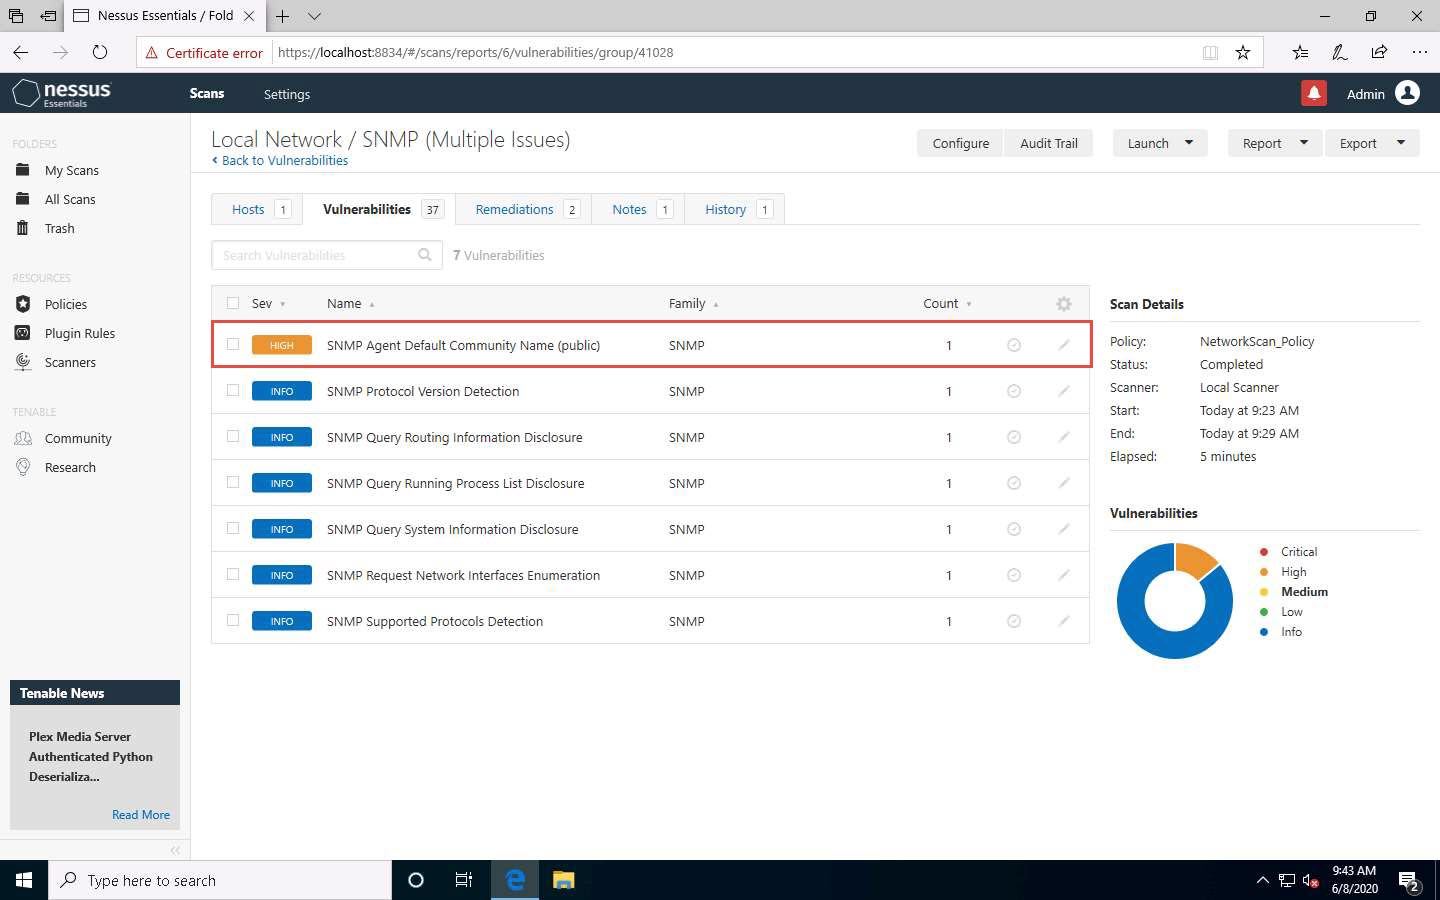
Click these vulnerabilities to view detailed reports about each. For instance, in this lab, we are selecting the first vulnerability in the list, that is, SNMP (Multiple Issues).
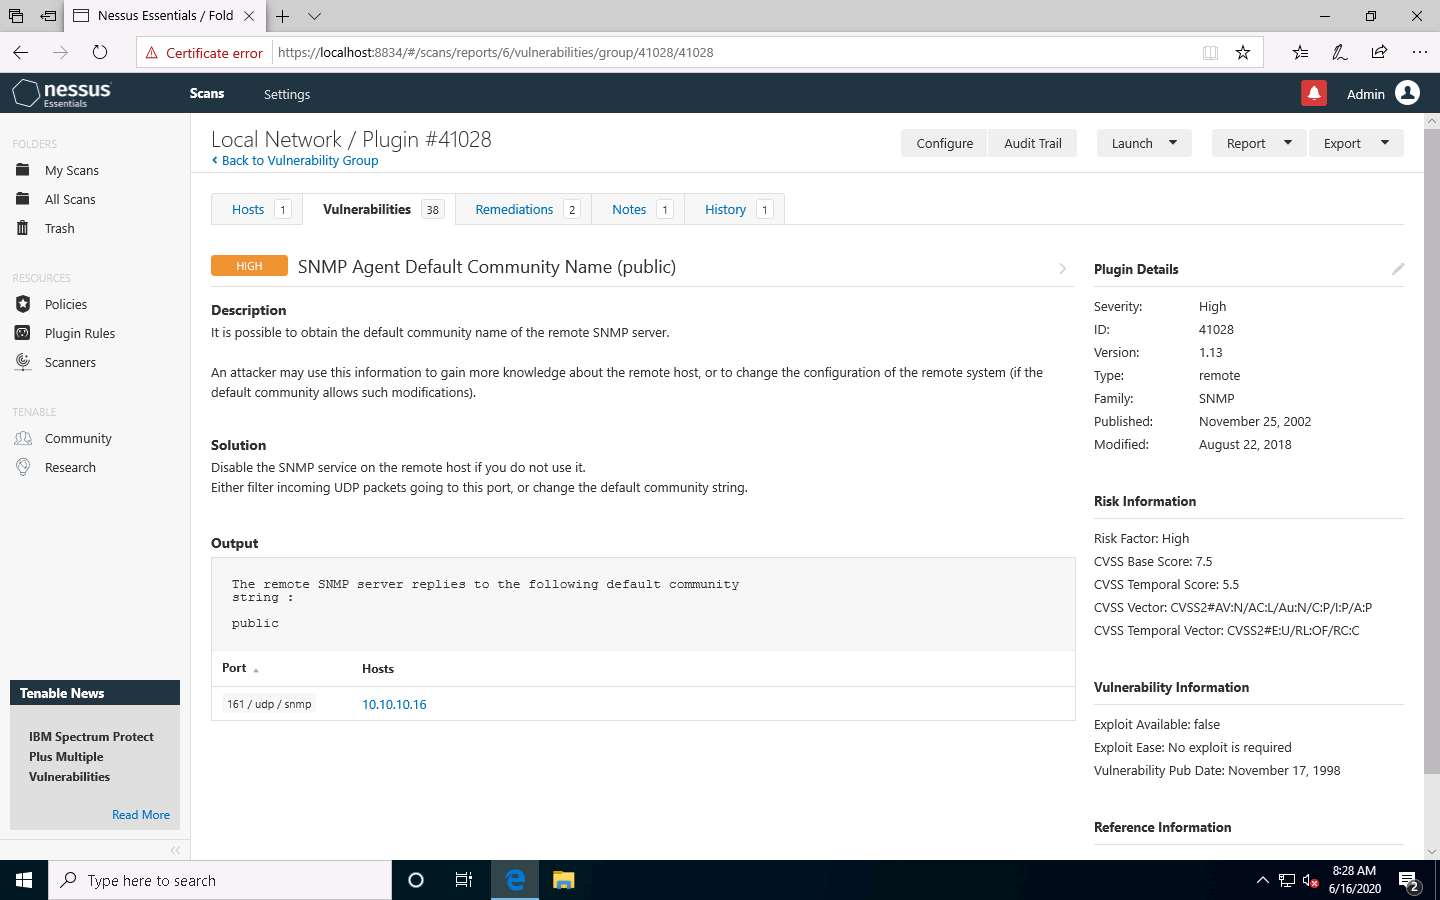
The Local Network / SNMP (Multiple Issues) window appears, displaying multiple issues in SNMP service. Click on any issue (here, SNMP Agent Default) to view its detailed information.
The report regarding selected vulnerability SNMP Agent Default Community Name (public) appears with detailed information such as plugin details, risk information, vulnerability information, reference information and the solution, and output, as shown in the screenshot.
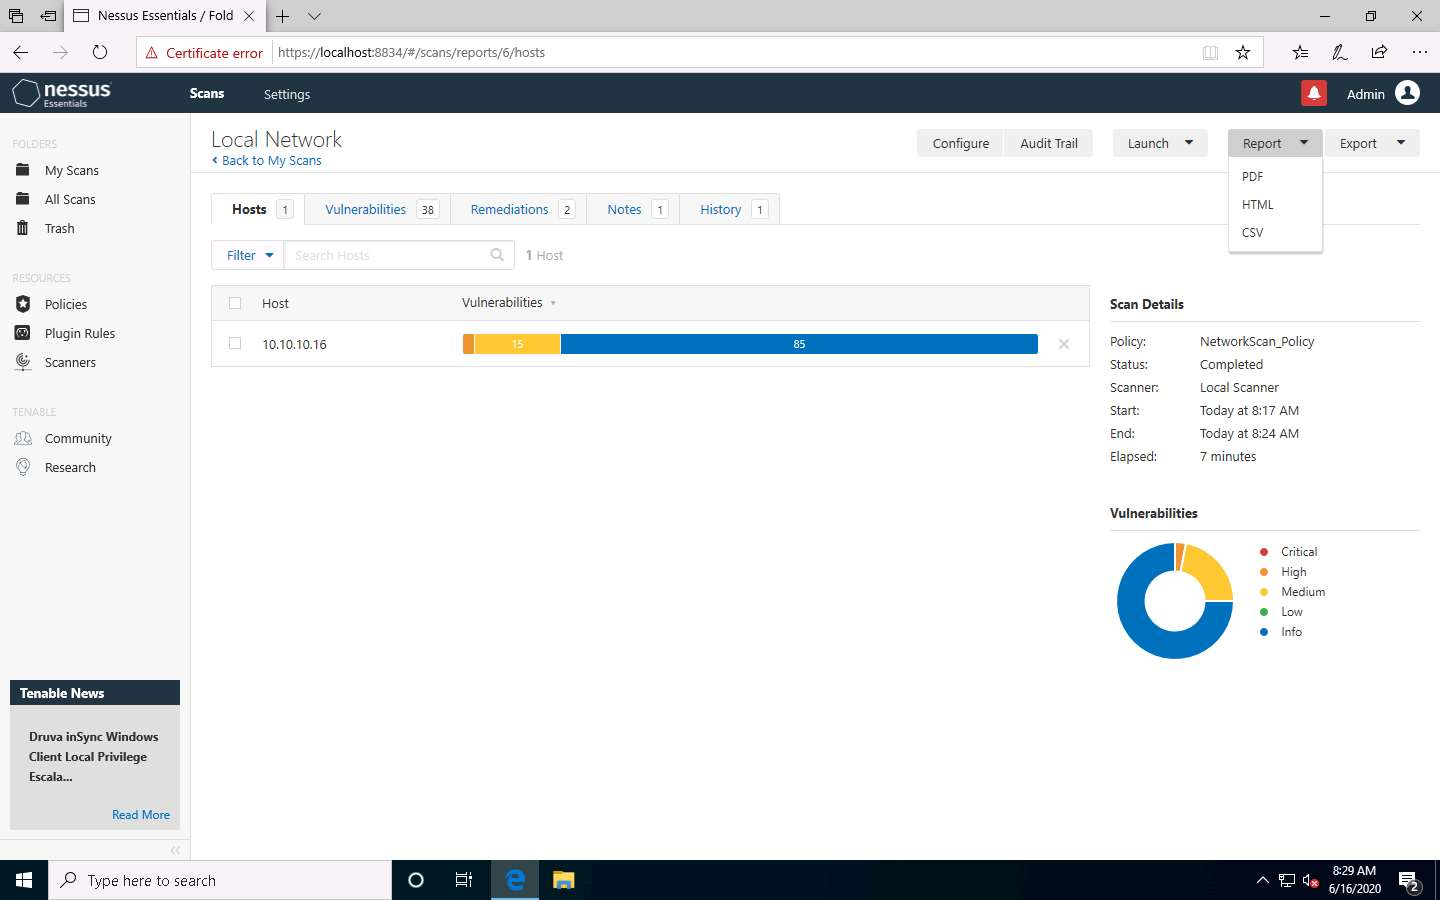
On completing the vulnerability analysis, click Scans, and then click the recently performed scan (here, Local Network).

In the Local Network window, click the Report tab from the top-right corner, and choose a file format (here, HTML) from the drop-down list. By downloading a report, you can access it anytime, instead of logging in to Nessus again and again.
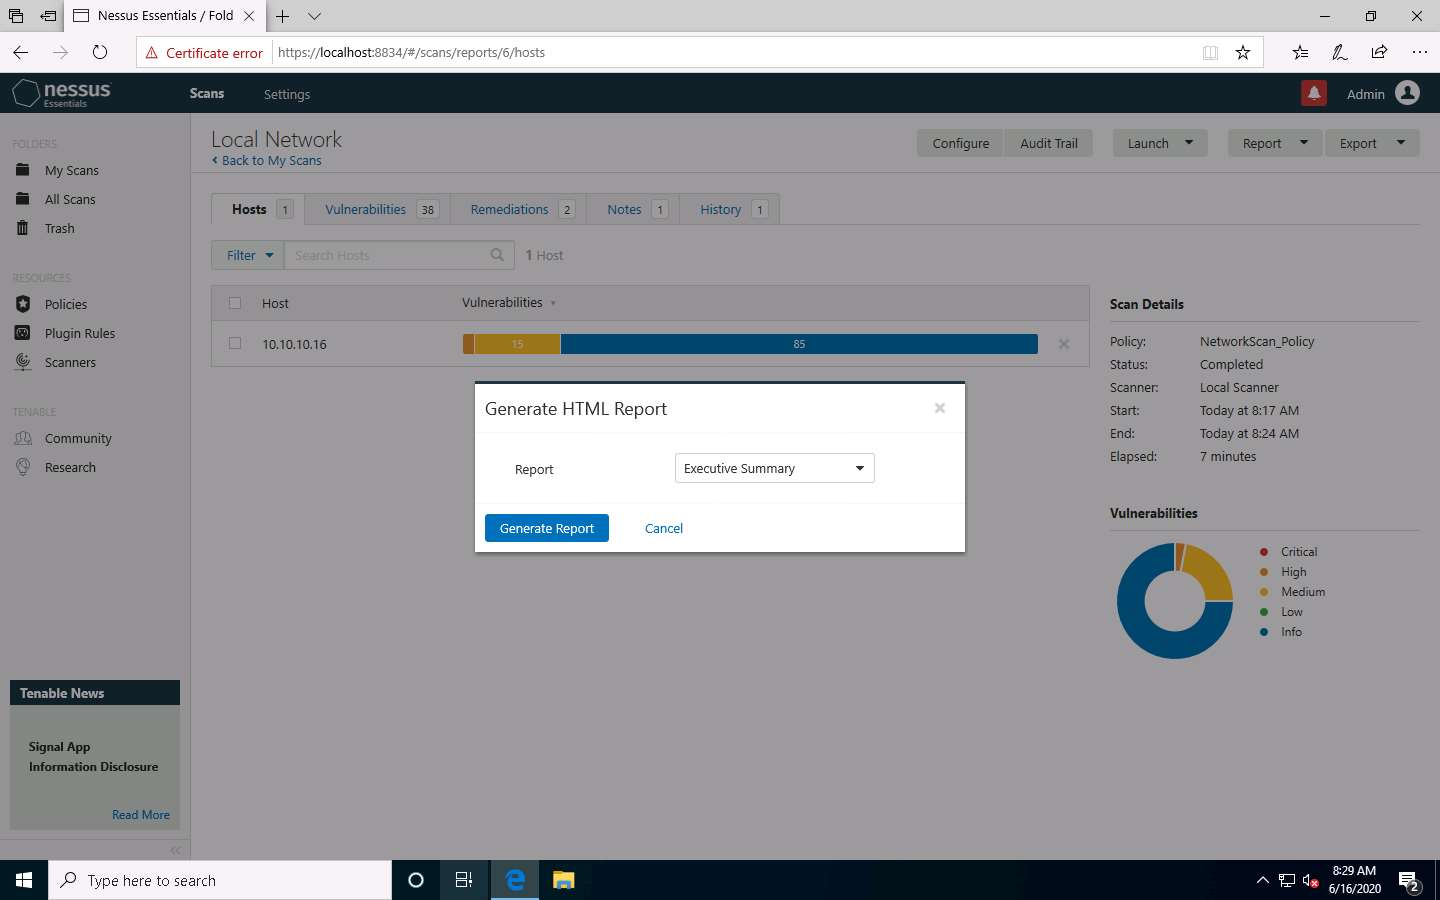
The Generate HTML Report pop-up appears: leave the Report type option on default (Executive Summary). Click Generate Report to download the report.
If the What do you want to do with Local_Network_5cfvy7.html? pop-up appears, click Save.
The file name might differ in your lab environment
Once the download is finished, a pop-up appears at the bottom of the browser; click Open.
If the How do you want to open this file? pop-up appears, choose any browser (here, Firefox) to view the downloaded HTML file.
The Nessus scan report appears in the Firefox web browser, as shown in the screenshot.
Screenshots and browser might differ in your lab environment.
You can click the Expand All option to view the detailed scan report.
A list of discovered vulnerabilities appears. You can further click on plugins (here, 130276) to view more detailed information on the vulnerability
The results might differ in your lab environment.
The selected plugin details are displayed, as shown in the screenshot.
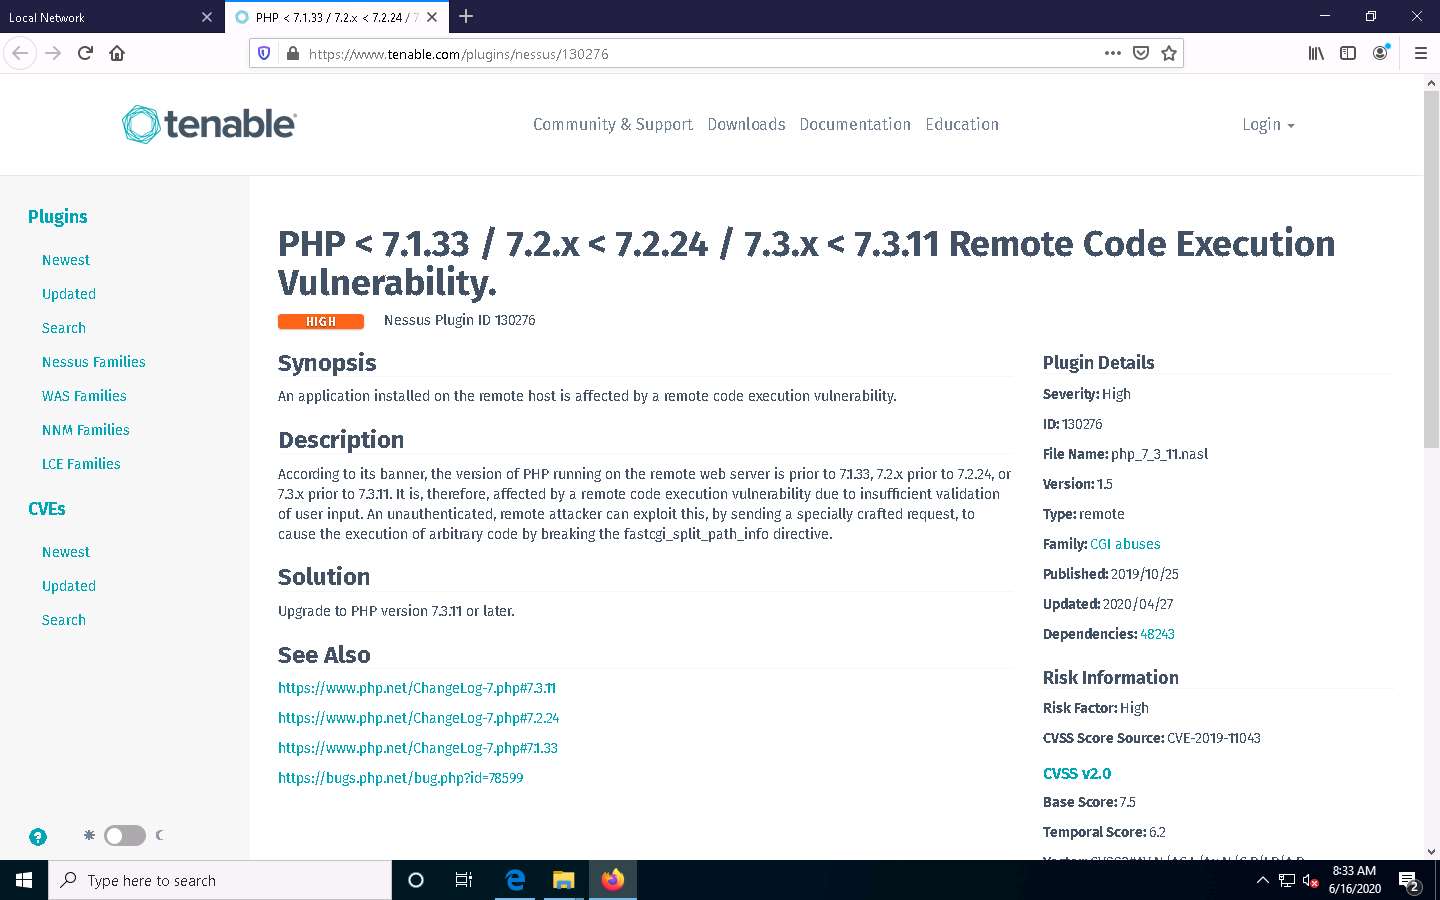
In this way, you can select a vulnerability of your choice to view the complete details.
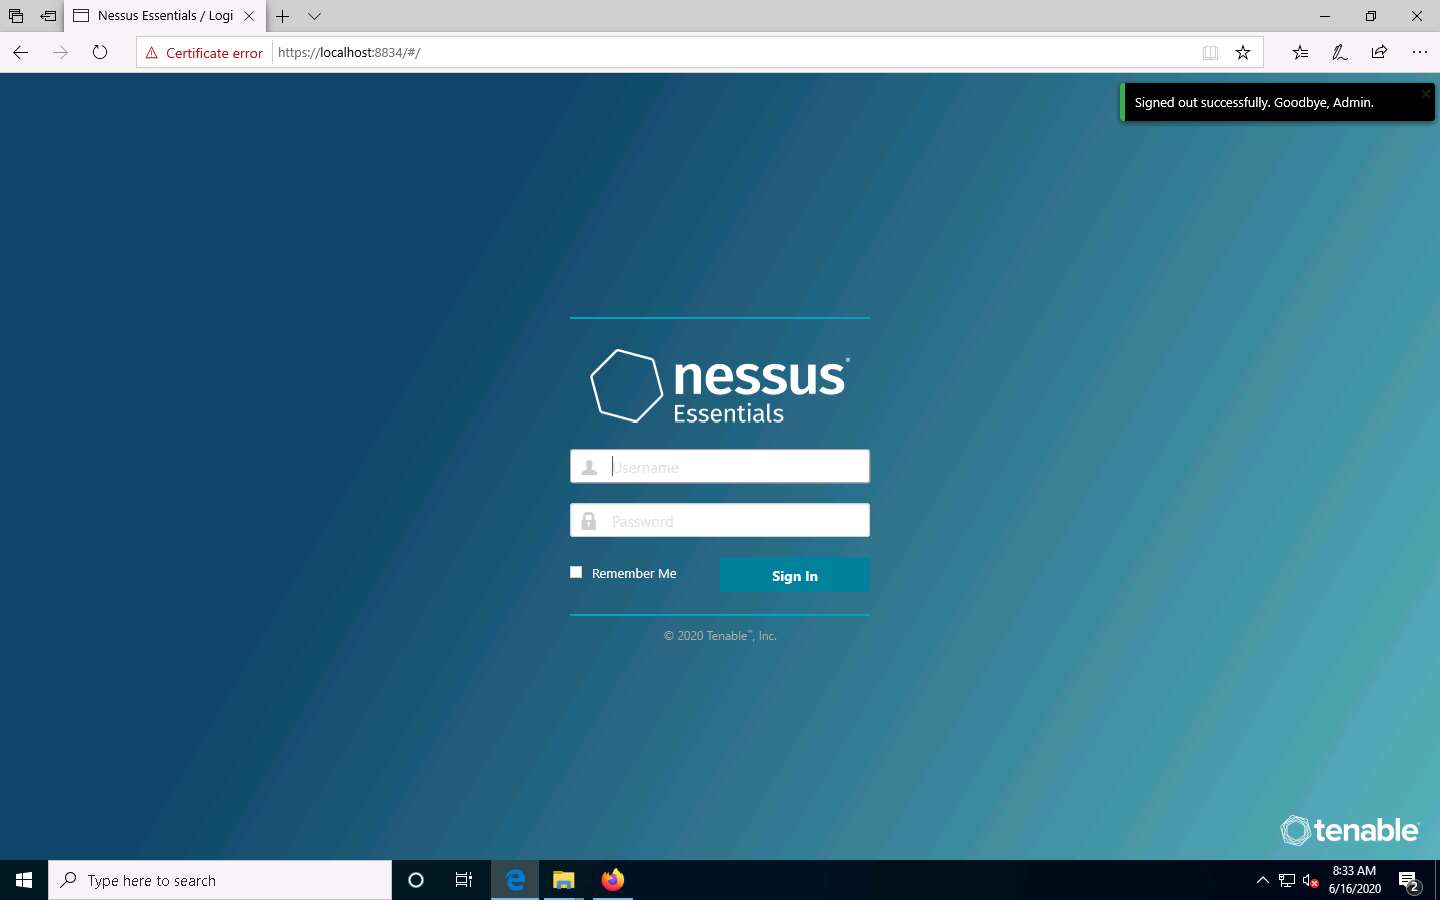
Once the vulnerability analysis is done, switch back to Microsoft Edge where Nessus is running and click Admin --> Sign Out in the top-right corner.
Once the session is successfully logged out, a Signed out successfully. Goodbye, admin notification appears.
This concludes the demonstration of performing vulnerability assessment using Nessus.
Close all open windows and document all the acquired information.
Task 3: Perform Vulnerability Scanning using GFI LanGuard
GFI LanGuard scans, detects, assesses, and rectifies security vulnerabilities in your network and connected devices. It scans the network and ports to detect, assess, and correct security vulnerabilities, with minimal administrative effort. It scans your OSes, virtual environments, and installed applications through vulnerability check databases. It enables you to analyze the state of your network security, identify risks, and address how to take action before it is compromised.
Here, we will use GFI LanGuard to perform vulnerability scanning on the target system.
Click on Windows Server 2019 to switch to the Windows Server 2019 machine, click Ctrl+Alt+Delete to activate the machine. By default, Administrator user account is selected and click on Pa$$w0rd to enter the password and press Enter.
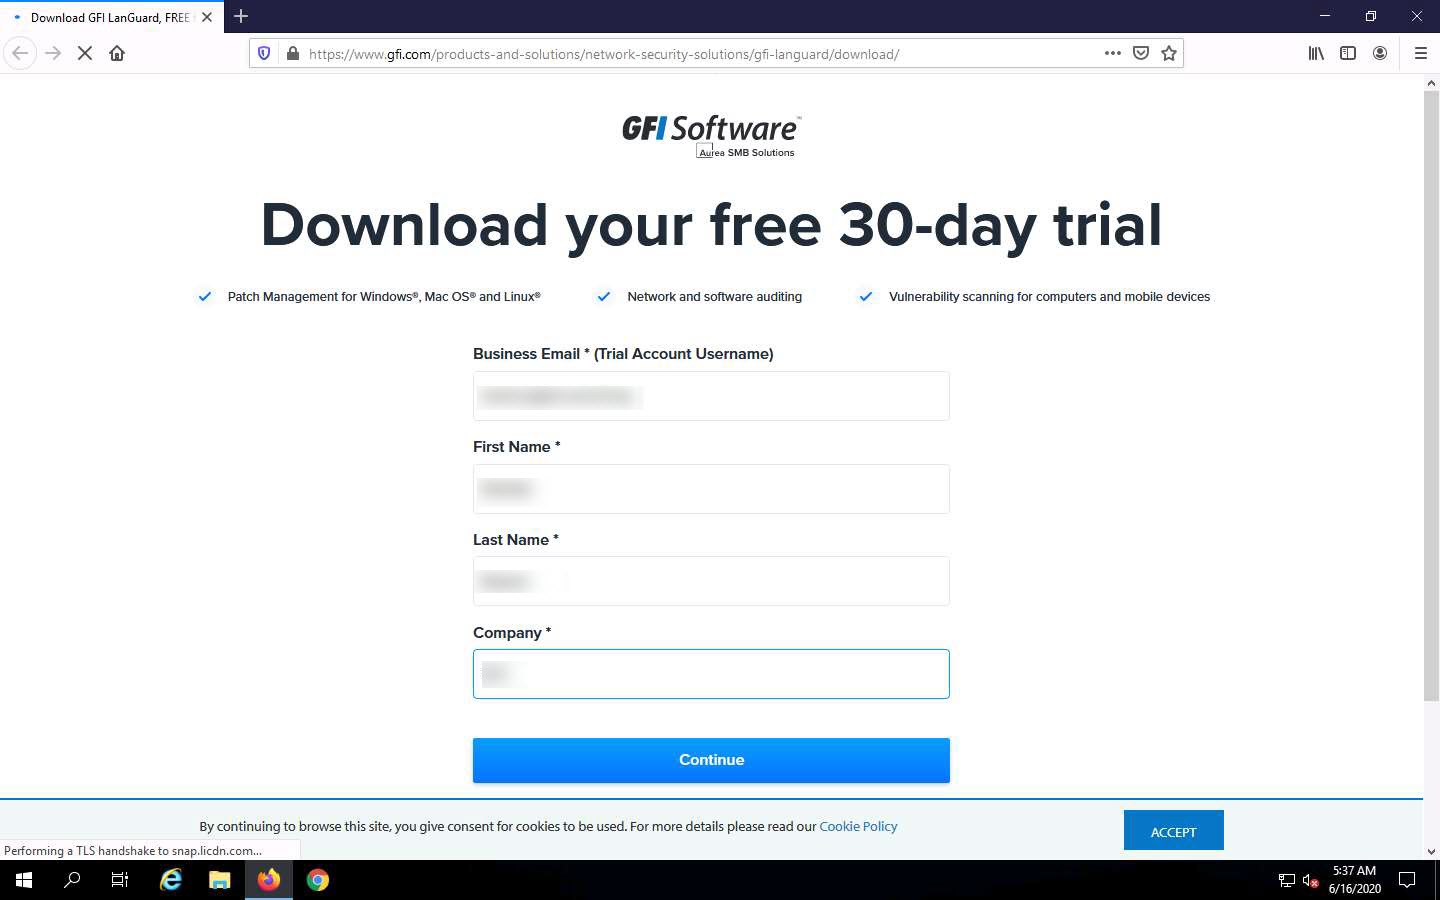
Launch any browser, in this lab we are using Mozilla Firefox. In the address bar of the browser place your mouse cursor and click https://www.gfi.com/products-and-solutions/network-security-solutions/gfi-languard/download/ and press Enter
The GFI LanGuard registration page appears. Enter your details and business email under the Business Email field and click Continue.
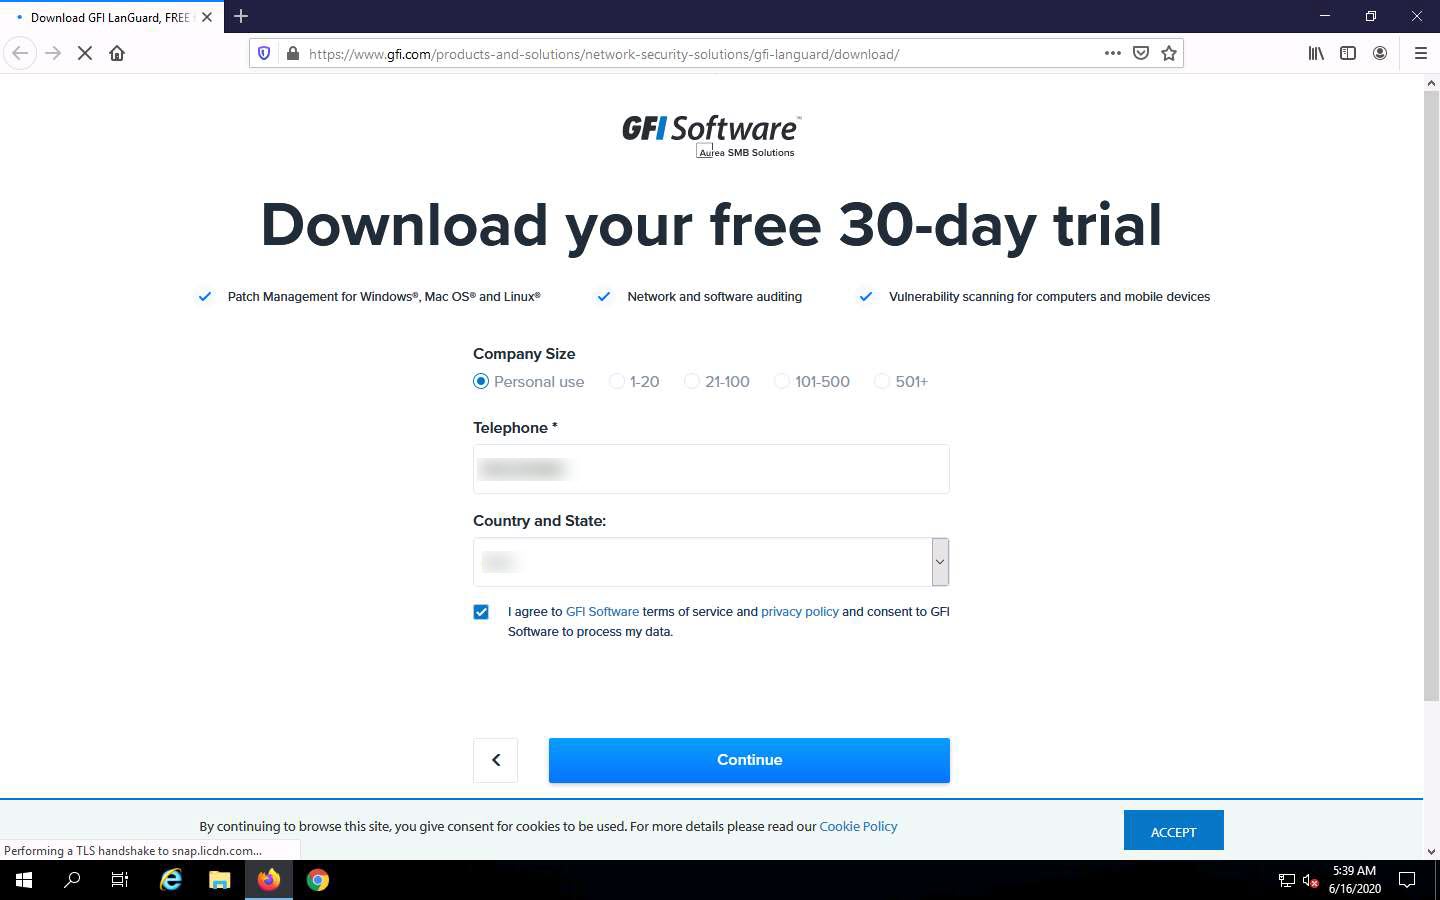
On the next page, enter the required details and select the I agree to GFI Software terms of service and privacy policy and consent to GFI Software to process data checkbox and click Start my free trial
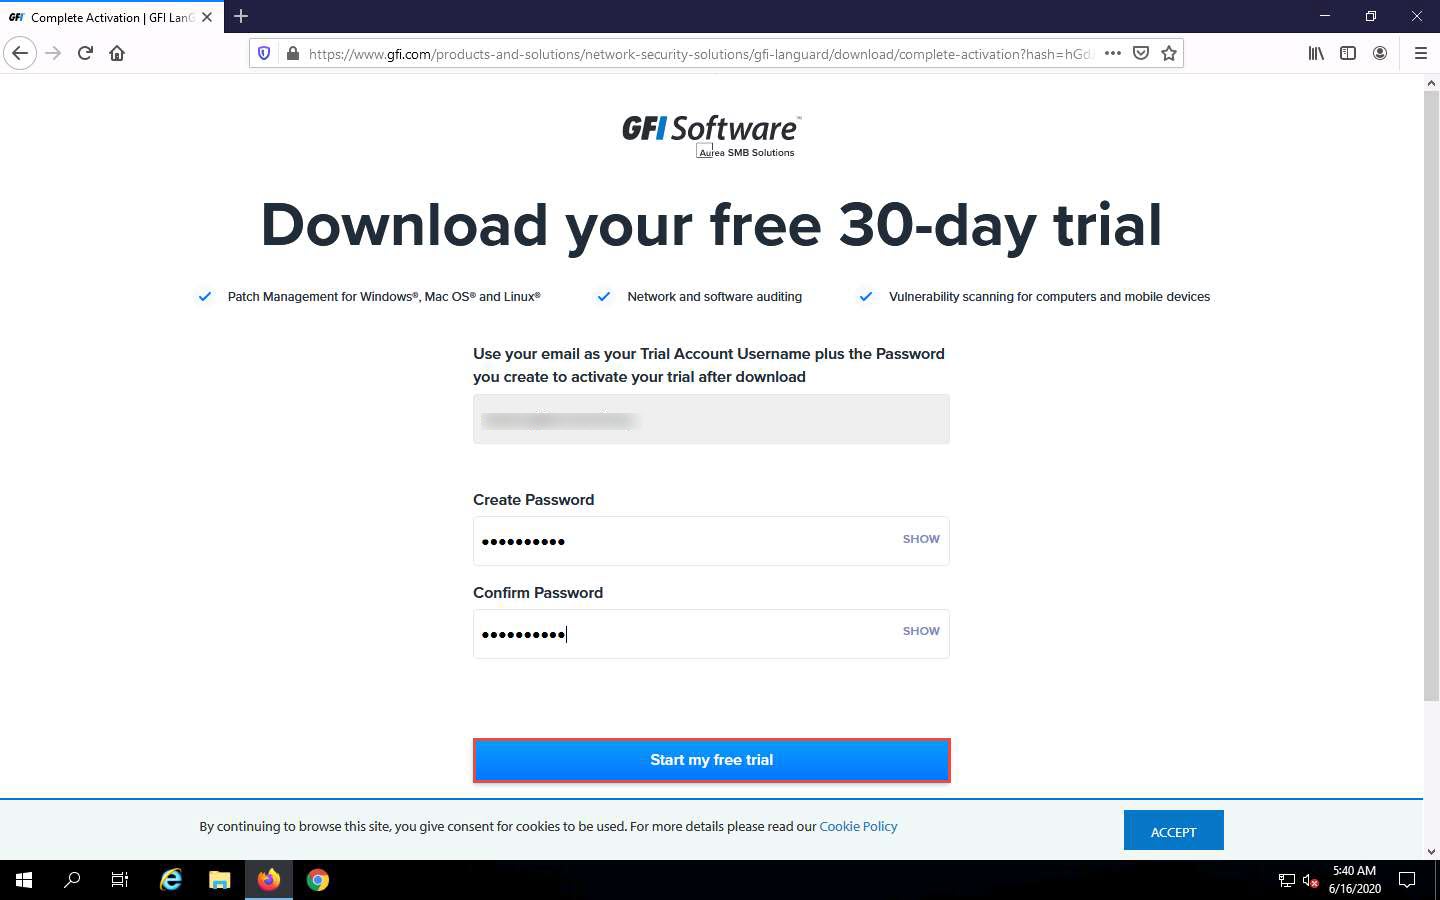
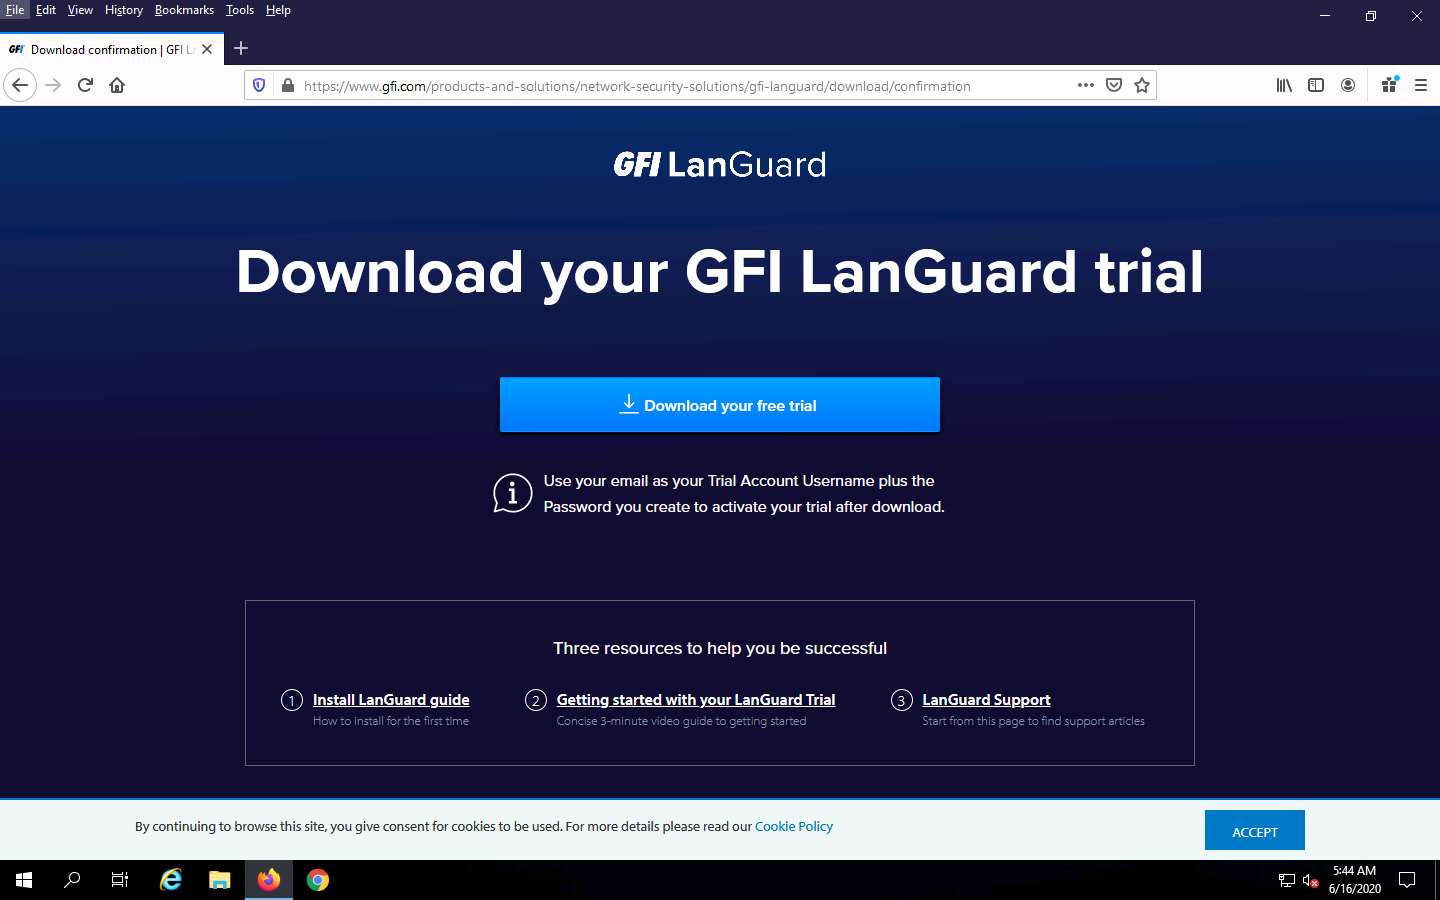
The Download your GFI LanGuard trial page appears; click the Download your free trial button.
The Opening languard.exe pop-up appears; click Save File.
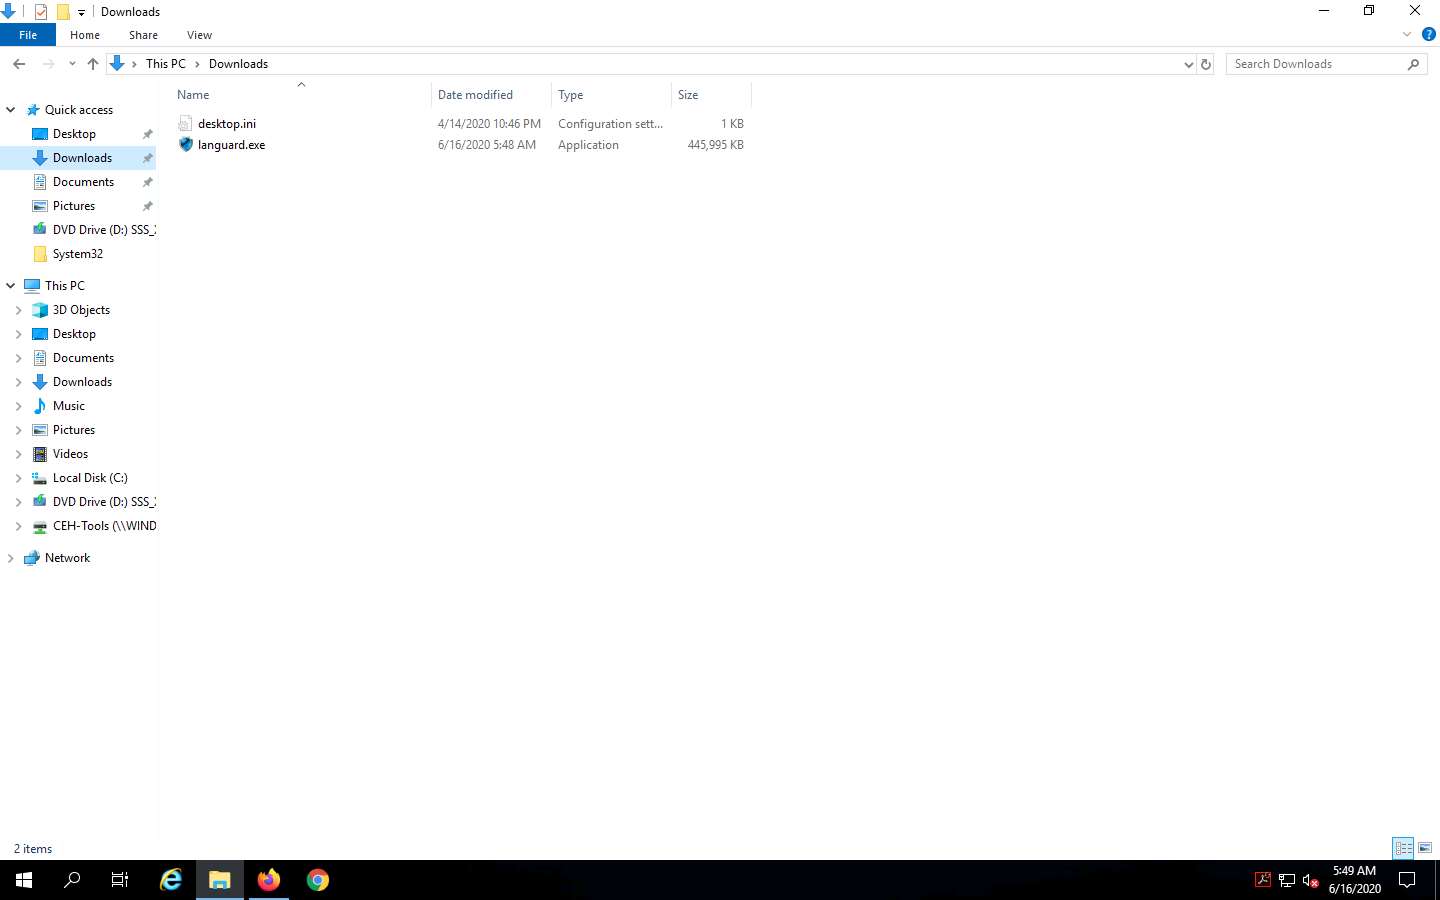
Now, navigate to the download location (here, Downloads) and double-click languard.exe to install.
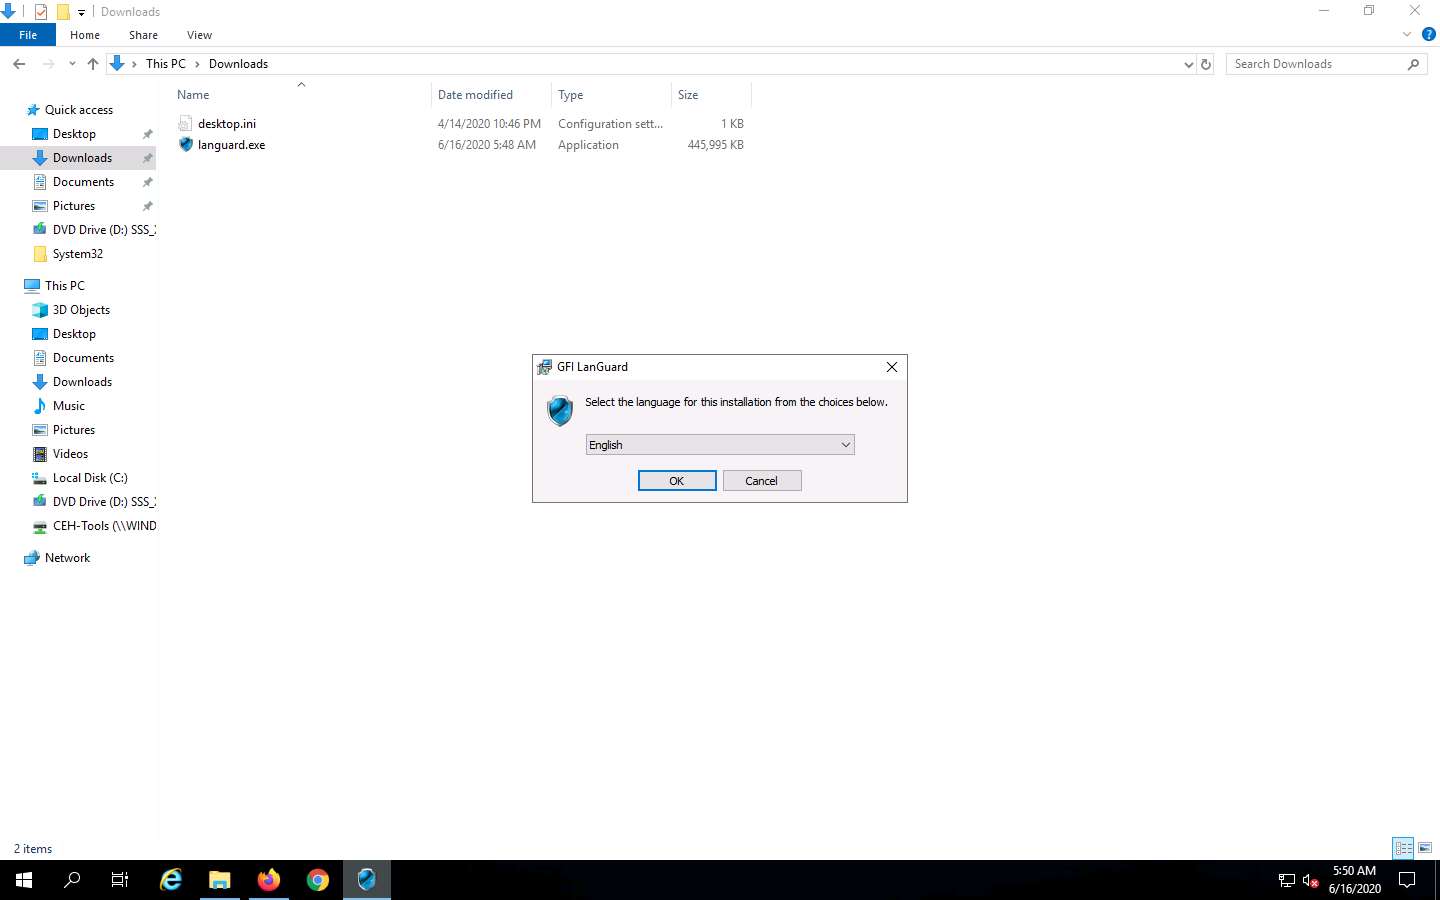
If the User File - Security Warning pop-up appears, click Run.
The GFI LanGuard dialog box appears; select preferred language (here, English) and click OK.
The GFI LanGuard wizard appears with selected components for installation; click Next to proceed.
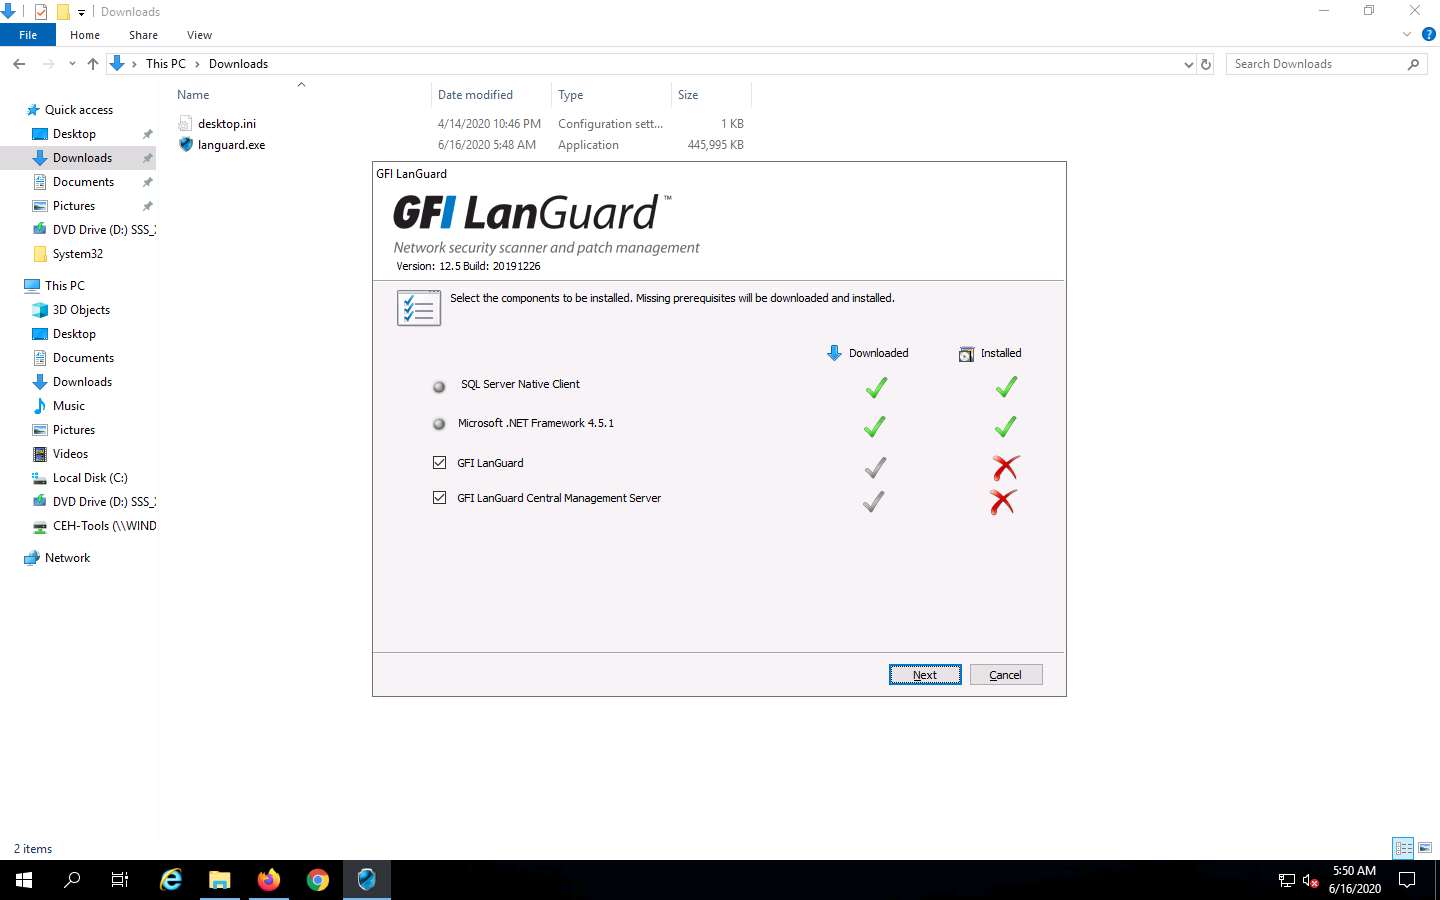
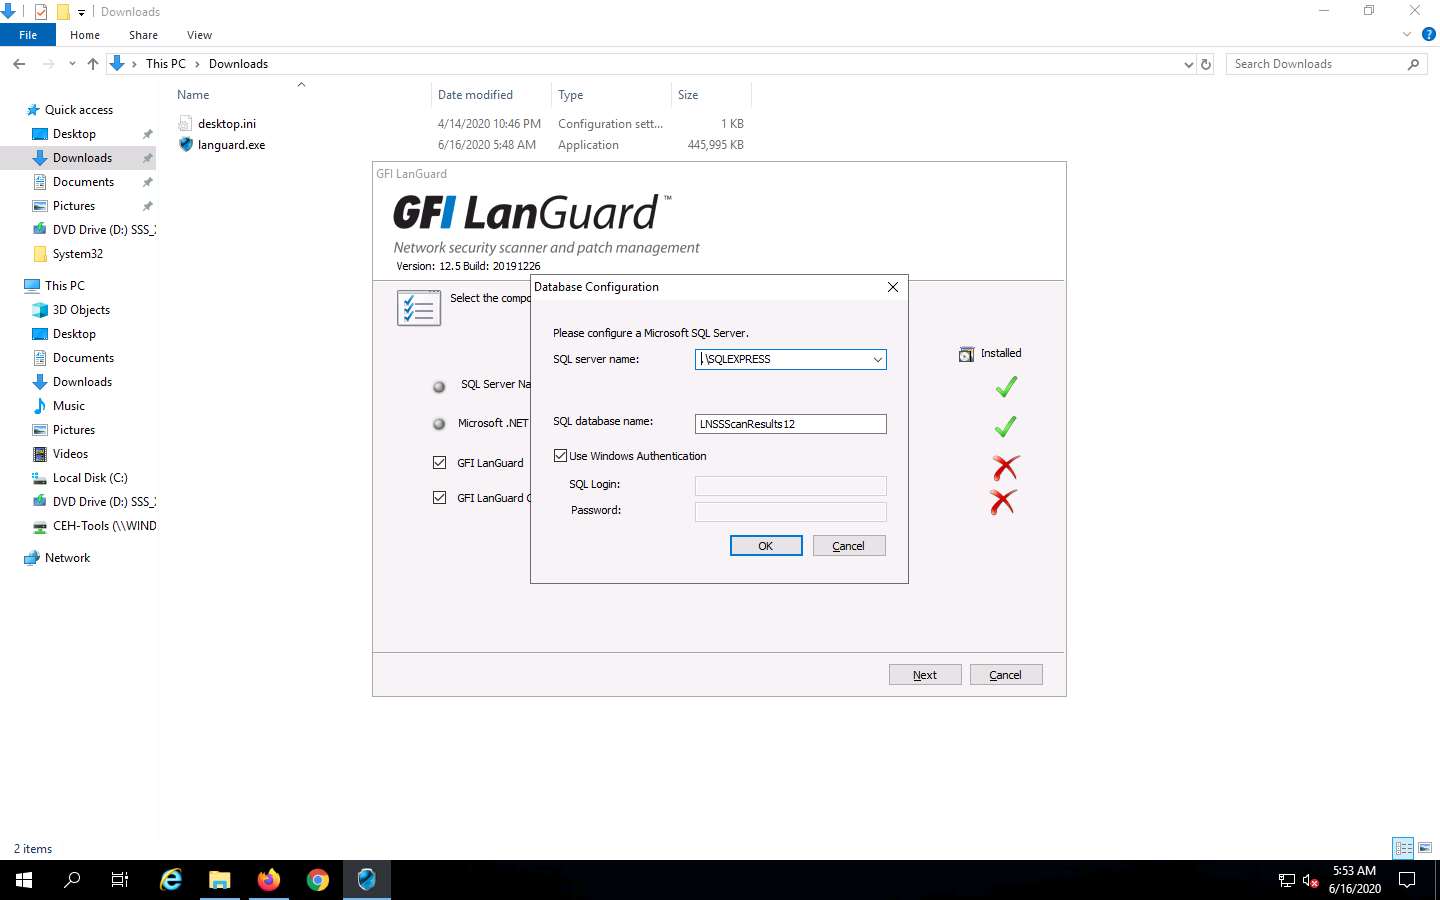
The Database Configuration window appears. In the SQL server name field, type .\SQLEXPRESS and leave SQL database name as default. Ensure that the Use Windows Authentication checkbox is selected and click OK.
The SQL server name might differ in your lab environment.
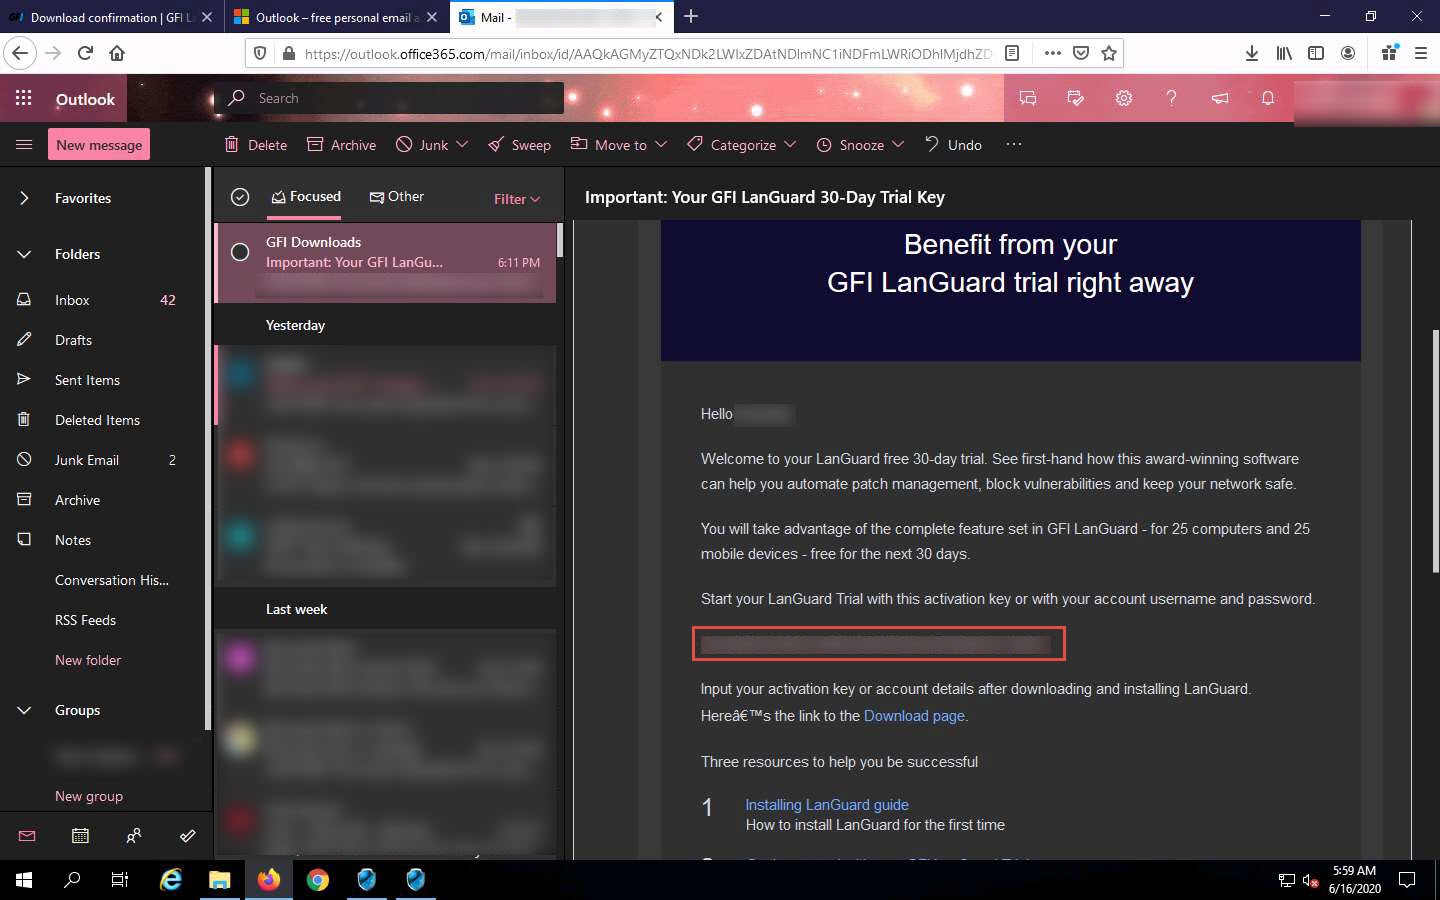
Now, switch back to the Mozilla Firefox browser, open a new tab, and log in to your email account that you have given while registration.
Open an email from GFI Downloads and copy the activation key.
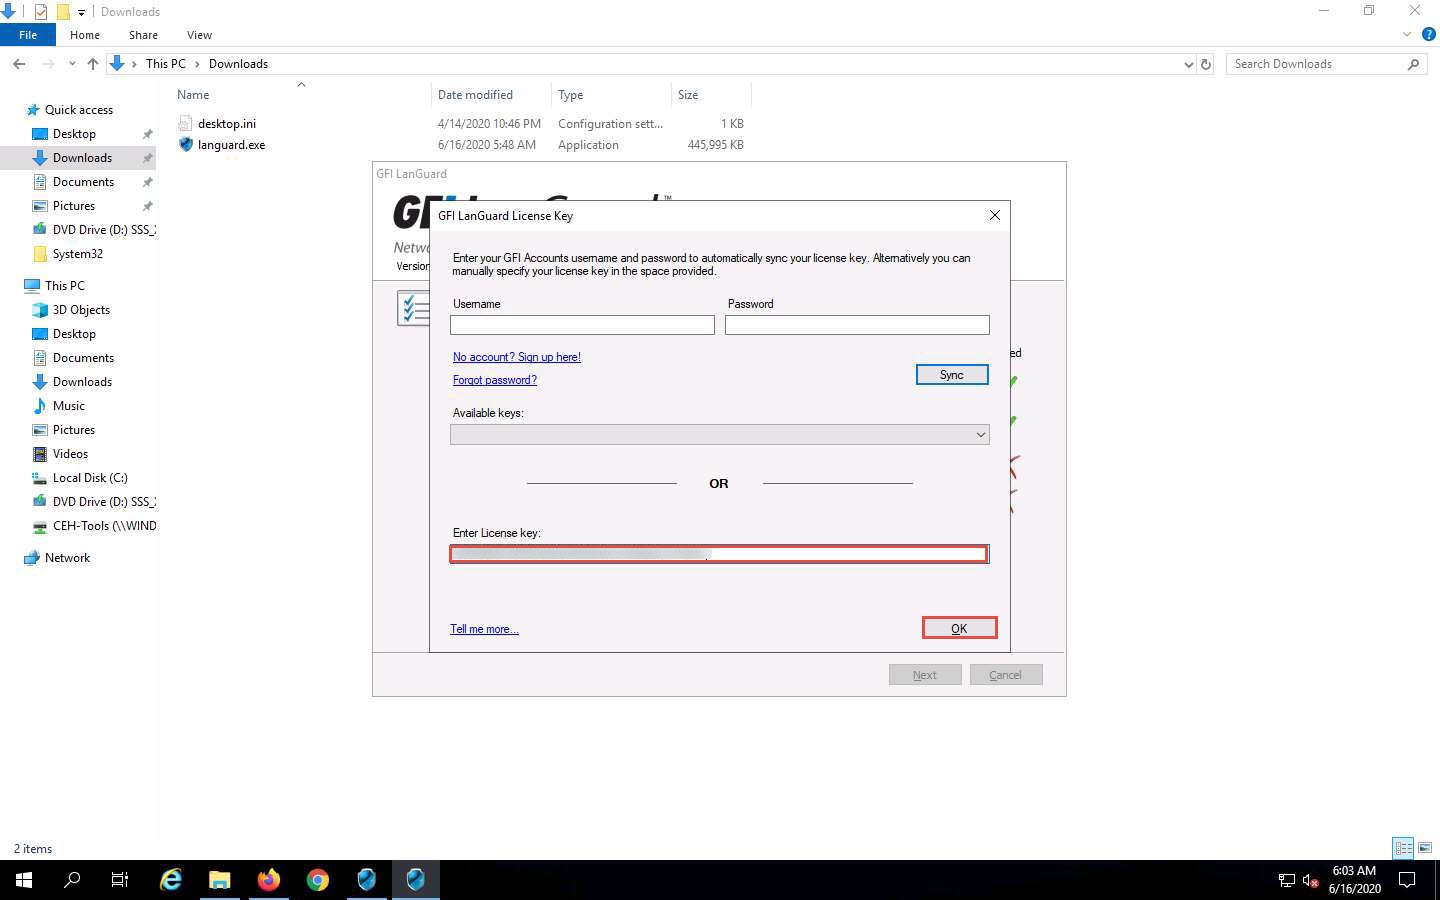
The GFI LanGuard License Key window appears. Paste the received activation key in the Enter License Key field and click OK.
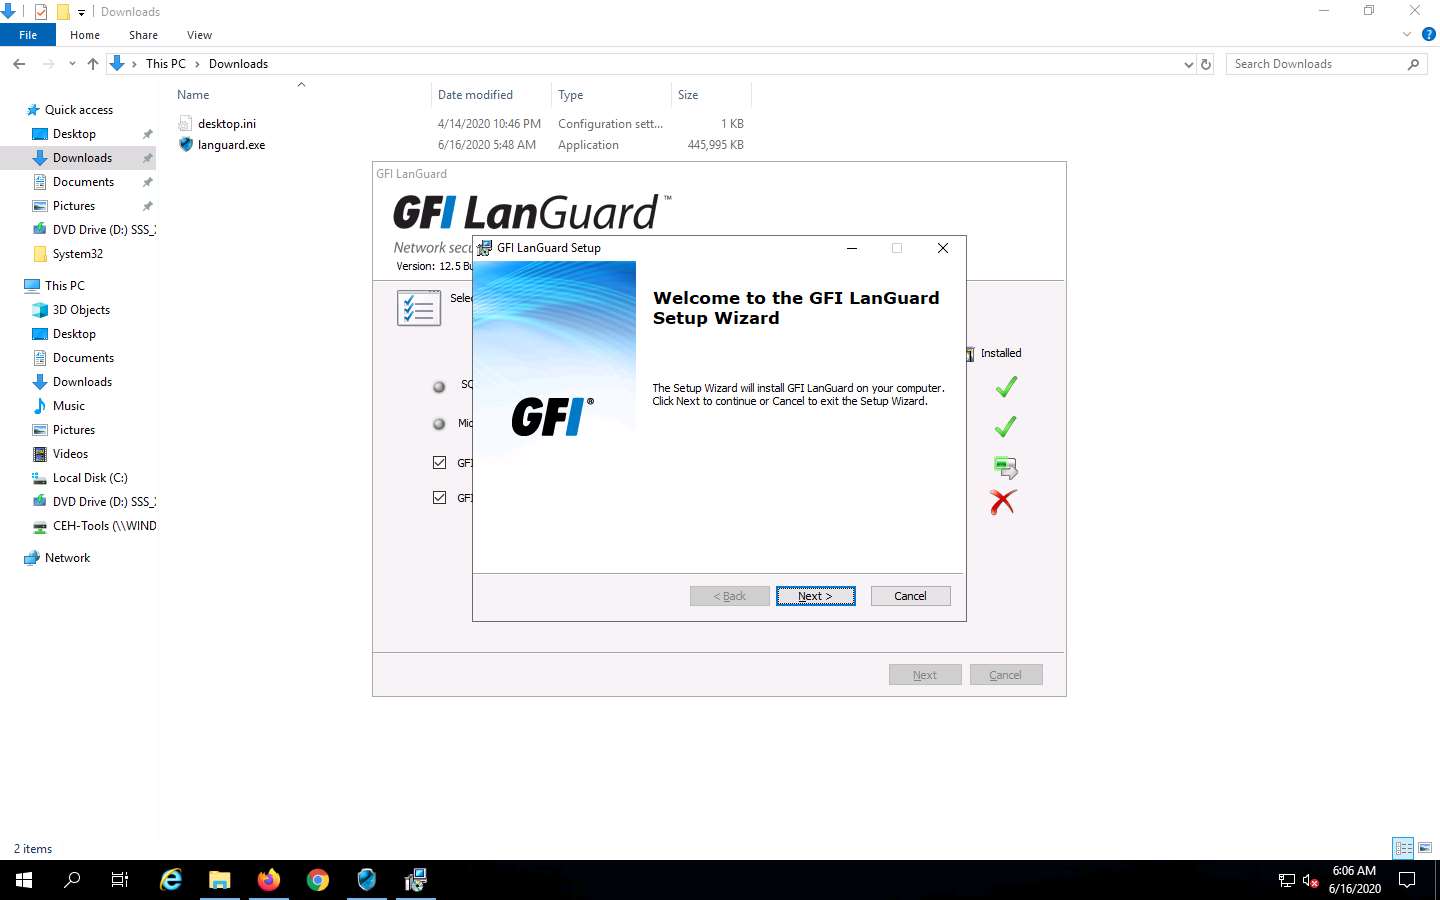
GFI LanGuard starts installing after the completion of the installation; when the GFI LanGuard Setup window appears, click Next.
The End-User License Agreement wizard appears; accept the terms and click Next.
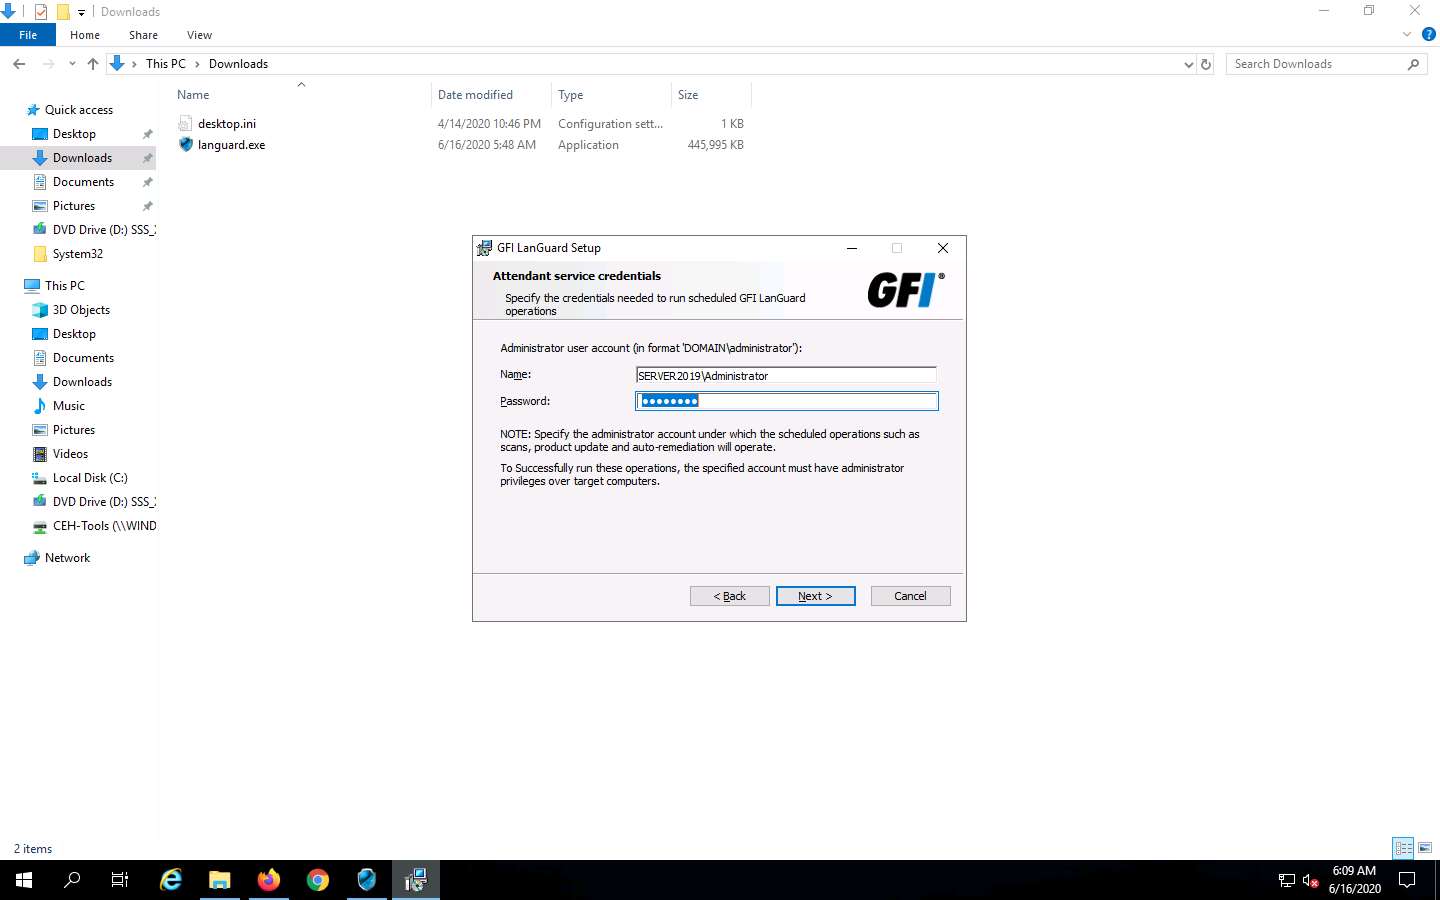
In the Attendant service credentials wizard, leave the Name field as default (here, SERVER2019\Administrator) and enter the Password of the administrator account (here, Pa$$w0rd); then, click Next.
The Name field might differ in your lab environment.
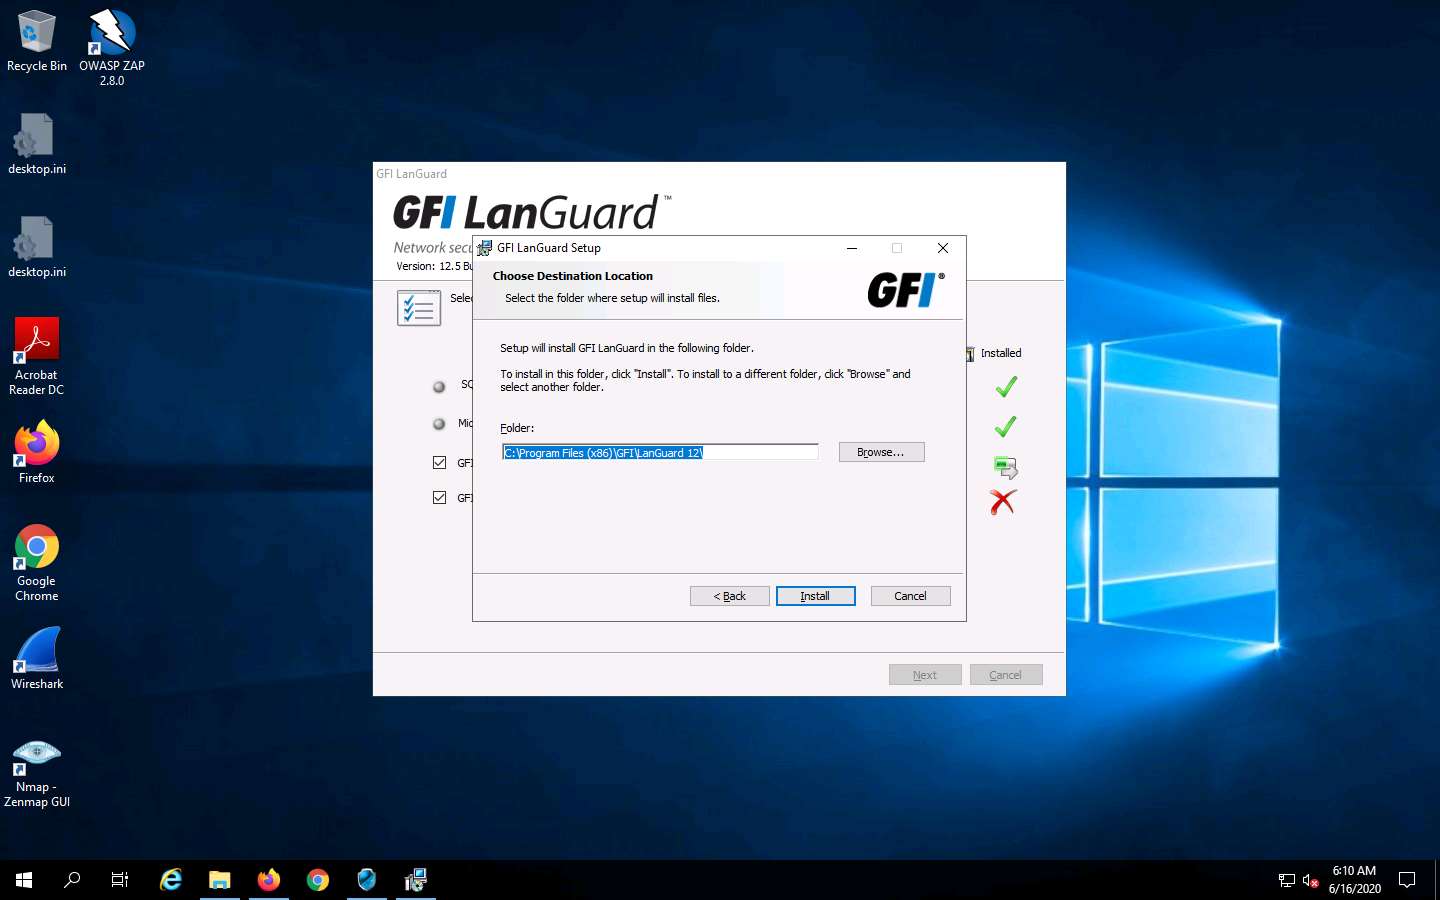
In the Choose Destination Location wizard, leave the Folder location set to default and click Install.
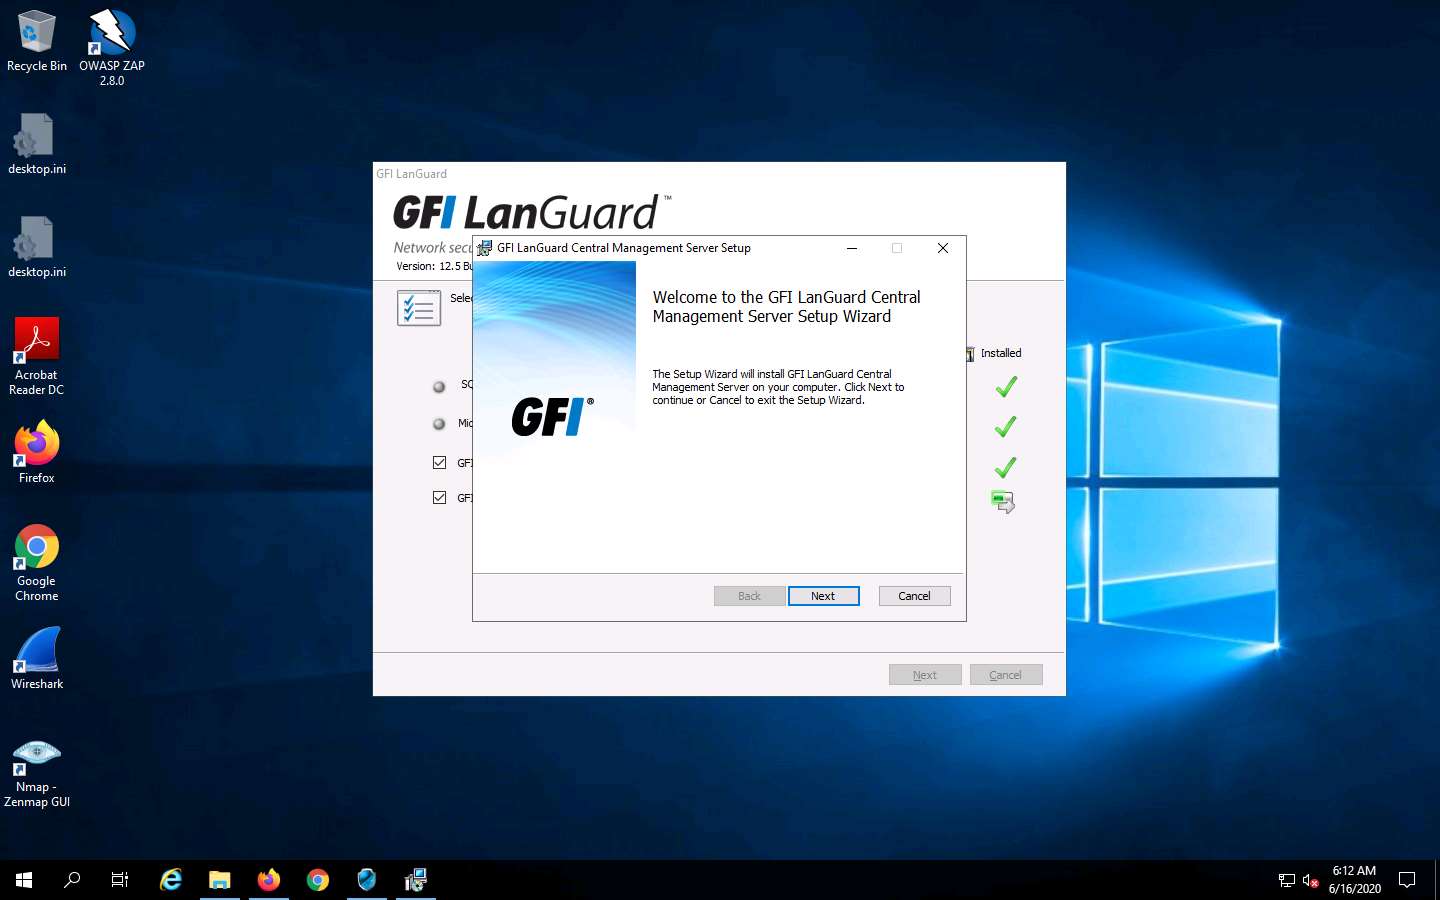
The Installing GFI LanGuard wizard appears. After the completion of installation, the GFI LanGuard Central Management Server Setup window appears; then, click Next.
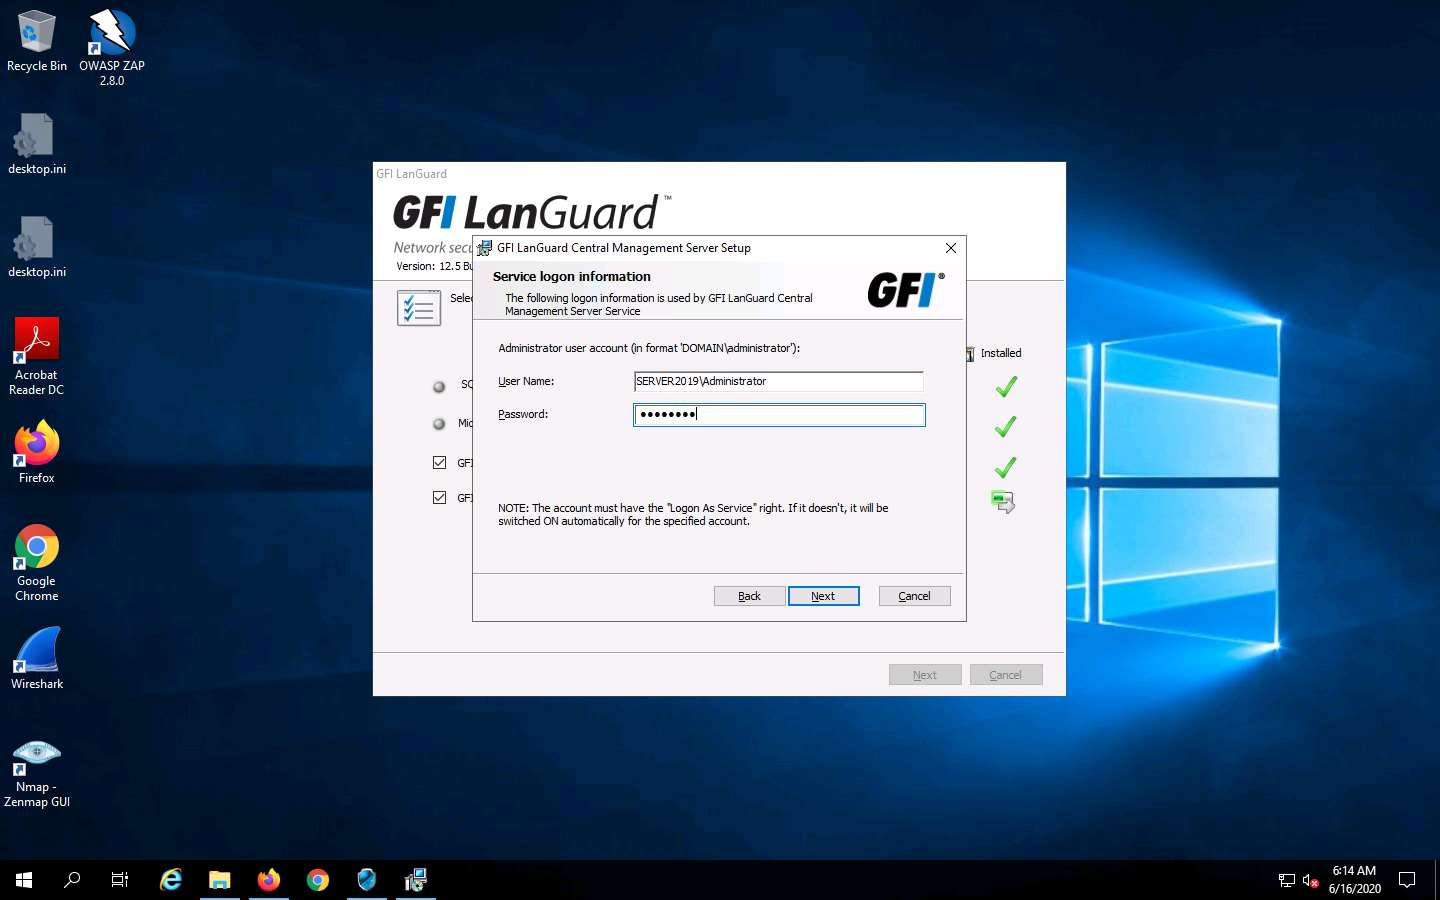
In the Service logon information wizard, leave the User Name field (Administrator user account) set to its default, enter the Password of the administrator account (here, Pa$$w0rd), and click Next.
The Name field might differ in your lab environment.
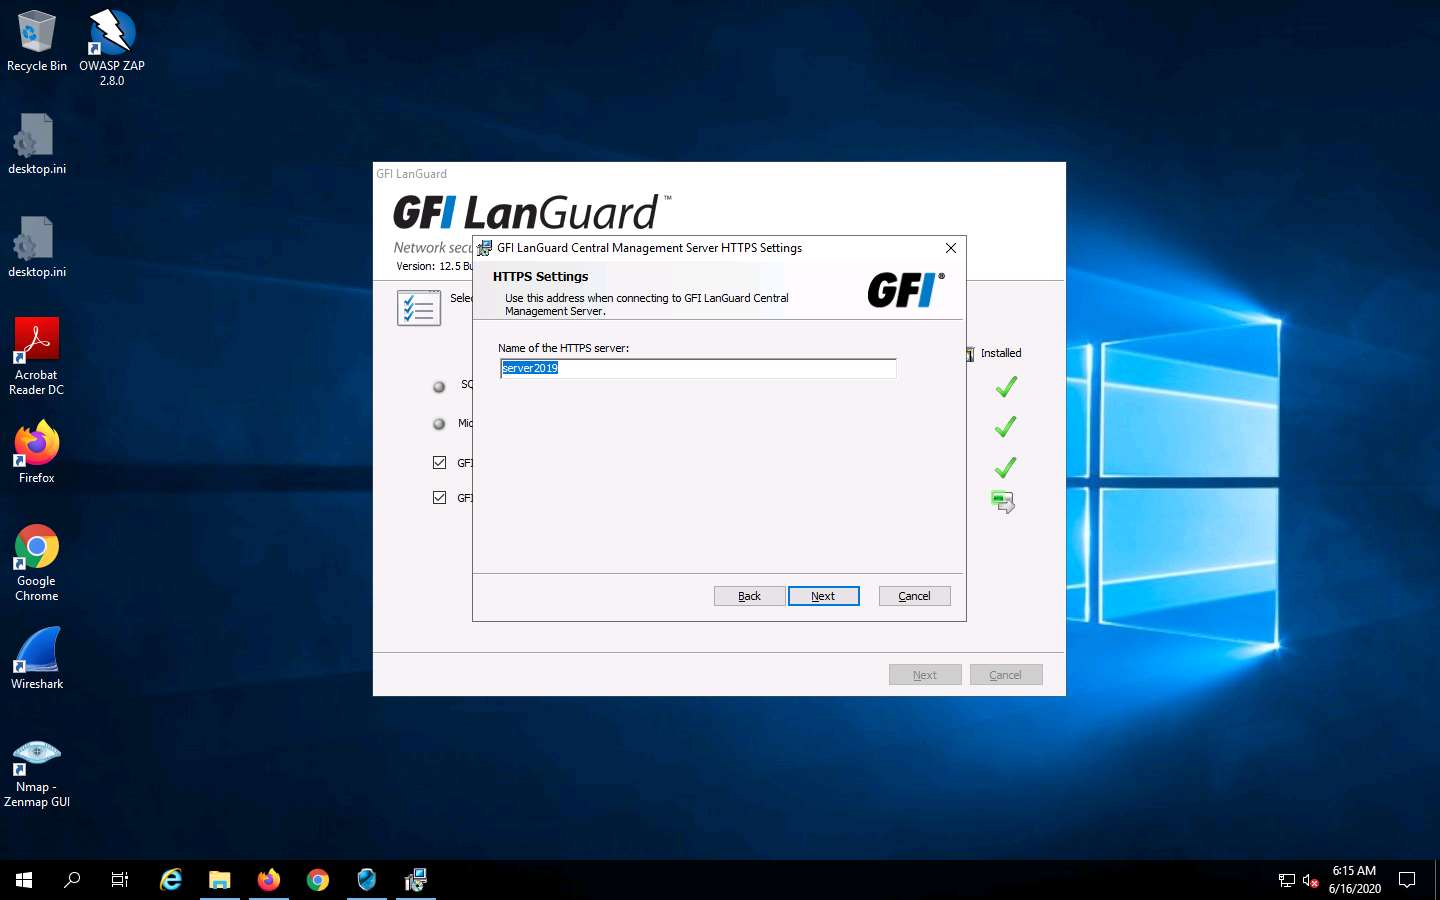
The HTTPS Settings wizard appears; keep the name in its default and click Next.
The name field might differ in your lab environment.
In the Destination Folder wizard, choose the location where you want to install the application (here, the default location is selected) and click Next.

In the Ready to install wizard, click Install to proceed.
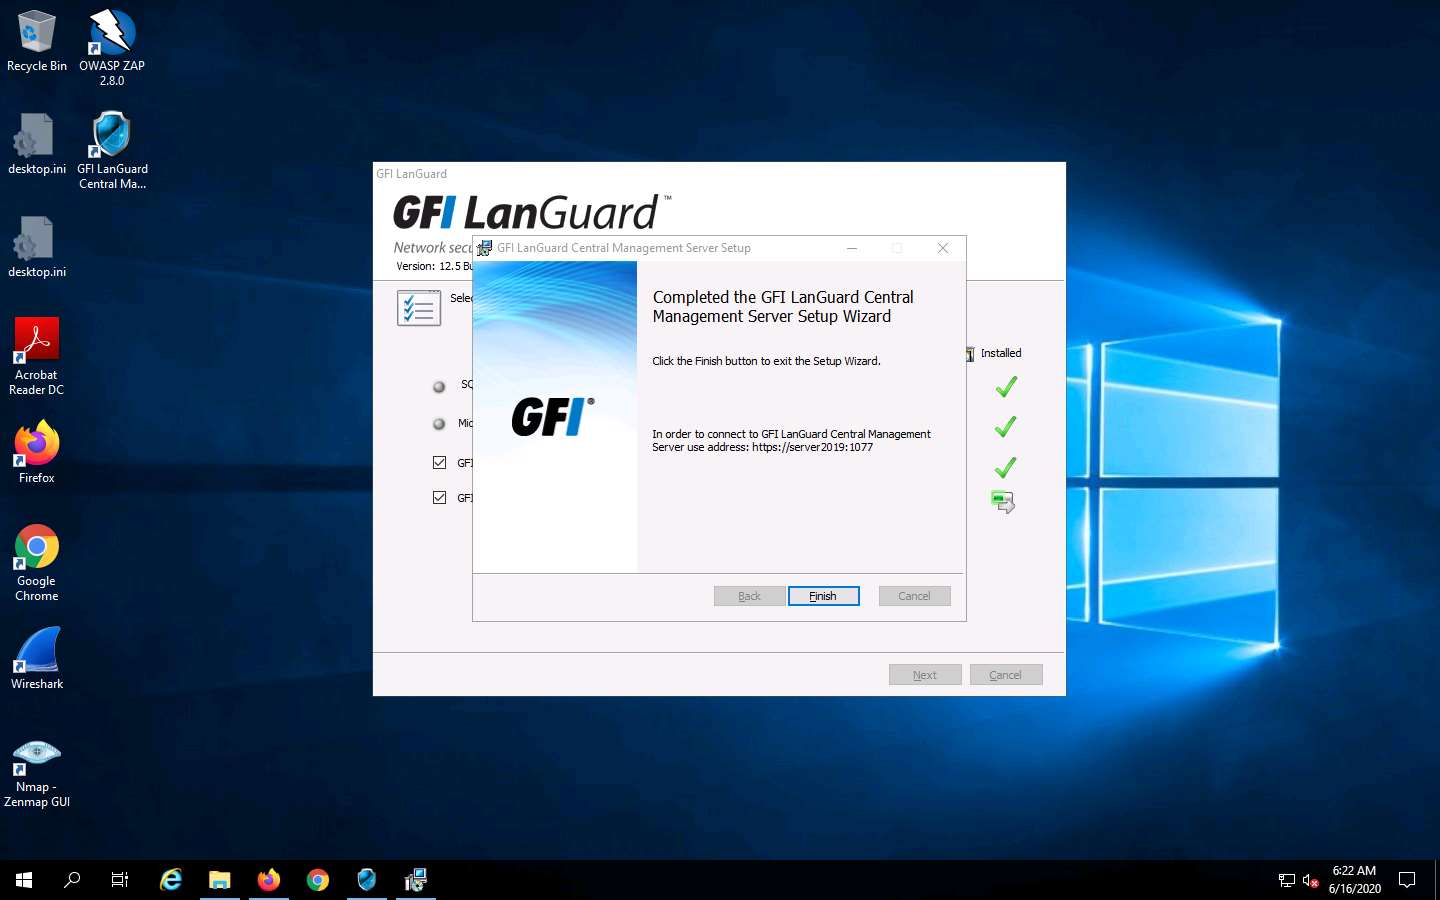
Once the installation is complete in the GFI LanGuard Central Management Server Setup window, click Finish.
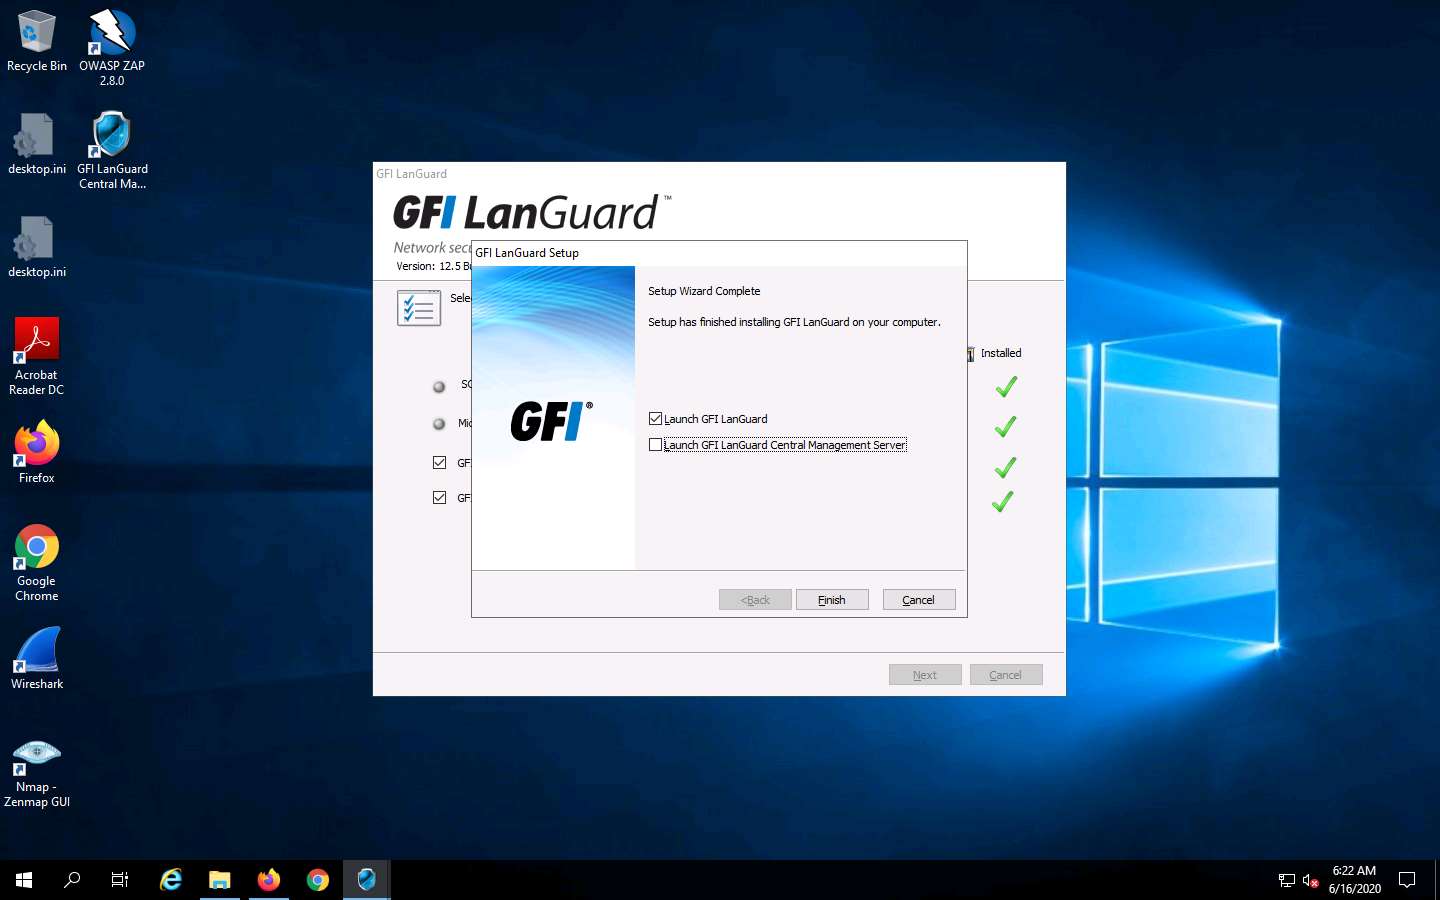
In the GFI LanGuard Setup window, ensure that the Launch GFI LanGuard checkbox is selected. De-select the Launch GFI LanGuard Central Management Server checkbox and click Finish.
A GFI LanGuard pop-up appears on the main window of the application; click Continue evaluation.
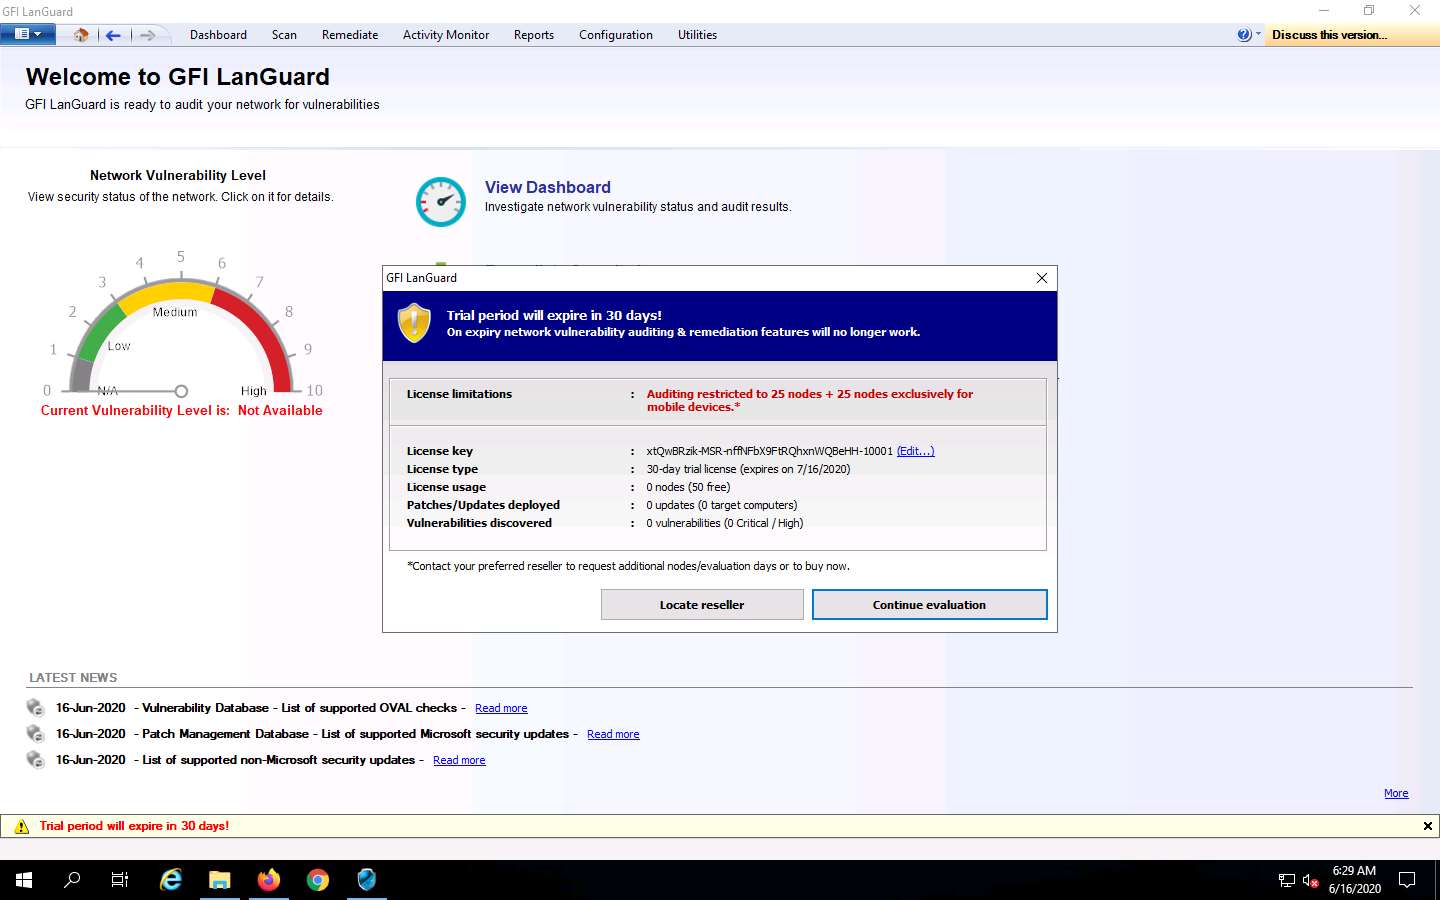
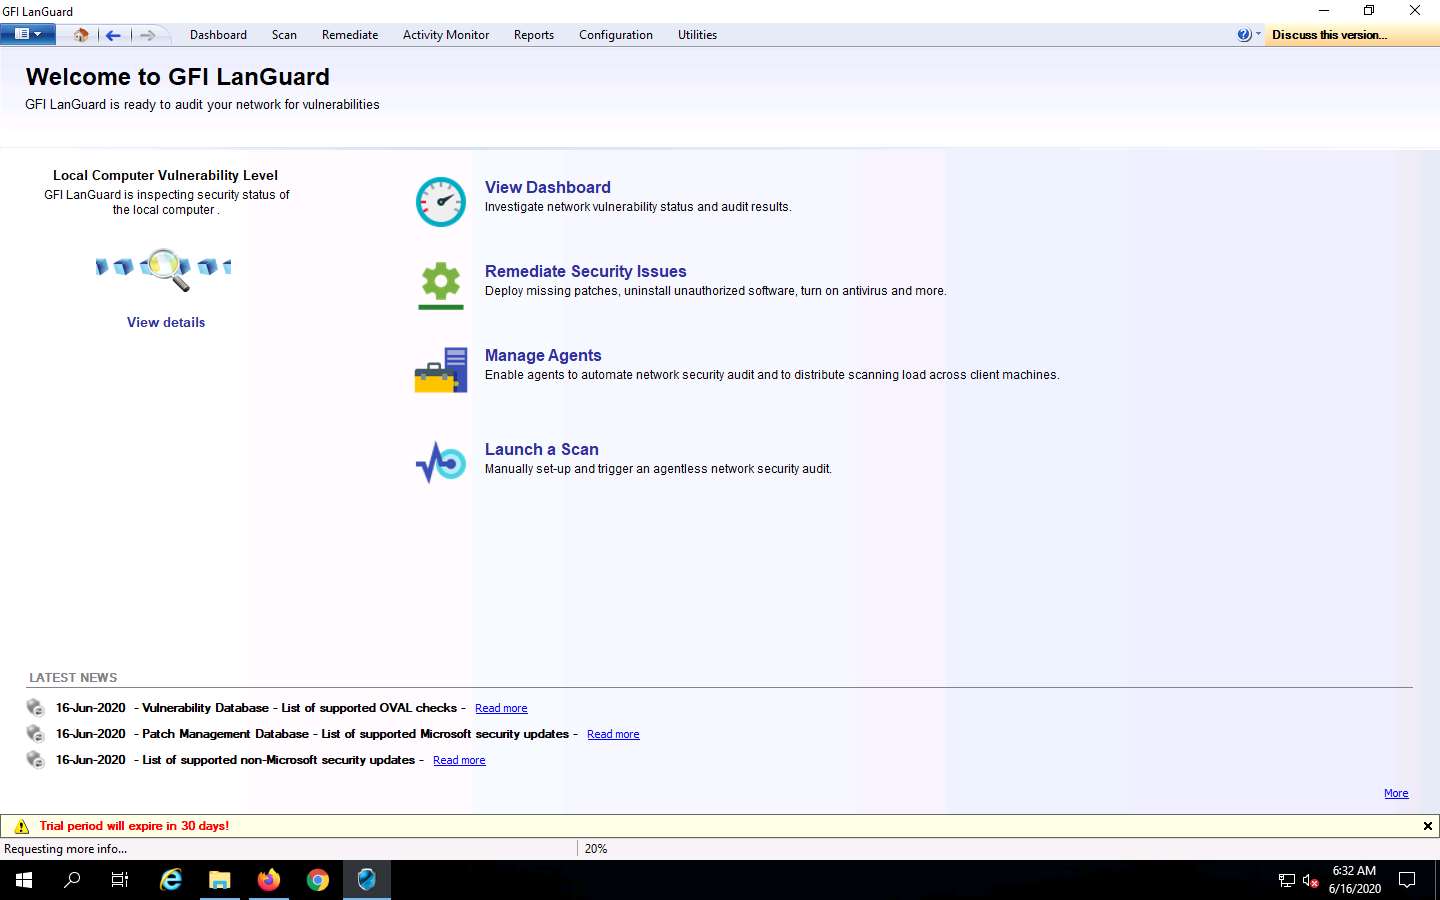
The GFI LanGuard main window appears, and it begins to inspect the security status of the local computer.
Click Launch a Scan or View details.
A window indicates that a scan on the local machine is already in progress.
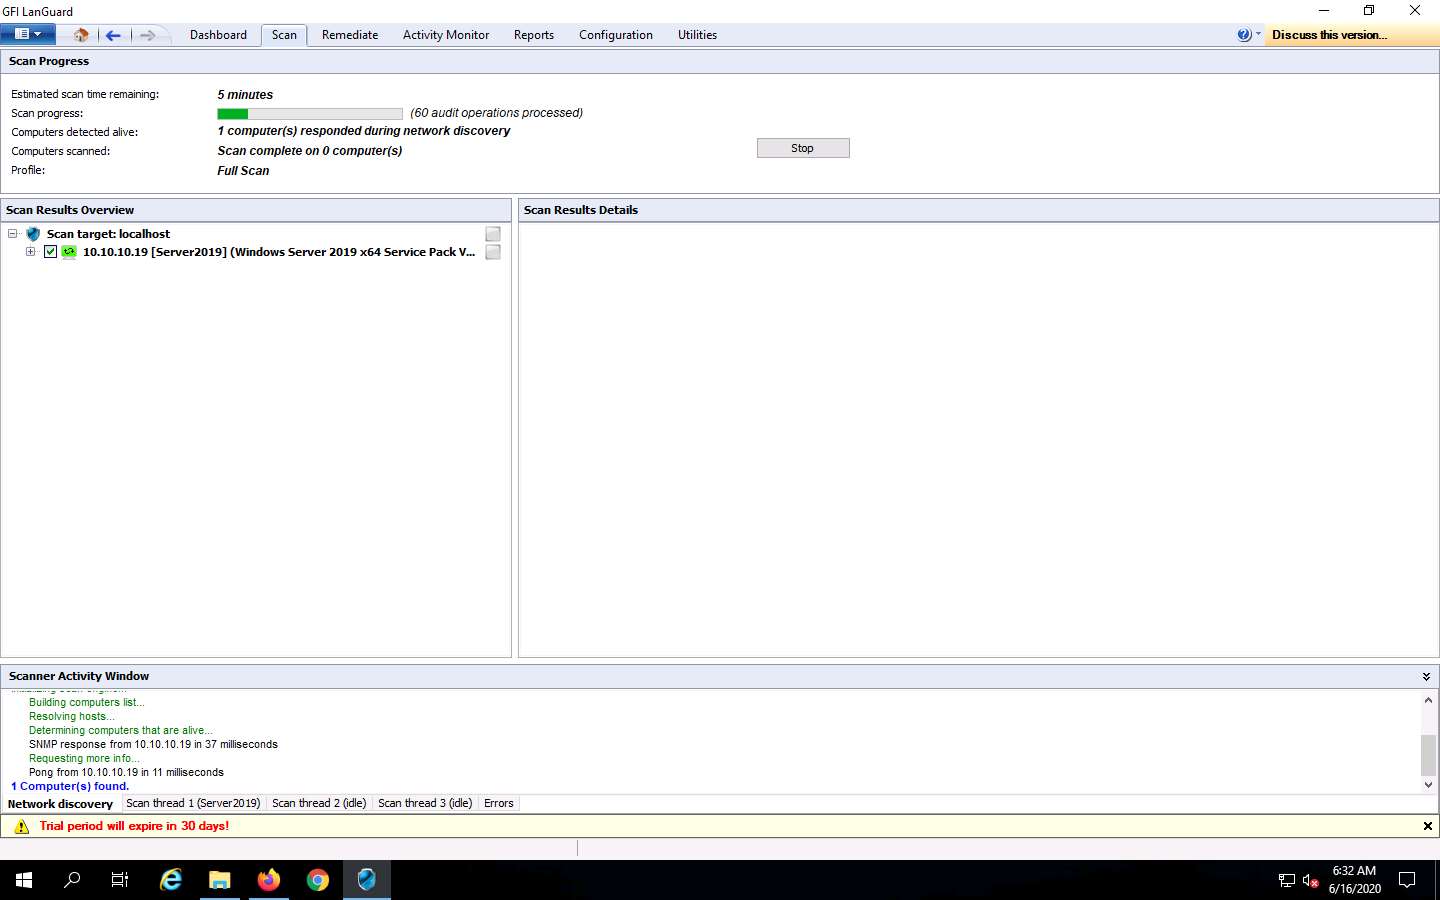
Allow the scan to finish analyzing vulnerabilities in the host machine.
Click Stop to halt the vulnerability scan on the host machine.
If the Stop scanning confirmation pop-up appears, click Yes.
The scan might take time to stop.
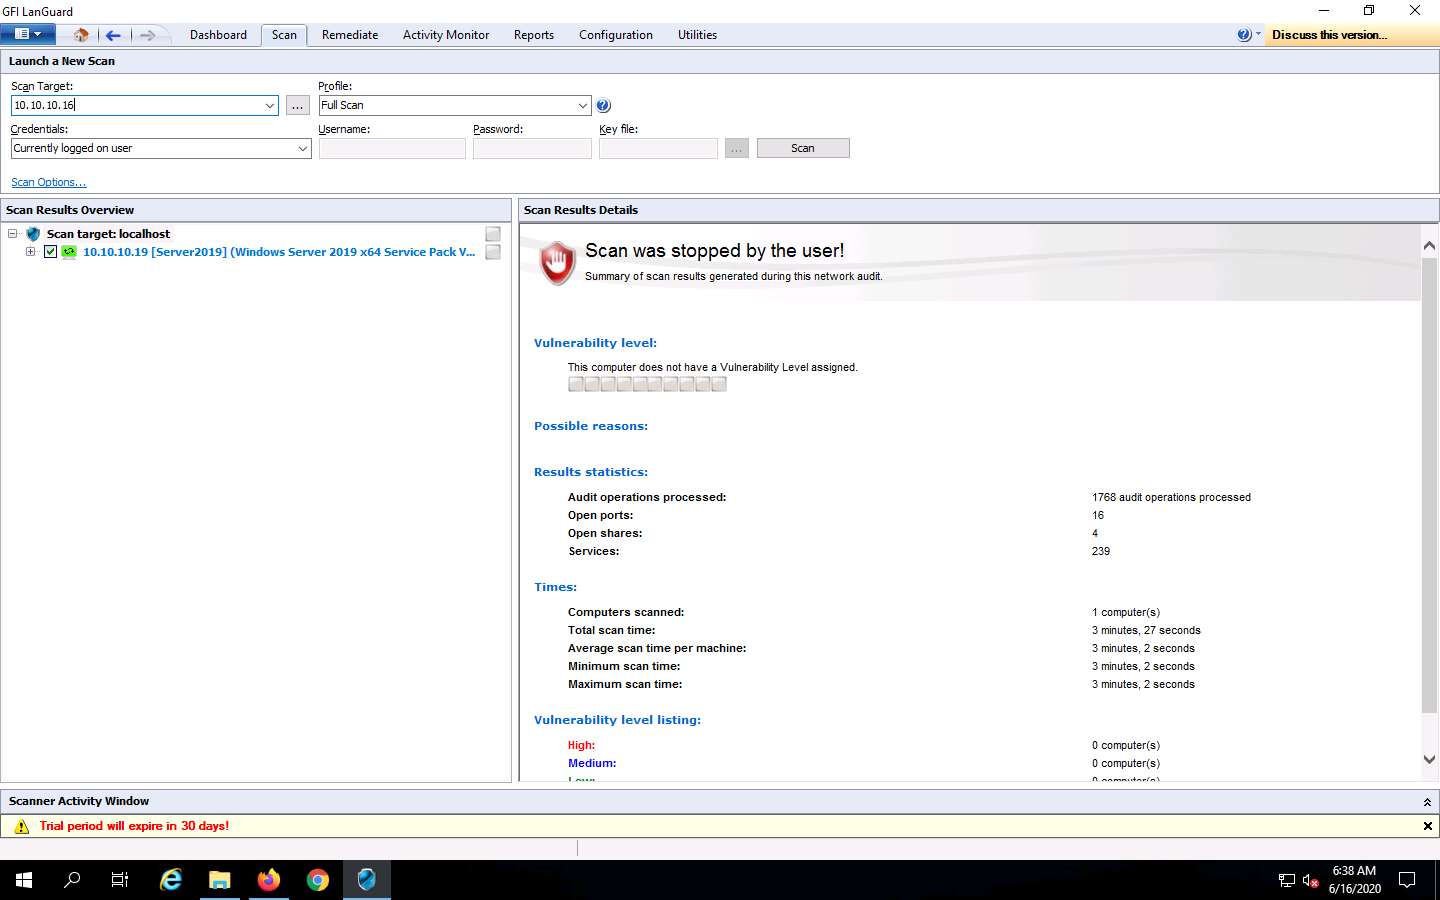
The Launch a New Scan page appears: specify the details required to scan a target/machine as follows:
- Enter the IP address of the machine in the Scan Target field (here, the target machine is Windows Server 2016 [10.10.10.16]), and ensure that the Full Scan option is selected from the Profile drop-down list.
- Ensure that Currently logged on user is selected in the Credentials drop-down list.
- Click Scan.
This may vary in your lab environment.
GFI LanGuard takes some time to perform the vulnerability assessment on the intended machine.

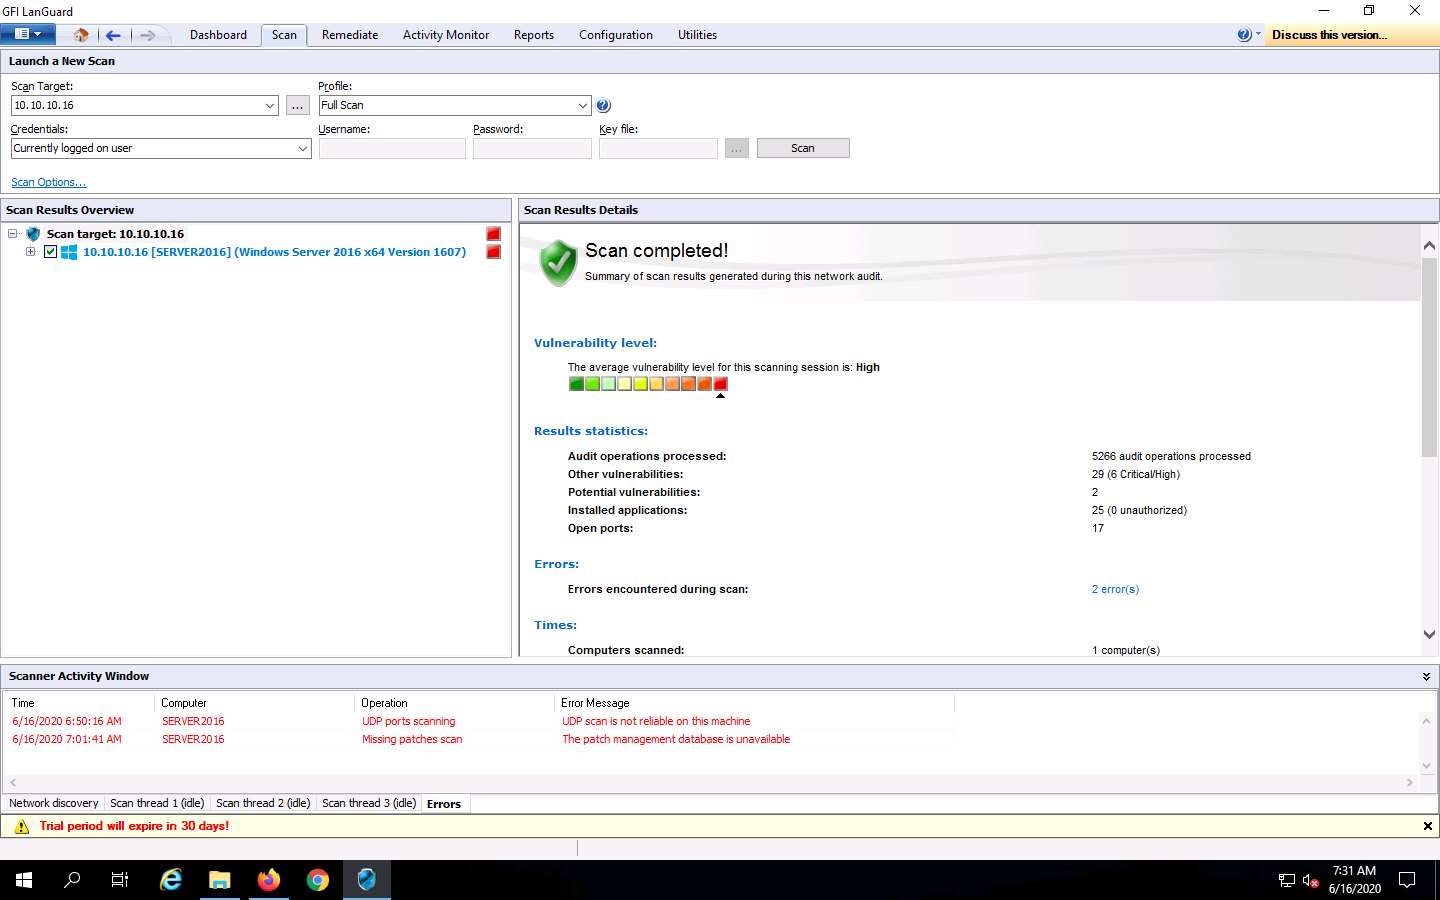
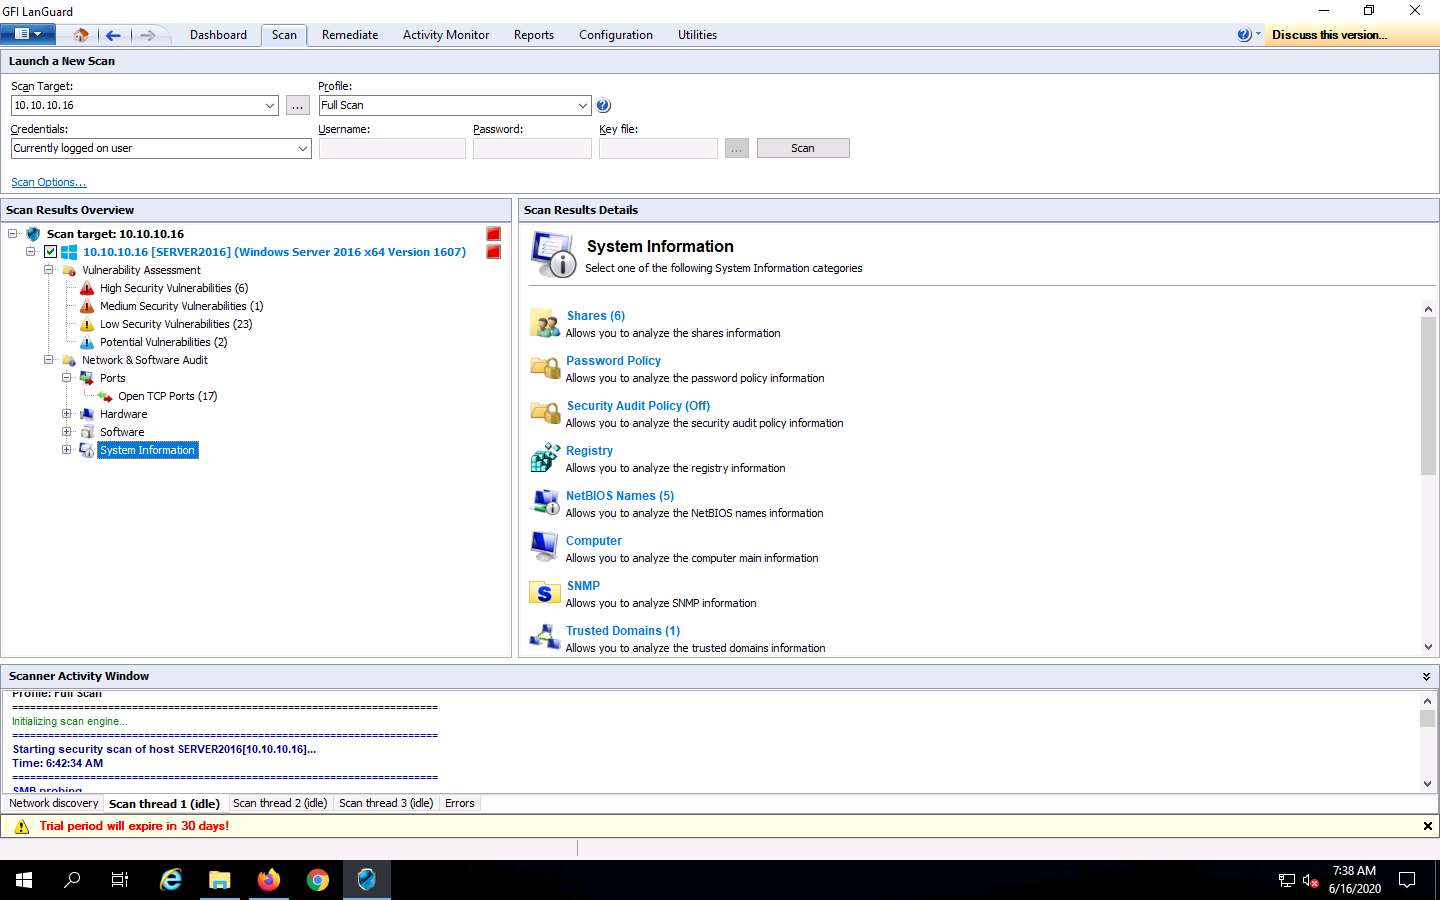
Once the scanning is complete, a Scan completed! message is displayed under Scan Results Details, as shown in the screenshot.
The scanning takes approximately 20–30 minutes to complete.
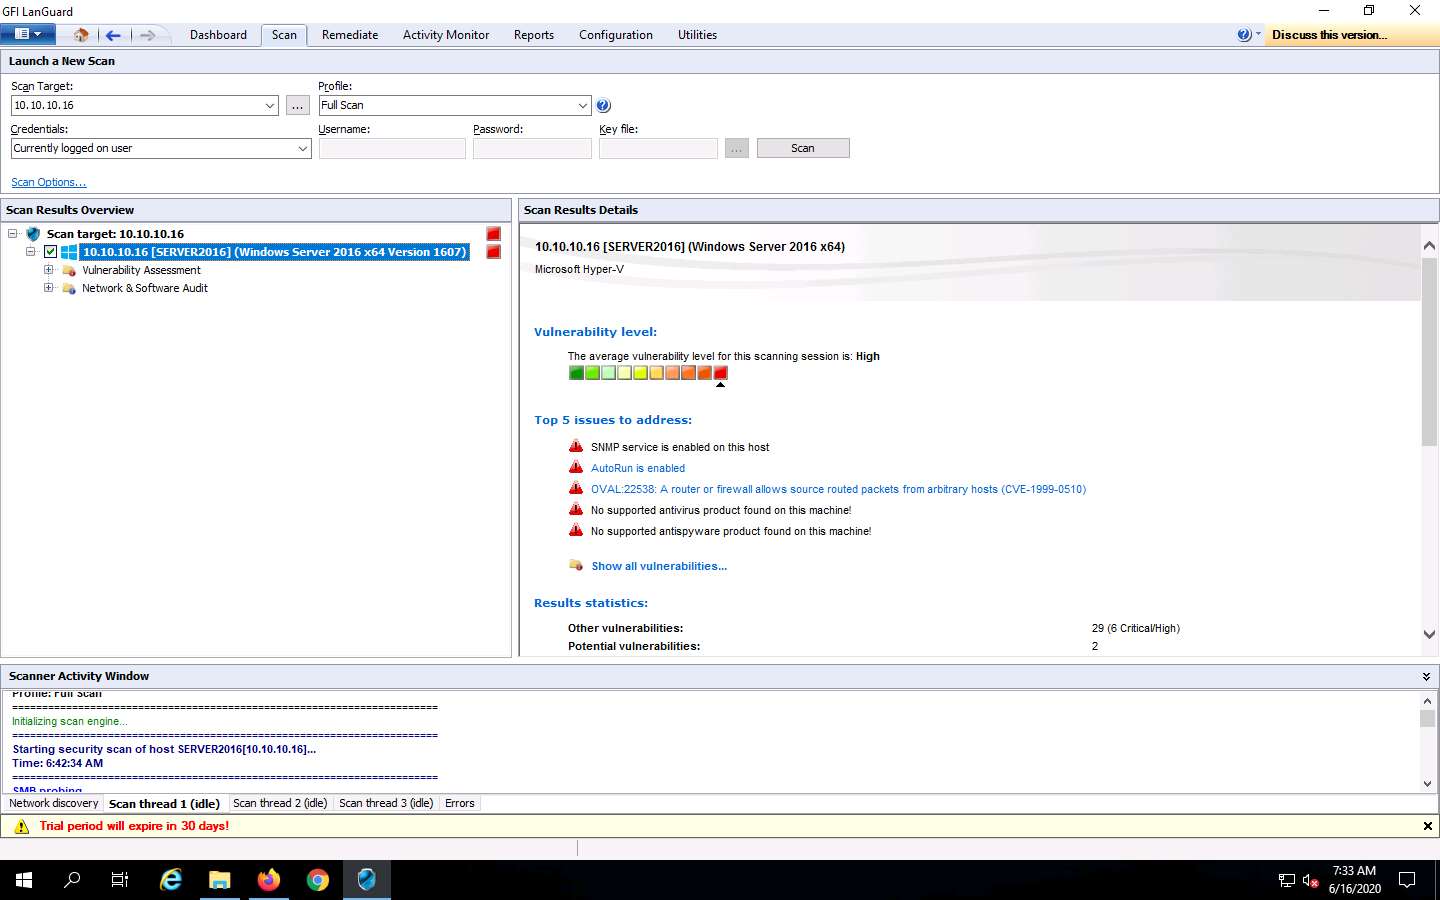
To examine the scanned result, in the left pane under Scan Results Overview, click the IP address (10.10.10.16) node to expand it. The Vulnerability Assessment and Network & Software Audit nodes are displayed, as shown in the screenshot.
The results might differ in your lab environment.
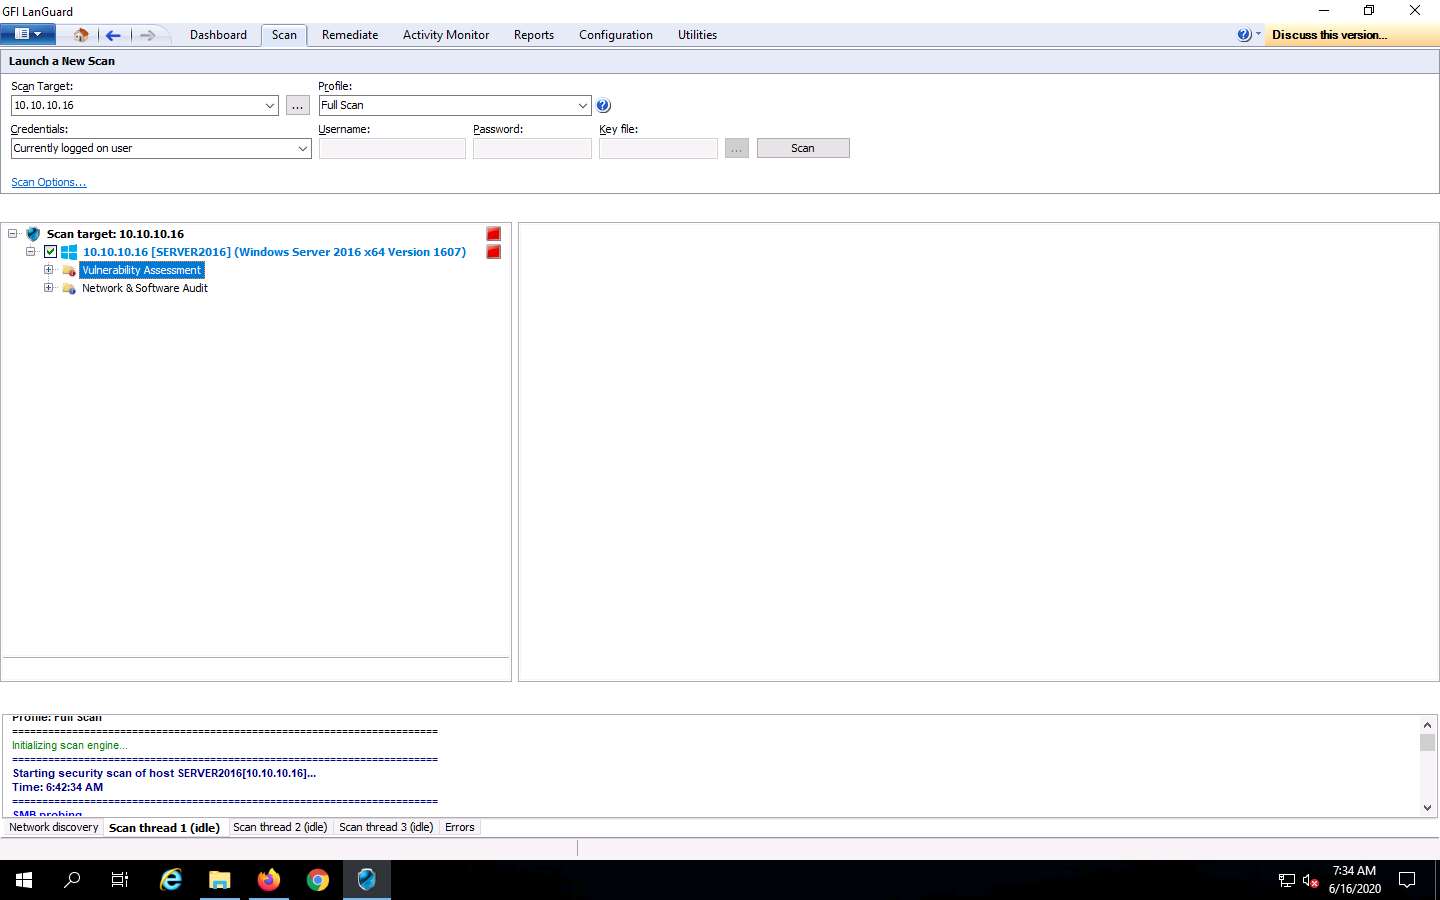
Click the Vulnerability Assessment node. This shows category-wise details of assessed vulnerabilities. Click each category to view the vulnerabilities in detail.
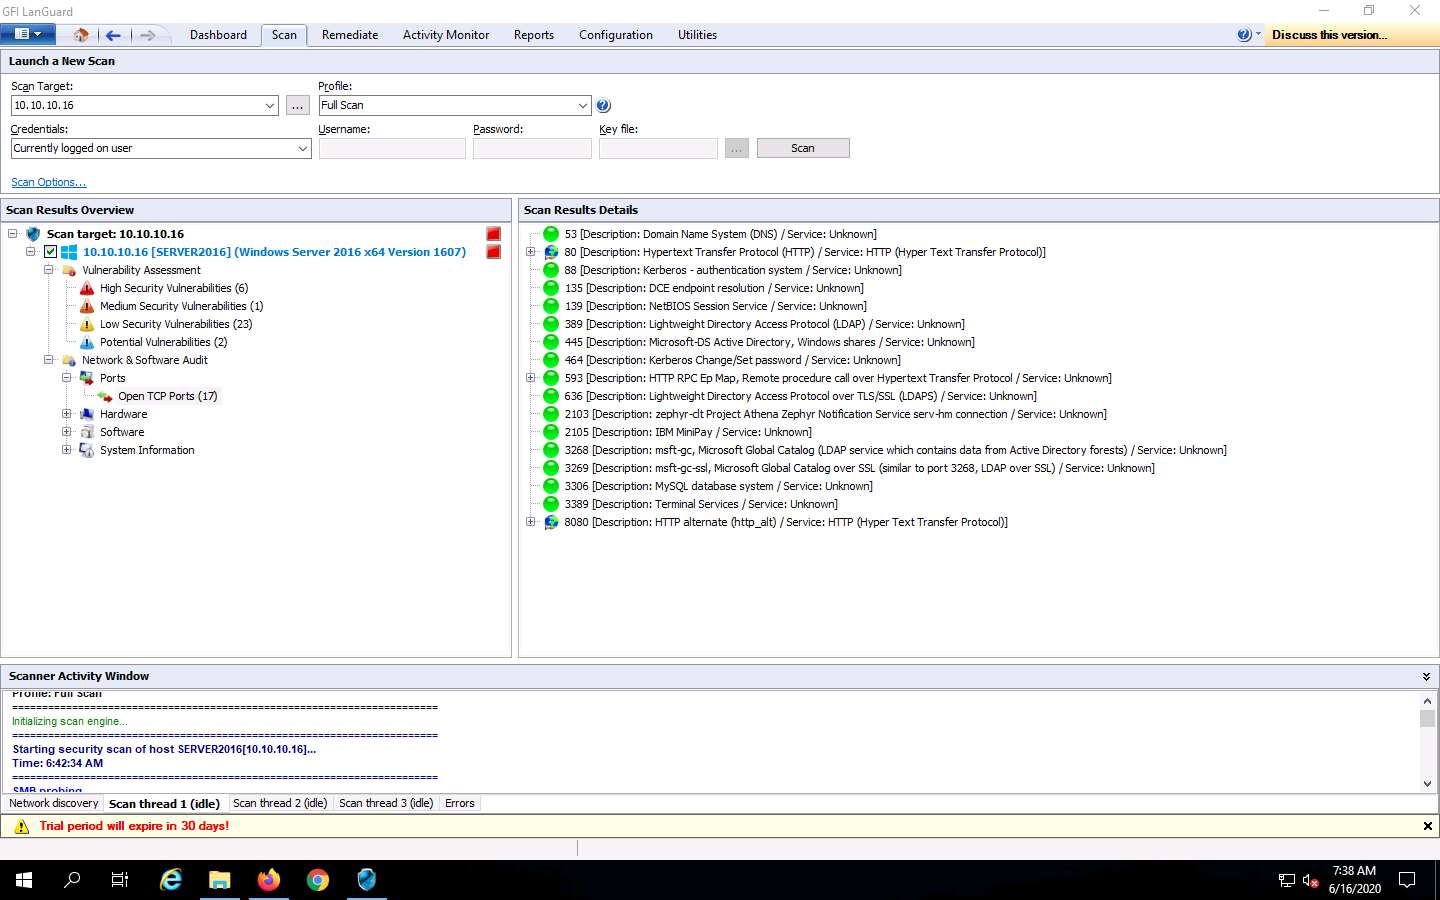
Expand Ports and click Open TCP Ports to view all the open TCP Ports under the Scan Results Details section in the right pane, as shown in the screenshot.
Click System Information to view detailed information about the target system under the Scan Results Details section in the right pane.
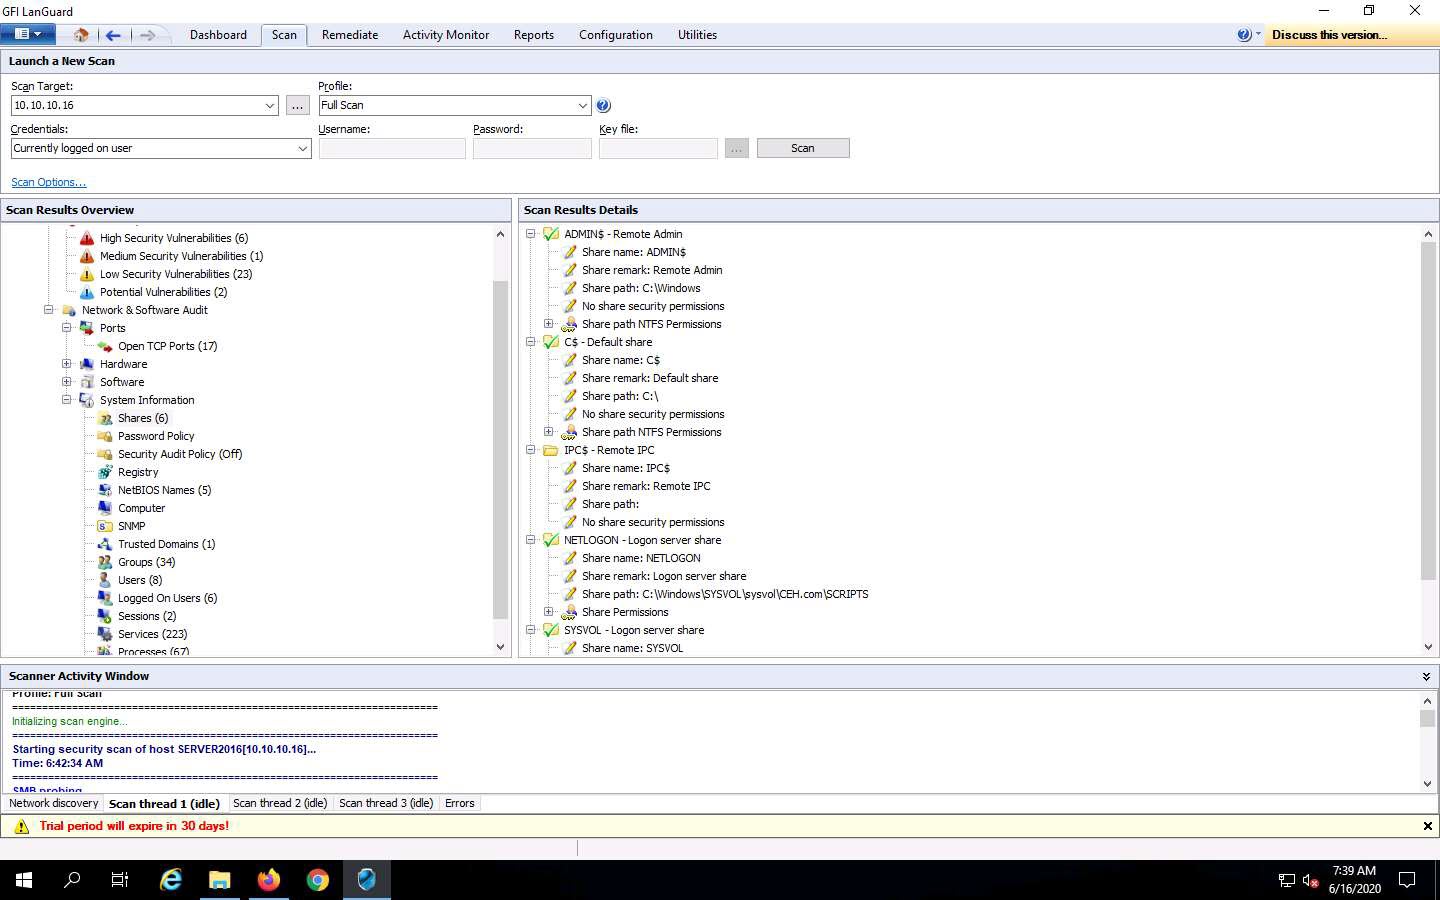
Expand the System Information node and click Shares to view the details of shared folders in the target machine.
Similarly, you can click the Hardware and Software nodes to view detailed scan information.
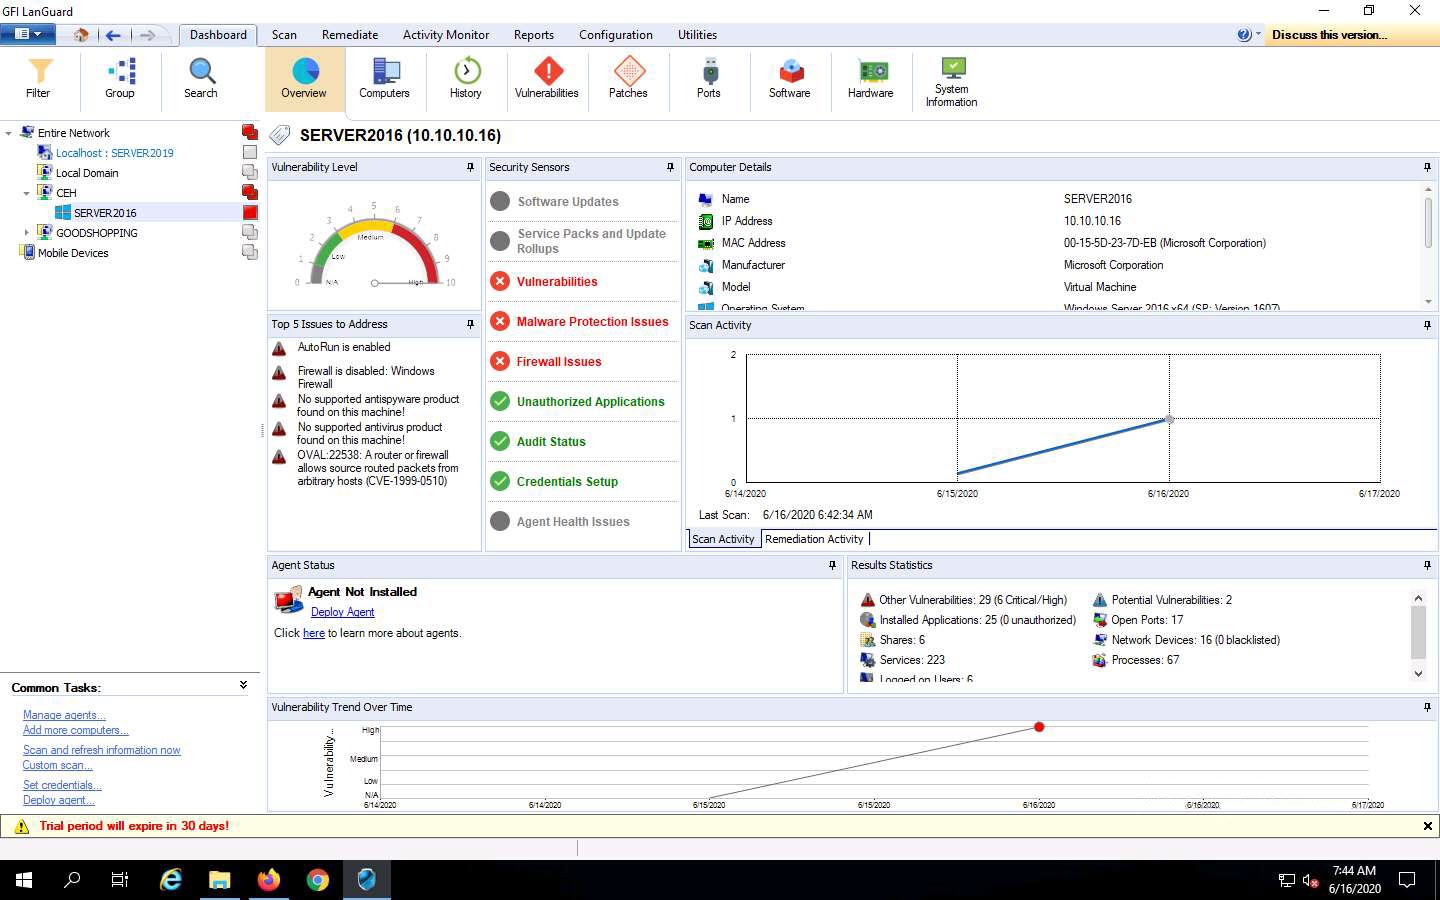
Click the Dashboard tab to display the scanned network information. In the left pane, expand Entire Network, and then CEH; then, click SERVER2016.
Detailed information such as Vulnerability Level, Security Sensors, Computer Details, Scan Activity, and Results Statistics are displayed in the right pane, as shown in the screenshot
In real-time, using this vulnerability information about the target systems can be used to develop and design exploits suitable to break into a network or a single target.
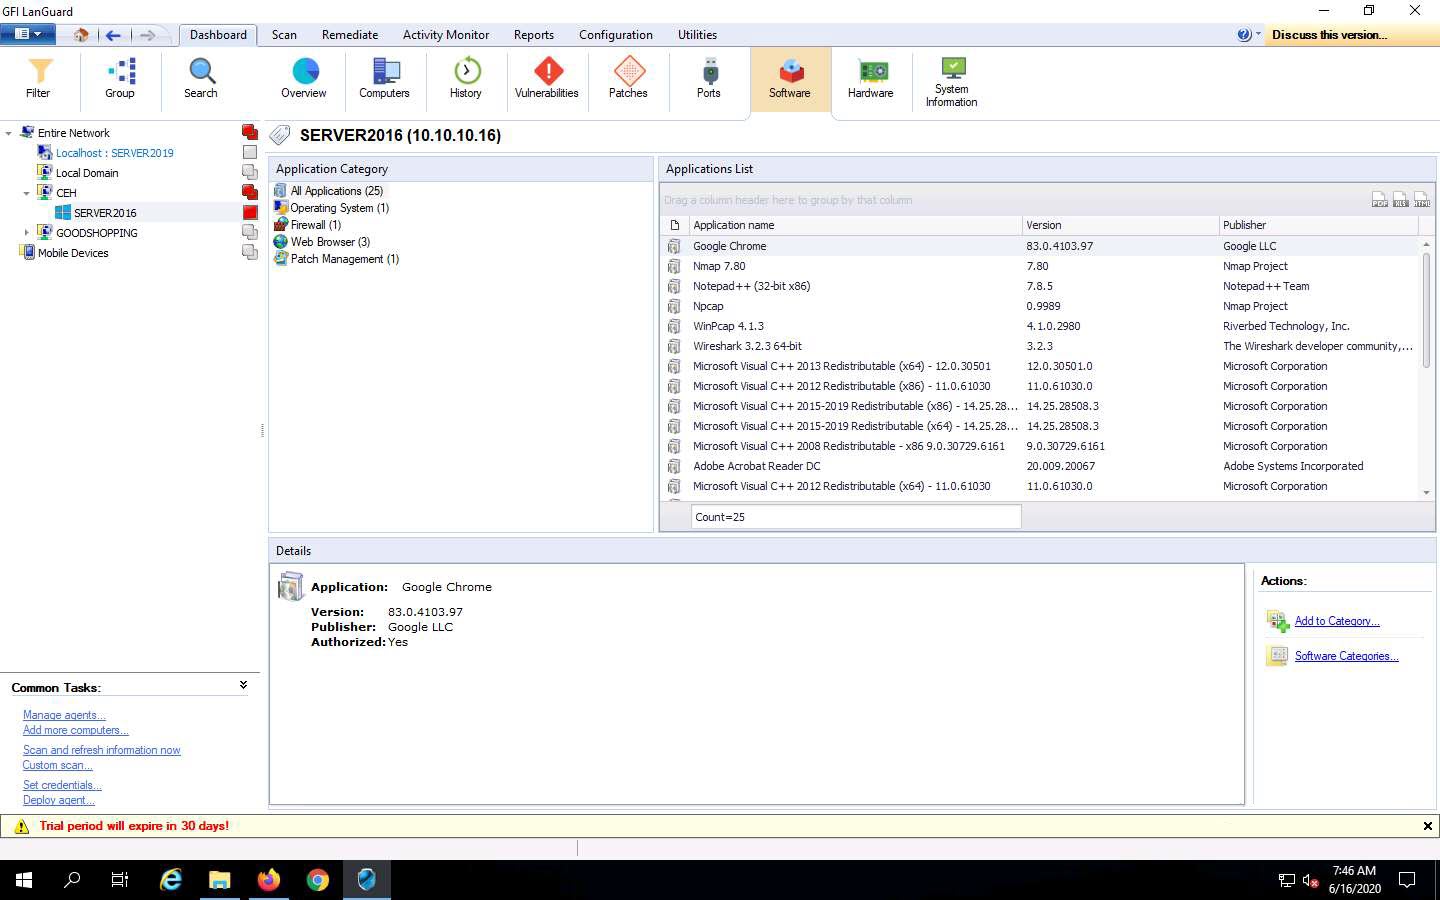
You can further explore the tool by clicking on various options. For instance, click on Software from the options at the top to view a list of applications installed on the target machine under the Application Category list. You can also click on any application (here, Google Chrome) to view its detailed information under Details sections, as shown in the screenshot.
Click on the Vulnerabilities option; a list of various categories of vulnerabilities appears under the Vulnerability Types section. Click on any category of vulnerability (here, High Security Vulnerabilities): detailed information on this category is displayed under the Details section, and a list of vulnerabilities is displayed under the Vulnerability List section.
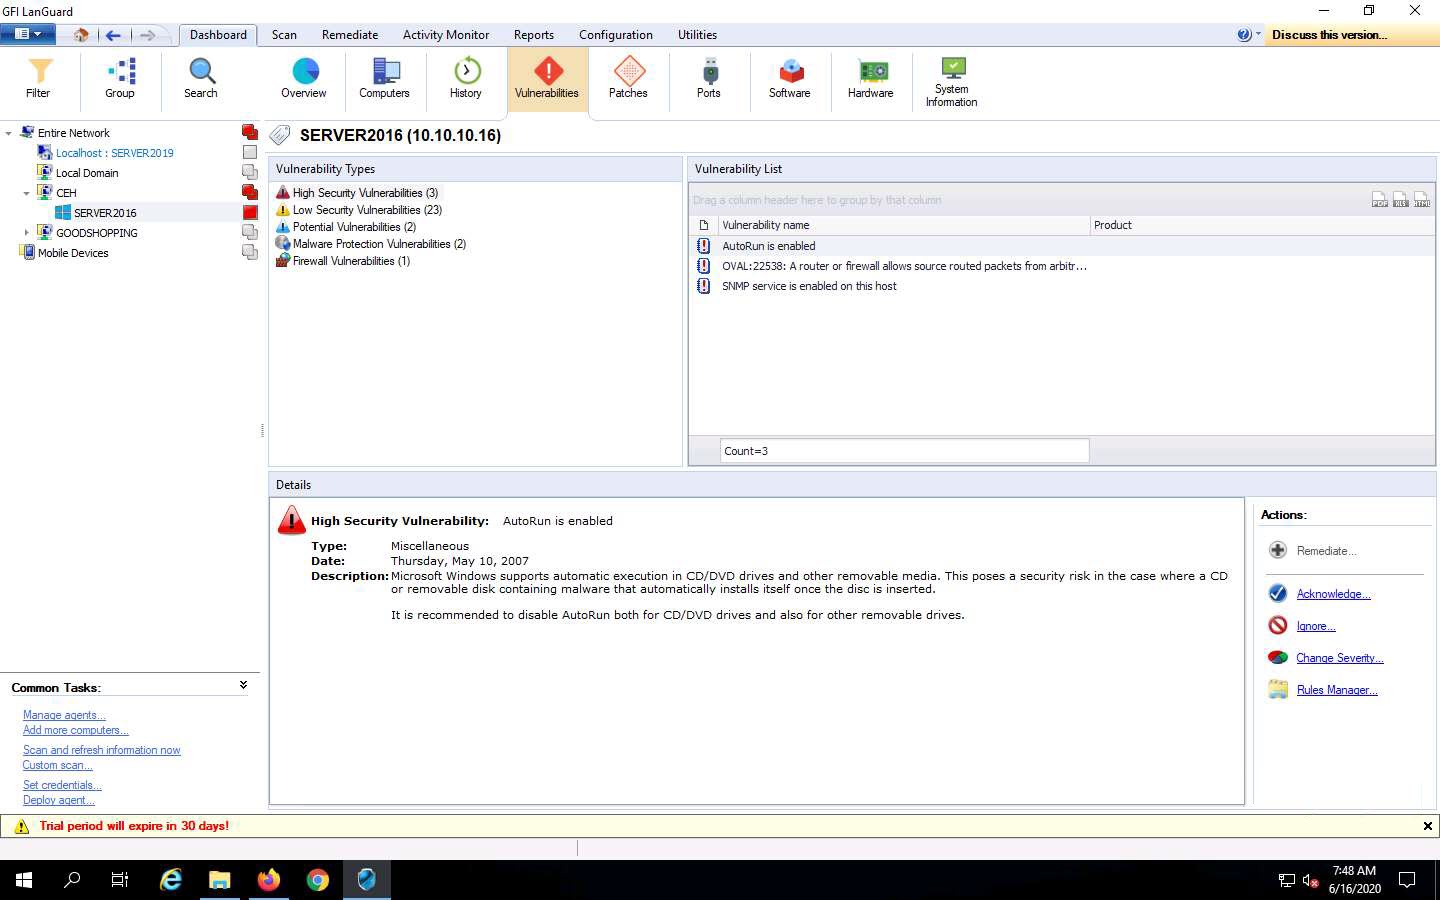
You can further explore scanned results by clicking various options such as Patches, System Information, Hardware, and Ports.
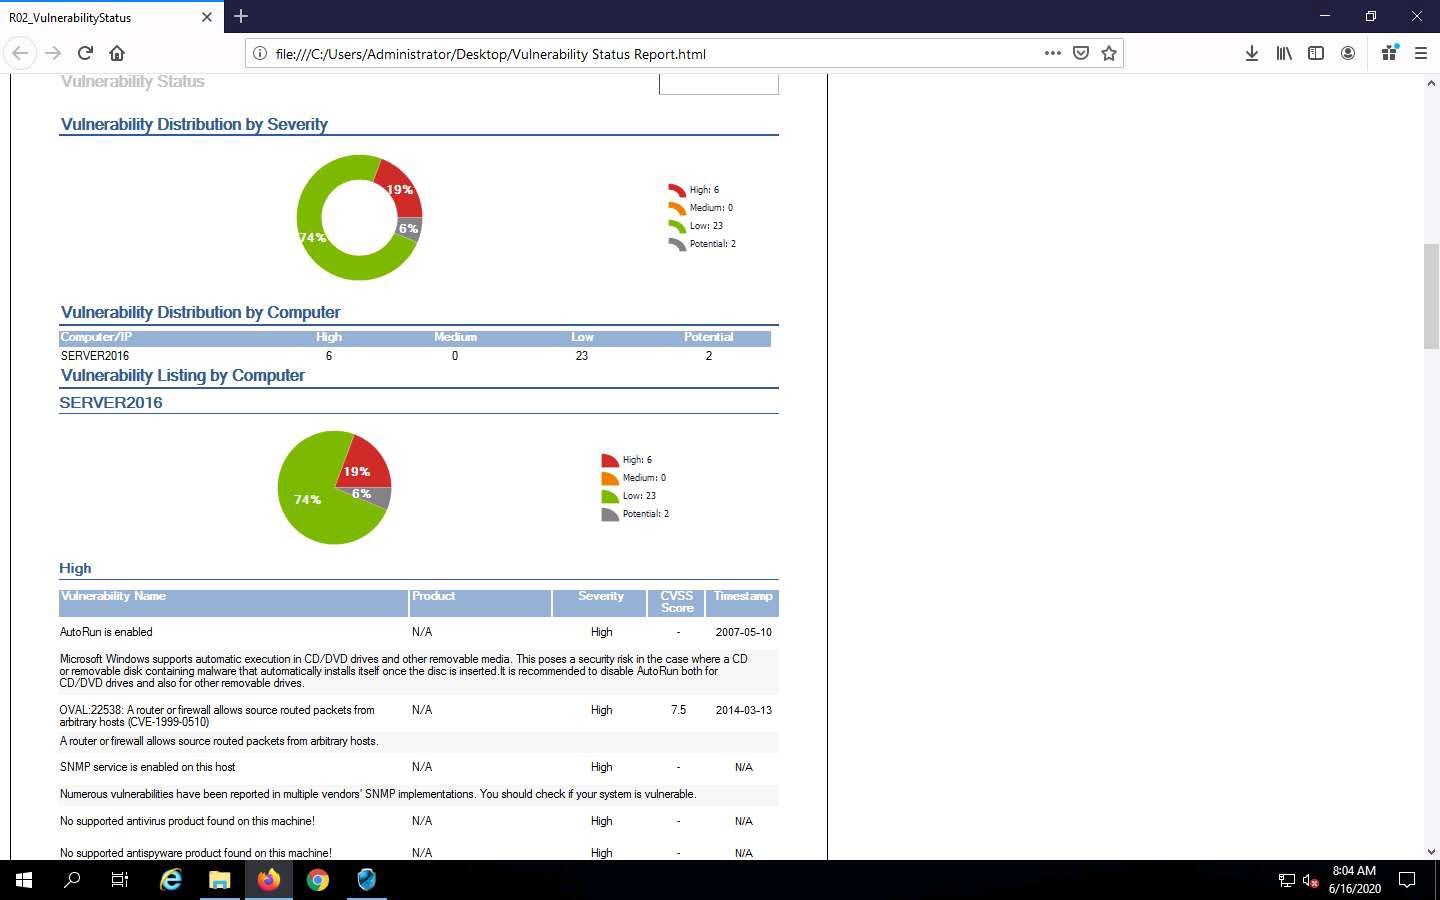
Now, click on the Report tab and click the Vulnerability Status type under General Reports from the right pane.
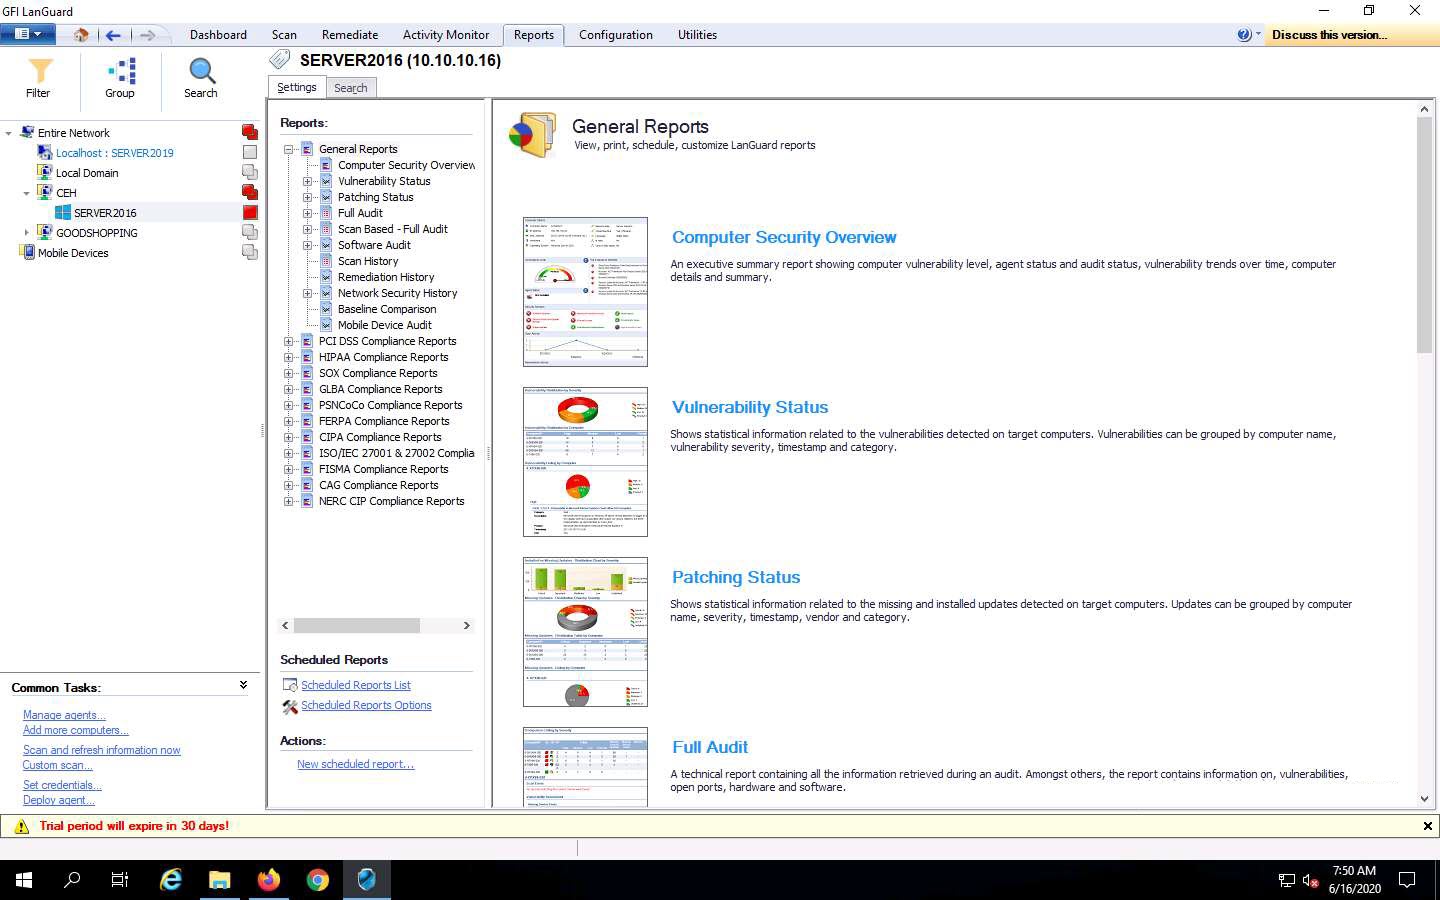
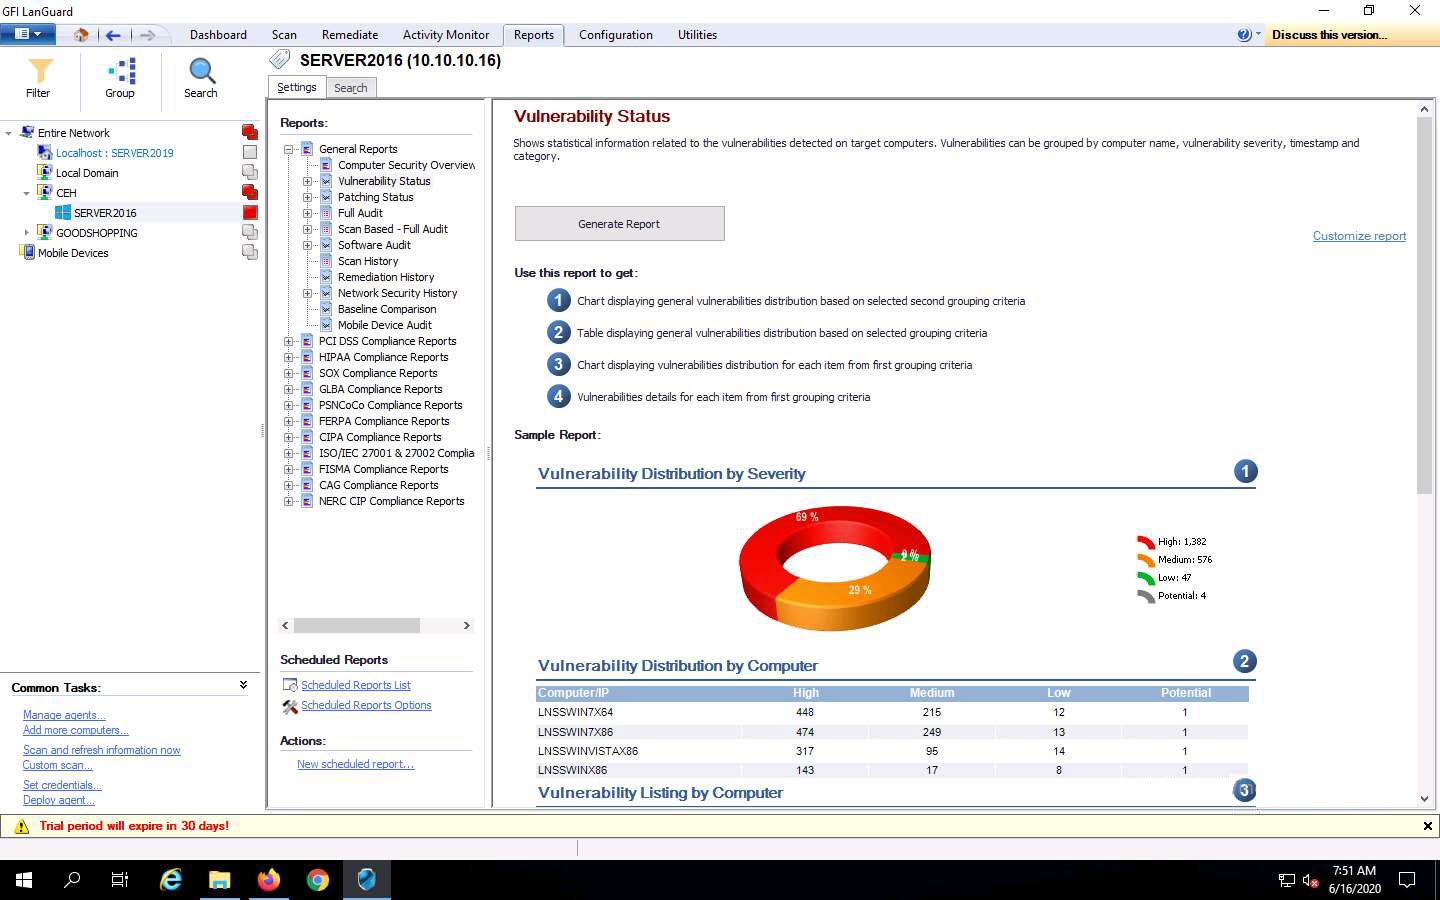
Information about the Vulnerability Status report appears in the right pane; click the Generate Report button to create the vulnerability report.
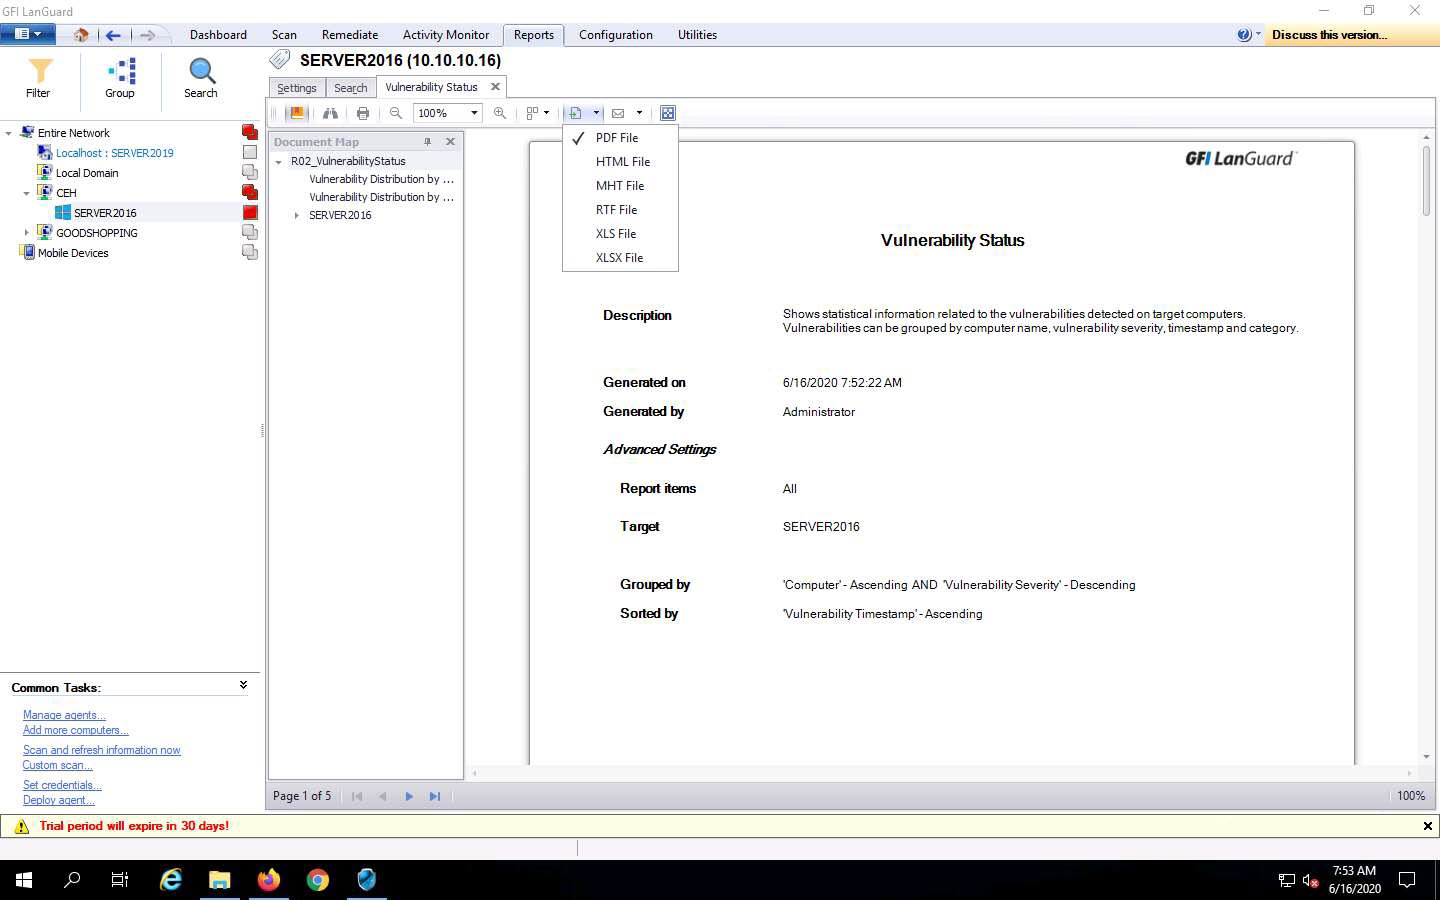
The Vulnerability Status report appears in the right pane. Click on the drop-down icon next to icon and choose the HTML File format.
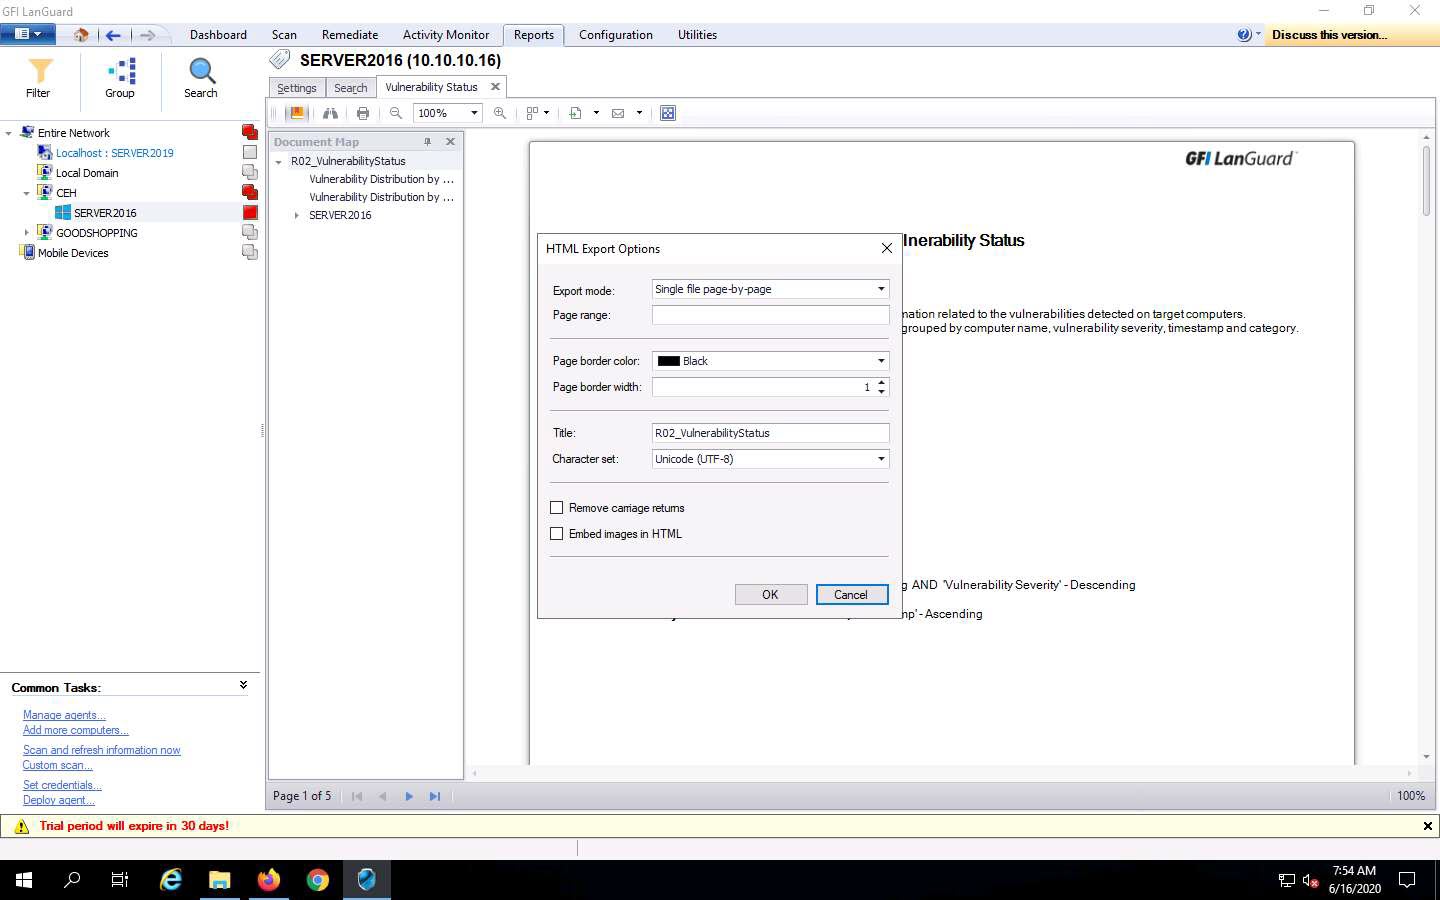
The HTML Export Options window appears; leave the settings to default and click OK.
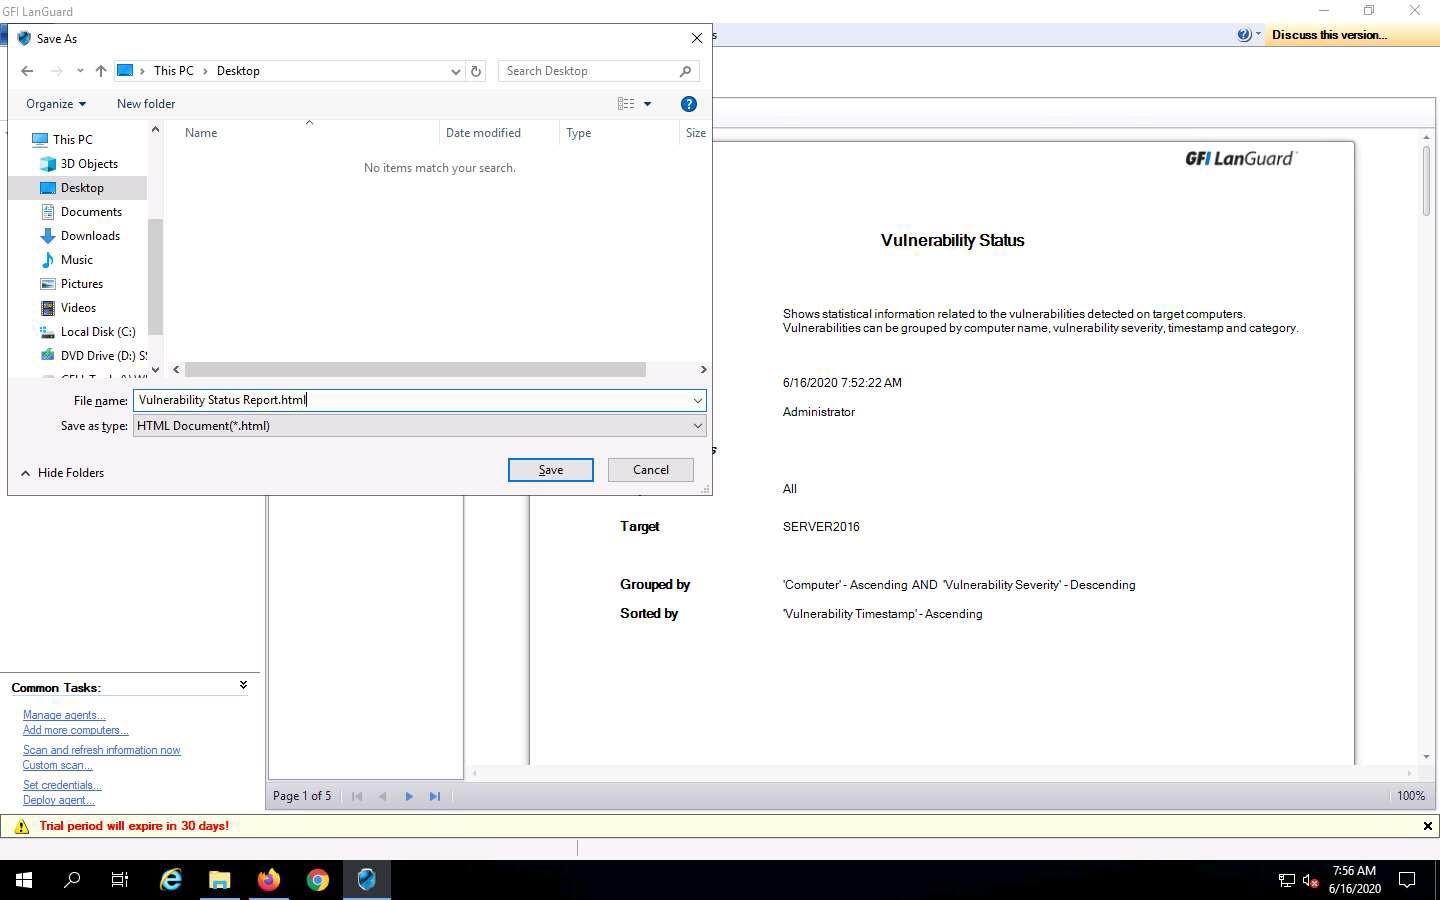
The Save As window appears; set the download location to Desktop. Rename the file to Vulnerability Status Report.html and click Save.
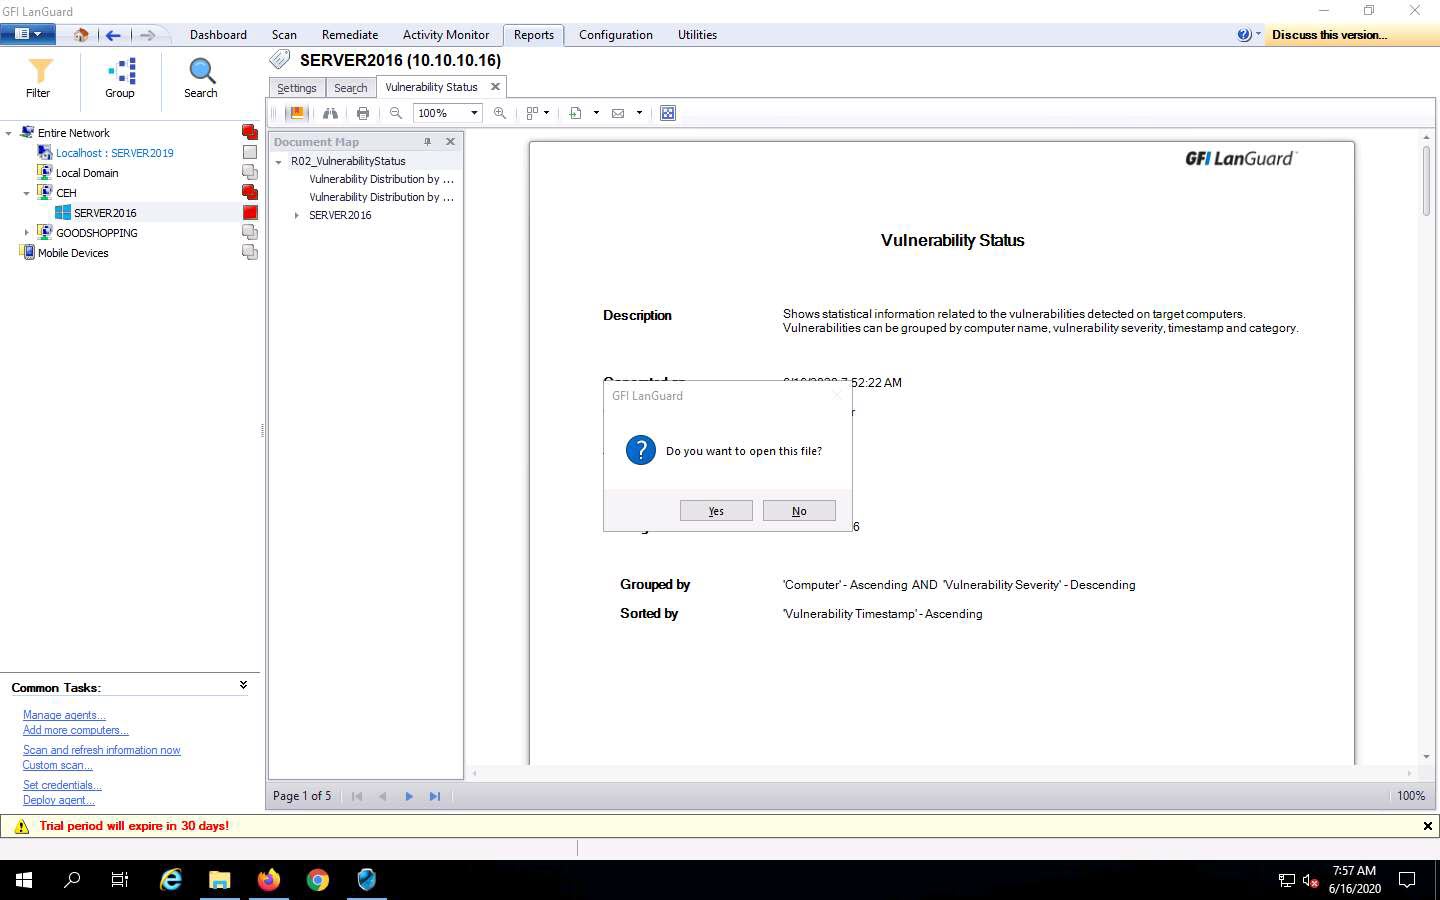
The GFI LanGuard pop-up appears; click Yes to open the file.
In the How do you want to open this file? pop-up, select any web browser (here, Firefox) and click OK.
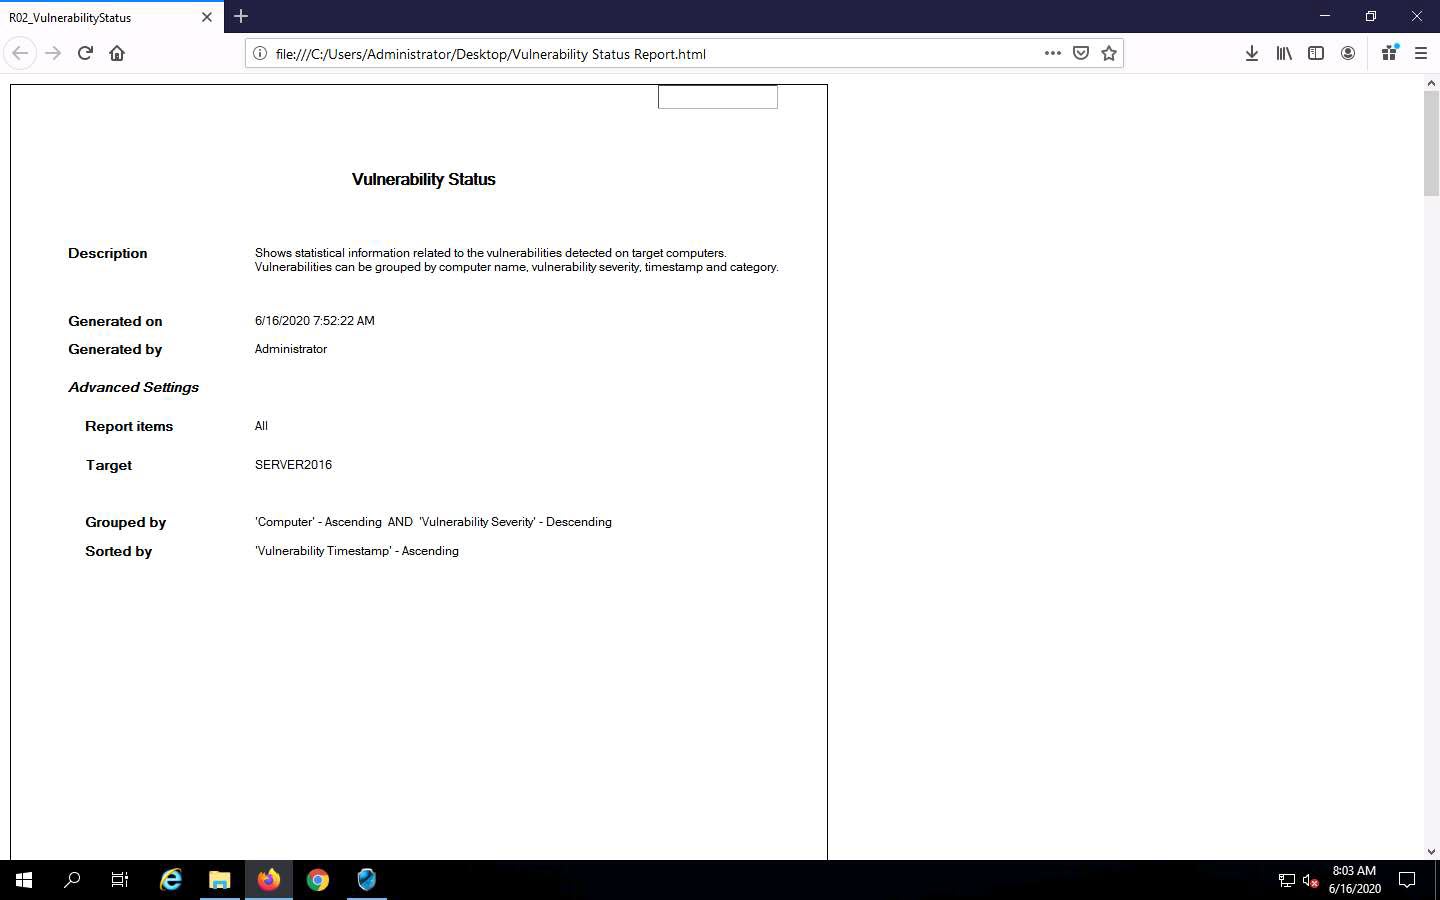
The Vulnerability Status report appears; you can scroll down to view detailed information regarding discovered vulnerabilities.
This concludes the demonstration of scanning network vulnerabilities using GFI LanGuard.
Close all open windows and document all the acquired information.
Task 4: Perform Web Servers and Applications Vulnerability Scanning using CGI Scanner Nikto
Nikto is an Open Source (GPL) web server scanner that performs comprehensive tests against web servers for multiple items, including over 6700 potentially dangerous files/programs, checks for outdated versions of over 1250 servers, and version specific problems on over 270 servers. It also checks for server configuration items such as the presence of multiple index files and HTTP server options; it will also attempt to identify installed web servers and software.
Here, we will perform web servers and applications vulnerability scanning using CGI scanner Nikto.
In this task, we will target the www.certifiedhacker.com website.
Click on Parrot Security to switch to Parrot Security machine.
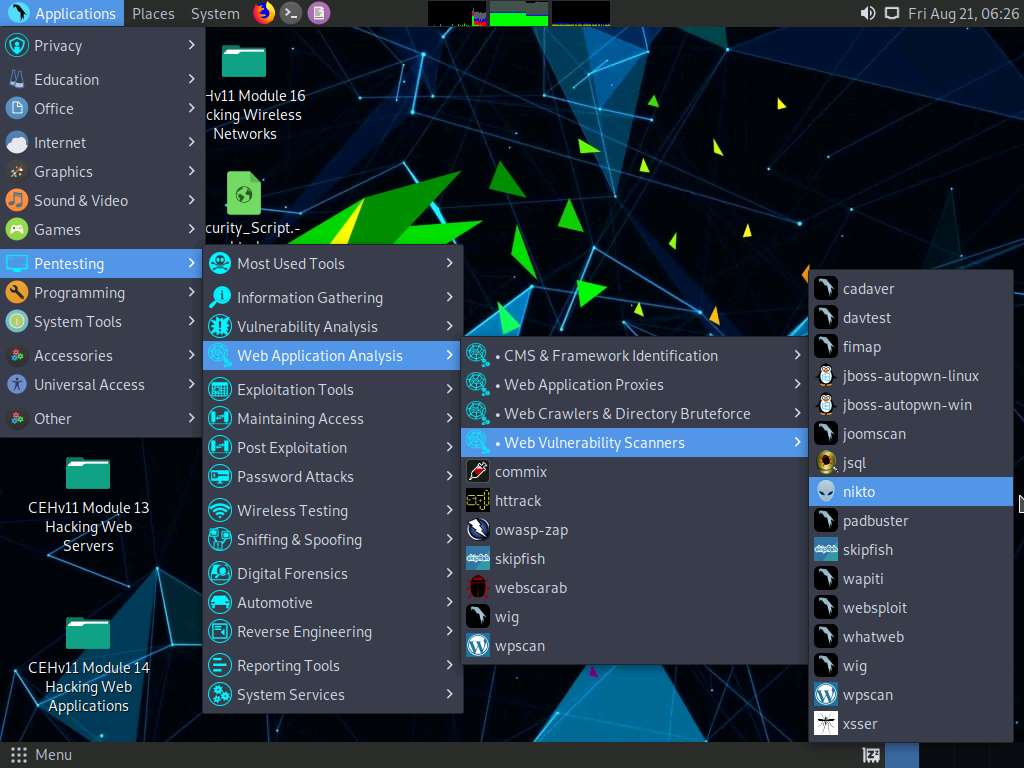
Click the Applications menu in the top-left corner of Desktop and navigate to Pentesting --> Web Application Analysis --> Web Vulnerability Scanners --> nikto to open Nikto in the Terminal window.
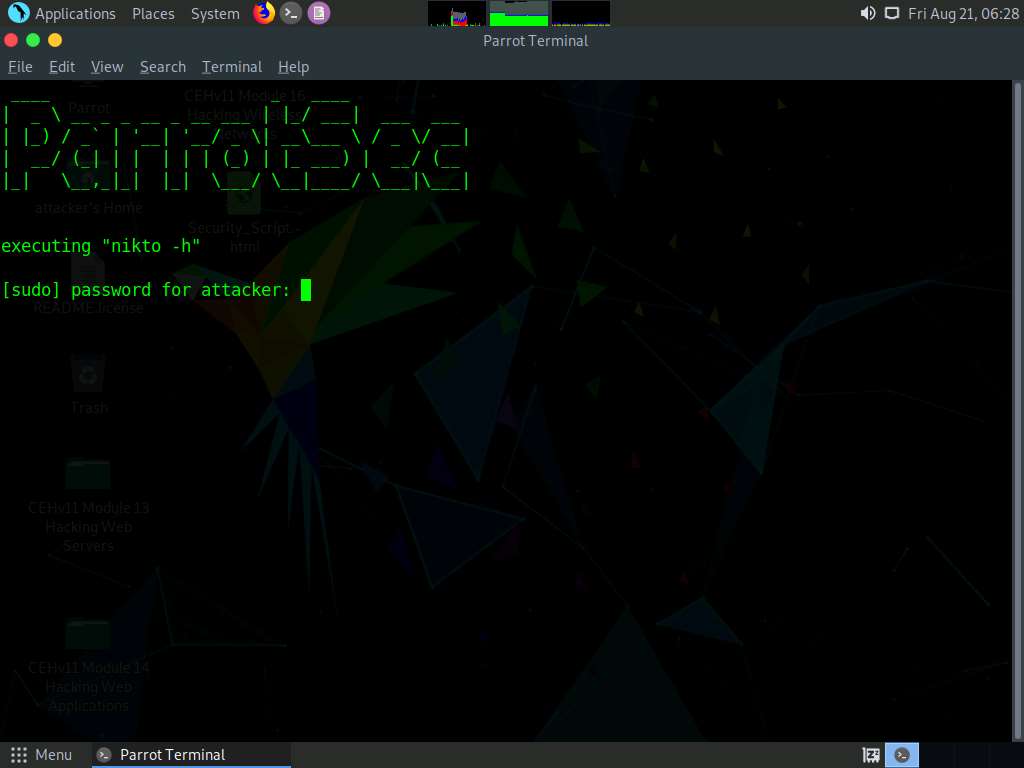
A Parrot Terminal window appears, in the [sudo] password for attacker field, type toor as a password and press Enter. Nikto initializes.
The password that you type will not be visible.
Nikto scanning options will be displayed to scan the target website.
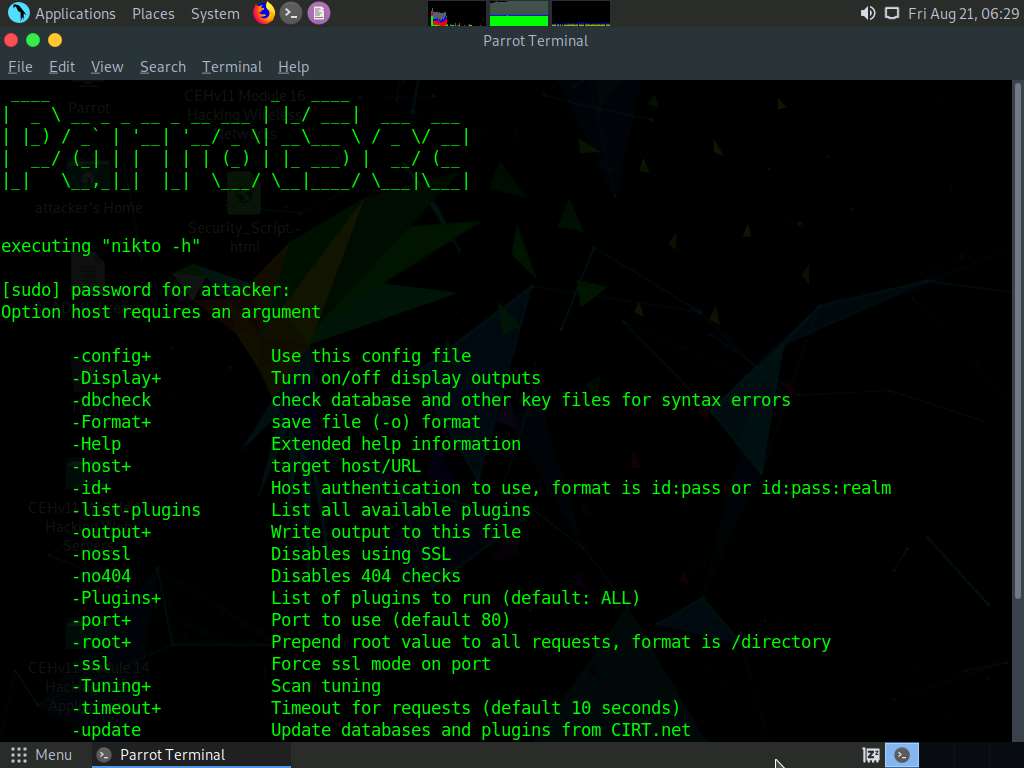
You can further type nikto -H and press Enter to view various available commands with full help text
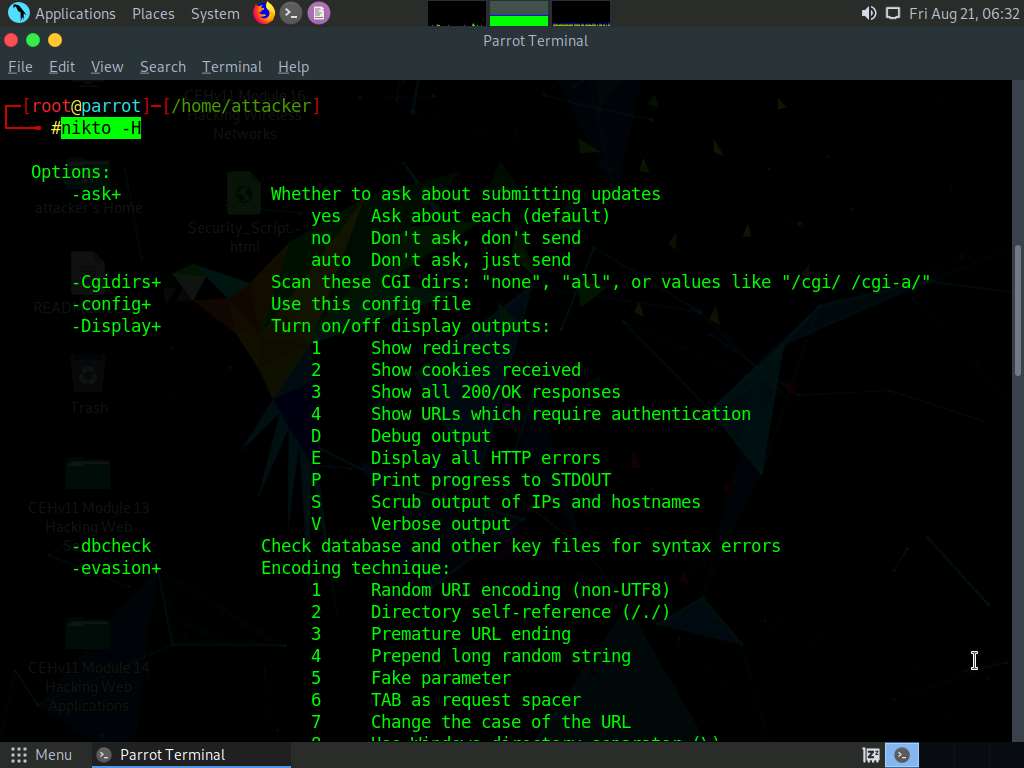
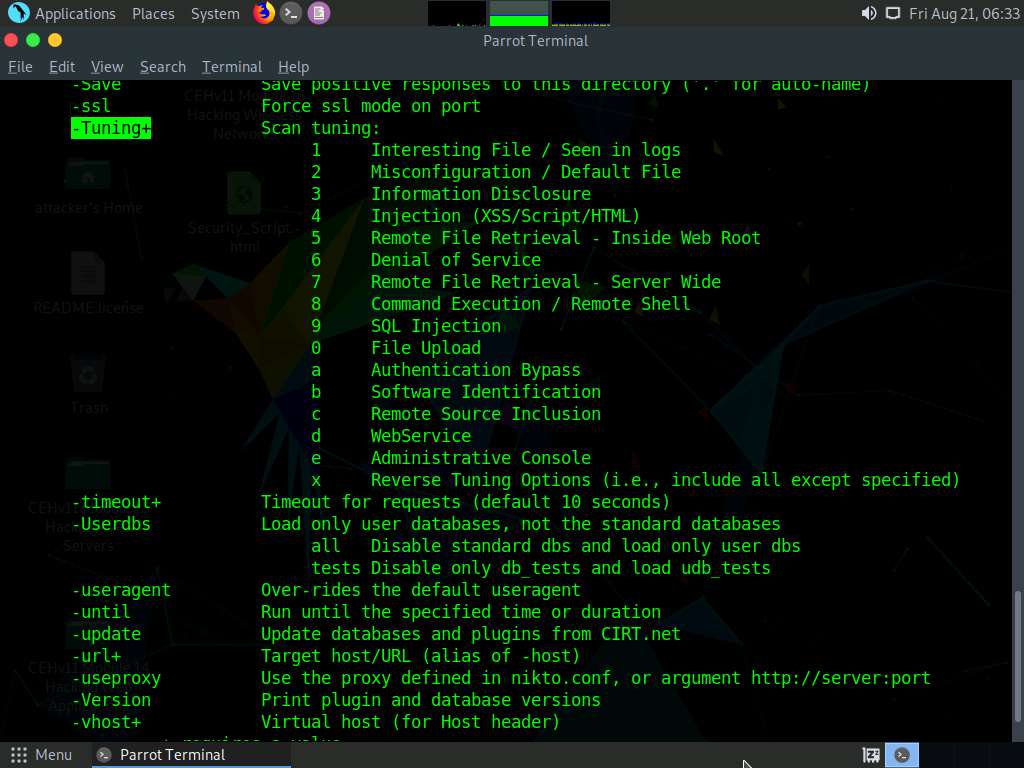
The result appears, displaying various available options in Nikto. We will use the Tuning option to do a deeper and more comprehensive scan on the target webserver.
A tuning scan can be used to decrease the number of tests performed against a target. By specifying the type of test to include or exclude, faster and focused testing can be completed. This is useful in situations where the presence of certain file types such as XSS or simply “interesting” files is undesired.
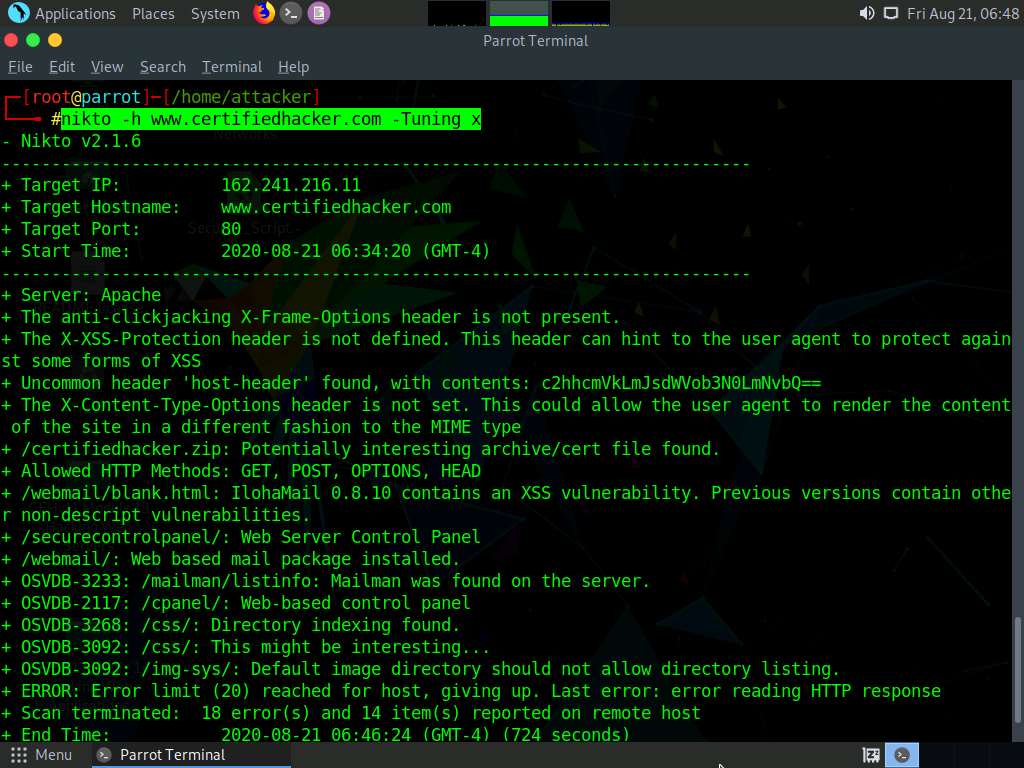
In the terminal window, type nikto -h (Target Website) -Tuning x (here, the target website is www.certifiedhacker.com) and press Enter. Nikto starts scanning with all the tuning options enabled.
-h: specifies the target host and x: specifies the Reverse Tuning Options (i.e., include all except specified).
The scan takes approximately 10 minutes to complete.
The result appears, displaying various information such as the name of the server, IP address, target port, retrieved files, and vulnerabilities details of the target website.
The result might vary in your lab environment.
Here, we will check for cgi directories with the -Cgidirs option. In this option, search for specific directories or use all options to search for all the available directories.
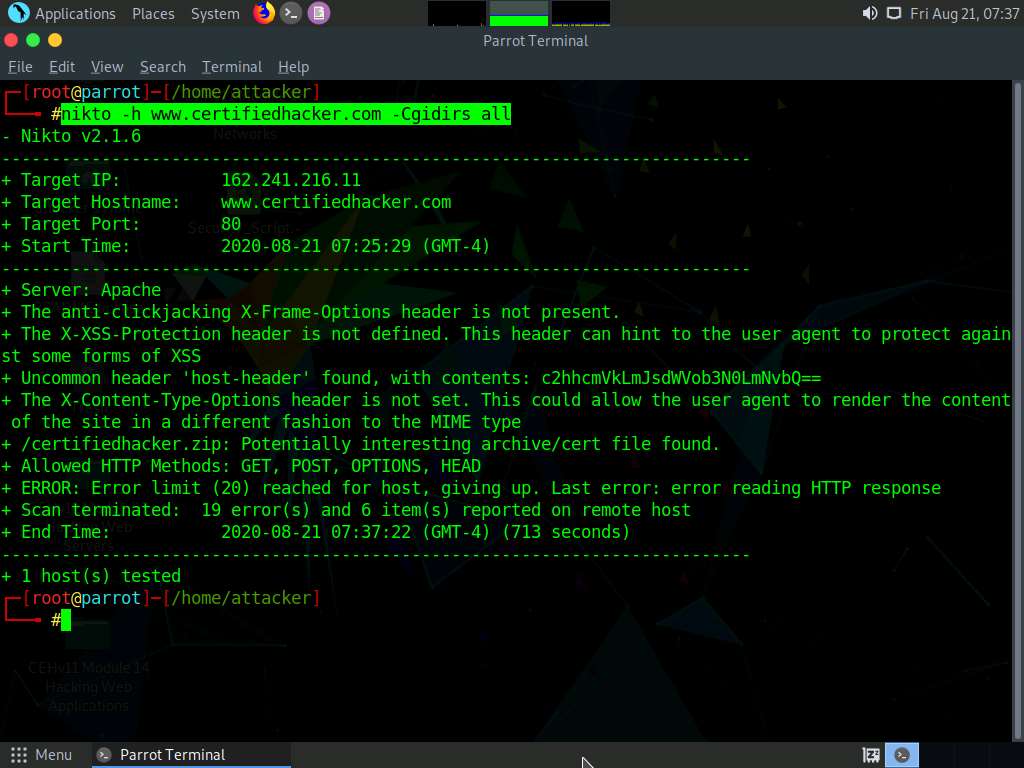
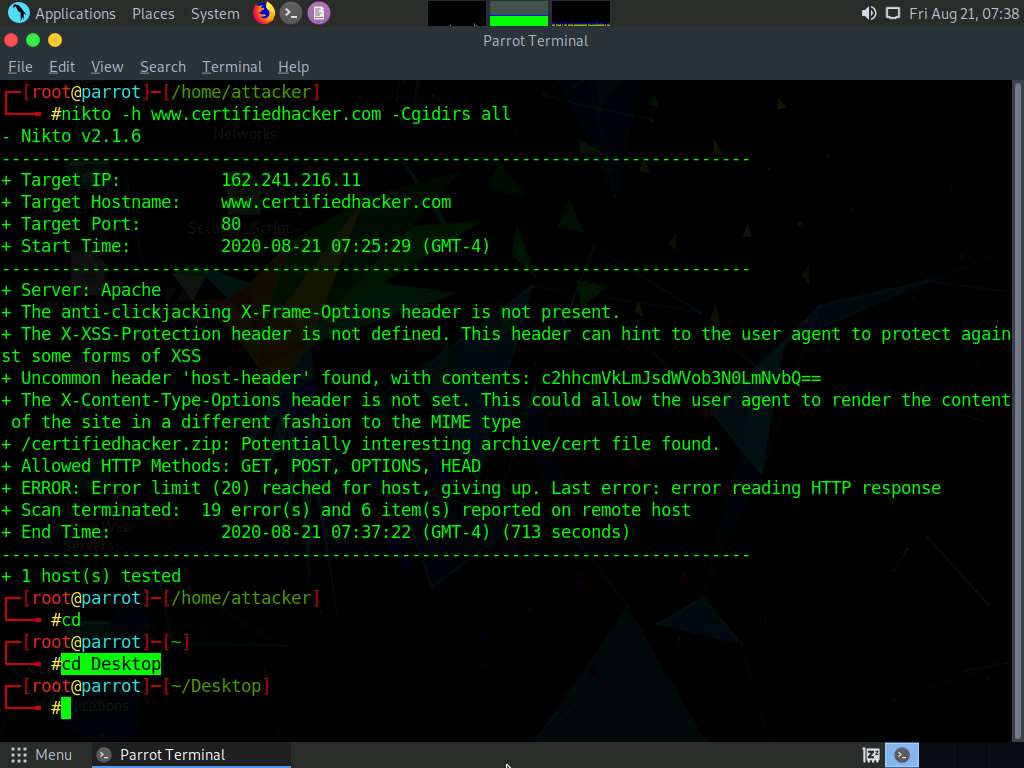
In the terminal window, type nikto -h (Target Website) -Cgidirs all, (here, the target website is www.certifiedhacker.com) and hit Enter.
-Cgidirs: scans the specified CGI directories; users can use filters such as “none” or “all” to scan all CGI directories or none).
The scan takes approximately 10 minutes to complete.
The target website does not have any CGI directory; therefore, the same result as the previous scan was obtained.
You can use try this command on another website to obtain information about CGI directories.
Now, we will save the scan results in the form of a text file on Desktop. To do so, type cd and press Enter to jump to the root directory.
Type cd Desktop and press Enter to navigate to the Desktop folder.
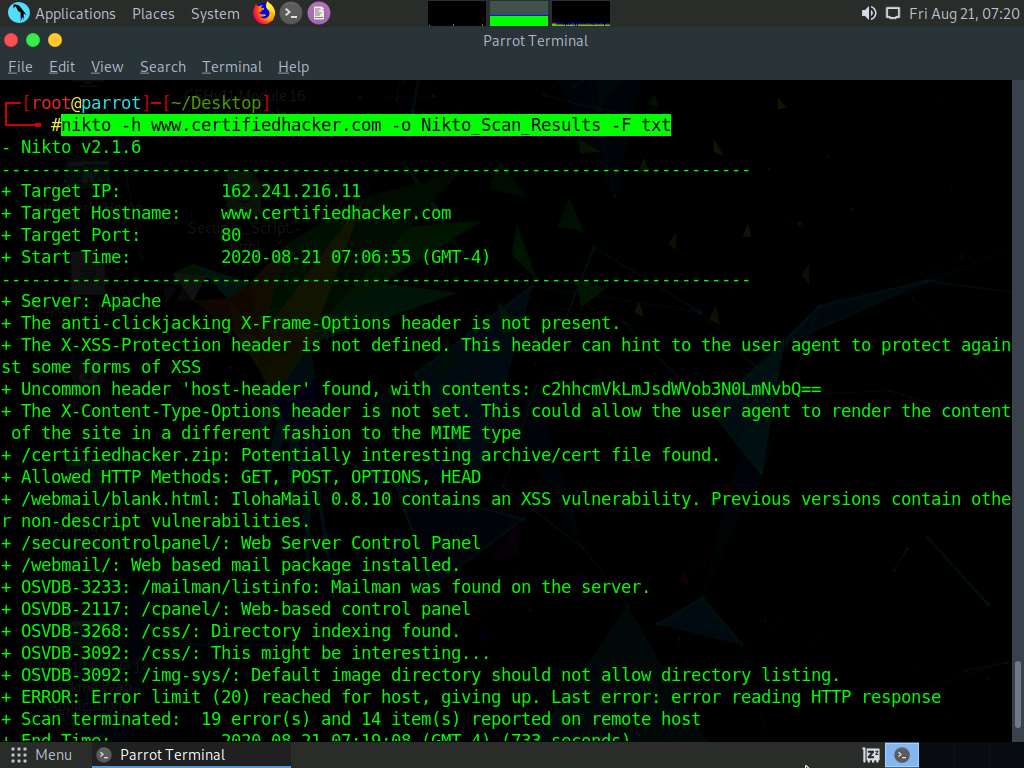
Type nikto -h (Target Website) -o (File_Name) -F txt, (here, the target website is www.certifiedhacker.com) and press Enter.
-h: specifies the target, -o: specifies the name of the output file, and -F: specifies the file format.
Name the file Nikto_Scan_Results
The scan takes approximately 10 minutes to complete.
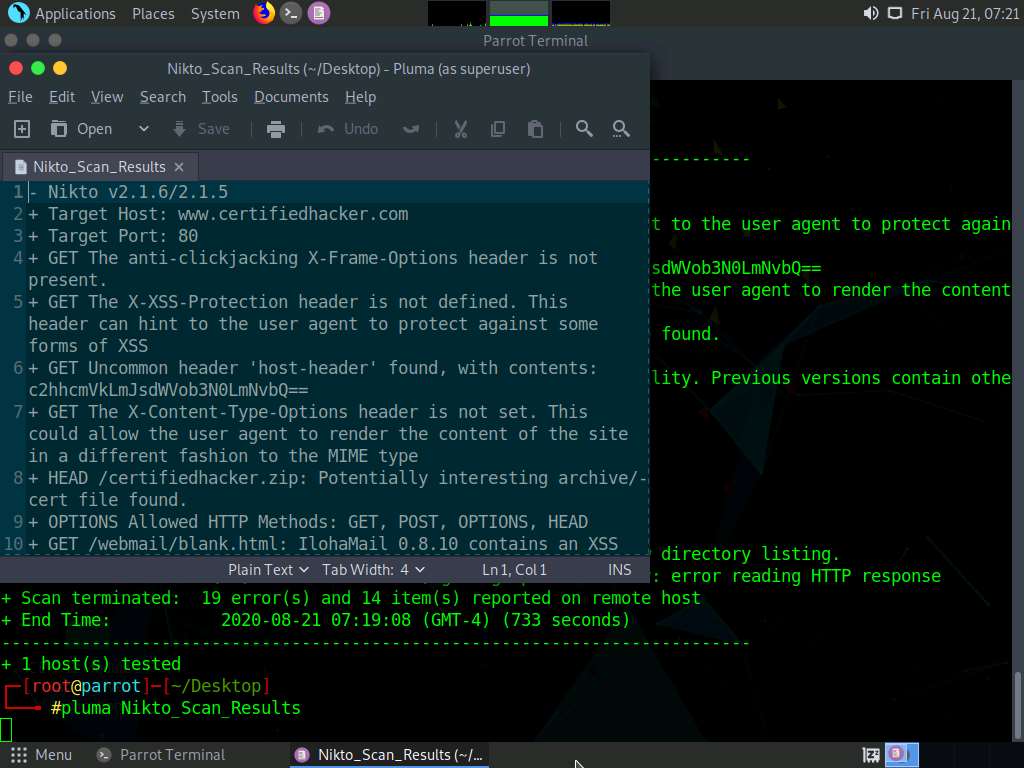
Now, type pluma Nikto_Scan_Results and press Enter to open the created file in a text editor window. The file appears displaying the scanned results, as shown in the screenshot.
This concludes the demonstration of checking vulnerabilities in the target website using Nikto.
Close all open windows and document all the acquired information.


Comments
Post a Comment