Task 2: Perform Port and Service Discovery using NetScanTools Pro
Task 2: Perform Port and Service Discovery using NetScanTools Pro
NetScanTools Pro is an integrated collection of utilities that gathers information on the Internet and troubleshoots networks for Network Professionals. With the available tools, you can research IPv4/IPv6 addresses, hostnames, domain names, e-mail addresses, and URLs on the target network.
Here, we will use the NetScanTools Pro tool to discover open ports and services running on the target range of IP addresses.
In the Windows 10 machine, navigate to the Desktop and double-click NetScanTools Pro Demo shortcut.

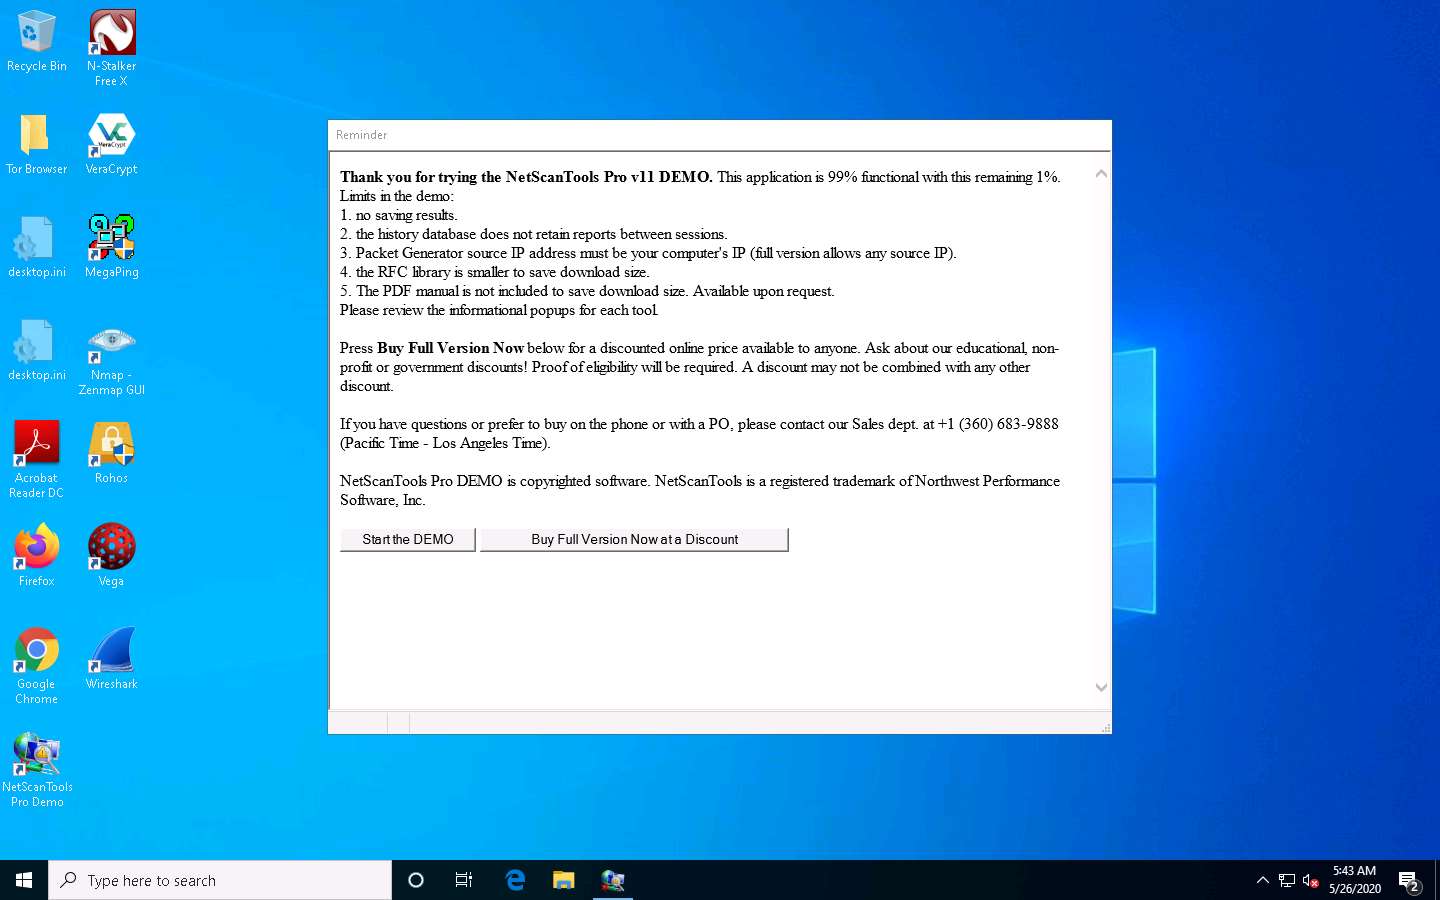
The Reminder window appears; if you are using a demo version of NetScanTools Pro, click the Start the DEMO button.
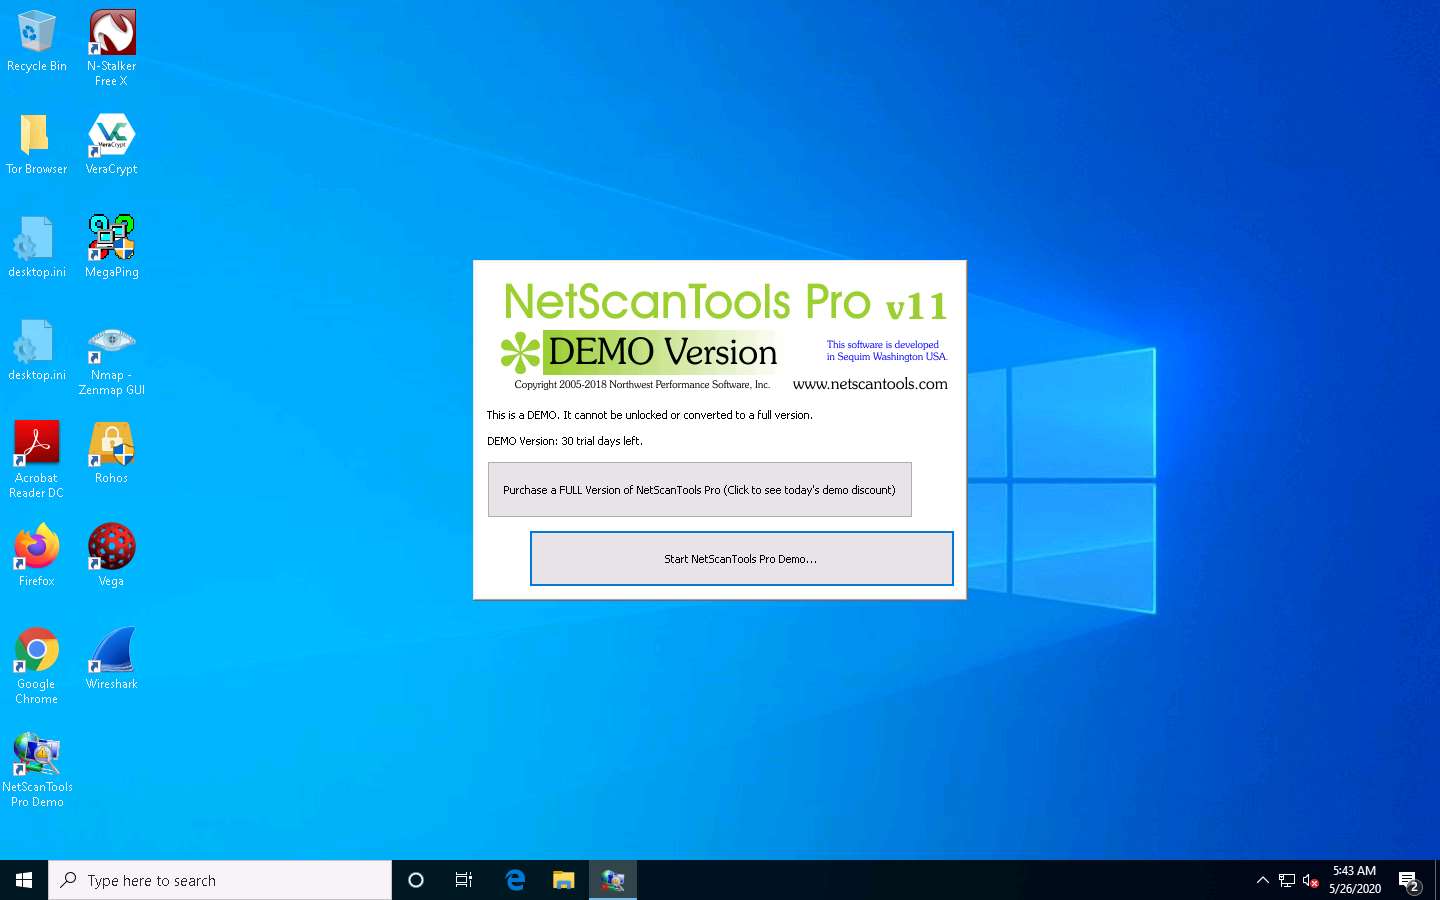
A DEMO Version pop-up appears; click the Start NetScanTools Pro Demo… button.
The NetScanTools Pro main window appears, as shown in the screenshot.
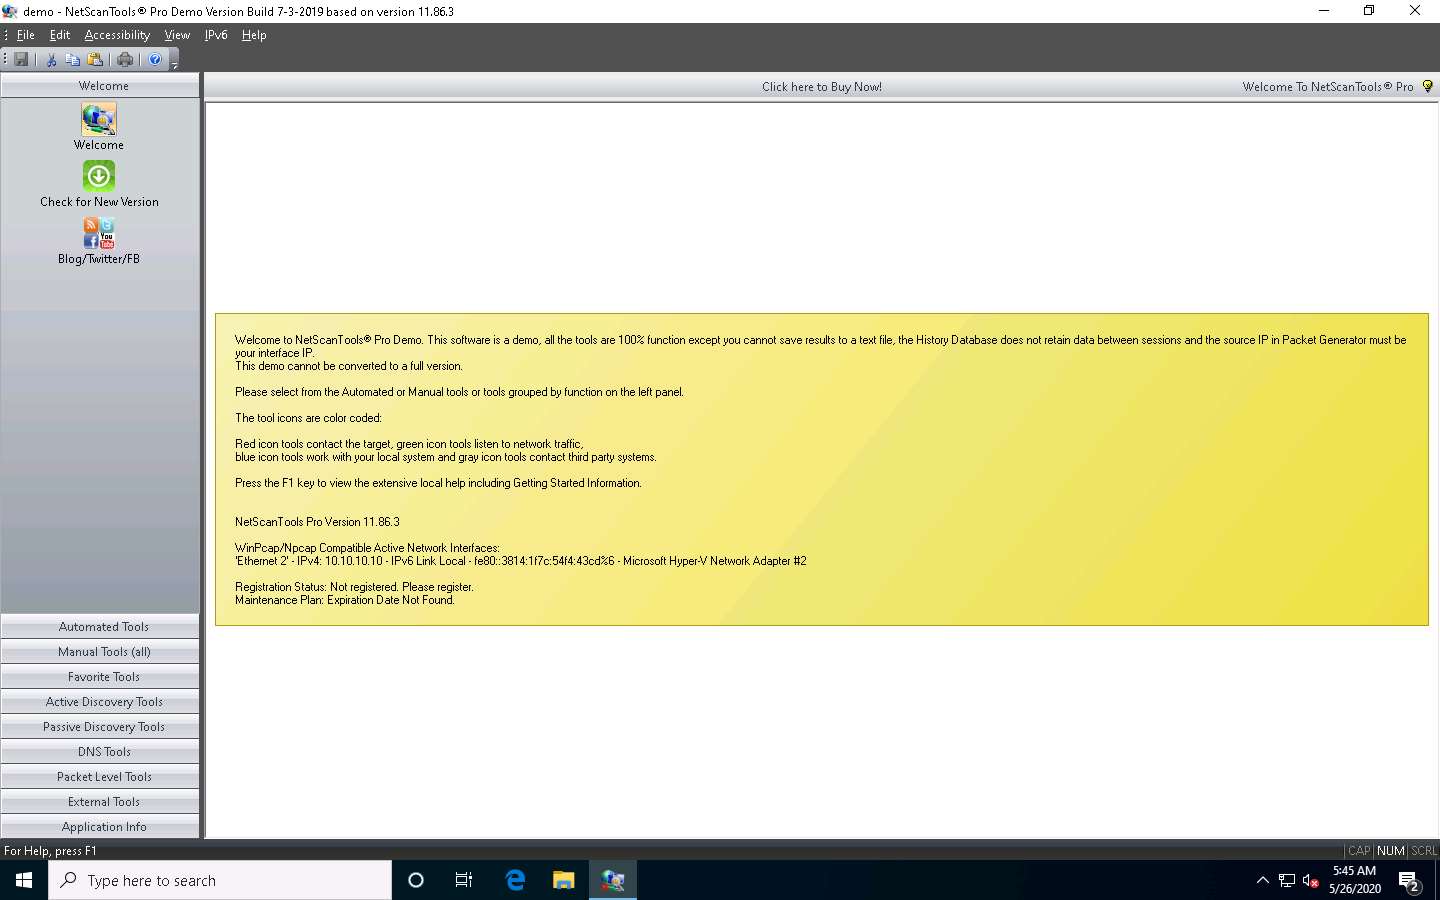
In the left-hand pane, under the Manual Tools (all) section, scroll down and click the Ping Scanner option, as shown in the screenshot.
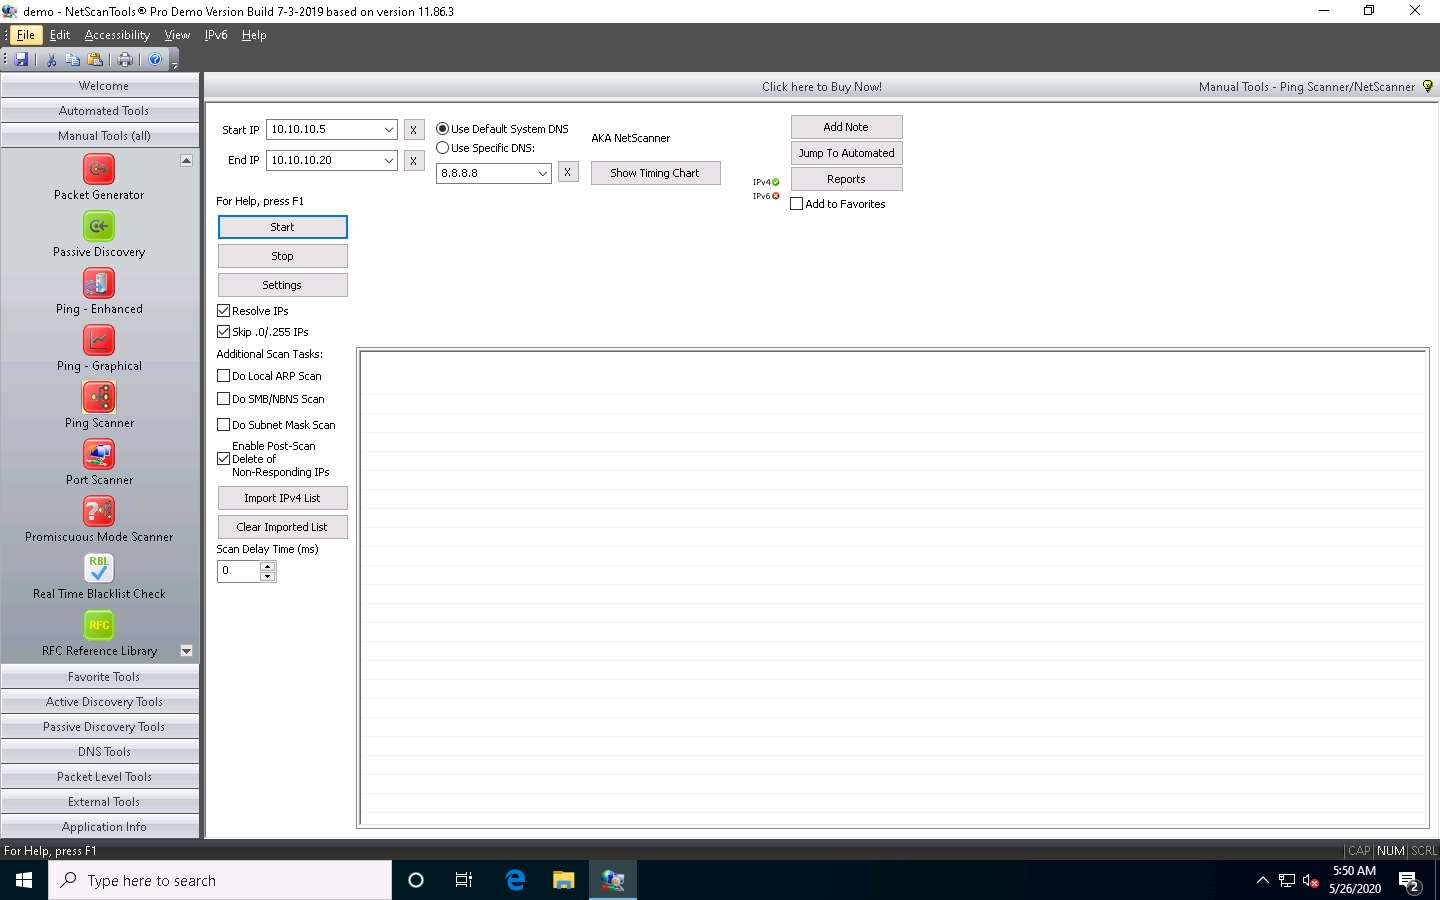
A dialog box opens explaining the Ping Scanner tool; click OK.

Ensure that Use Default System DNS is selected. Enter the range of IP addresses into the Start IP and End IP fields (here, 10.10.10.5 - 10.10.10.20); then, click Start.
A Ping Scanner notice pop-up appears; click I Accept.
After the completion of the scan, a scan result appears in the web browser (here, Google Chrome).

Close the browser and switch to the NetScanTools Pro window.
Now, click the Port Scanner option from the left-hand pane under the Manual Tools (all) section.
If a dialog box appears explaining the Port Scanner tool, click OK.
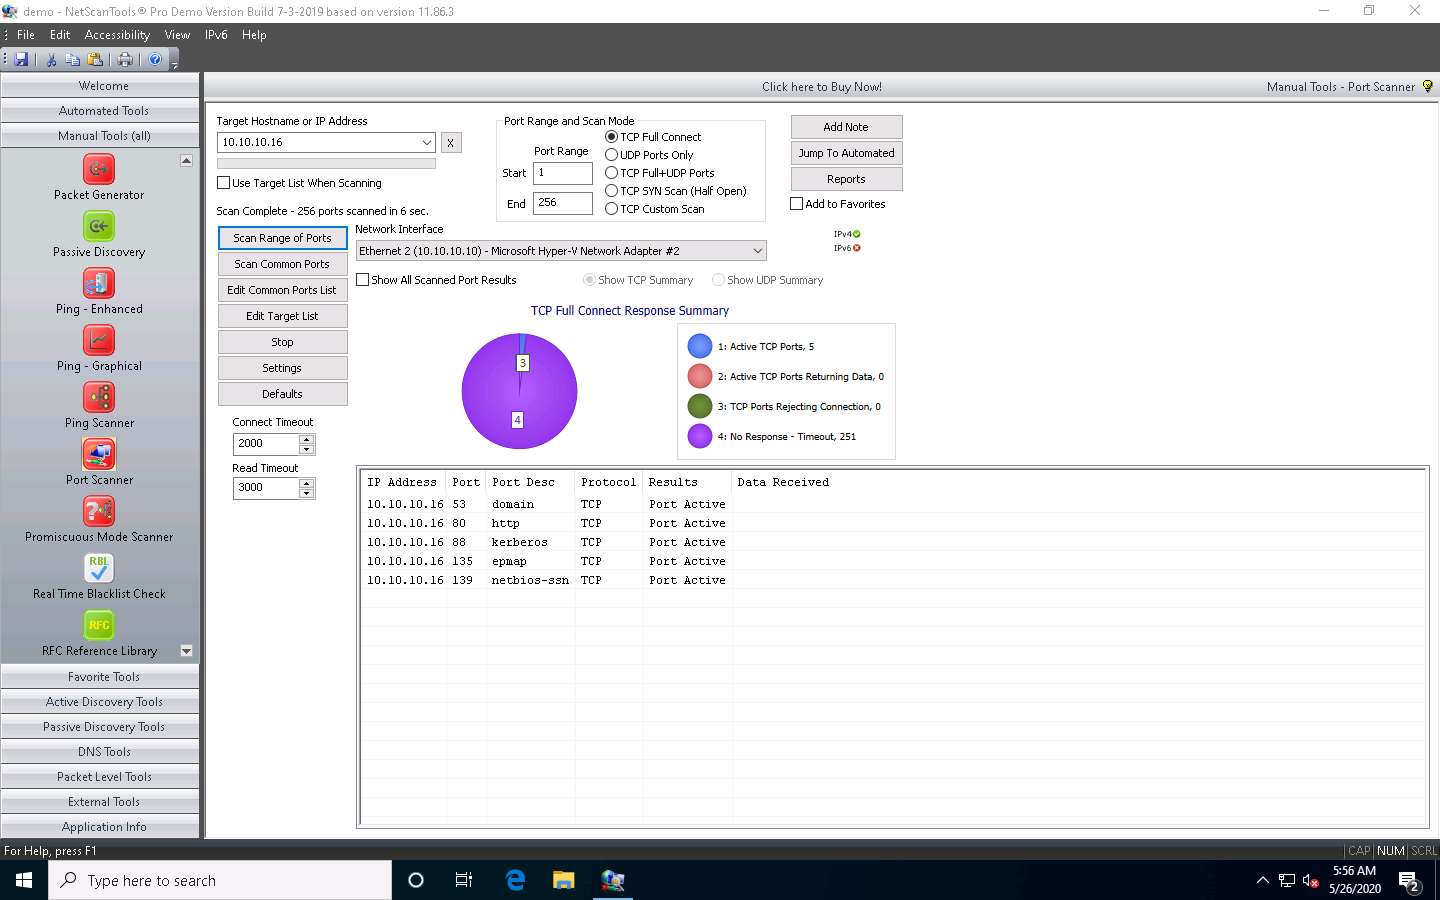
In the Target Hostname or IP Address field, enter the IP address of the target (here, 10.10.10.16). Ensure that TCP Full Connect is selected, and then click the Scan Range of Ports button.

A Port Scanner notice pop-up appears; click I Accept.
A result appears displaying the active ports and their descriptions, as shown in the screenshot.
By performing the above scans, you will be able to obtain a list of active machines in the network, their respective IP addresses and hostnames, and a list of all the open ports and services that will allow you to choose a target host in order to enter into its network and perform malicious activities such as ARP poisoning, sniffing, etc.
This concludes the demonstration of discovering open ports and services running on the target IP address using NetScanTools Pro.
Close all open windows and document all the acquired information.


Comments
Post a Comment