Task 2: Perform Host Discovery using Angry IP Scanner
Task 2: Perform Host Discovery using Angry IP Scanner
Angry IP Scanner is an open-source and cross-platform network scanner designed to scan IP addresses as well as ports. It simply pings each IP address to check if it is alive; then, optionally by resolving its hostname, determines the MAC address, scans ports, etc. The amount of gathered data about each host can be extended with plugins.
Here, we will use the Angry IP Scanner tool to discover the active hosts in the target network.
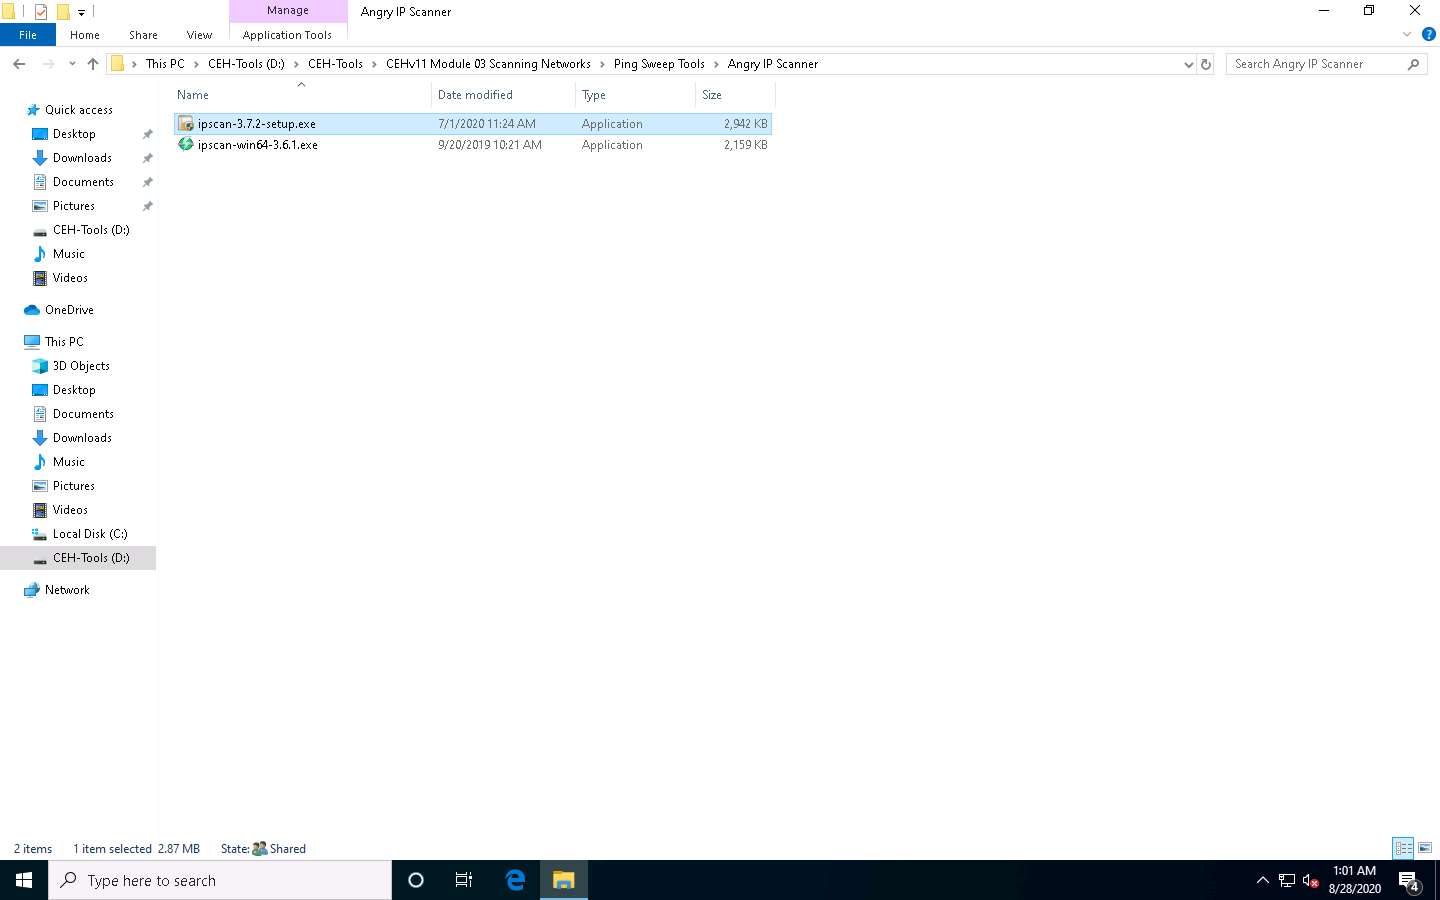
Click Windows 10 to switch to the Windows 10 machine, navigate to D:\CEH-Tools\CEHv11 Module 03 Scanning Networks\Ping Sweep Tools\Angry IP Scanner and double-click ipscan-3.7.2-setup.exe.
If User Account Control pop-up appears, click Yes.
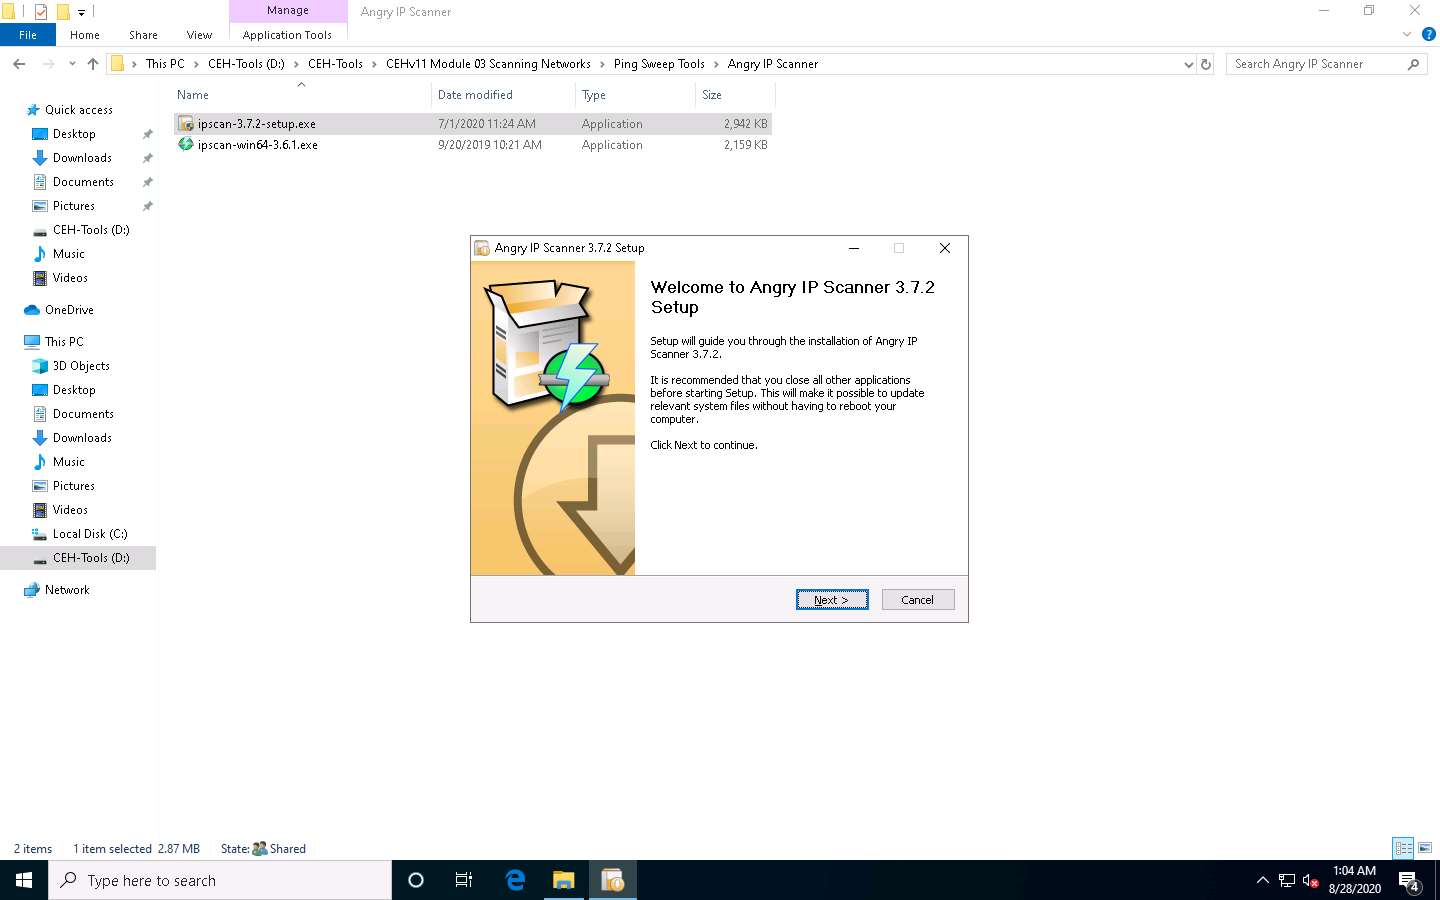
Angry IP Scanner Setup window appears, click Next to continue and install the tool using default settings.
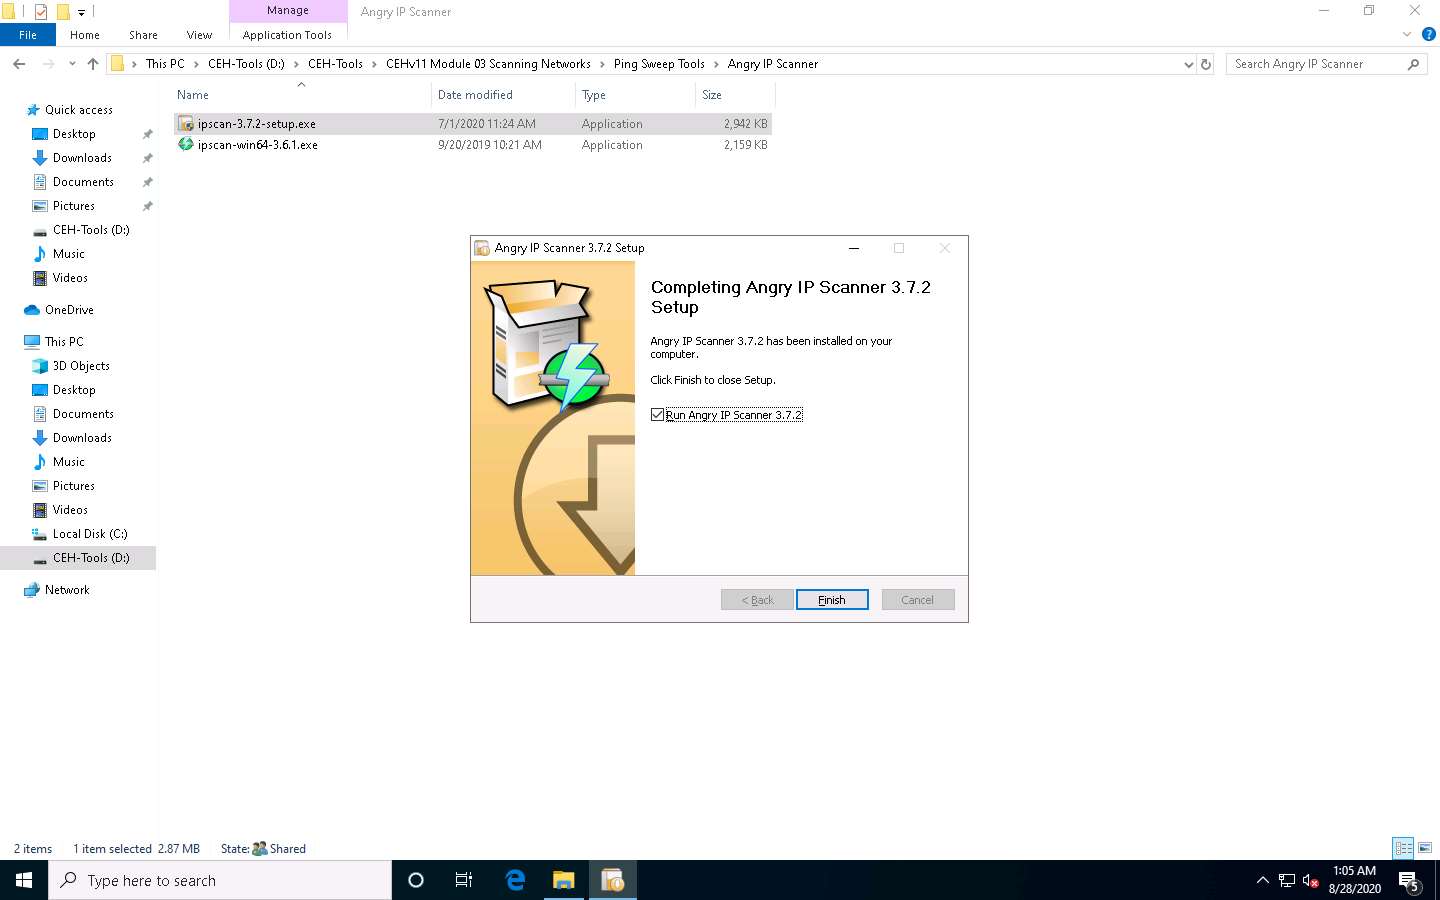
After the completion of installation, check Run Angry IP Scanner checkbox and click Finish.
Angry IP Scanner starts, and a Getting Started window pops up. Click Next, follow the wizard, and click Close.
Open File - Security Warning window appears, click Run.
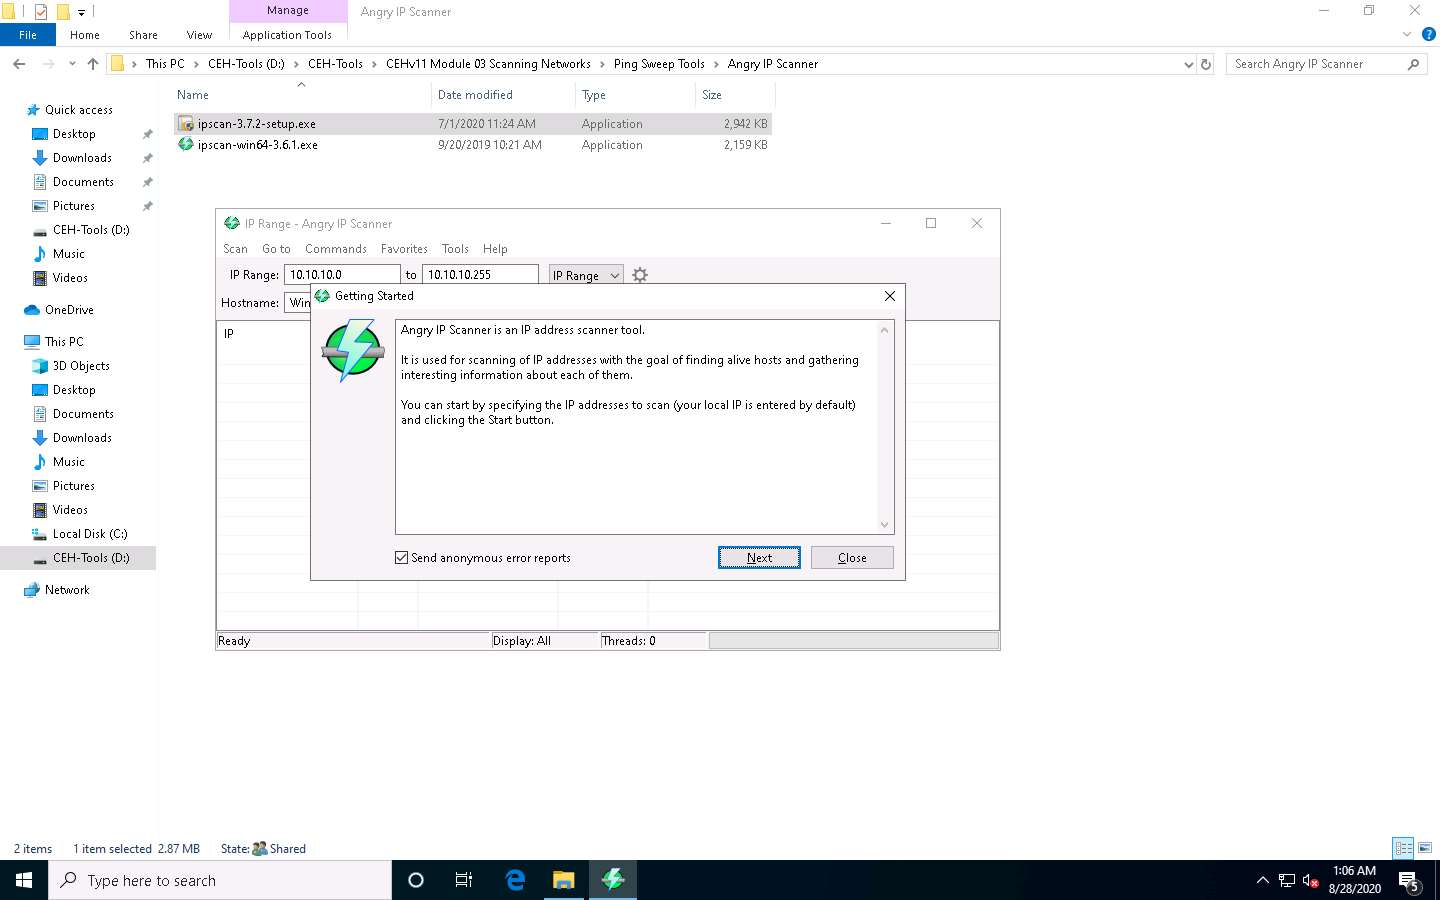
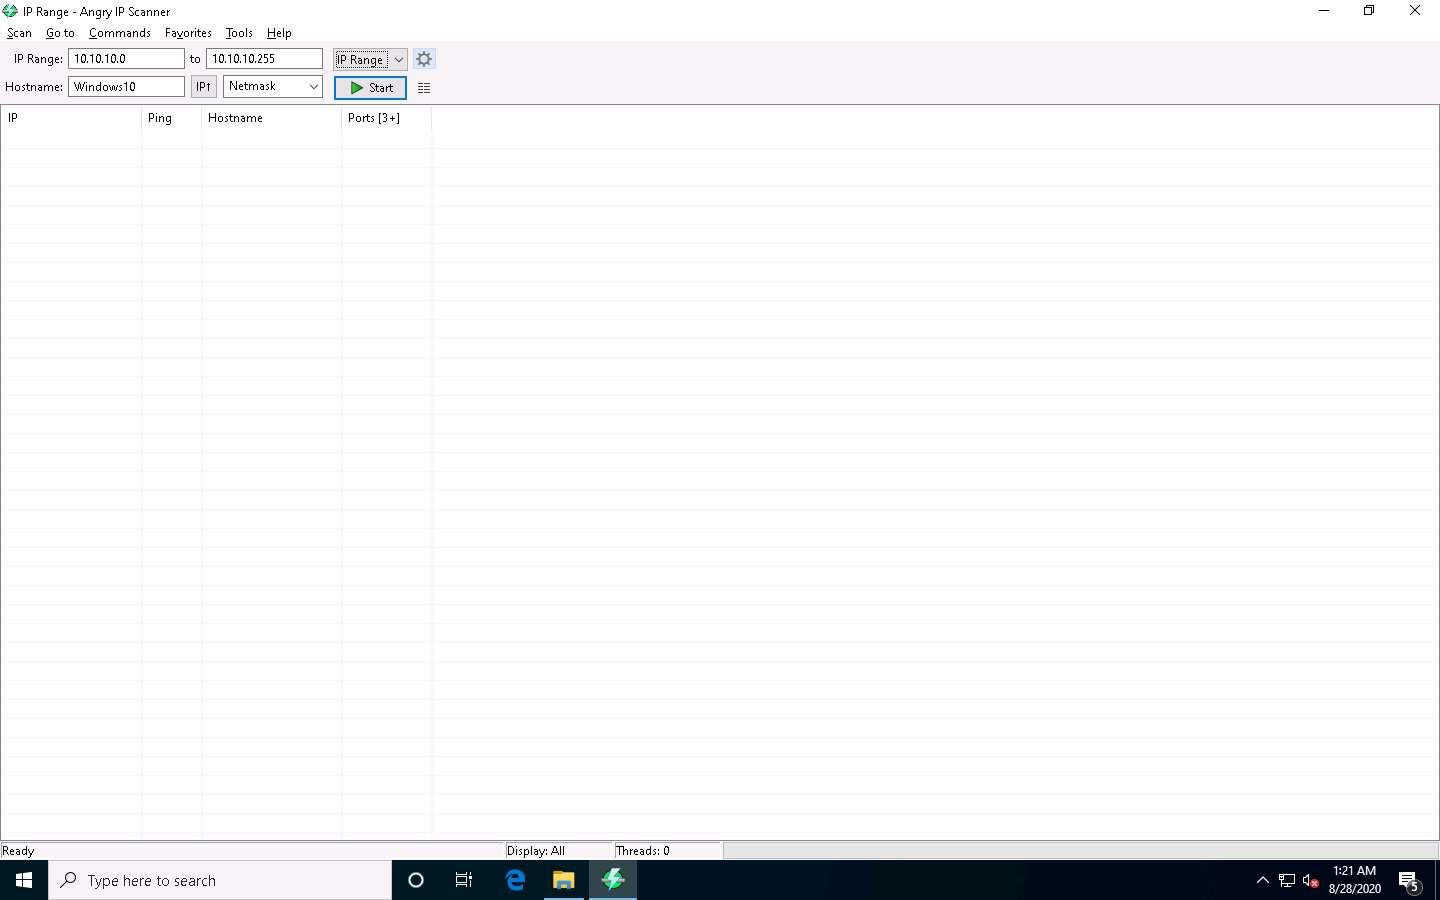
The IP Range - Angry IP Scanner window appears, as shown in the screenshot.

In the IP Range fields, type the IP range as 10.10.10.0 to 10.10.10.255 and click the Preferences icon beside the IP Range menu, as shown in the screenshot.
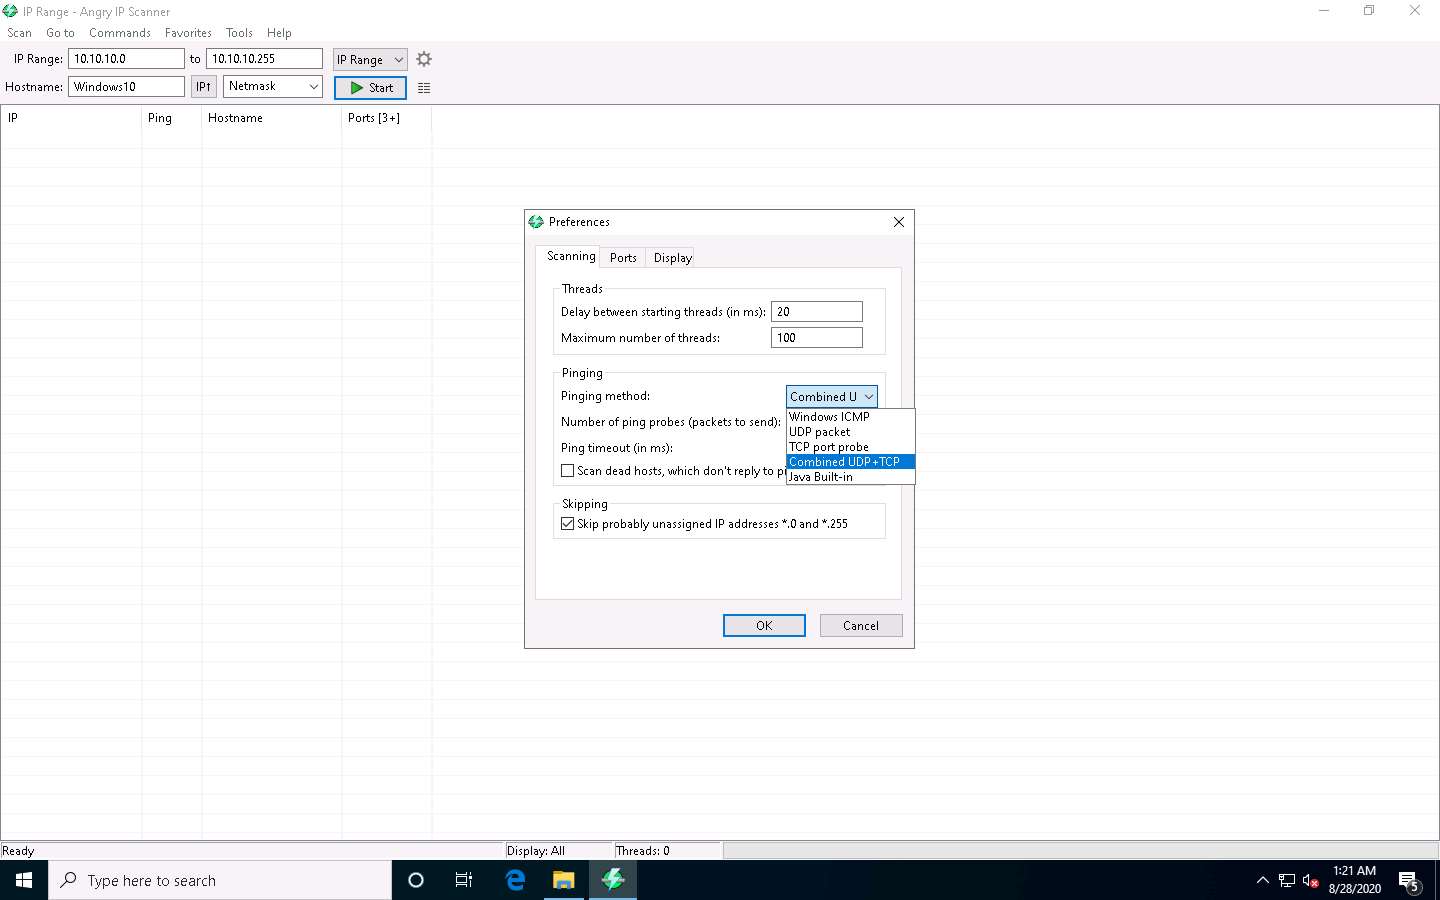
The Preferences window appears. In the Scanning tab, under the Pinging section, select the Pinging method as Combined UDP+TCP from the drop-down list.
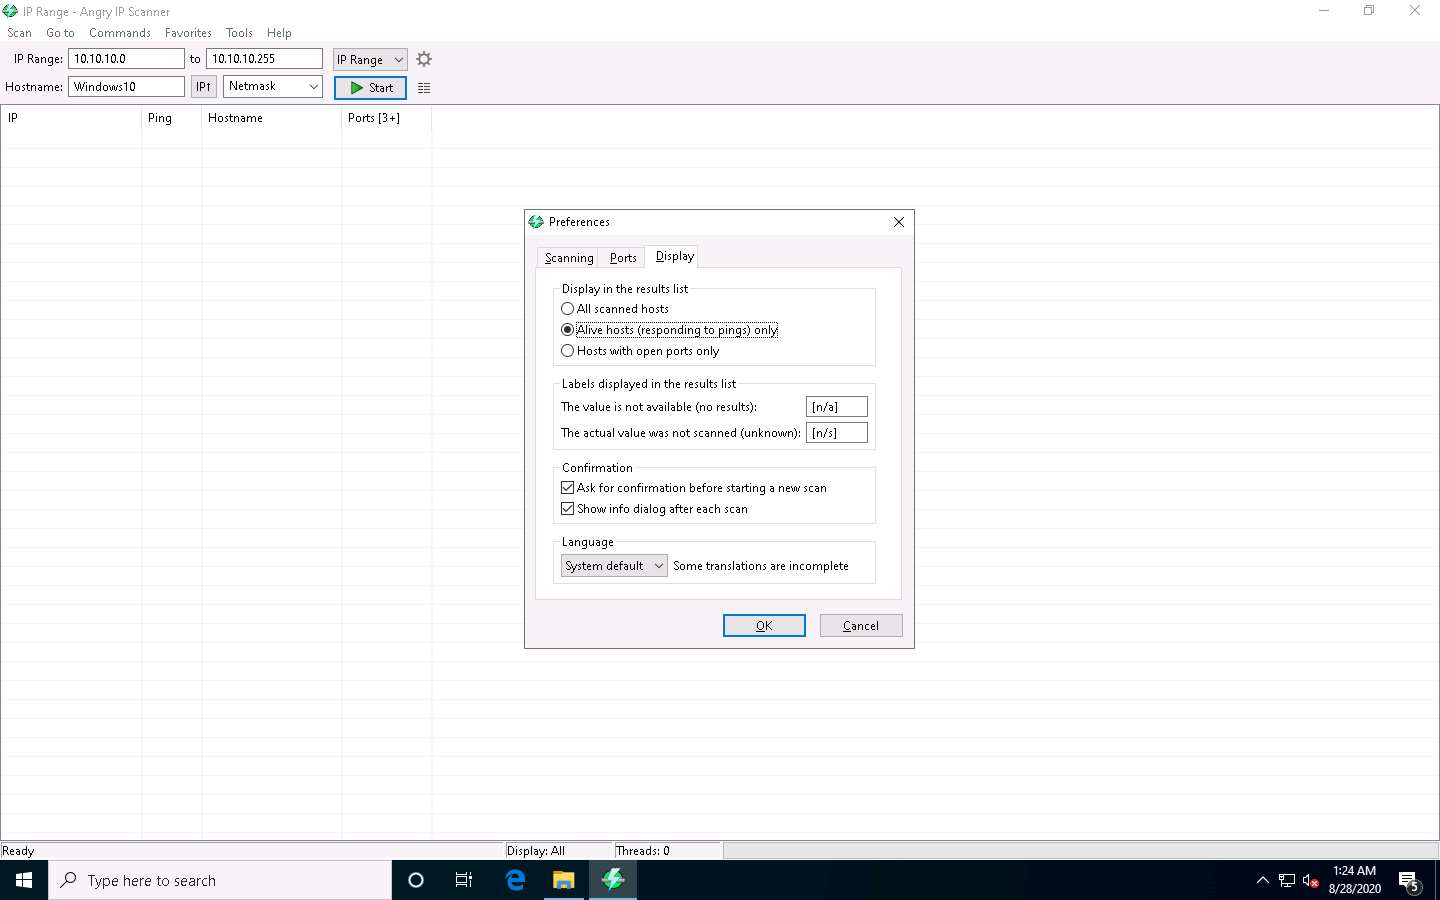
Now, switch to the Display tab. Under the Display in the results list section, select the Alive hosts (responding to pings) only radio button and click OK.
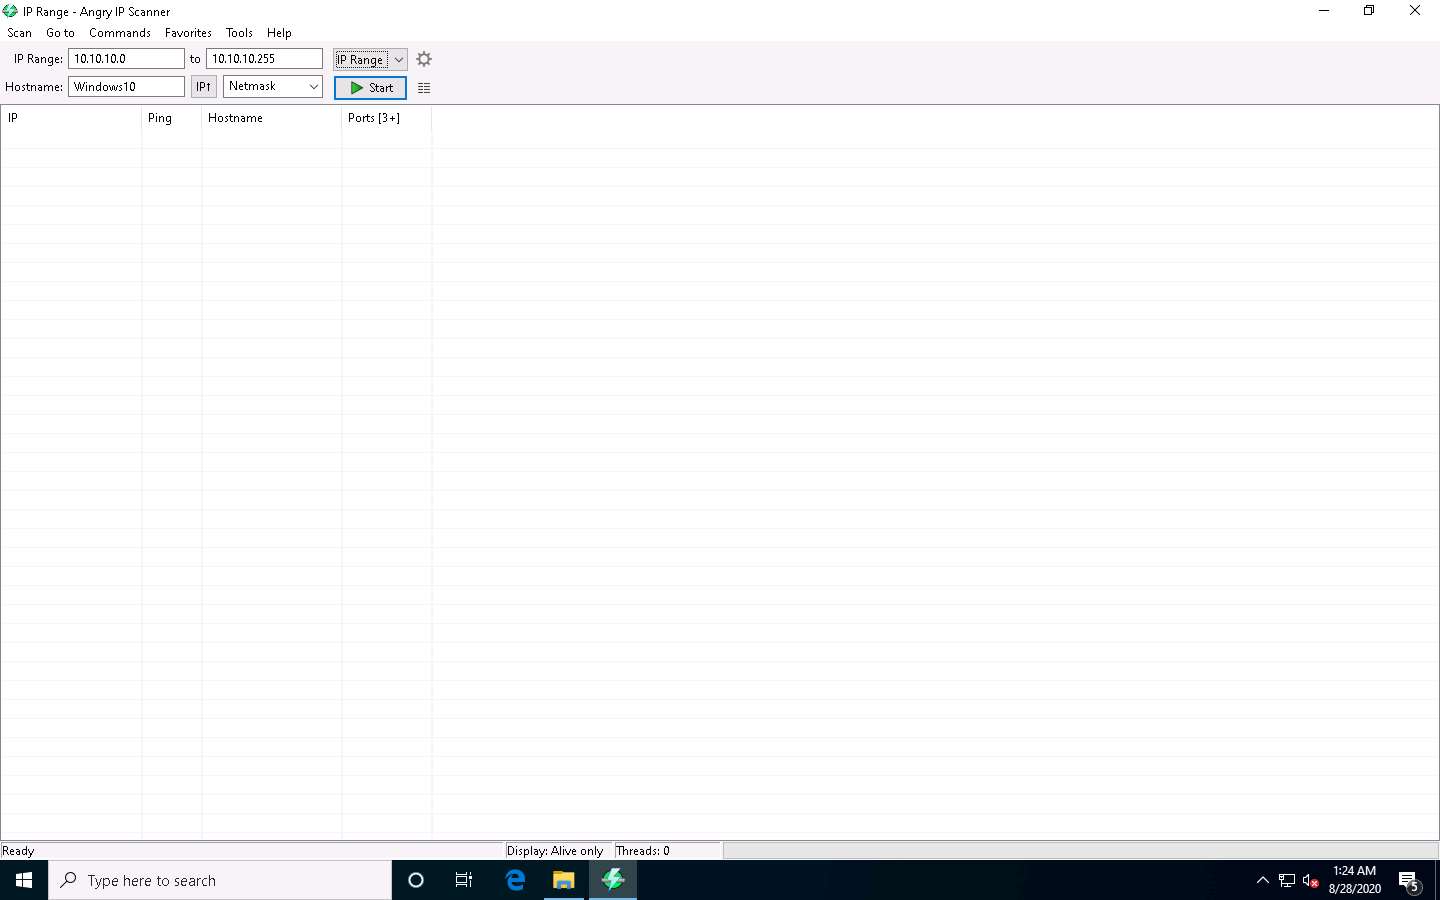
In the IP Range - Angry IP Scanner window, click the Start button to start scanning the IP range that you entered.
Angry IP Scanner starts scanning the IP range and begins to list out the alive hosts found. Check the progress bar on the bottom-right corner to see the progress of the scanning.
After the scanning is completed, a Scan Statistics pop-up appears. Note the total number of Hosts alive (here, 6) and click Close.
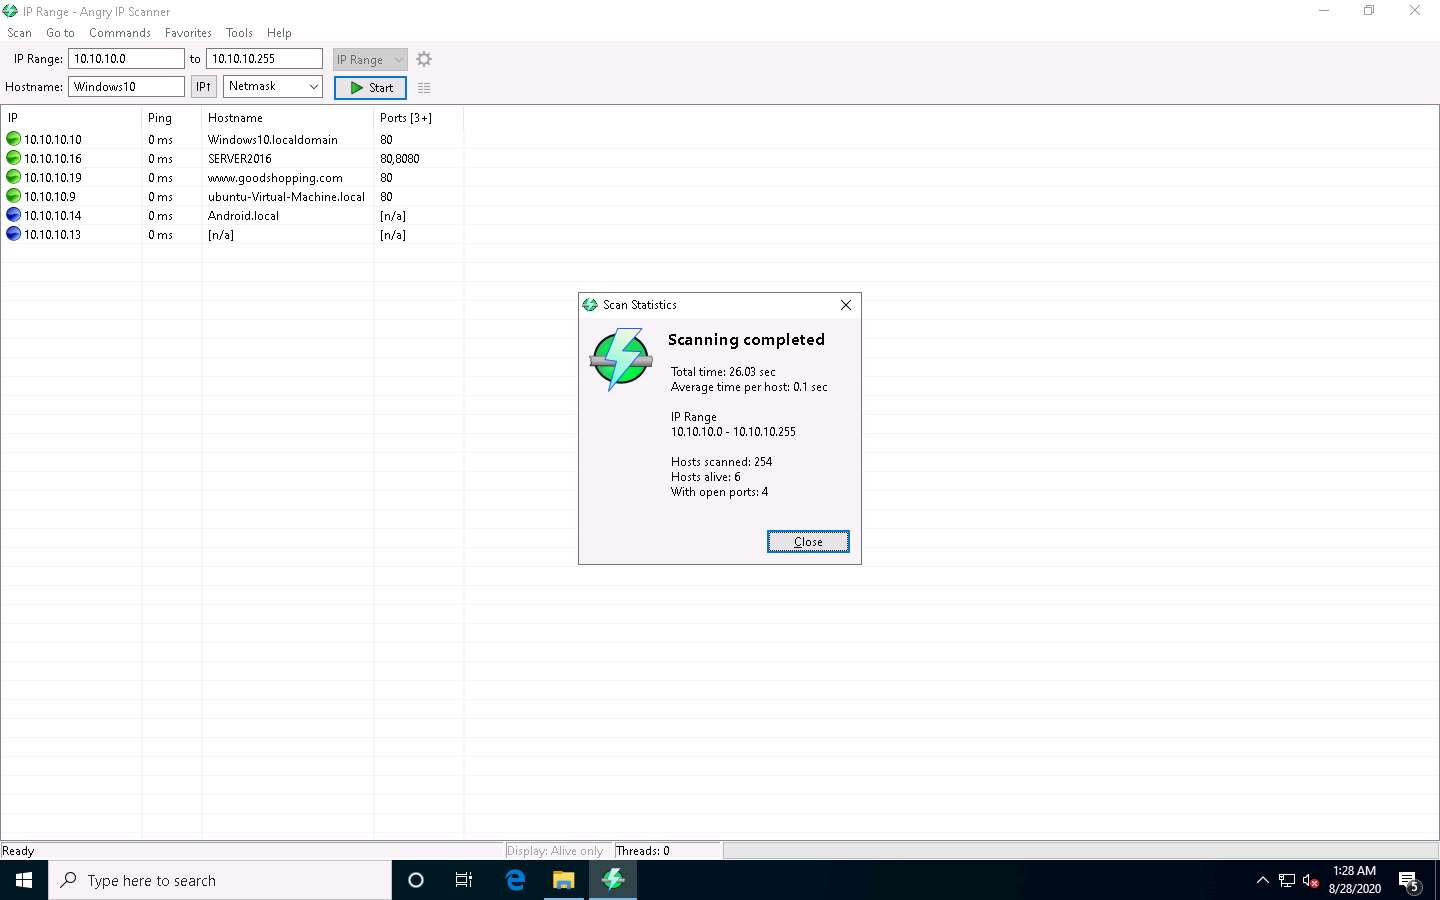
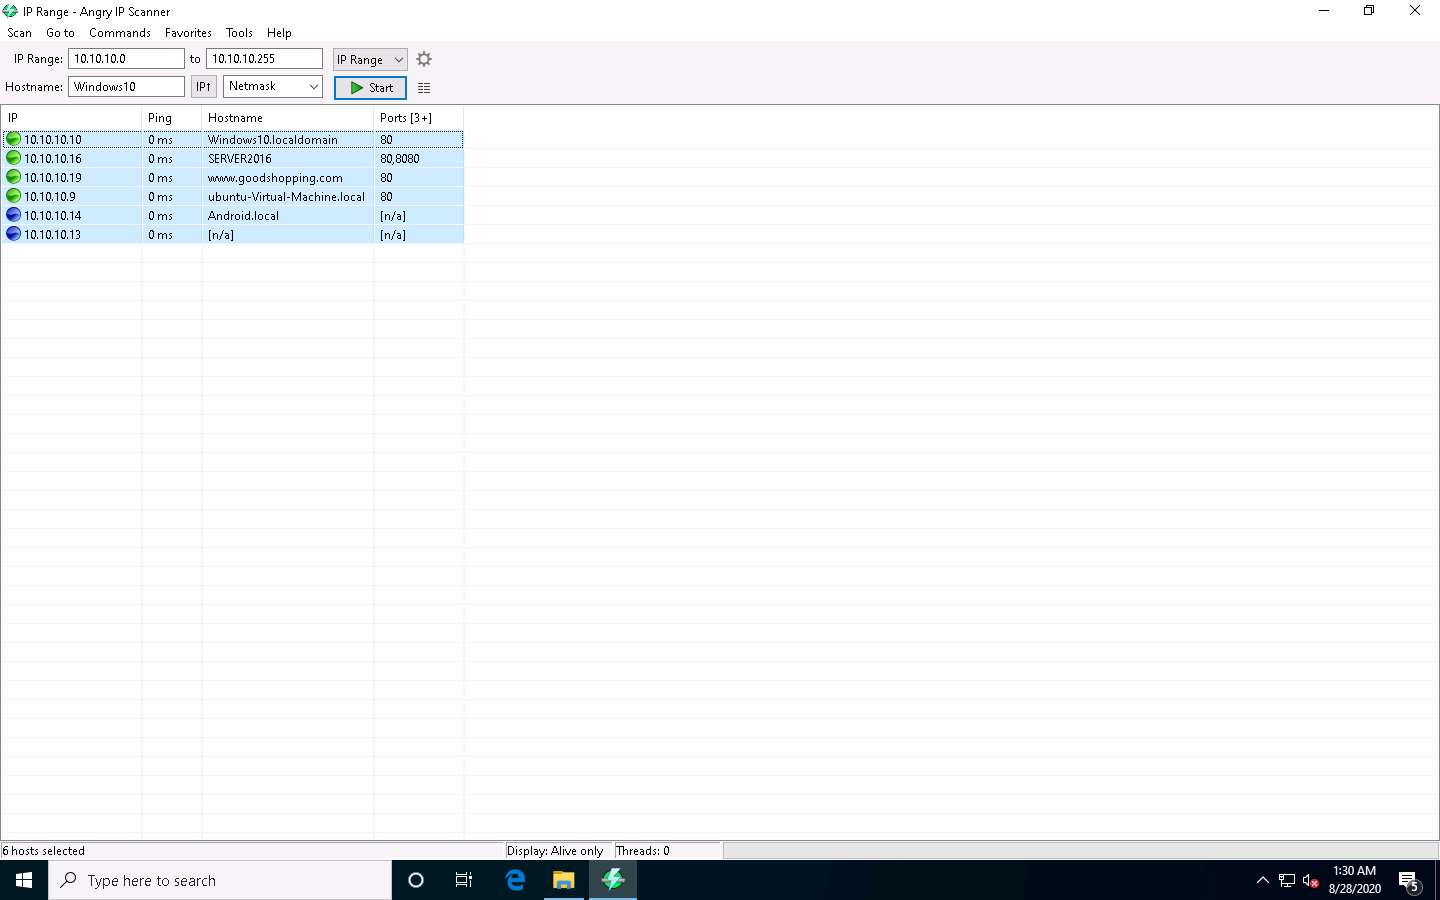
The results of the scan appear in the IP Range - Angry IP Scanner window. You can see all active IP addresses with their hostnames listed in the main window.
This concludes the demonstration of discovering alive hosts in the target range of IP addresses using various Angry IP Scanner.
You can also use other ping sweep tools such as SolarWinds Engineer’s Toolset (https://www.solarwinds.com), NetScanTools Pro (https://www.netscantools.com), Colasoft Ping Tool (https://www.colasoft.com), Visual Ping Tester (http://www.pingtester.net), and OpUtils (https://www.manageengine.com) to discover active hosts in the target network.
Close all open windows and document all the acquired information.


Comments
Post a Comment