Task 2: Create Custom Packets using Colasoft Packet Builder to Scan beyond IDS/Firewall
Task 2: Create Custom Packets using Colasoft Packet Builder to Scan beyond IDS/Firewall
Colasoft Packet Builder is a tool that allows you to create custom network packets to assess network security. You can also select a TCP packet from the provided templates and change the parameters in the decoder editor, hexadecimal editor, or ASCII editor to create a packet. In addition to building packets, the Colasoft Packet Builder supports saving packets to packet files and sending packets to the network.
Here, we will use the Colasoft Packet Builder tool to create custom TCP packets to scan the target host by bypassing the IDS/firewall.
Click Windows Server 2019 to switch to the Windows Server 2019 machine.
Click Ctrl+Alt+Delete to activate the machine. By default, Administration user profile is selected, click Pa$$w0rd to paste the password in the Password field and press Enter to login.
Alternatively, you can also click Pa$$w0rd under Windows Server 2019 machine thumbnail in the Resources pane or Click Type Text | Type Password button under Commands (thunder icon) menu.
Networks screen appears, click Yes to allow your PC to be discoverable by other PCs and devices on the network.
In the Desktop, double-click Wireshark shortcut.
The Wireshark Network Analyzer main window appears; double-click the available ethernet or interface (here, Ethernet) to start the packet capture.
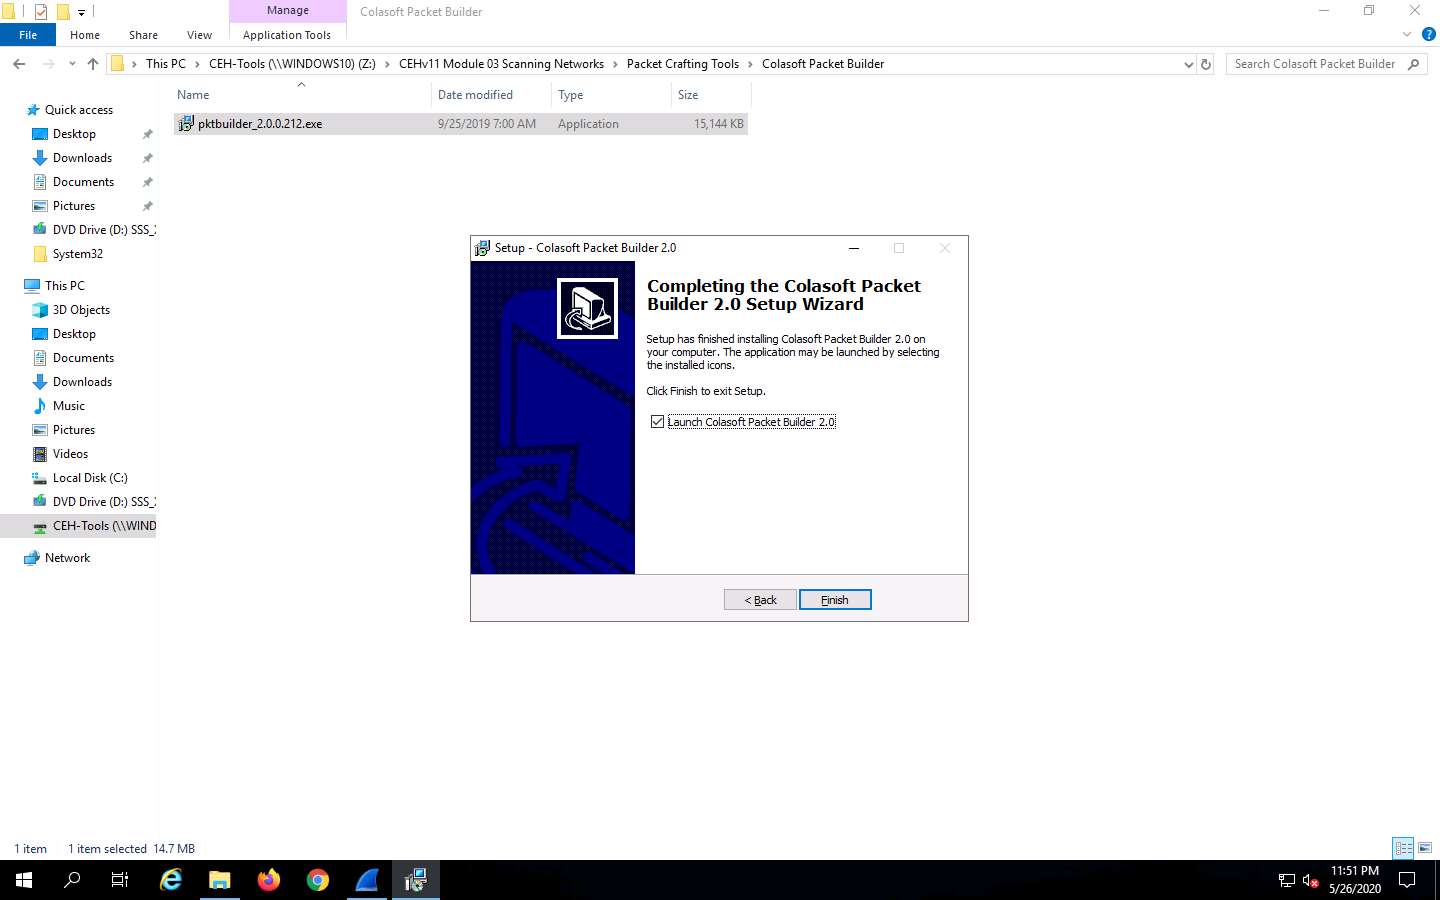
Navigate to Z:\CEHv11 Module 03 Scanning Networks\Packet Crafting Tools\Colasoft Packet Builder and double-click pktbuilder_2.0.0.212.exe.
Follow the wizard-driven installation steps to install Colasoft Packet Builder.
After the completion of the installation, click on the Launch Colasoft Packet Builder 2.0 checkbox and click Finish.
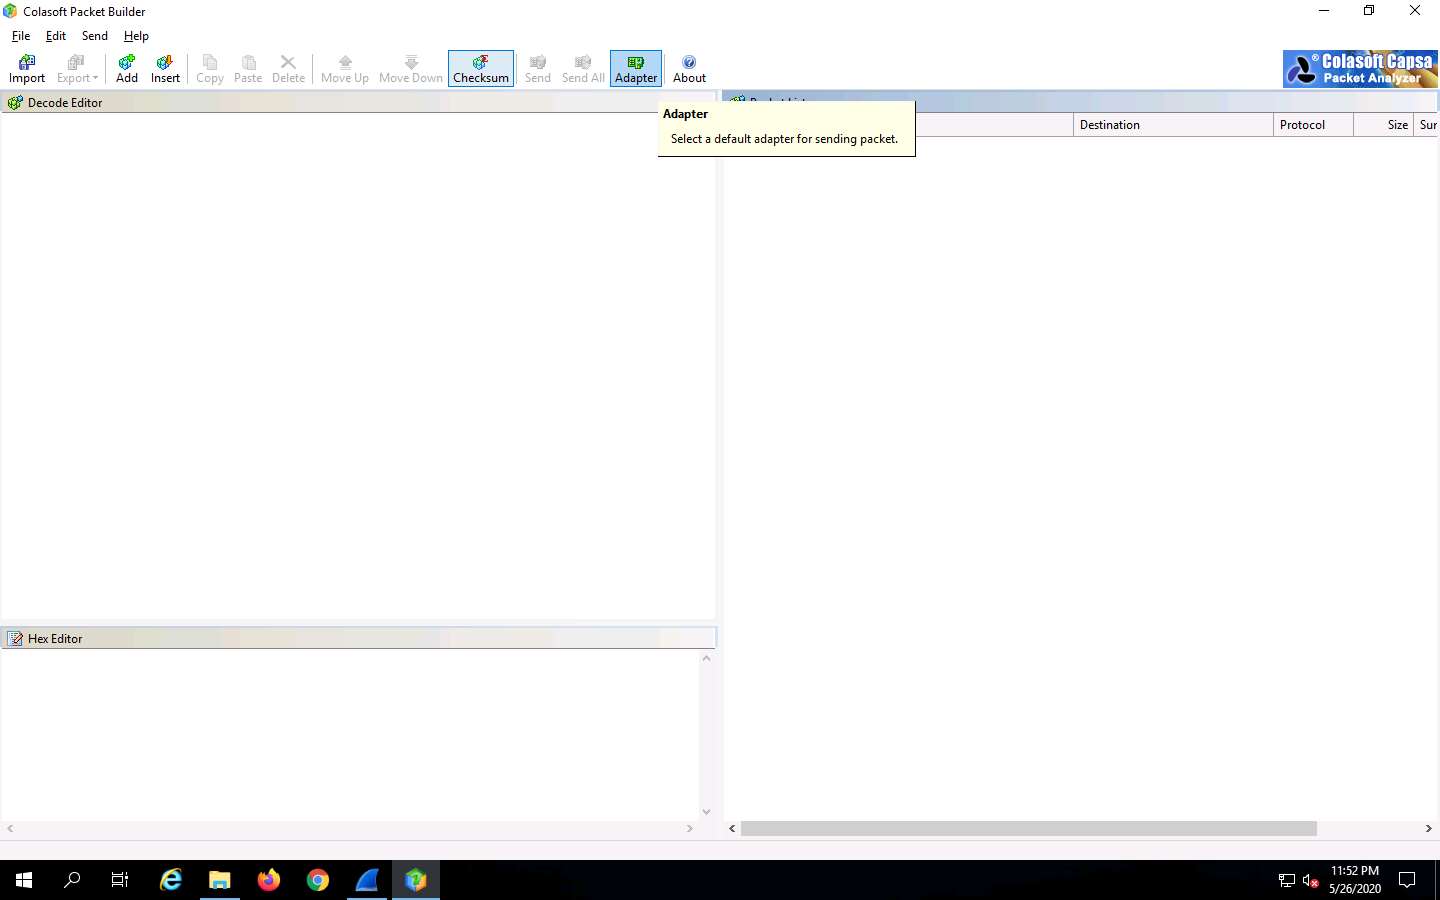
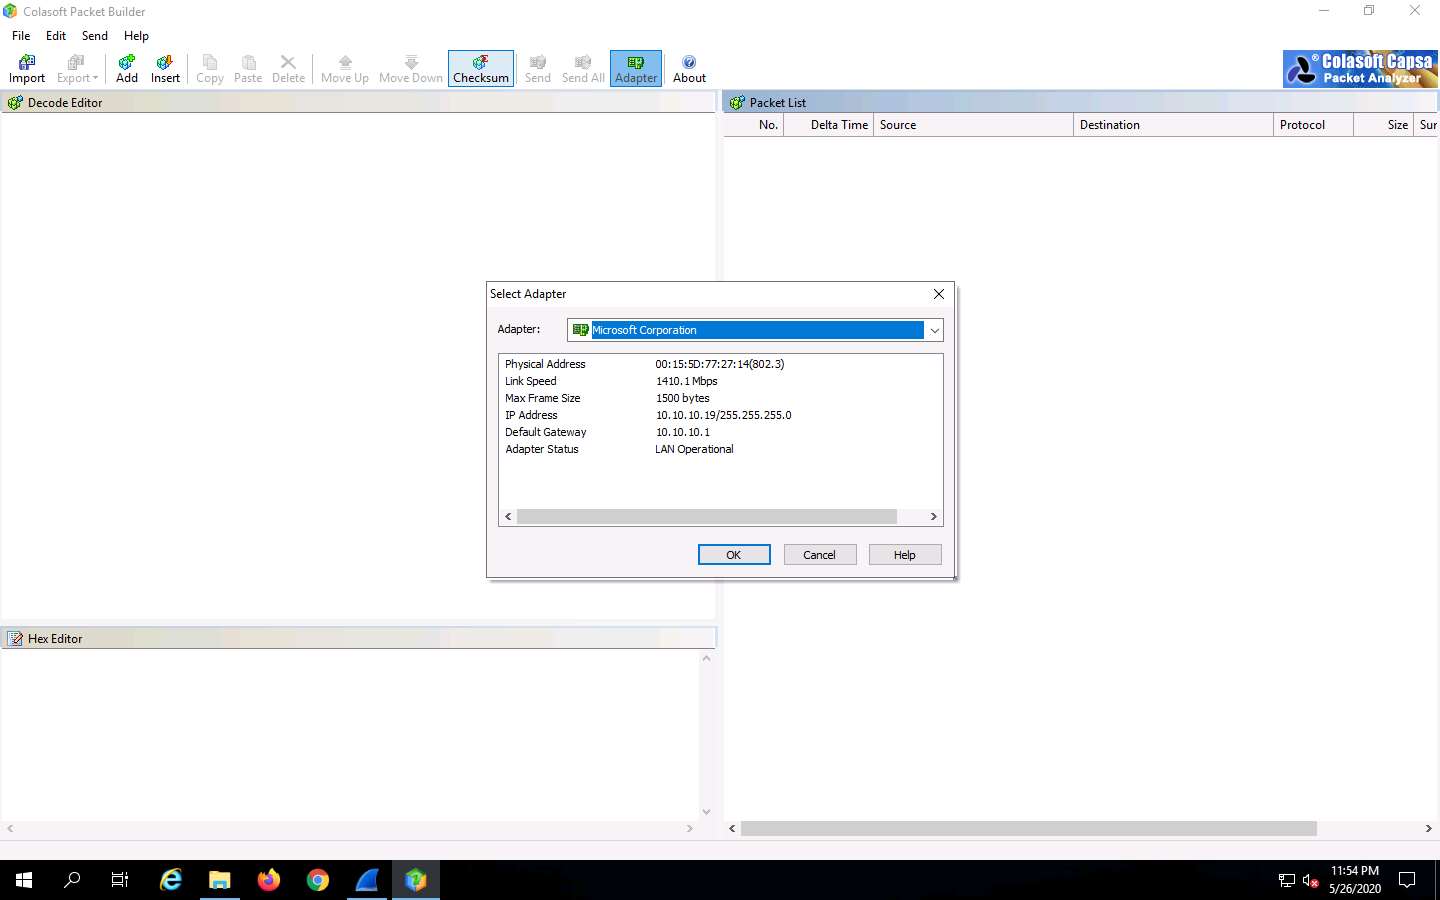
The Colasoft Packet Builder GUI appears; click on the Adapter icon, as shown in the screenshot.
If a pop-up appears, close the window.
When the Select Adapter window appears, check the Adapter settings and click OK.
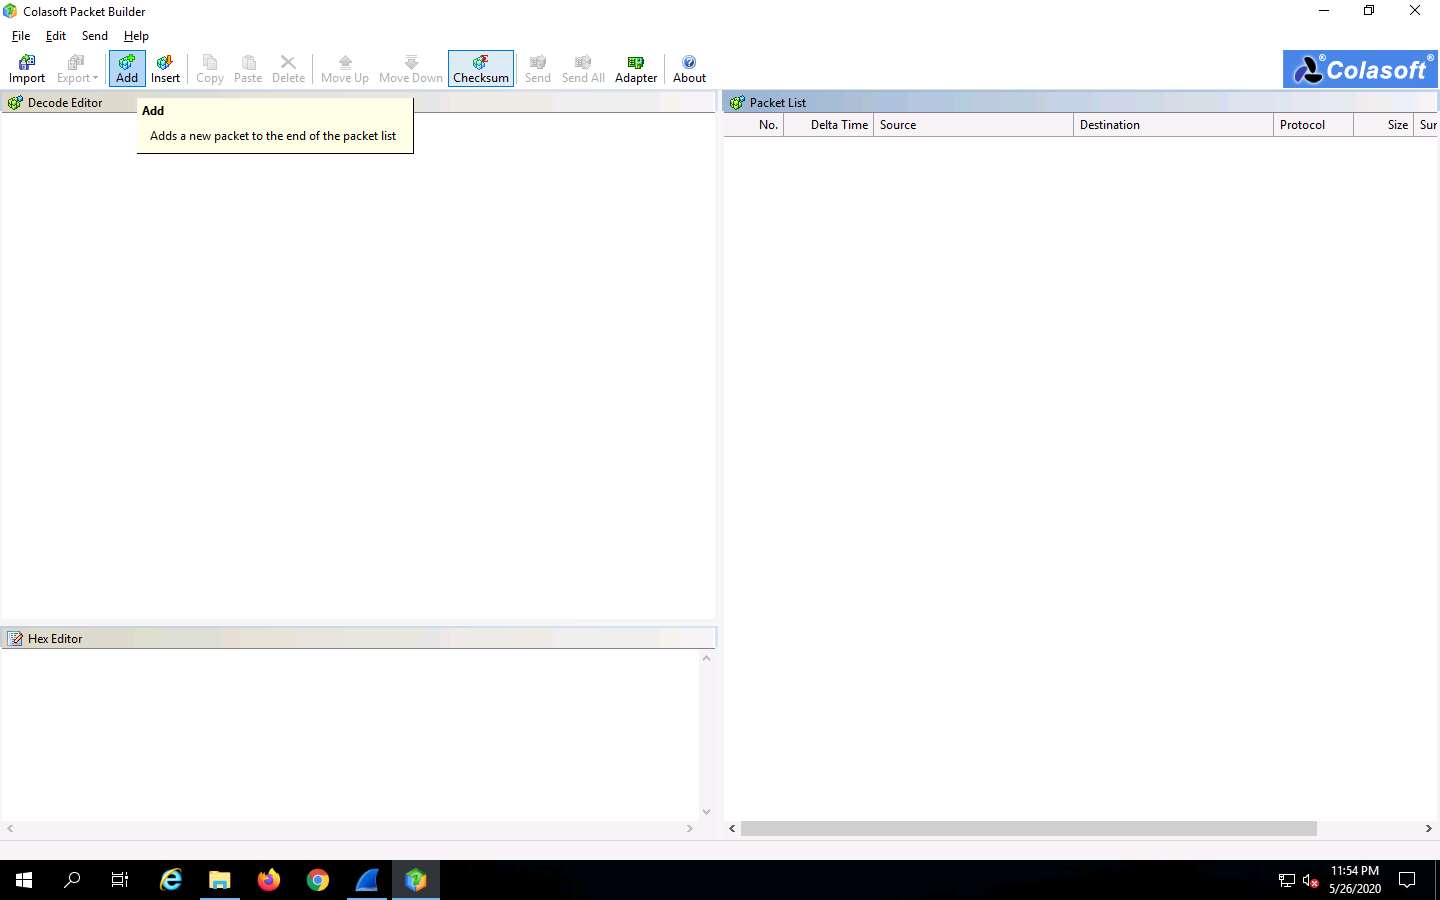
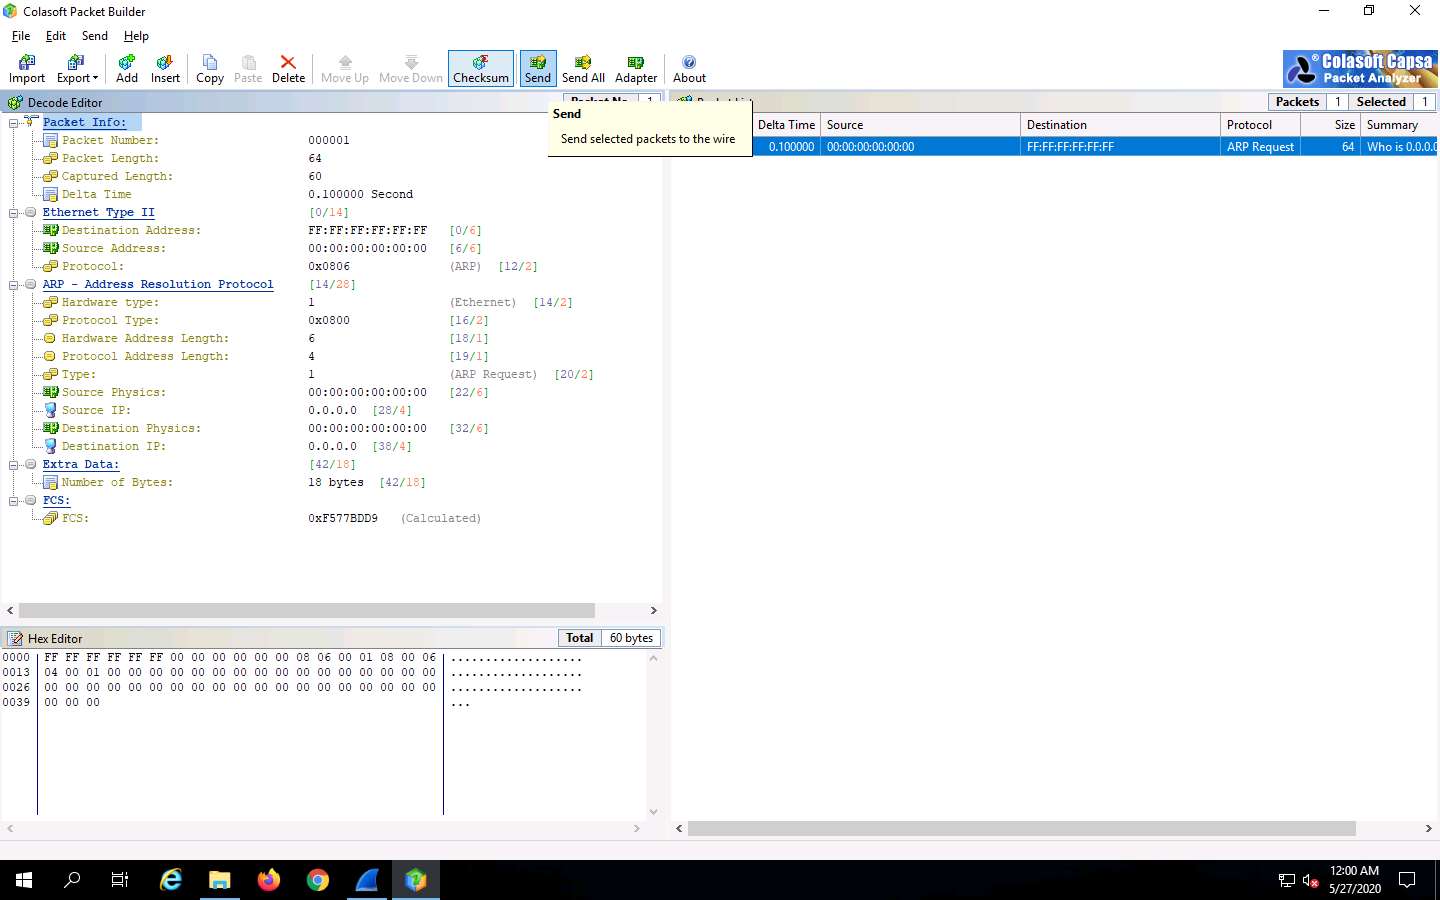
To add or create a packet, click the Add icon in the Menu bar.
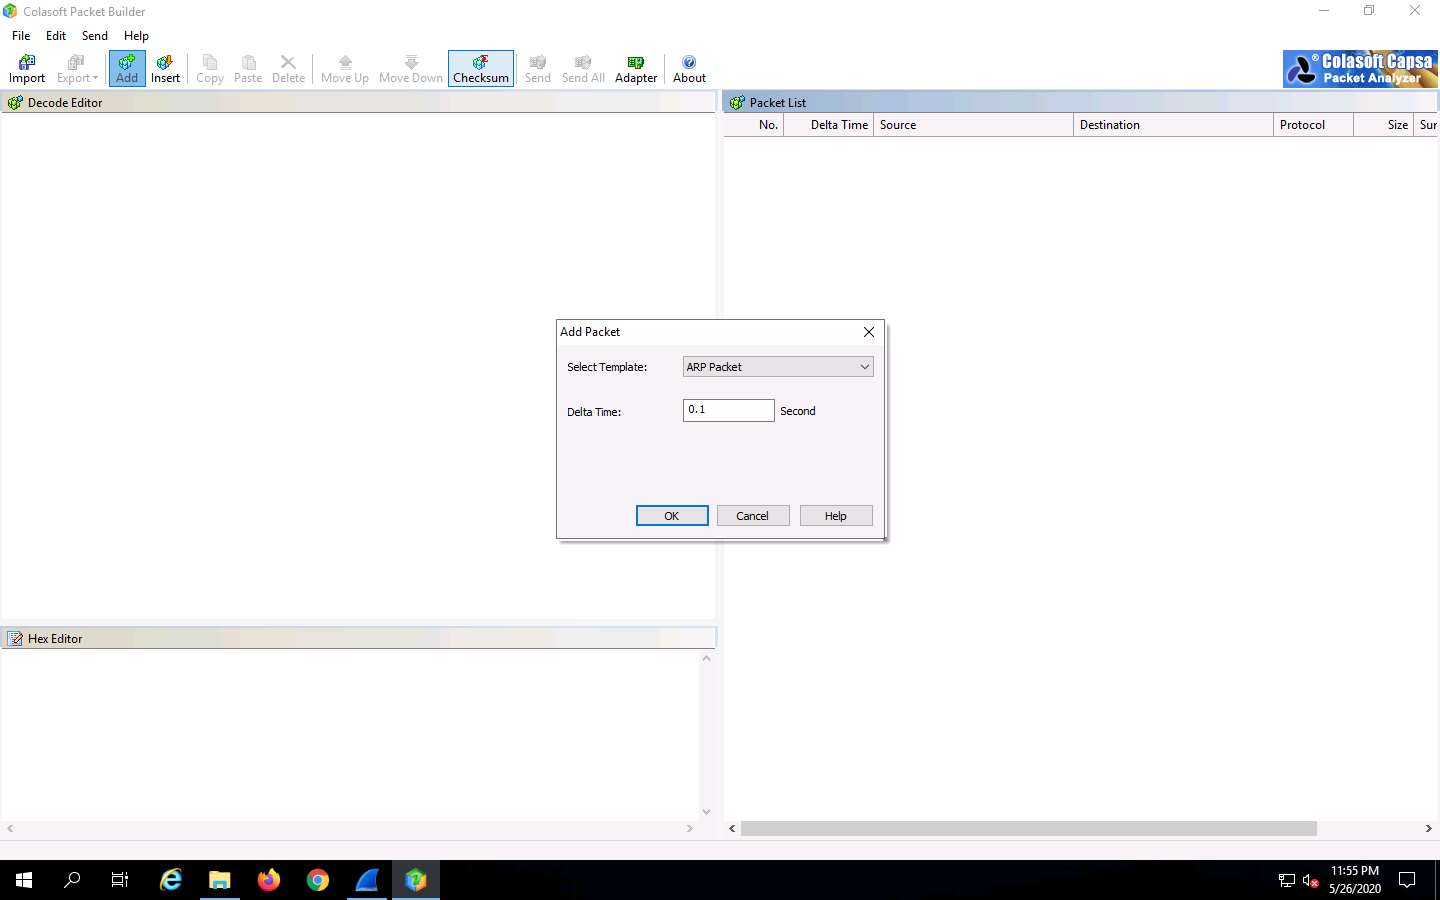
In the Add Packet dialog box, select the ARP Packet template, set Delta Time as 0.1 seconds, and click OK.
You can view the added packets list on the right-hand side of the window, under Packet List.
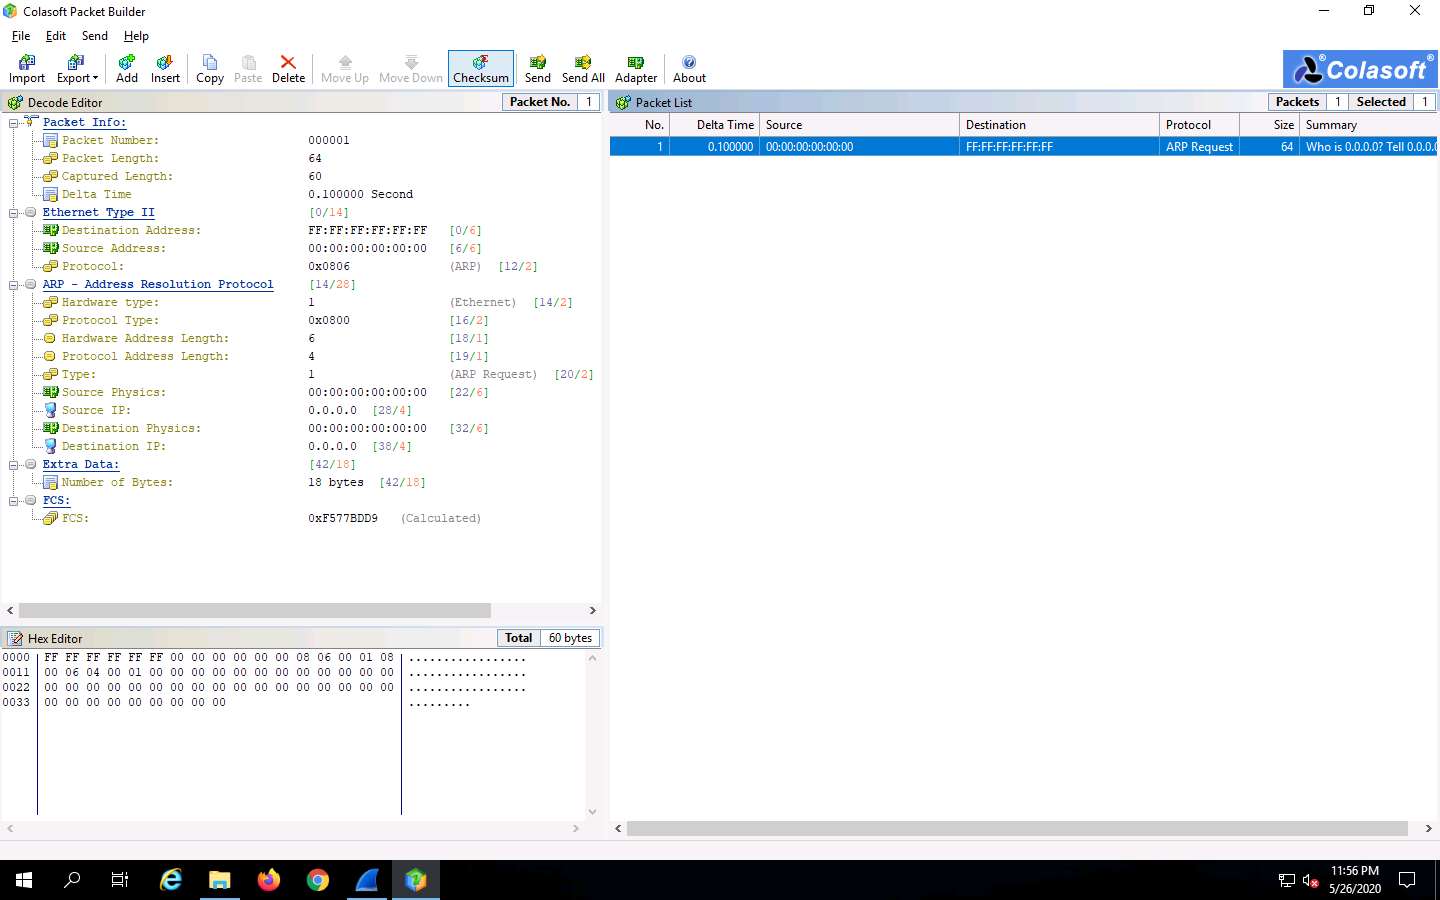
Colasoft Packet Builder allows you to edit the decoding information in the two editors, Decode Editor and Hex Editor, located in the left pane of the window.
The Decode Editor section allows you to edit the packet decoding information by double-clicking the item that you wish to decode.
Hex Editor displays the actual packet contents in raw hexadecimal value on the left and its ASCII equivalent on the right.

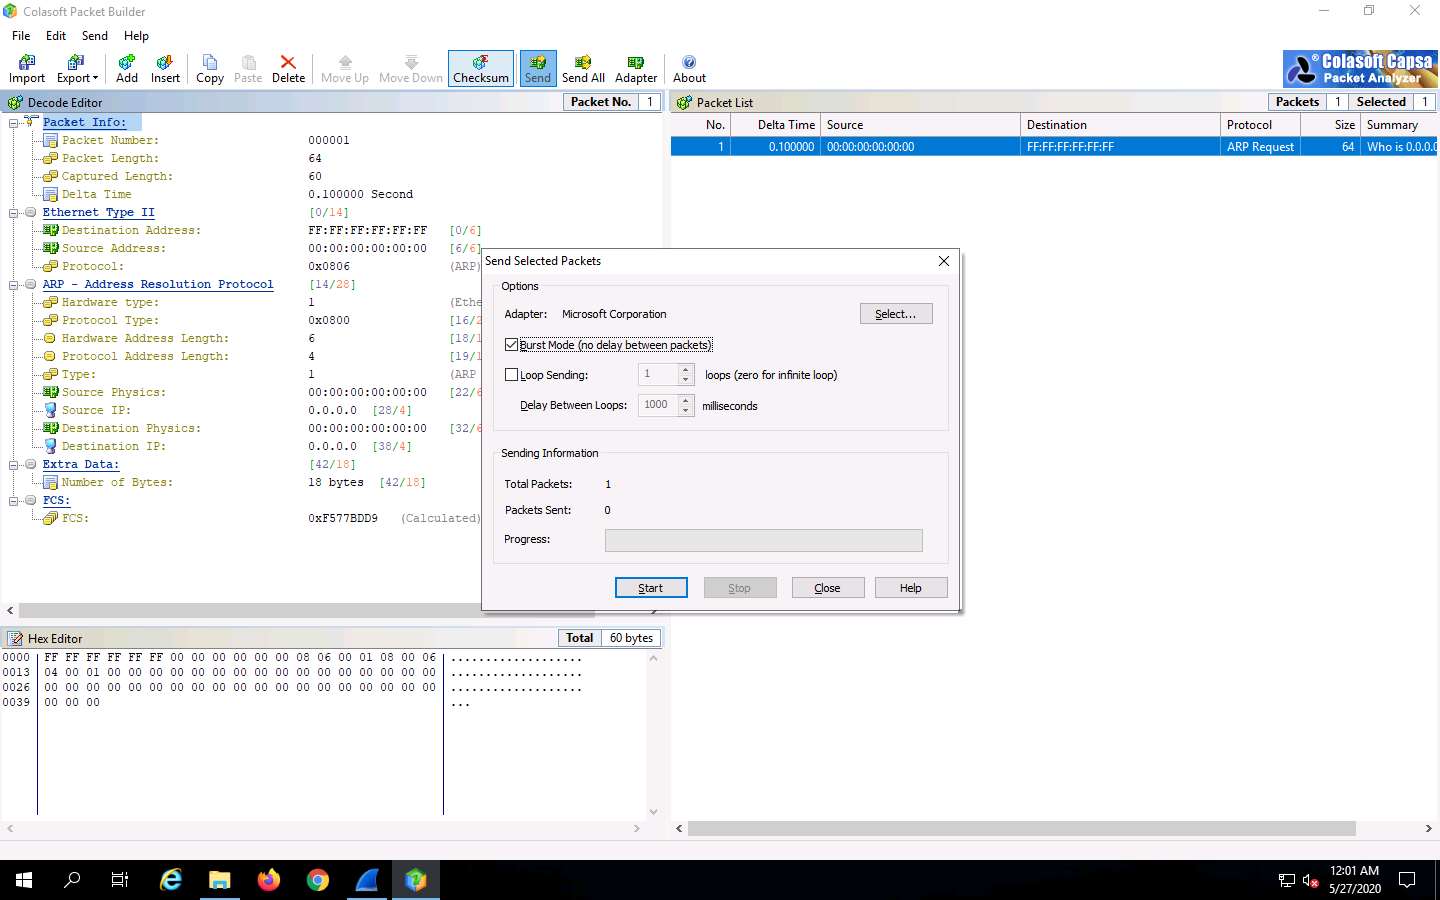
To send the packet, click Send from the Menu bar.
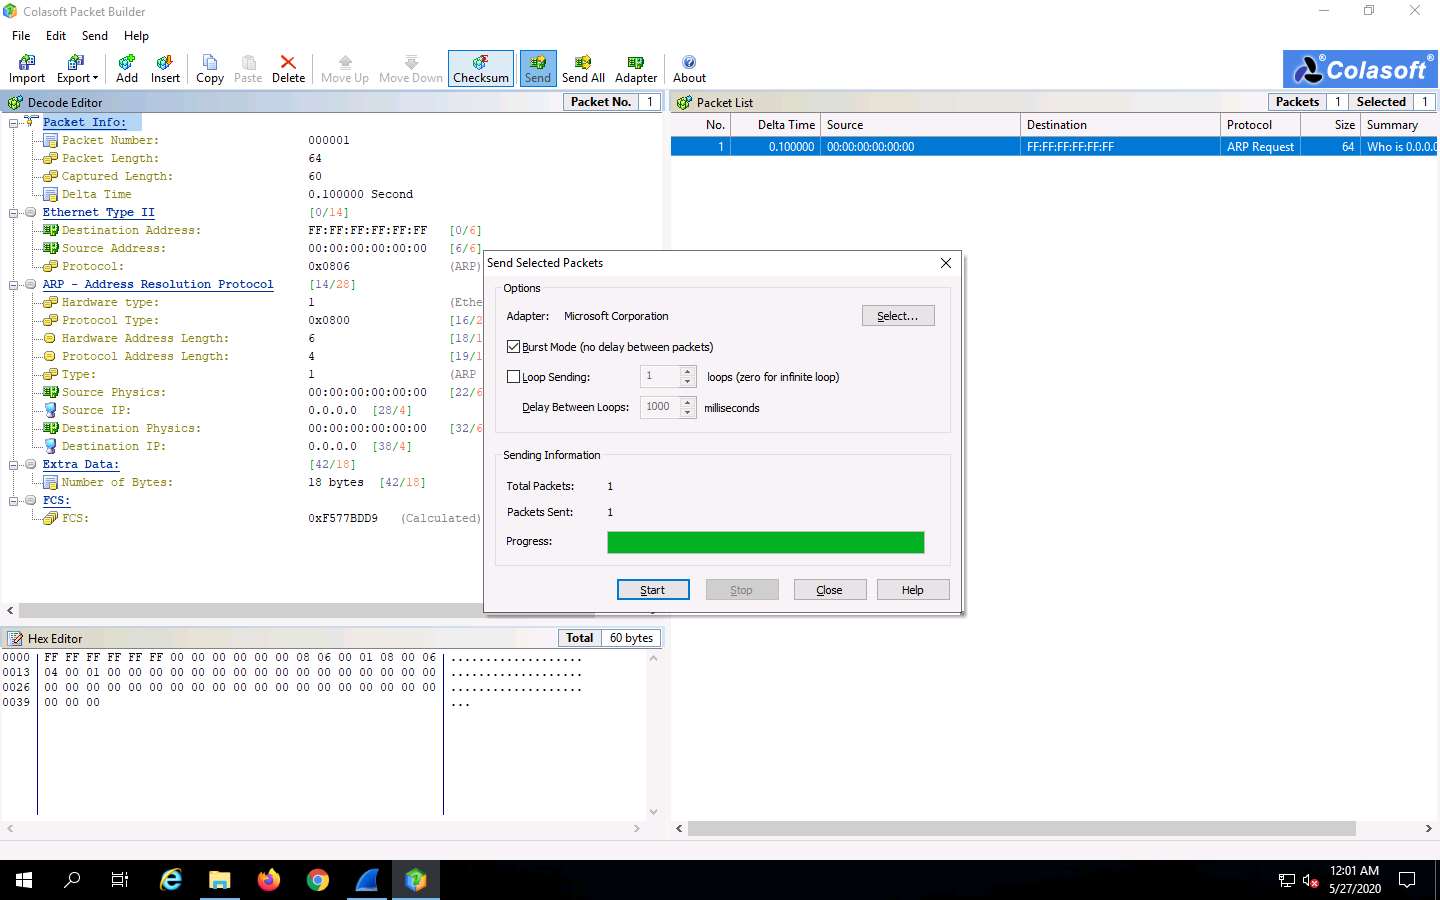
In the Send Selected Packets window, select the Burst Mode (no delay between packets) option, and then click Start.
After the Progress bar completes, click Close.
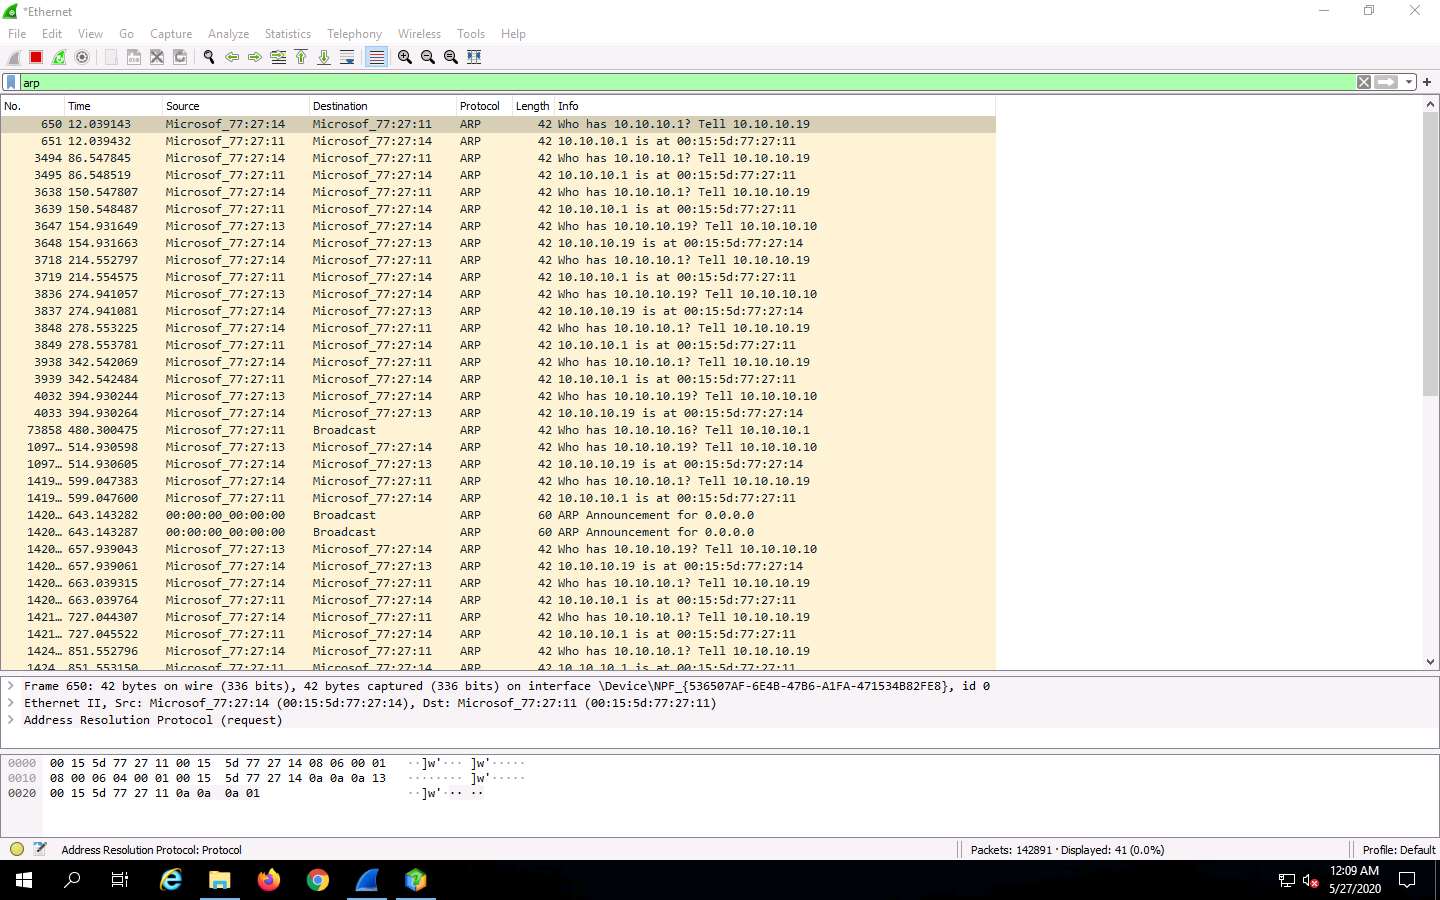
Now, when this ARP packet is broadcasted in the network, the active machines receive the packet, and a few start responding with an ARP reply. To evaluate which machine is responding to the ARP packet, you need to observe packets captured by the Wireshark tool.
In the Wireshark window, click on the Filter field, type arp and press Enter. The ARP packets will be displayed, as shown in the screenshot.
Here, the host machine (10.10.10.19) is broadcasting ARP packets, prompting the target machines to reply to the message.
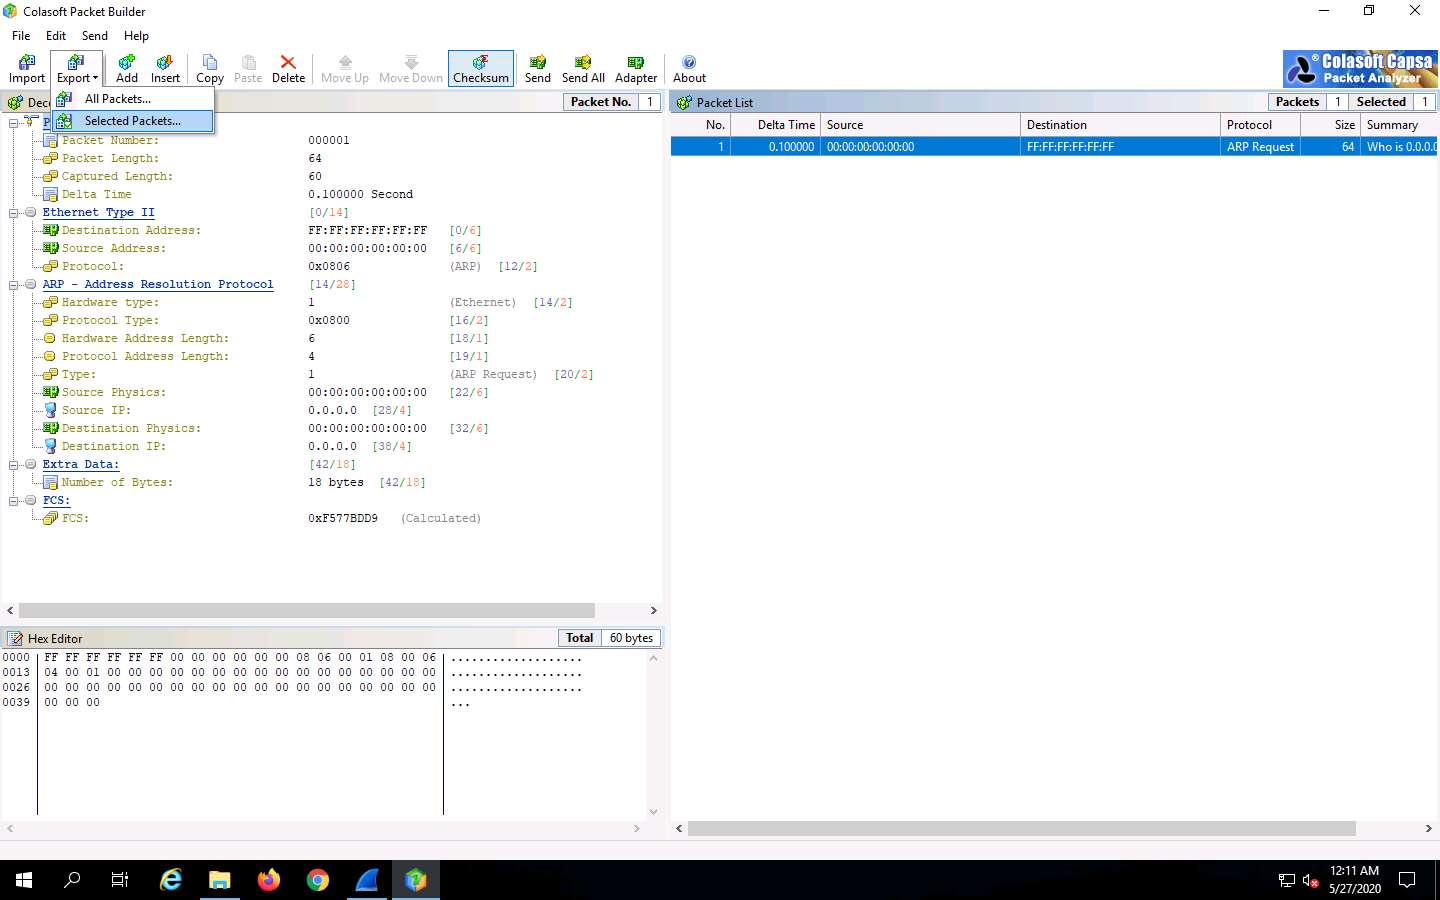
Switch back to the Colasoft Packet Builder window, to export the packet, click Export --> Selected Packets….
In the Save As window, select a destination folder in the Save in field, specify File name and Save as type, and click Save.
This saved file can be used for future reference.
This concludes the demonstration of creating a custom TCP packets to scan the target host by bypassing the IDS/firewall.
Close all open windows and document all the acquired information.


Comments
Post a Comment