Lab 9: Perform Footprinting using Various Footprinting Tools
Lab 9: Perform Footprinting using Various Footprinting Tools
Module 02: Footprinting and Reconnaissance
Lab 9: Perform Footprinting using Various Footprinting Tools
Task 1: Footprinting a Target using Recon-ng
Recon-ng is a web reconnaissance framework with independent modules and database interaction that provides an environment in
which open-source web-based reconnaissance can be conducted.
terminal
sudo su
enter
cd
recon-ng
type
marketplace install all
enter
You will be able to perform network discovery, exploitation, reconnaissance, etc. by loading the required modules.
type
workspaces create CEH
workspaces list
enter
type
db insert domains
enter domain
in notes type text
enter
type
modules load brute
enter
type
modules load recon/domains-hosts/brute_hosts
enter
type run
enter
You have now harvested the hosts related to certifiedhacker.com
type back
type: modules load recon/hosts-hosts/reverse_resolve
type run
enter
type show hosts
displays all the hosts that are harvested so far
enter
type back
enter
type
modules load reporting/html
Type:
options set FILENAME /root/Desktop/results.html and press Enter.
options set CREATOR [your name] (here, Jason) and press Enter.
options set CUSTOMER Certifiedhacker Networks (since you have performed network reconnaissance on certifiedhacker.com domain) and press Enter.
type run
enter
The generated report is saved to /root/Desktop/.
Click Places from the top-section of the Desktop and click Home Folder from the drop-down options.
Open With, and select the Firefox
you can expand the Hosts node to view all the harvested hosts,
Now, we will use Recon-ng to gather personnel information.
close all terminals
open terminal
sudo su
cd
recon-ng
enter
workspaces create reconnaissance
enter
Type modules load recon/domains-contacts/whois_pocs
type info command
Type options set SOURCE facebook.com
type run
module extracts the contacts associated with the domain and displays them
back
enter
modules load recon/profiles-profiles/namechk
enter
options set SOURCE MarkZuckerberg or whatever name you are looking into
run
enter
back
enter
To find the existence of user-profiles on various websites, you need to load the recon/profiles-profiles/profiler module.
refer to step 66 and continue form there
Now that we have verified the user existence and obtained the profile URL, we will prepare a report containing the result.
refer to step 71
---------------------------------------------------------------------------------------------------------------------------------------
Module 02: Footprinting and Reconnaissance
Lab 9: Perform Footprinting using Various Footprinting Tools
Task 2: Footprinting a Target using Maltego
Maltego is a footprinting tool used to gather maximum information for the purpose of ethical hacking, computer forensics,
and pentesting. It provides a library of transforms to discover data from open sources and visualizes that information in a
graph format, suitable for link analysis and data mining. Maltego provides you with a graphical interface that makes seeing these
relationships instant and accurate, and even making it possible to see hidden connections.
---------------------------------------------------------------------------------------------------------------------------------------
Module 02: Footprinting and Reconnaissance
Lab 9: Perform Footprinting using Various Footprinting Tools
Task 3: Footprinting a Target using OSRFramework
OSRFramework is a set of libraries that are used to perform Open Source Intelligence tasks. They include references to many
different applications related to username checking, DNS lookups, information leaks research, deep web search, regular
expressions extraction, and many others. It also provides a way of making these queries graphically as well as several
interfaces to interact with such as OSRFConsole or a Web interface.
---------------------------------------------------------------------------------------------------------------------------------------
Module 02: Footprinting and Reconnaissance
Lab 9: Perform Footprinting using Various Footprinting Tools
Task 4: Footprinting a Target using BillCipher
BillCipher is an information gathering tool for a Website or IP address. Using this tool, you can gather
information such as DNS Lookup, Whois lookup, GeoIP Lookup, Subnet Lookup, Port Scanner, Page Links, Zone
Transfer, HTTP Header, etc. Here, we will use the BillCipher tool to footprint a target website URL.
---------------------------------------------------------------------------------------------------------------------------------------
Module 02: Footprinting and Reconnaissance
Lab 9: Perform Footprinting using Various Footprinting Tools
Task 5: Footprinting a Target using OSINT Framework
OSINT Framework is an open source intelligence gathering framework that helps security professionals for performing automated
footprinting and reconnaissance, OSINT research, and intelligence gathering. It is focused on gathering information from free
tools or resources. This framework includes a simple web interface that lists various OSINT tools arranged by category and
is shown as an OSINT tree structure on the web interface.
Lab Scenario
The information gathered in the previous steps may not be sufficient to reveal the potential vulnerabilities of the target. There could be more information available that could help in finding loopholes in the target. As an ethical hacker, you should look for as much information as possible about the target using various tools. This lab activity will demonstrate what other information you can extract from the target using various footprinting tools.
Lab Objectives
- Footprinting a target using Recon-ng
- Footprinting a target using Maltego
- Footprinting a target using OSRFramework
- Footprinting a target using BillCipher
- Footprinting a target using OSINT Framework
Overview of Footprinting Tools
Footprinting tools are used to collect basic information about the target systems in order to exploit them. Information collected by the footprinting tools contains the target’s IP location information, routing information, business information, address, phone number and social security number, details about the source of an email and a file, DNS information, domain information, etc.
Task 1: Footprinting a Target using Recon-ng
Recon-ng is a web reconnaissance framework with independent modules and database interaction that provides an environment in which open-source web-based reconnaissance can be conducted. Here, we will use Recon-ng to perform network reconnaissance, gather personnel information, and gather target information from social networking sites.
Click Parrot Security to switch to the Parrot Security machine.
Click the MATE Terminal icon at the top-left corner of the Desktop window to open a Terminal window.
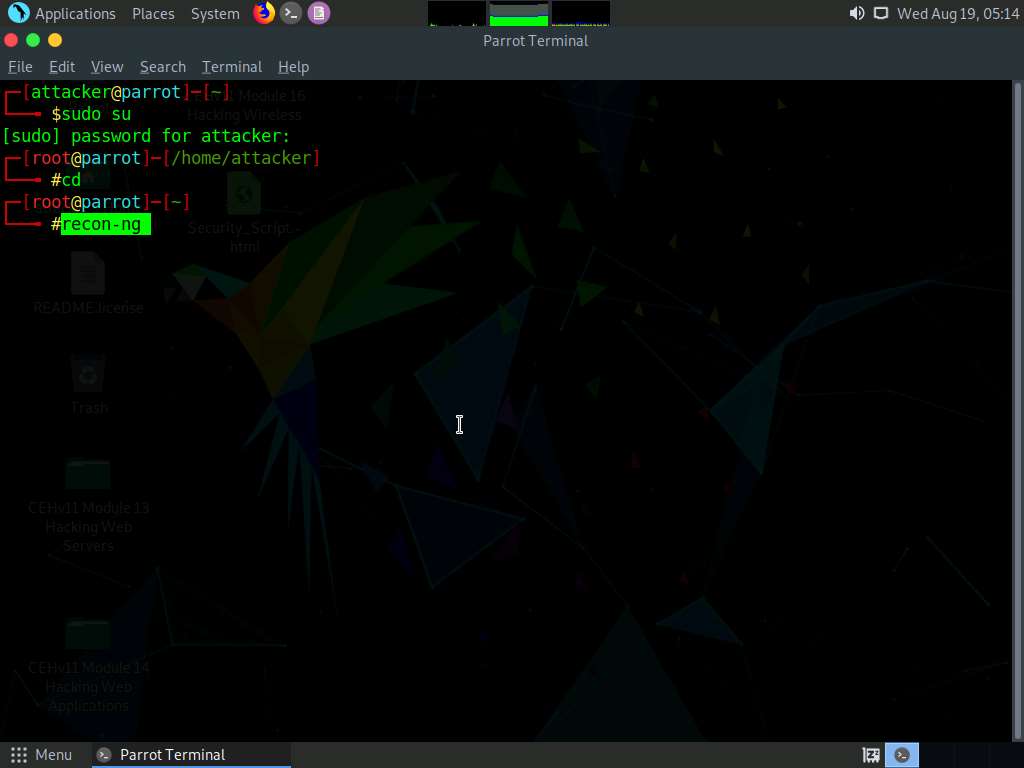
A Parrot Terminal window appears. In the terminal window, type sudo su and press Enter to run the programs as a root user.
In the [sudo] password for attacker field, type toor as a password and press Enter.
The password that you type will not be visible.
Now, type cd and press Enter to jump to the root directory.
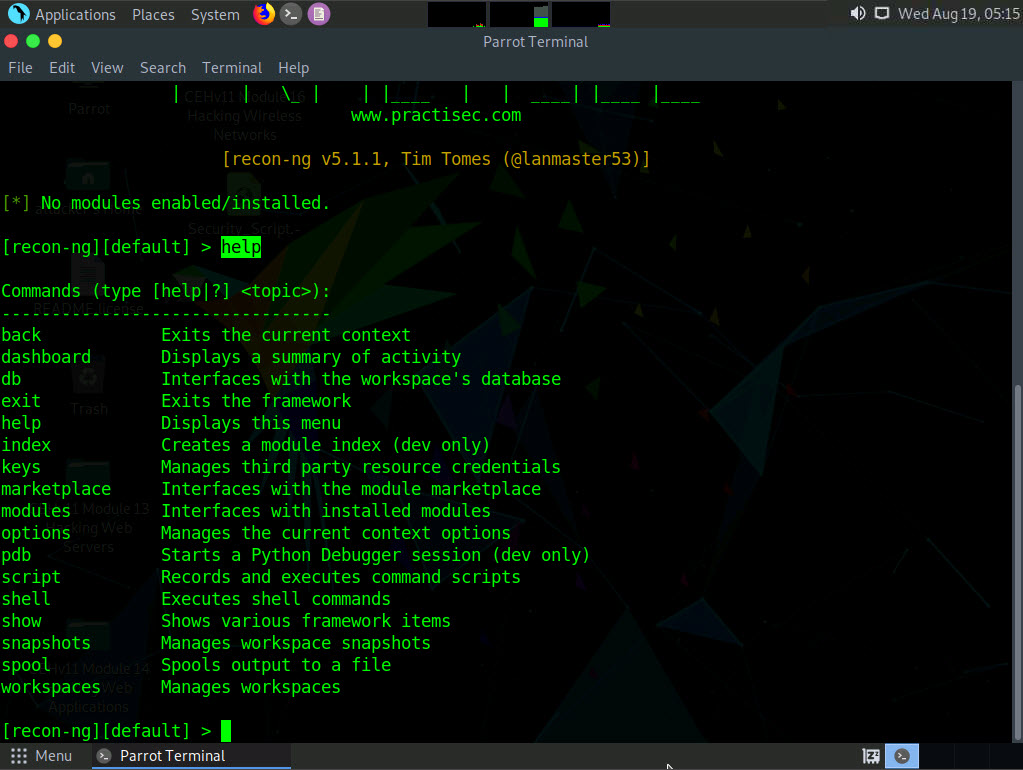
In the Terminal window, type the command recon-ng and press Enter to launch the application.
Type help and press Enter to view all the commands that allow you to add/delete records to a database, query a database, etc.
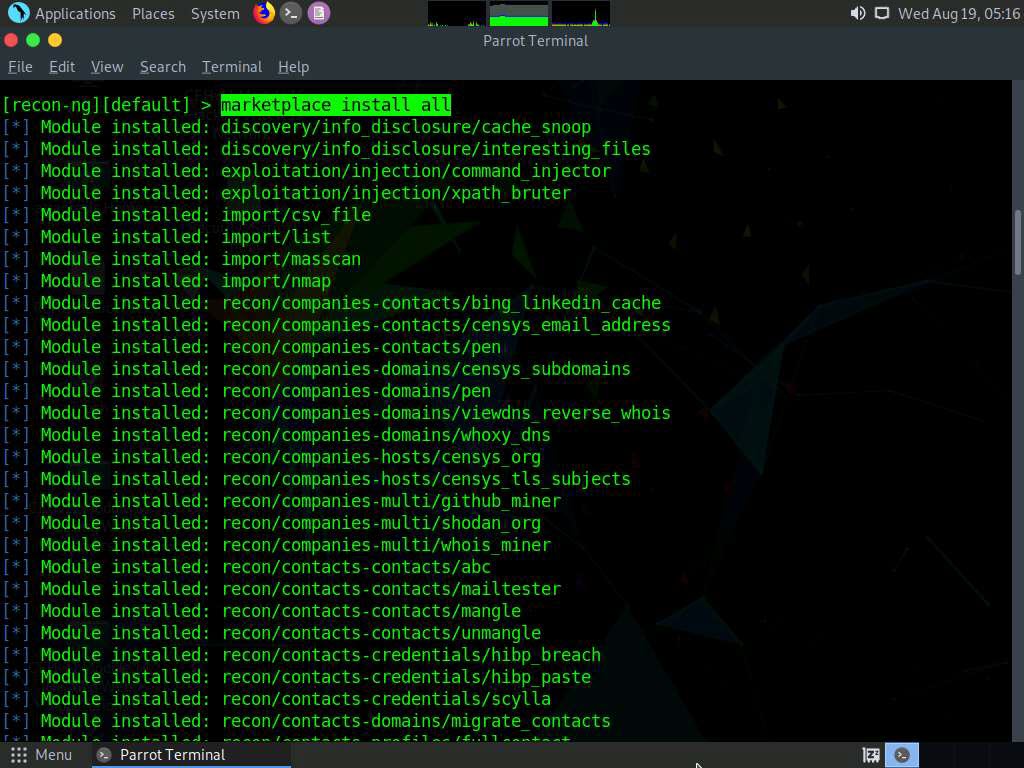
Type marketplace install all and press Enter to install all the modules available in recon-ng.
After the installation of modules, type the modules search command and press Enter. This displays all the modules available in recon-ng.
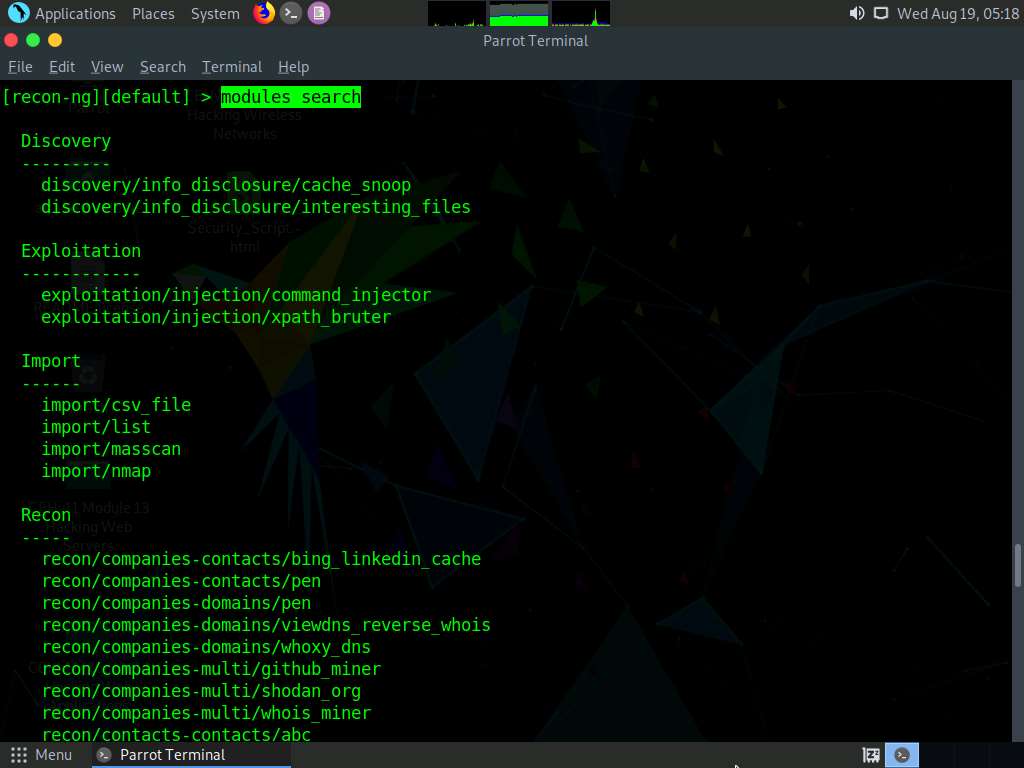
You will be able to perform network discovery, exploitation, reconnaissance, etc. by loading the required modules.
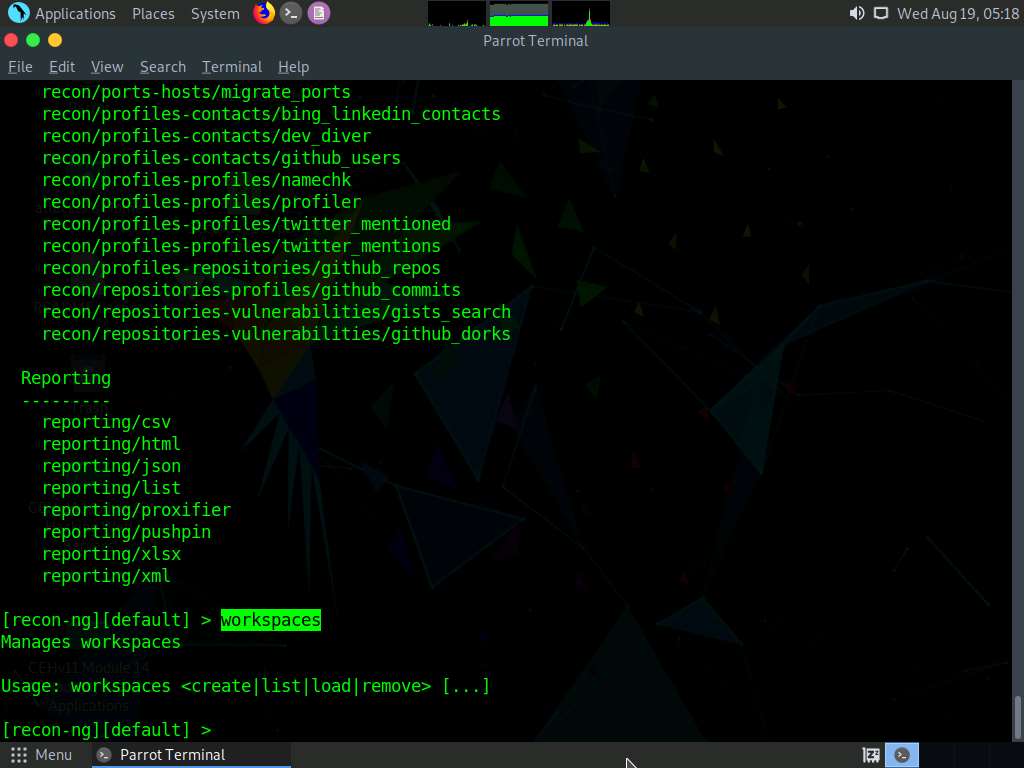
Type the workspaces command and press Enter. This displays the commands related to the workspaces.
Create a workspace in which to perform network reconnaissance. In this task, we shall be creating a workspace named CEH.
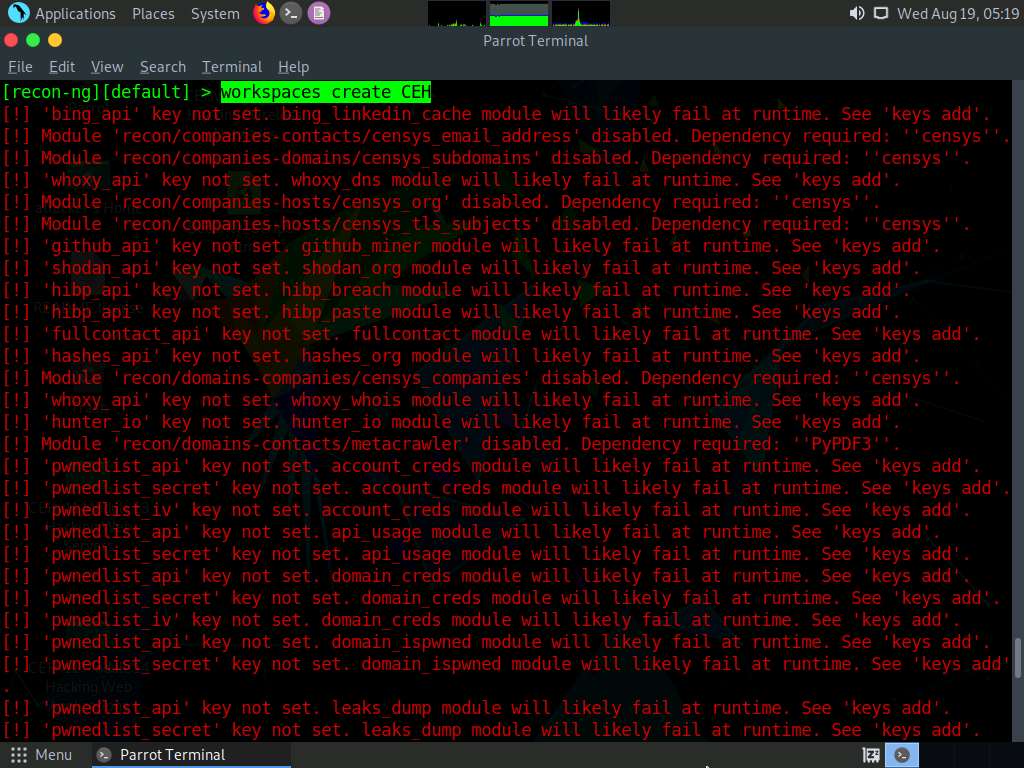
To create the workspace, type the command workspaces create CEH and press Enter. This creates a workspace named CEH.
You can alternatively issue the command workspaces select CEH to create a workspace named CEH. Ignore the errors while running the commands
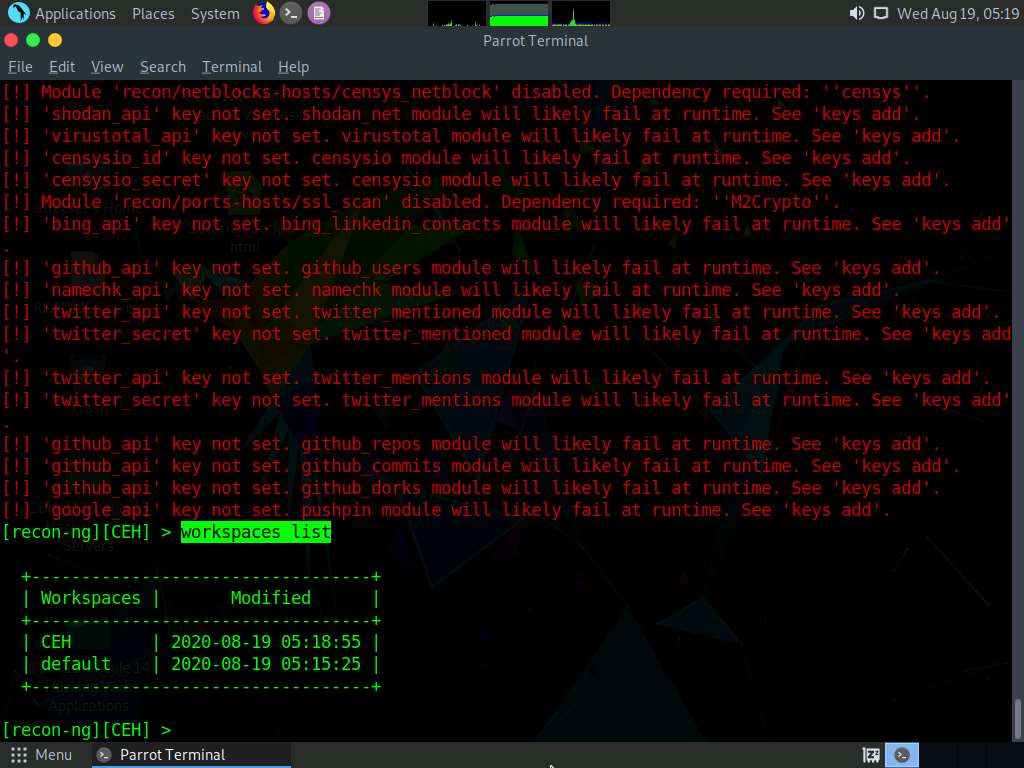
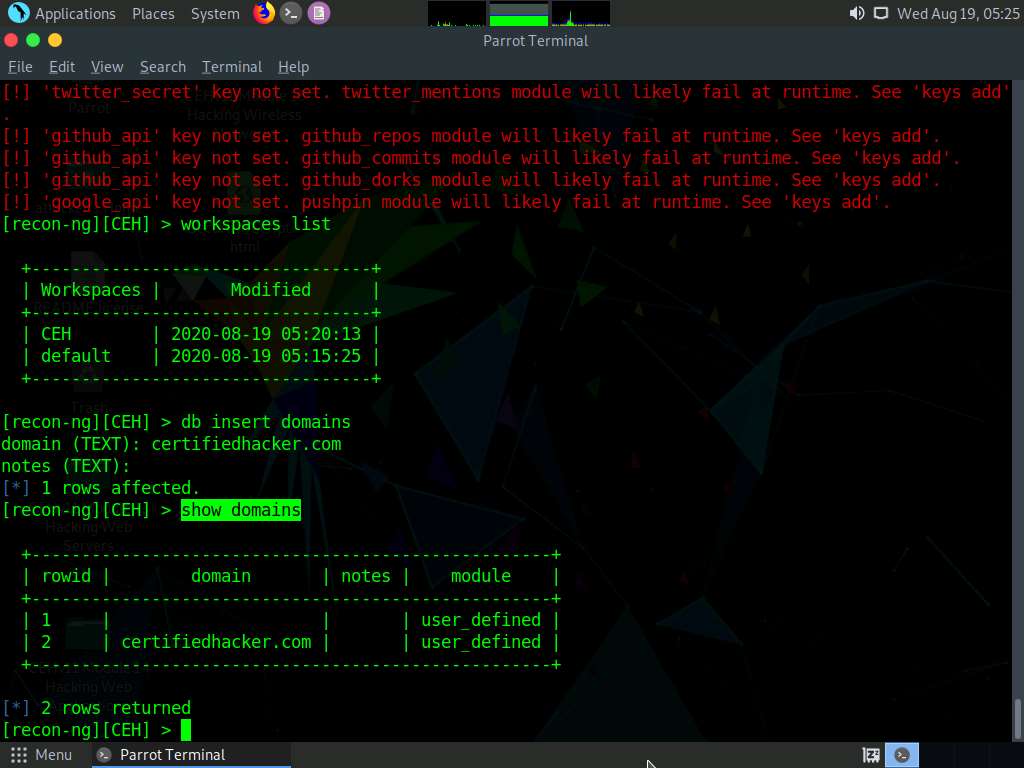
Enter workspaces list. This displays a list of workspaces (along with the workspace added in the previous step) that are present within the workspaces databases.
Add a domain in which you want to perform network reconnaissance.
Type the command db insert domains and press Enter.
In the domain (TEXT) option type certifiedhacker.com and press Enter. In the notes (TEXT) option press Enter. This adds certifiedhacker.com to the present workspace.
You can view the added domain by issuing the show domains command, as shown in the screenshot.
Harvest the hosts-related information associated with certifiedhacker.com by loading network reconnaissance modules such as brute_hosts, Netcraft, and Bing.
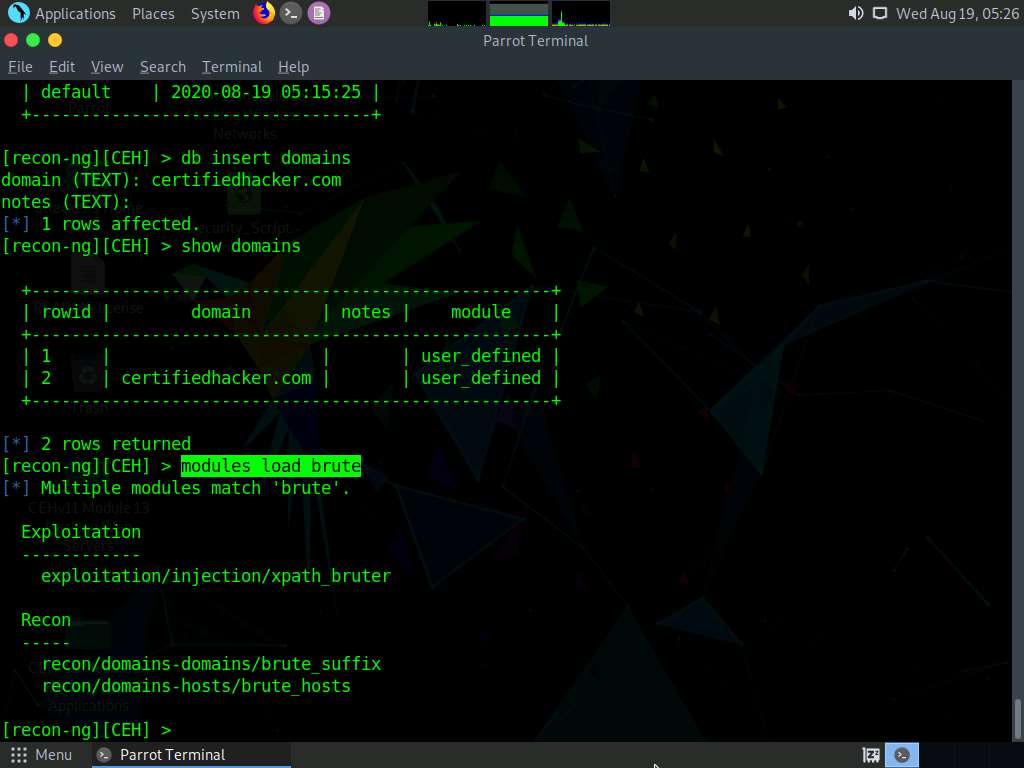
Type modules load brute and press Enter to view all the modules related to brute forcing. In this task, we will be using the recon/domains-hosts/brute_hosts module to harvest hosts.
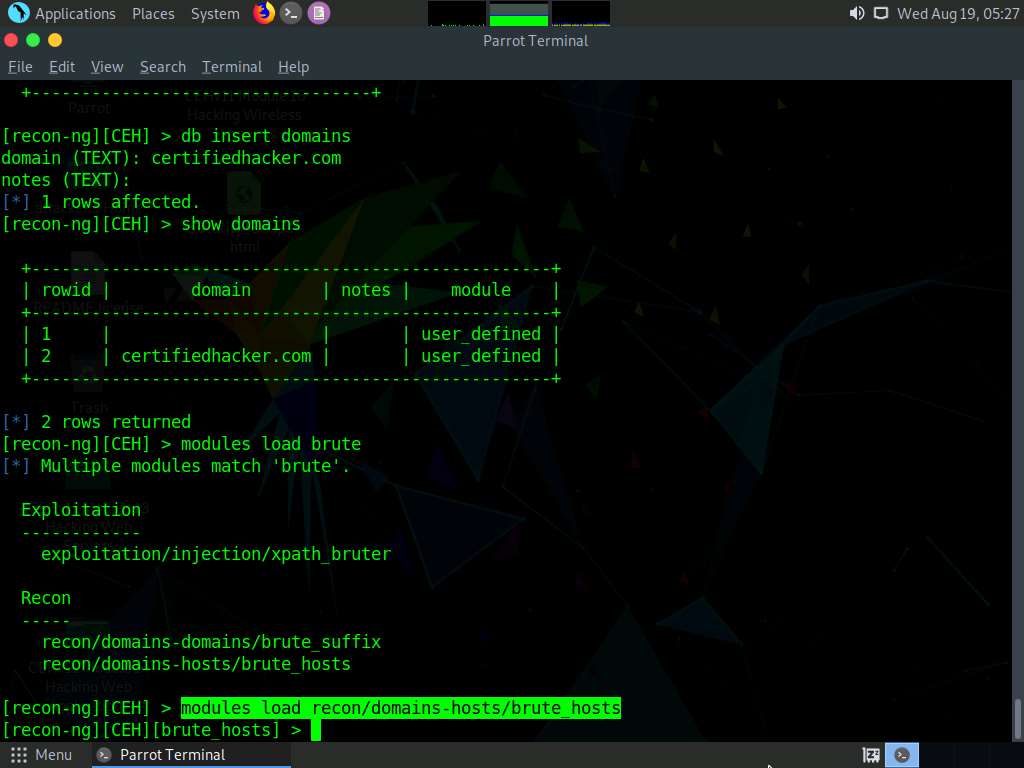
To load the recon/domains-hosts/brute_hosts module, type the modules load recon/domains-hosts/brute_hosts command and press Enter.
Type run and press Enter. This begins to harvest the hosts, as shown in the screenshot.
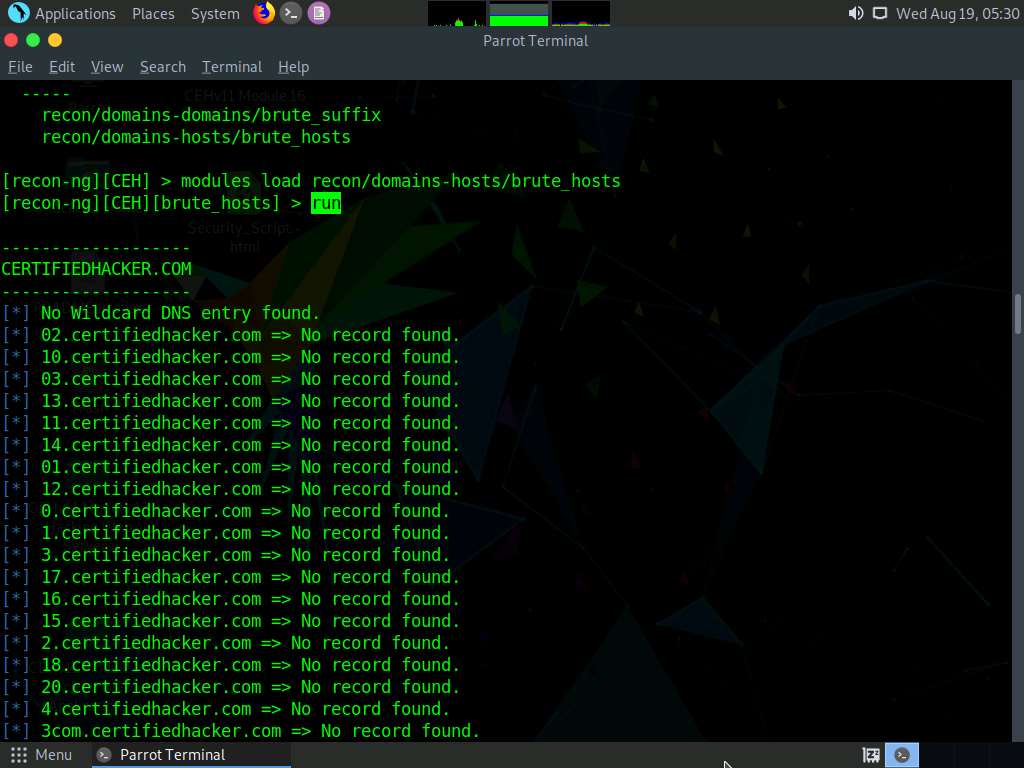
Observe that hosts have been added by running the recon/domains-hosts/brute_hosts module.
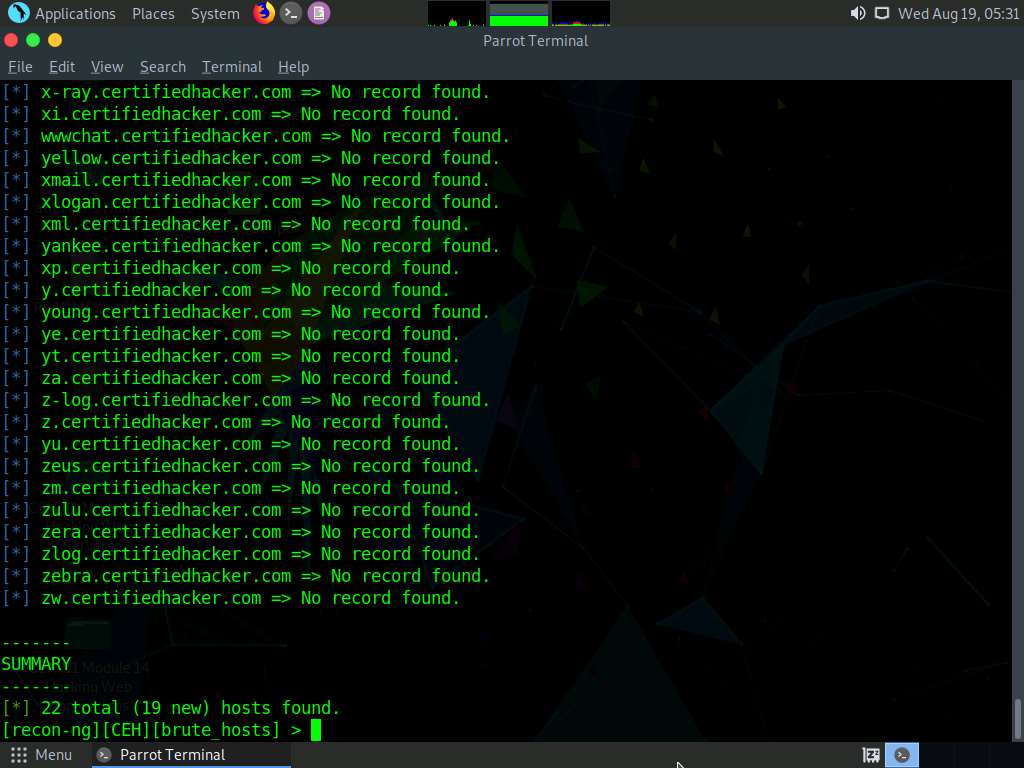
You have now harvested the hosts related to certifiedhacker.com using the brute_hosts module. You can use other modules such as Netcraft and Bing to harvest more hosts.
Use the back command to go back to the CEH attributes terminal.
To resolve hosts using the Bing module, use the following commands:
- back
- modules load recon/domains-hosts/bing_domain_web
- run
Now, perform a reverse lookup for each IP address (the IP address that is obtained during the reconnaissance process) to resolve to respective hostnames.
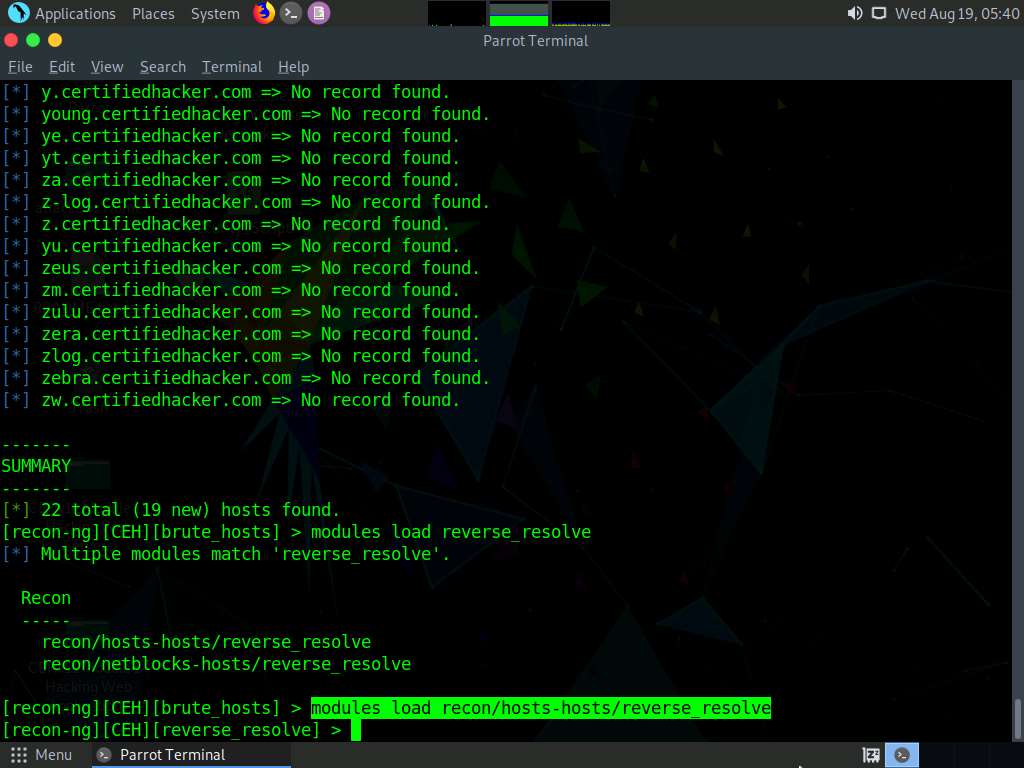
Type modules load reverse_resolve command and press Enter to view all the modules associated with the reverse_resolve keyword. In this task, we will be using the recon/hosts-hosts/reverse_resolve module.
Type the modules load recon/hosts-hosts/reverse_resolve command and press Enter to load the module.
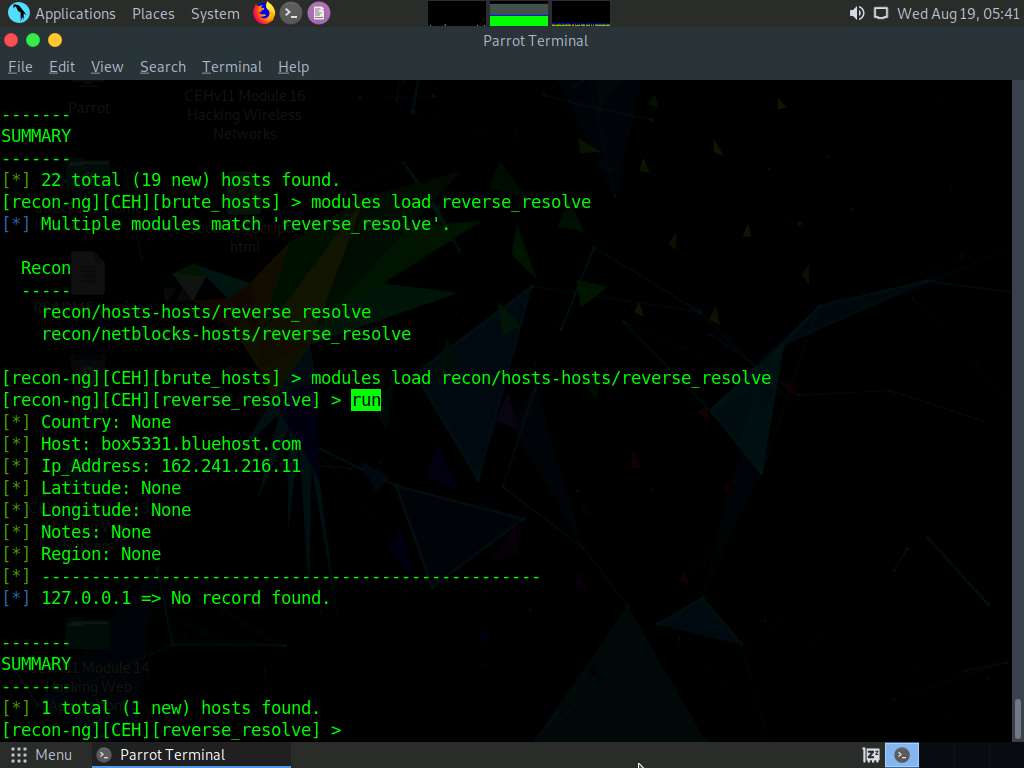
Issue the run command to begin the reverse lookup.
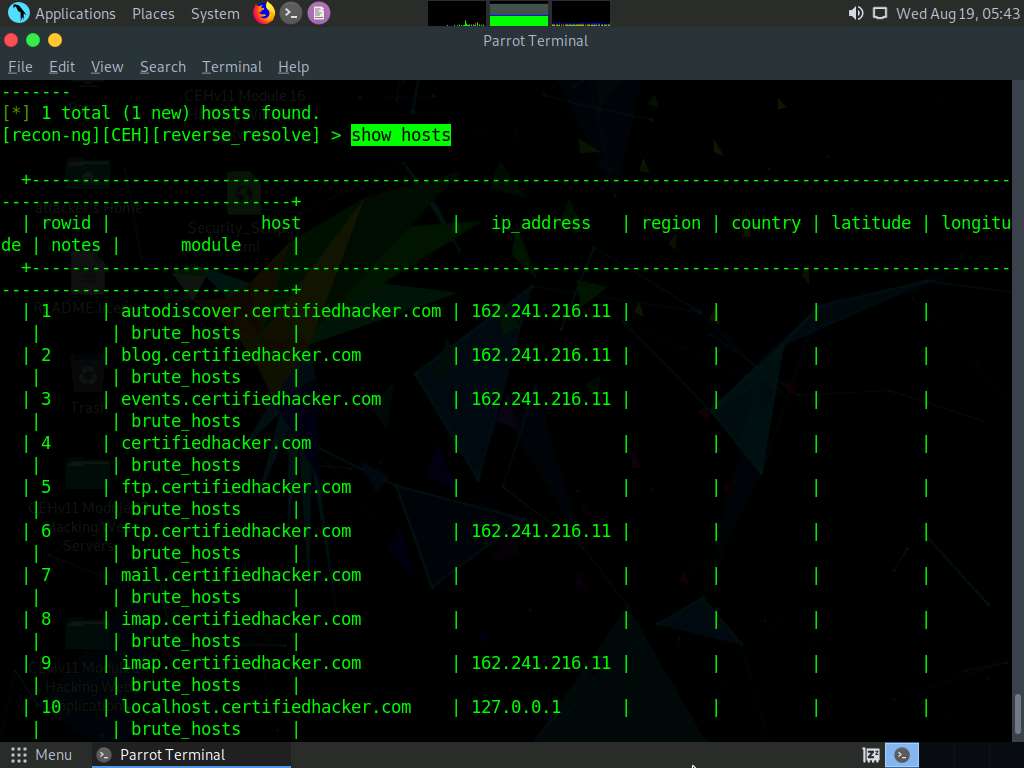
Once done with the reverse lookup process, type the show hosts command and press Enter. This displays all the hosts that are harvested so far, as shown in the screenshot.
Now, type the back command and press Enter to go back to the CEH attributes terminal.

Now, that you have harvested several hosts, we will prepare a report containing all the hosts.
Type the modules load reporting command and press Enter to view all the modules associated with the reporting keyword. In this lab, we will save the report in HTML format. So, the module used is reporting/html.
Type the modules load reporting/html command and press Enter.
Observe that you need to assign values for CREATOR and CUSTOMER options while the FILENAME value is already set, and you may change the value if required.
Type:
- options set FILENAME /root/Desktop/results.html and press Enter. By issuing this command, you are setting the report name as results.html and the path to store the file as Desktop.
- options set CREATOR [your name] (here, Jason) and press Enter.
- options set CUSTOMER Certifiedhacker Networks (since you have performed network reconnaissance on certifiedhacker.com domain) and press Enter.
Type the run command and press Enter to create a report for all the hosts that have been harvested.
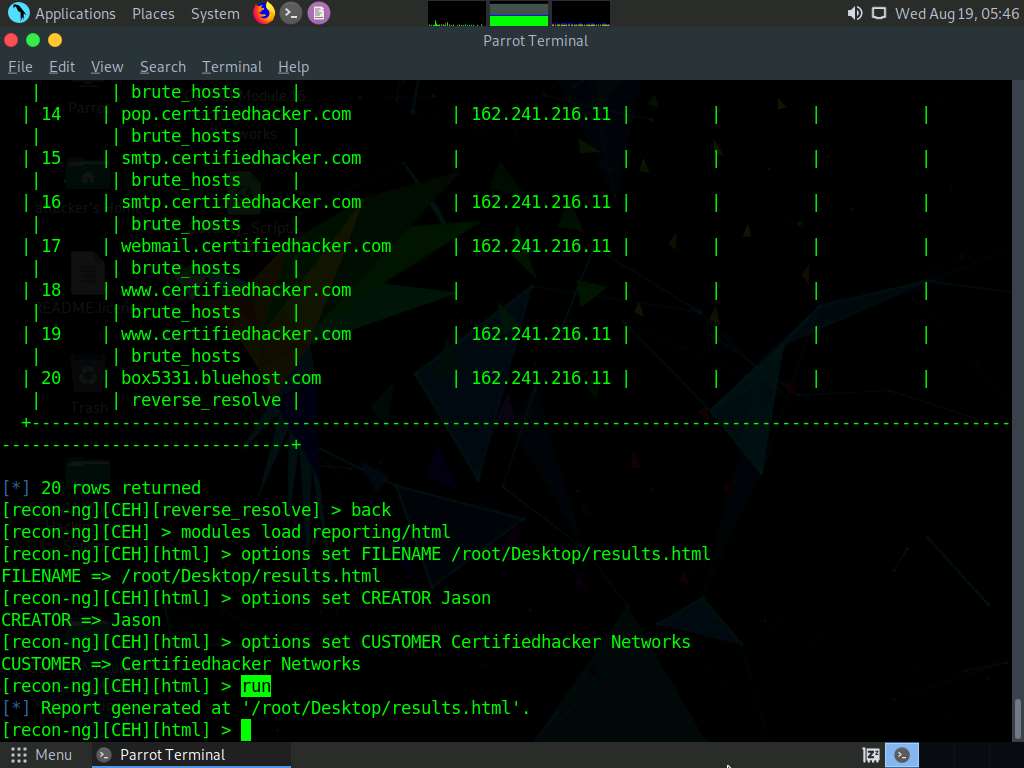
The generated report is saved to /root/Desktop/.
Click Places from the top-section of the Desktop and click Home Folder from the drop-down options.
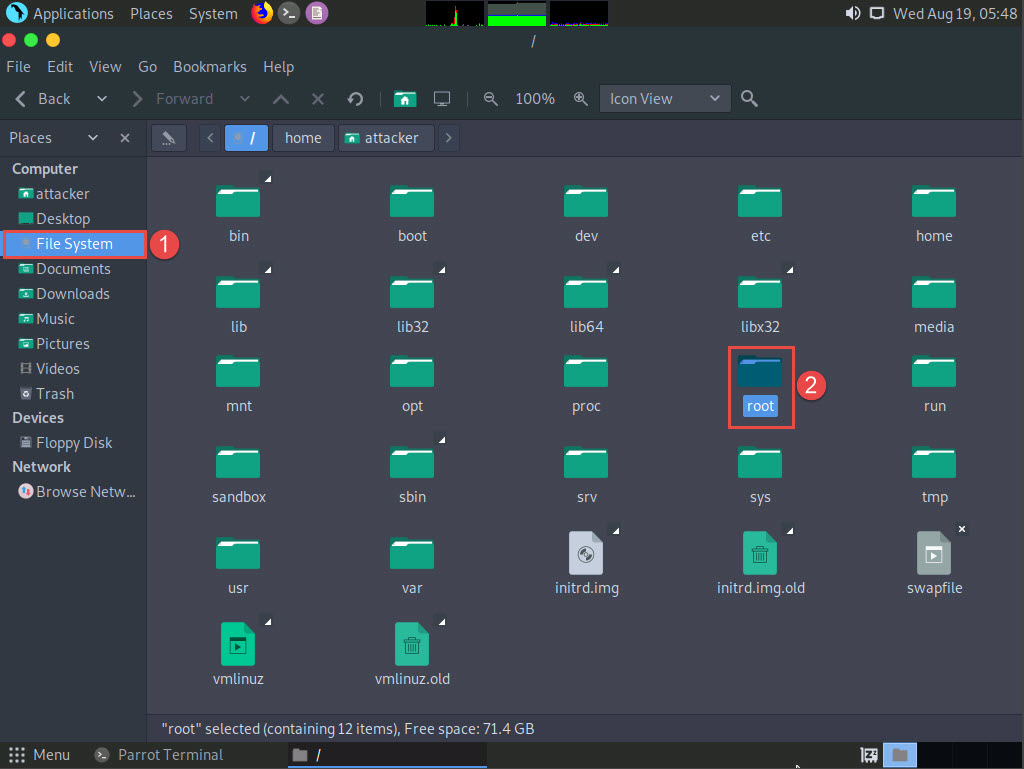
The attacker window appears, click File System from the left-pane and then double-click root from the right-pane.
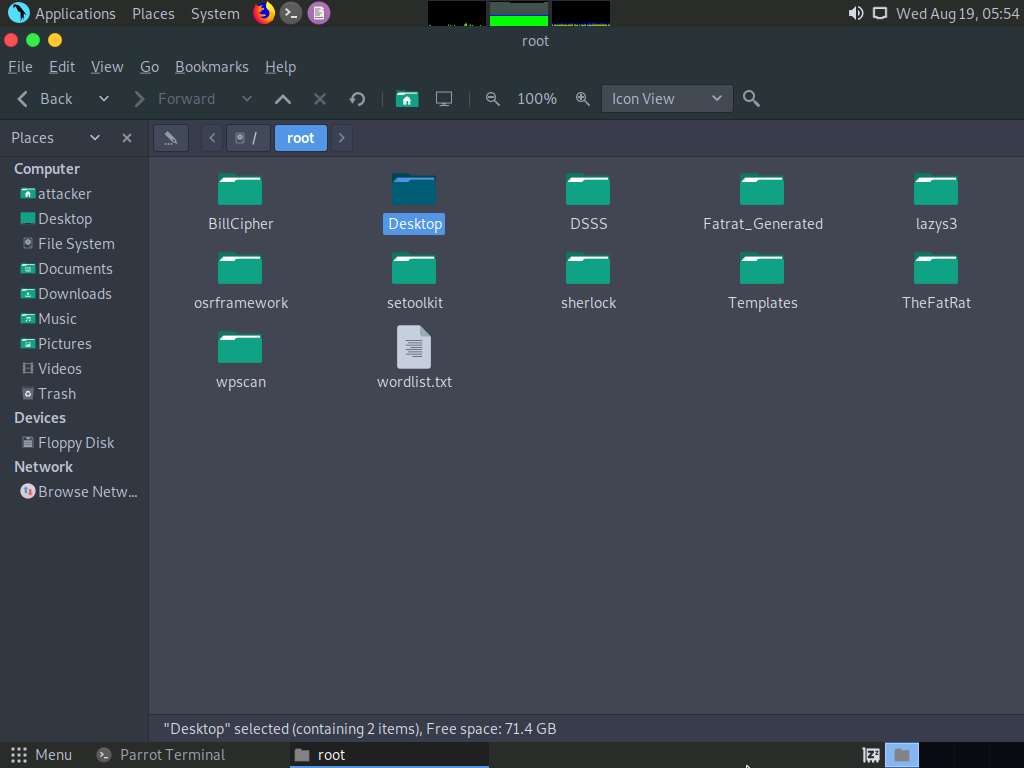
The root window appears, double-click Desktop folder.
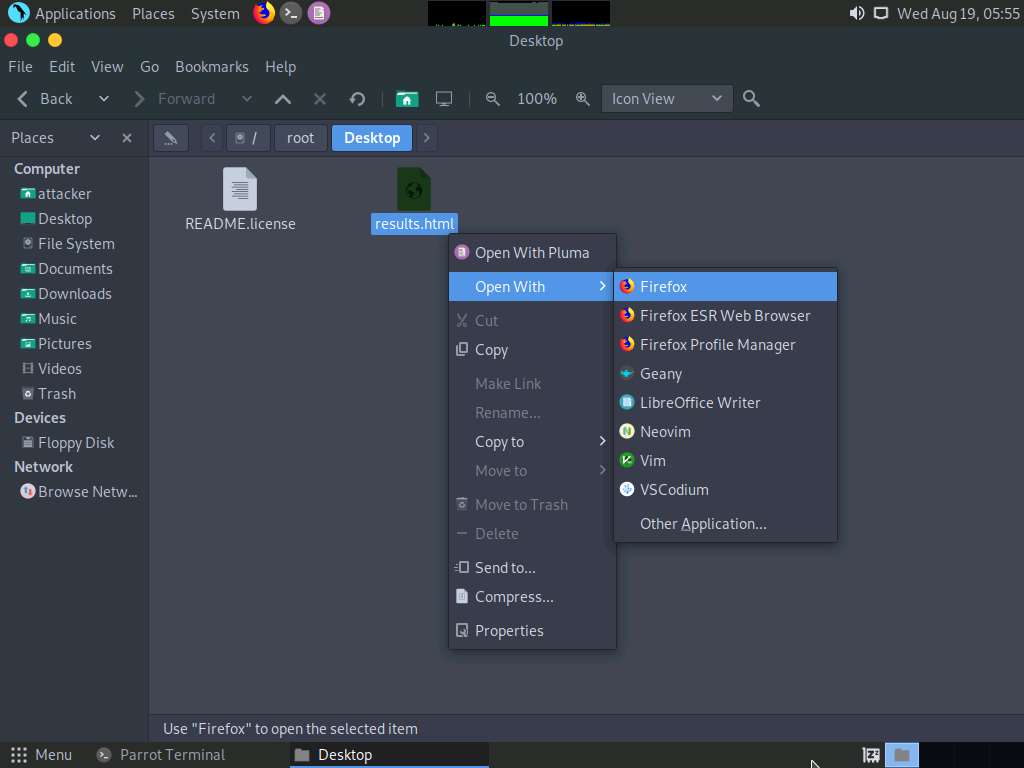
Desktop window appears, right-click on the results.html file, click on Open With, and select the Firefox browser from the available options.
The generated report appears in the Firefox browser, displaying the summary of the harvested hosts.
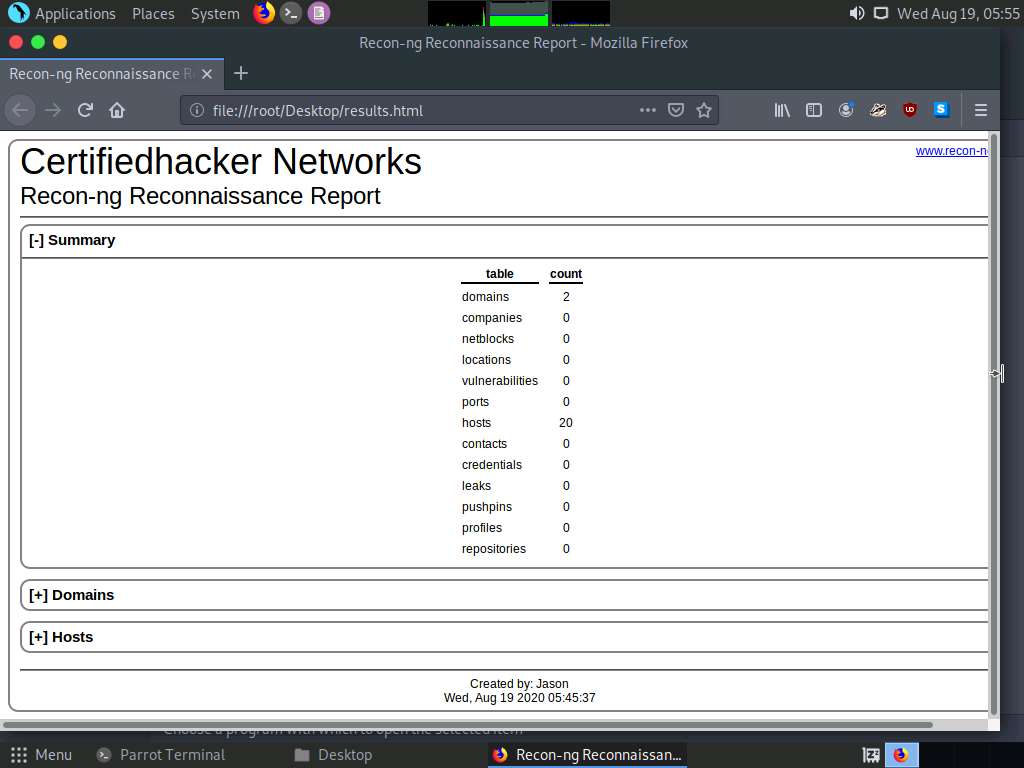
You can expand the Hosts node to view all the harvested hosts, as shown in the screenshot.

Close all open windows.
Until now, we have used the Recon-ng tool to perform network reconnaissance on a target domain
Now, we will use Recon-ng to gather personnel information.
Open a new Parrot Terminal window, In the terminal window, type sudo su and press Enter to run the programs as a root user.
In the [sudo] password for attacker field, type toor as a password and press Enter.
The password that you type will not be visible.
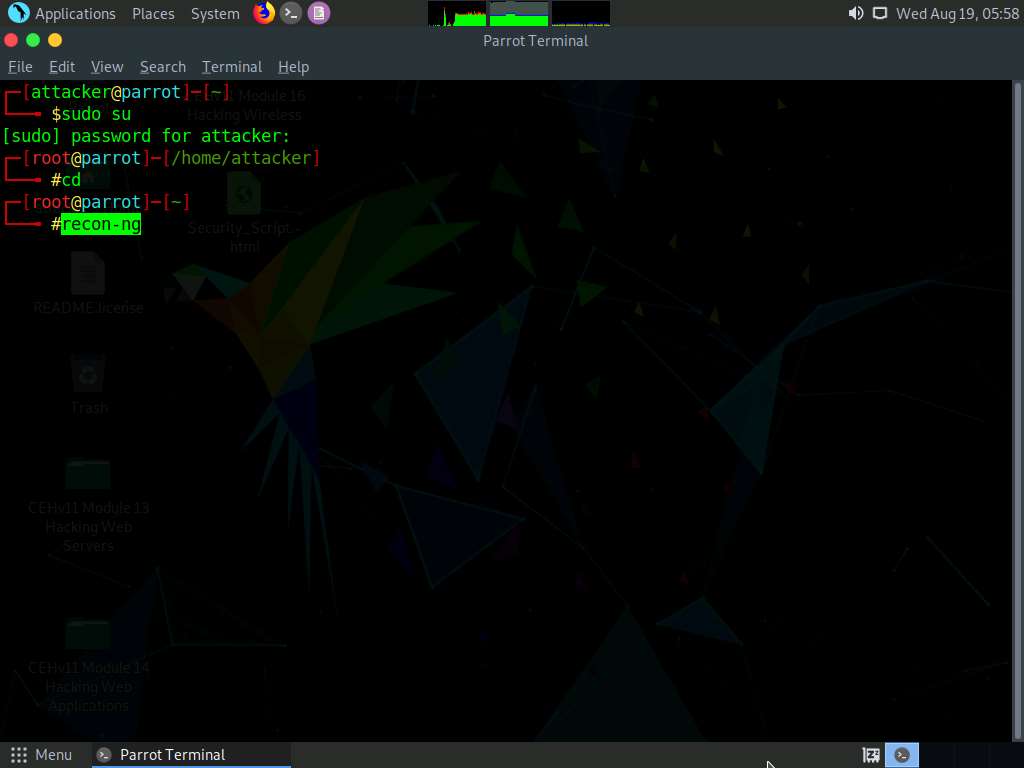
Now, type cd and press Enter to jump to the root directory.
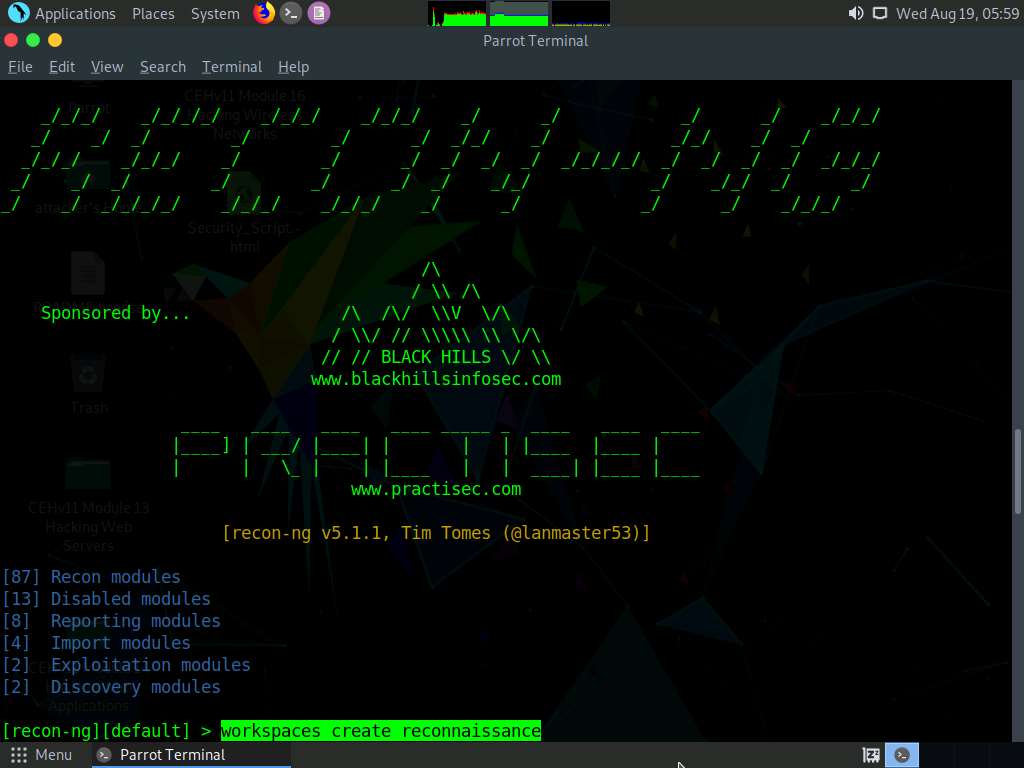
Type recon-ng, and press Enter.
Add a workspace by issuing the command workspaces create reconnaissance and press Enter. This creates a workspace named reconnaissance.
Set a domain and perform footprinting on it to extract contacts available in the domain.
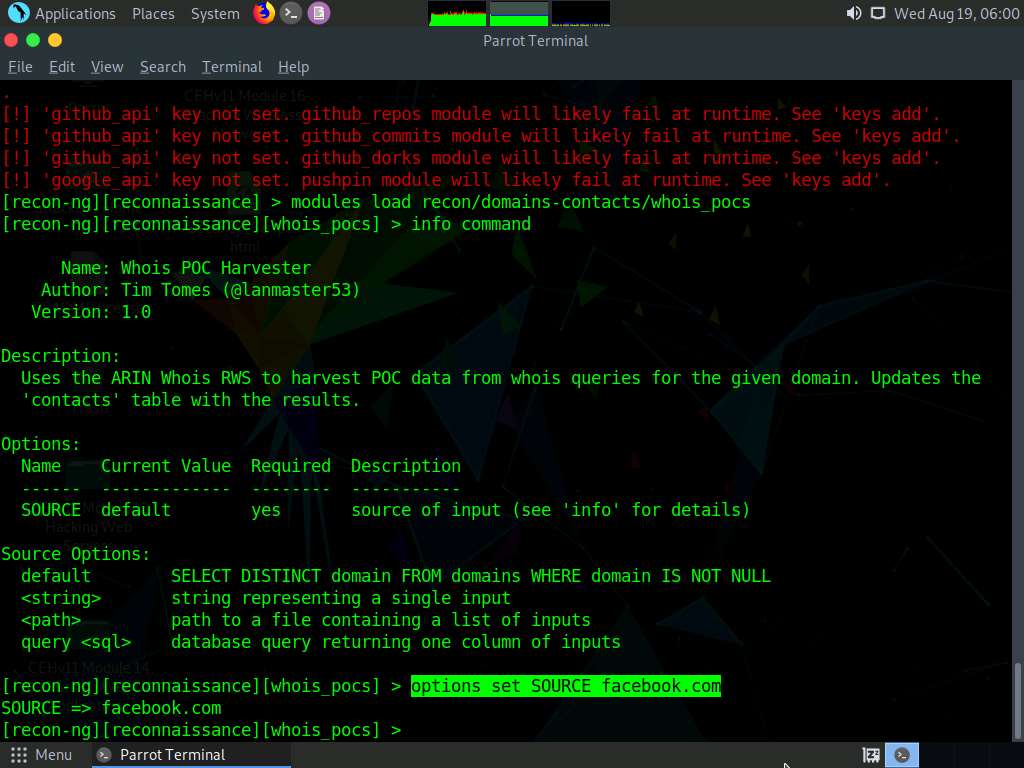
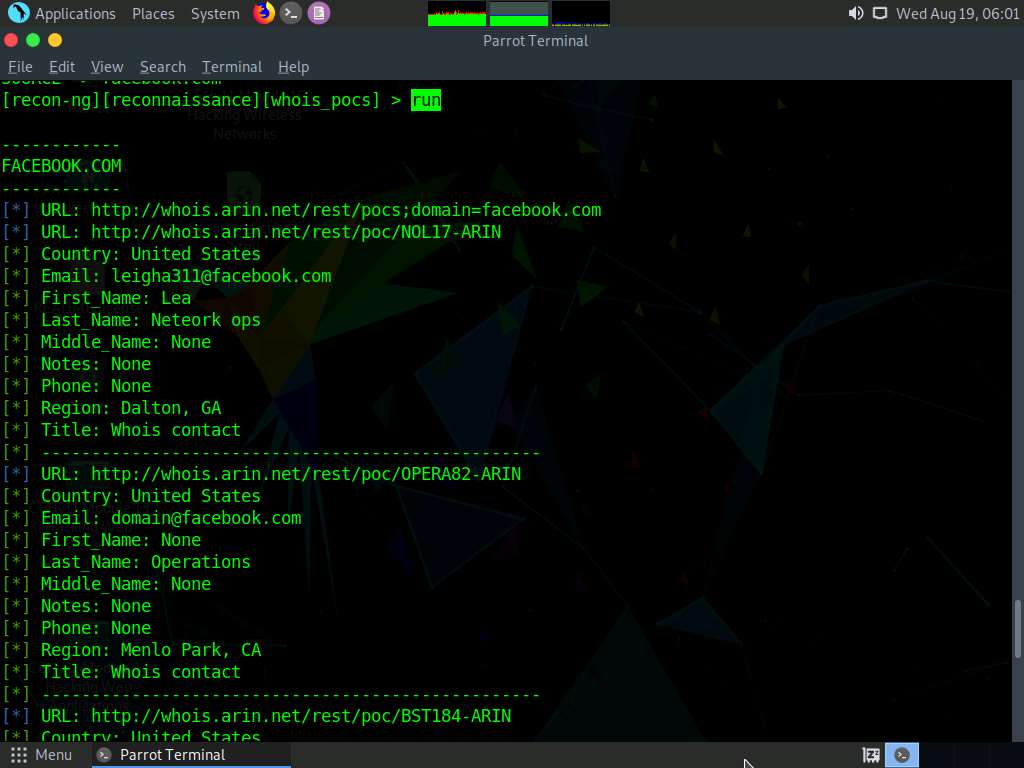
Type modules load recon/domains-contacts/whois_pocs and press Enter. This module uses the ARIN Whois RWS to harvest POC data from Whois queries for the given domain.
Type the info command and press Enter to view the options required to run this module.
Type options set SOURCE facebook.com and press Enter to add facebook.com as a target domain.
Here, we are using facebook.com as a target domain to gather contact details.
Type the run command and press Enter. The recon/domains-contacts/whois_pocs module extracts the contacts associated with the domain and displays them, as shown in the screenshot
Type back and press Enter to go back to the workspaces (reconnaissance) terminal.
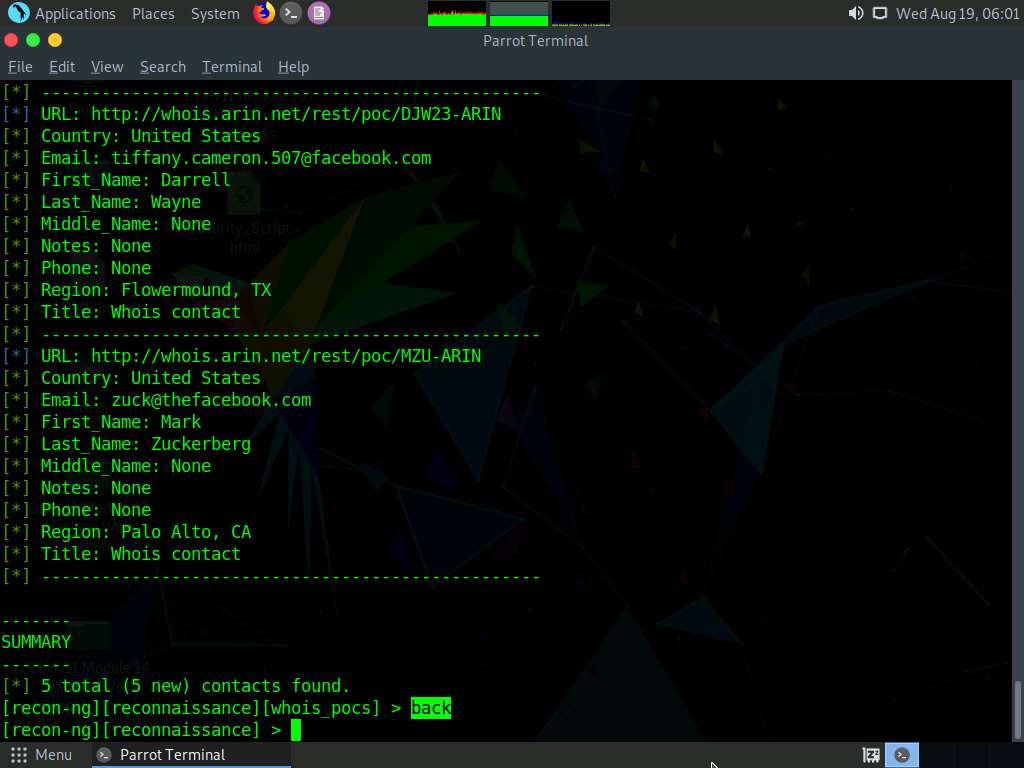
Until now, we have obtained contacts related to the domains. Note down these contacts’ names.
Now, we will validate the existence of names (usernames) on specific websites.
The recon/profiles-profiles/namechk module validates the username existence of a specified contact. The contact we will use in this lab is Mark Zuckerberg.
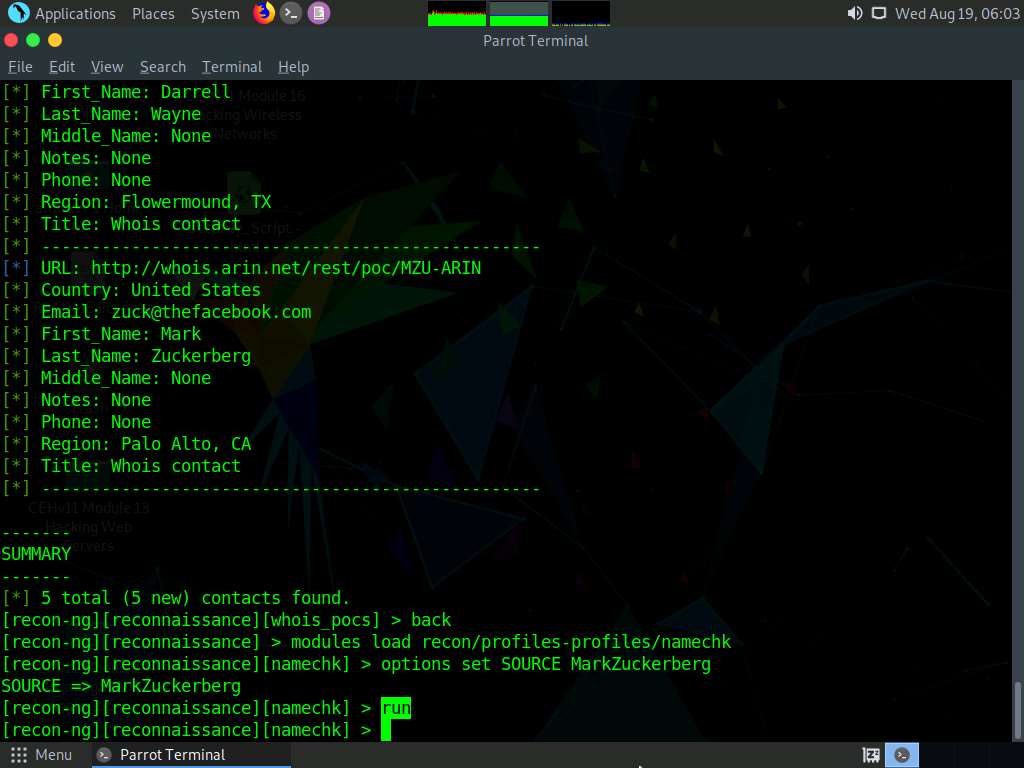
Type the modules load recon/profiles-profiles/namechk command and press Enter to load this module.
Type options set SOURCE MarkZuckerberg and press Enter. This command sets MarkZuckerberg as the source for which you want to find the user existence on specific websites.
Type run and press Enter. This begins the search for the keyword MarkZuckerberg on various websites.
Recon-ng begins to search the Internet for the presence of the username on websites and, if found, it returns the result stating “User Exists!”.
Here, no results are obtained.
Type the back command and press Enter to go back to the workspaces (reconnaissance) terminal.
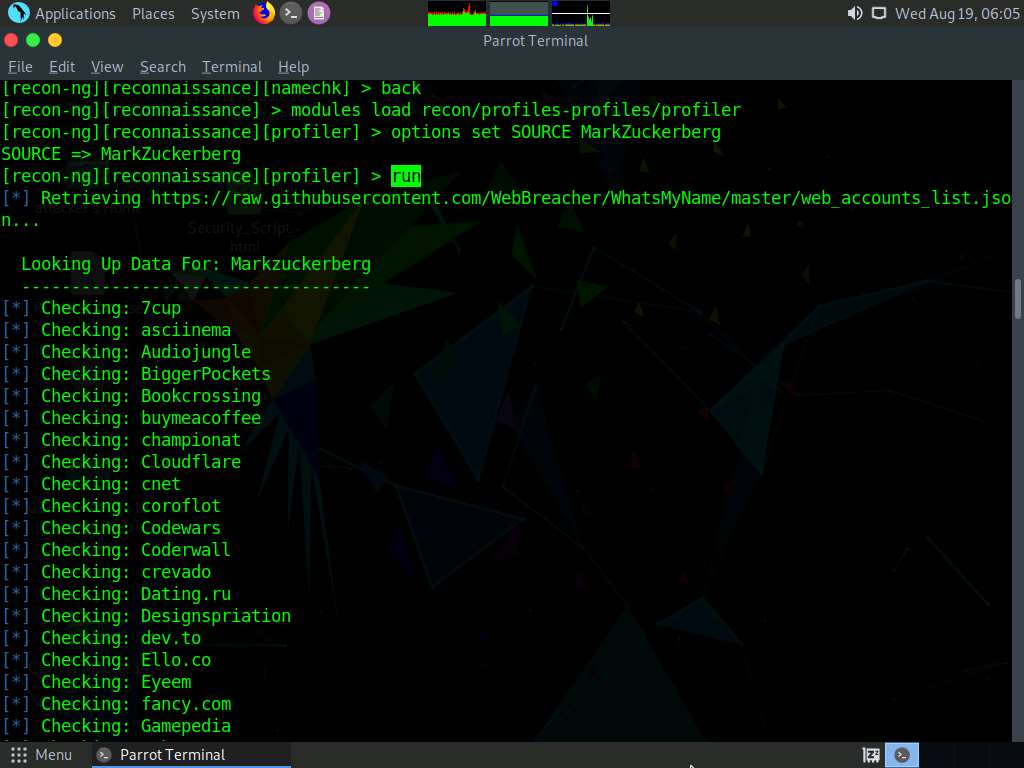
To find the existence of user-profiles on various websites, you need to load the recon/profiles-profiles/profiler module.
Type the modules load recon/profiles-profiles/profiler command and press Enter.
Type the options set SOURCE MarkZuckerberg command and press Enter.
Type the run command and press Enter. The recon/profiles-profiles/profiler module searches for this username and returns the URL of the profile (found with the matching username):
Type back and press Enter to go back to the workspaces terminal.
Now that we have verified the user existence and obtained the profile URL, we will prepare a report containing the result.
Type the modules load reporting/html command and press Enter. Assign values for FILENAME, CREATOR, and CUSTOMER.
In this task, we are saving the report in HTML format; therefore, reporting/html module is used.
Type:
- options set FILENAME /root/Desktop/Reconnaissance.html and press Enter. By issuing this command, you are setting the report name as Reconnaissance.html and the path to store the file as Desktop.
- options set CREATOR [your name] (here, Jason) and press Enter.
- options set CUSTOMER Mark Zuckerberg (since you have performed information gathering on the name of Mark Zuckerberg) and press Enter.
After entering the above details, type the run command and press Enter to create a report for all the hosts that have been harvested, as shown in the screenshot.
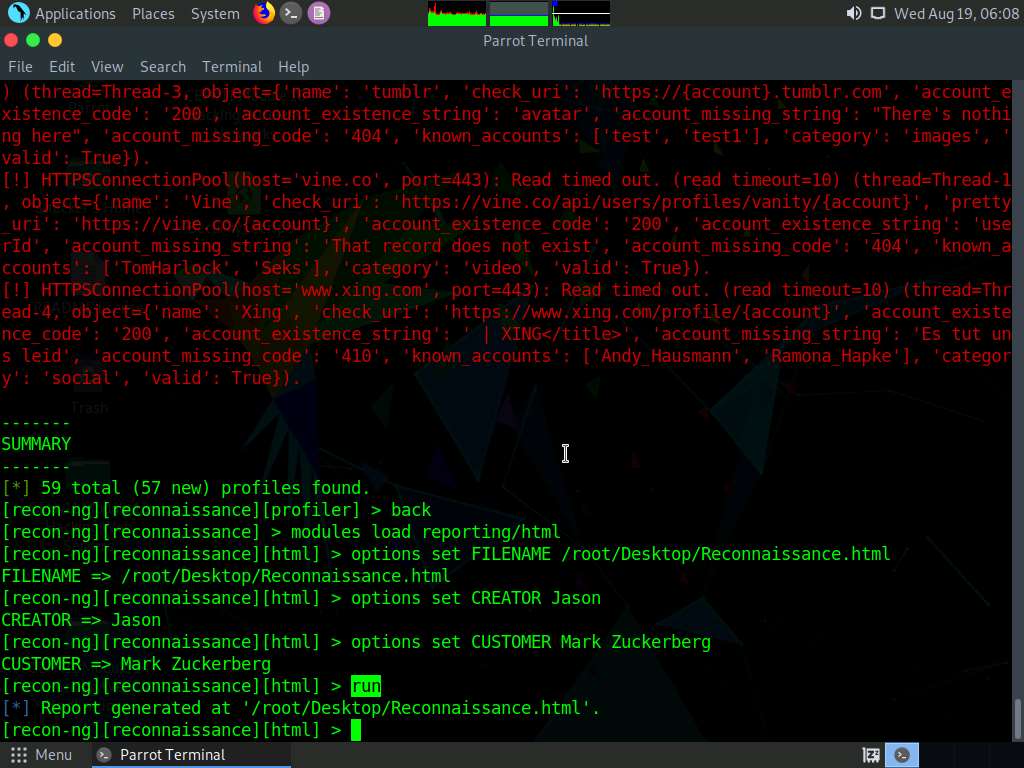
The generated report is saved to /root/Desktop/.
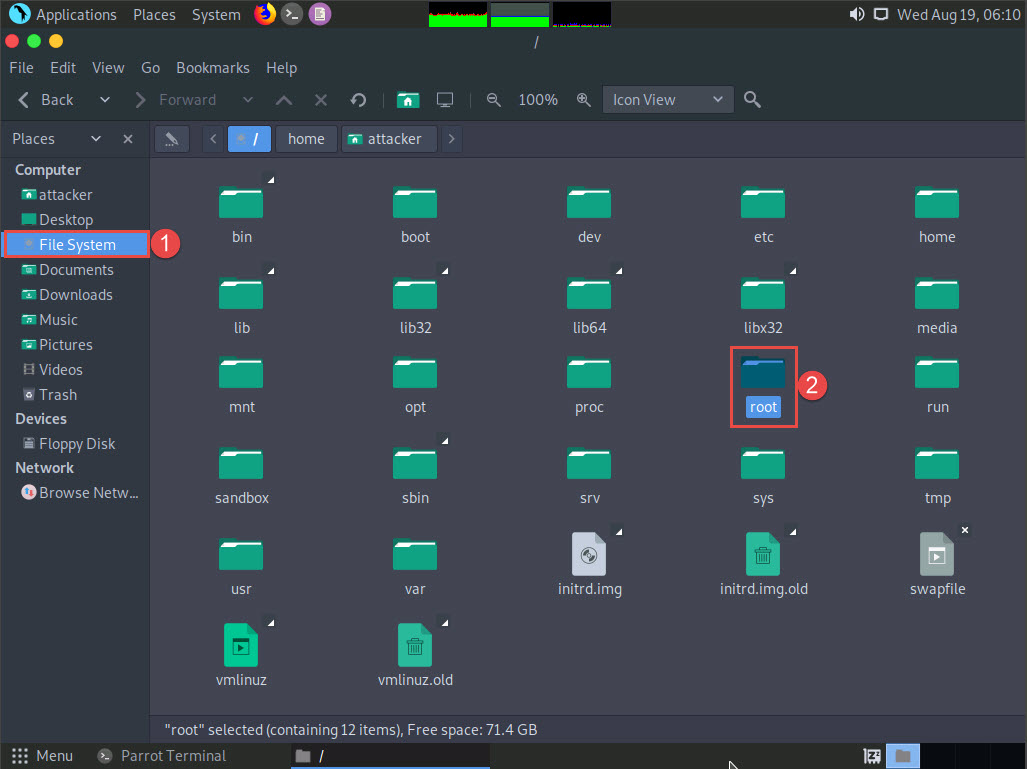
Click Places from the top-section of the Desktop and click Home Folder from the drop-down options.
The attacker window appears, click File System from the left-pane and then double-click root from the right-pane.
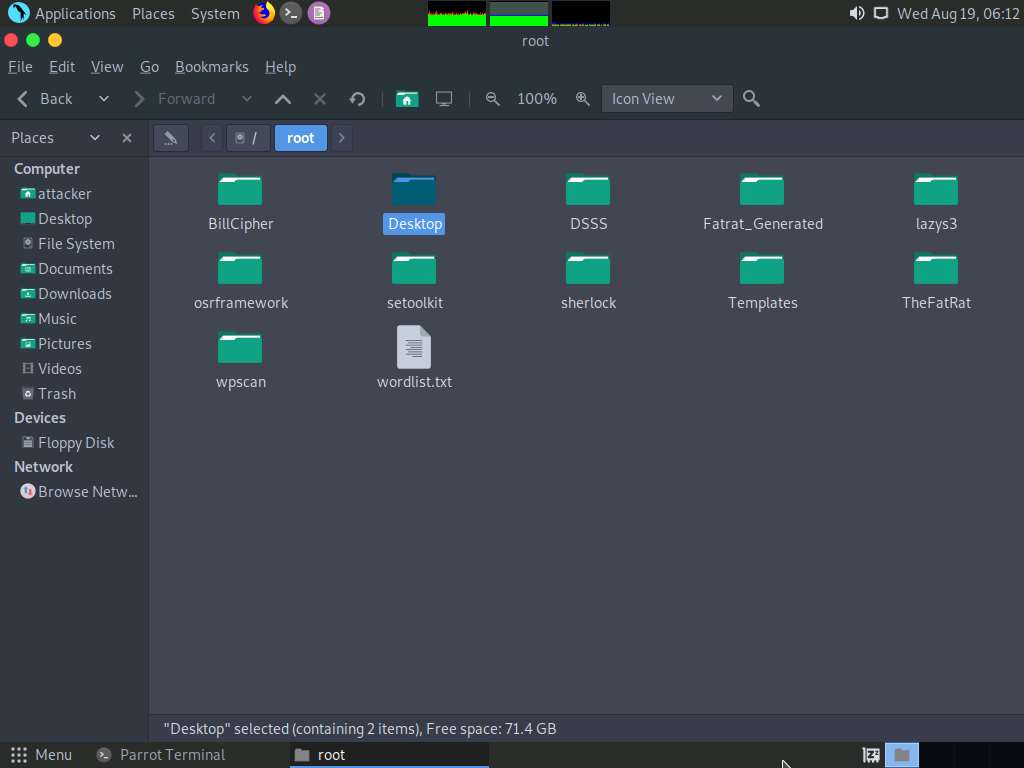
The root window appears, double-click Desktop folder.
Desktop window appears, right-click on the Reconnaissance.html file, click on Open With, and select the Firefox browser from the available options.
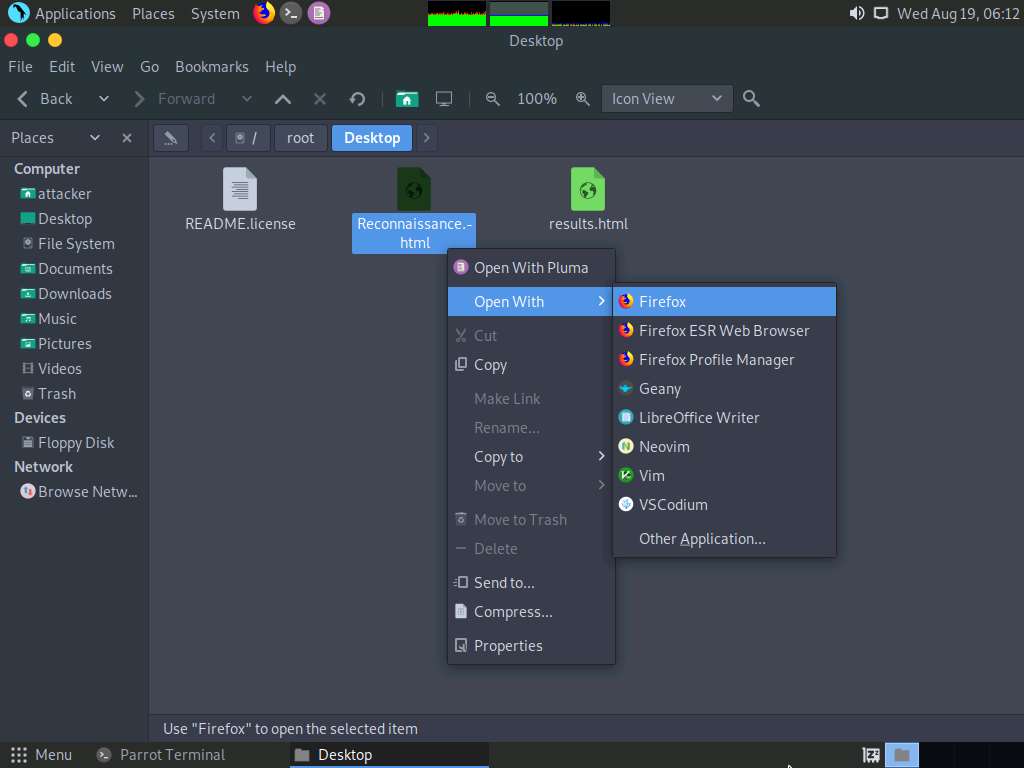
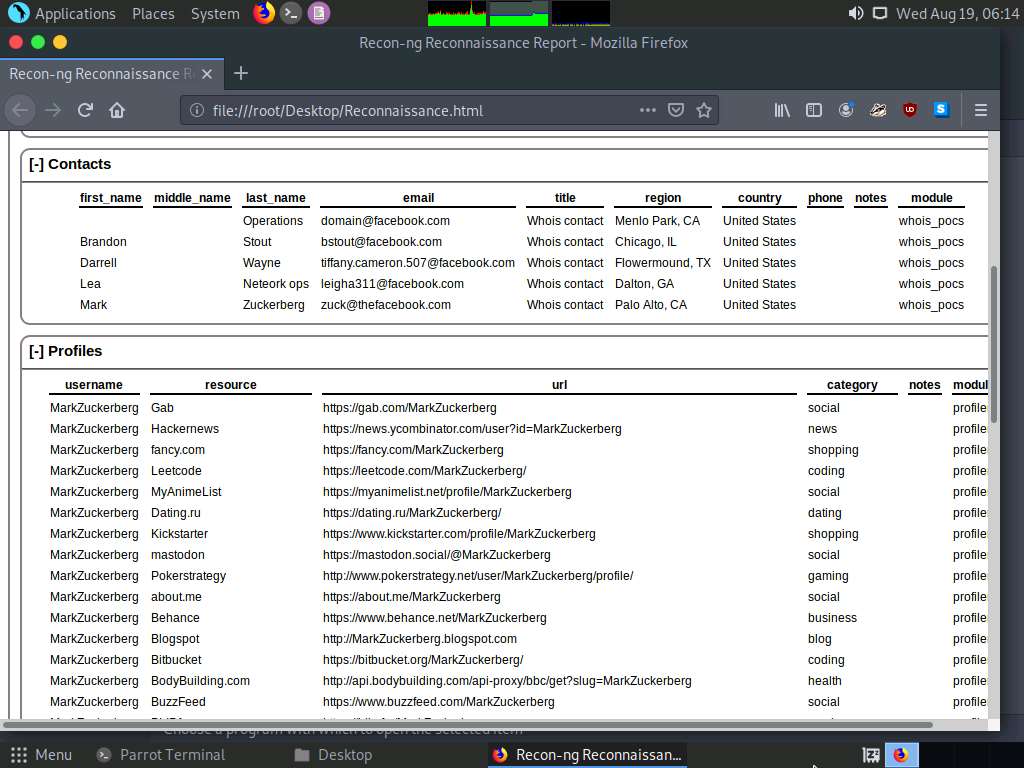
The generated report appears in the Firefox browser, displaying a summary of the result. You can expand the Contacts and Profiles nodes to view all the obtained results.
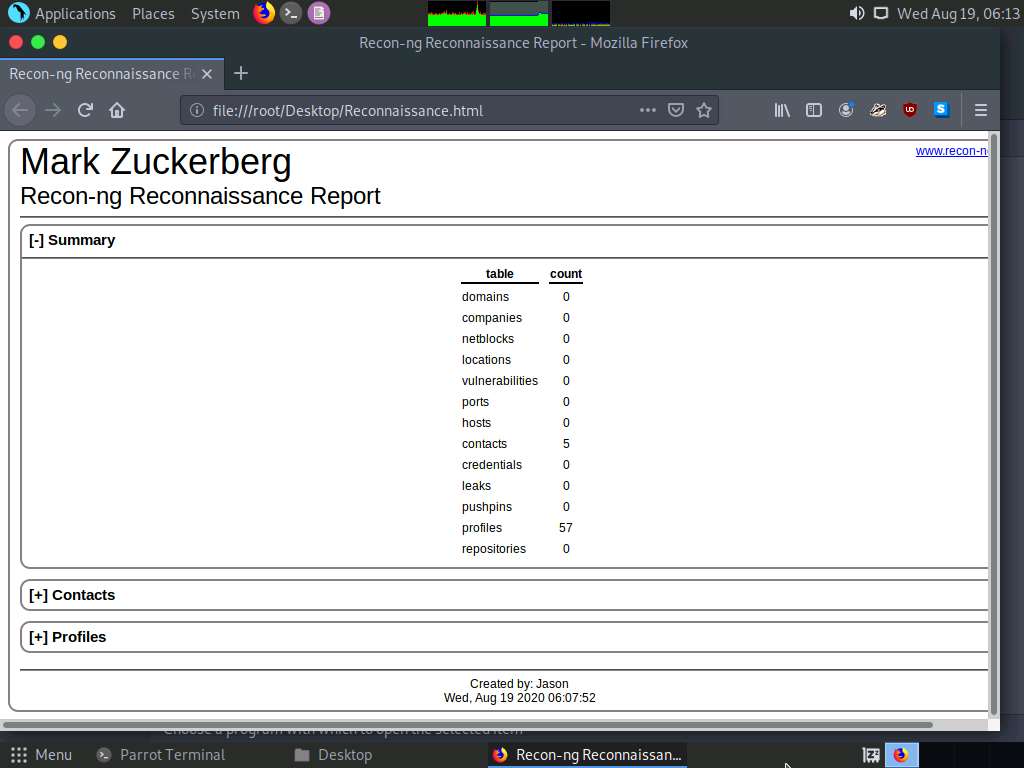
You can further expand the Contacts and Profiles node to view detailed information about the target.
We have now gathered information about the employee working in a target organization.
This concludes the demonstration of gathering host information of the target domain and gathering personnel information of a target organization.
Close all open windows and document all the acquired information.
Task 2: Footprinting a Target using Maltego
Maltego is a footprinting tool used to gather maximum information for the purpose of ethical hacking, computer forensics, and pentesting. It provides a library of transforms to discover data from open sources and visualizes that information in a graph format, suitable for link analysis and data mining. Maltego provides you with a graphical interface that makes seeing these relationships instant and accurate, and even making it possible to see hidden connections.
Here, we will gather a variety of information about the target organization using Maltego.
Click Parrot Security to switch to the Parrot Security machine, launch Maltego by navigating to Applications --> Pentesting --> Information Gathering --> OSINT Analysis --> maltego, as shown in the screenshot.

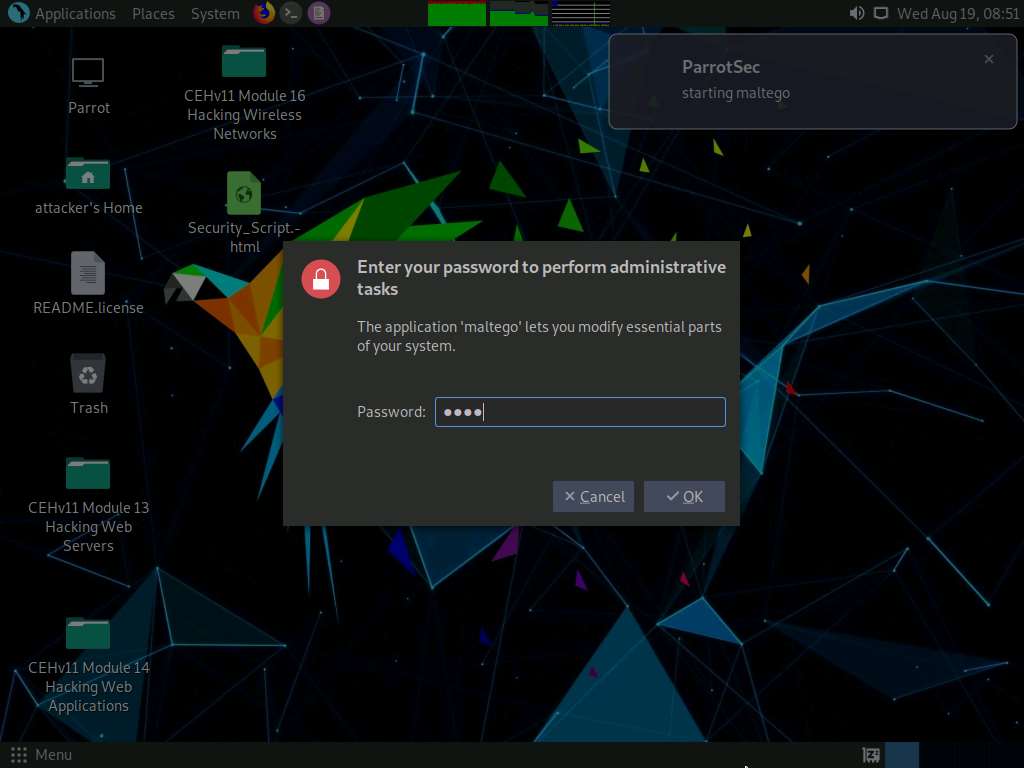
A security pop-up appears, enter password as toor in the password field and click OK.
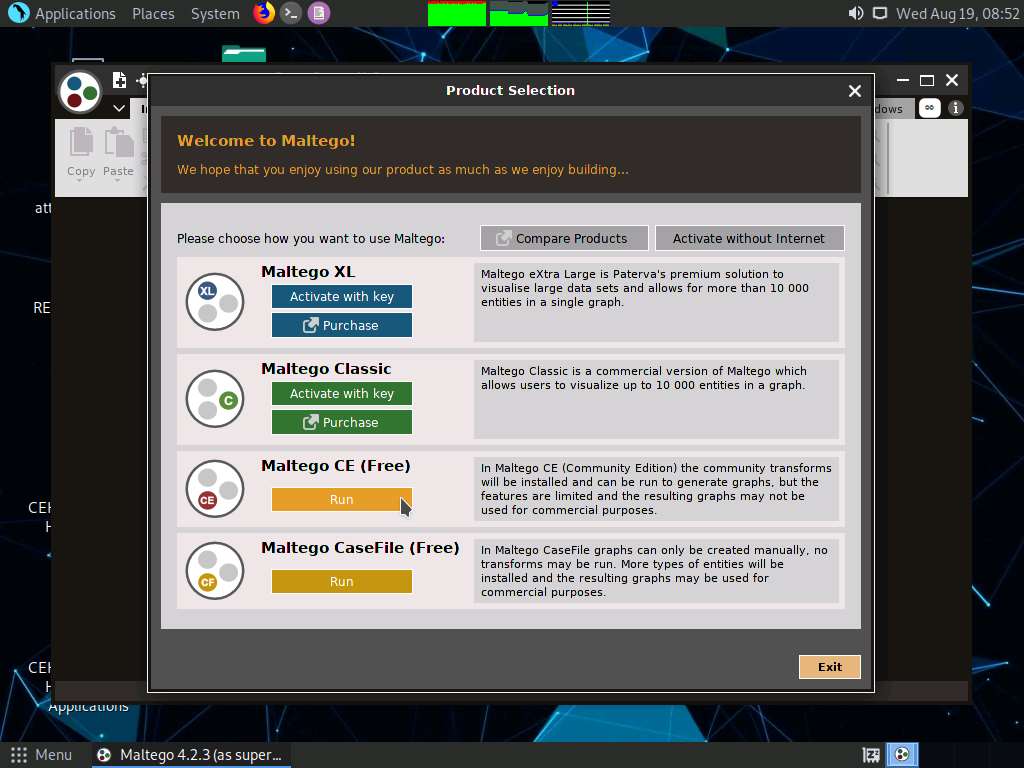
A Product Selection wizard appears on the Maltego GUI; click Run from Maltego CE (Free) option.
If the Memory Settings Optimized pop-up appears, click Restart Now.
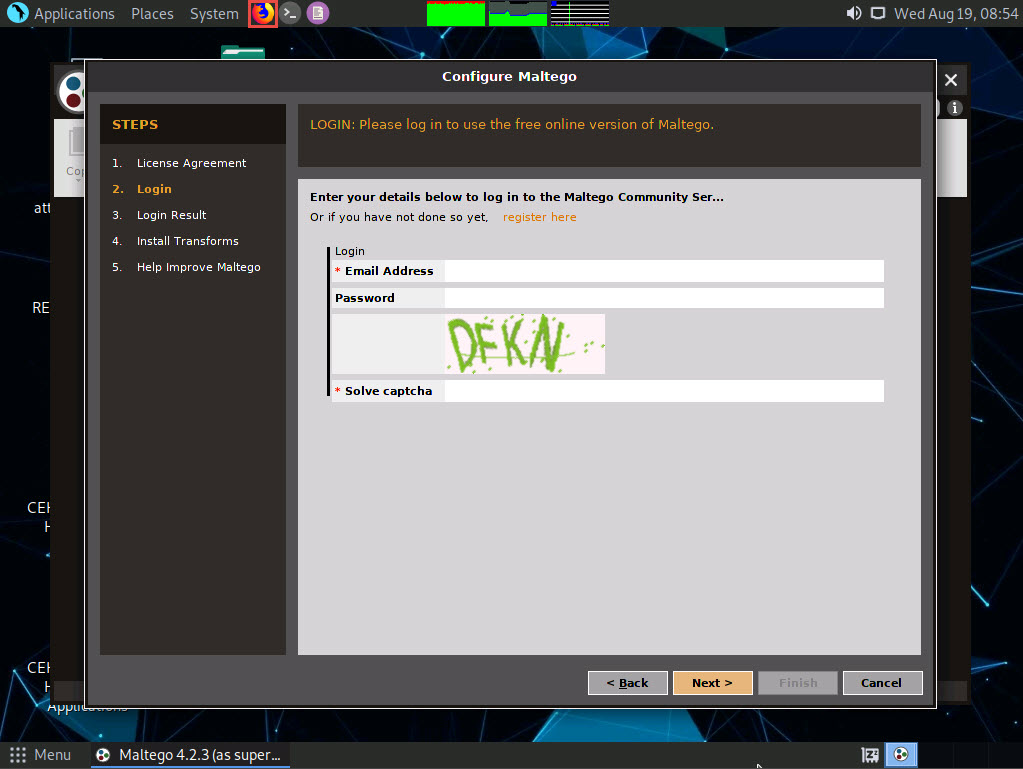
As the Configure Maltego window appears along with a LICENSE AGREEMENT form, check the Accept checkbox and click Next.
You will be redirected to the Login section; leave the Maltego window as it is and click Firefox icon from the top-section of the window to launch the Firefox browser.
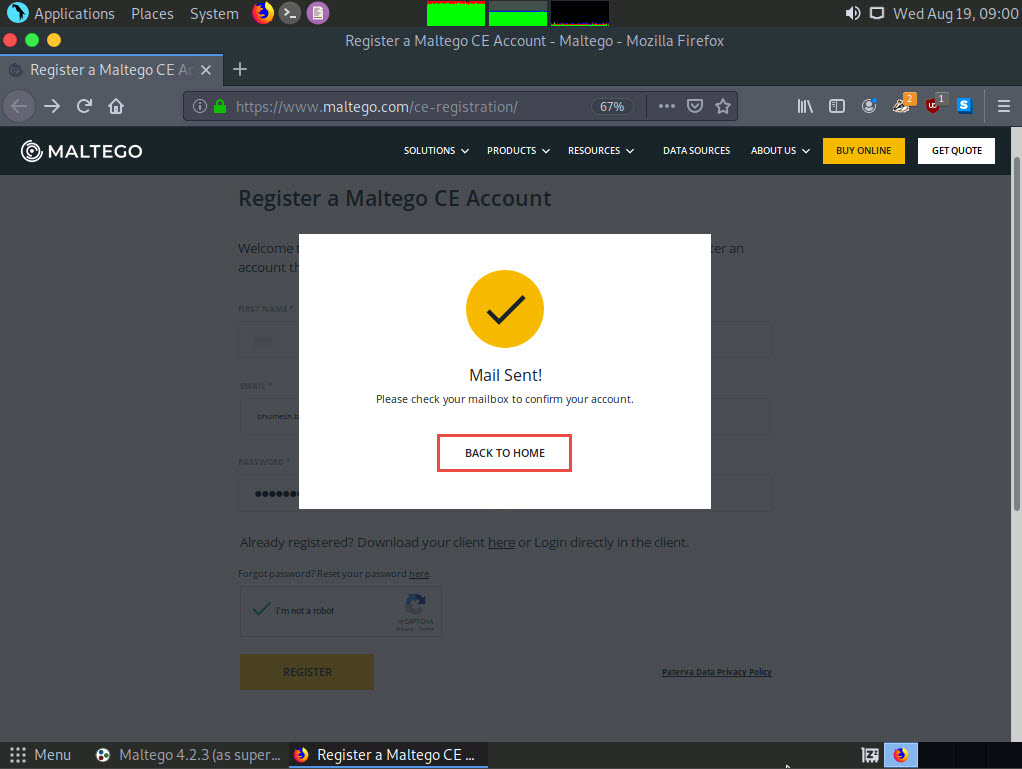
The Firefox window appears in the address type https://www.maltego.com/ce-registration and press Enter.
A Register a Maltego CE Account page appears, enter your details and confirm the captcha, and click REGISTER button to register your account and activate it.
If cookie notification appears in the lower section of the browser, click Accept.

Mail Sent! notification appears, click BACK TO HOME button.
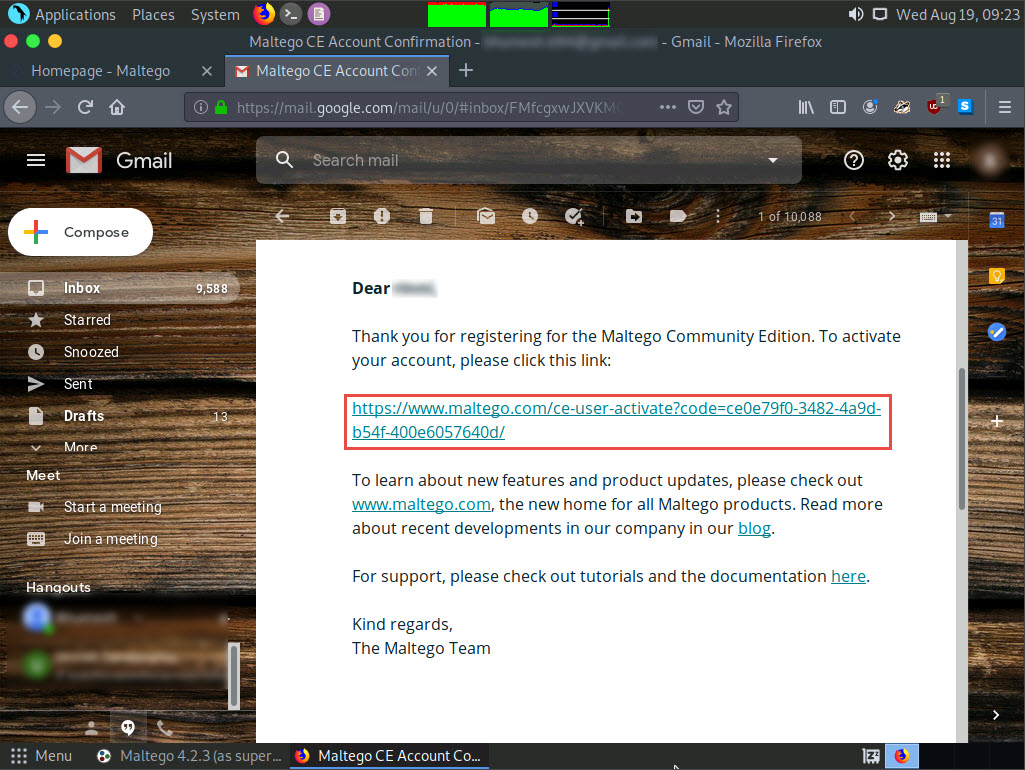
Now, in the browser window, click '+' icon to open a new tab. Open the email account given at the time of registration in step#7. Open the mail from Maltego and click on the activation link.
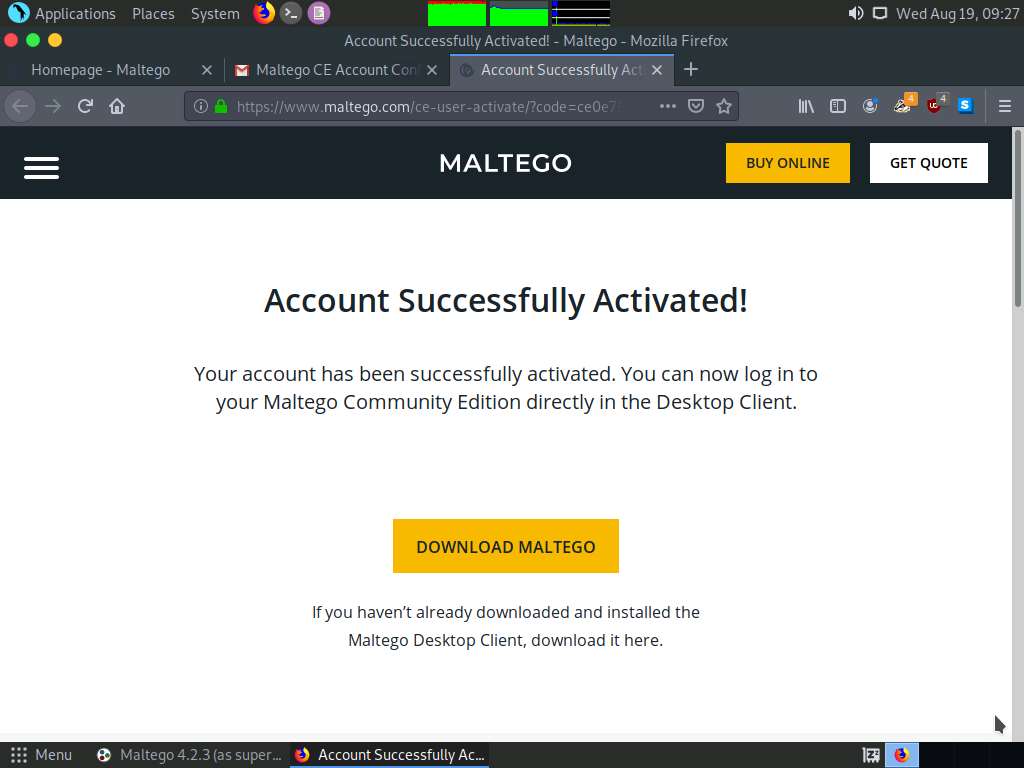
Account Successfully Activated! page appears, as shown in the screenshot.
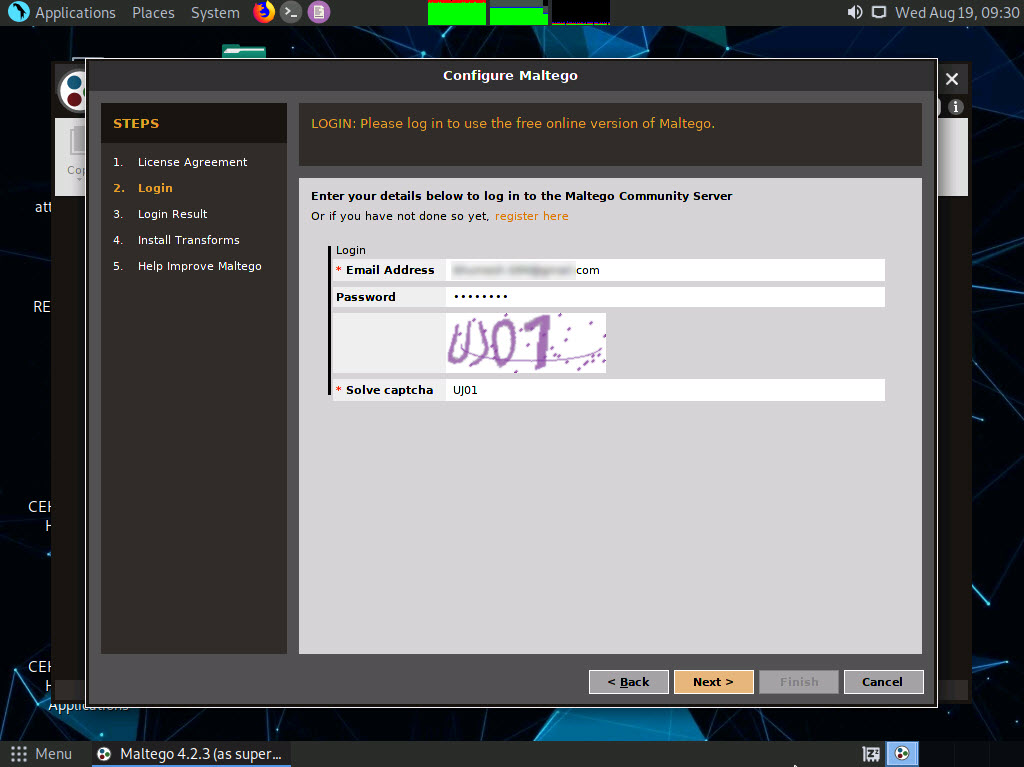
Minimize the web browser and go back to the setup wizard and enter the Email Address and Password specified at the time of registration; solve the captcha and click Next.
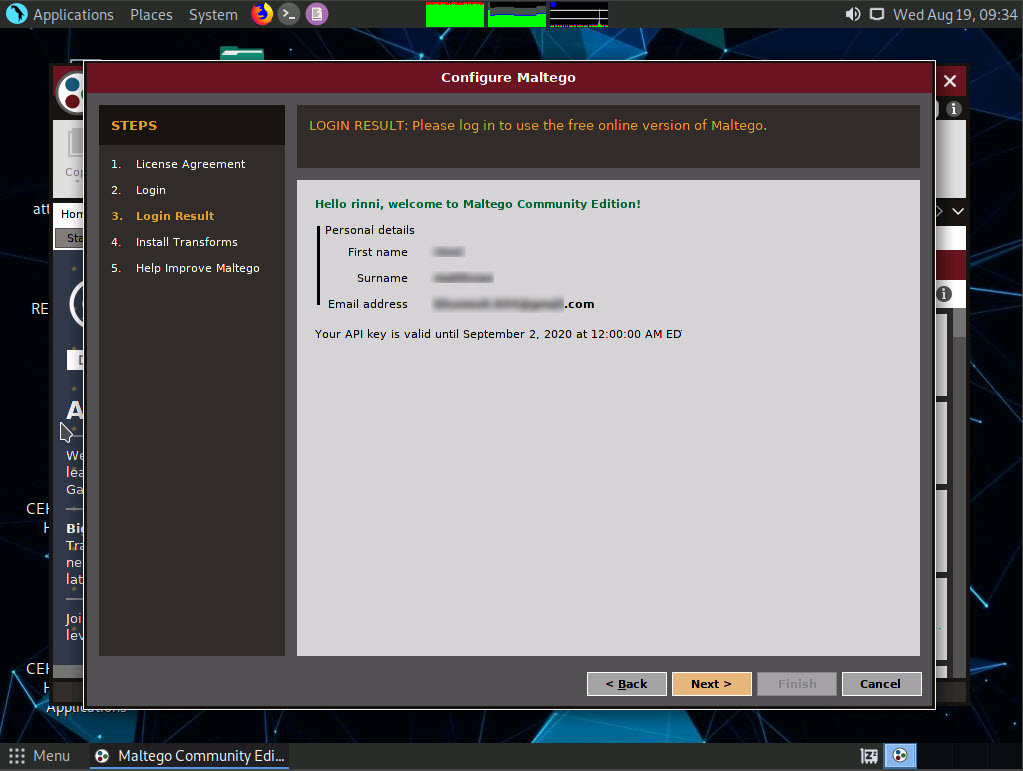
The Login Result section displays your personal details; click Next.
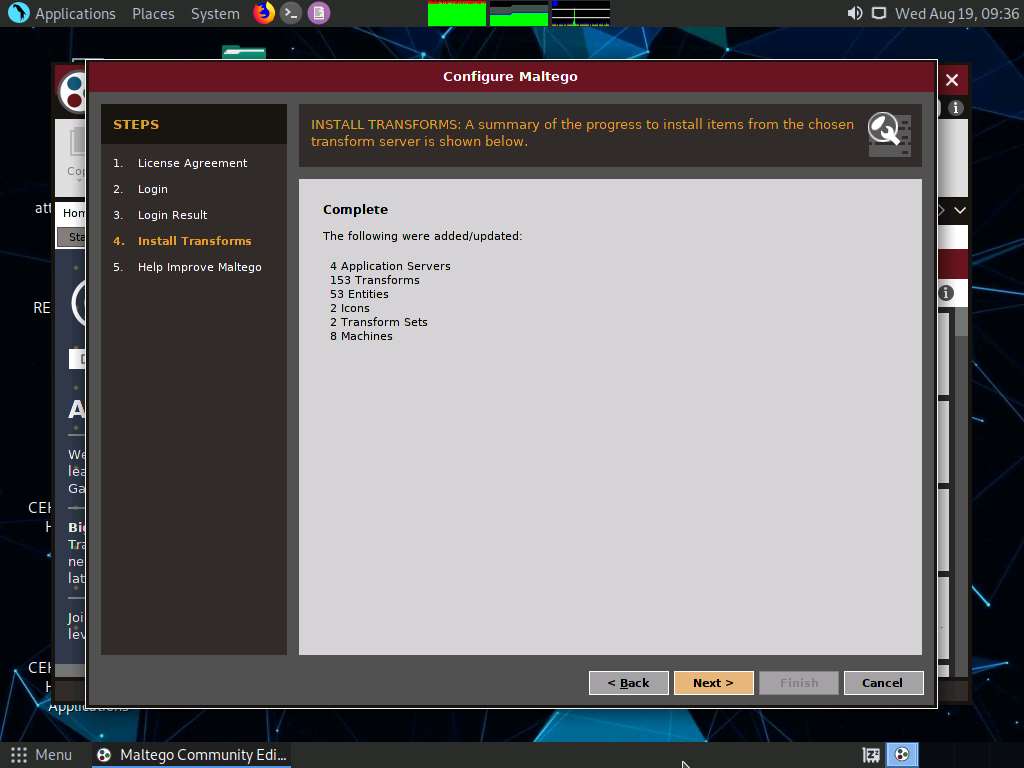
The Install Transforms section appears, which will install items from the chosen transform server. Leave the settings to default and click Next.
The Help Improve Maltego section appears. Leave the options set to default and click Finish.

The Maltego Community Edition GUI appears, along with Privacy Policy Change Notice, click Acknowledge button.
In the Maltego Community Edition window, click create a new graph icon from the top left corner in the toolbar.
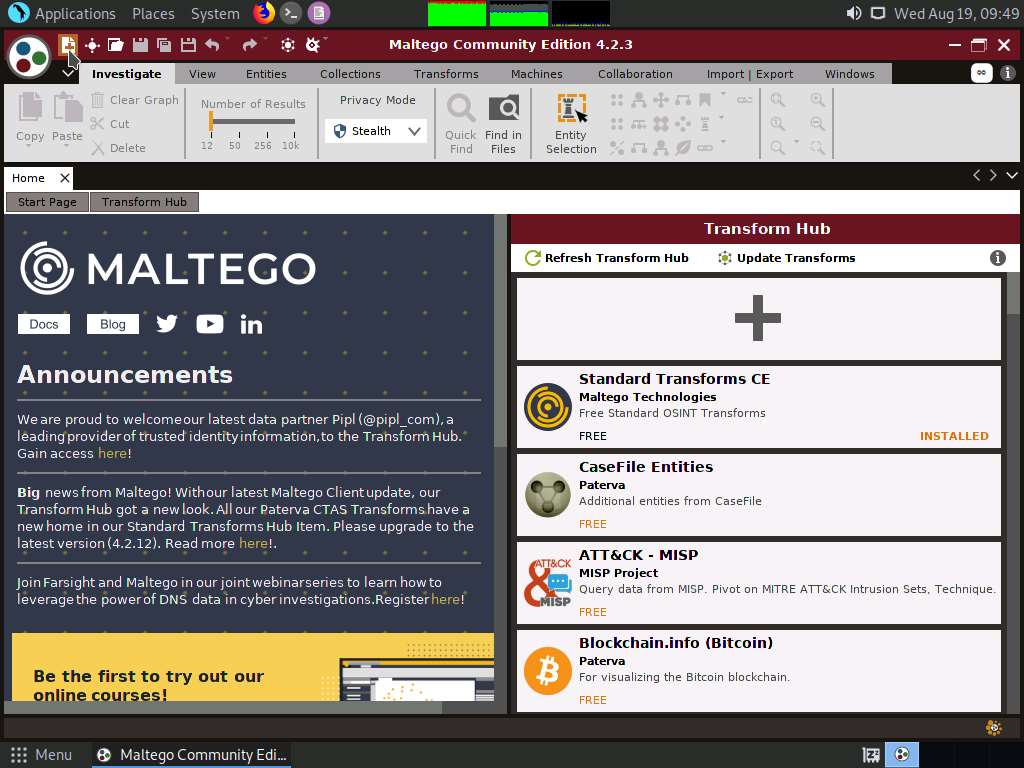
The New Graph (1) window appears, as shown in the screenshot.
In the left-pane of Maltego GUI, you can find the Entity Palette box, which contains a list of default built-in transforms. In the Infrastructure node under Entity Palette, observe a list of entities such as AS, DNS Name, Domain, IPv4 Address, URL, Website, etc.
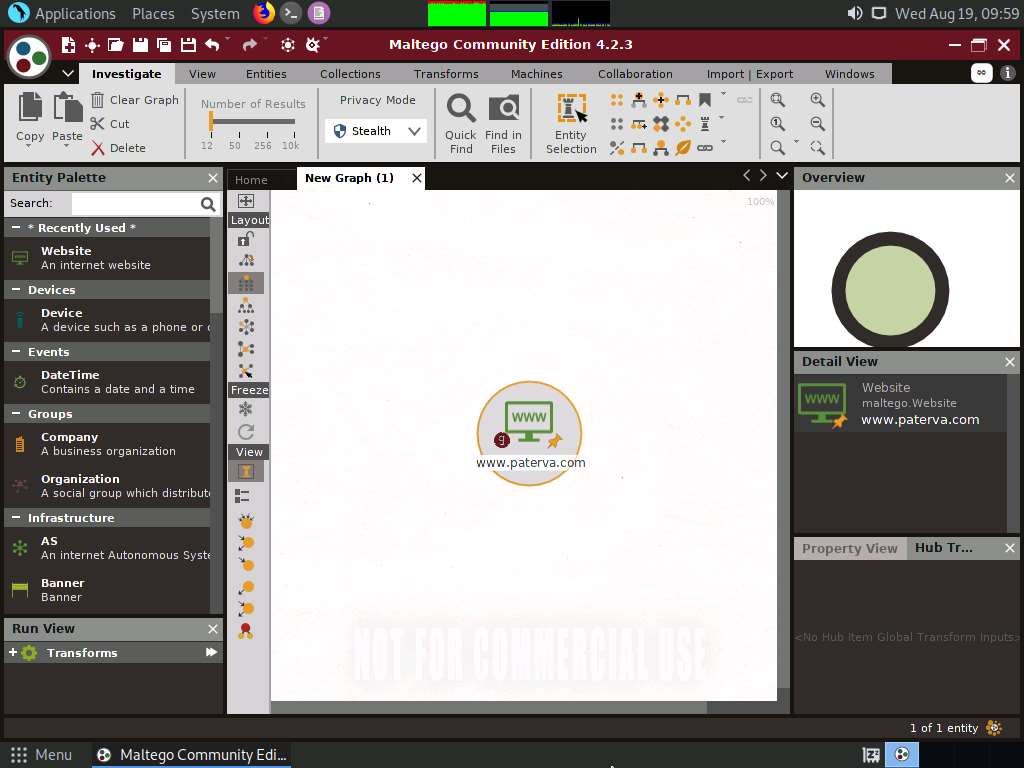
Drag the Website entity onto the New Graph (1) window.
The entity appears on the new graph, with the www.paterva.com URL selected by default.
If you are not able to view the entity as shown in the screenshot, click in the New Graph (1) window and scroll up, which will increase the size of the entity.
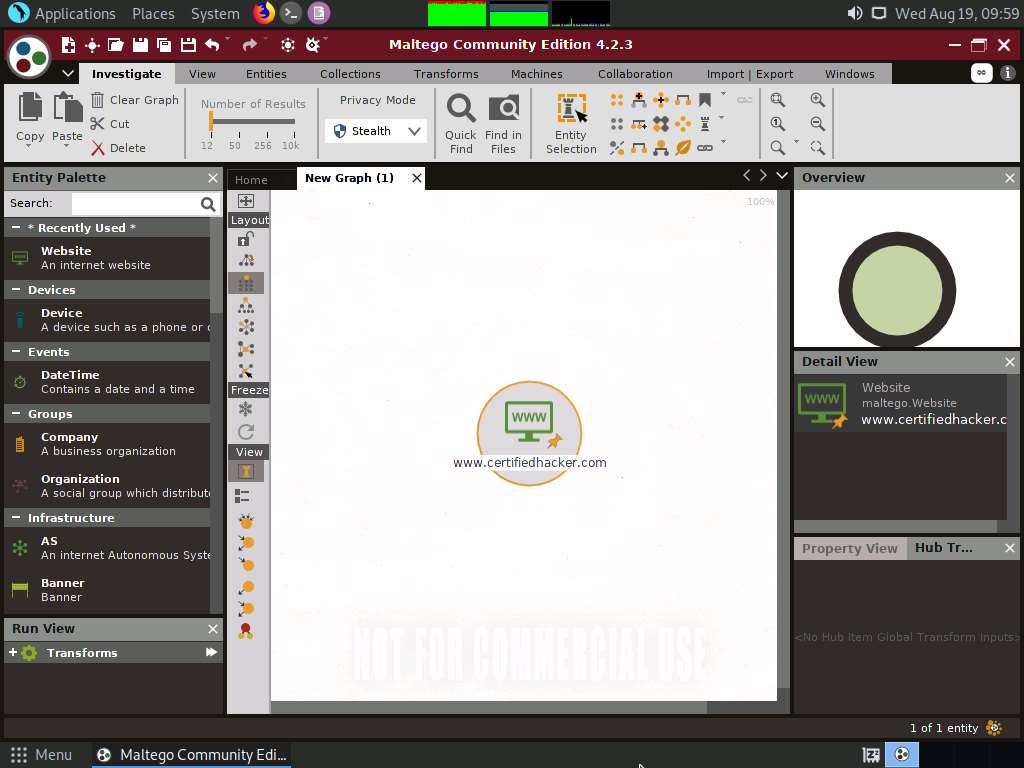
Double-click the name www.paterva.com and change the domain name to www.certifiedhacker.com; press Enter.
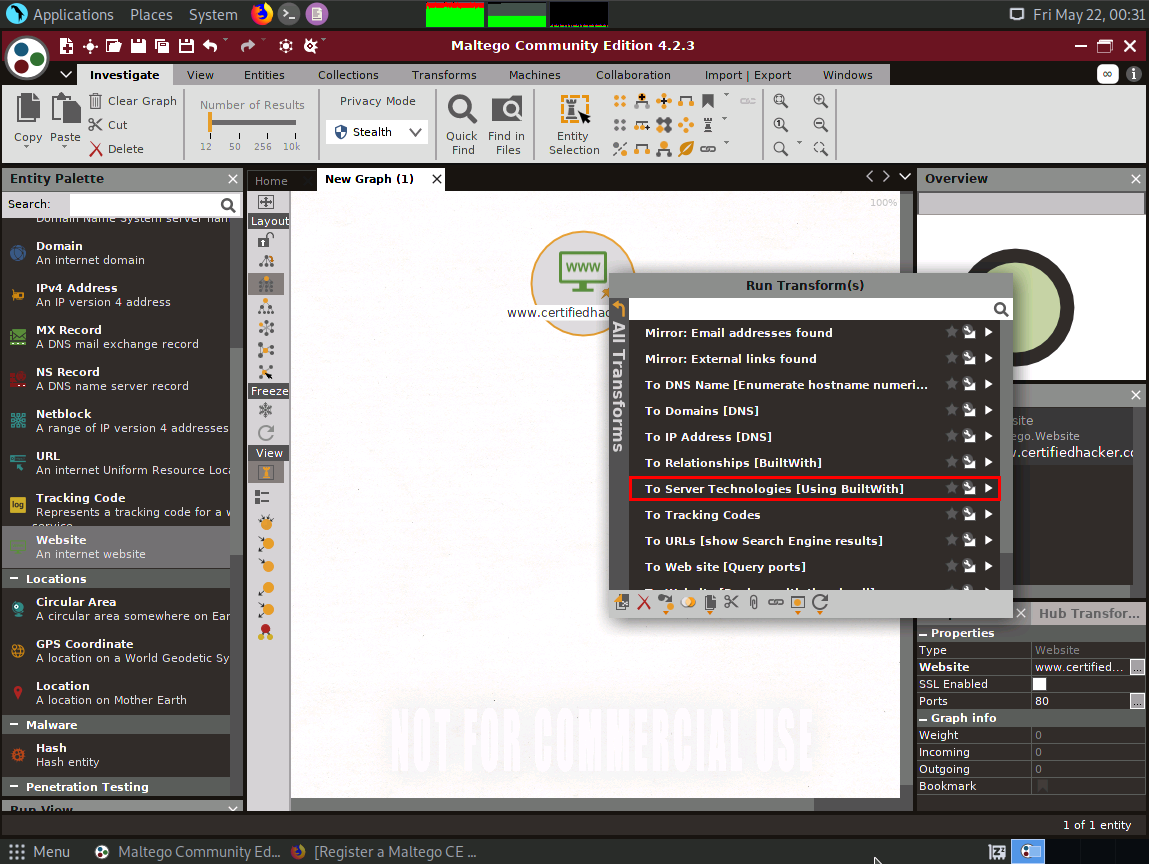
Right-click the entity and select All Transforms.
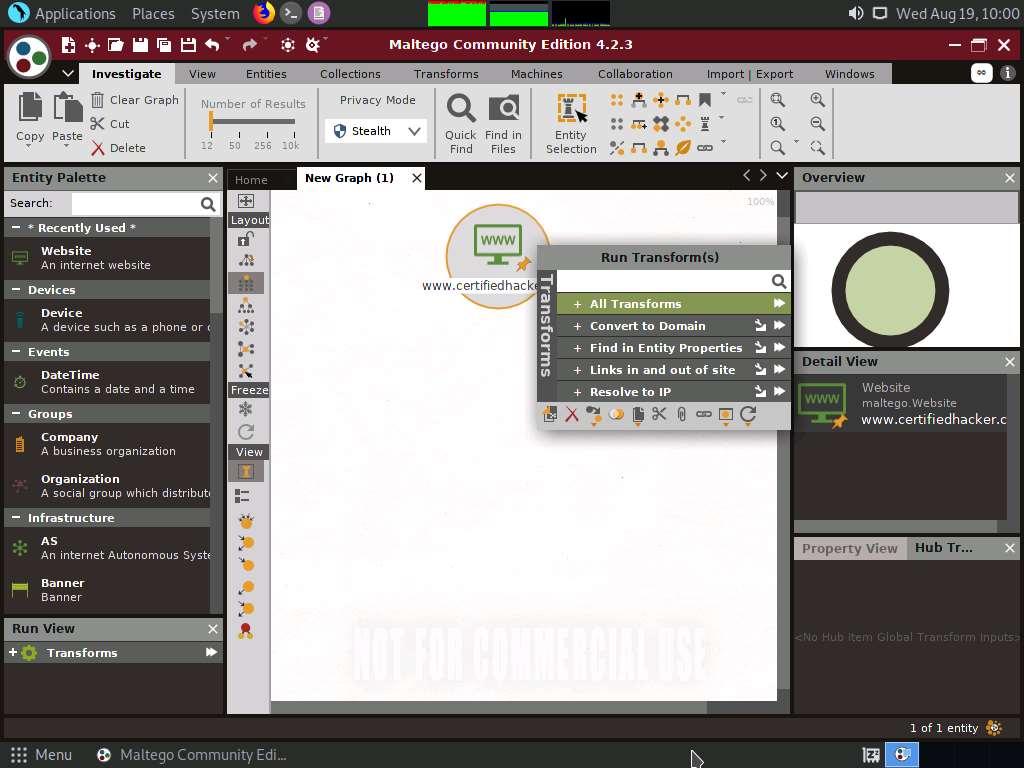
The Run Transform(s) list appears; click To Server Technologies [Using BuiltWith].
Maltego starts running the transform the To Server Technologies [Using BuiltWith] entity. Observe the status in the progress bar.
Once Maltego completes the transforming server-side technologies, it displays the technology implemented on the server that hosts the website, as shown in the following screenshot.
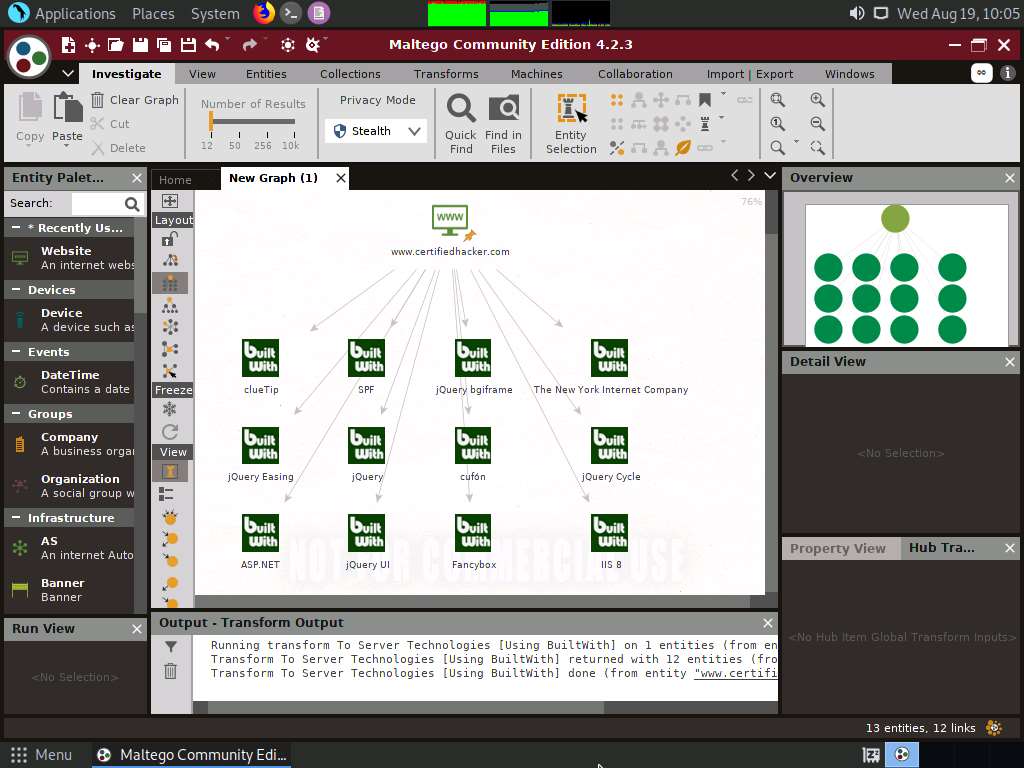
After obtaining the built-in technologies of the server, you can search for related vulnerabilities and simulate exploitation techniques to hack them.
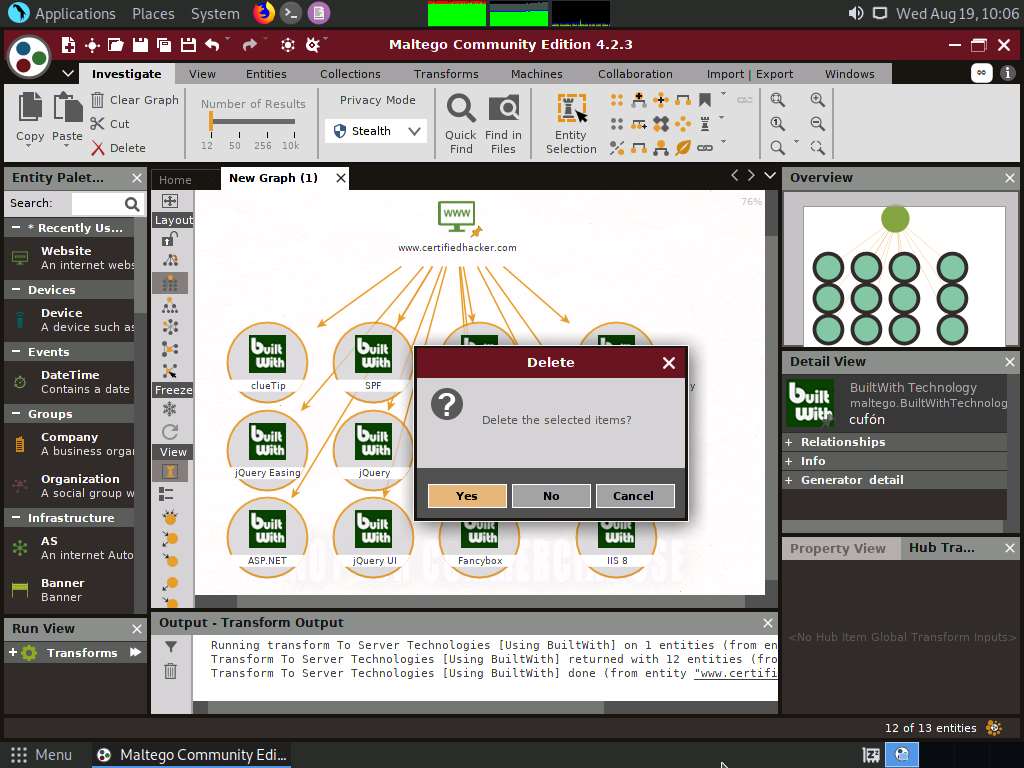
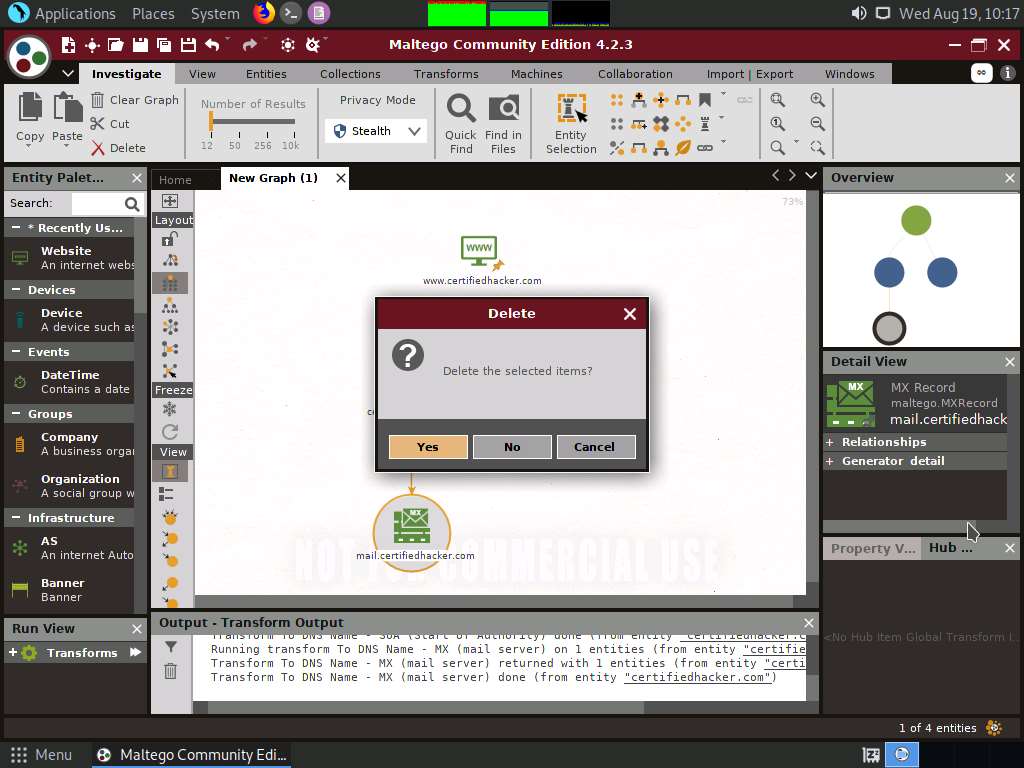
To start a new transform, select all the entities, excluding the www.certifiedhacker.com website entity, and press Delete.
A Delete pop-up appears; click Yes.
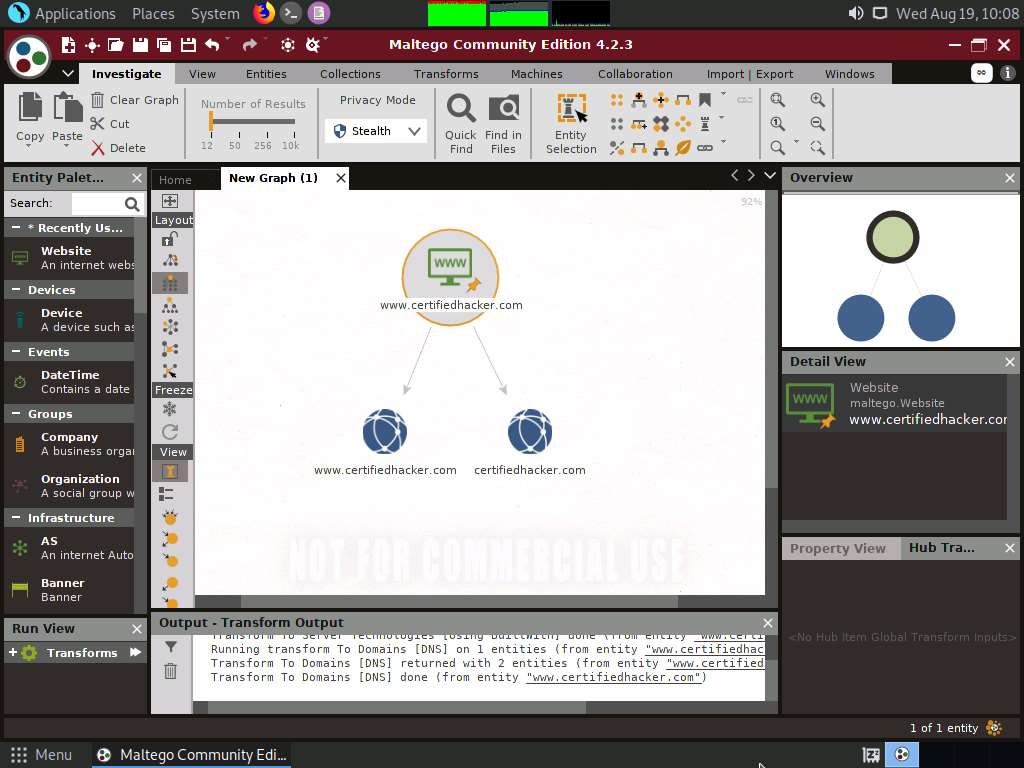
Now, right-click the www.certifiedhacker.com website entity and select All Transforms --> To Domains [DNS].
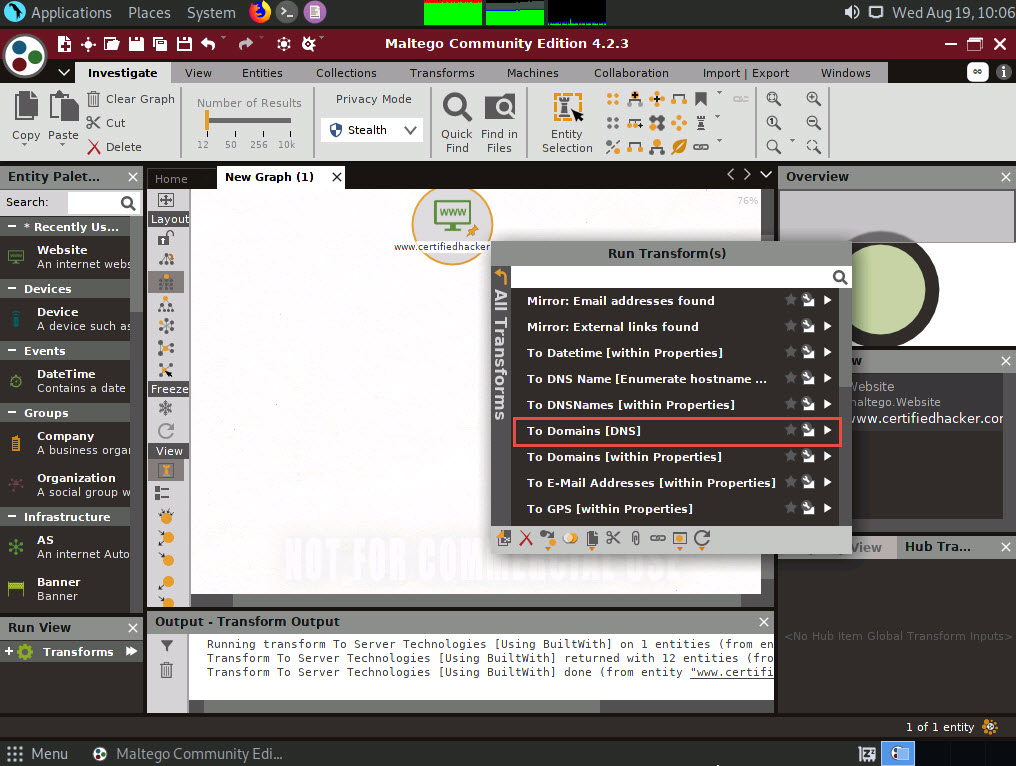
The domain corresponding to the website displays, as shown in the following screenshot.
Right-click the certifiedhacker.com entity and select All Transforms ---> To DNS Name [Using Name Schema diction…].
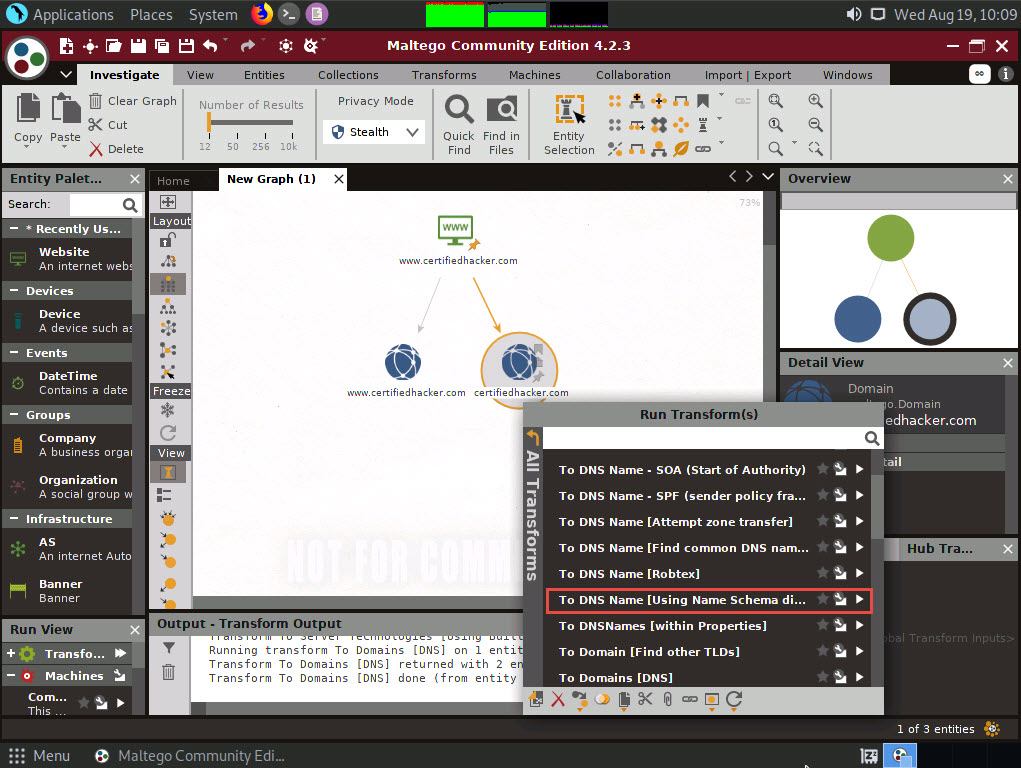
Observe the status in the progress bar. This transform will attempt to test various name schemas against a domain and try to identify a specific name schema for the domain, as shown in the following screenshot.
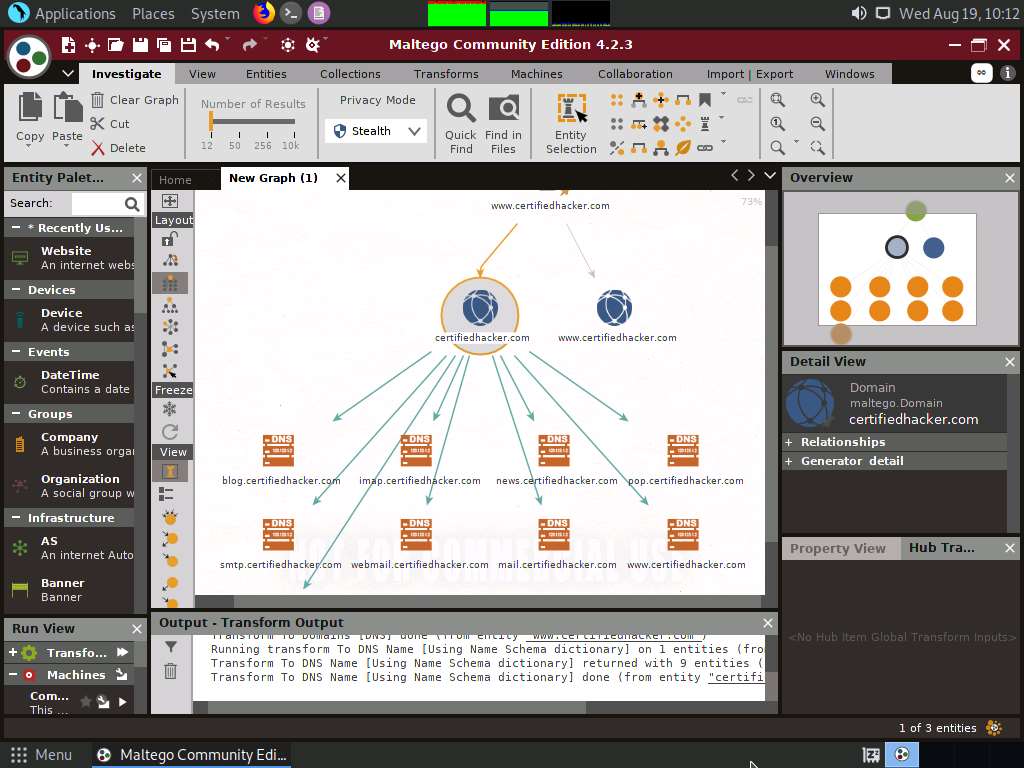
After identifying the name schema, attackers attempt to simulate various exploitation techniques to gain sensitive information related to the resultant name schemas. For example, an attacker may implement a brute-force or dictionary attack to log in to ftp.certifiedhacker.com and gain confidential information.
Select only the name schemas by dragging and deleting them.

Right-click the certifiedhacker.com entity and select All Transforms --> To DNS Name - SOA (Start of Authority).
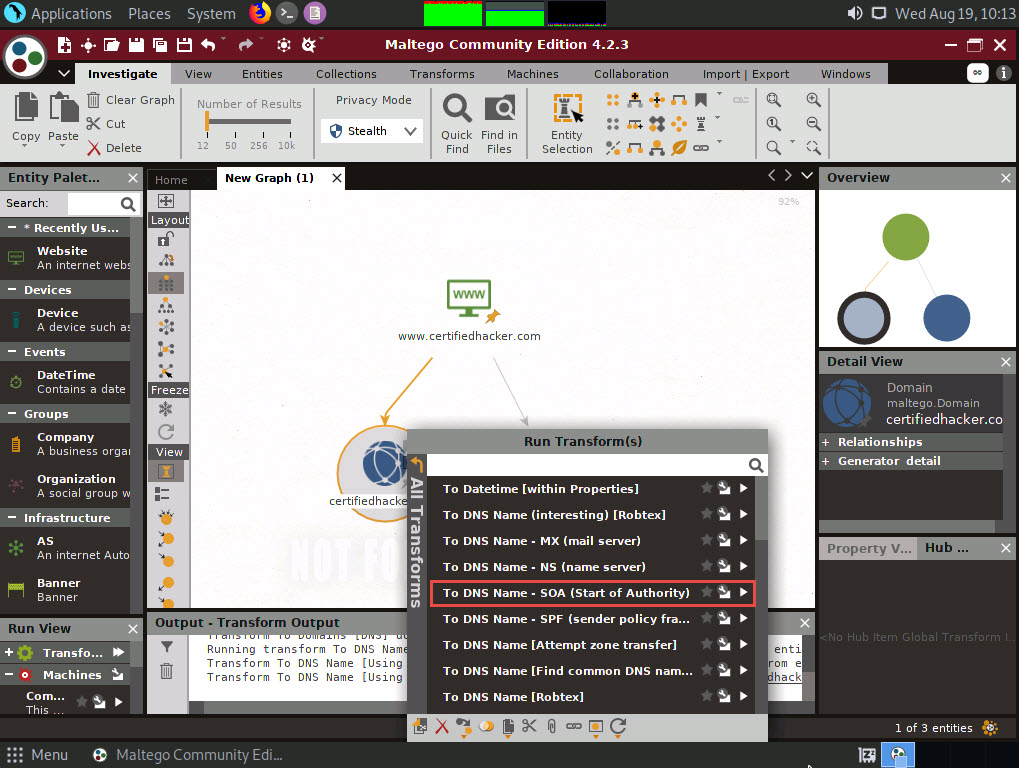
This returns the primary name server and the email of the domain administrator, as shown in the following screenshot.
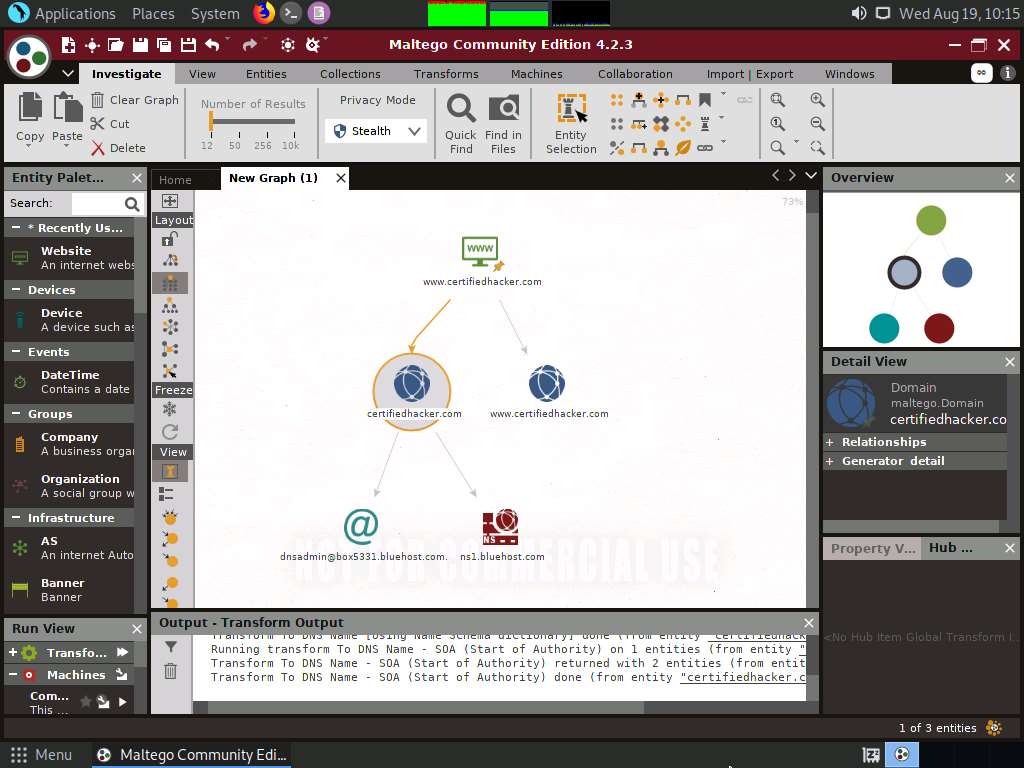
By extracting the SOA related information, attackers attempt to find vulnerabilities in their services and architectures and exploit them.
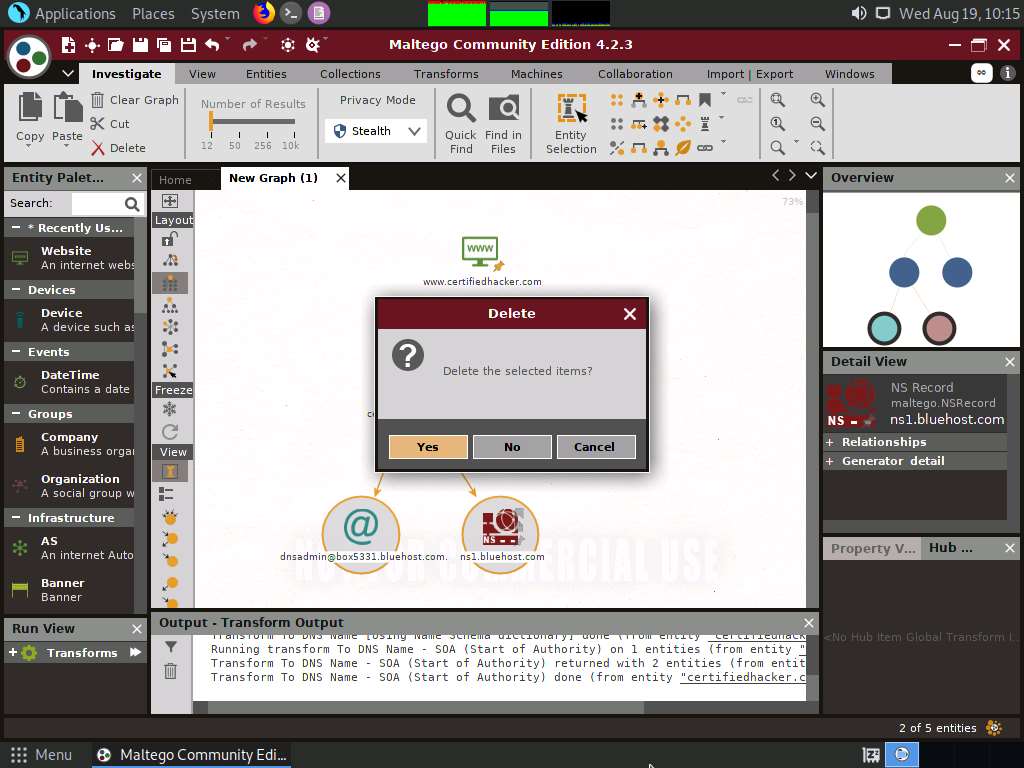
Select both the name server and the email by dragging and deleting them.
Right-click the certifiedhacker.com entity and select All Transforms --> To DNS Name - MX (mail server).
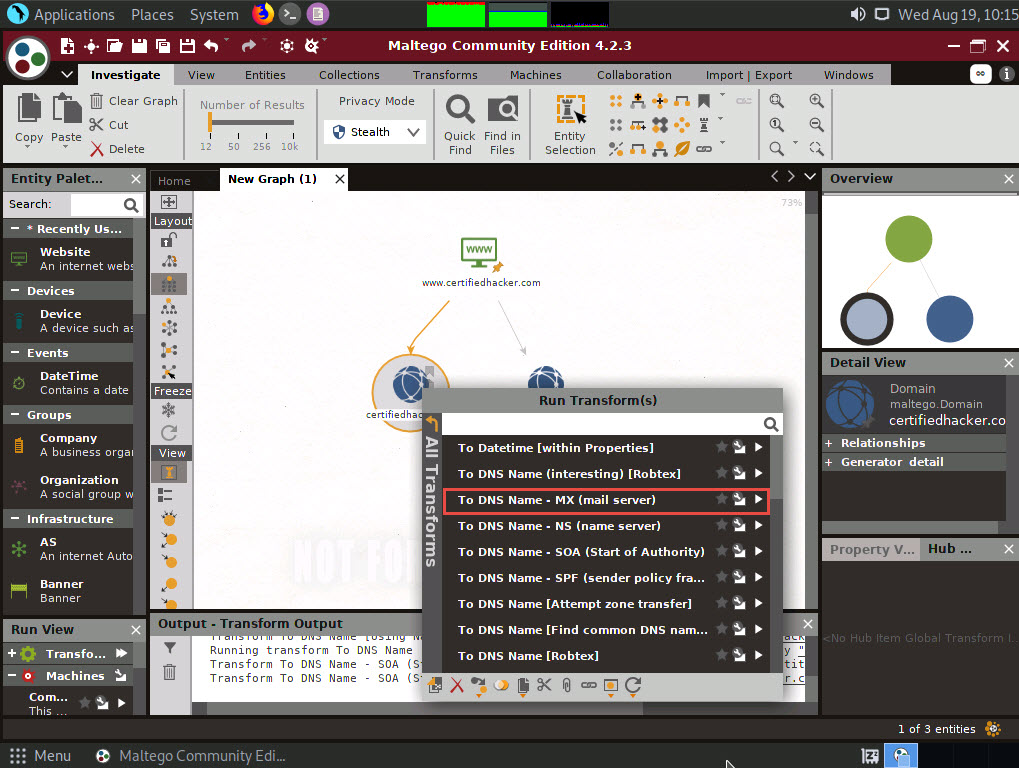
This transform returns the mail server associated with the certifiedhacker.com domain, as shown in the following screenshot.
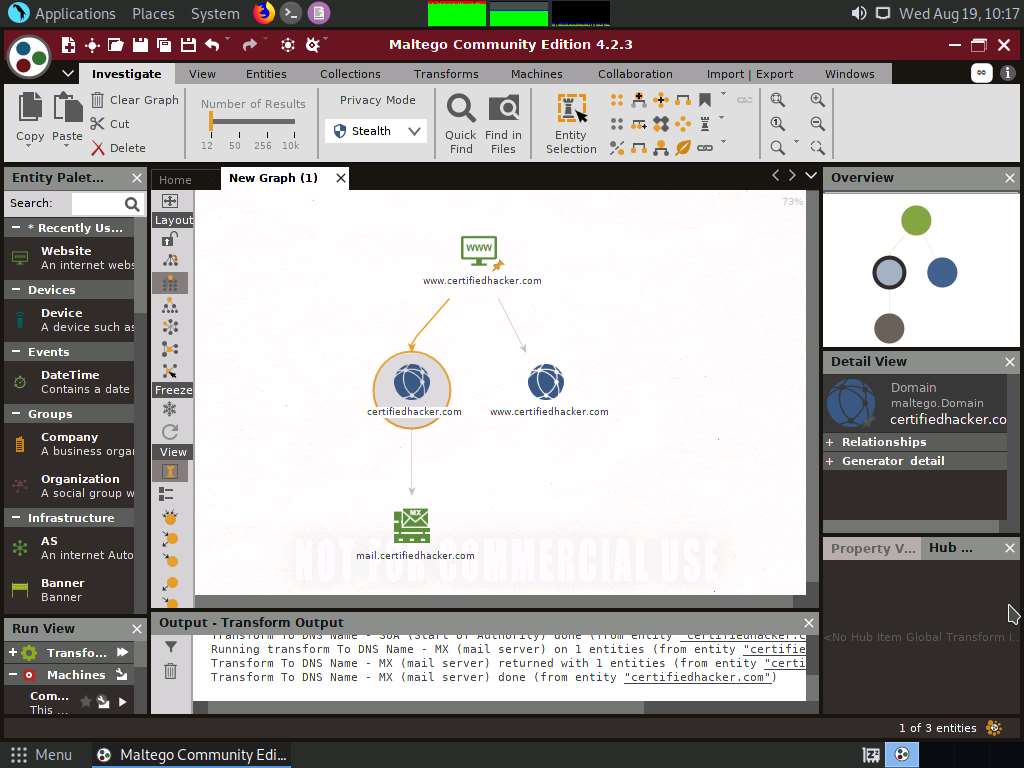
By identifying the mail exchanger server, attackers attempt to exploit the vulnerabilities in the server and, thereby, use it to perform malicious activities such as sending spam e-mails.
Select only the mail server by dragging and deleting it.
Right-click the certifiedhacker.com entity and select All Transforms --> To DNS Name - NS (name server).
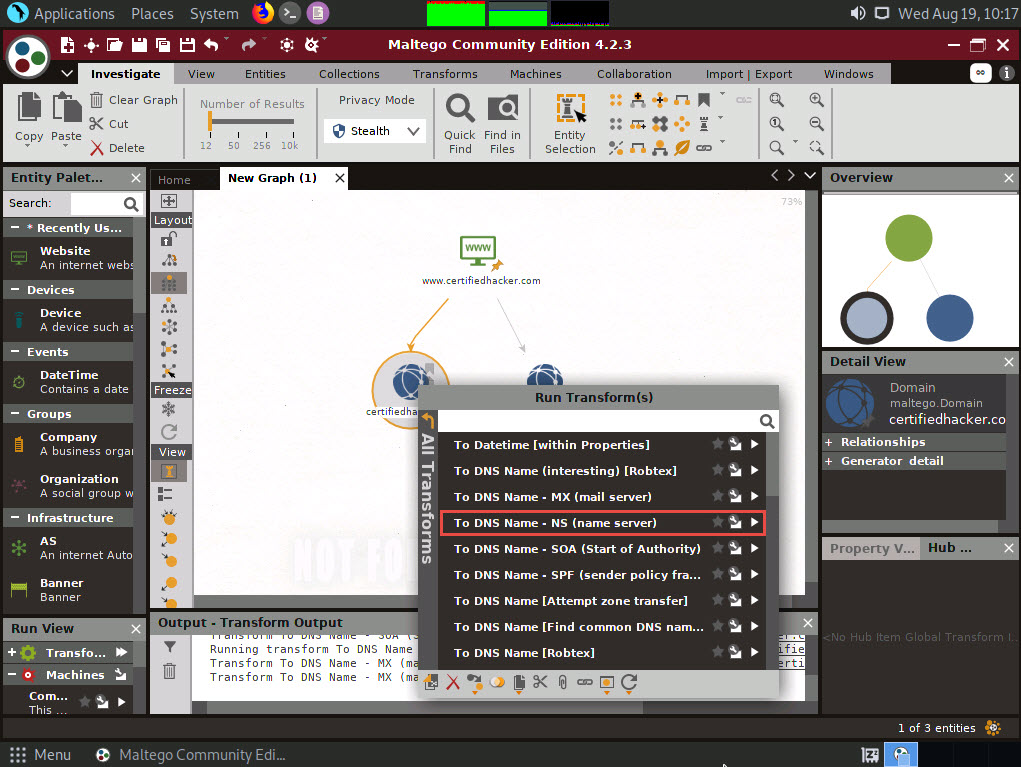
This returns the name servers associated with the domain, as shown in the following screenshot.
By identifying the primary name server, an attacker can implement various techniques to exploit the server and thereby perform malicious activities such as DNS Hijacking and URL redirection.
Select both the domain and the name server by dragging and deleting them.

Right-click the entity and select All Transforms --> To IP Address [DNS].
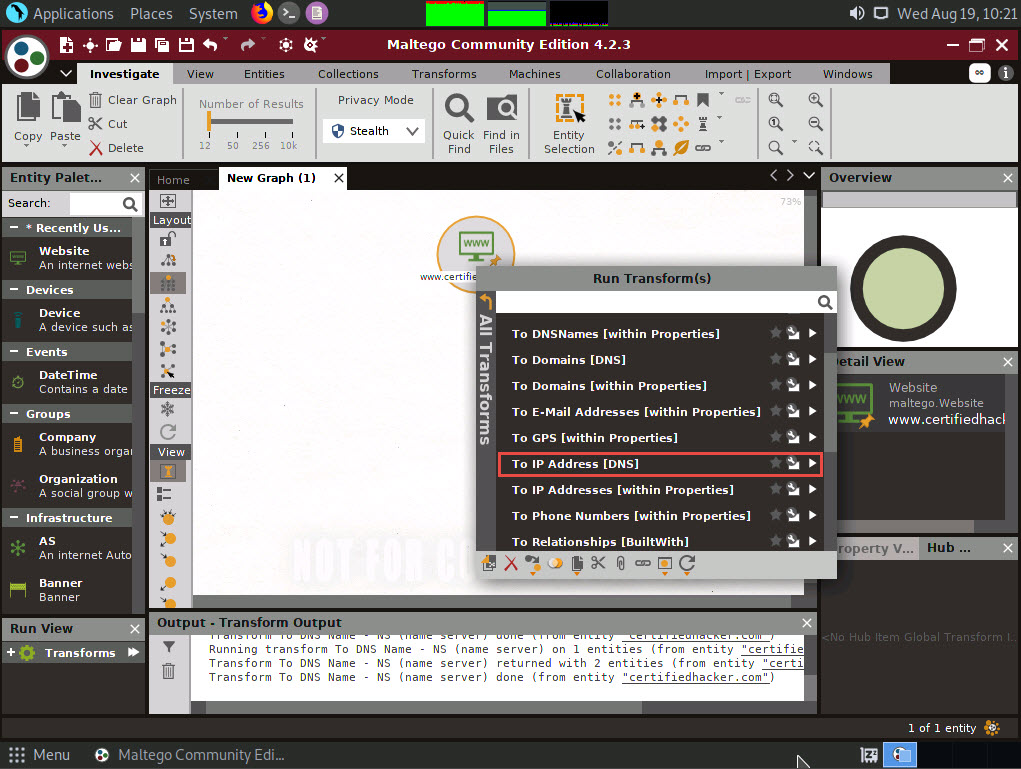
This displays the IP address of the website, as shown in the following screenshot.
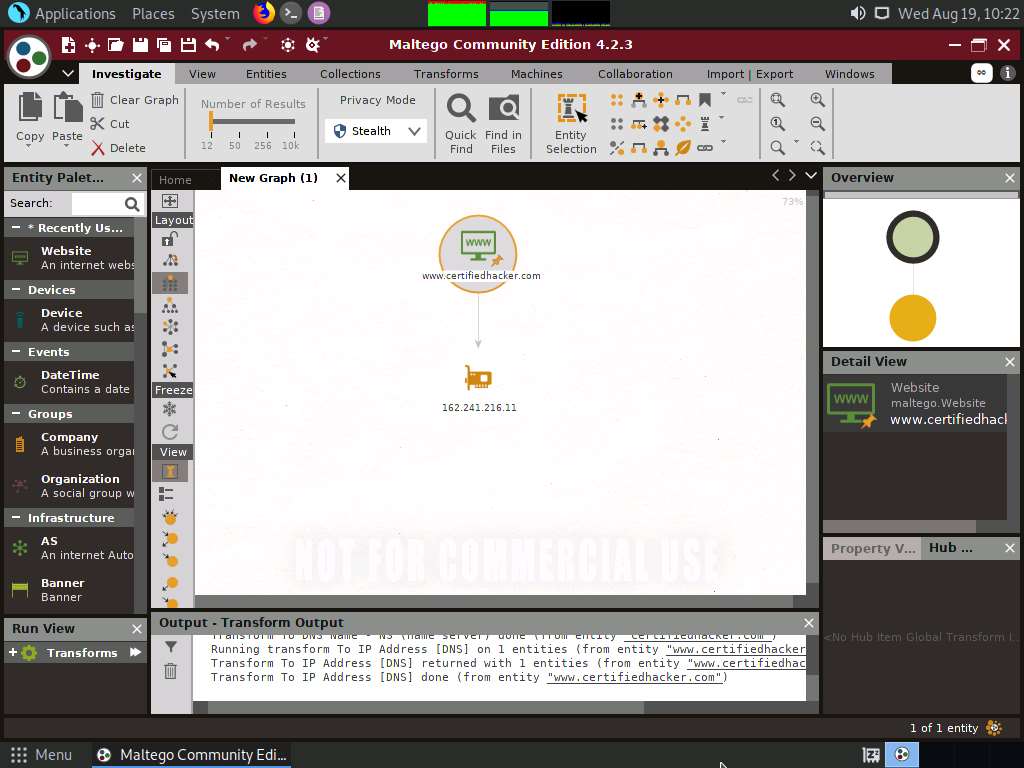
By obtaining the IP address of the website, an attacker can simulate various scanning techniques to find open ports and vulnerabilities and, thereby, attempt to intrude in the network and exploit them.
Right-click the IP address entity and select All Transforms --> To location [city, country].
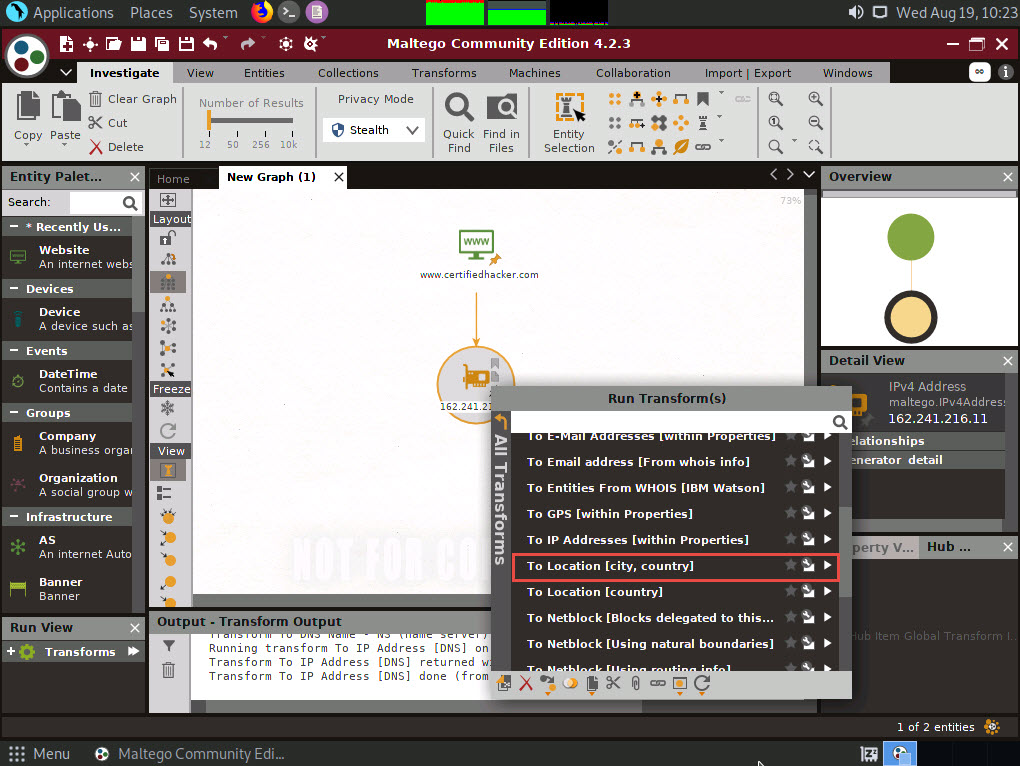
This transform identifies the geographical location of the IP address, as shown in the following screenshot.
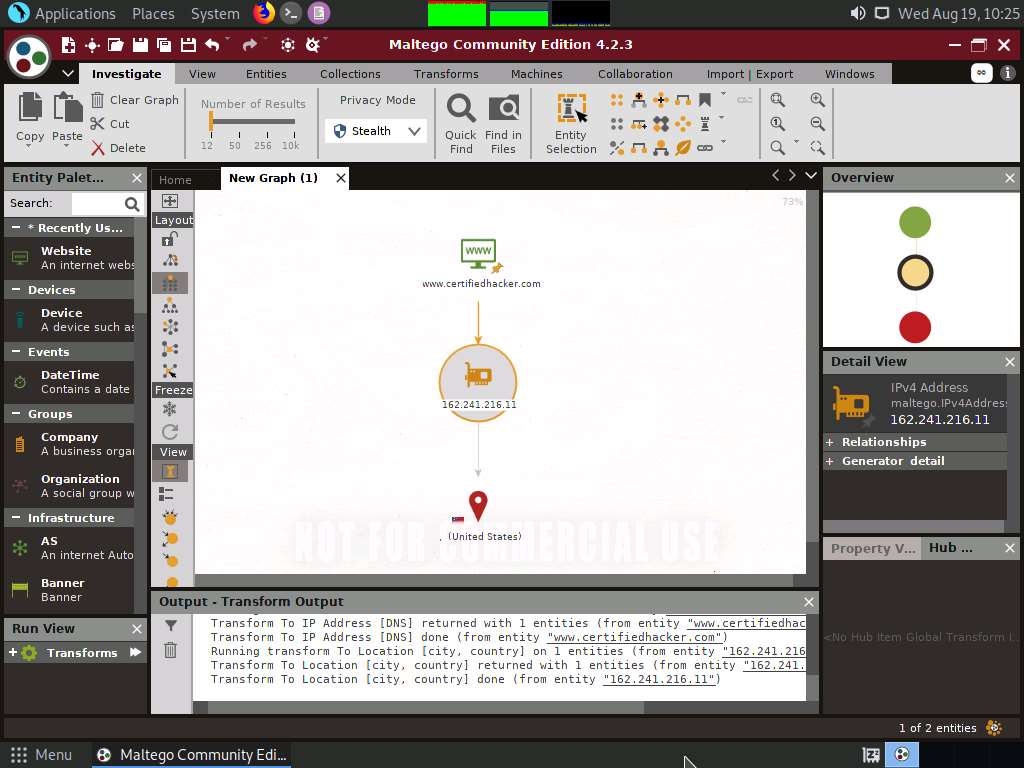
By obtaining the information related to geographical location, attackers can perform social engineering attacks by making voice calls (vishing) to an individual in an attempt to leverage sensitive information.
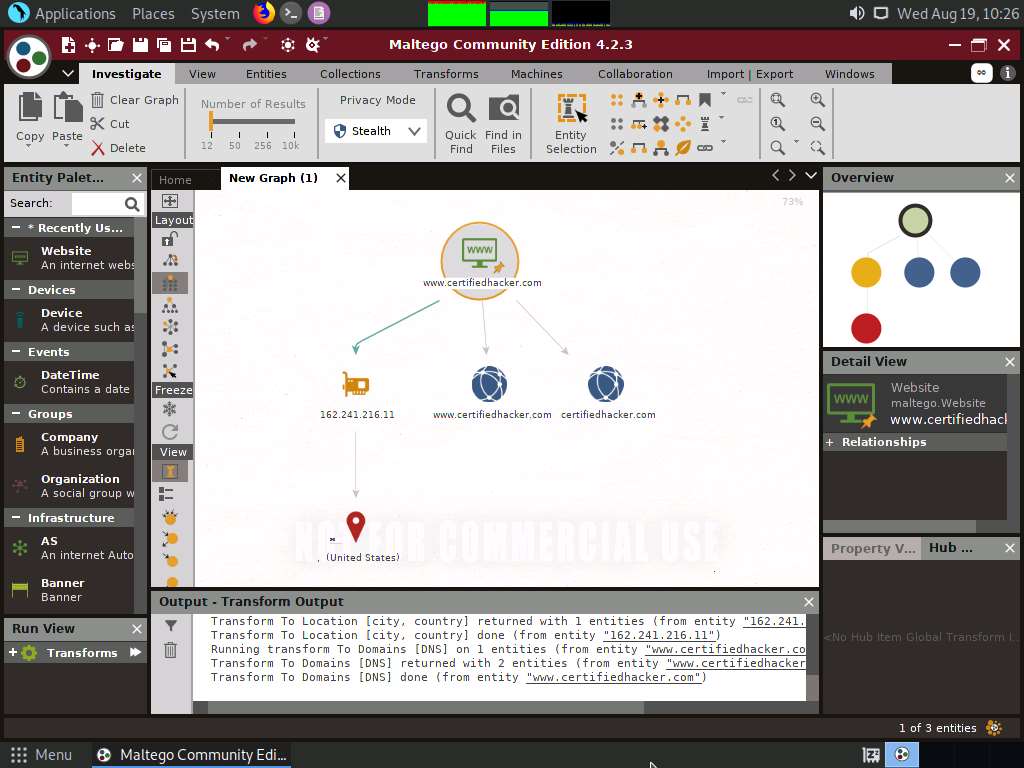
Now, right-click the www.certifiedhacker.com website entity and select All Transforms --> To Domains [DNS]. The domains corresponding to the website display, as shown in the screenshot.
Right-click the domain entity (certifiedhacker.com) and select All Transform --> To Entities from WHOIS [IBM Watson].
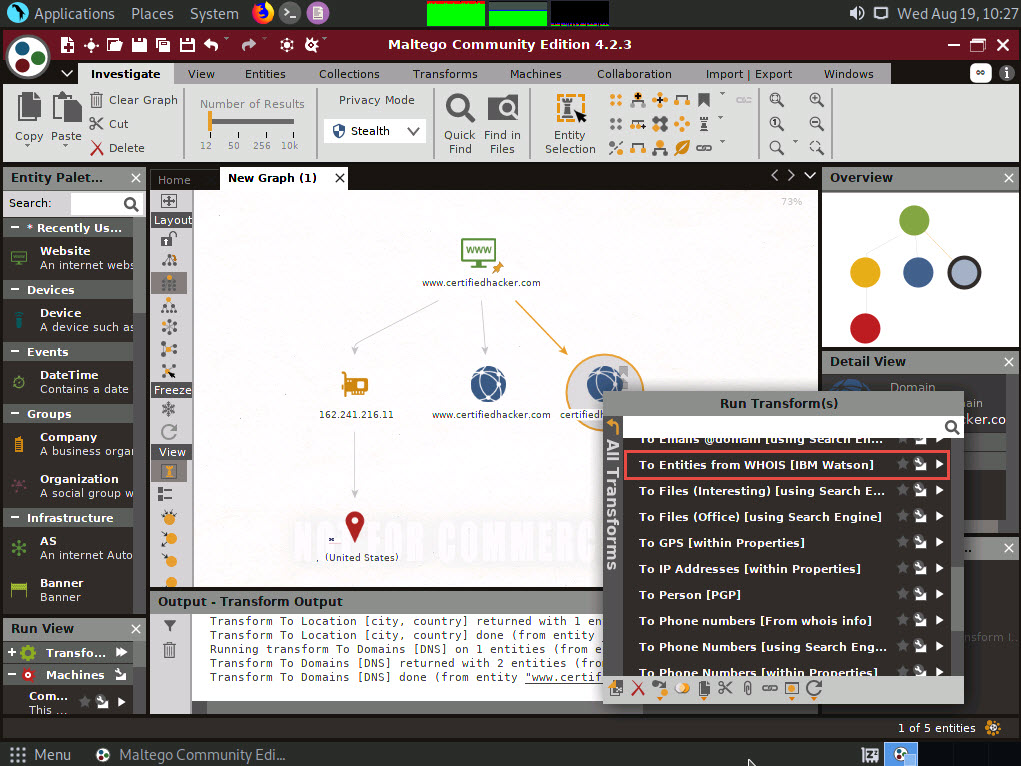
This transform returns the entities pertaining to the owner of the domain, as shown in the following screenshot.
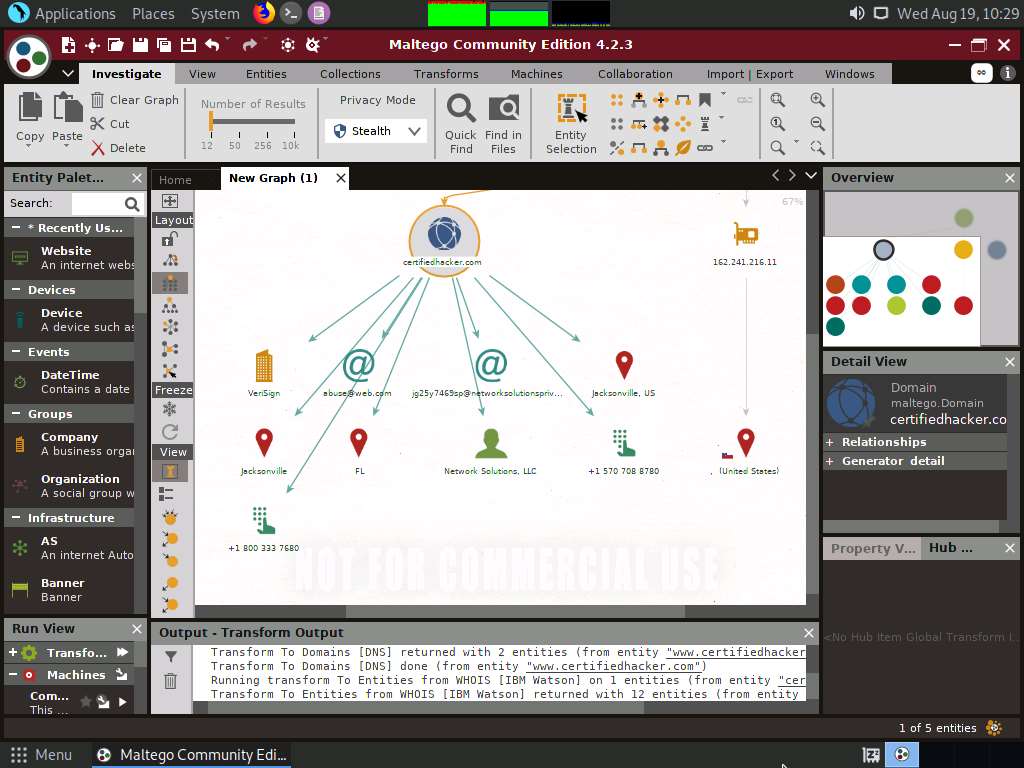
By obtaining this information, you can exploit the servers displayed in the result or simulate a brute force attack or any other technique to hack into the admin mail account and send phishing emails to the contacts in that account.
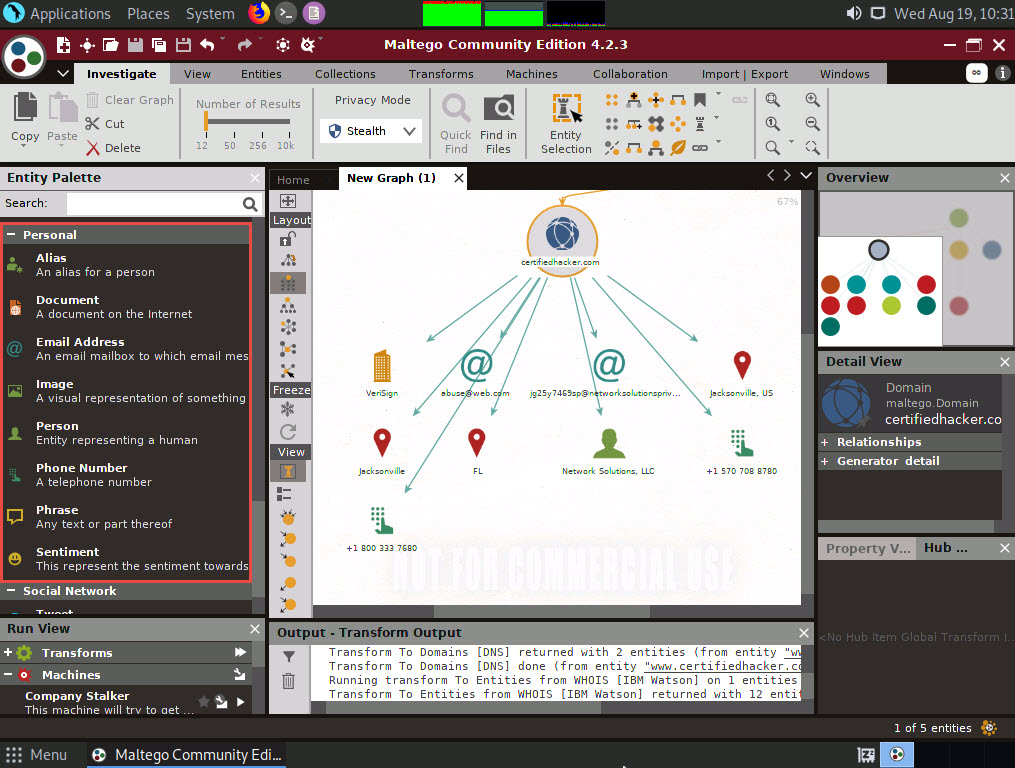
Apart from the aforementioned methods, you can perform footprinting on the critical employee from the target organization to gather additional personal information such as email addresses, phone numbers, personal information, image, alias, phrase, etc.
In the left-pane of the Maltego GUI, click the Personal node under Entity Palette to observe a list of entities such as Email Address, Phone Numbers, Image, Alias, Phrase, etc.
Apart from the transforms mentioned above, other transforms can track accounts and conversations of individuals who are registered on social networking sites such as Twitter. Extract all possible information.
By extracting all this information, you can simulate actions such as enumeration, web application hacking, social engineering, etc., which may allow you access to a system or network, gain credentials, etc.
This concludes the demonstration of footprinting a target using Maltego.
Close all open windows and document all the acquired information.
Task 3: Footprinting a Target using OSRFramework
OSRFramework is a set of libraries that are used to perform Open Source Intelligence tasks. They include references to many different applications related to username checking, DNS lookups, information leaks research, deep web search, regular expressions extraction, and many others. It also provides a way of making these queries graphically as well as several interfaces to interact with such as OSRFConsole or a Web interface.
Click Parrot Security to switch to the Parrot Security machine. Click the MATE Terminal icon at the top-left corner of the Desktop window to open a Terminal window.

A Parrot Terminal window appears. In the terminal window, type sudo su and press Enter to run the programs as a root user.
In the [sudo] password for attacker field, type toor as a password and press Enter.
The password that you type will not be visible.
Now, type cd and press Enter to jump to the root directory.
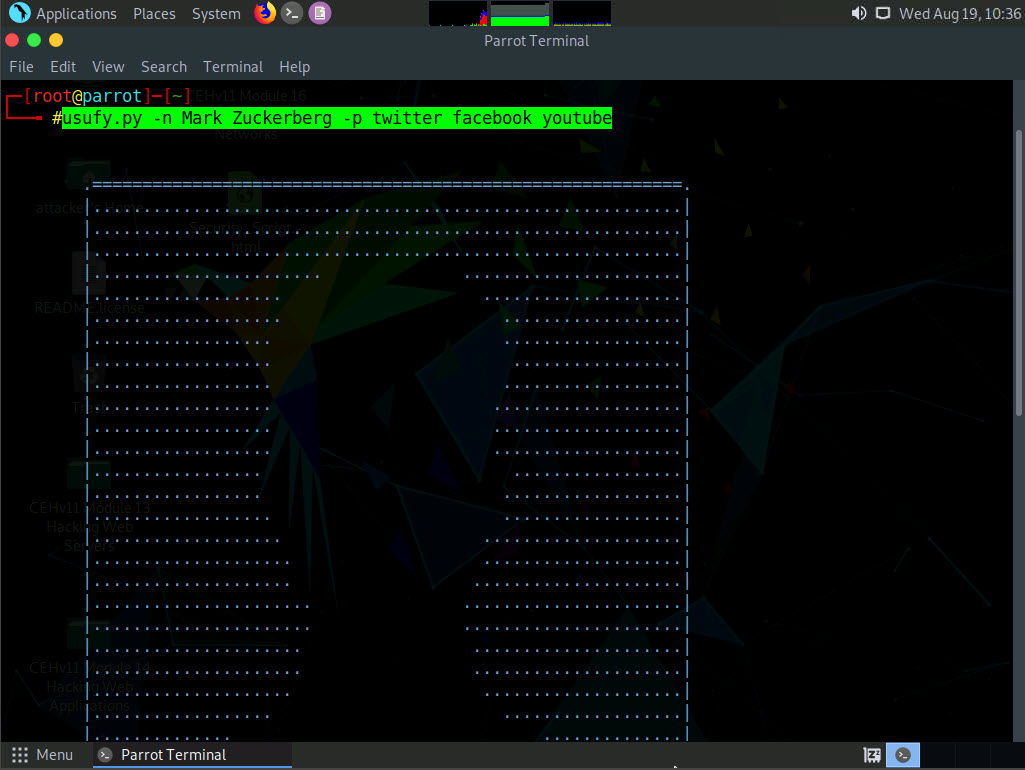
Use usufy.py to check for the existence of a profile for given user details on different social networking platforms. Type usufy.py -n [target user name or profile name] -p [target platform] (here, the target user name or profile is Mark Zuckerberg and the target platforms are twitter, facebook, and youtube) and press Enter.
-n is the list of nicknames to process and -p is for the platform for search.
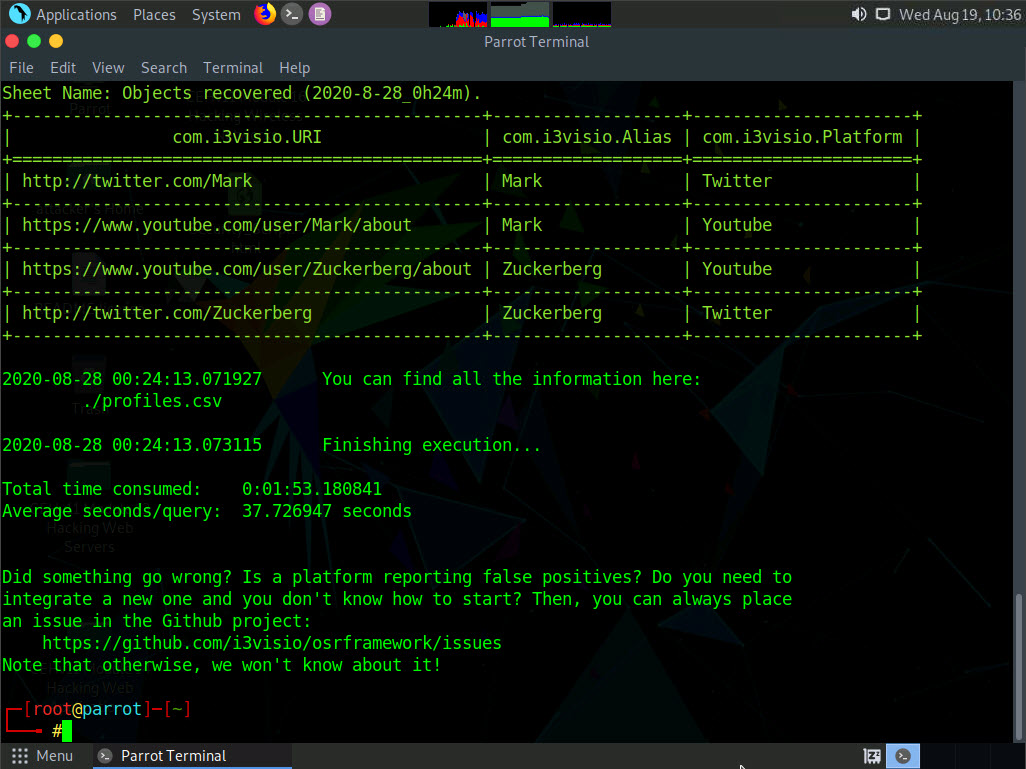
The usufy.py will search the user details in the mentioned platforms and will provide you with the existence of the user, as shown in the screenshot.
If you do not get results as intended, keep pressing Ctrl+C untill you see the results, as shown in the screenshot.
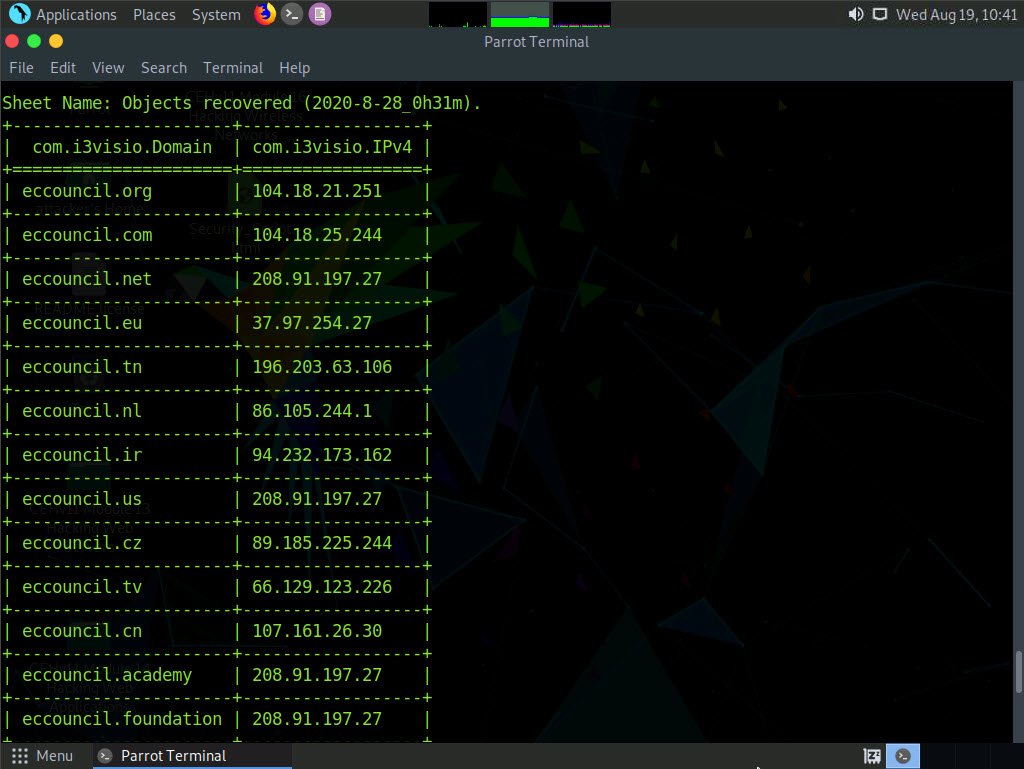
Use domainfy.py to check with the existing domains using words and nicknames. Type domainfy.py -n [Domain Name] -t all (here, the target domain name is ECCOUNCIL) and press Enter.
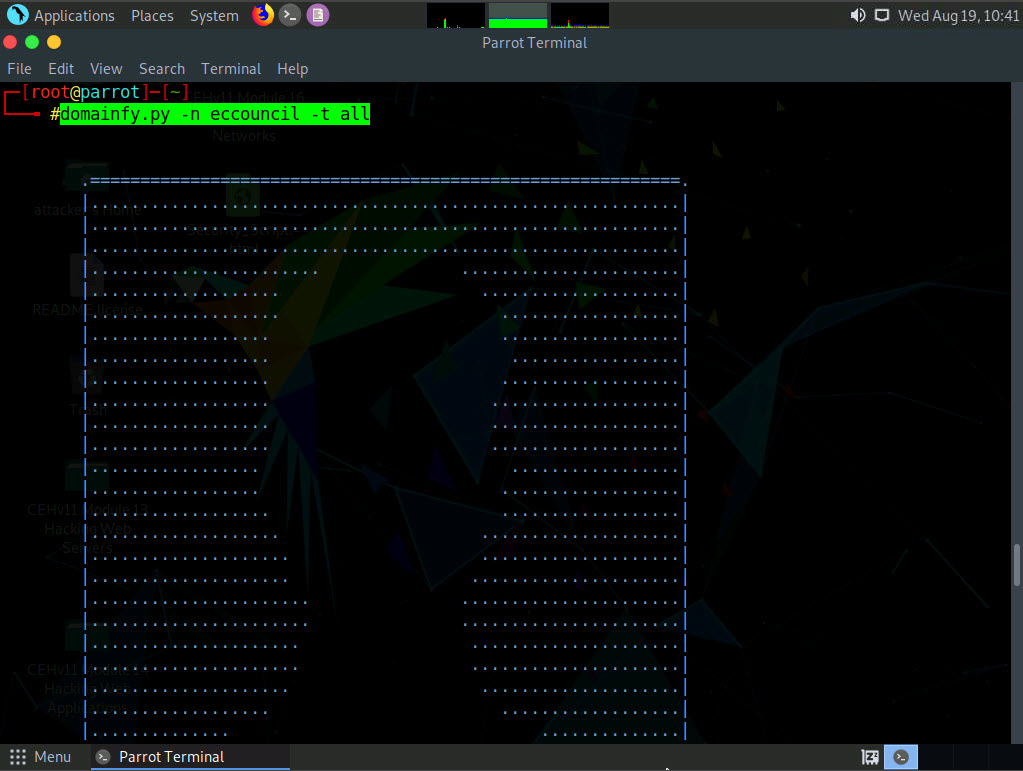
The tool will retrieve all the domains related to the target domain.
Similarly, you can use following OSRFramework packages to gather information about the target.
- searchfy.py - Gathers information about the users on social networking pages.
- mailfy.py – Gathers information about email accounts
- phonefy.py – Checks for the existence of a given series of phones
- entify.py – Extracts entities using regular expressions from provided URLs
This concludes the demonstration of gathering information about the target user aliases from multiple social media platforms using OSRFramework.
Close all open windows and document all the acquired information.
Task 4: Footprinting a Target using BillCipher
BillCipher is an information gathering tool for a Website or IP address. Using this tool, you can gather information such as DNS Lookup, Whois lookup, GeoIP Lookup, Subnet Lookup, Port Scanner, Page Links, Zone Transfer, HTTP Header, etc. Here, we will use the BillCipher tool to footprint a target website URL.
Click Parrot Security to switch to the Parrot Security machine. Click the MATE Terminal icon at the top-left corner of the Desktop window to open a Terminal window.

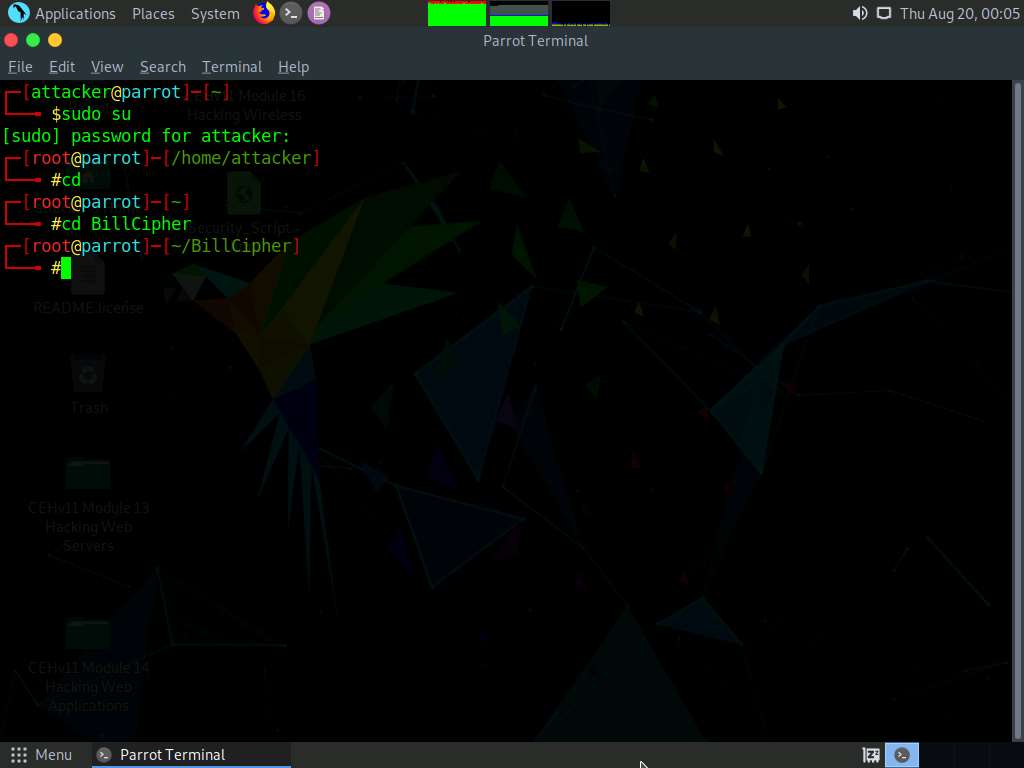
A Parrot Terminal window appears. In the terminal window, type sudo su and press Enter to run the programs as a root user.
In the [sudo] password for attacker field, type toor as a password and press Enter.
The password that you type will not be visible.
Now, type cd and press Enter to jump to the root directory.
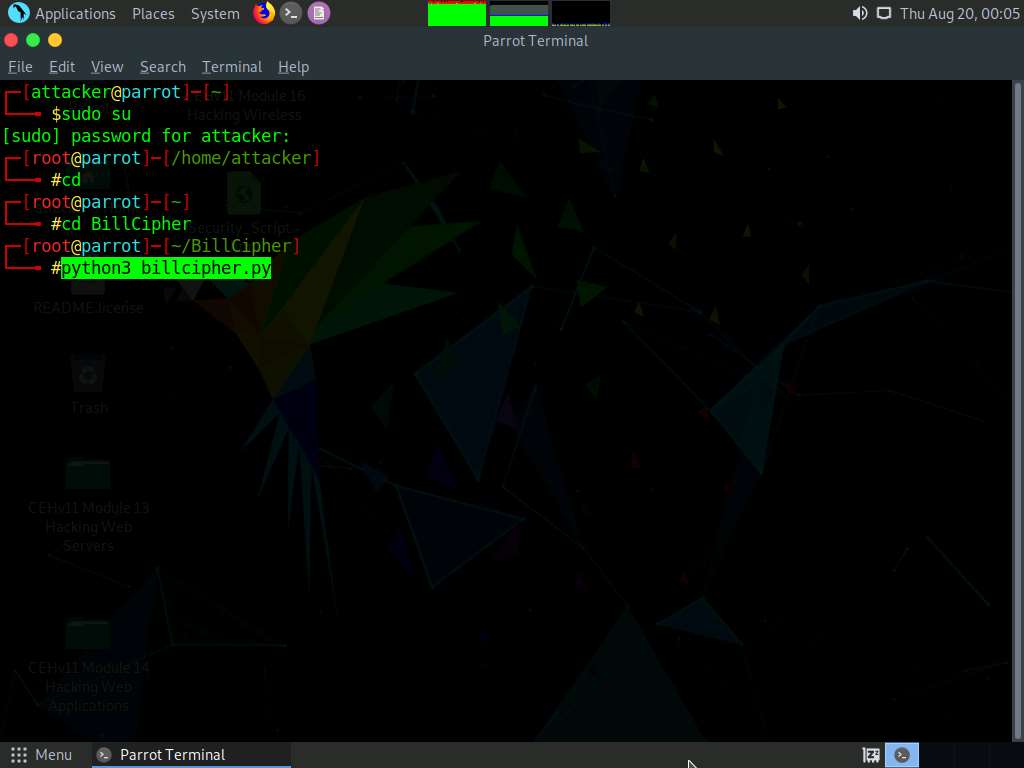
A Parrot Terminal window appears. In the Parrot Terminal window, type cd BillCipher and press Enter to navigate to the BillCipher directory.
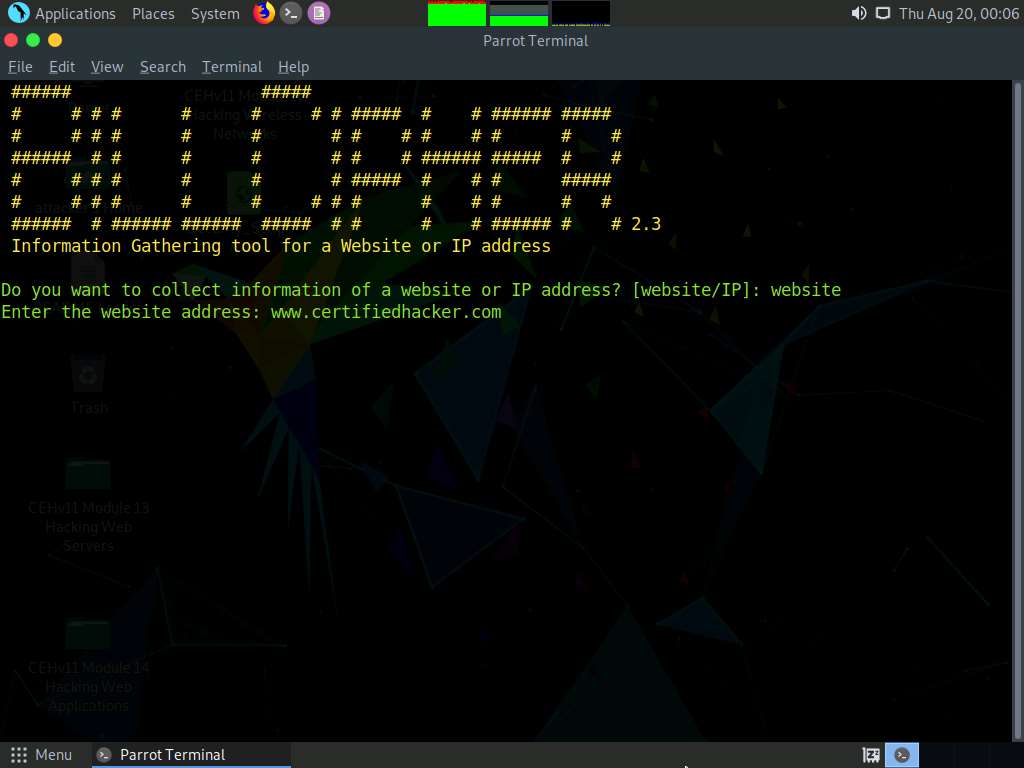
Now, type python3 billcipher.py and press Enter to launch the application.
BillCipher application initializes. In the Do you want to collect information of a website or IP address? option, type website and press Enter.
In the Enter the website address option, type the target website URL (here, www.certifiedhacker.com) and press Enter.
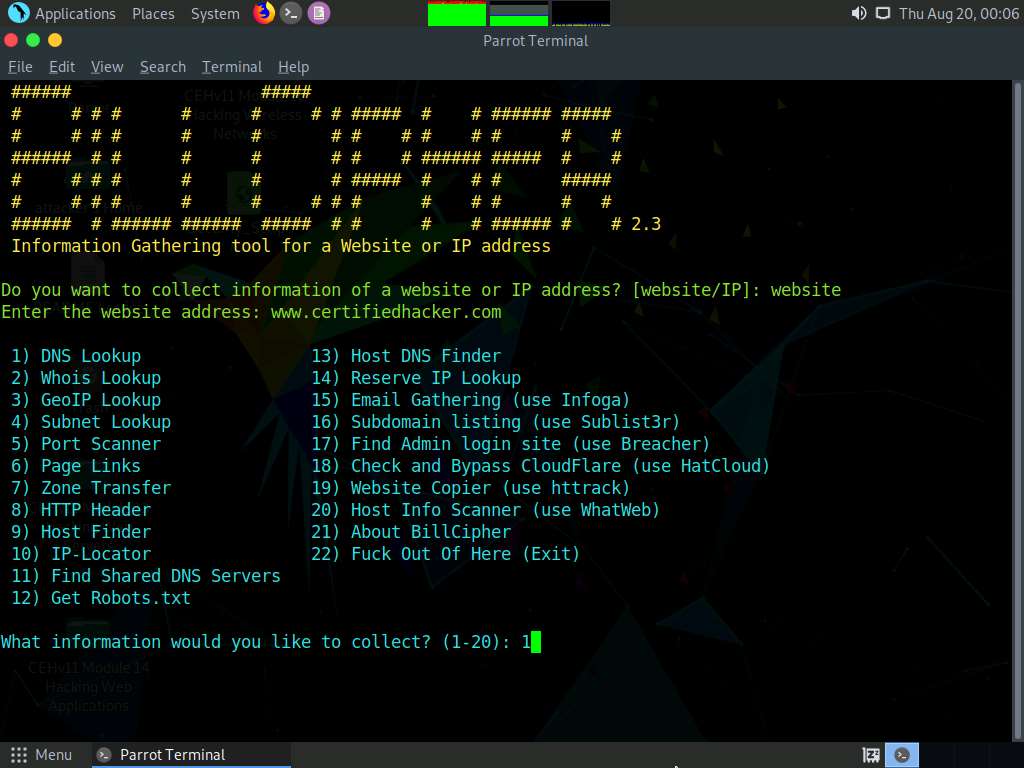
BillCipher displays various available options that you can use to gather information regarding a target website.
In the What information would you like to collect? option, type 1 to choose the DNS Lookup option and press Enter.
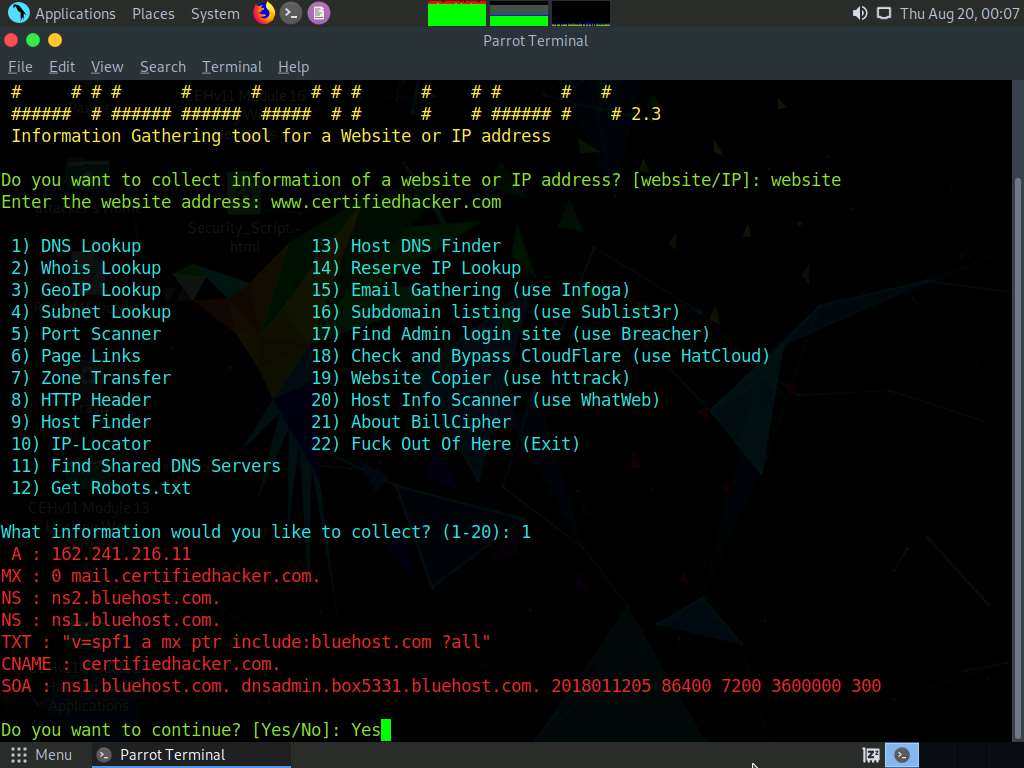
The result appears, displaying the DNS information regarding the target website, as shown in the screenshot.
In the Do you want to continue? option, type Yes and press Enter to continue.
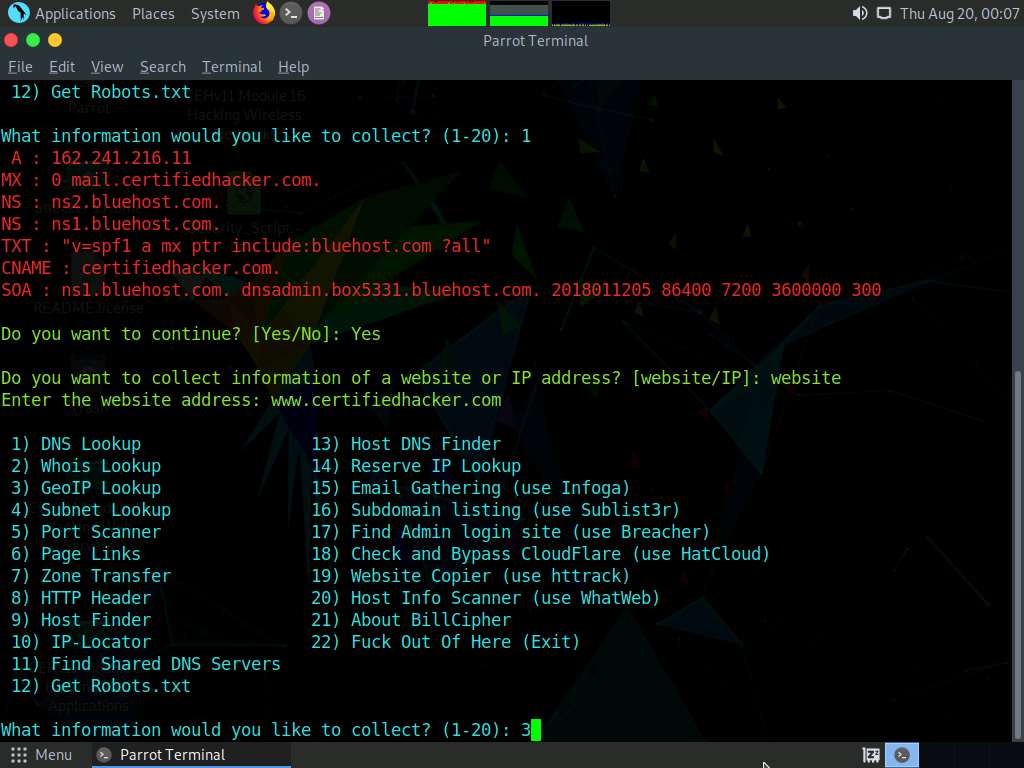
Do you want to collect information of a website or IP address? option appears, type website and press Enter.
In the Enter the website address option, type the target website URL (here, www.certifiedhacker.com) and press Enter.
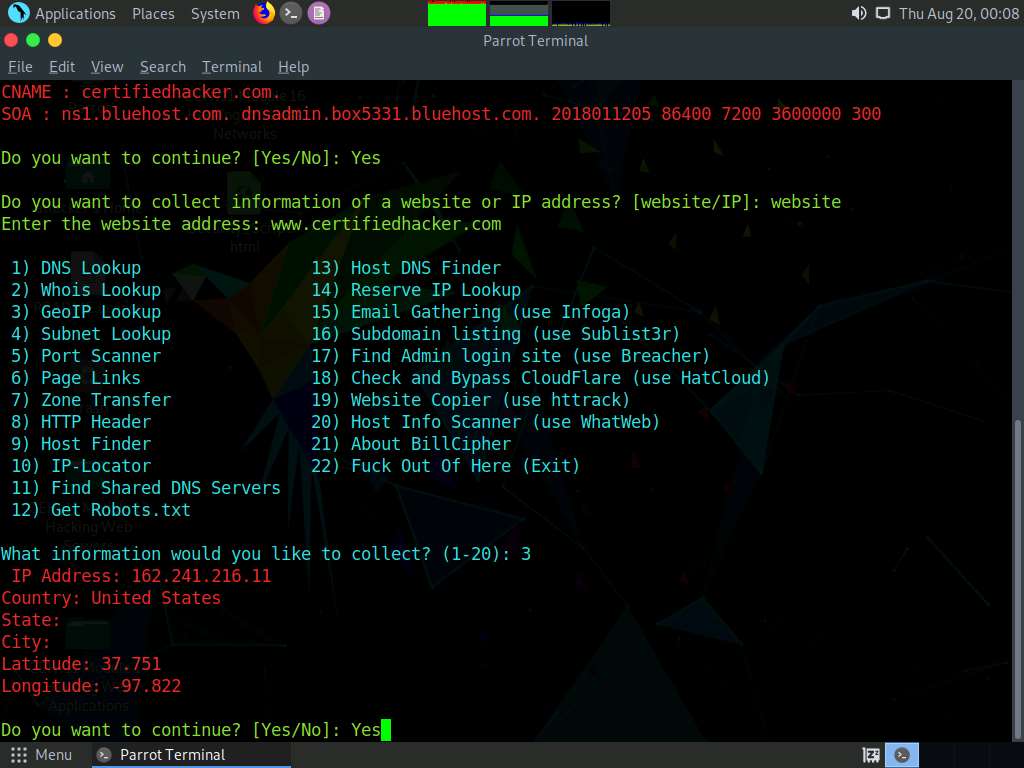
Now, type 3 and press Enter to choose the GeoIP Lookup option from the available information gathering options.
The result appears, displaying the GeoIP Lookup information of the target website, as shown in the screenshot.
In the Do you want to continue? option, type Yes and press Enter to continue.
Do you want to collect information of a website or IP address? option appears, type website and press Enter.
In the Enter the website address option, type the target website URL (here, www.certifiedhacker.com) and press Enter.
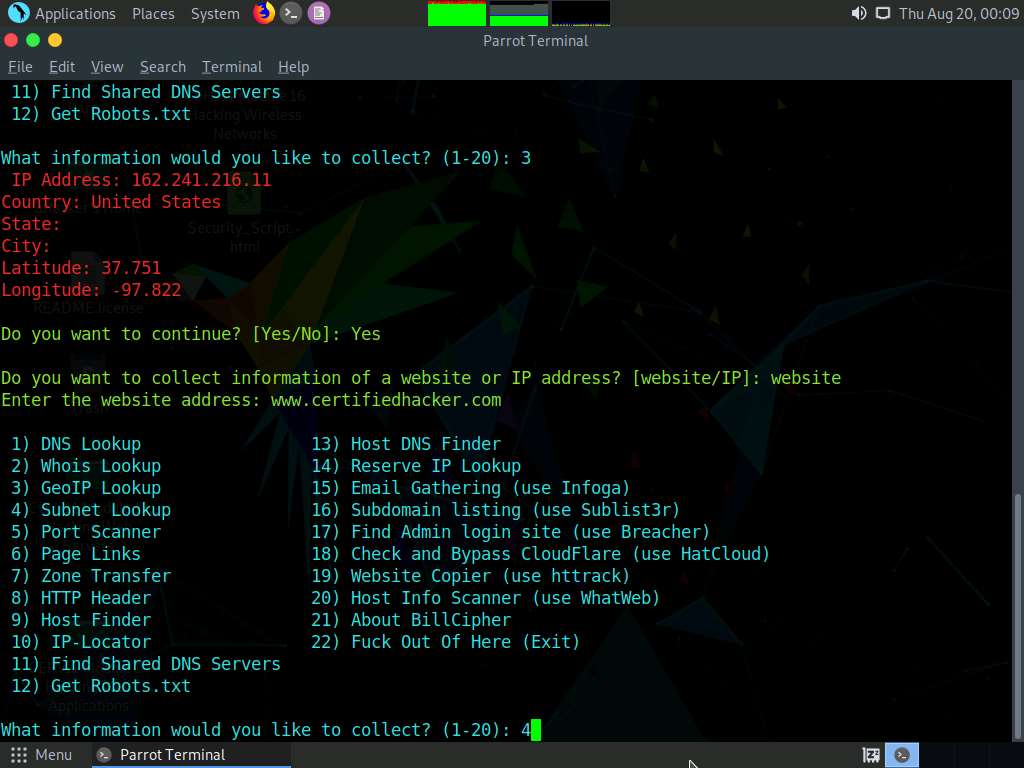
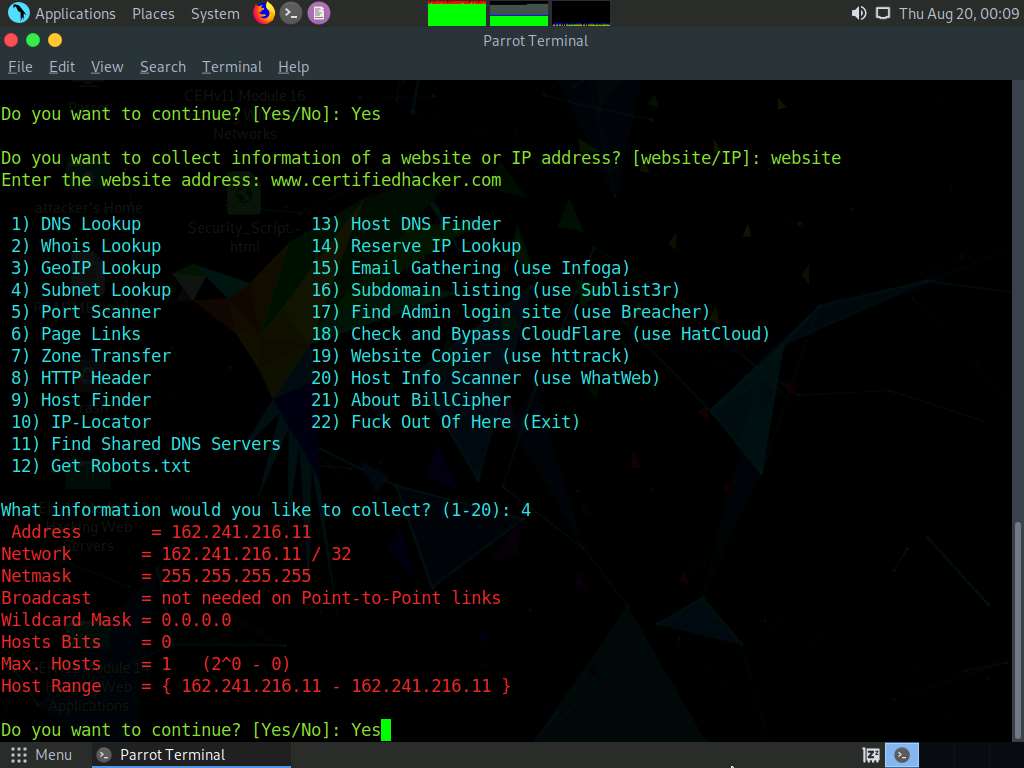
Now, type 4 and press Enter to choose the Subnet Lookup option from the available information gathering options.
The result appears, displaying the Subnet Lookup information of the target website.
In the Do you want to continue? option, type Yes and press Enter to continue.
Do you want to collect information of a website or IP address? option appears, type website and press Enter.
In the Enter the website address option, type the target website URL (here, www.certifiedhacker.com) and press Enter.
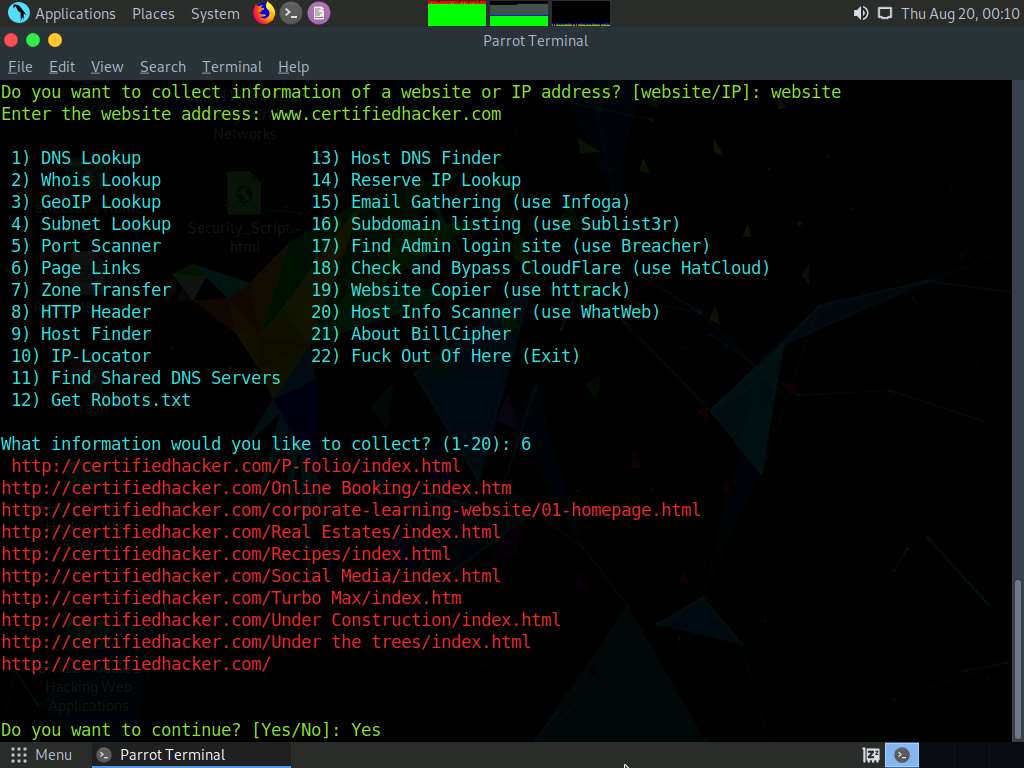
Now, type 6 and press Enter to choose the Page Links option from the available information gathering options.
The result appears, displaying a list of Visible links and Hidden links of the target website, as shown in the screenshot.
In the Do you want to continue? option, type Yes and press Enter to continue.
Do you want to collect information of a website or IP address? option appears, type website and press Enter.
In the Enter the website address option, type the target website URL (here, www.certifiedhacker.com) and press Enter.
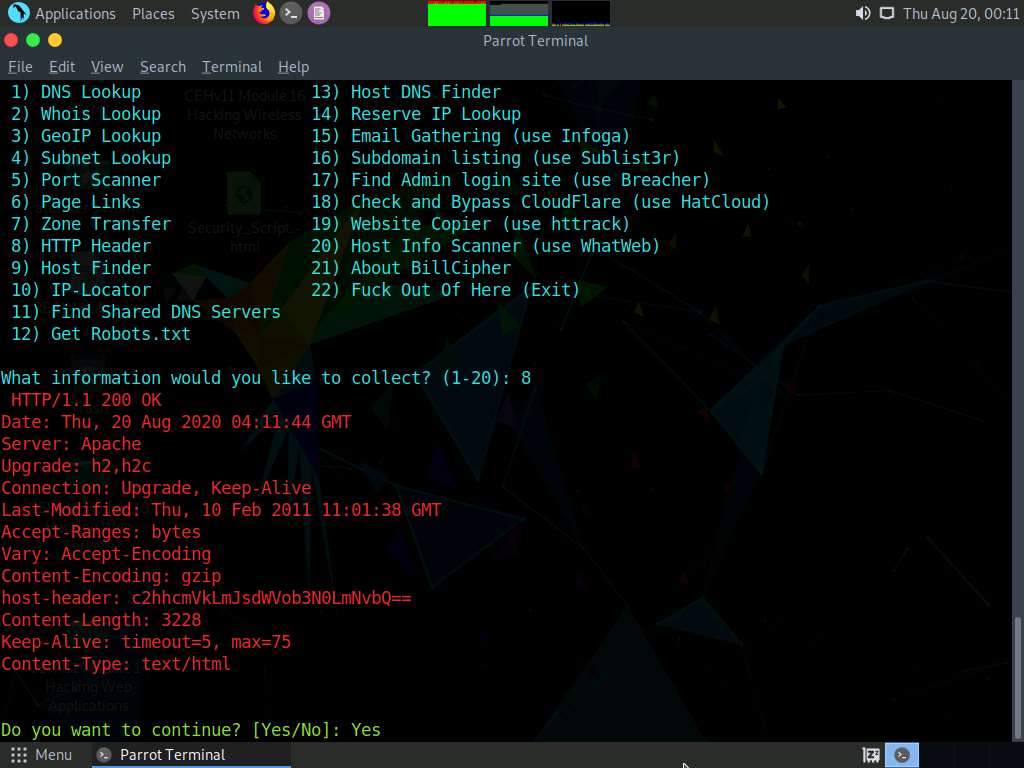
Now, type 8 and press Enter to choose the HTTP Header option from the available information gathering options.
The result appears, displaying information regarding the HTTP header of the target website, as shown in the screenshot.
In the Do you want to continue? option, type Yes and press Enter to continue.
Do you want to collect information of a website or IP address? option appears, type website and press Enter.
In the Enter the website address option, type the target website URL (here, www.certifiedhacker.com) and press Enter.
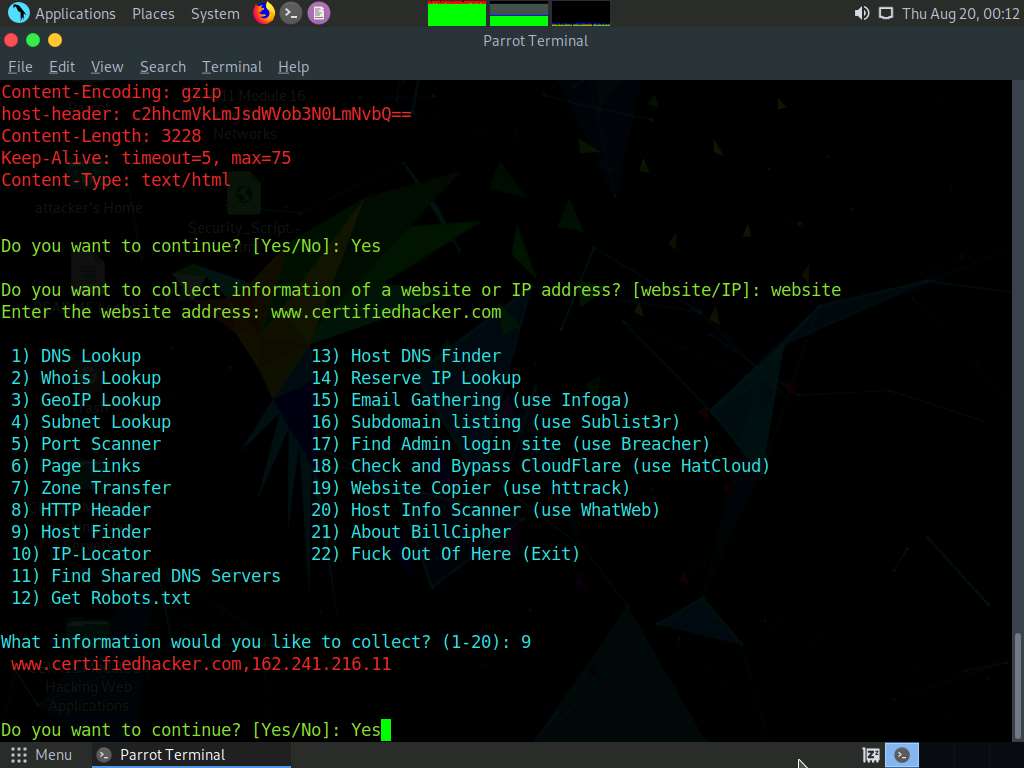
Now, type 9 and press Enter to choose Host Finder option from the available information gathering option.
The result appears, displaying information regarding the IP address of the target website, as shown in the screenshot.3
In the Do you want to continue? option, type Yes and press Enter to continue.
Do you want to collect information of a website or IP address? option appears, type website and press Enter.
In the Enter the website address option, type the target website URL (here, www.certifiedhacker.com) and press Enter.
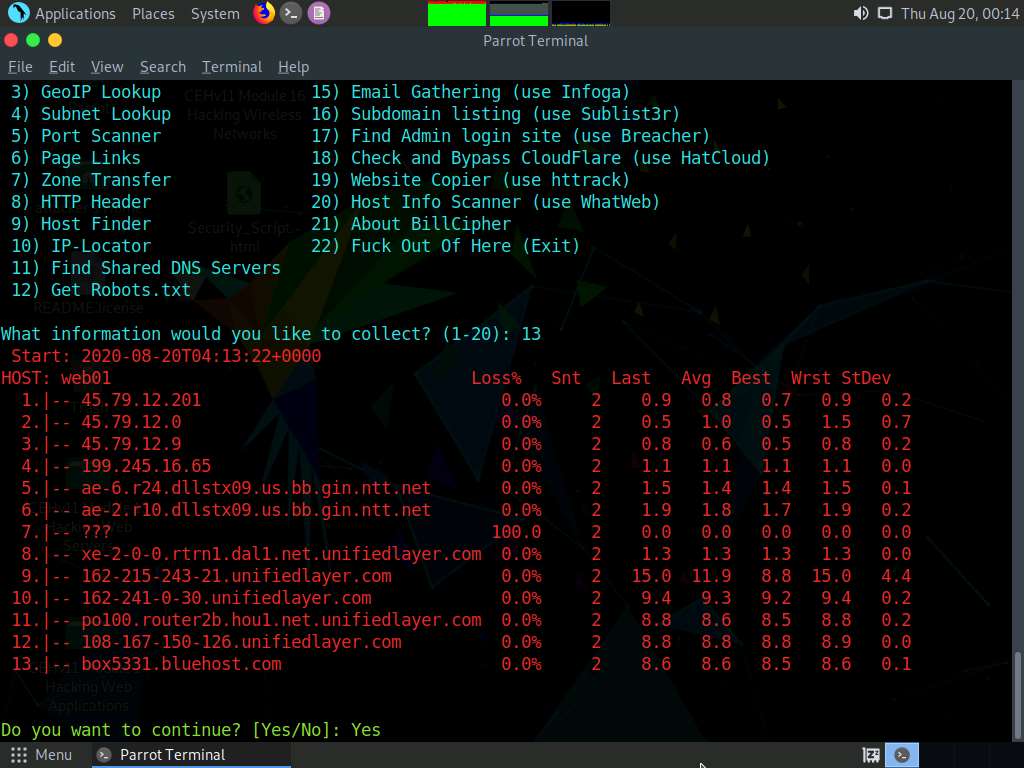
Now, type 13 and press Enter to choose Host DNS Finder option from the available information gathering options.
The result appears, displaying information regarding host DNS of the target website, as shown in the screenshot.
In the Do you want to continue? option, type Yes and press Enter to continue.
Do you want to collect information of a website or IP address? option appears, type website and press Enter.
In the Enter the website address option, type the target website URL (here, www.certifiedhacker.com) and press Enter.
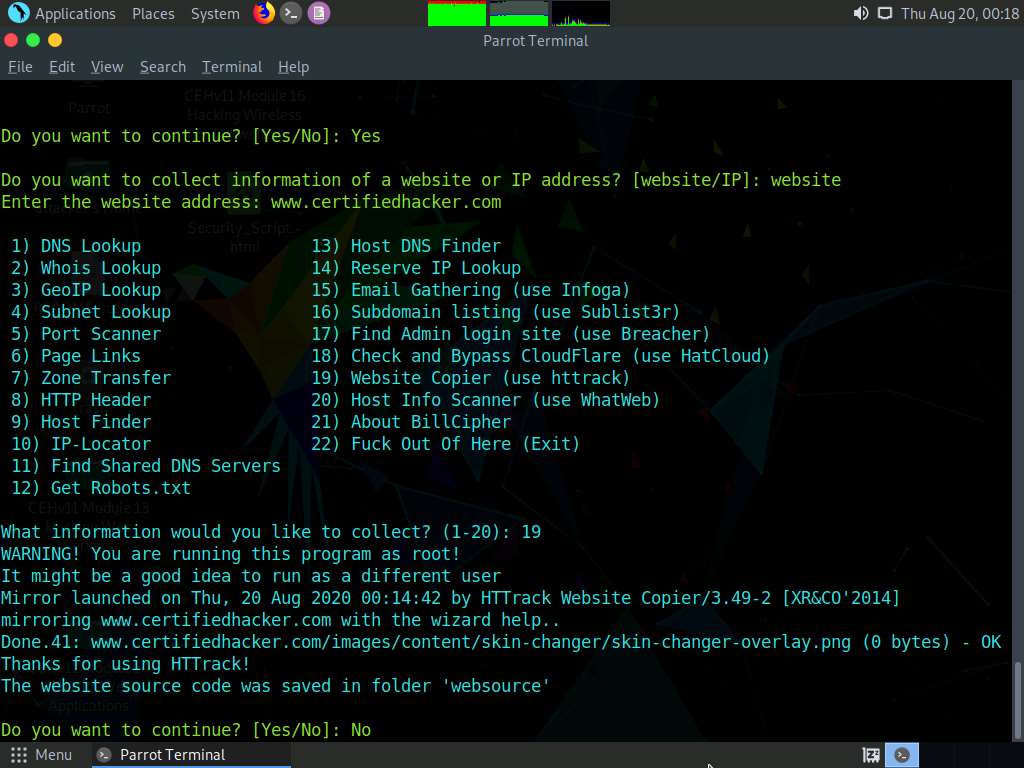
Now, type 19 and press Enter to choose the Website Copier (use httrack) option from the available information gathering options.
The tool starts mirroring the target website; this will take approximately 5 minutes.
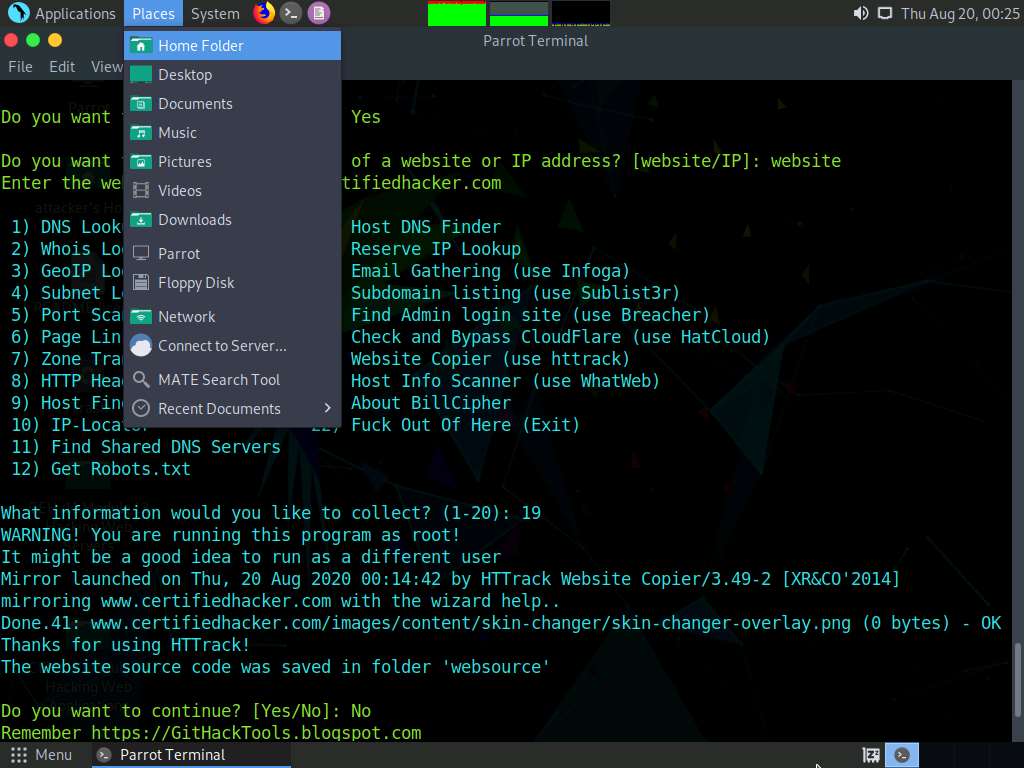
After completion of the mirroring process, the mirrored website gets saved in the folder websource, as shown in the screenshot.
In the Do you want to continue? option, type No and press Enter to exit BillCiper.
Now, click Places from the top section of the Desktop and click Home Folder from the context menu.
The attacker window appears, click File System from the left-pane and then double-click root from the right-pane.
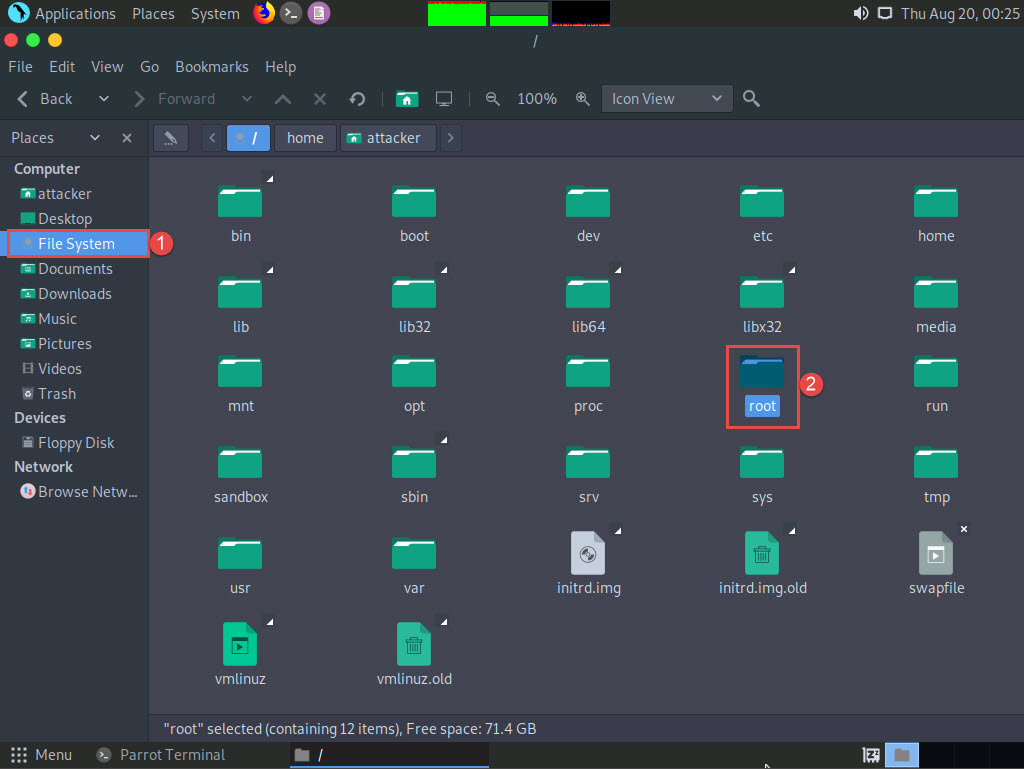
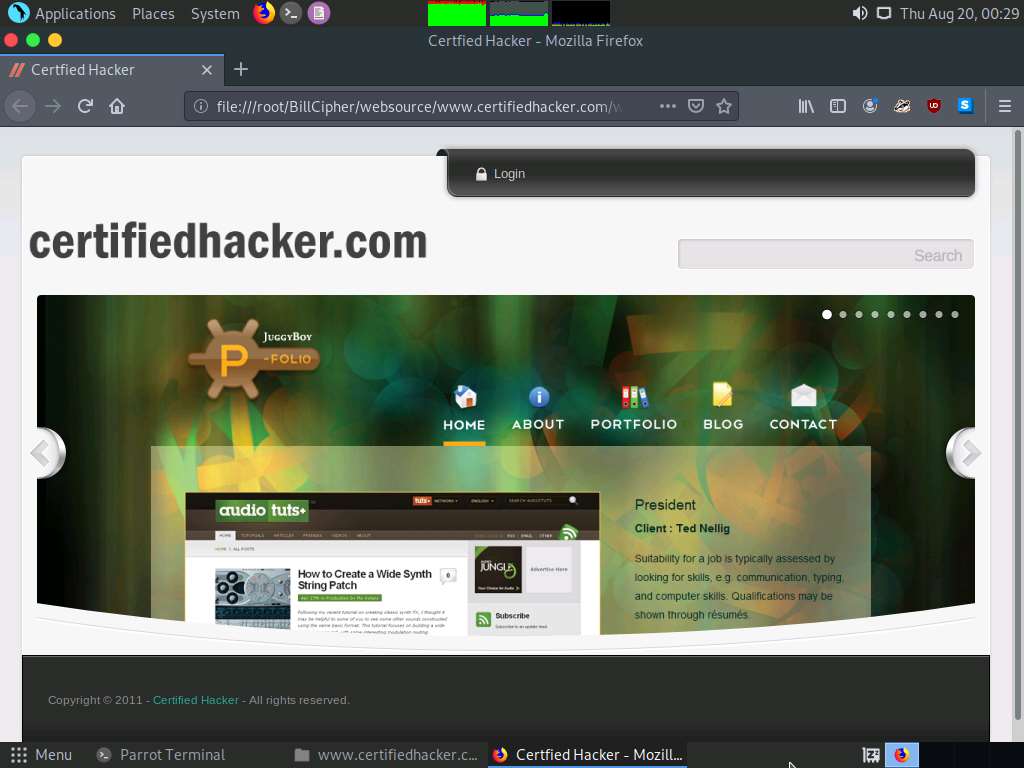
The root directory window appears; navigate to BillCipher --> websource --> www.certifiedhacker.com --> www.certifiedhacker.com. Right-click the index.html file and navigate to Open With --> Firefox to open the mirrored website.

The mirror target website (www.certifiedhacker.com) appears in the Mozilla Firefox browser, as shown in the screenshot.
Similarly, you can use other information gathering options to gather information about the target.
This concludes the demonstration of footprinting the target website URL using BillCipher.
You can also use footprinting tools such as Recon-Dog (https://www.github.com), Th3Inspector (https://github.com), Raccoon (https://github.com), Orb (https://github.com), etc. to gather additional information related to the target company.
Close all open windows and document all the acquired information.
Task 5: Footprinting a Target using OSINT Framework
OSINT Framework is an open source intelligence gathering framework that helps security professionals for performing automated footprinting and reconnaissance, OSINT research, and intelligence gathering. It is focused on gathering information from free tools or resources. This framework includes a simple web interface that lists various OSINT tools arranged by category and is shown as an OSINT tree structure on the web interface.
The OSINT Framework includes the following indicators with the available tools:
- (T) - Indicates a link to a tool that must be installed and run locally
- (D) - Google Dork
- (R) - Requires registration
- (M) - Indicates a URL that contains the search term and the URL itself must be edited manually
Here, we will use the OSINT Framework to explore footprinting categories and associated tools.
Click Windows 10 to switch to the Windows 10 machine.
Open any web browser (here, Mozilla Firefox). In the address bar of the browser place your mouse cursor, click https://osintframework.com/ and press Enter.
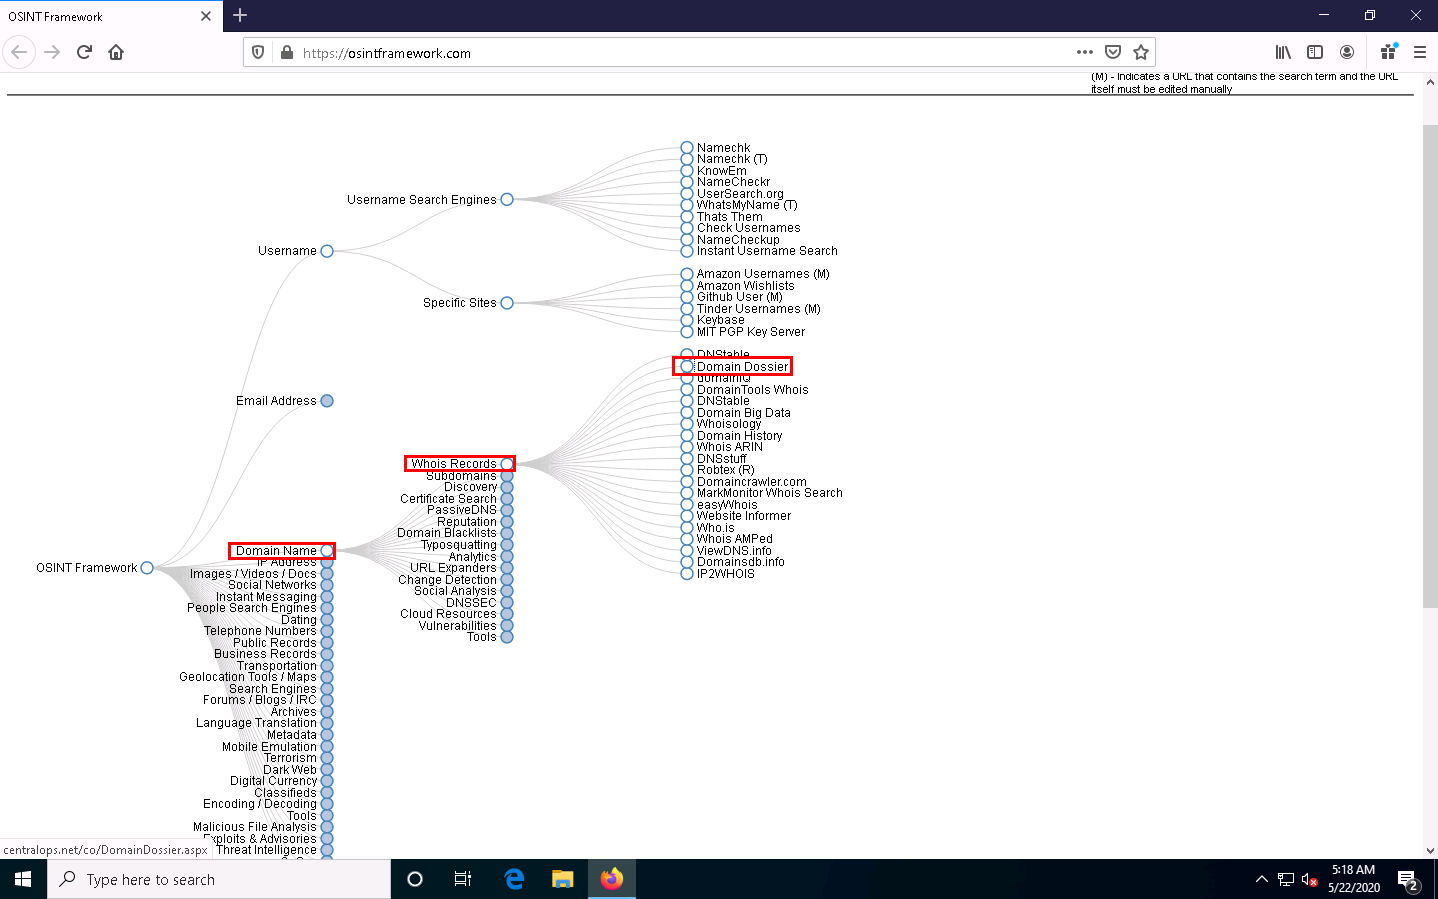
OSINT Framework website appears; you can observe the OSINT tree on the left side of screen, as shown in the screenshot.
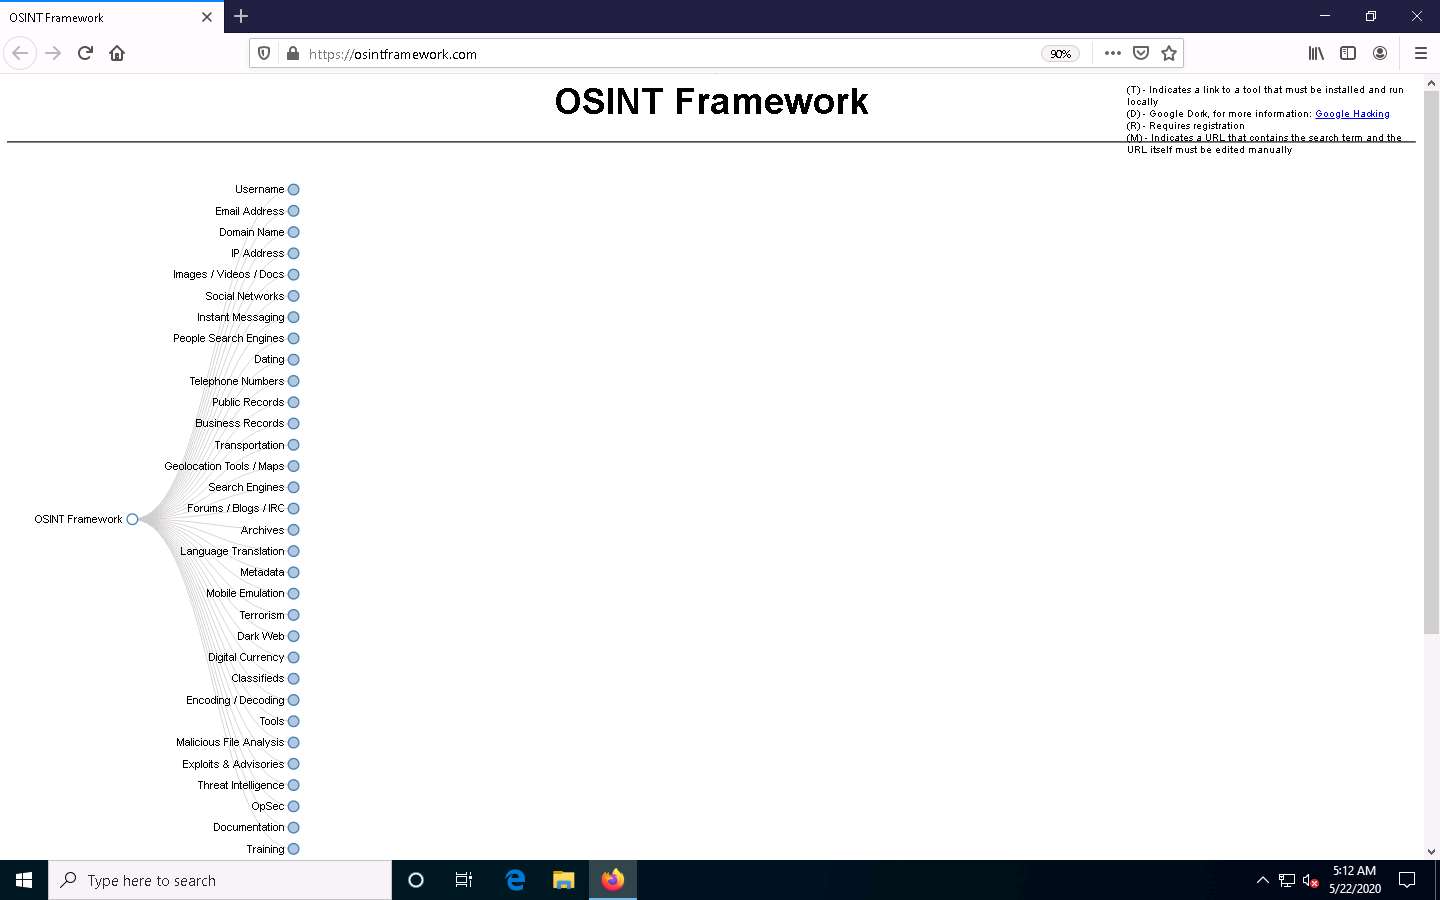
Clicking on any of the categories such as Username, Email Address, or Domain Name will make many useful resources appear on the screen in the form of a sub-tree.
Click the Username category and click to expand the Username Search Engines and Specific Sites sub-categories.
You can observe a list of OSINT tools filtered by sub-categories (Username Search Engines and Specific Sites sub-categories).

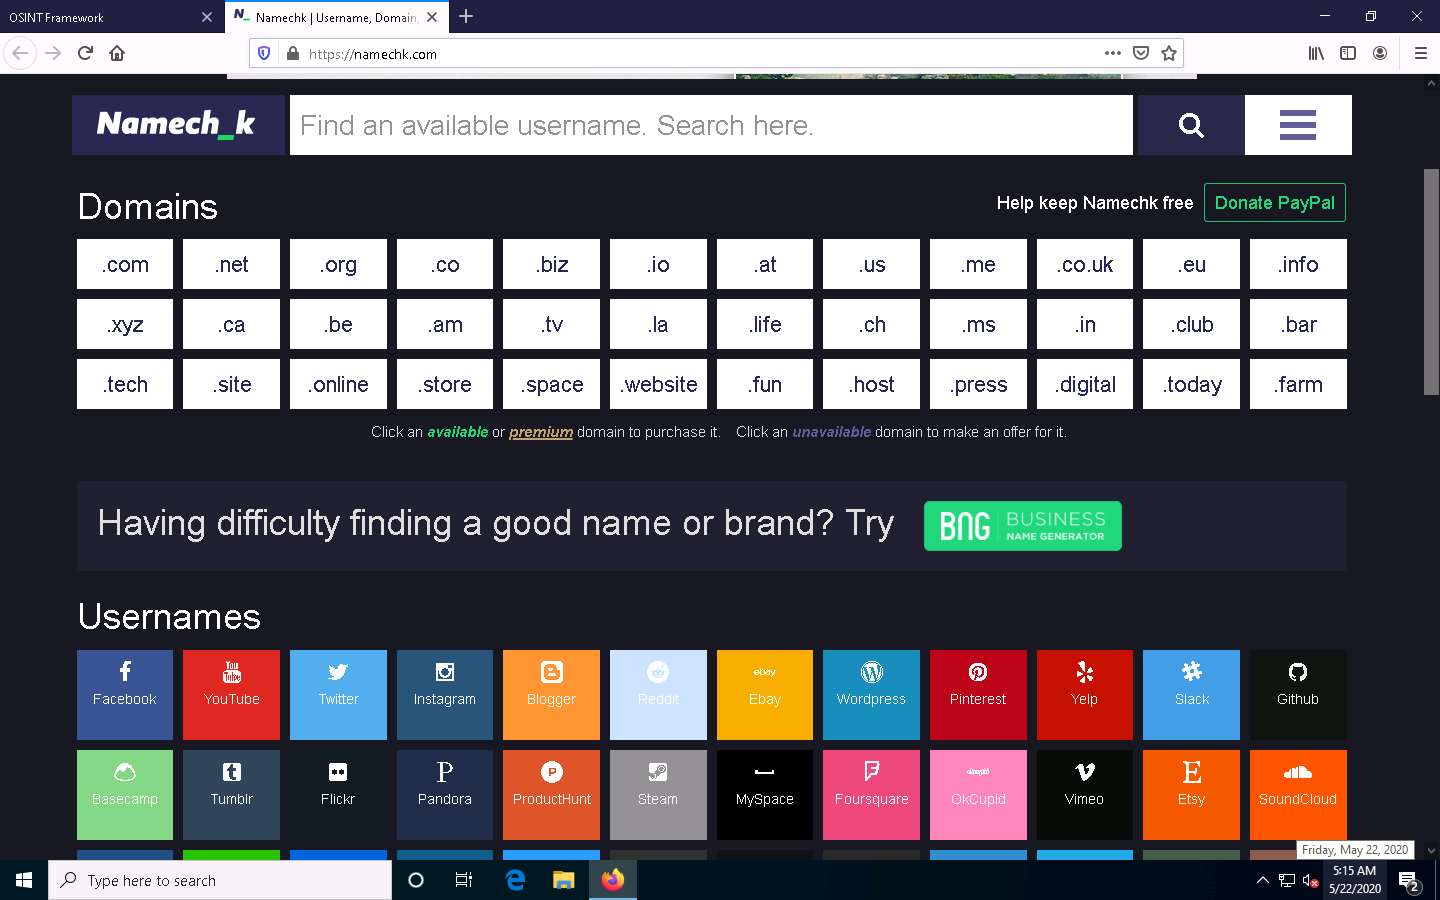
From the list of available tools under the Username Search Engines category, click on the Namechk tool to navigate to the Namechk website.
If a cookie notification appears at the lower section of the window, click Got it! and close the ads appearing on the screen.
The Namechk website appears, as shown in the screenshot.
Namechk is used to see if your desired username or vanity URL is still available at dozens of popular social networking and social bookmarking websites. You can also find the best username with Namechk.
Close the current tab to navigate back to the OSINT Framework webpage.
Similarly, you can explore other tools from the list of mentioned tools under the Username Search Engines and Specific Sites sub-categories.
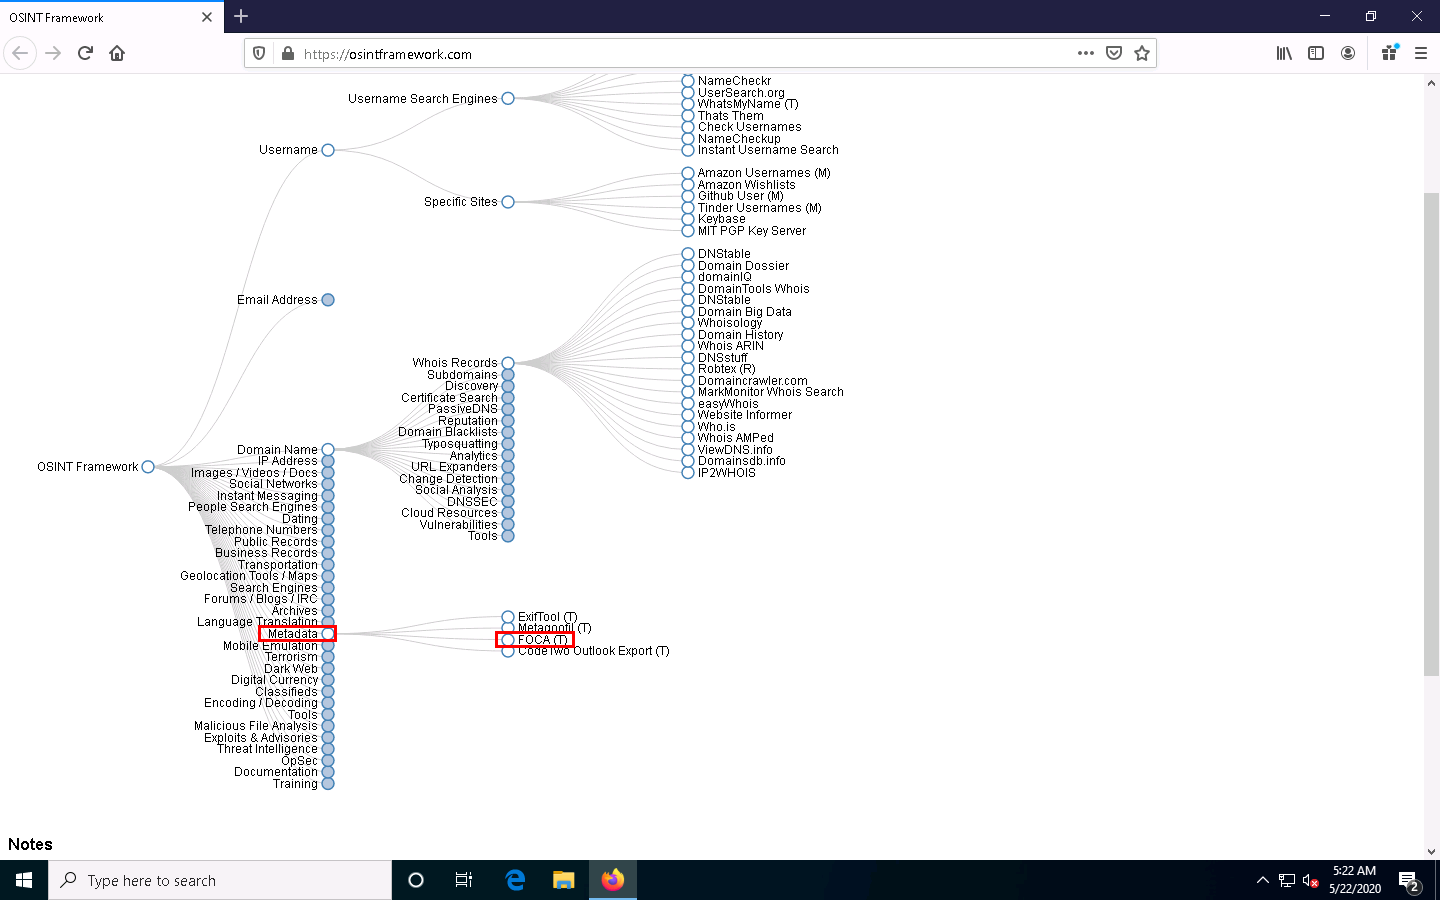
Now, click the Domain Name category, and its sub-categories appear. Click to expand the Whois Records sub-category.
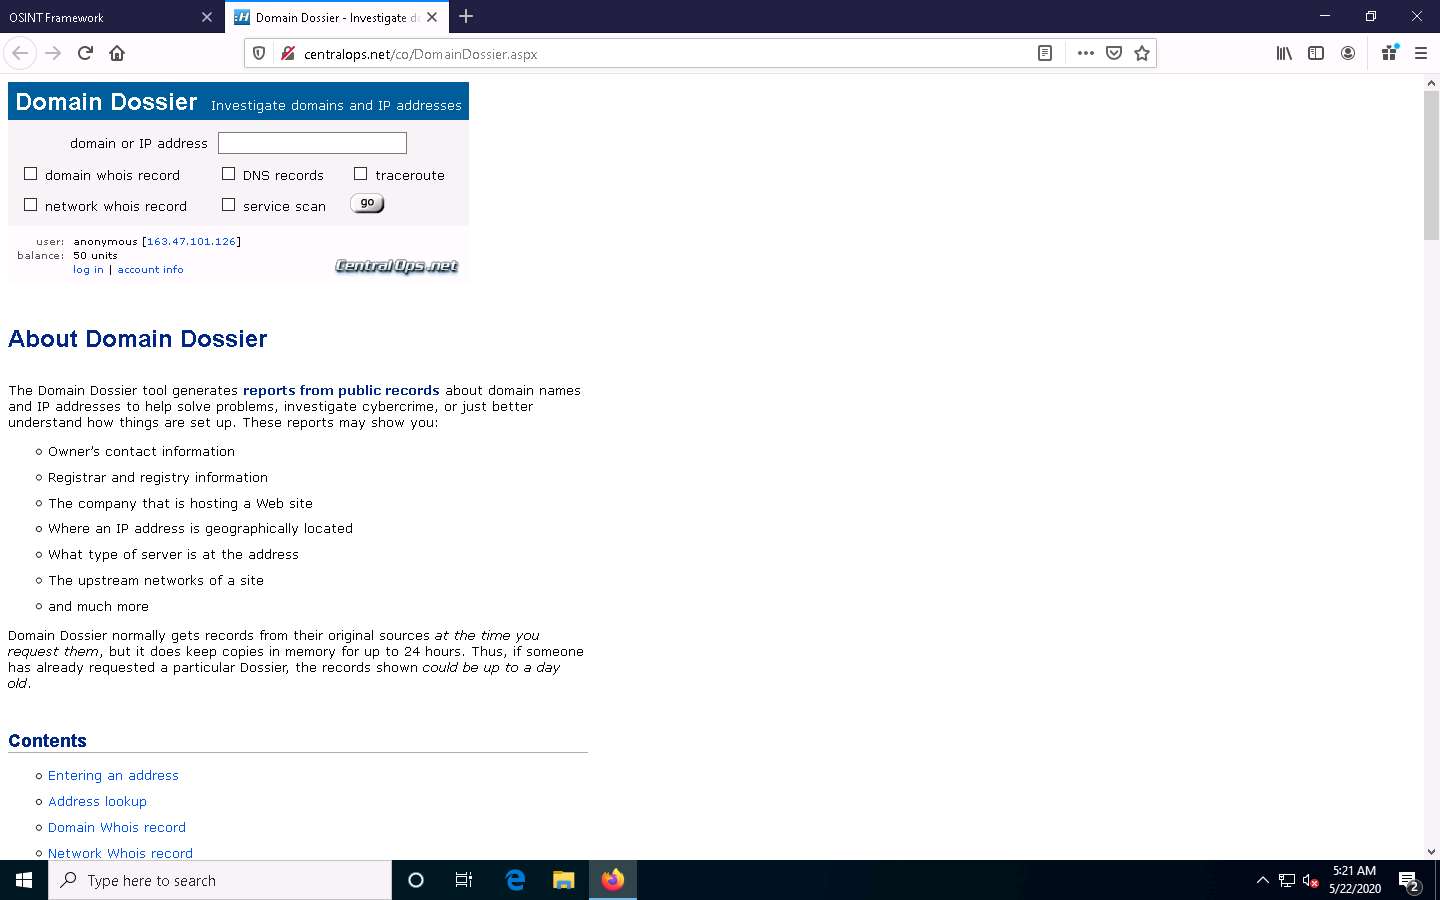
A list of tools under the Whois Records sub-category appears; click the Domain Dossier tool.
The Domain Dossier website appears, as shown in the screenshot.
The Domain Dossier tool generates reports from public records about domain names and IP addresses to help solve problems, investigate cybercrime, or just to better understand how things are set up.
Close the current tab to navigate back to the OSINT Framework webpage.
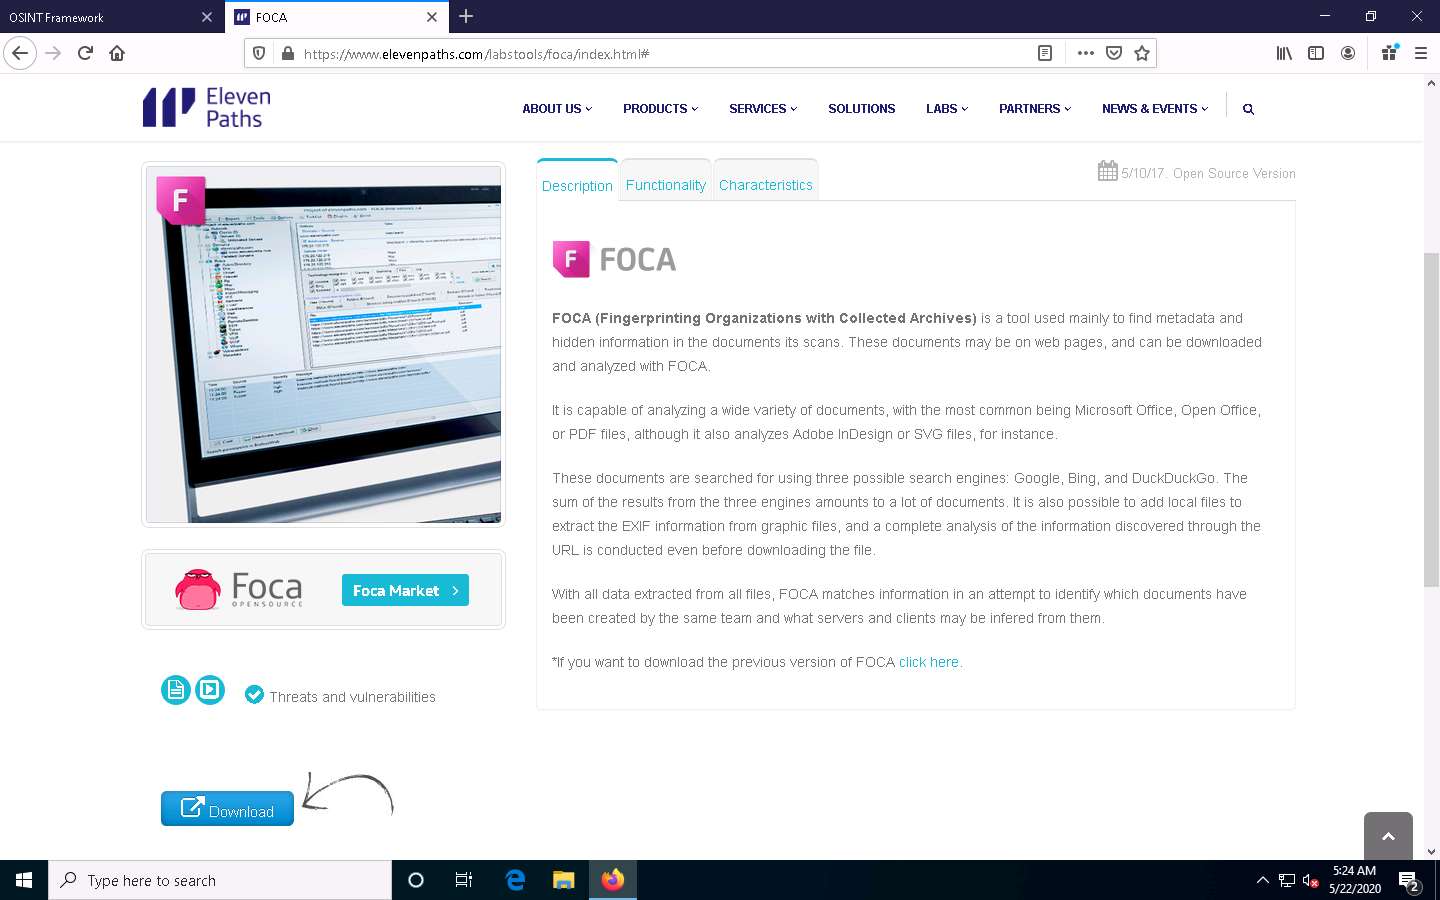
Now, click the Metadata category and click the FOCA tool from a list of available tools.
The FOCA website appears, displaying information about the tool along with its download link, as shown in the screenshot.
Similarly, you can explore other available categories such as Email Address, IP Address, Social Networks, Instant Messaging, etc. and the tools associated with each category. Using these tools, you can perform footprinting on the target organization.
This concludes the demonstration of performing footprinting using the OSINT Framework.
Close all open windows and document all the acquired information.


Comments
Post a Comment