Lab 6: Perform RPC, SMB, and FTP Enumeration
Lab 6: Perform RPC, SMB, and FTP Enumeration
Module 04: Enumeration
Lab 6: Perform RPC, SMB, and FTP Enumeration
Task 2: Perform RPC, SMB, and FTP Enumeration using Nmap
lab first few steps is making the ftp server so for test you can probably skip all this
open terminal
sudo su
cd
nmap -p 21 10.10.10.19
port 21 is open and the FTP service is running
nmap -T4 -A 10.10.10.19
scan might take 3-5 min
The scan result appears, displaying that port 80 is open
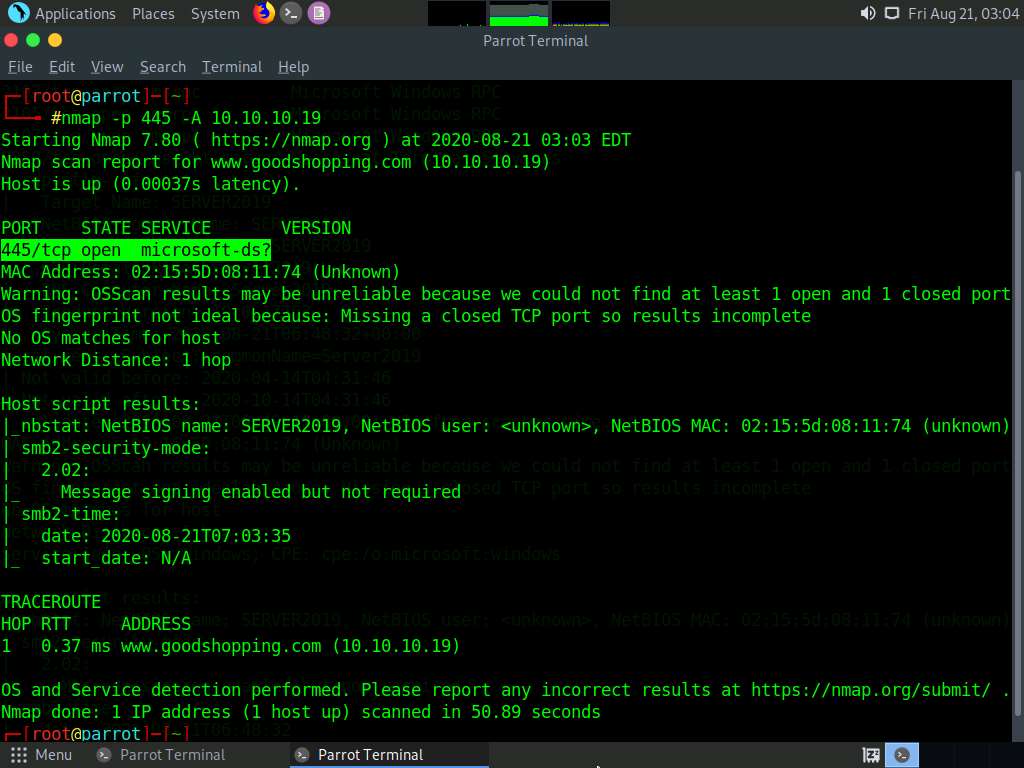
nmap -p 445 -A 10.10.10.19
displaying that port 445 is open, and giving detailed information under the Host script results section about the running SMB
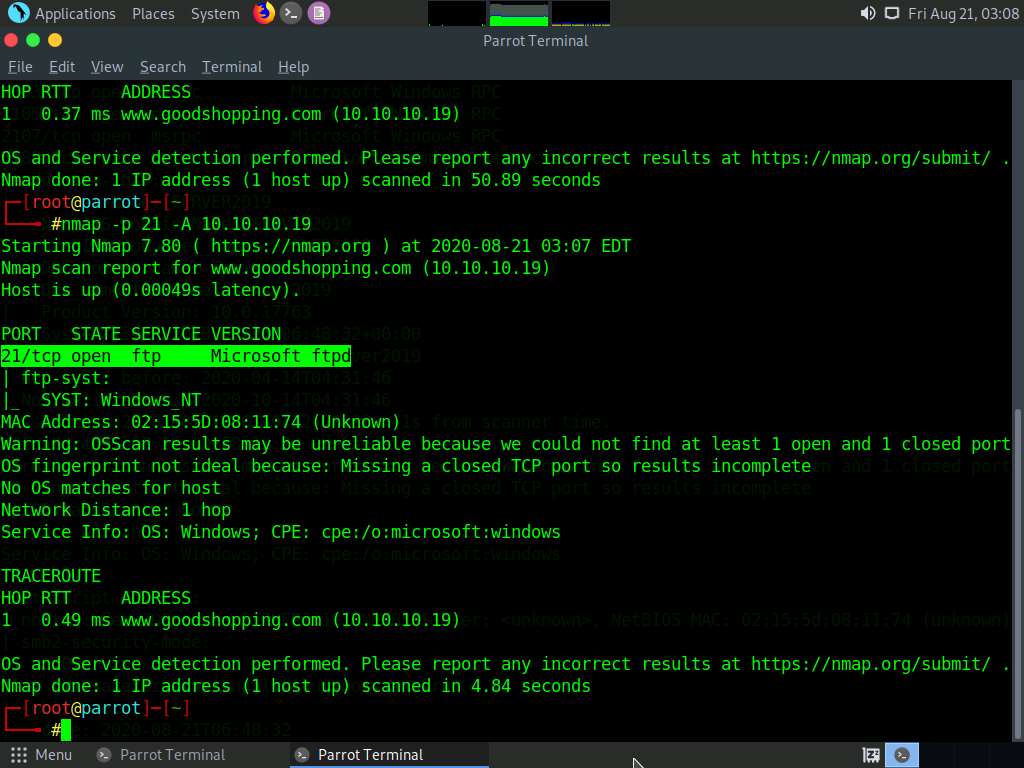
nmap -p 21 -A 10.10.10.19
scan result appears, displaying that port 21 is open, and giving traceroute information
done
Lab Scenario
As an ethical hacker or penetration tester, you should use different enumeration techniques to obtain as much information as possible about the systems in the target network. This lab will demonstrate various techniques for extracting detailed information that can be used to exploit underlying vulnerabilities in target systems, and to launch further attacks.
Lab Objectives
- Perform RPC and SMB enumeration using NetScanTools Pro
- Perform RPC, SMB, and FTP enumeration using Nmap
Overview of Other Enumeration Techniques
Besides the methods of enumeration covered so far (NetBIOS, SNMP, LDAP, NFS, and DNS), various other techniques such as RPC, SMB, and FTP enumeration can be used to extract detailed network information about the target.
- RPC Enumeration: Enumerating RPC endpoints enables vulnerable services on these service ports to be identified
- SMB Enumeration: Enumerating SMB services enables banner grabbing, which obtains information such as OS details and versions of services running
- FTP Enumeration: Enumerating FTP services yields information about port 21 and any running FTP services; this information can be used to launch various attacks such as FTP bounce, FTP brute force, and packet sniffing
Task 1: Perform RPC and SMB Enumeration using NetScanTools Pro
NetScanTools Pro is an integrated collection of Internet information-gathering and network-troubleshooting utilities for network professionals. The utility makes it easy to find IPv4/IPv6 addresses, hostnames, domain names, email addresses, and URLs related to the target system.
It also captures the RPC information of the target network and enables detection of and access to the Portmapper daemon/service, which typically runs on port 111 on the target machine.
Here, we will use the NetScanTools Pro tool to perform RPC and SMB enumeration.
Click Windows 10 to switch to the Windows 10 machine.
Double-click the NetScanTools Pro Demo icon from Desktop to launch the tool.
If the Reminder window opens, click Start the DEMO, and in the DEMO Version window, click Start NetScanTools Pro Demo….
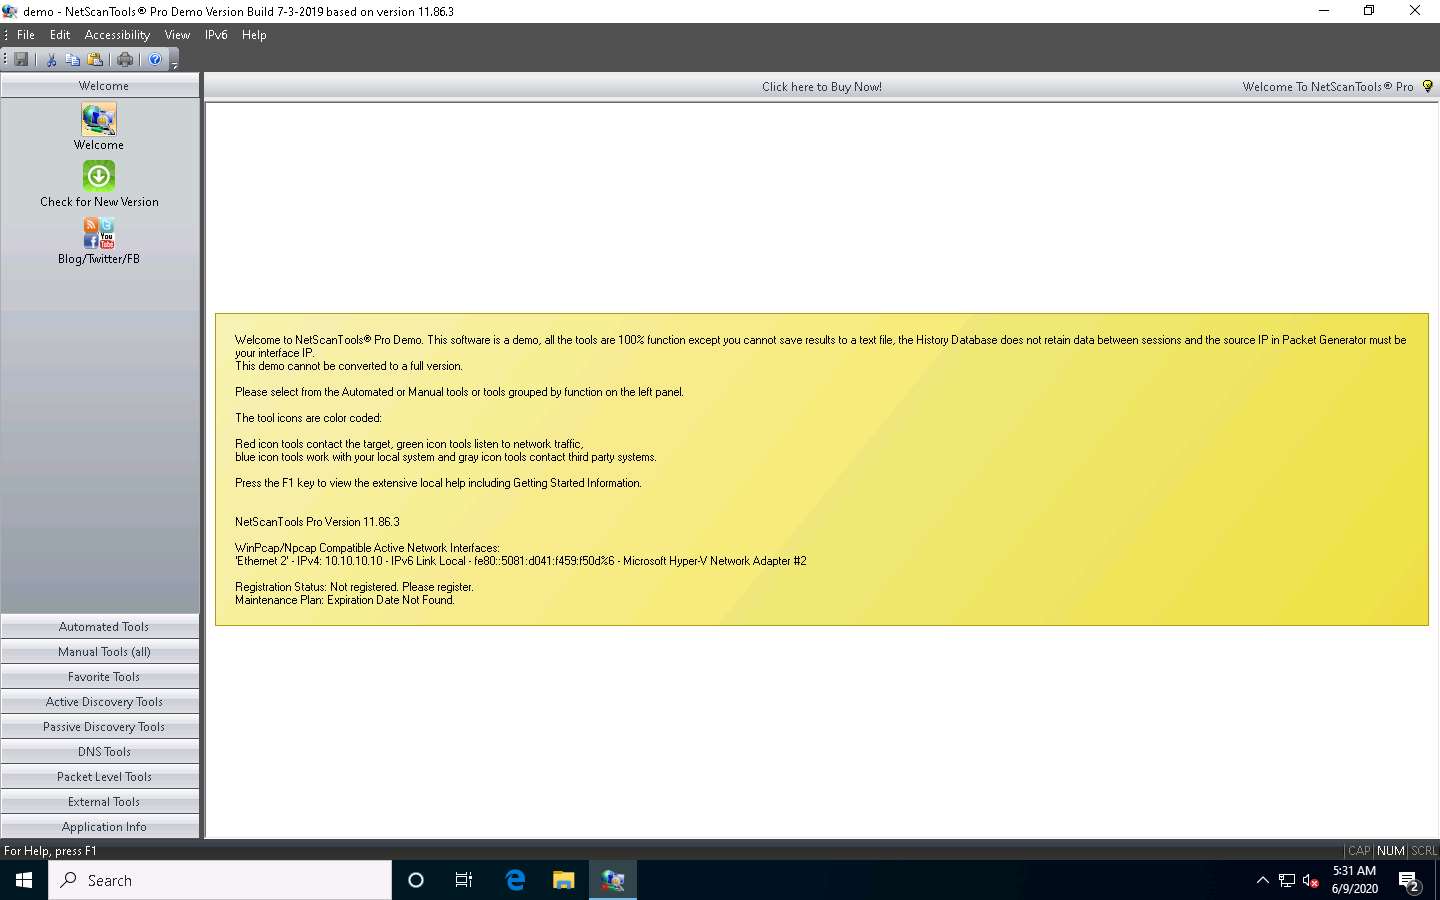
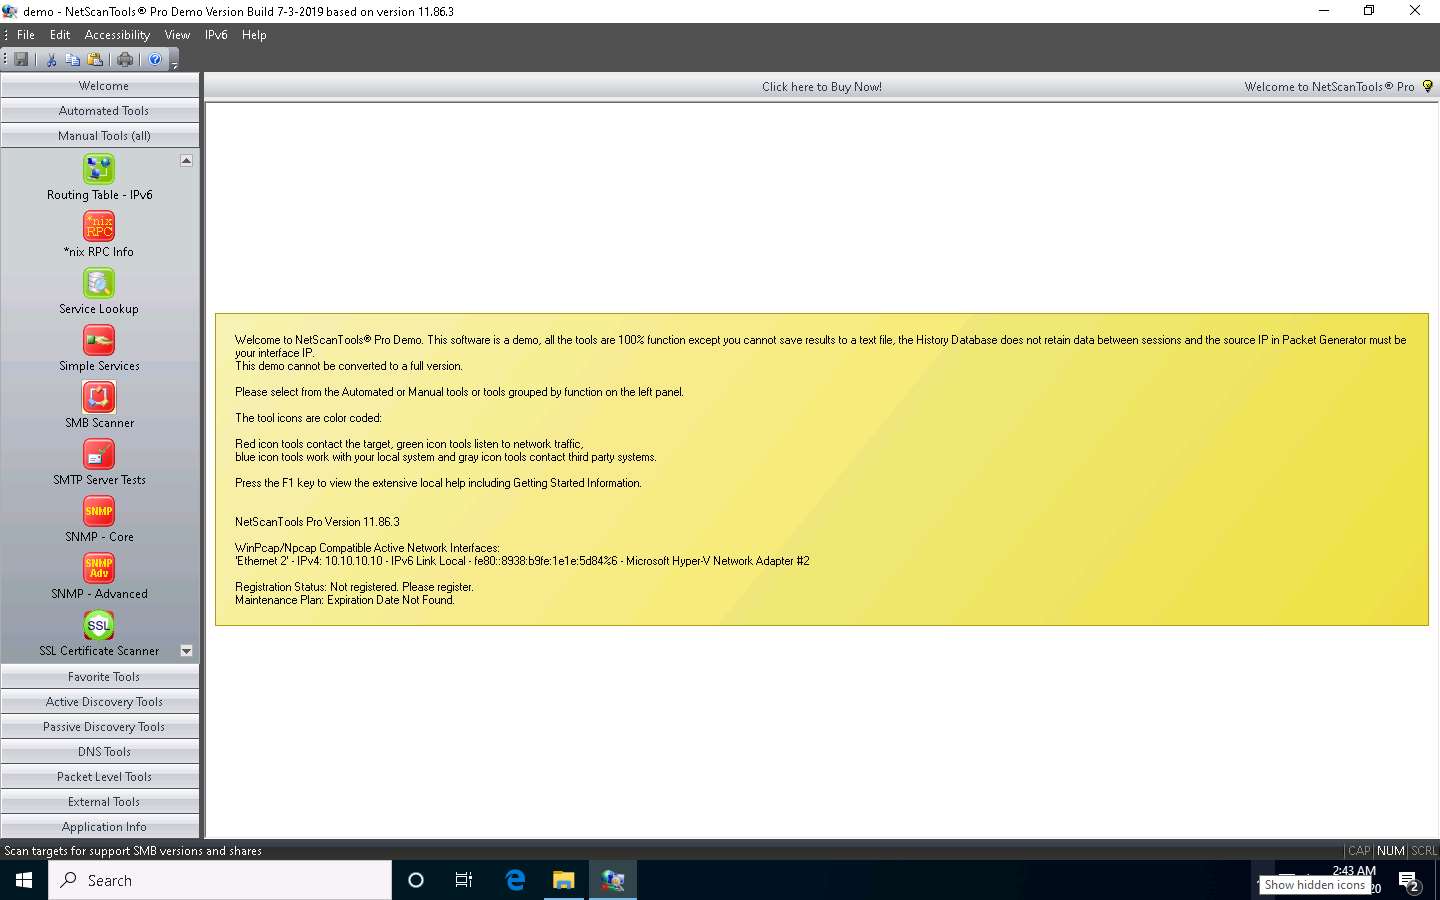
The NetScanTools Pro main window appears, as shown in the screenshot.
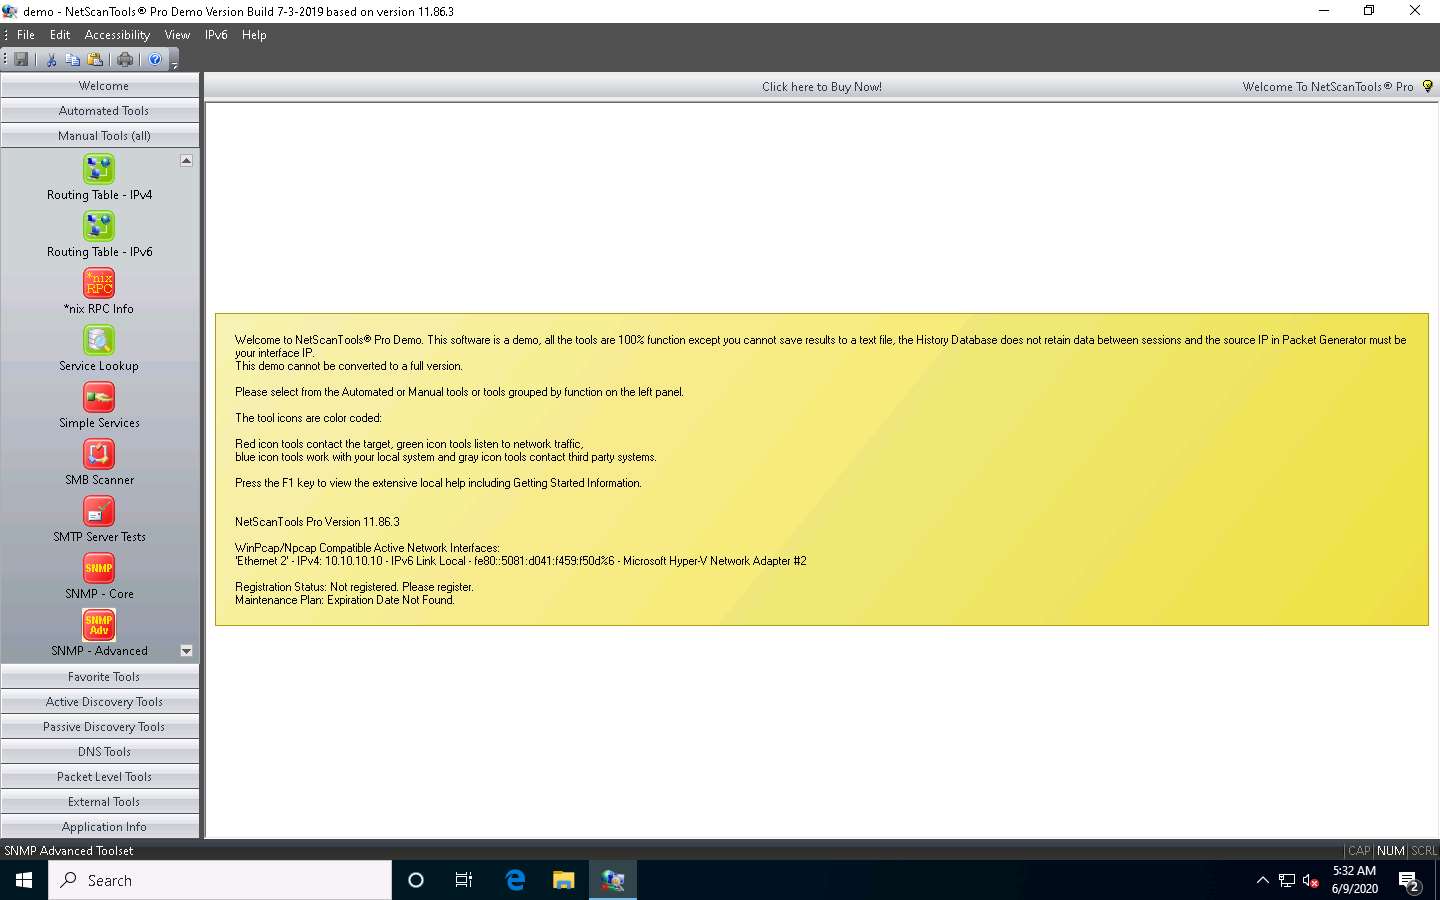
In the left pane, under Manual Tools (all), scroll down and click *nix RPC Info, as shown in the screenshot.
If a dialog box appears explaining the tool, click OK.
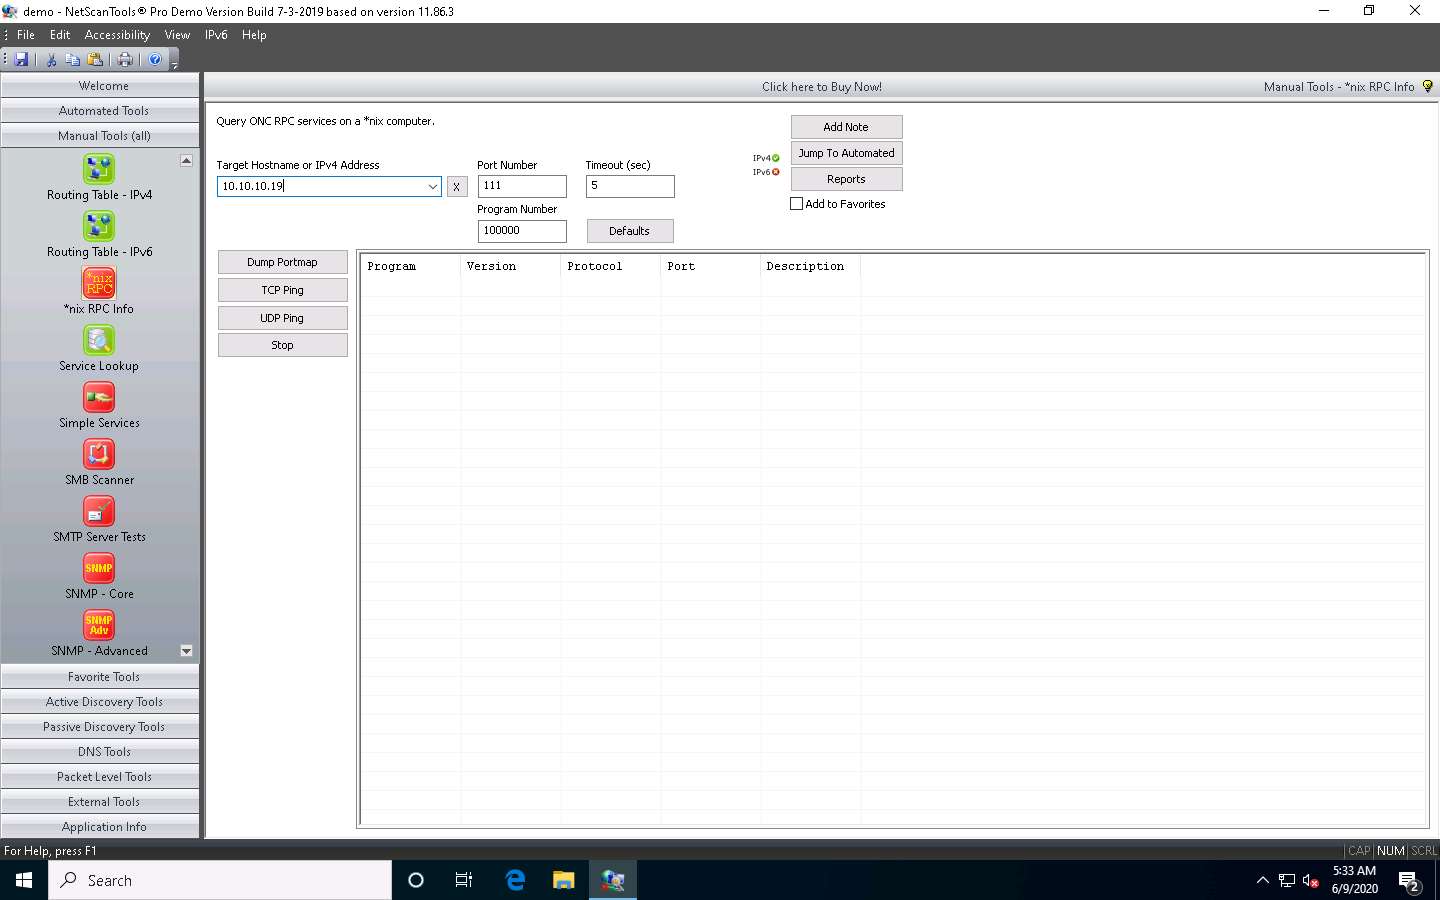
In the Target Hostname or IPv4 Address field in the right pane, enter the target IP address (in this case, 10.10.10.19) and click the Dump Portmap button to start RPC enumeration.
In this example, we are targeting the Windows Server 2019 machine. The target IP address might differ in your lab environment.
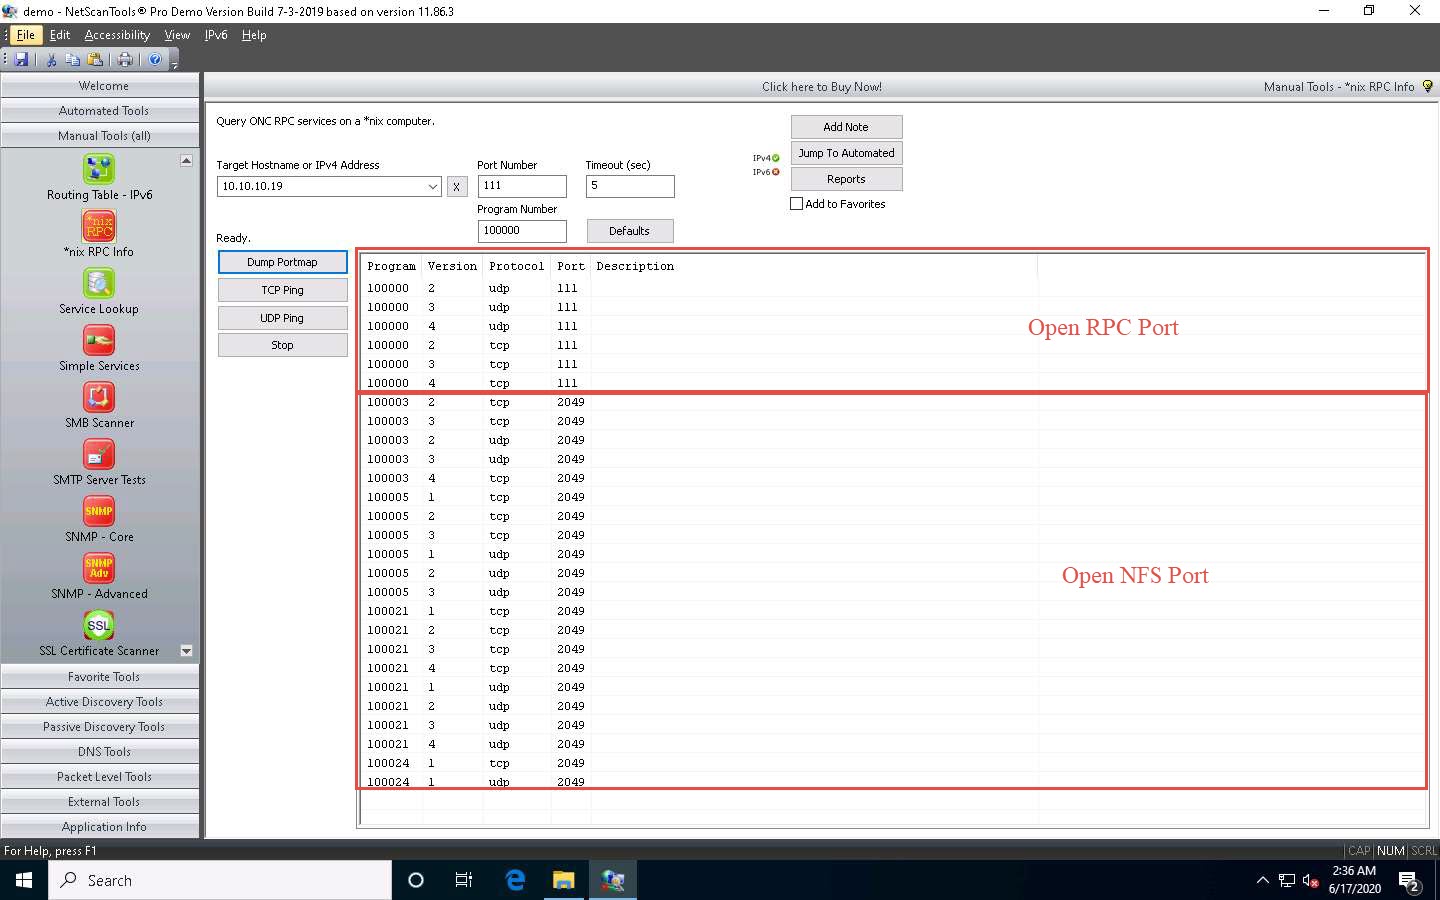
The result appears, displaying the enumerated Program ID, Version, Protocol, and Port of the target system.
Dump Portmap scans and retrieves a list of all running registered daemons (programs that run as background processes) on the target system.
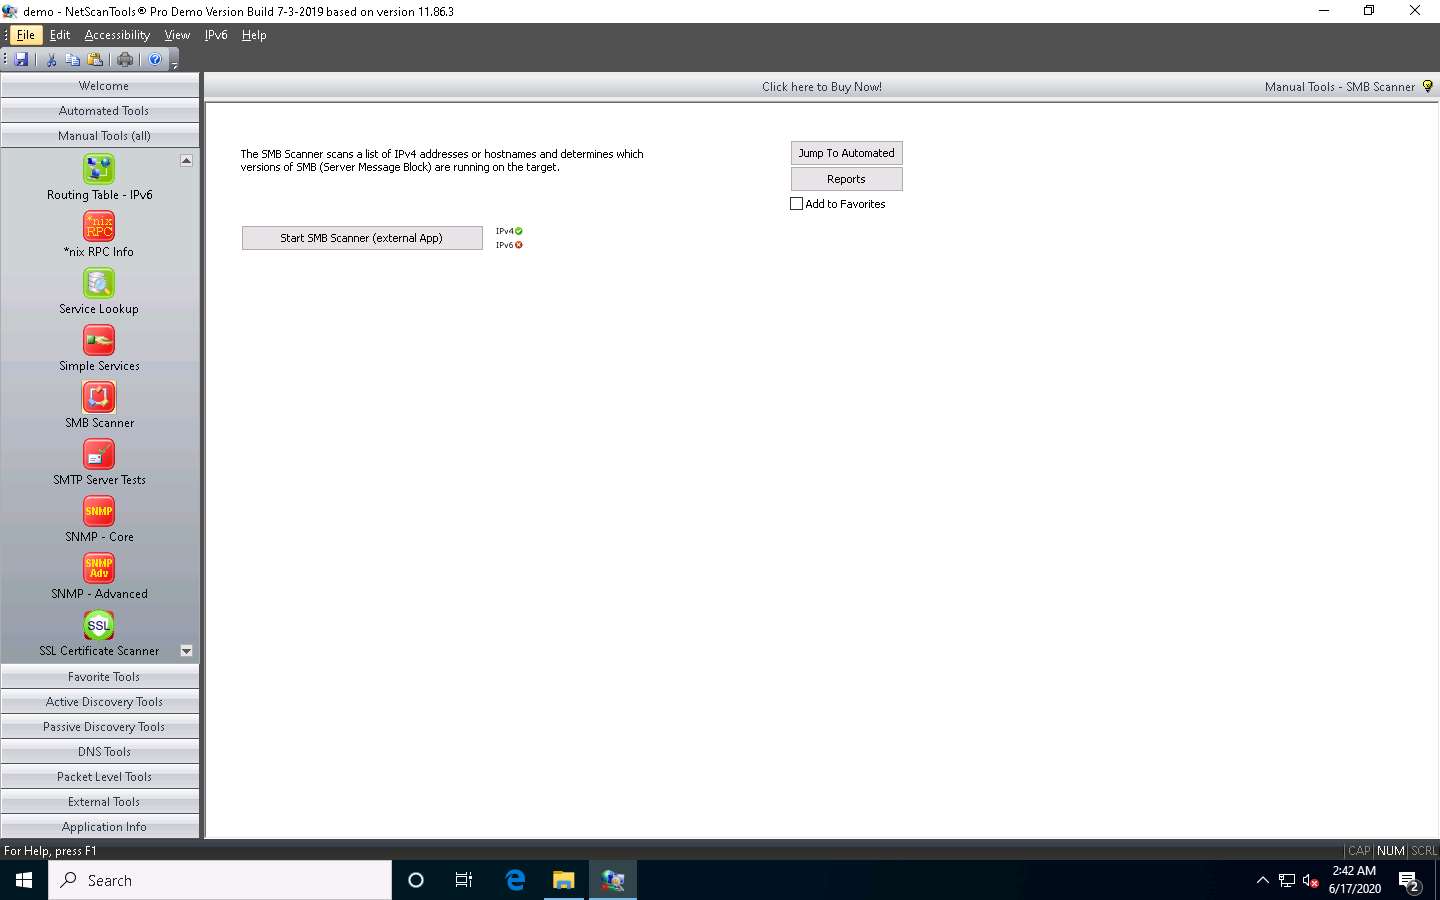
In the left pane, under the Manual Tools (all) section, scroll down and click the SMB Scanner option, as shown in the screenshot.
If a dialog box appears explaining the tool, click OK.
In the right pane, click the Start SMB Scanner (external App) button.
If the Demo Version Message pop-up appears, click OK. In the Reminder window, click Start the DEMO.
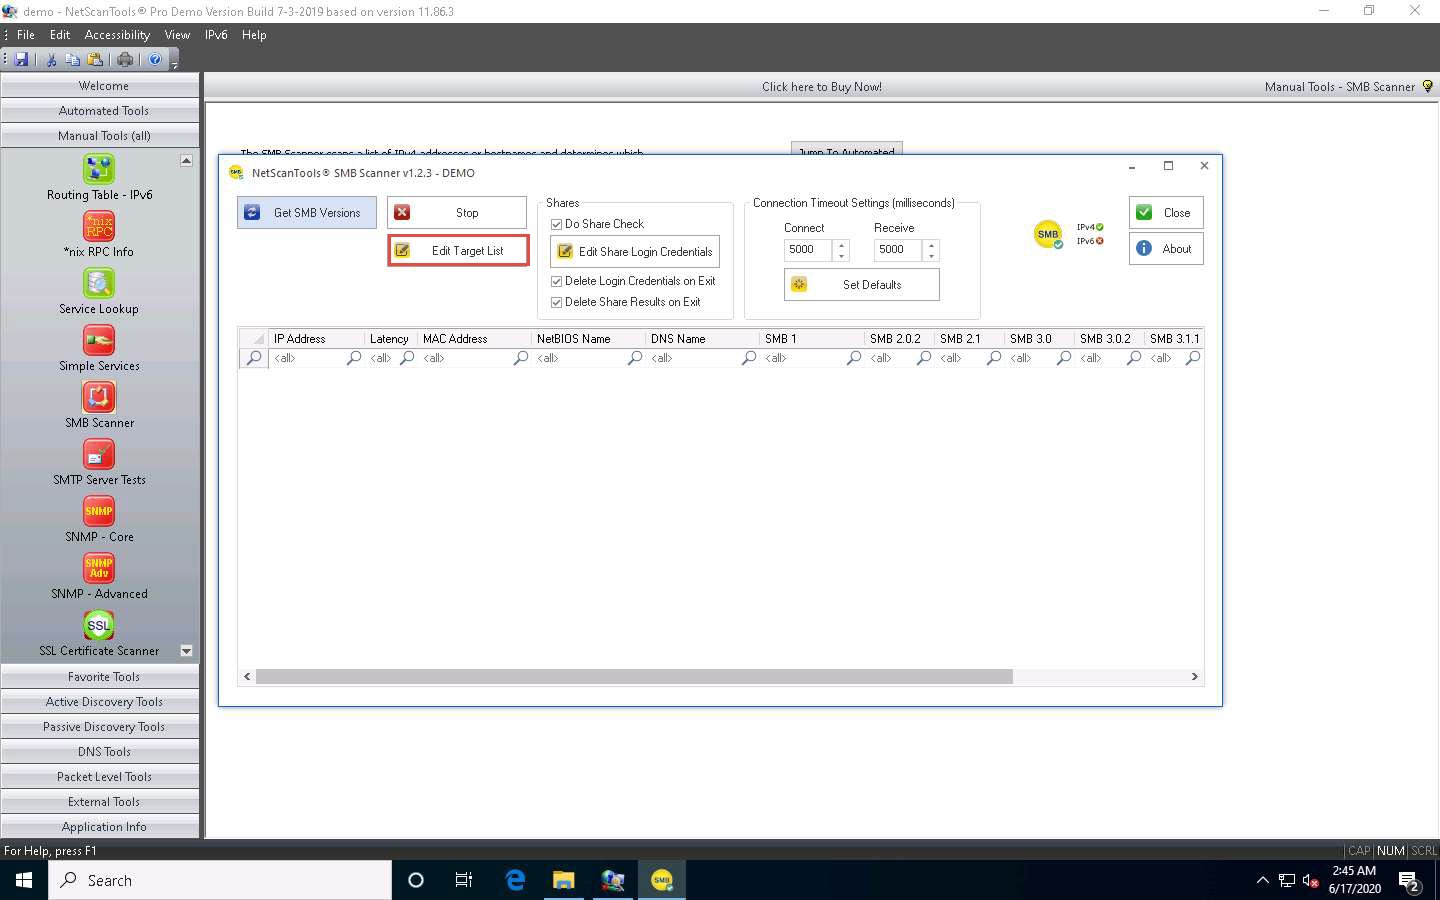
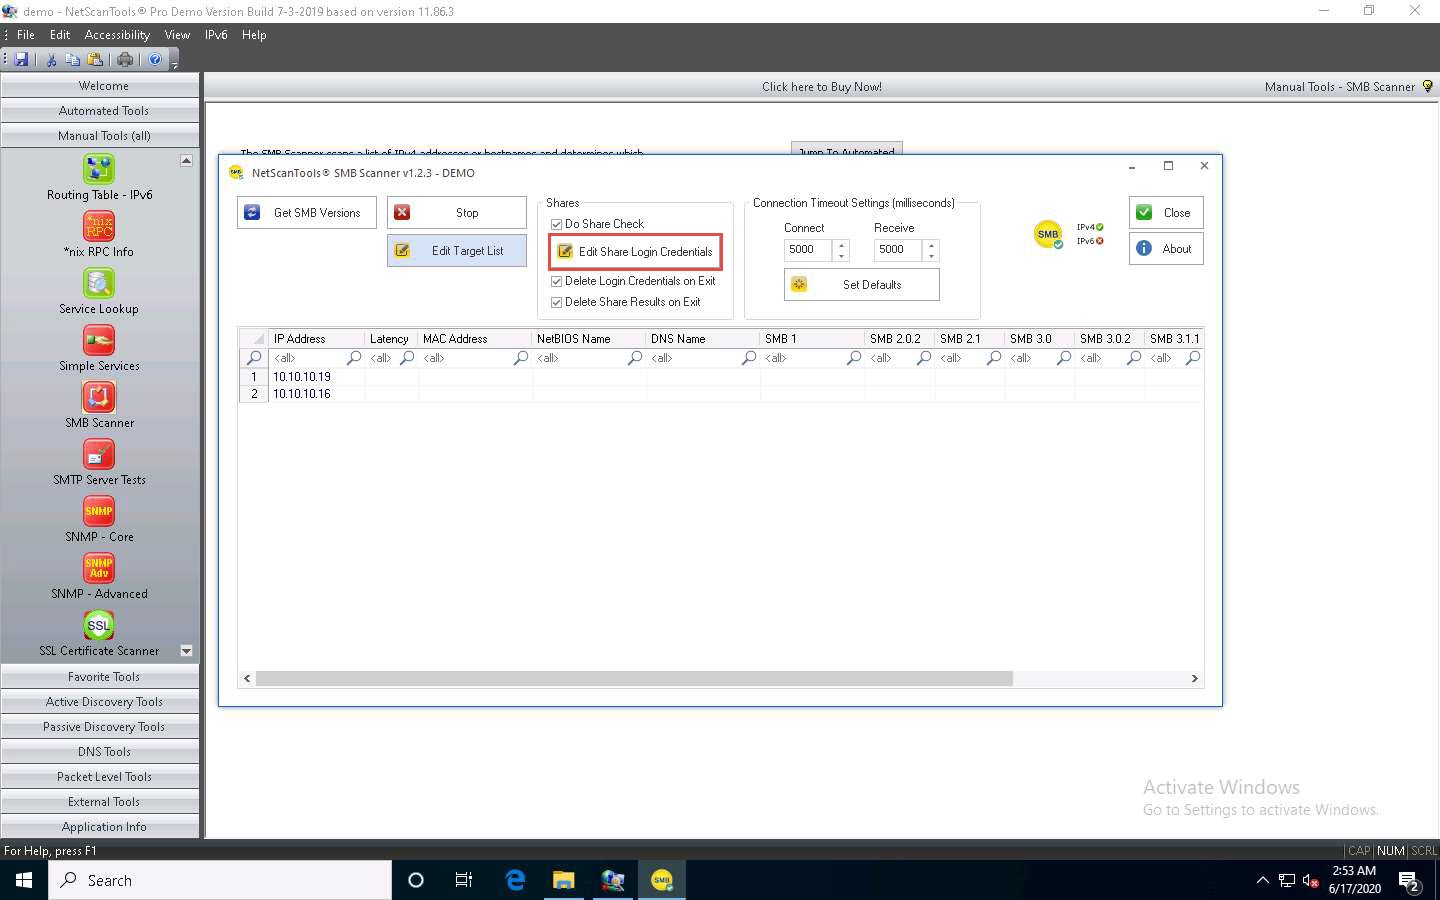
The SMB Scanner window appears; click the Edit Target List button.
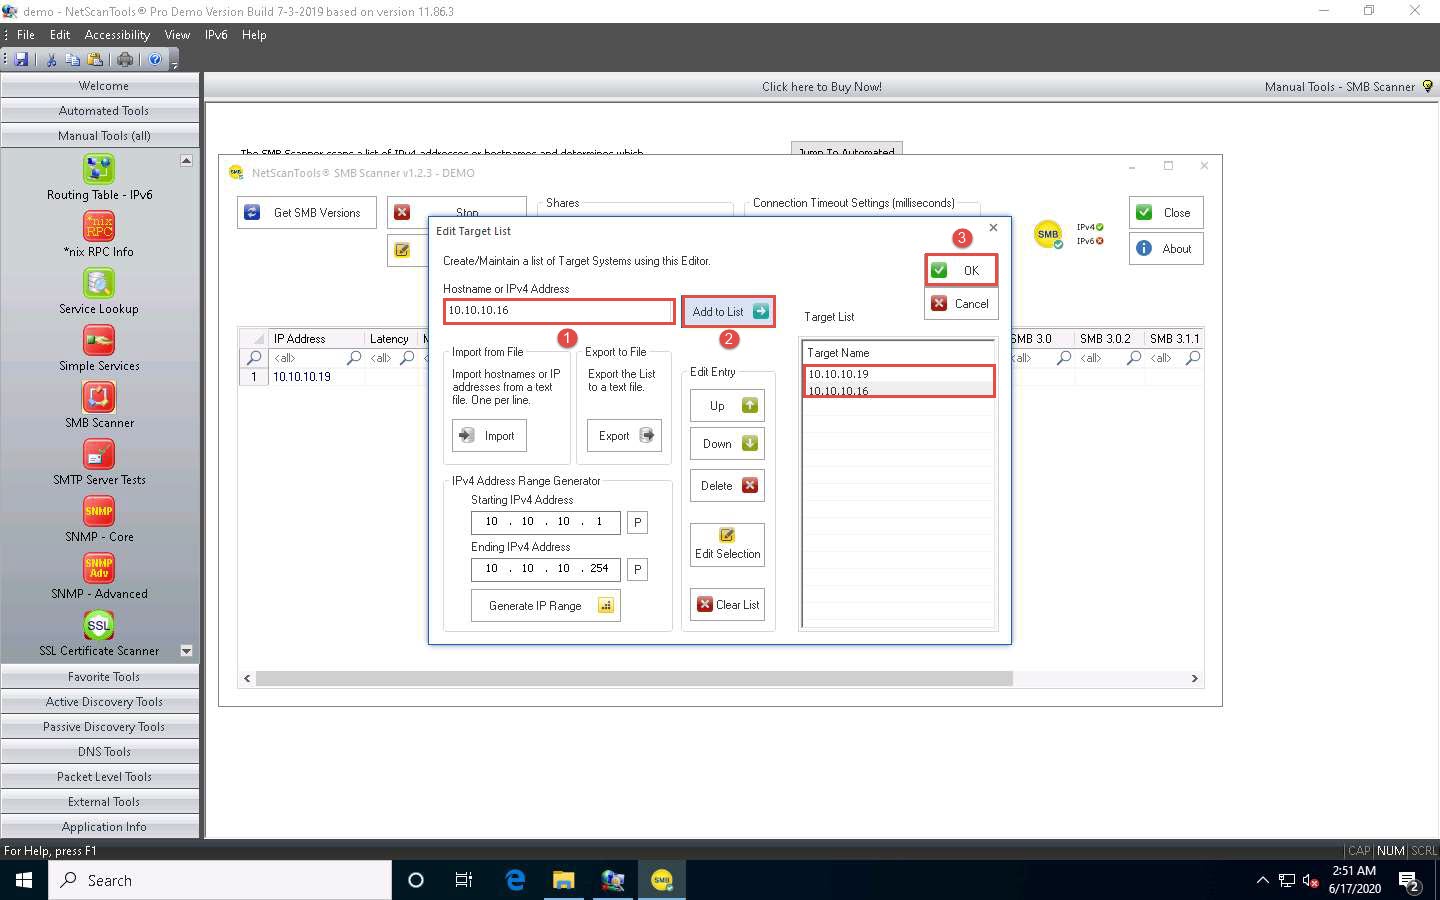
The Edit Target List window appears. In the Hostname or IPv4 Address field, enter the target IP address (10.10.10.19, in this example). Click the Add to List button to add the target IP address to Target List.
Similarly, add another target IP address (10.10.10.16, in this example) to Target List and click OK.
In this task, we are targeting the Windows Server 2019 (10.10.10.19) and Windows Server 2016 (10.10.10.16) machines.
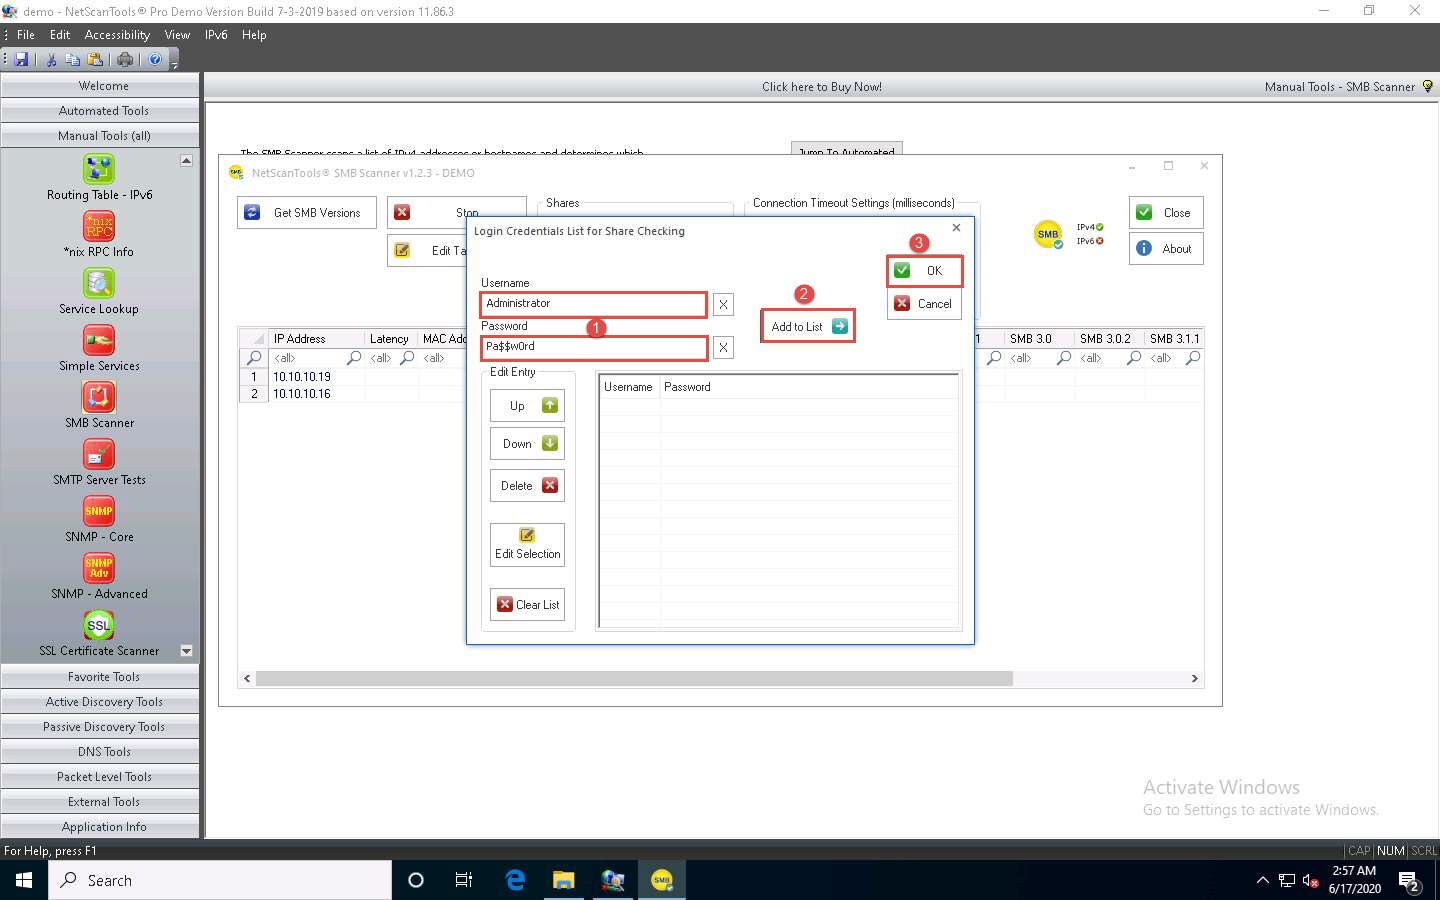
Now, click Edit Share Login Credentials to add credentials to access the target systems.
The Login Credentials List for Share Checking window appears. Enter Administrator and Pa$$w0rd in the Username and Password fields, respectively. Click Add to List to add the credentials to the list and click OK.
In this task, we are using the login credentials for the Windows Server 2019 and Windows Server 2016 machines to understand the tool. In reality, attackers may add a list of login credentials by which they can log in to the target machines and obtain the required SMB share information.
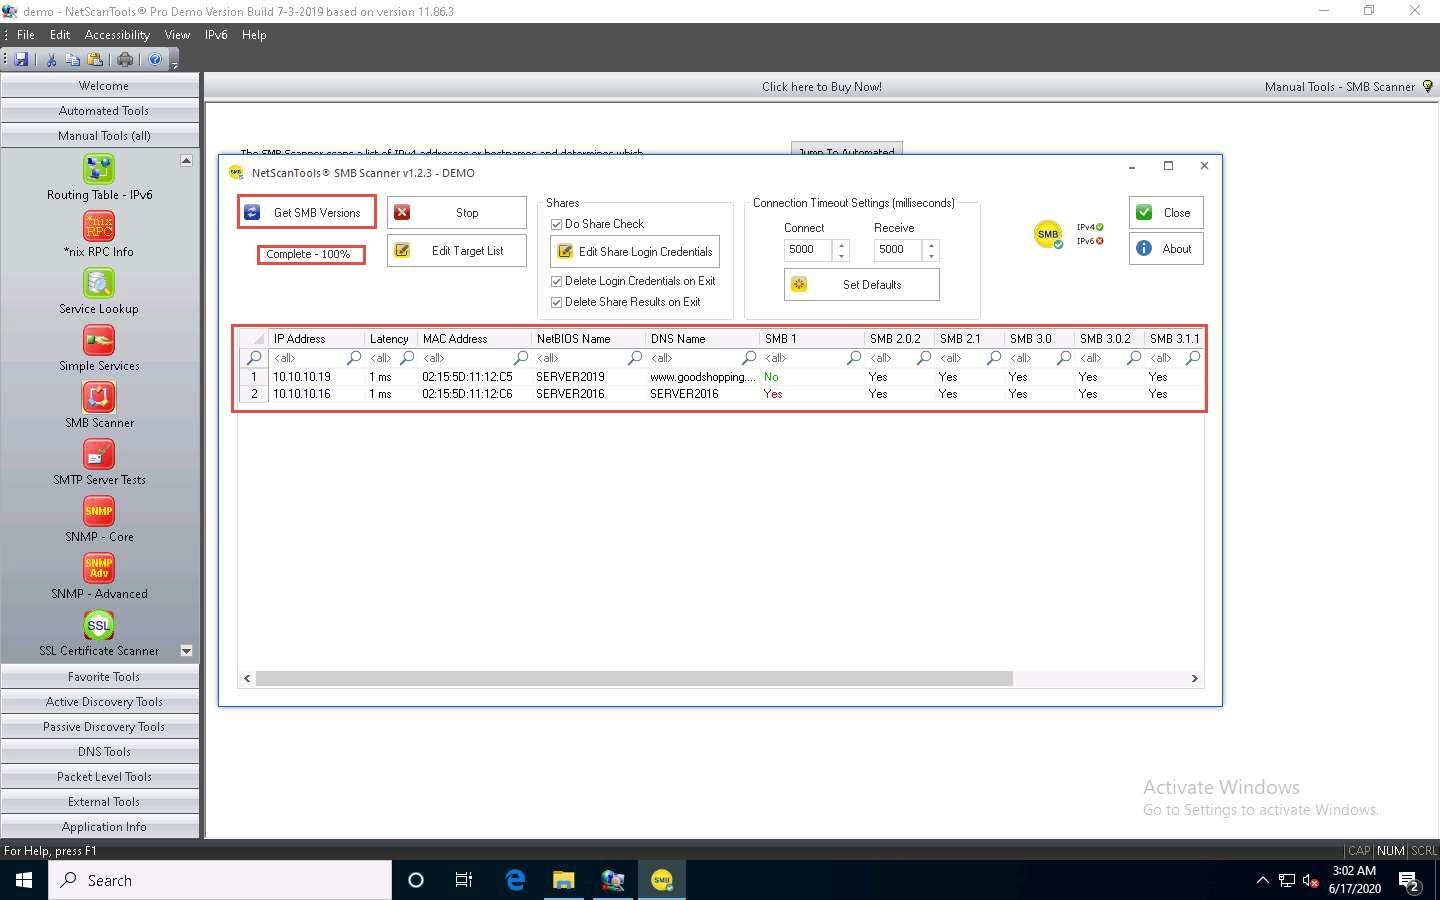
In the SMB Scanner window, click the Get SMB Versions button.
Once the scan is complete, the result appears, displaying information such as the NetBIOS Name, DNS Name, SMB versions, and Shares for each target IP address.
Right-click on any of the machines (in this example, we will use 10.10.10.19) and click View Shares from the available options.
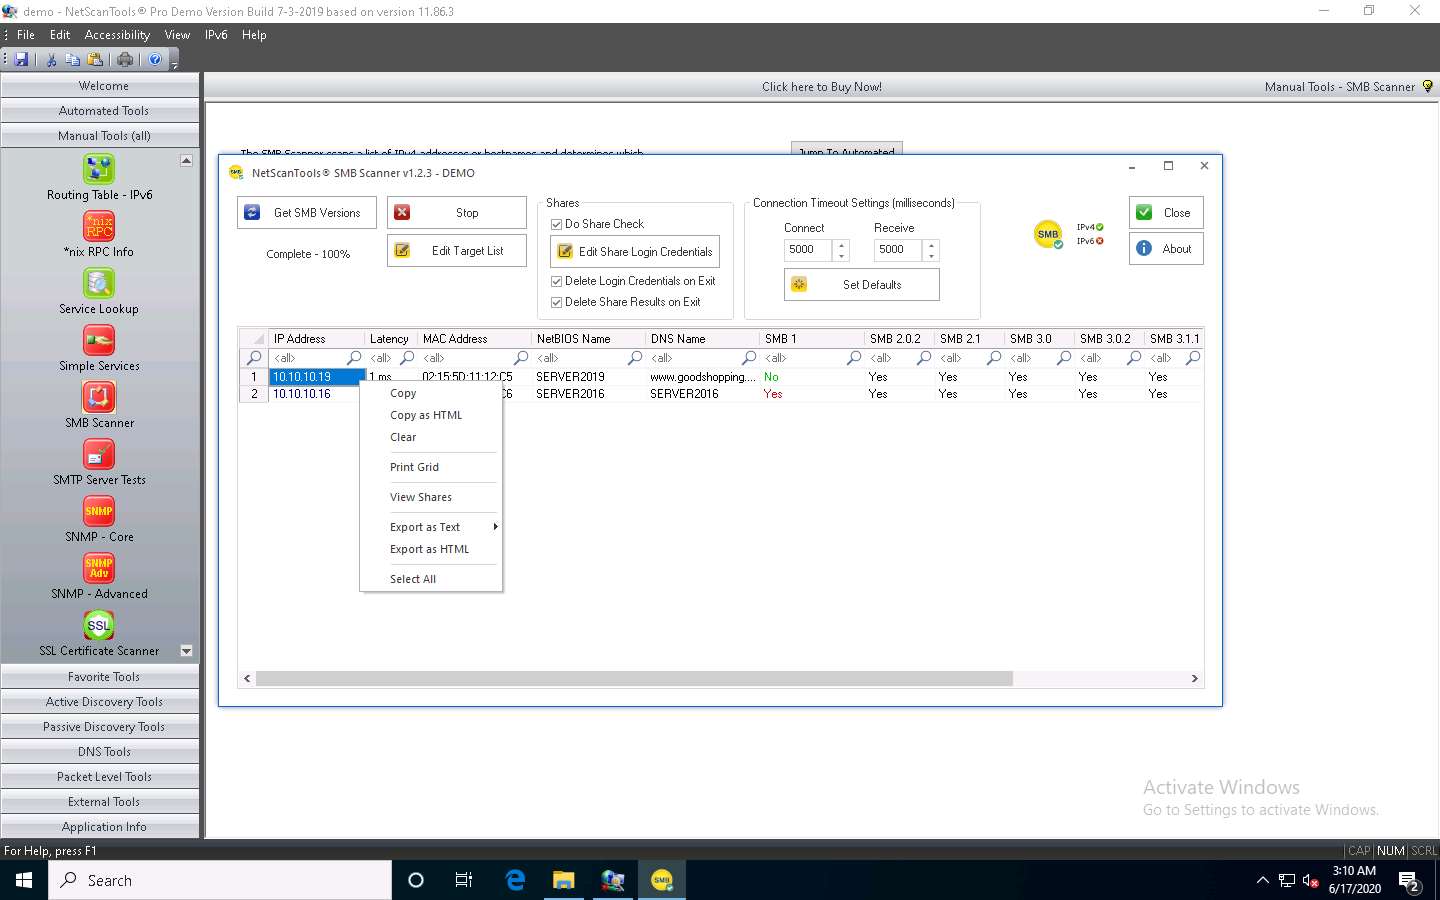
The Shares for 10.10.10.19 window appears, displaying detailed information about shared files such as Share Name, Type, Remark, Path, Permissions, and Credentials Used.
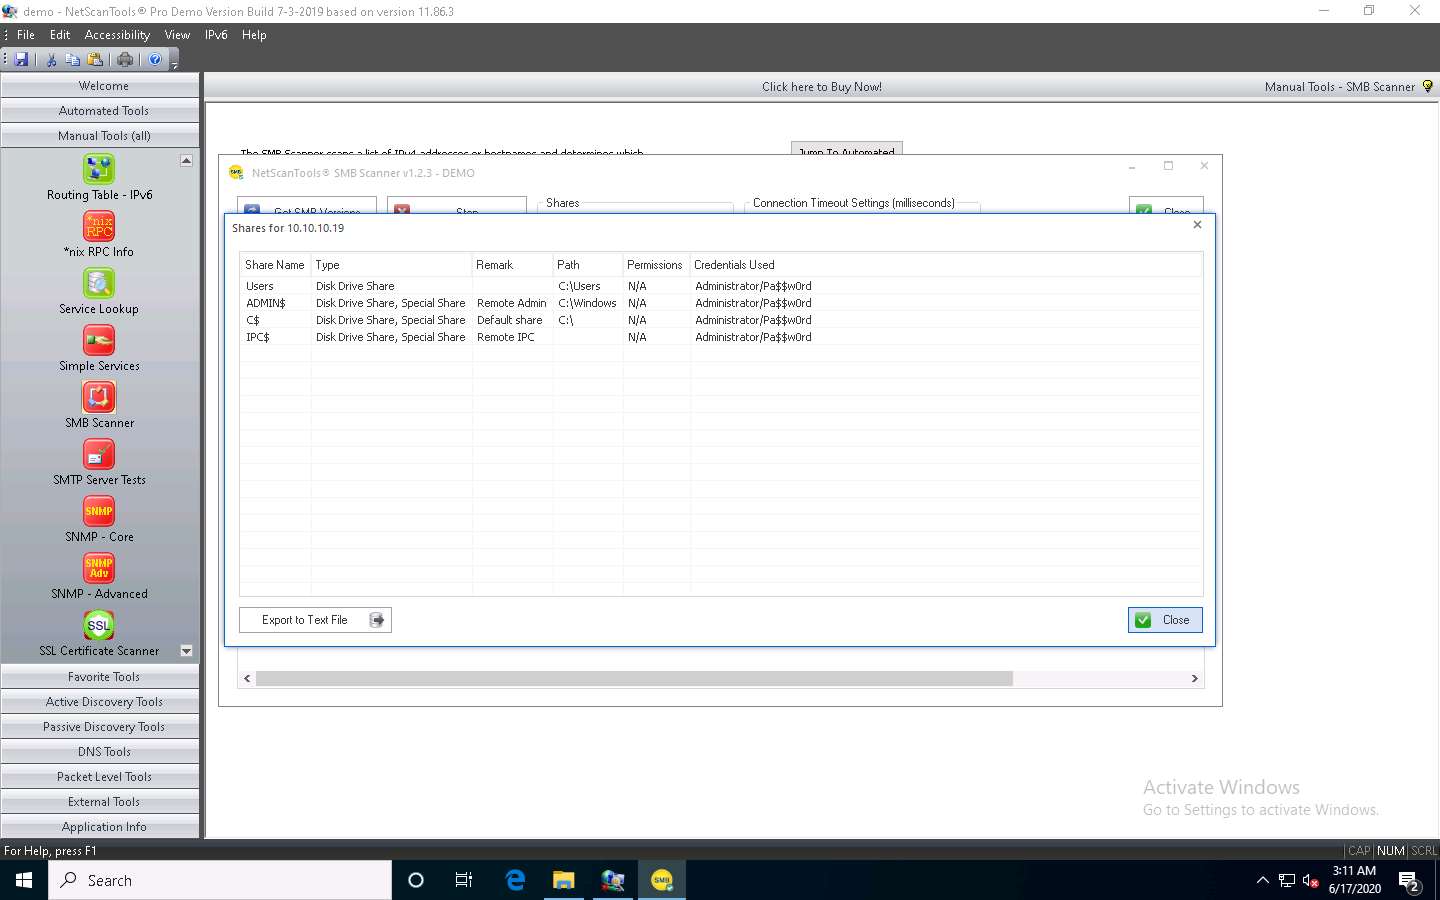
You can view the details of the shared files for the target IP address 10.10.10.16 in the same way.
This concludes the demonstration of performing RPC and SMB enumeration on the target systems using NetScanTools Pro.
Close all open windows and document all the acquired information.
Task 2: Perform RPC, SMB, and FTP Enumeration using Nmap
Nmap is a utility used for network discovery, network administration, and security auditing. It is also used to perform tasks such as network inventory, service upgrade schedule management, and host or service uptime monitoring.
Here, we will use Nmap to carry out RPC, SMB, and FTP enumeration.
Before starting this lab, we must configure the FTP service in the target machine (Windows Server 2019). To do so, follow Steps 1-10.
Click Windows Server 2019 to switch to the Windows Server 2019 machine.
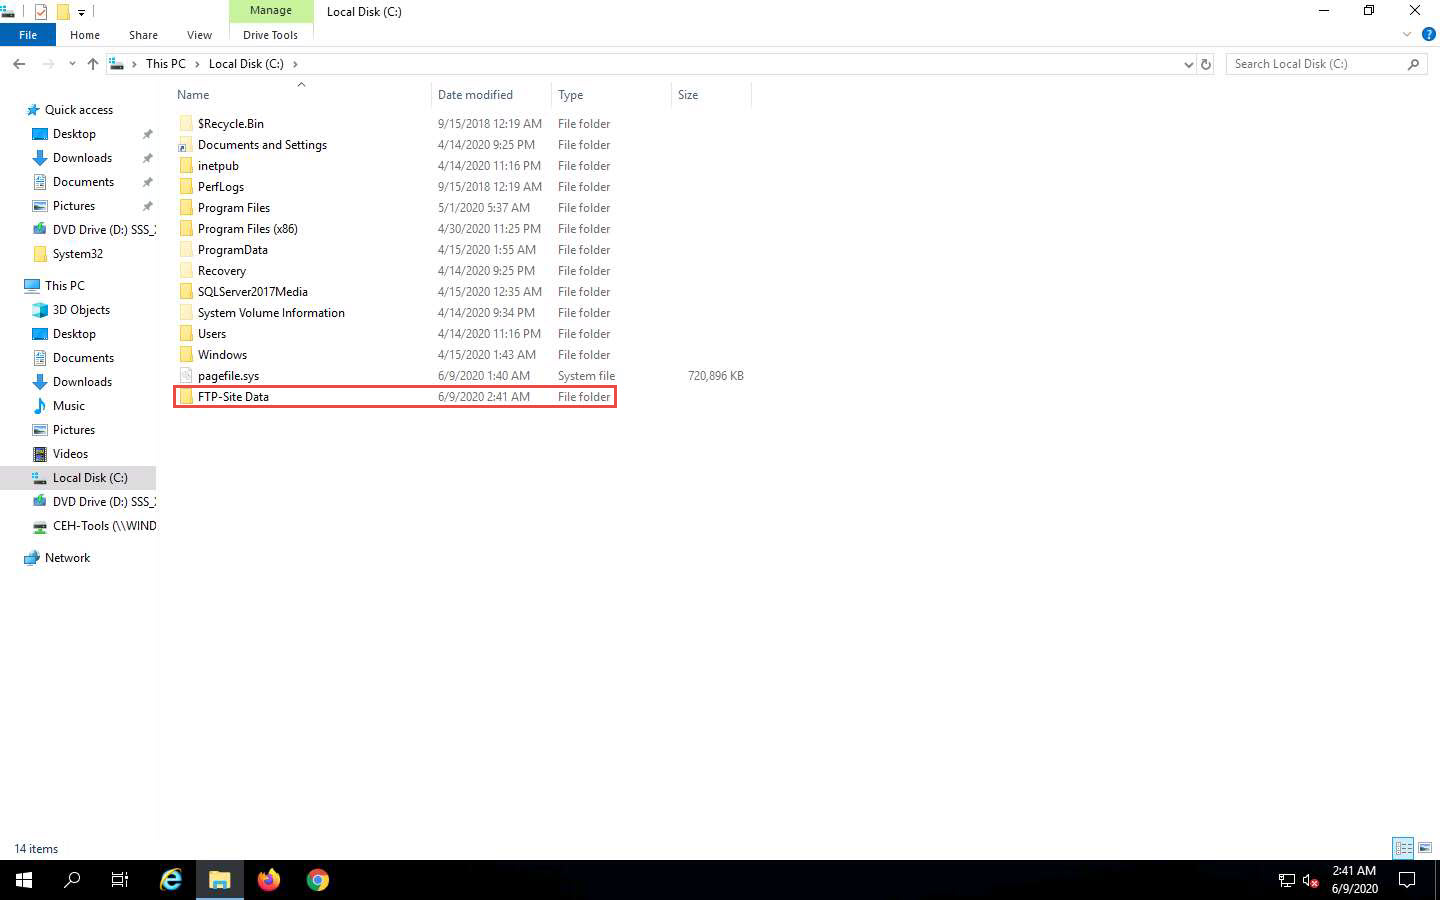
Click on the File Explorer icon at the bottom of Desktop. In the File Explorer window, right-click on Local Disk (C:) and click New --> Folder.
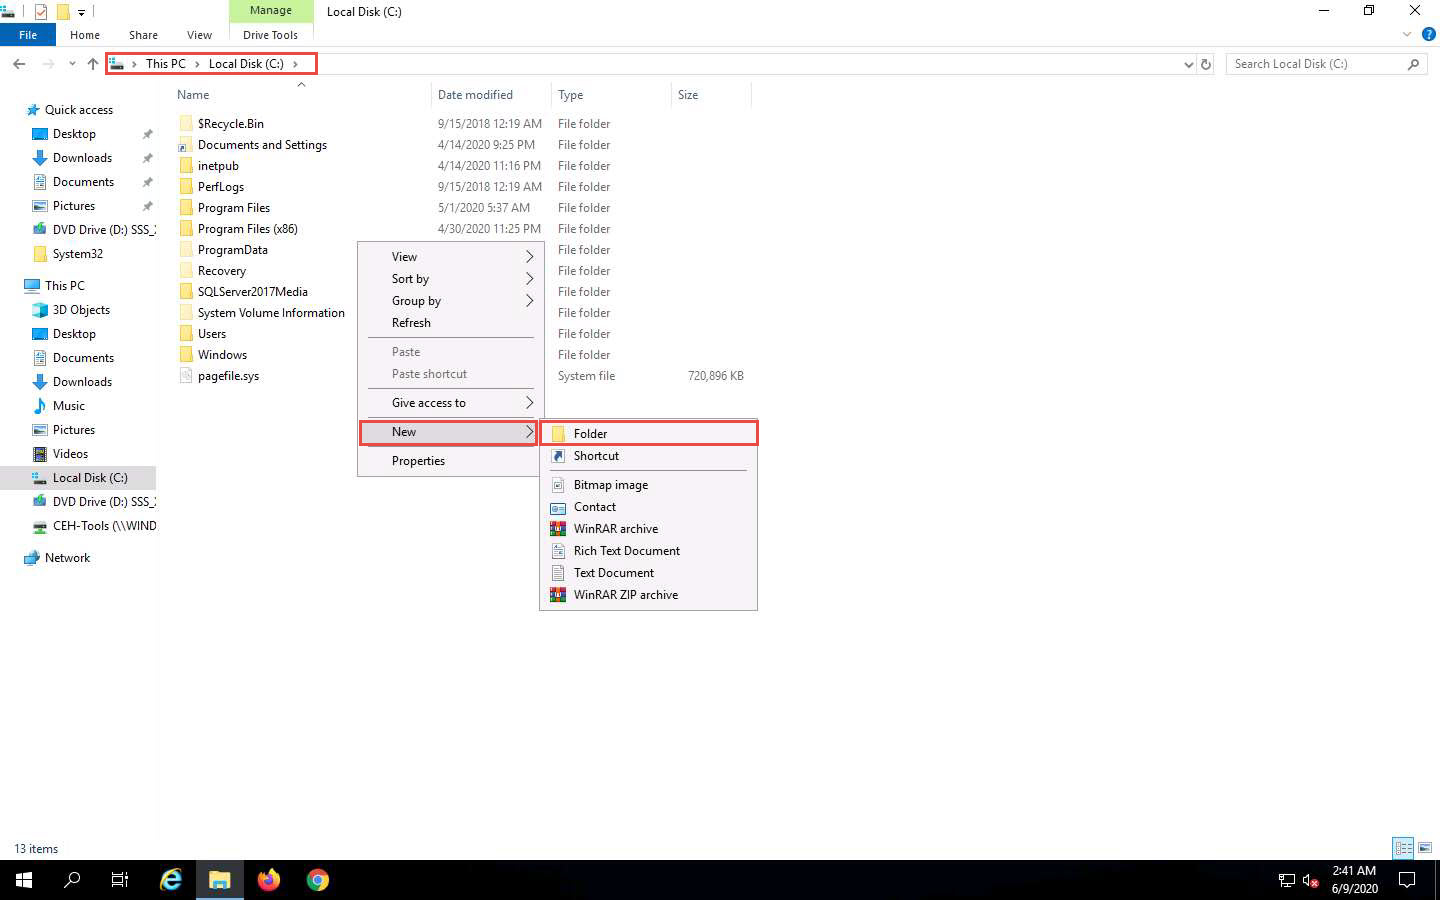
A New Folder appears. Rename it to FTP-Site Data, as shown in the screenshot.
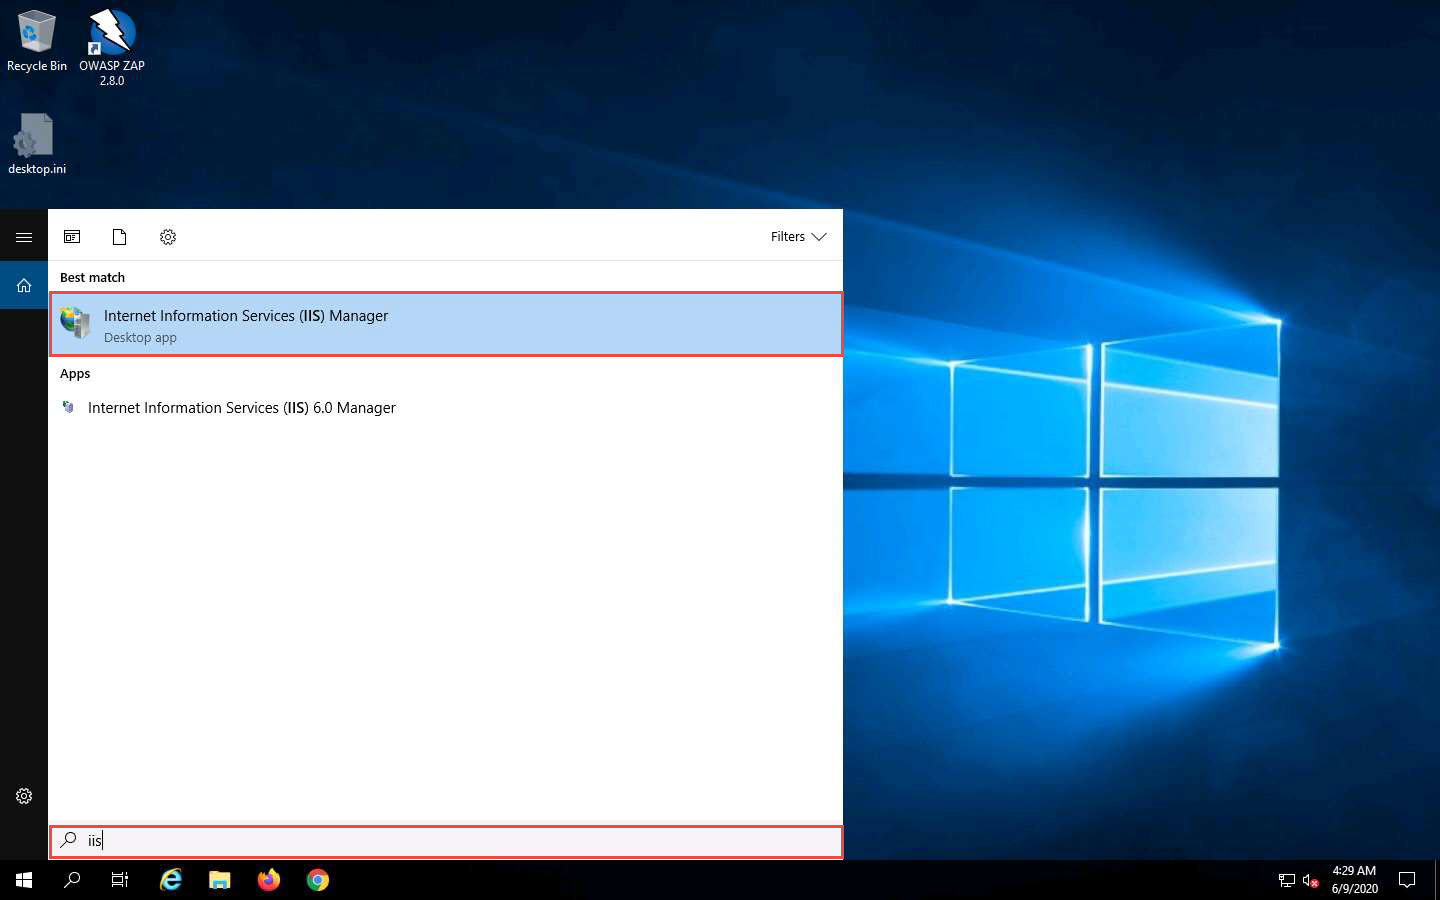
Close the window and click on the Type here to search icon at the bottom of the Desktop. Type iis. In the search results, click on Internet Information Services Manager (IIS) Manager, as shown in the screenshot.
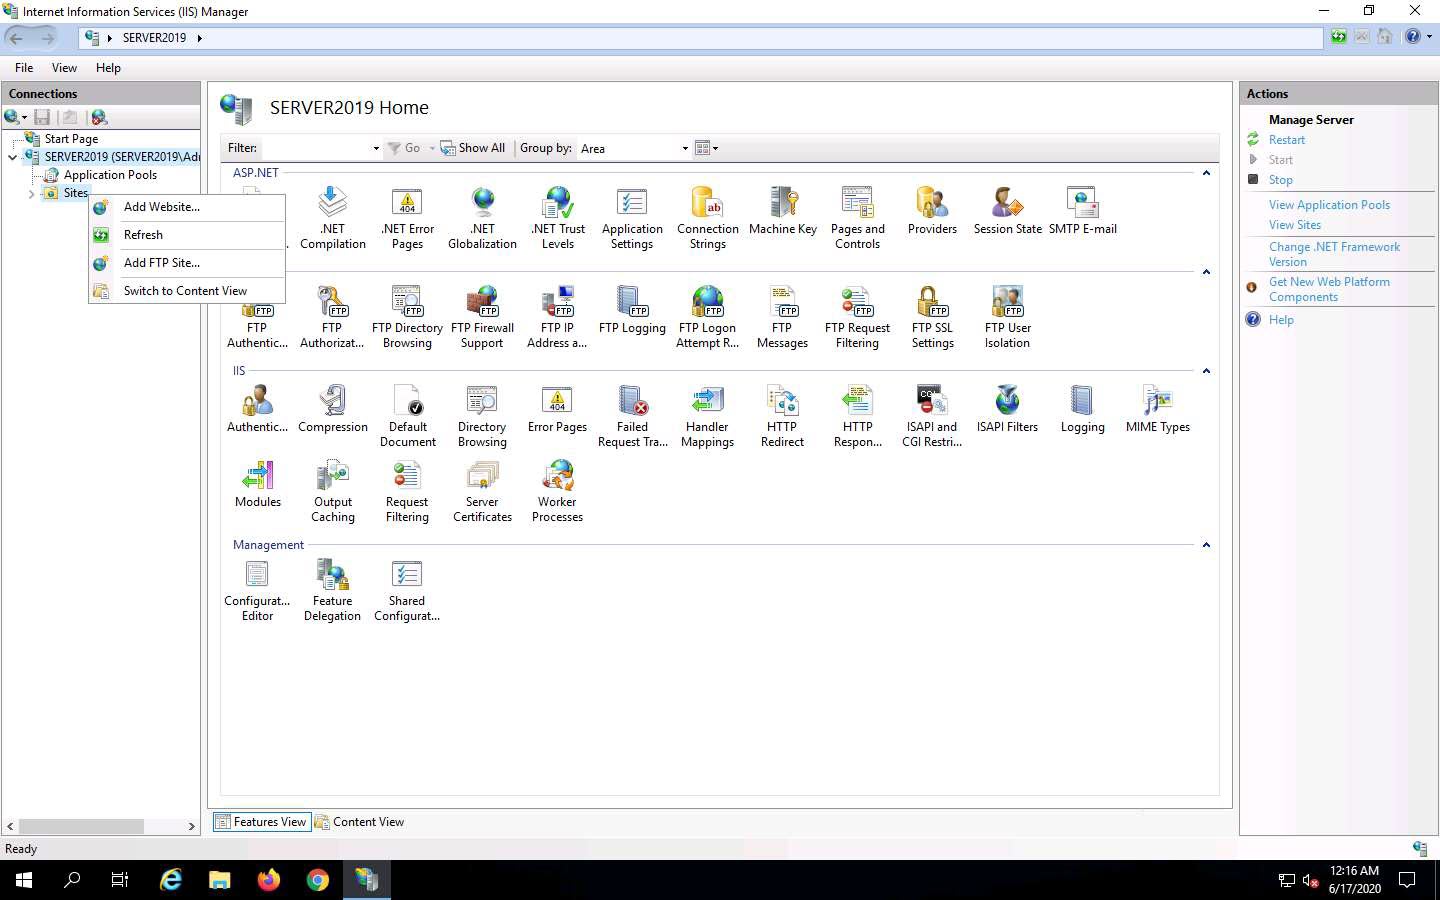
In the Internet Information Services (IIS) Manager window, click to expand SERVER2019 (SERVER2019\Administrator) in the left pane. Right-click Sites, and then click Add FTP Site….
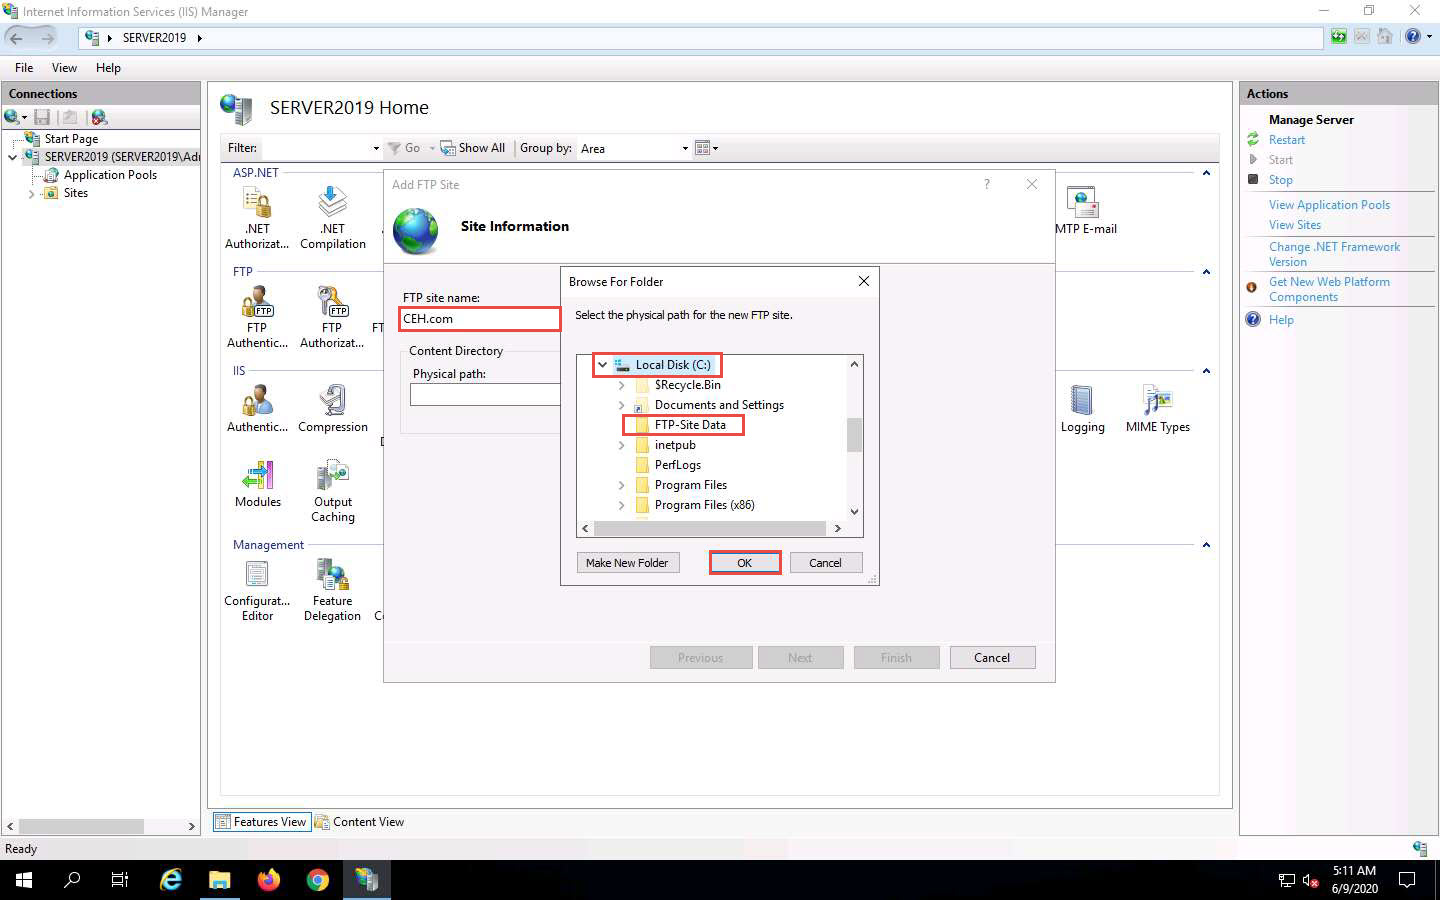
In the Add FTP Site window, type CEH.com in the FTP site name field. In the Physical path field, click on the icon. In the Browse For Folder window, click Local Disk (C:) and FTP-Site Data, and then click OK.
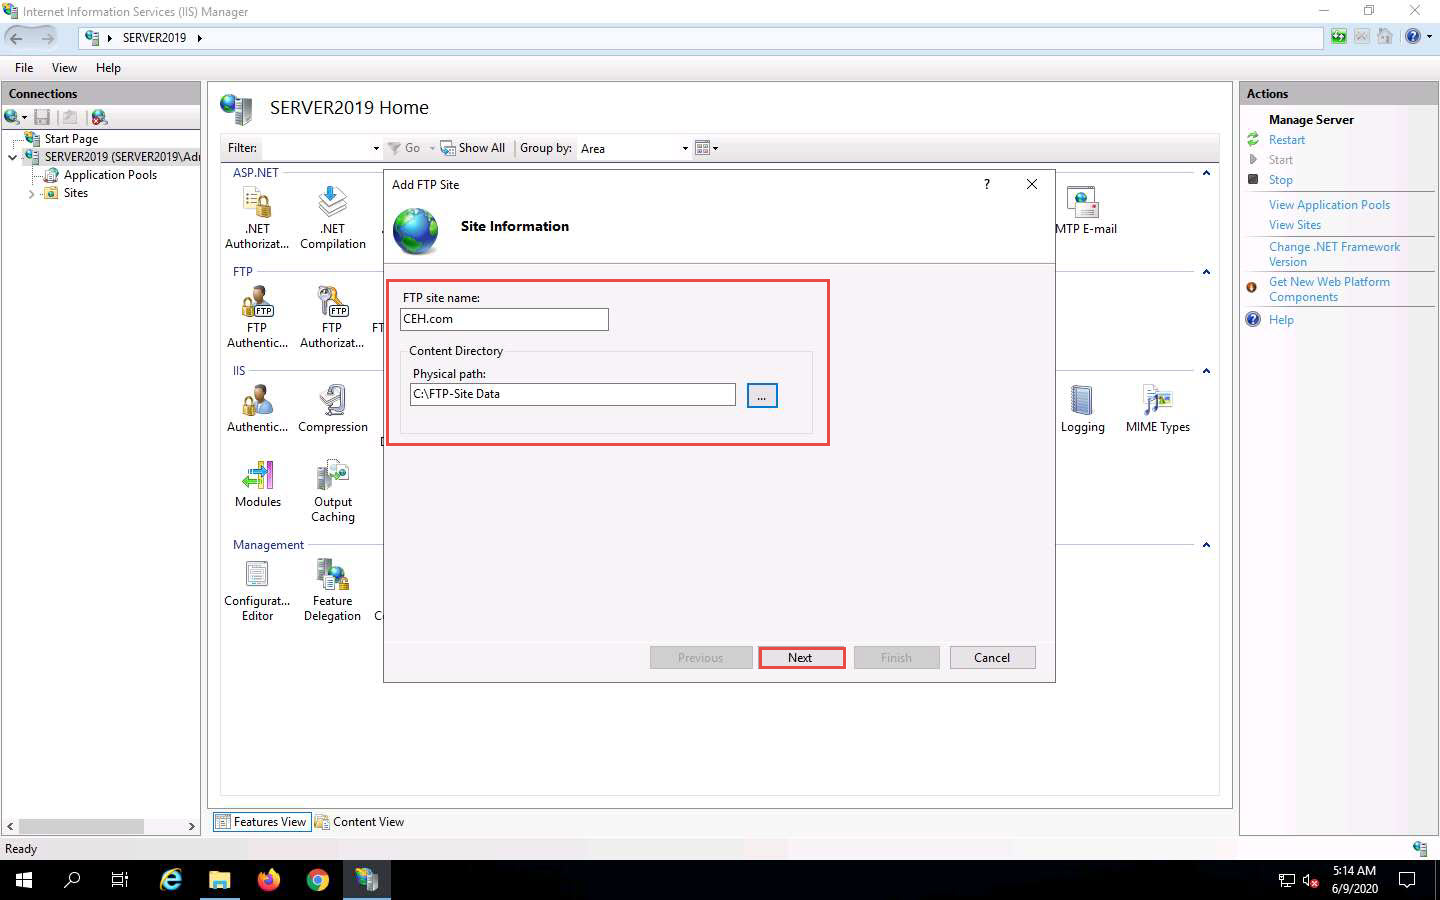
In the Add FTP Site window, check the entered details and click Next.
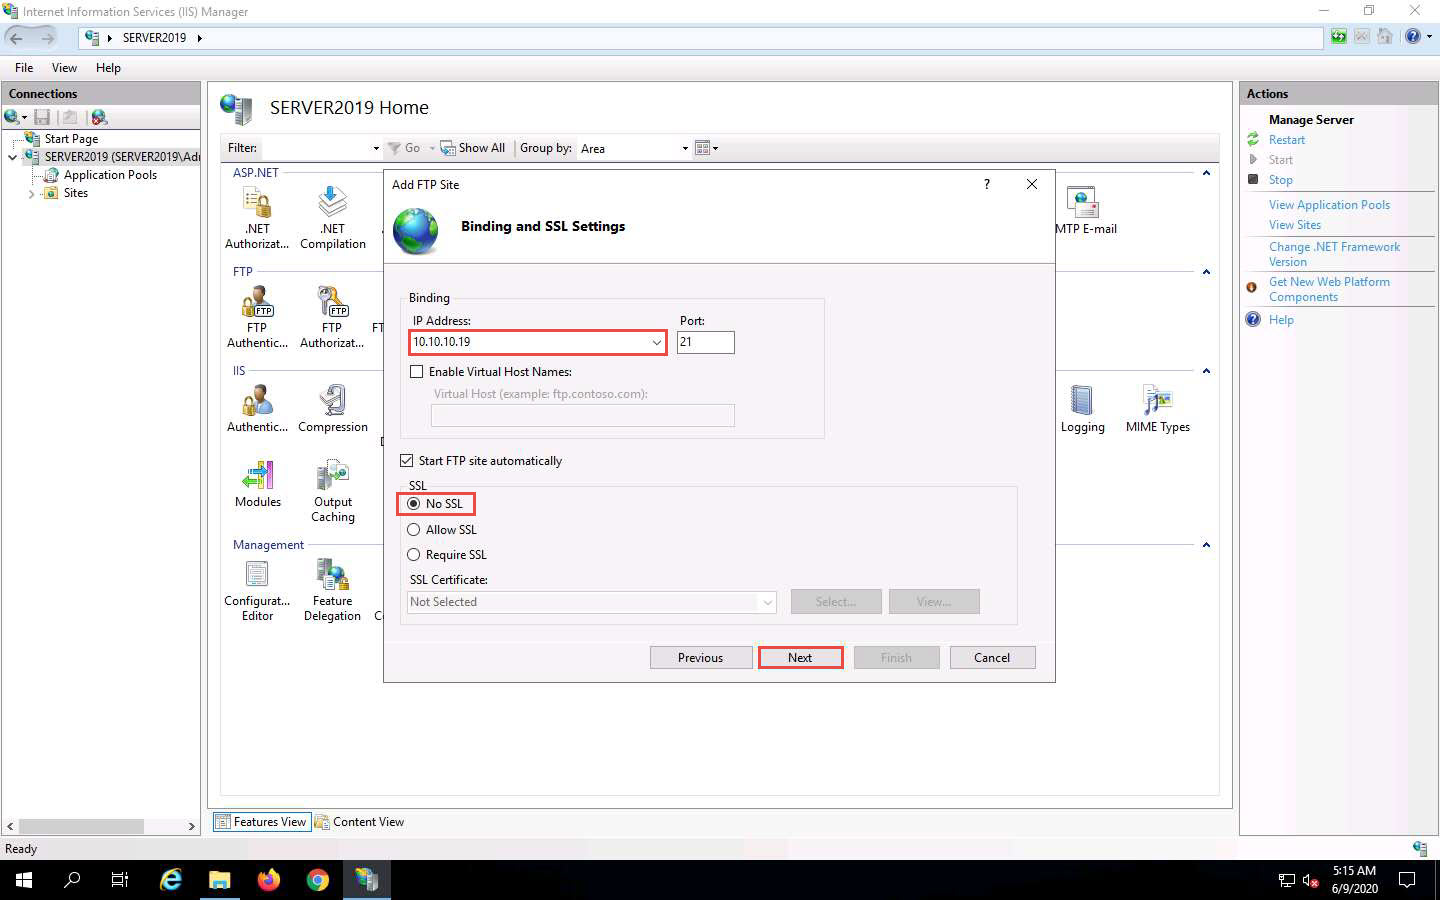
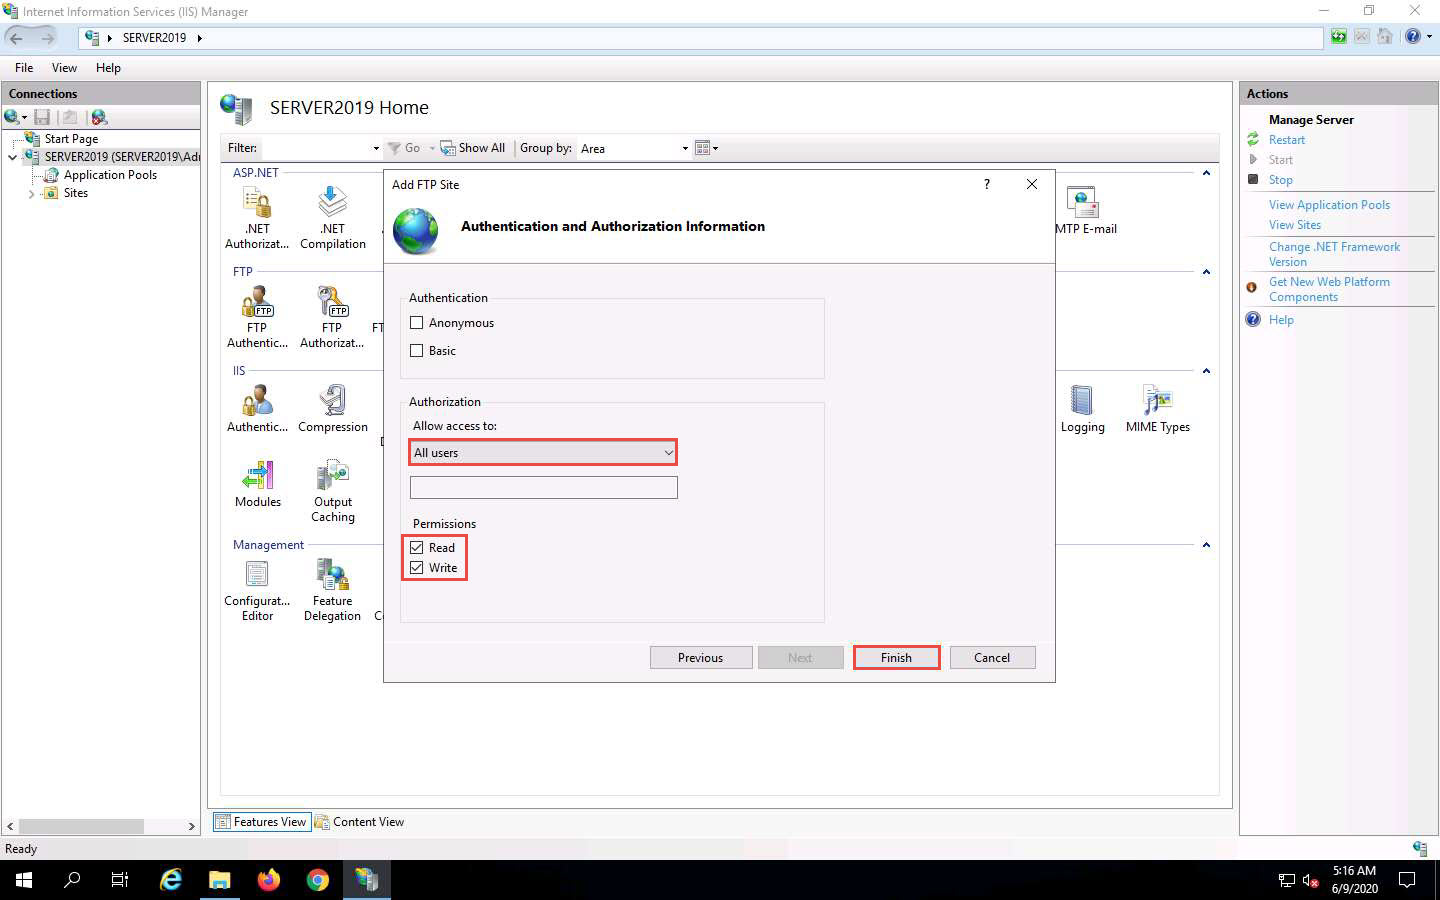
The Binding and SSL Settings wizard appears. Under the Binding section, in the IP Address field, click the drop-down icon and select 10.10.10.19. Under the SSL section, select the No SSL radio button and click Next.
The Authentication and Authorization Information wizard appears. In the Allow access to section, select All users from the drop-down list. In the Permissions section, select both the Read and Write options and click Finish.
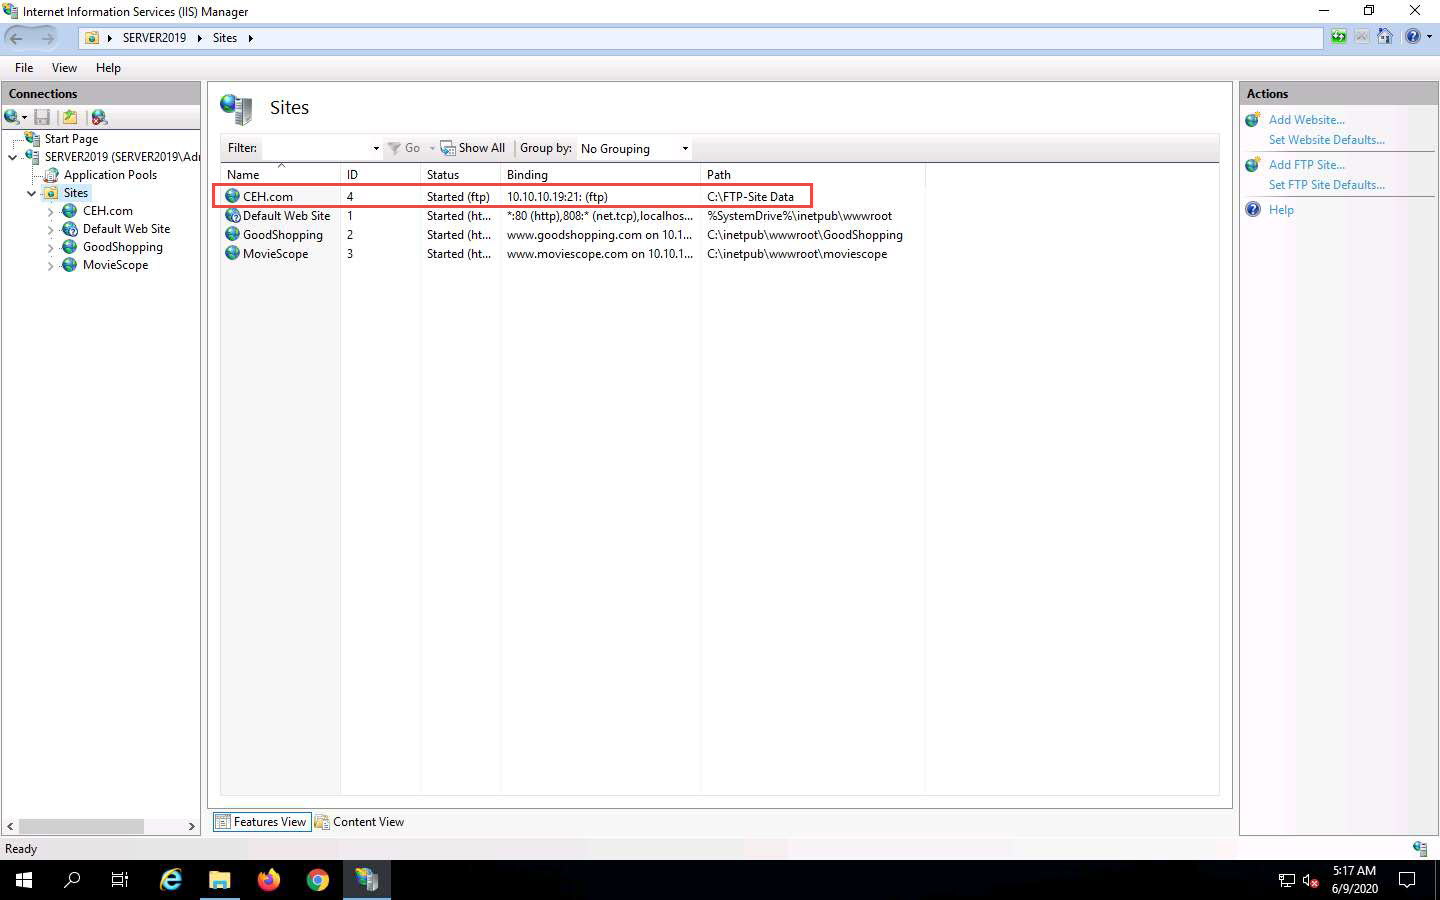
The Internet Information Services (IIS) Manager window appears with a newly added FTP site (CEH.com) in the left pane. Click the Site node in the left pane and note that the Status is Started (ftp), as shown in the screenshot.
Close all windows.
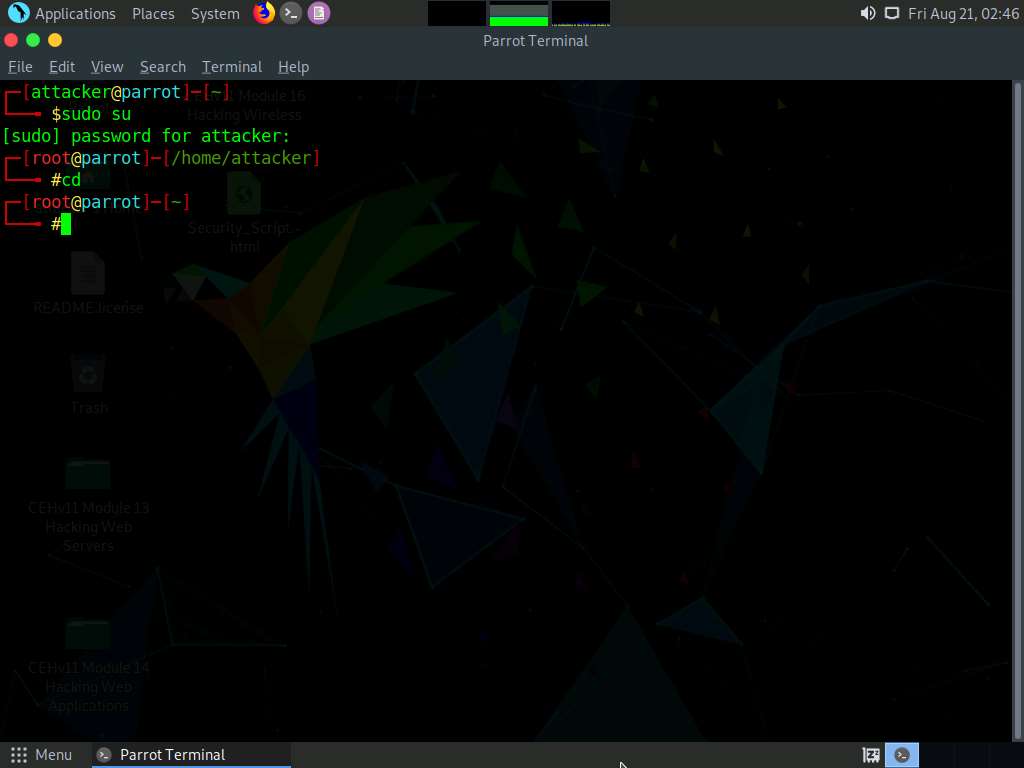
Click Parrot Security to switch to the Parrot Security machine.
Click the MATE Terminal icon at the top of the Desktop window to open a Terminal window.

A Parrot Terminal window appears. In the terminal window, type sudo su and press Enter to run the programs as a root user.
In the [sudo] password for attacker field, type toor as a password and press Enter.
The password that you type will not be visible.
Now, type cd and press Enter to jump to the root directory.
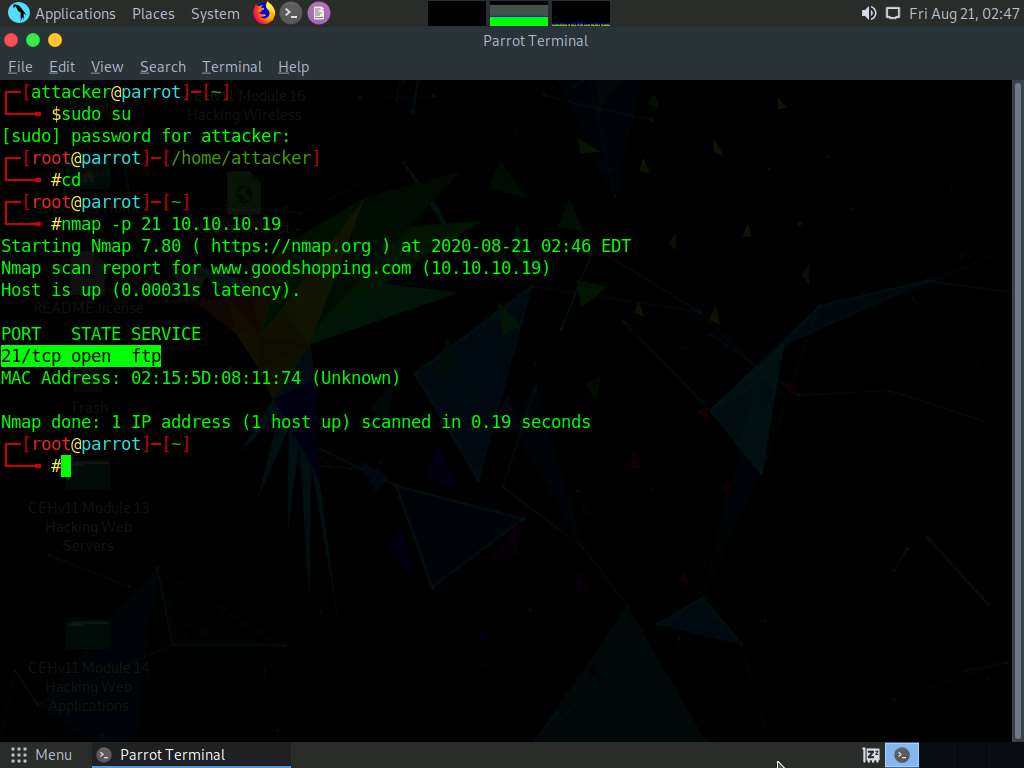
In the Parrot Terminal window, type nmap -p 21 [Target IP Address] (in this case, 10.10.10.19) and press Enter.
The scan result appears, indicating that port 21 is open and the FTP service is running on it, as shown in the screenshot.
In the terminal window, type nmap -T4 -A [Target IP Address] (in this example, the target IP address is 10.10.10.19) and press Enter.
In this command, -T4 specifies the timing template (the number can be 0-5) and -A specifies that the ACK flag is set.
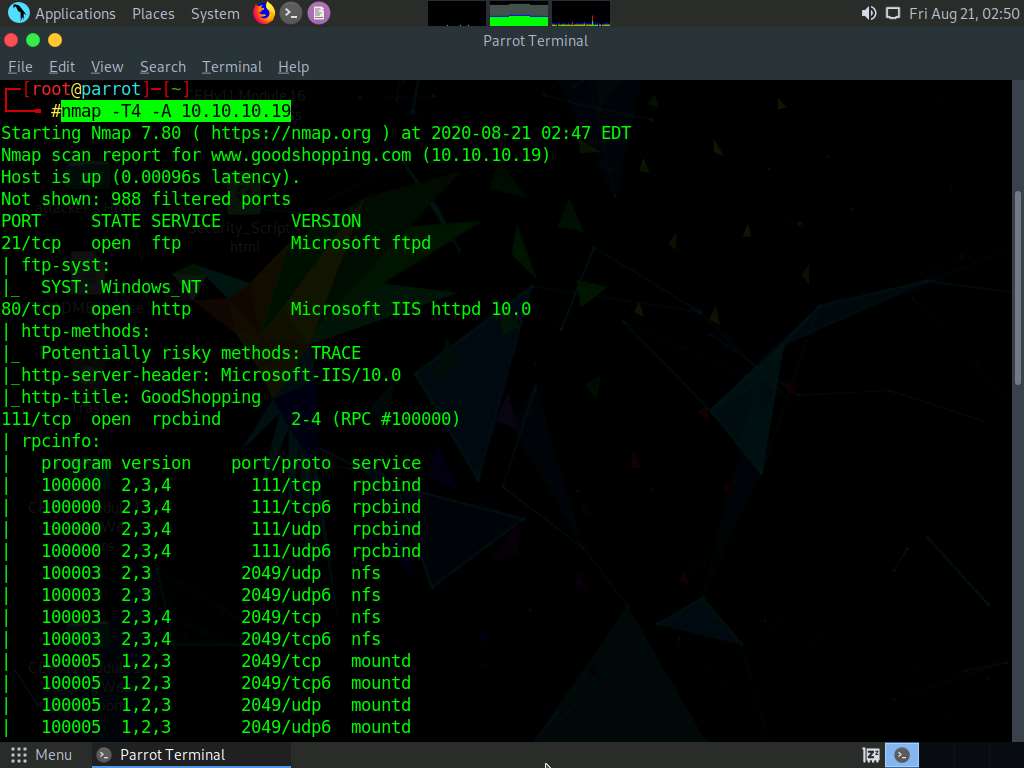
The scan result appears, displaying that port 80 is open, and giving detailed information about the services running on it, along with their versions.
Click the MATE Terminal icon at the top of the Desktop window to open a new Terminal window.
A Parrot Terminal window appears. In the terminal window, type sudo su and press Enter to run the programs as a root user.
In the [sudo] password for attacker field, type toor as a password and press Enter.
The password that you type will not be visible.
Now, type cd and press Enter to jump to the root directory.
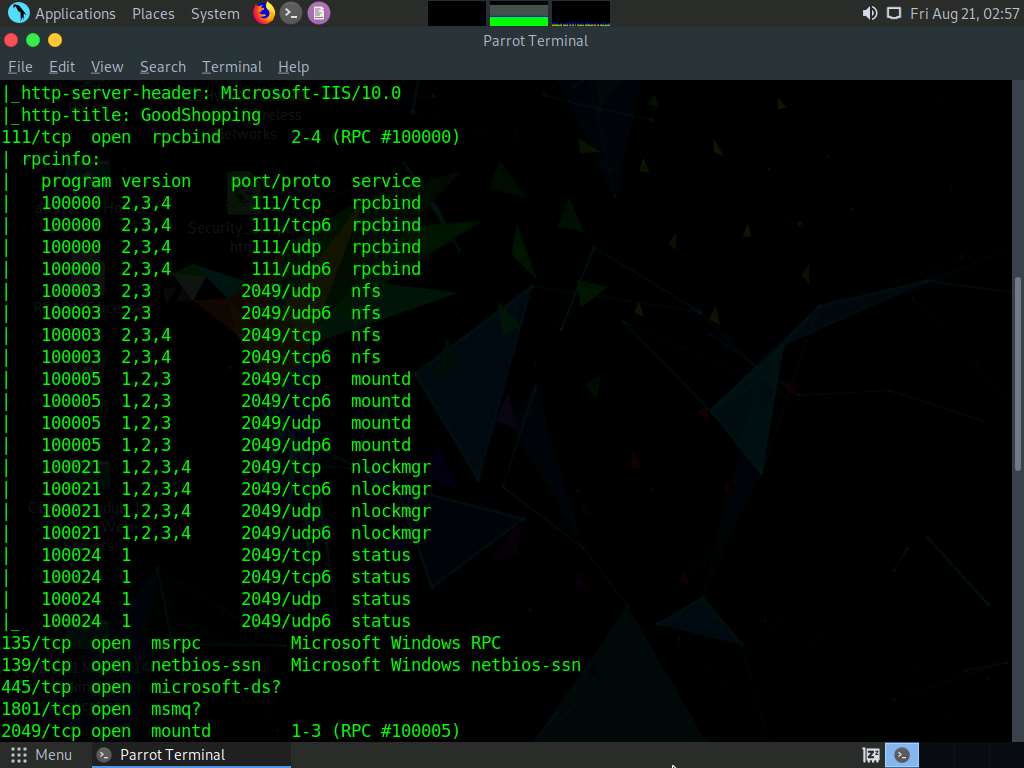
In the terminal window, type nmap -p [Target Port] -A [Target IP Address] (in this example, the target port is 445 and the target IP address is 10.10.10.19) and press Enter.
In this command, -p specifies the port to be scanned, and -A specifies that the ACK flag is set.
The scan result appears, displaying that port 445 is open, and giving detailed information under the Host script results section about the running SMB, as shown in the screenshot.
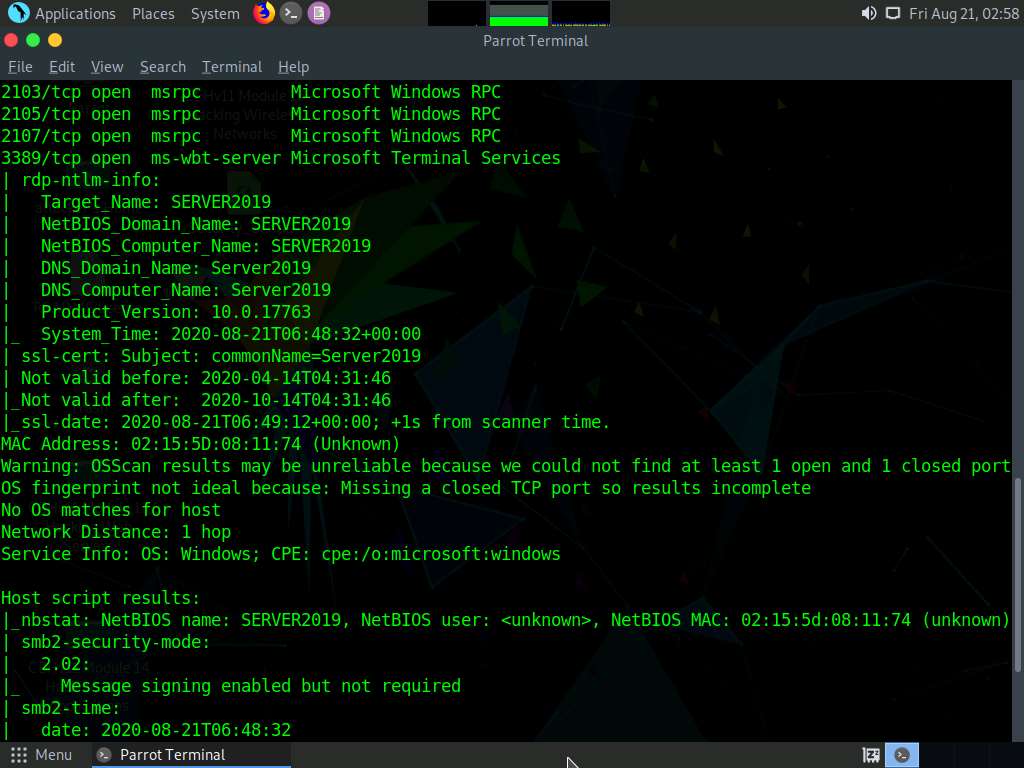
In the terminal window, type nmap -p [Target Port] -A [Target IP Address] (in this example, the target port is 21 and target IP address is 10.10.10.19) and press Enter.
In this command, -p specifies the port to be scanned and -A specifies that the ACK flag is set.
The scan result appears, displaying that port 21 is open, and giving traceroute information, as shown in the screenshot.
This concludes the demonstration of performing RPC, SMB, and FTP enumeration using Nmap.
Close all open windows and document all the acquired information.


Comments
Post a Comment