Lab 6: Perform Network Scanning using Various Scanning Tools
Lab 6: Perform Network Scanning using Various Scanning Tools
Lab Scenario
The information obtained in the previous steps might be insufficient to reveal potential vulnerabilities in the target network: there may be more information available that could help in finding loopholes in the target network. As an ethical hacker and pen tester, you should look for as much information as possible about systems in the target network using various network scanning tools when needed. This lab will demonstrate other techniques/commands/methods that can assist you in extracting information about the systems in the target network using various scanning tools.
Lab Objectives
- Scan a target network using Metasploit
Overview of Network Scanning Tools
Scanning tools are used to scan and identify live hosts, open ports, running services on a target network, location-info, NetBIOS info, and information about all TCP/IP and UDP open ports. Information obtained from these tools will assist an ethical hacker in creating the profile of the target organization and to scan the network for open ports of the devices connected.
Task 1: Scan a Target Network using Metasploit
Metasploit Framework is a tool that provides information about security vulnerabilities in the target organization’s system, and aids in penetration testing and IDS signature development. It facilitates the tasks of attackers, exploit writers, and payload writers. A major advantage of the framework is the modular approach, that is, allowing the combination of any exploit with any payload.
Here, we will use Metasploit to discover active hosts, open ports, services running, and OS details of systems present in the target network.
Click Parrot Security to switch to the Parrot Security machine.
Click the MATE Terminal icon in the top of the Desktop window to open a Terminal window.

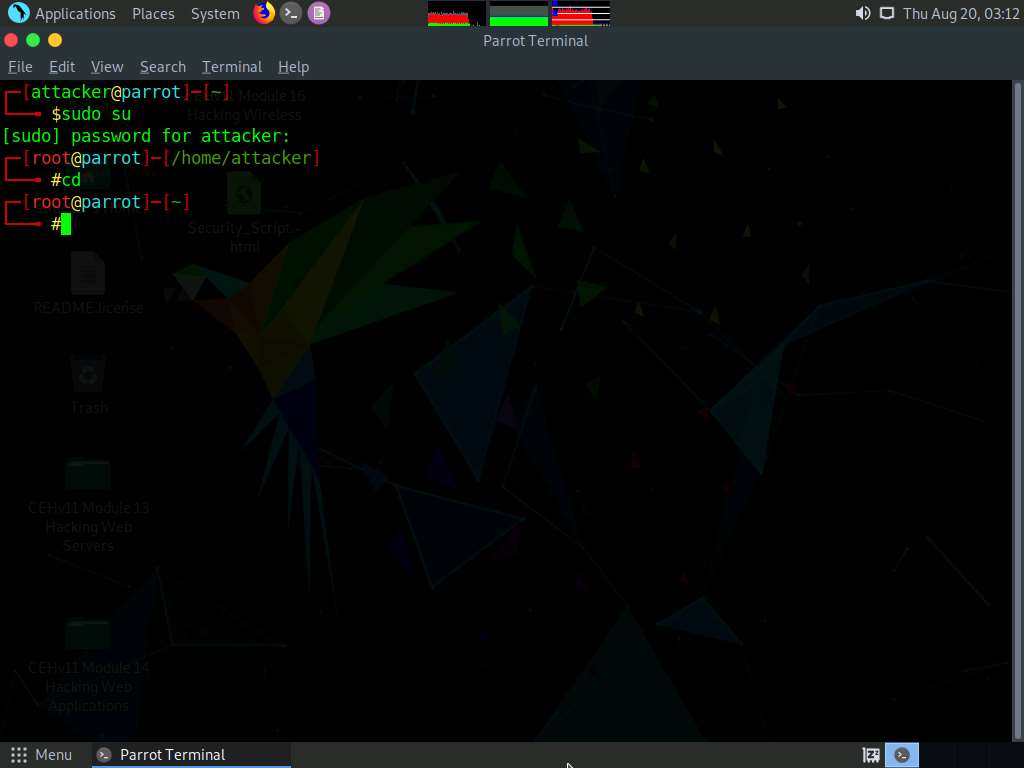
A Parrot Terminal window appears. In the terminal window, type sudo su and press Enter to run the programs as a root user.
In the [sudo] password for attacker field, type toor as a password and press Enter.
The password that you type will not be visible.
Now, type cd and press Enter to jump to the root directory.
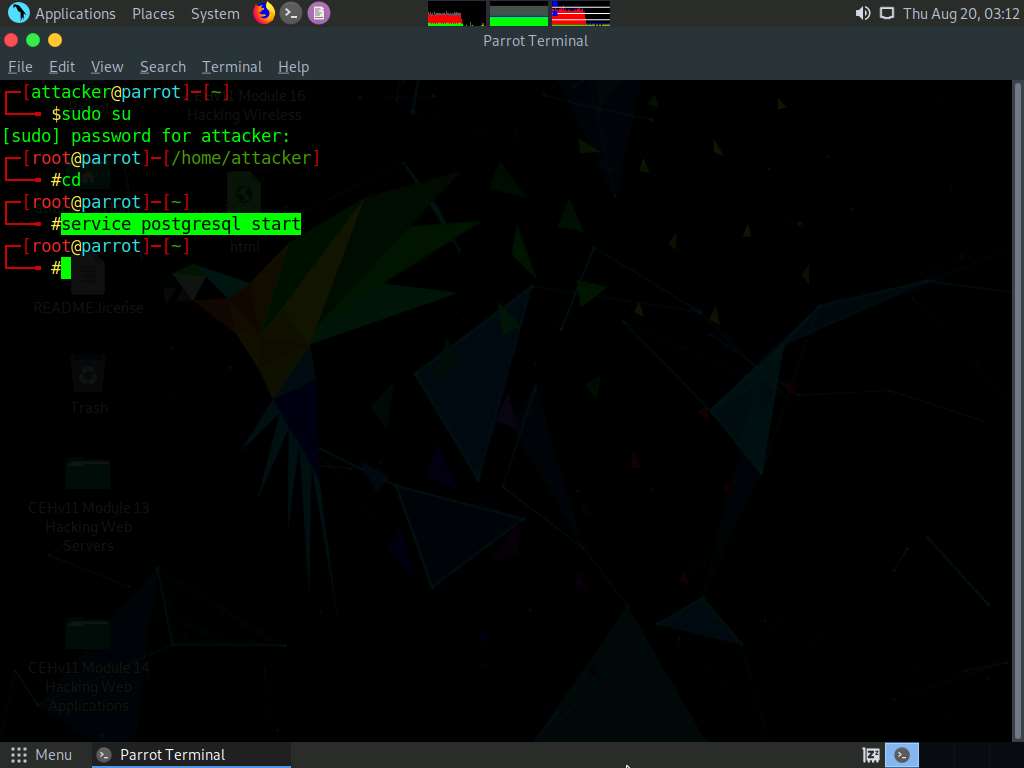
In the Parrot Terminal window, type service postgresql start and hit Enter.
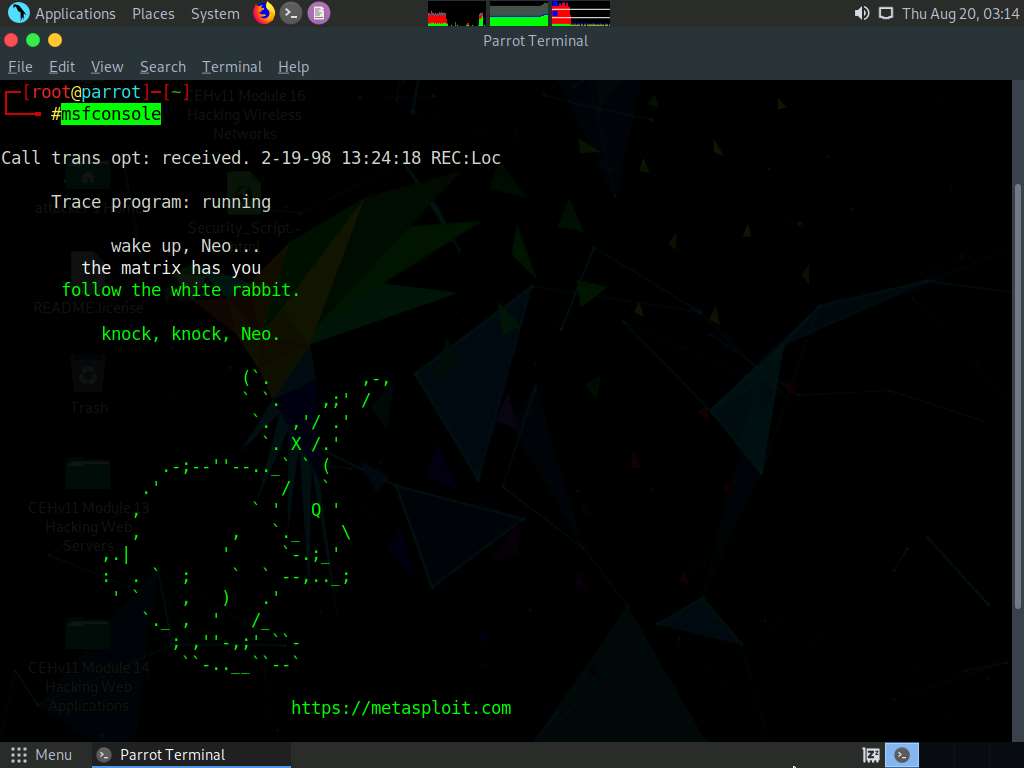
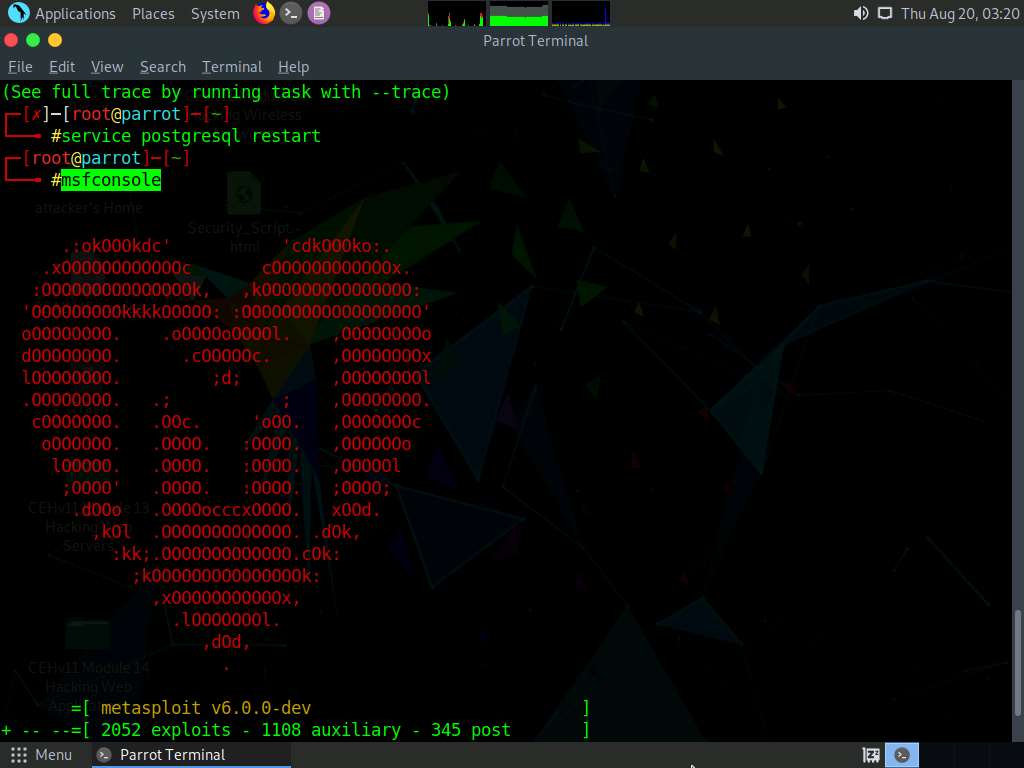
Now, type msfconsole and hit Enter to launch Metasploit.
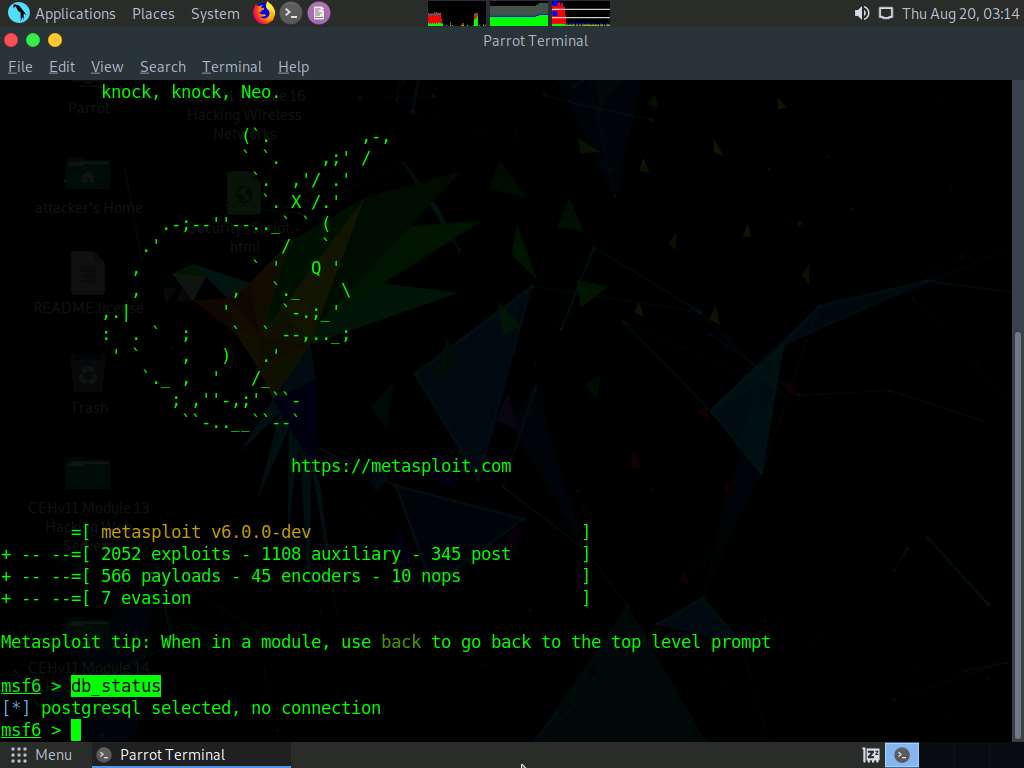
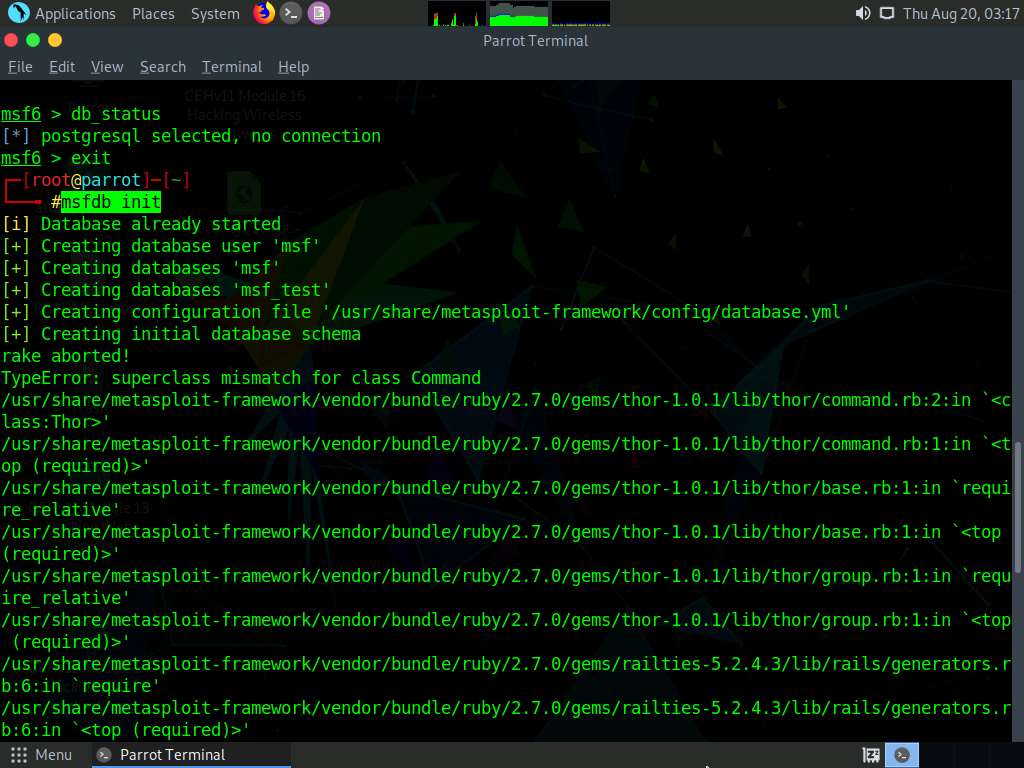
An msf command line appears. Type db_status and hit Enter to check if Metasploit has connected to the database successfully. If you receive the message “postgersql selected, no connection,” then the database did not connect to msf.
Exit the Metasploit framework by typing exit and press Enter. Then, to initiate the database, type msfdb init, and press Enter.
To restart the postgresql service, type service postgresql restart and press Enter. Now, start the Metasploit Framework again by typing msfconsole and pressing Enter.
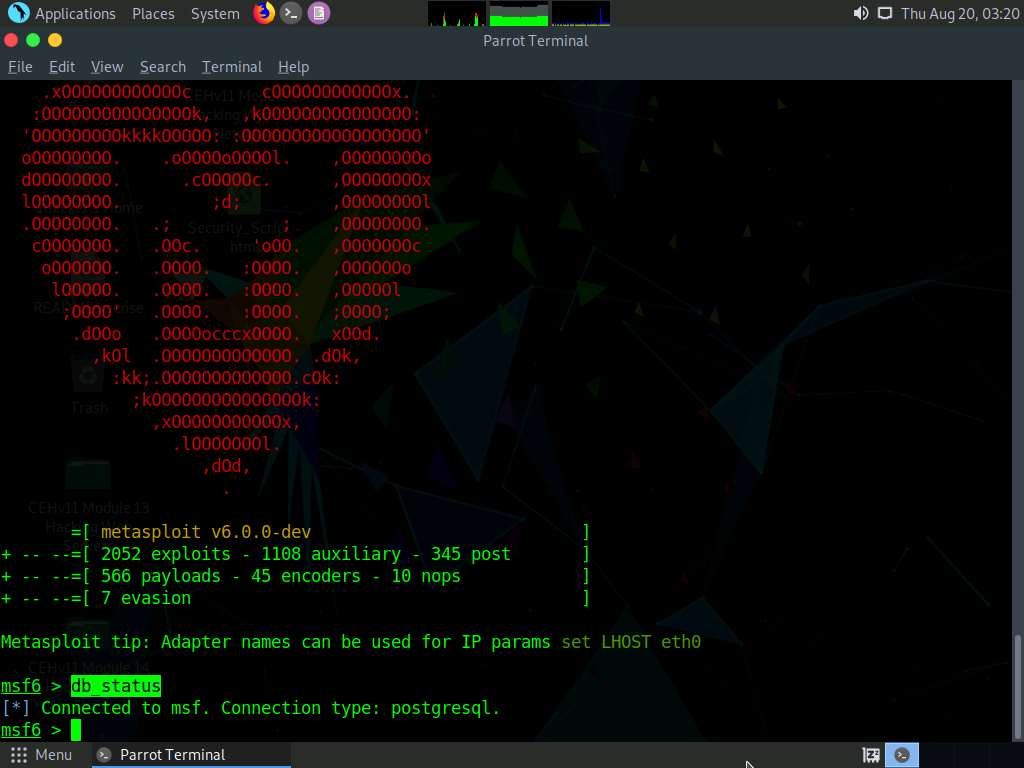
Check the database status by typing db_status and press Enter. This time, the database should successfully connect to msf, as shown in the screenshot.
Type nmap -Pn -sS -A -oX Test 10.10.10.0/24 and hit Enter to scan the subnet, as shown in the screenshot.
Here, we are scanning the whole subnet 10.10.10.0/24 for active hosts.
Nmap begins scanning the subnet and displays the results. It takes approximately 5 minutes for the scan to complete.
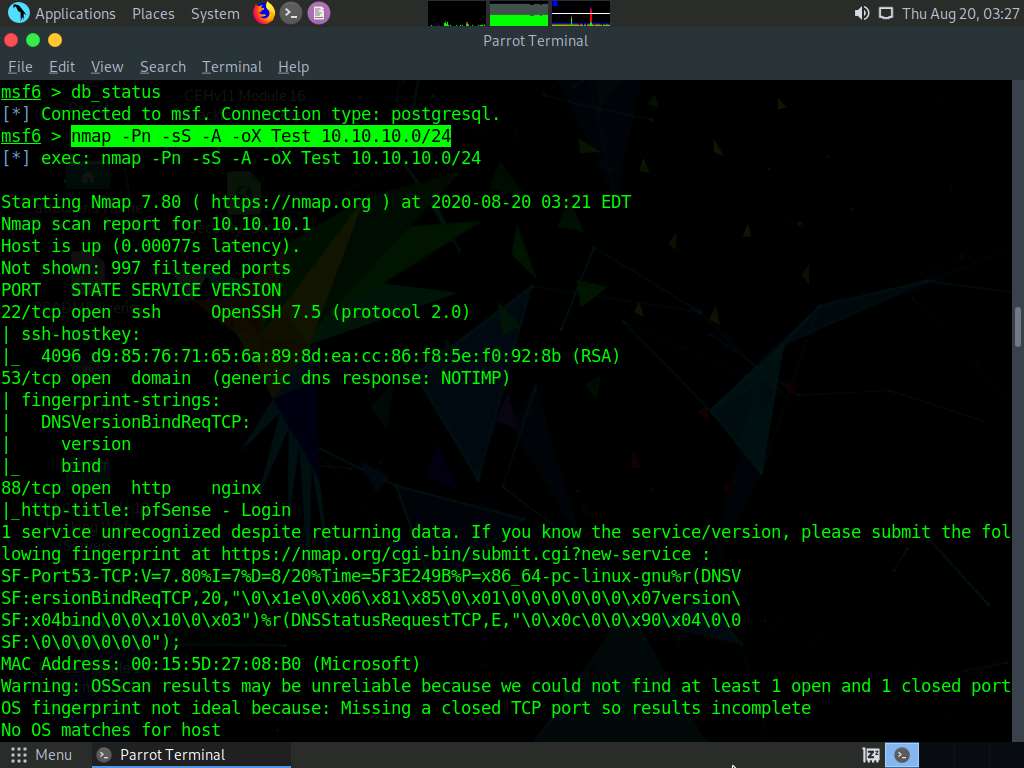
After the scan completes, Nmap displays the number of active hosts in the target network (here, 7).
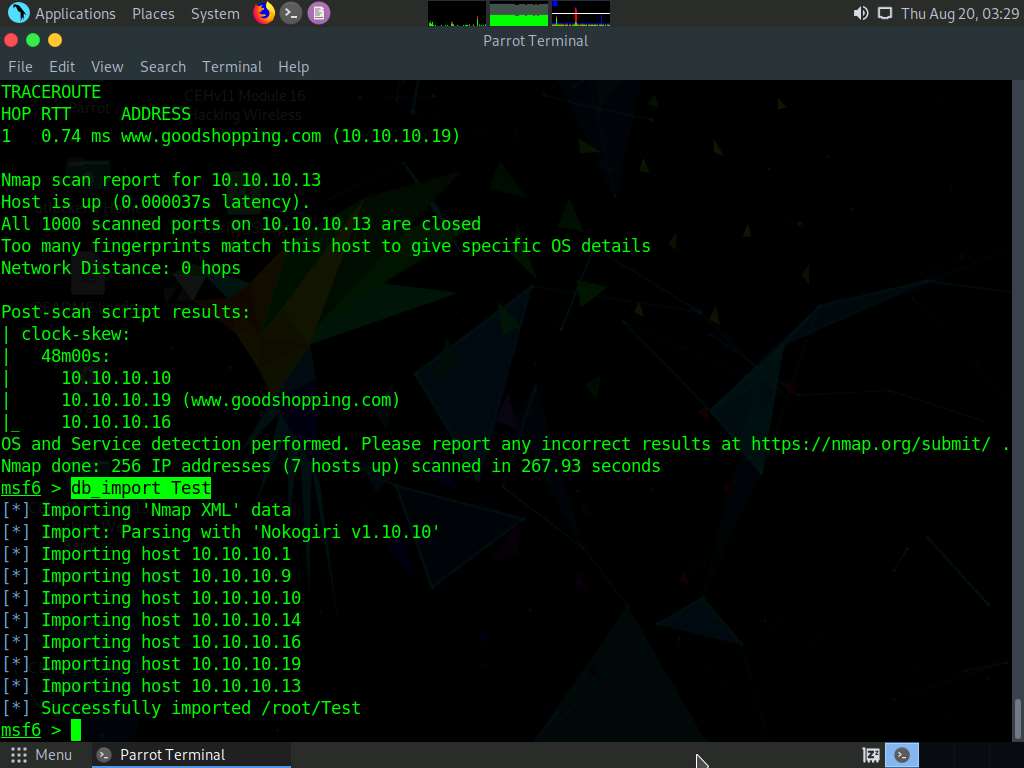
Now, type db_import Test and hit Enter to import the Nmap results from the database.
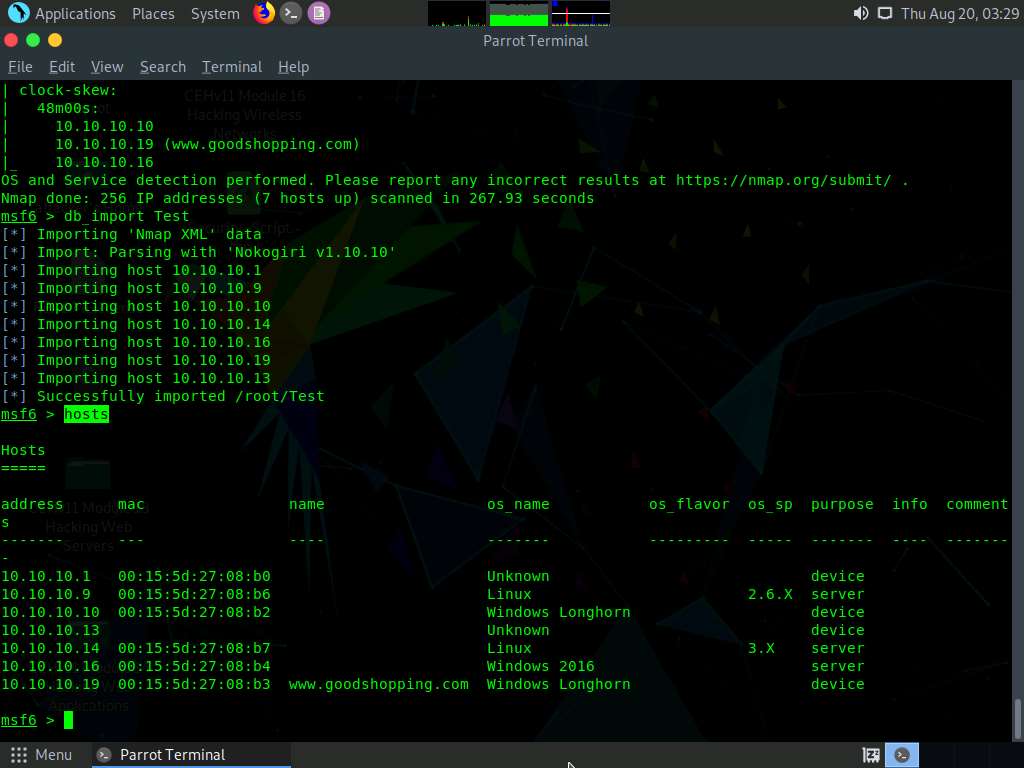
Type hosts and hit Enter to view the list of active hosts along with their MAC addresses, OS names, etc. as shown in the screenshot.
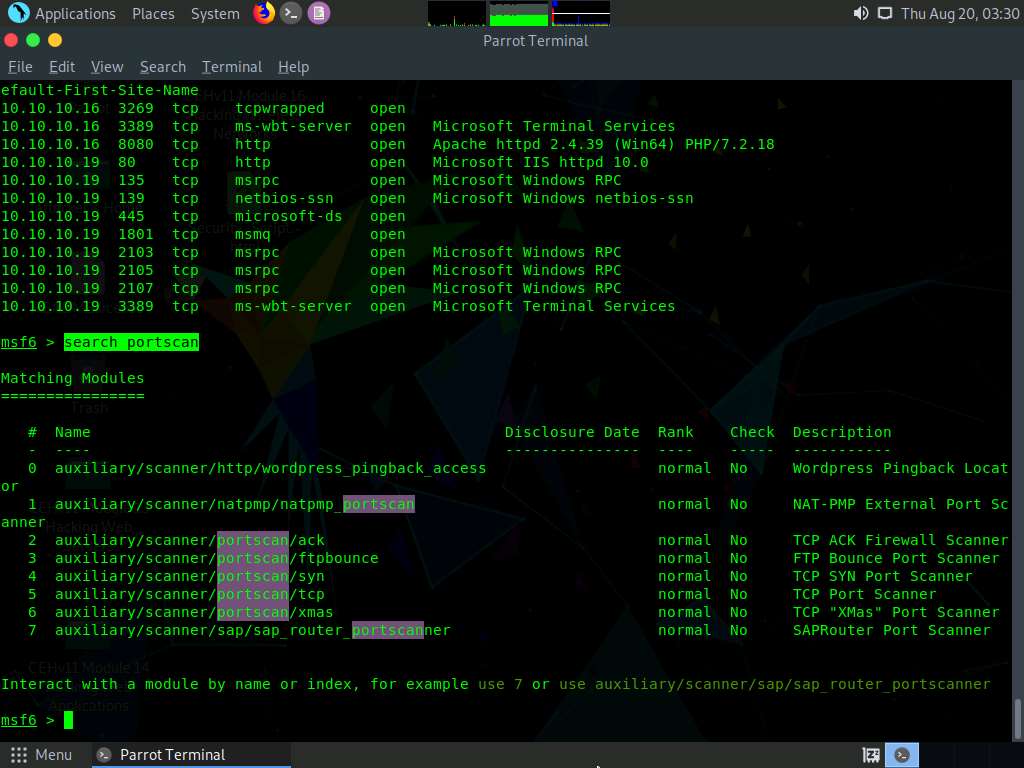
Type services or db_services and hit Enter to receive a list of the services running on the active hosts, as shown in the screenshot.
In addition to running Nmap, there are a variety of other port scanners that are available within the Metasploit framework to scan the target systems.
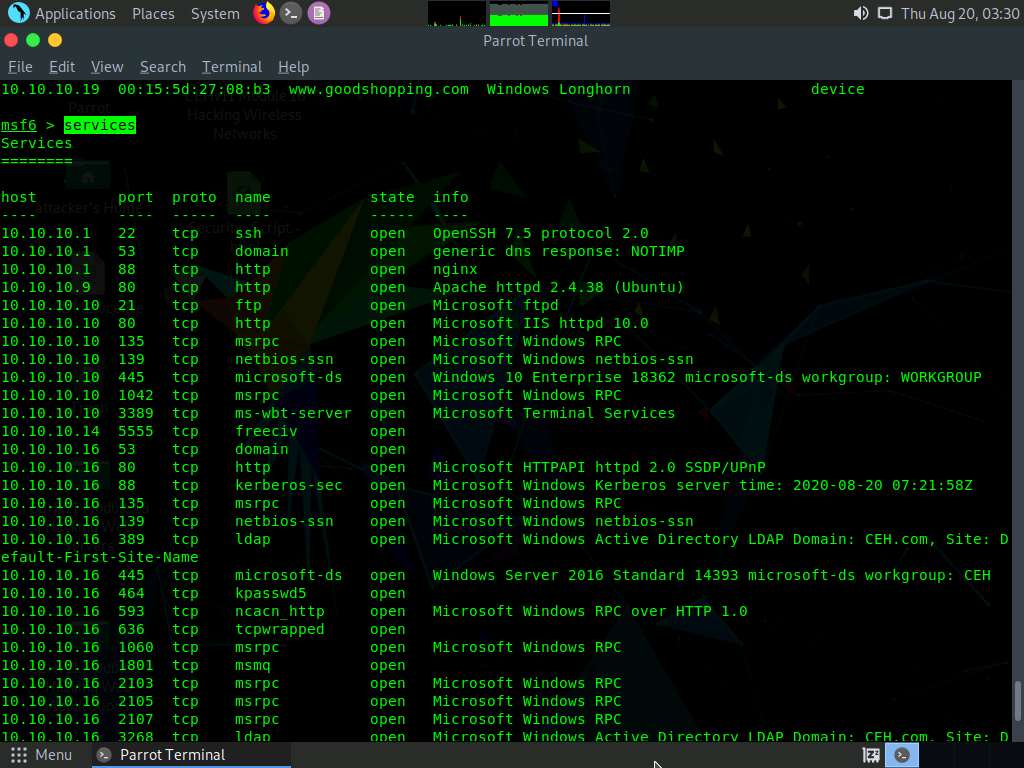
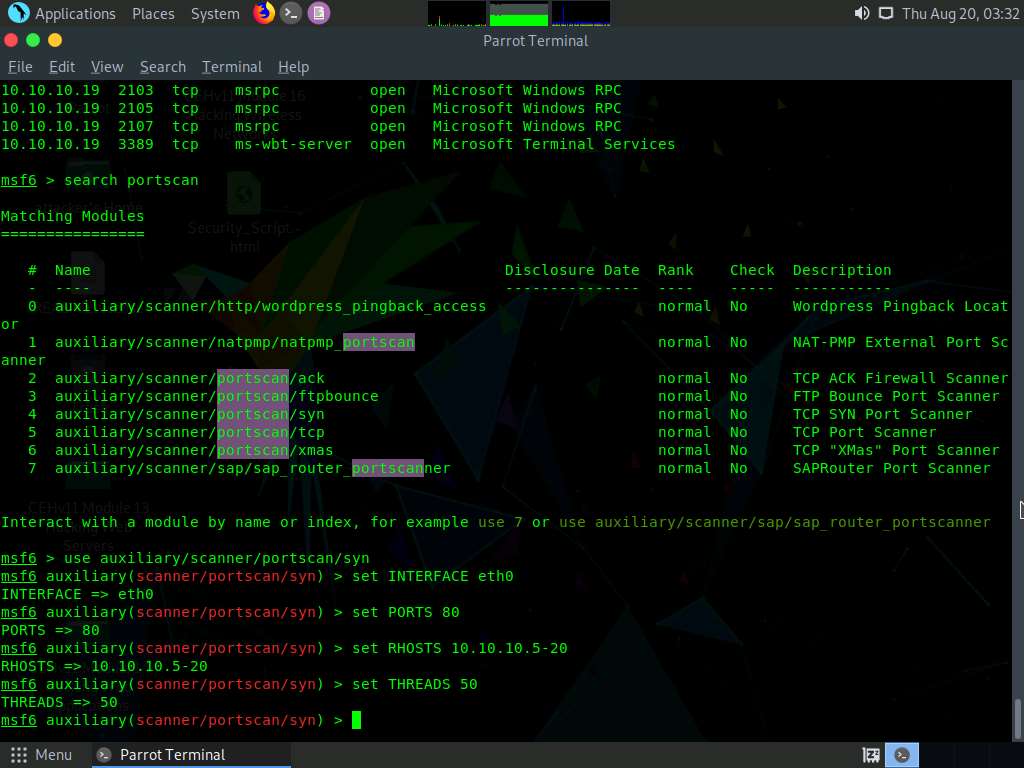
Type search portscan and hit Enter. The Metasploit port scanning modules appear, as shown in the screenshot.
Here, we will use the auxiliary/scanner/portscan/syn module to perform an SYN scan on the target systems. To do so, type use auxiliary/scanner/portscan/syn and press Enter.
We will use this module to perform an SYN scan against the target IP address range (10.10.10.5-20) to look for open port 80 through the eth0 interface.
To do so, issue the below commands:
- set INTERFACE eth0
- set PORTS 80
- set RHOSTS 10.10.10.5-20
- set THREADS 50
PORTS: specifies the ports to scan (e.g., 22-25, 80, 110-900), RHOSTS: specifies the target address range or CIDR identifier, and THREADS: specifies the number of concurrent threads (default 1).
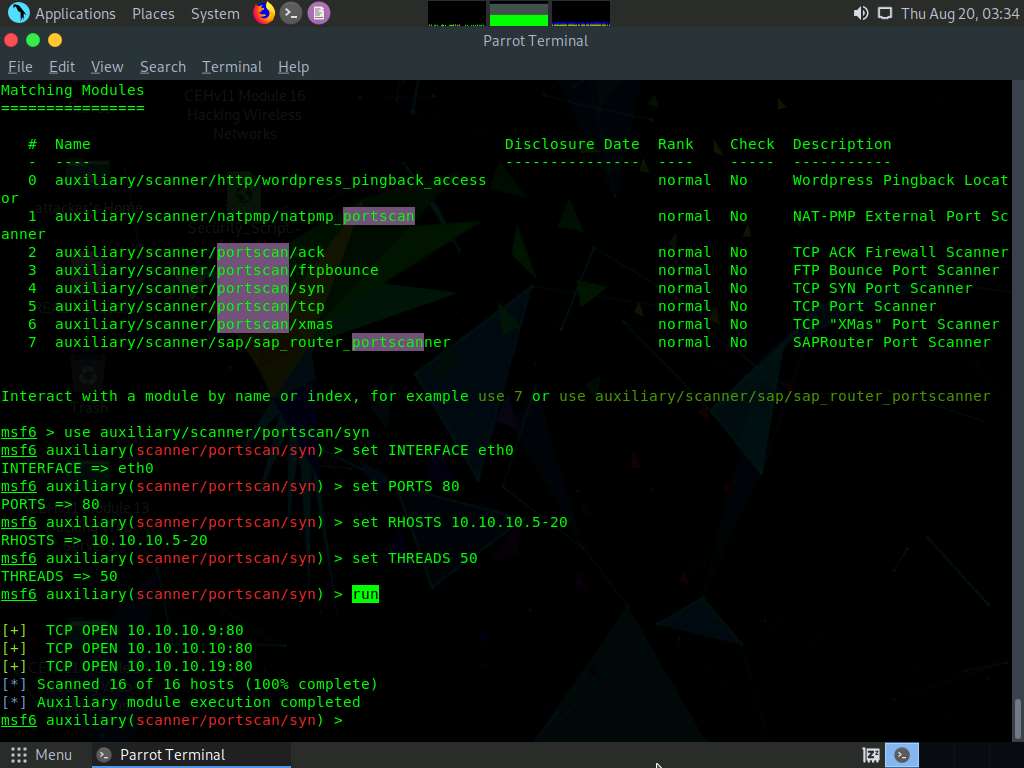
After specifying the above values, type run, and press Enter to initiate the scan against the target IP address range.
Similarly, you can also specify a range of ports to be scanned against the target IP address range.
The result appears, displaying open port 80 in active hosts, as shown in the screenshot.
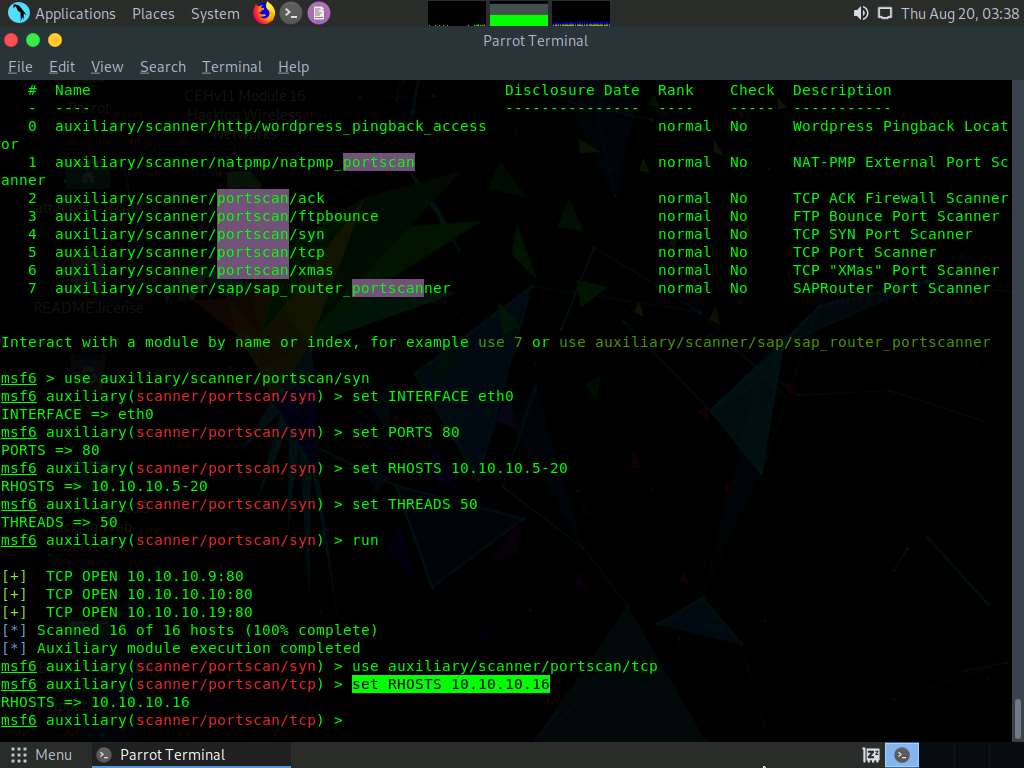
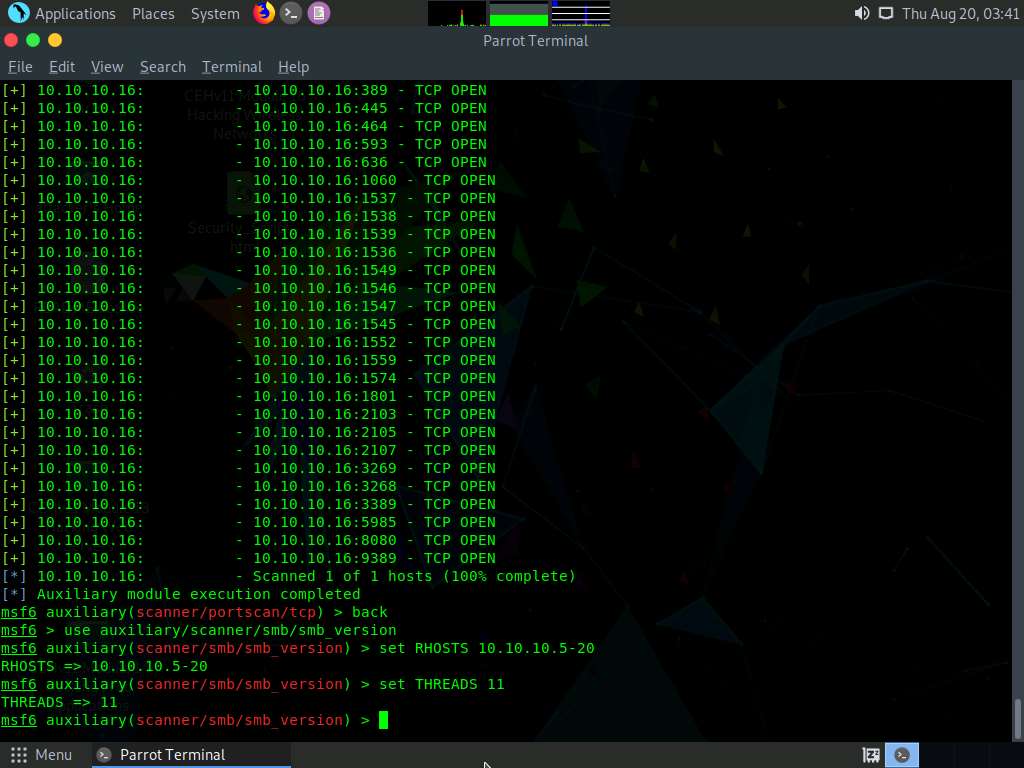
Now, we will perform a TCP scan for open ports on the target systems. To do so, first type back, and then press Enter to revert to the msf command line.
To load the auxiliary/scanner/portscan/tcp module, type use auxiliary/scanner/portscan/tcp and press Enter.
Type hosts -R and press Enter to automatically set this option with the discovered hosts present in our database.
OR
Type set RHOSTS [Target IP Address] and press Enter.
Here, we will perform a TCP scan for open ports on a single IP address (10.10.10.16), as scanning multiple IP addresses consumes much time.
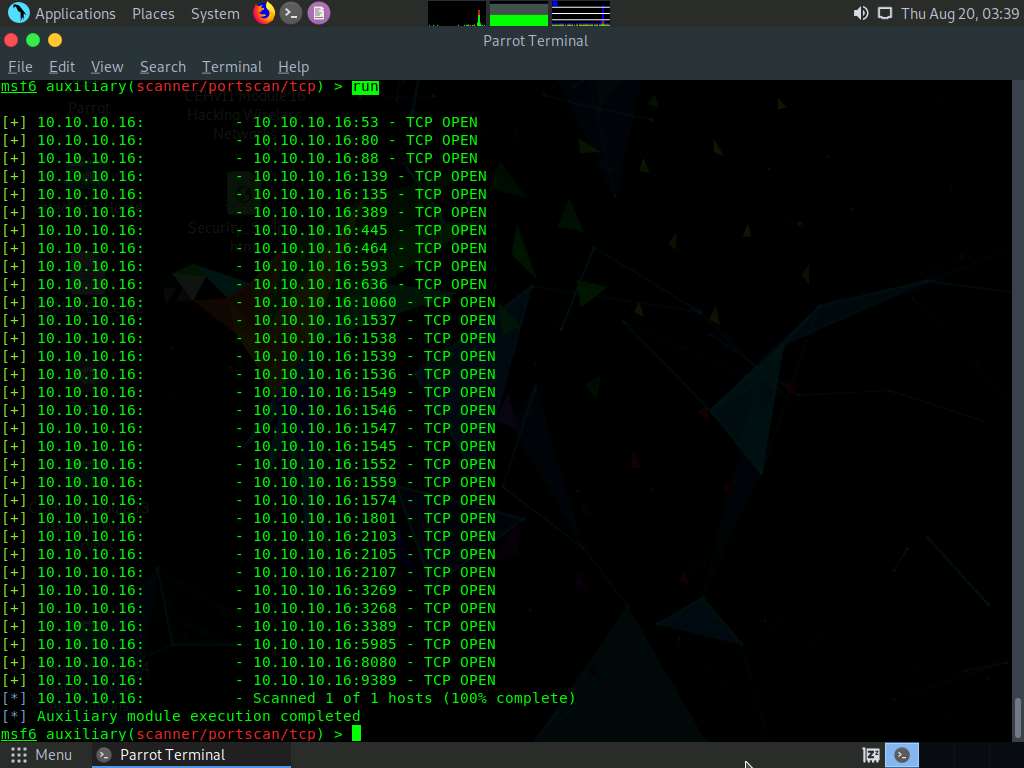
Type run and press Enter to discover open TCP ports in the target system.
The results appear, displaying all open TCP ports in the target IP address (10.10.10.16).
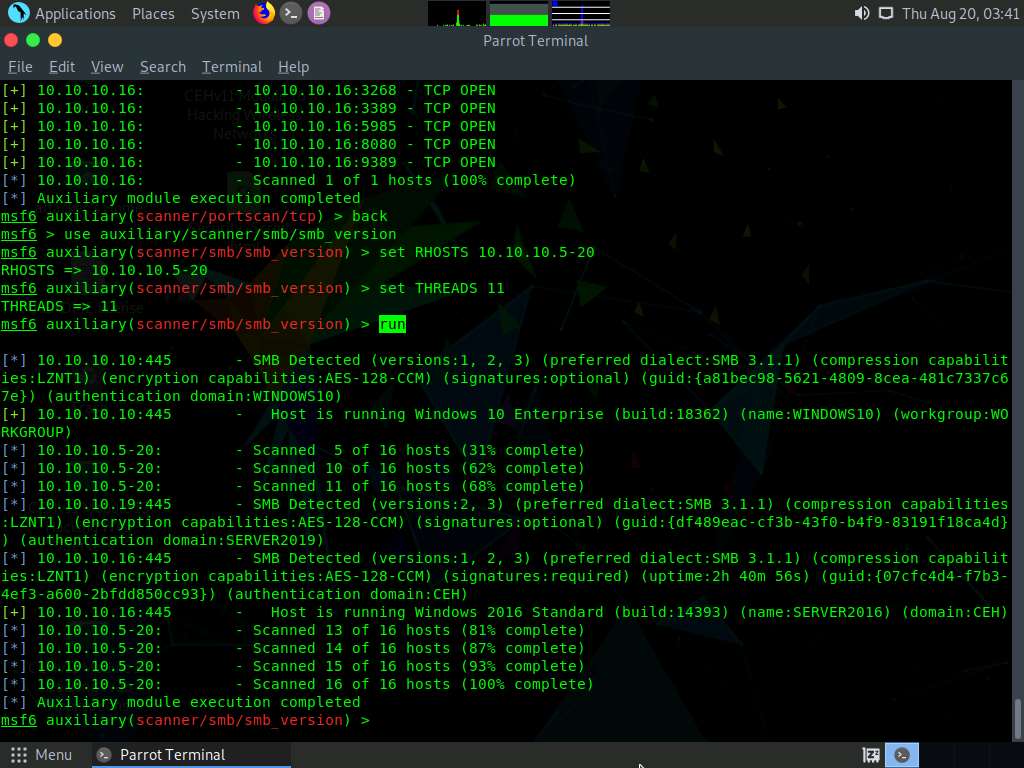
Now that we have determined the active hosts on the target network, we can further attempt to determine the OSes running on the target systems. As there are systems in our scan that have port 445 open, we will use the module scanner/smb/version to determine which version of Windows is running on a target and which Samba version is on a Linux host.
To do so, first type back, and then press Enter to revert to the msf command line. Then, type use auxiliary/scanner/smb/smb_version and press Enter.
We will use this module to run a SMB version scan against the target IP address range (10.10.10.5-20). To do so, issue the below commands:
set RHOSTS 10.10.10.5-20
set THREADS 11
Type run and press Enter to discover SMB version in the target systems.
The result appears, displaying the OS details of the target hosts.
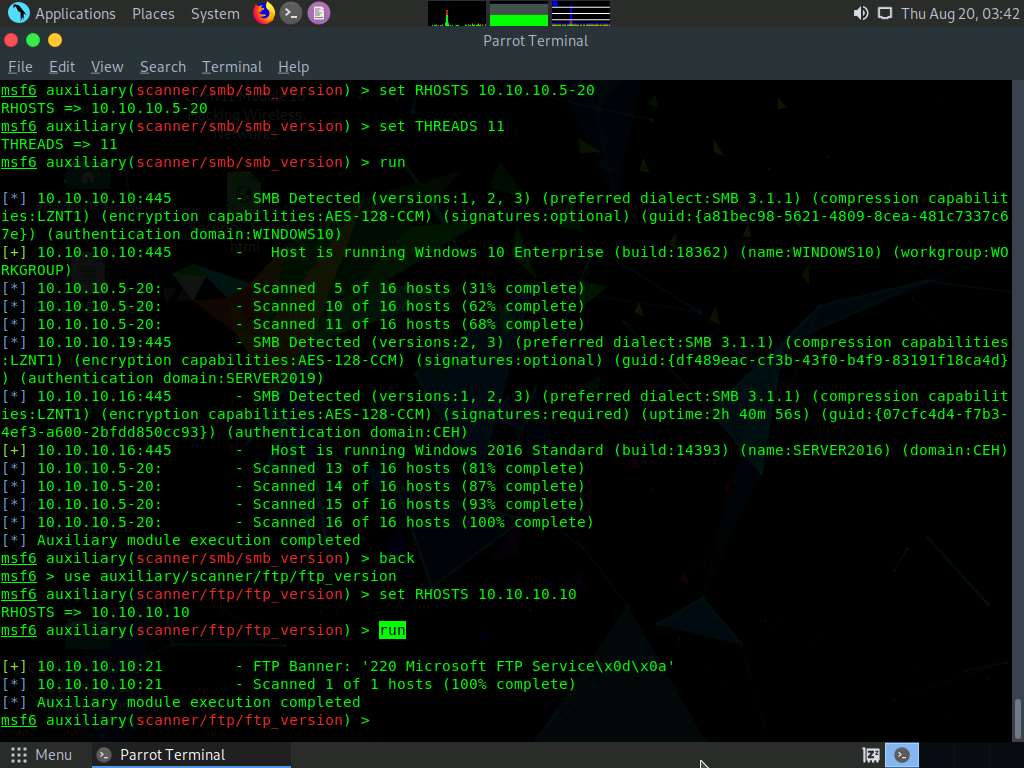
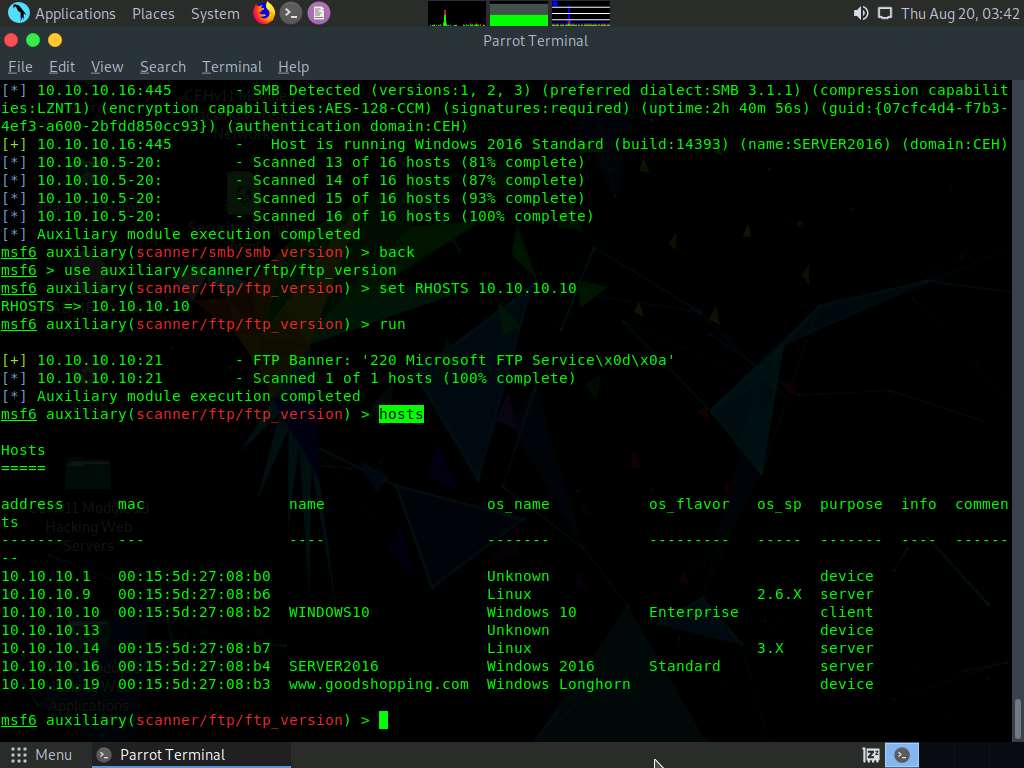
While performing a scan using Nmap, we discovered that the FTP port 21 is open on the host 10.10.10.10 in the target network. Now, we will scan the target host to identify the FTP version.
Type back and press Enter. To load an FTP module, type use auxiliary/scanner/ftp/ftp_version and press Enter.
Type set RHOSTS 10.10.10.10 and press Enter to specify the target host.
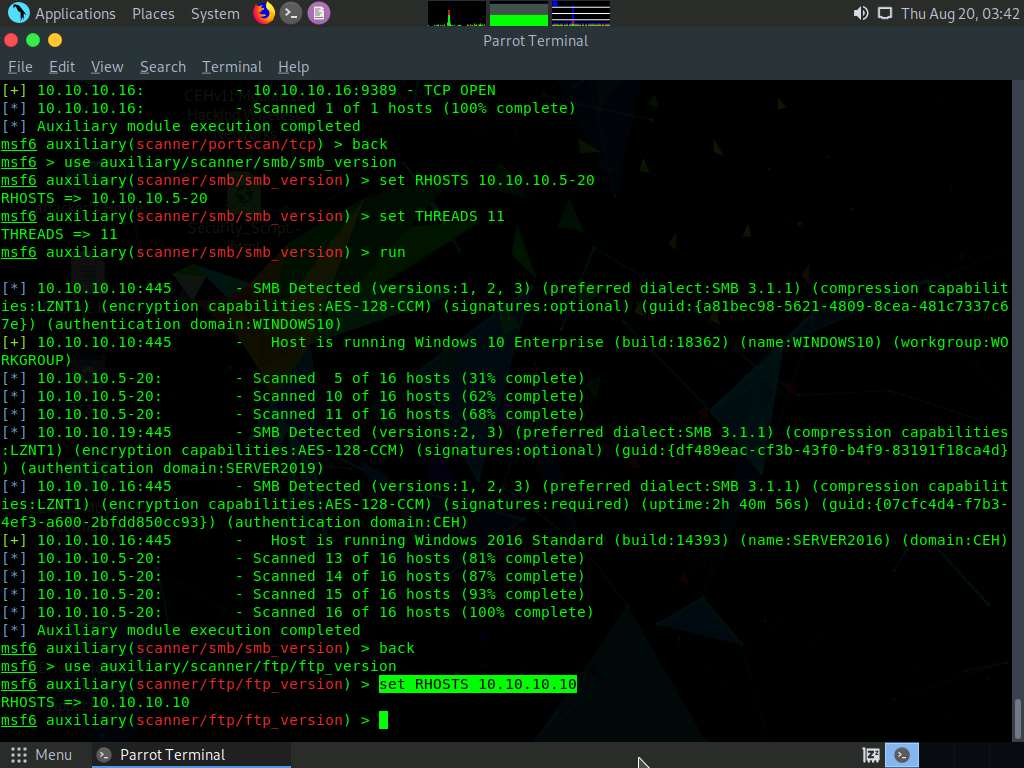
Type run and press Enter to initiate the FTP version identification scan.
The result appears, displaying the FTP version details of the target host, as shown in the screenshot.
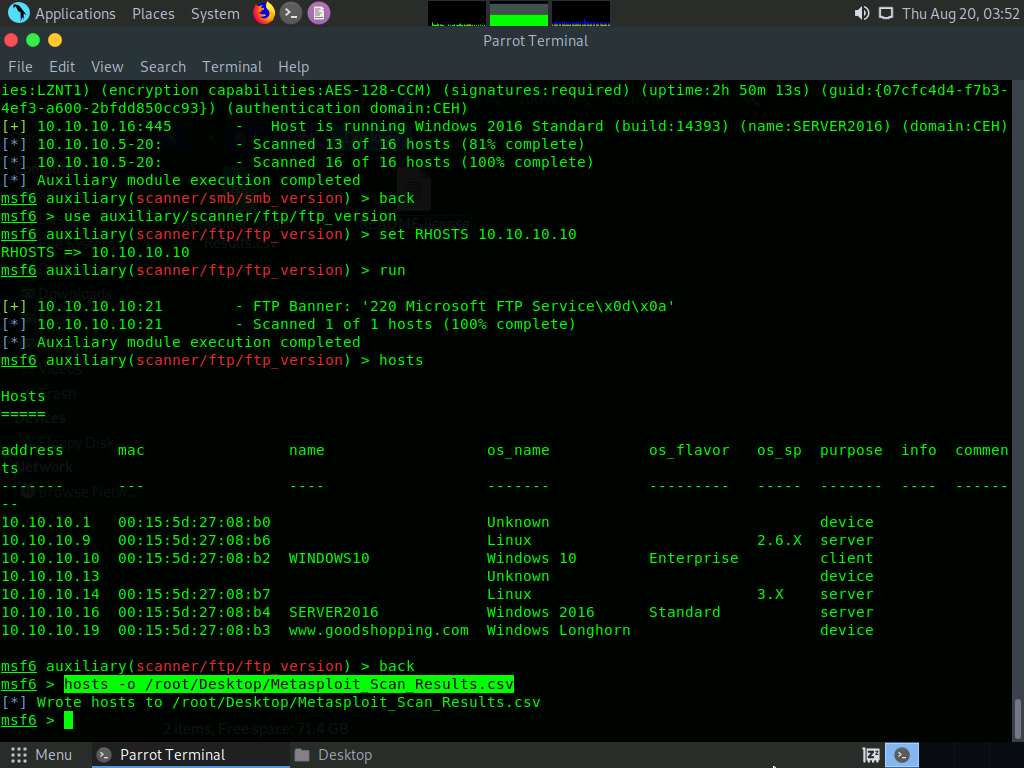
Type hosts and press Enter to view detailed information on active hosts in the target network.
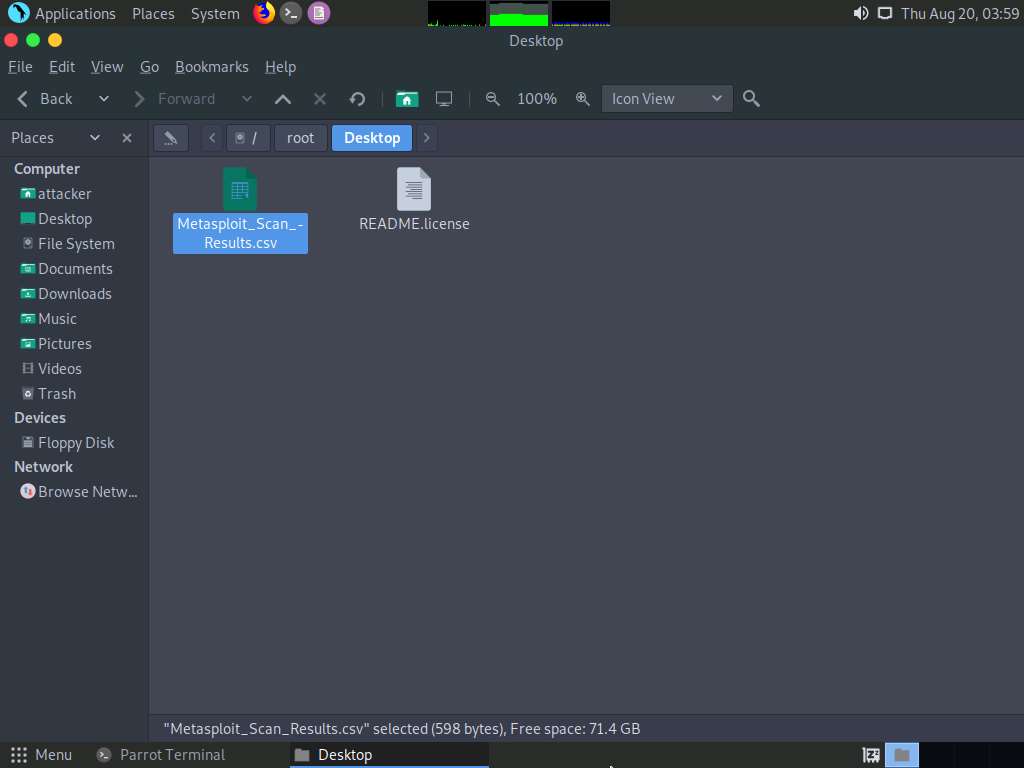
You can further export this information to a CSV file. To do so, first type back, and then press Enter. Now, type hosts -o /root/Desktop/Metasploit_Scan_Results.csv and press Enter.
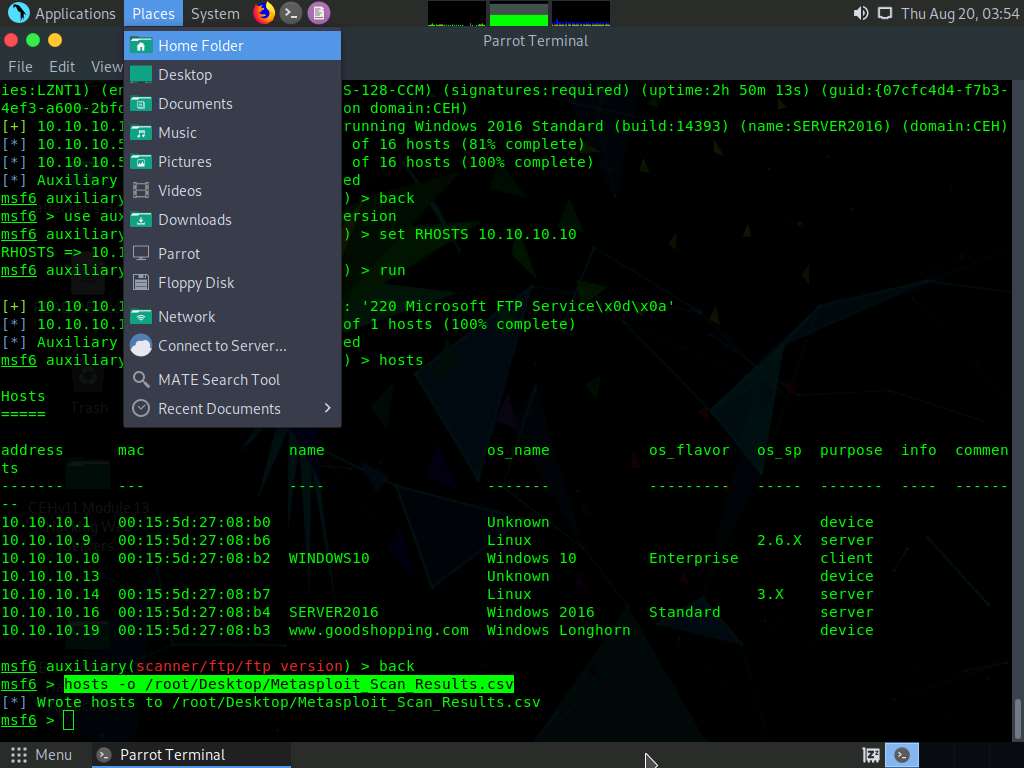
Click Places from the top-section of Desktop and click Home Folder from the drop-down options.
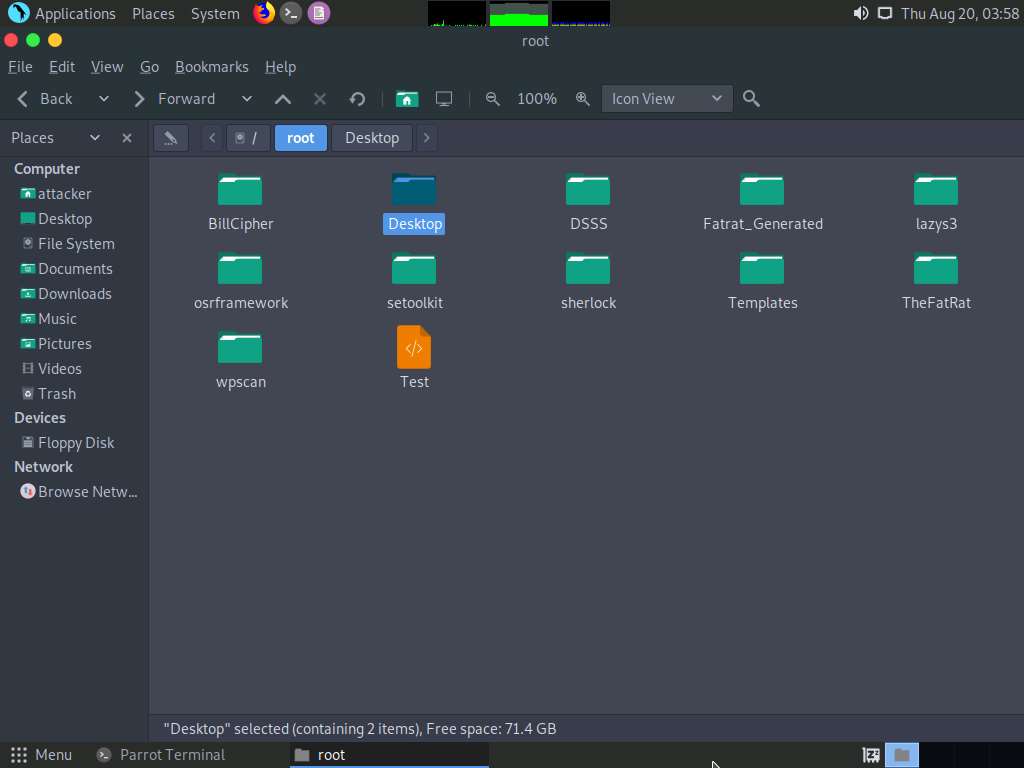
The attacker window appears, click File System and double-click root folder.
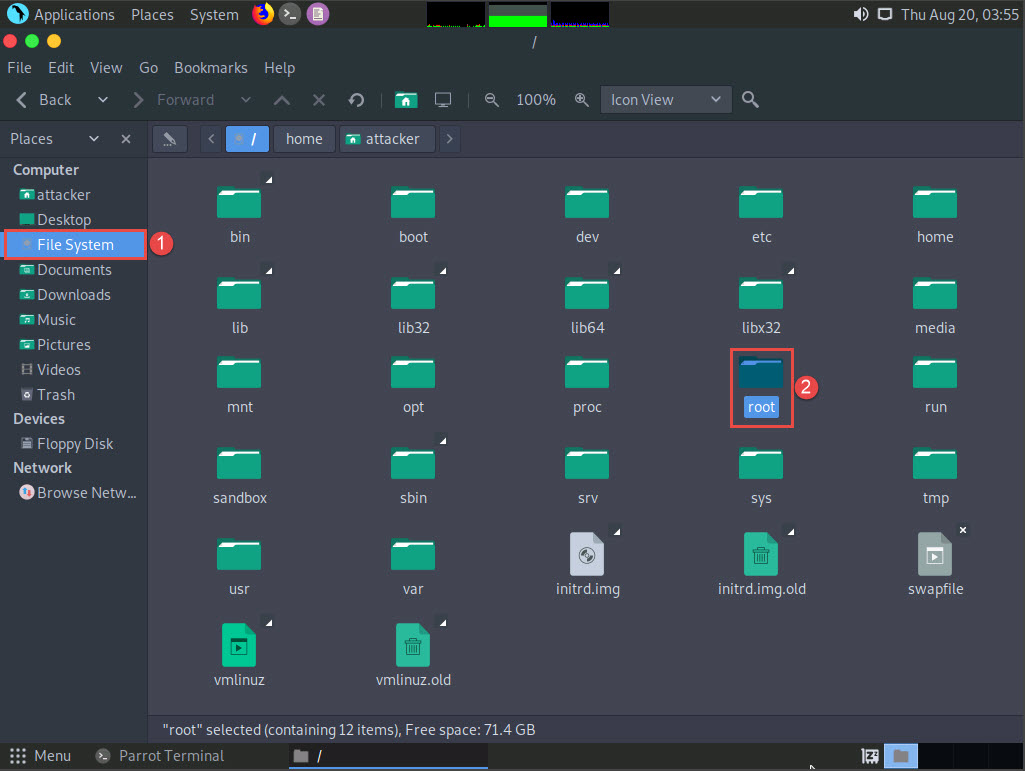
The root window appears, double-click Desktop folder.
You can observe Metasploit_Scan_Results.csv file. This CSV file, contains detailed information on the active hosts in the target IP range.ss
This information can further be used to perform vulnerability analysis on the open services discovered in the target hosts.
This concludes the demonstration of gathering information on open ports, a list of services running on active hosts, and information related to OSes, amongst others.
Close all open windows and document all the acquired information.


Comments
Post a Comment