Lab 5: Draw Network Diagrams
Lab 5: Draw Network Diagrams
Lab Scenario
Until now, you have gathered information about the open ports, services running on the ports, OS details, security mechanisms details, etc. of the target network using various port and network scanning techniques and tools.
As a professional ethical hacker or a pen tester, the last step in the penetration process is to draw a network diagram that assists in identifying the topology or architecture of a target network. The network diagram also helps to trace the path to the target host in the network and enables you to understand the position of firewalls, IDSs, routers, and other access control devices.
As a professional ethical hacker or pen tester, you should be able to create a pictorial representation of network topology used in the target network. The network diagrams can be used to launch further attacks on the target network.
Lab Objectives
- Draw network diagrams using Network Topology Mapper
Overview of Network Diagrams
Drawing a network diagram assists in the identification of the topology or architecture of a target network, and further assists you in finding the vulnerabilities or weak points of security mechanisms. These vulnerabilities can then be exploited to bypass the target’s network. The network diagram also helps the network administrators to manage their networks.
Task 1: Draw Network Diagrams using Network Topology Mapper
Network Topology Mapper discovers a network and produces a comprehensive network diagram that integrates OSI Layer 2 and Layer 3 topology data. It automatically detects new devices and changes to network topology, simplifies inventory management for hardware and software assets, and addresses reporting needs for PCI compliance and other regulatory requirements
Here, we will use Network Topology Mapper to draw network diagrams of the target network.
In the Windows 10 machine, navigate to D:\CEH-Tools\CEHv11 Module 03 Scanning Networks\Network Discovery Tools\Network Topology Mapper, and then double-click SolarWinds Network Topology Mapper.exe.
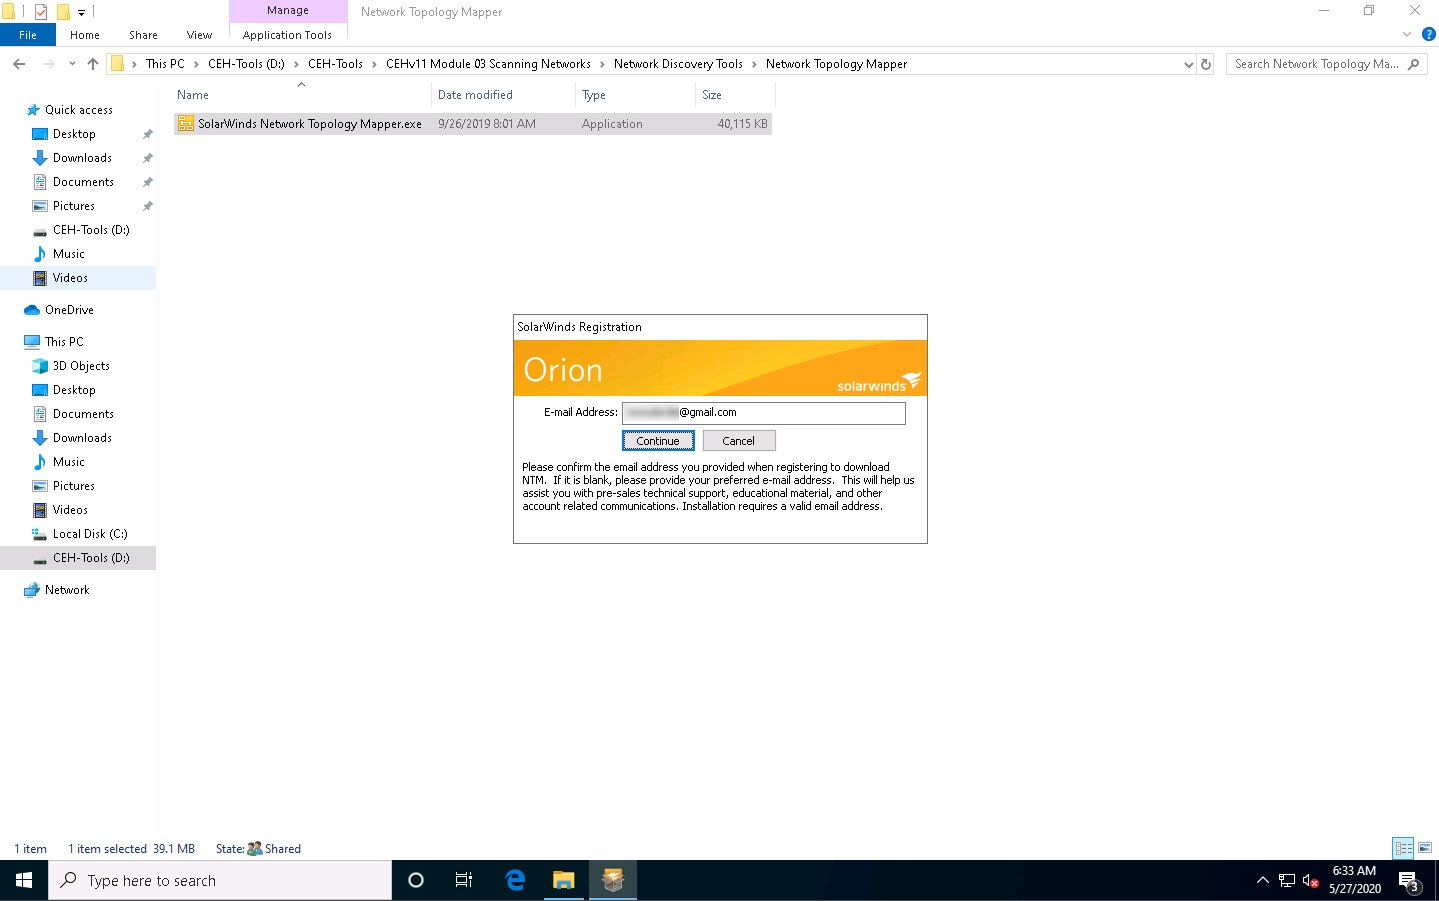
The SolarWinds Registration dialog-box opens. Enter a working email address, and then click Continue.
In the next window, accept the license agreement and click Install.
If a User Account Control window appears, click Yes.
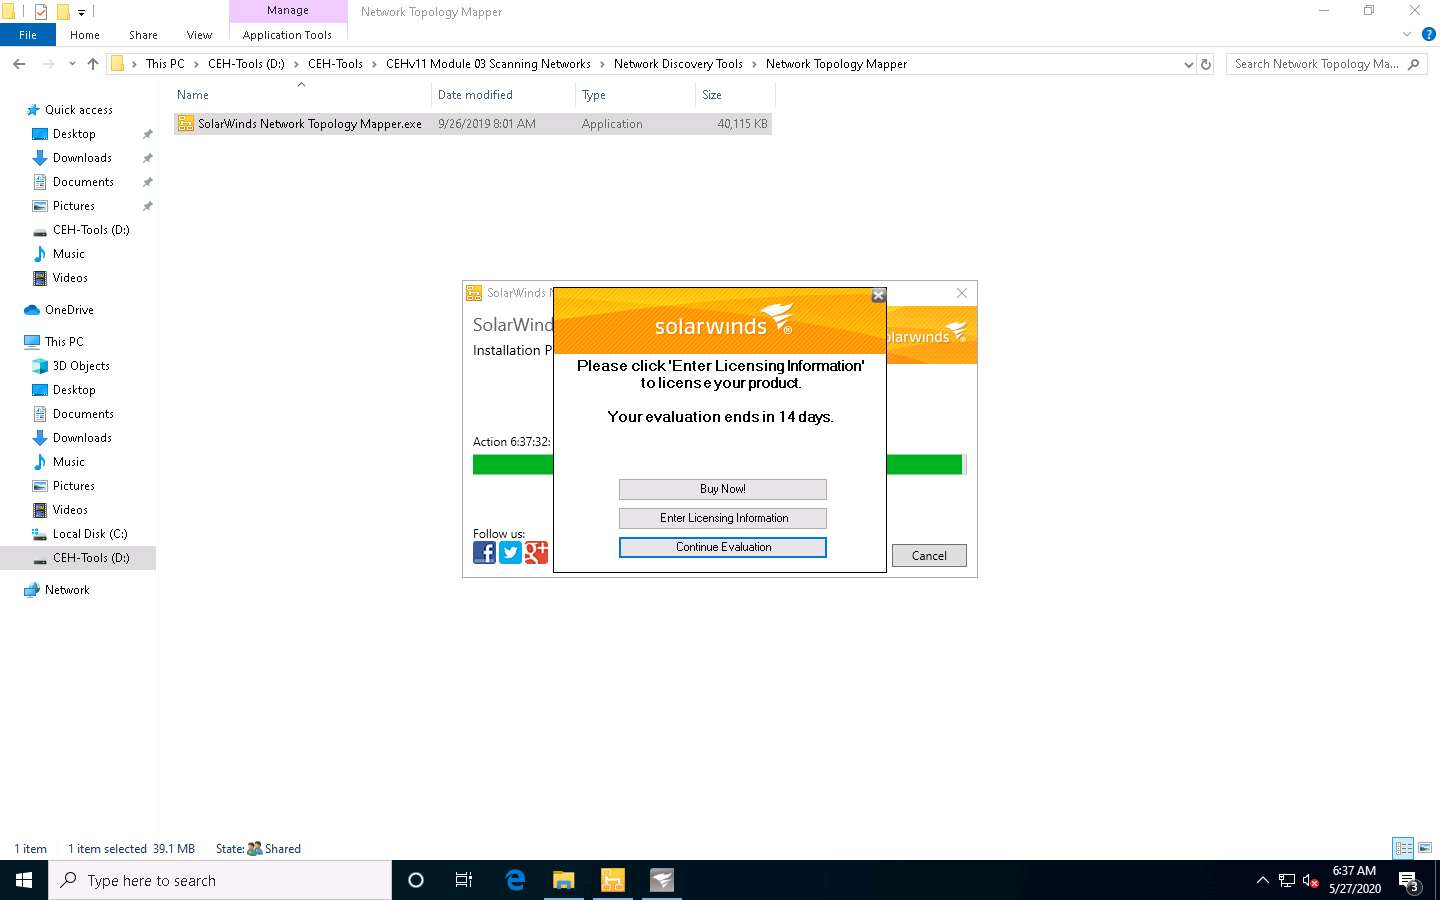
The SolarWinds license pop-up appears; click Continue Evaluation.
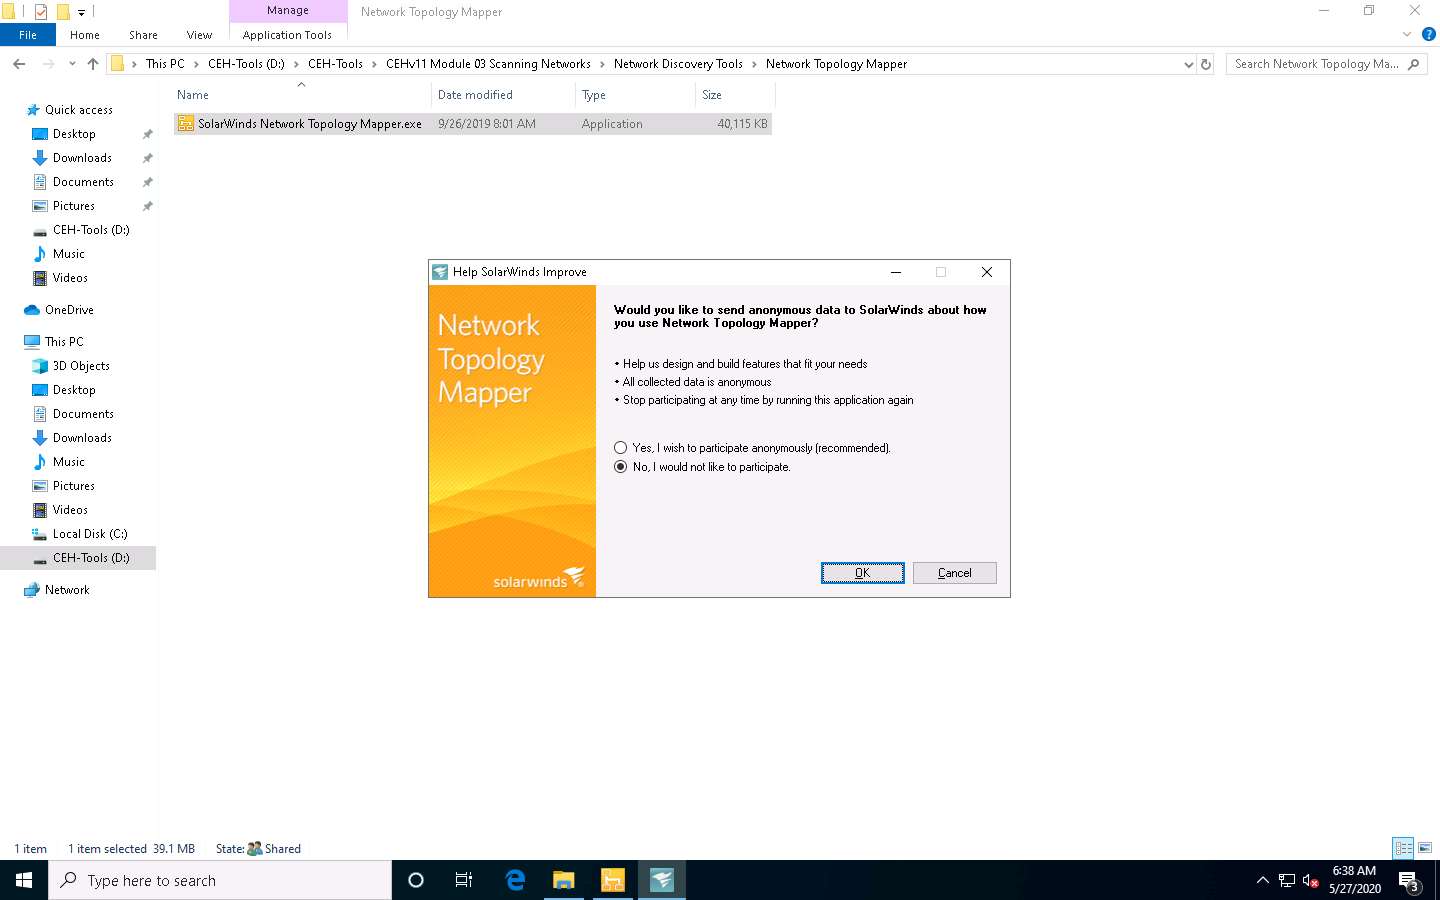
The Help SolarWinds Improve window appears. Click the No, I would not like to participate radio button, and then click OK.
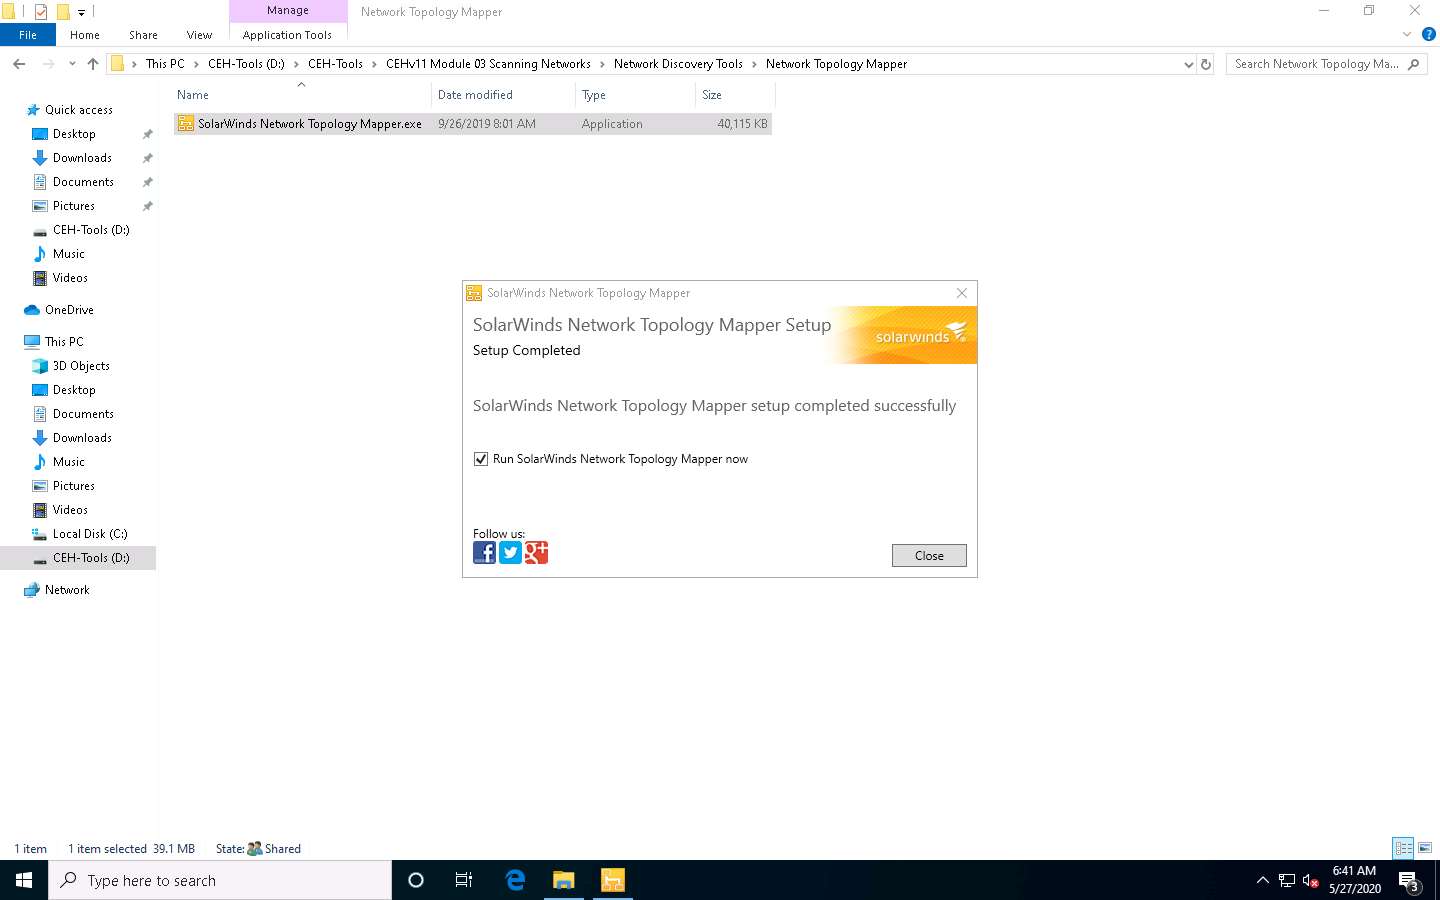
Once the installation is complete, and the SolarWinds Network Topology Mapper window opens, click Close.
Ensure that the Run SolarWinds Network Topology Mapper now option is selected.
The Solarwinds pop-up opens; click Continue Evaluation.
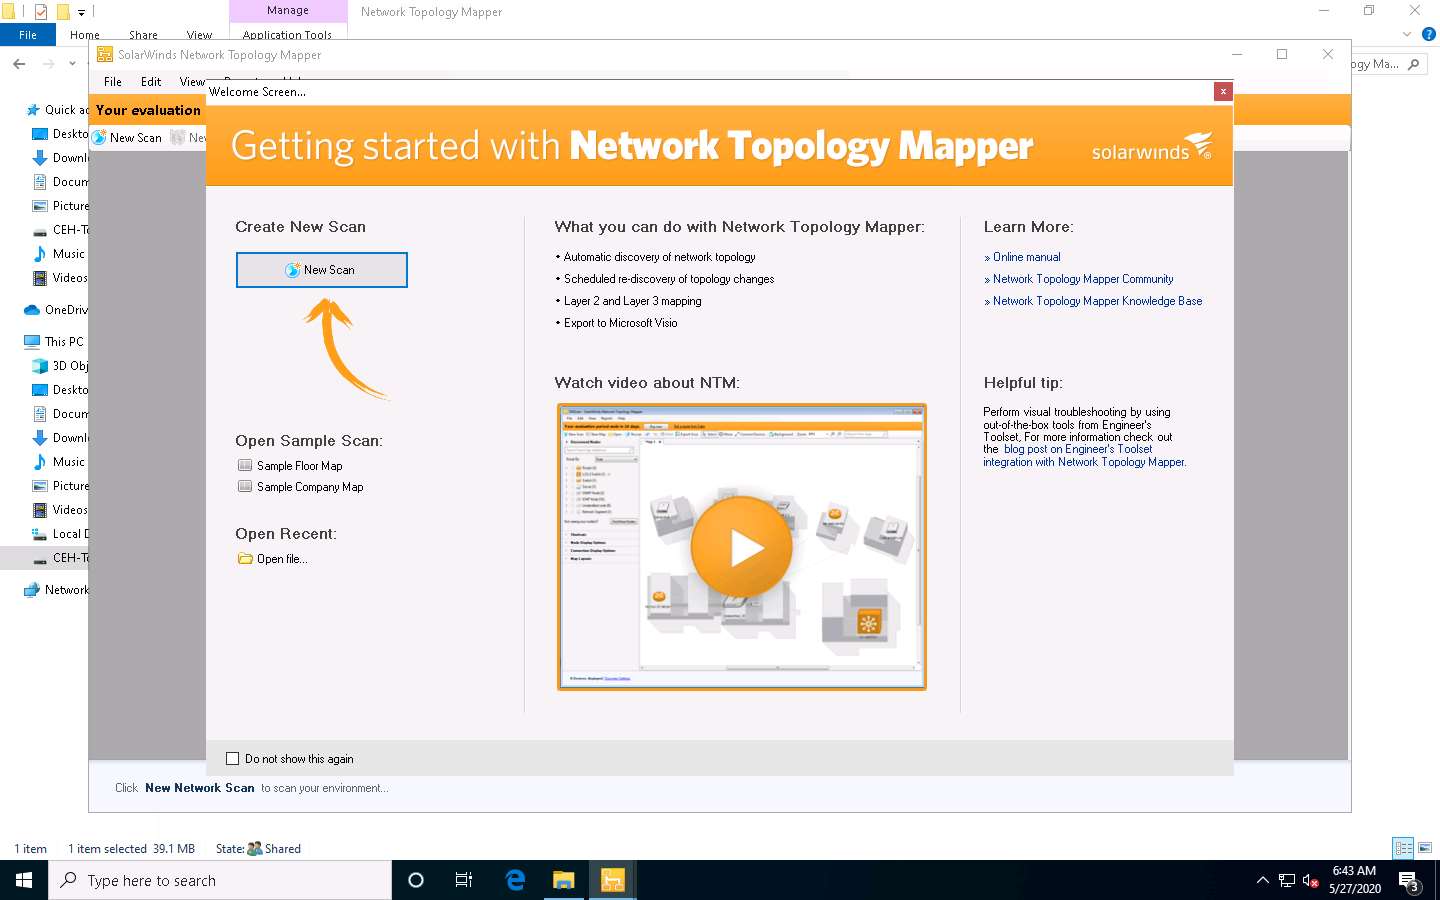
The SolarWinds Network Topology Mapper main window appears, along with the Welcome Screen…. Click New Scan in the left pane of the Welcome Screen.
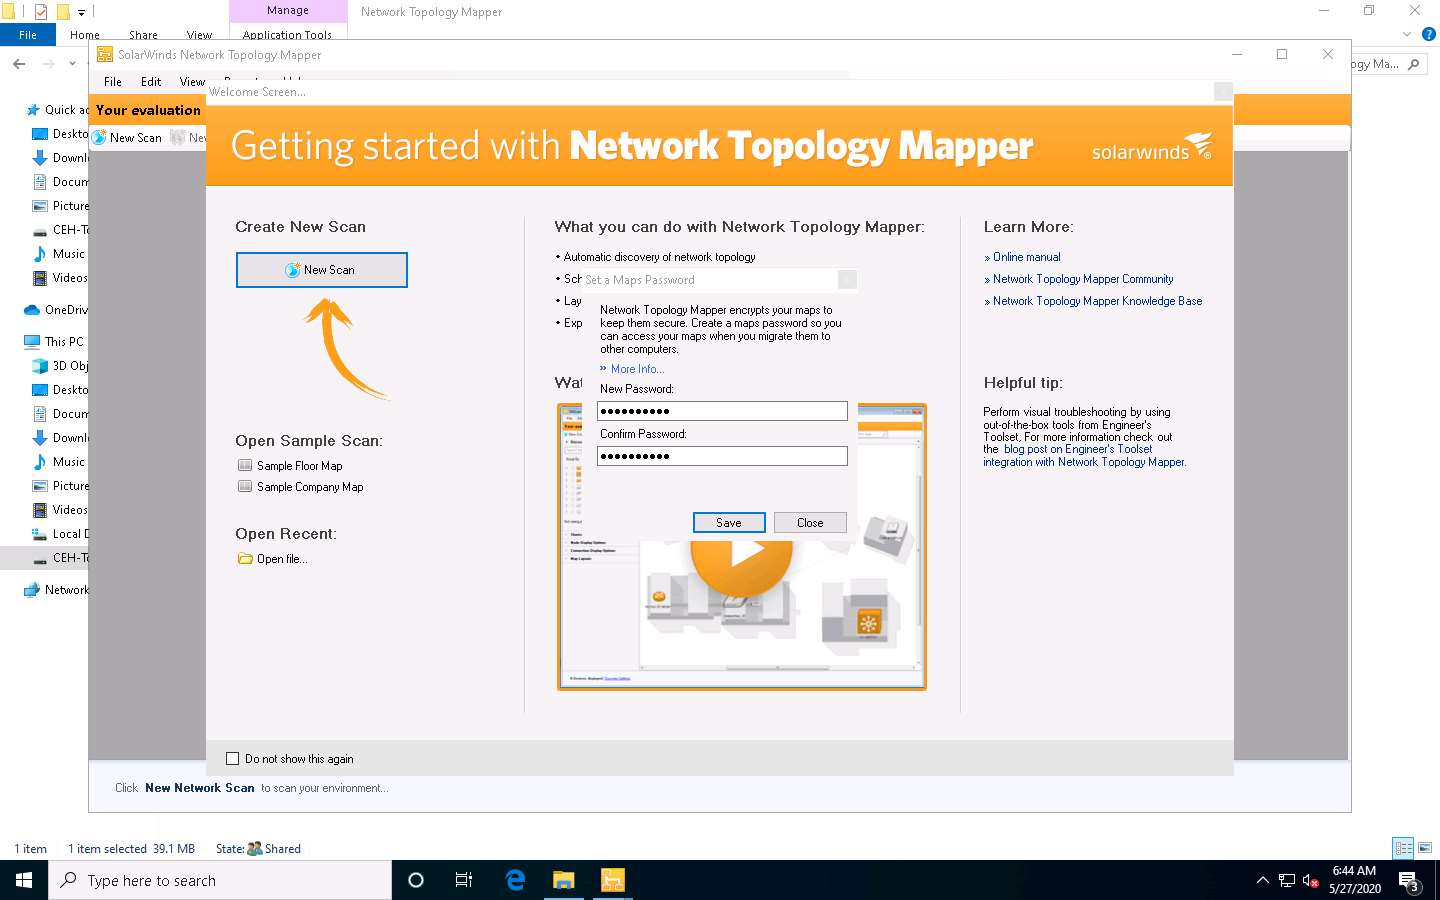
The Set a Maps Password pop-up appears. Enter a password (here, qwerty@123) of your choice in the New Password field, re-enter the same password in the Confirm Password field, and click Save.
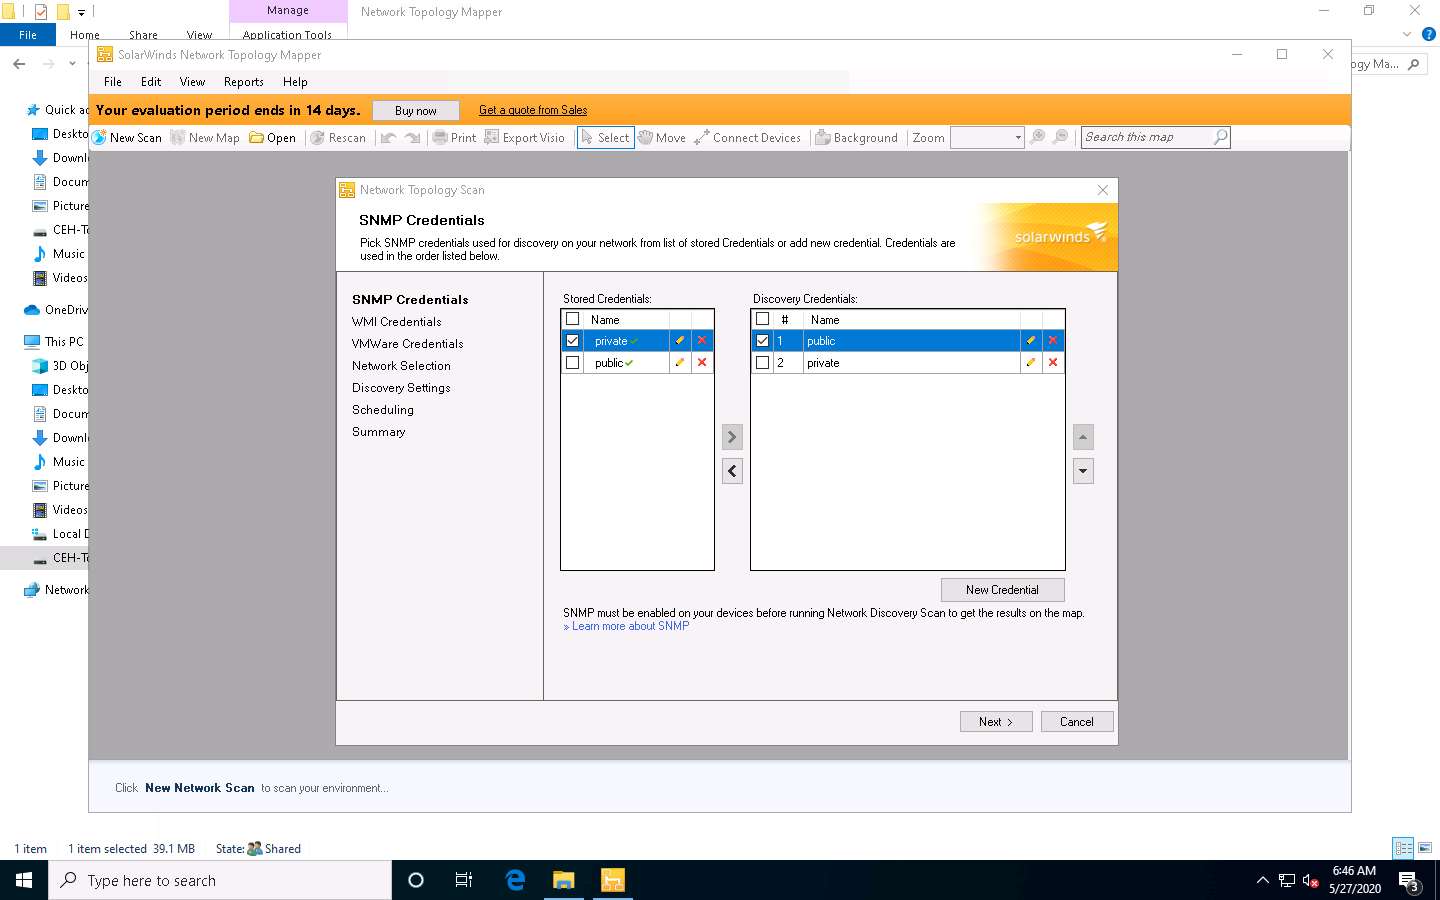
The Network Topology Scan window appears. In the SNMP Credentials section, select the private credential under the Stored Credentials section and public credential under the Discovery Credentials section, and then click Next.
Leave the WMI Credentials and VMWare Credentials section to default and click Next.
The Network Selection section appears. Click the IP Ranges tab in the right-pane, enter the IP address range (10.10.10.3 - 10.10.10.254) in the Start Address and End Address fields, and click Next.

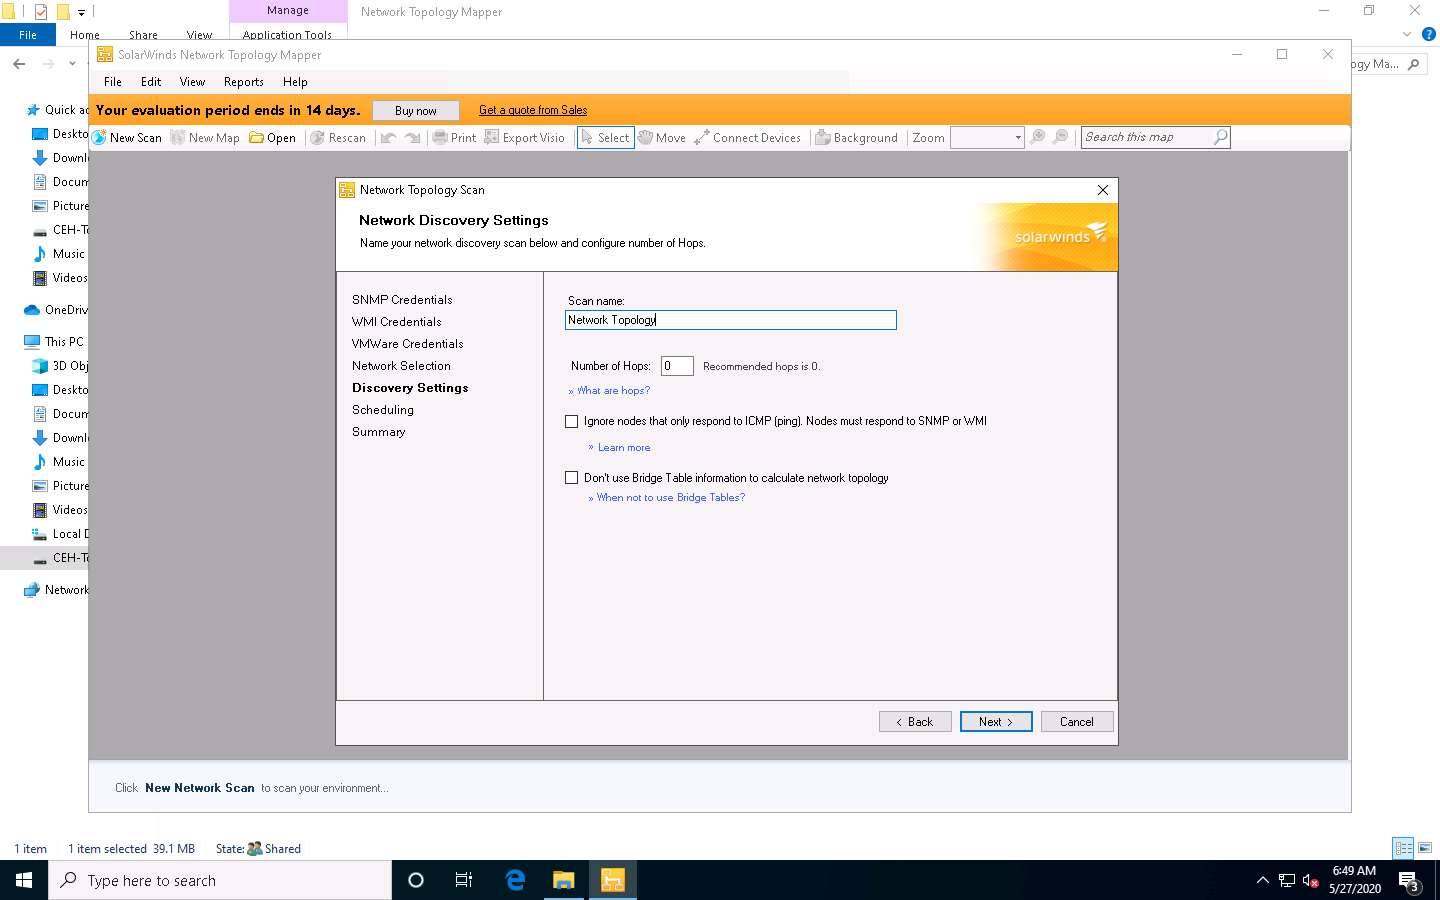
The Discovery Settings section appears. Enter a name under the Scan name field (here, “Network Topology”) and click Next.
The Scheduling section appears. Ensure that Once is selected in the Frequency drop-down menu; under the Execute immediately radio button Yes, run this discovery now is selected; then, click Next.

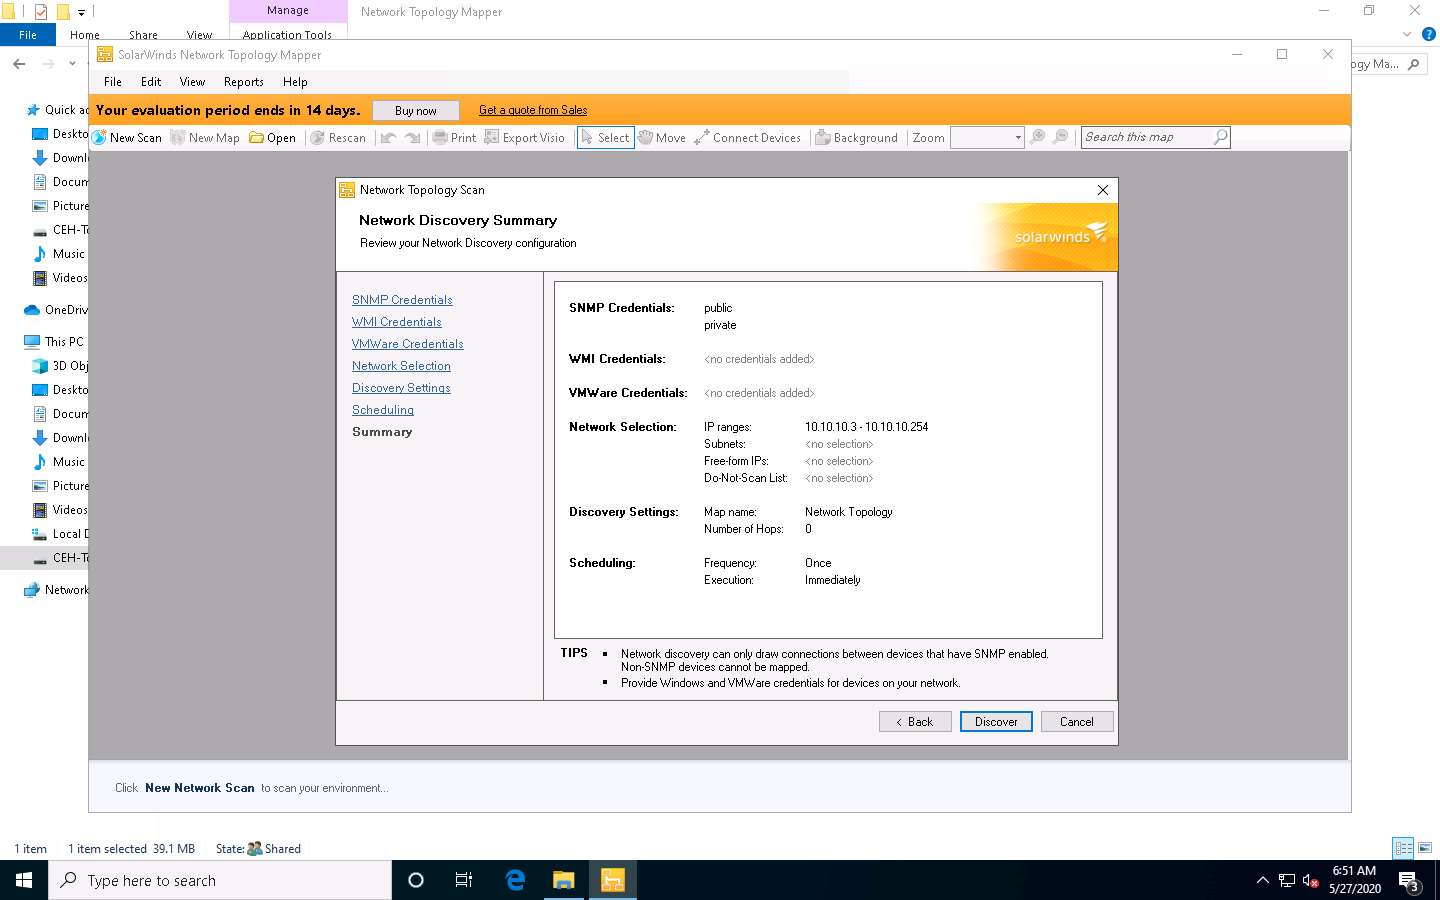
The Summary section appears; click Discover.
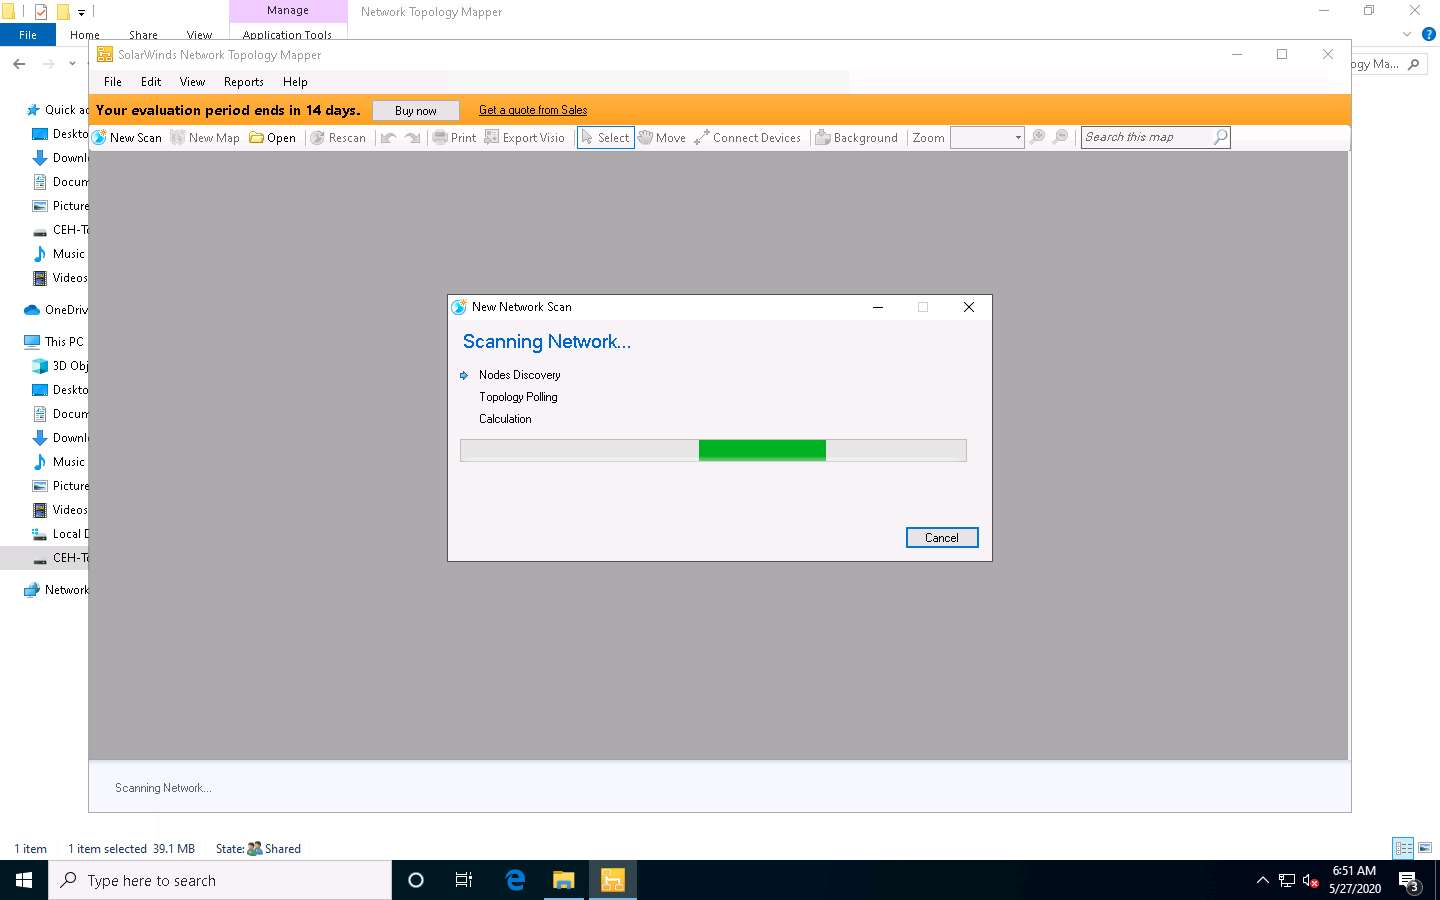
The New Network Scan window appears; the Network Topology Mapper starts scanning the network for live hosts.
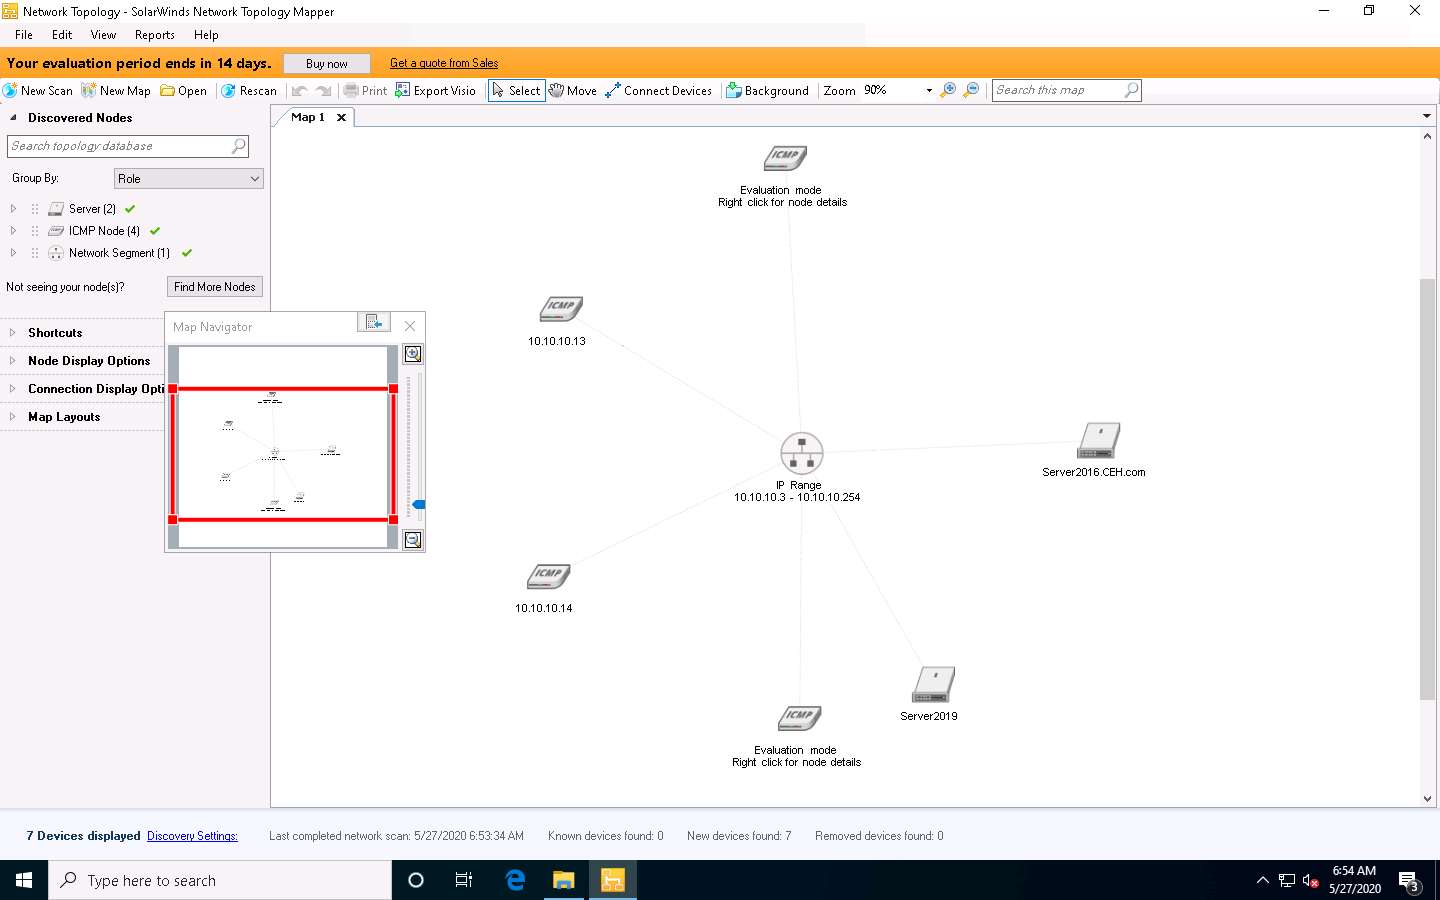
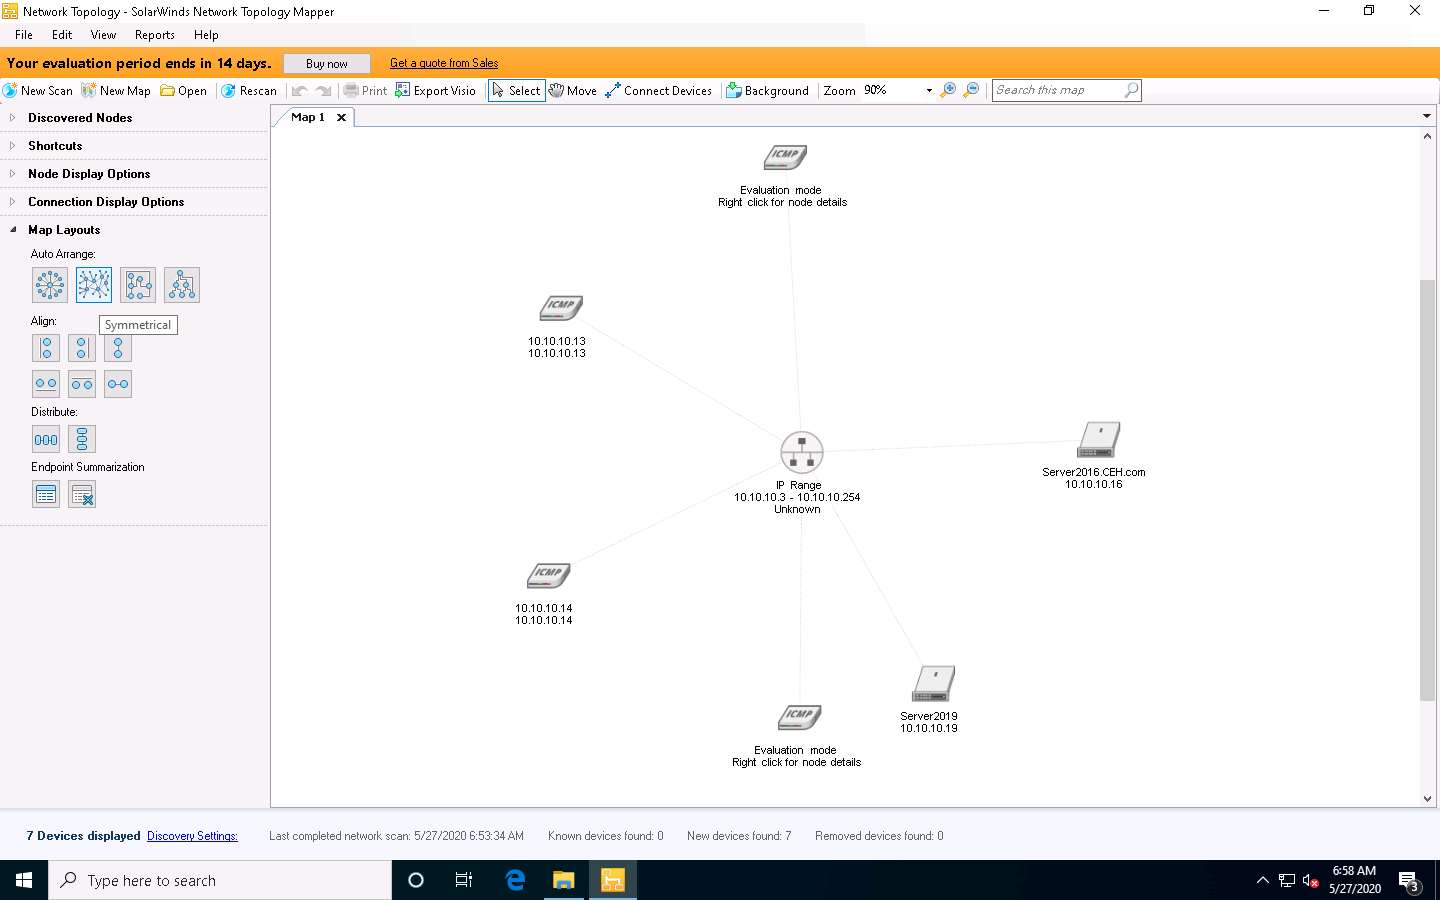
The Network Topology - SolarWinds Network Topology Mapper window appears. The Network Topology Mapper displays a network topology diagram for the provided IP address range, as shown in the following screenshot.
Close the Map Navigator window.
Expand Node Display Options in the right-hand pane and select the IP address checkbox. This displays IP addresses for all nodes in the layout.
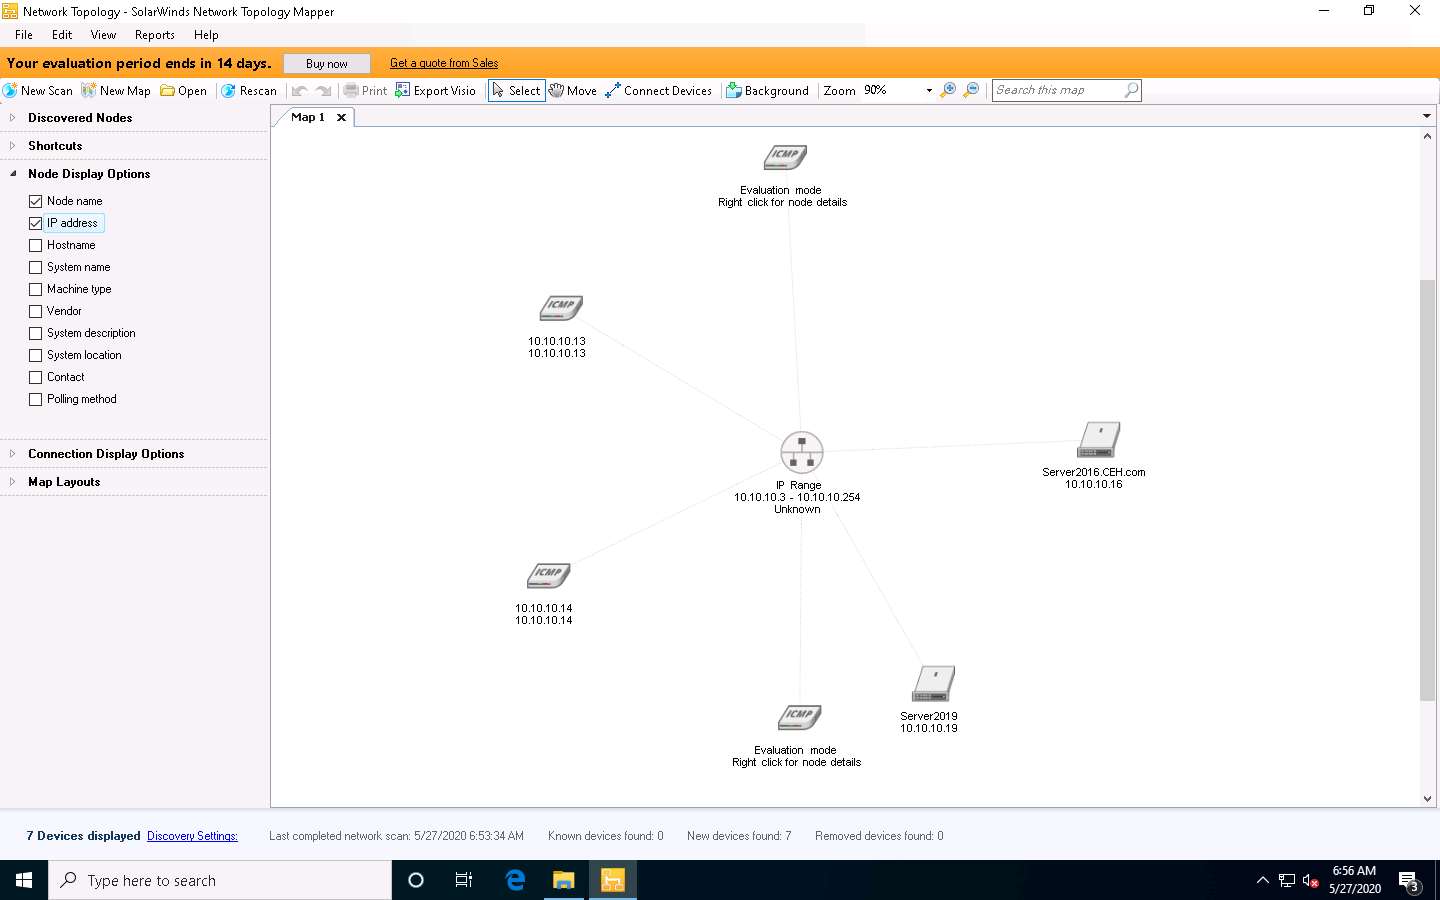
Now, expand the Map Layouts node, and select Symmetrical under the Auto Arrange section to change the topology layout of the mapped network. Each time you click Symmetrical, all nodes are rearranged randomly.
You may select the node display options of your choice: whichever options you choose, they are added to the topology map. These topology maps are saved automatically to C:\ProgramData\Solarwinds\Network Topology Mapper\UserMaps.
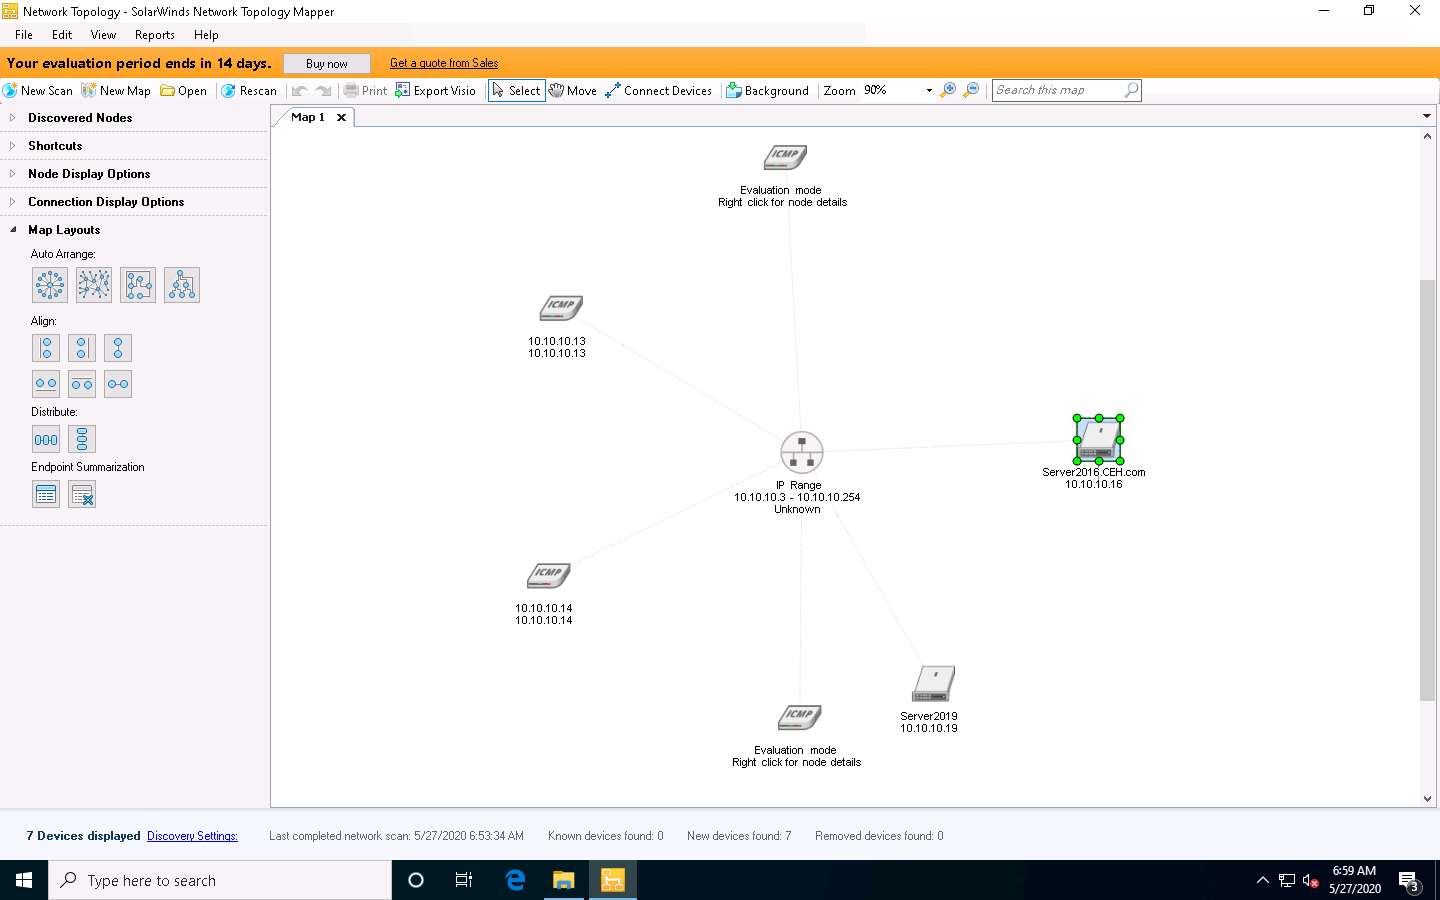
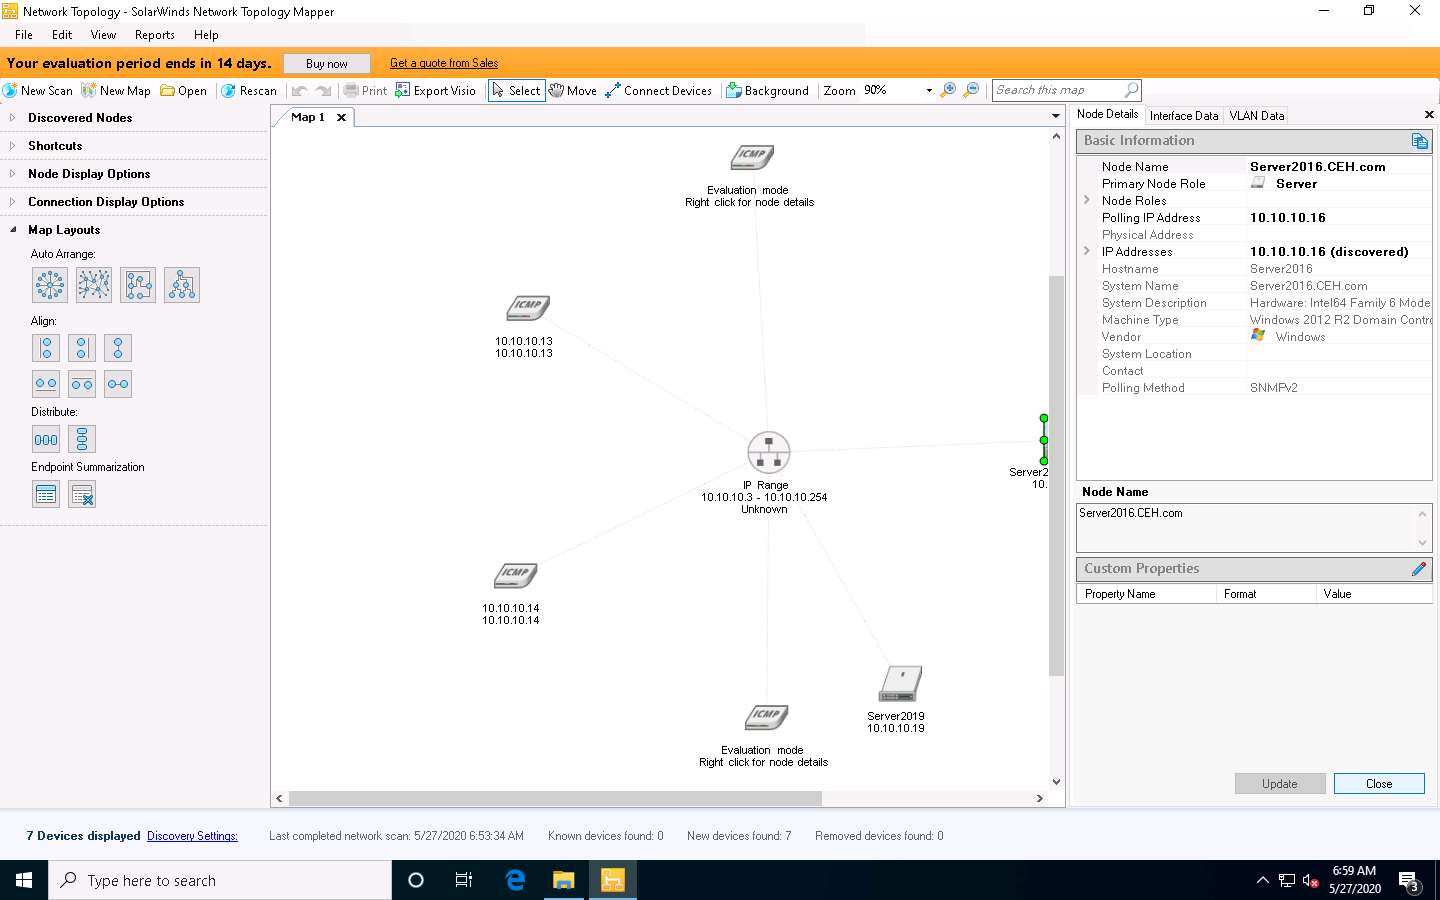
Right-click on a node (here Server2016 with IP address 10.10.10.16) and select Node Properties to view information about the selected node.
The Node Details window appears, displaying information about the selected node. Click Close to close the window.
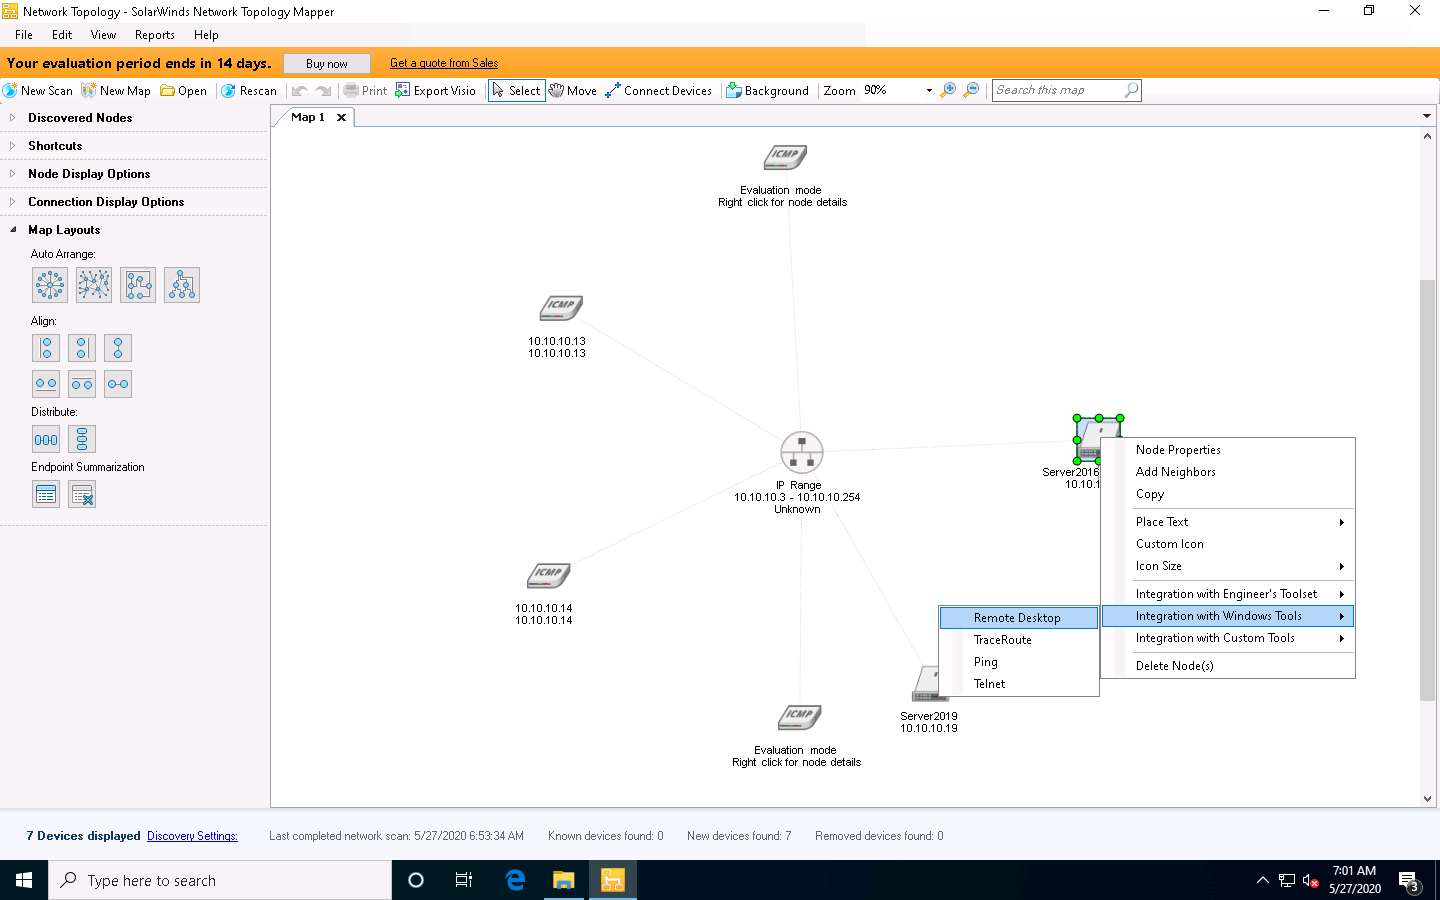
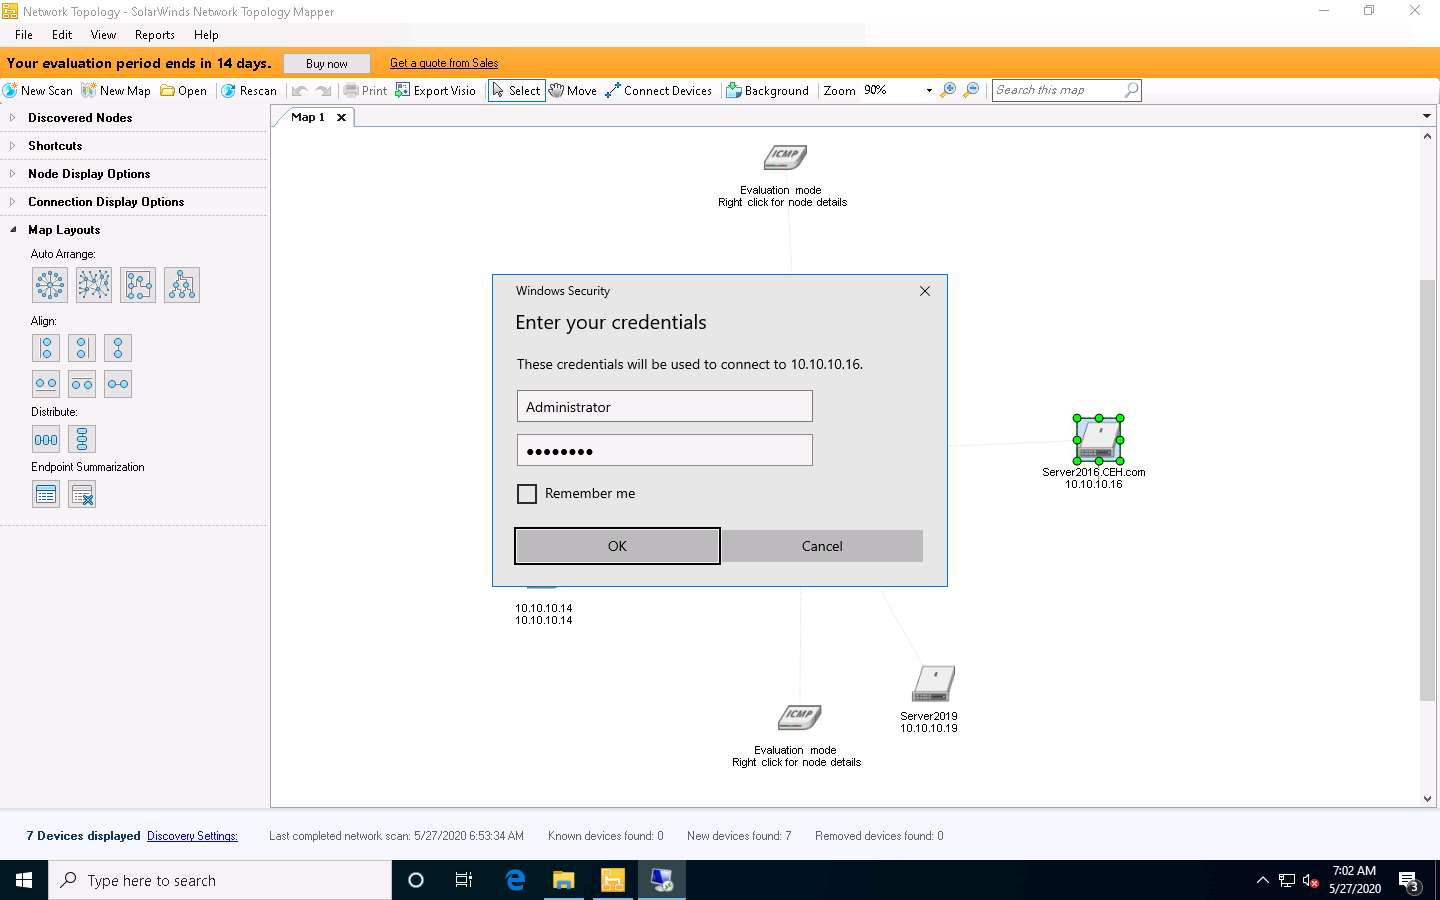
Right-click on a node (Server2016 with IP address 10.10.10.16) and select Integration with Windows Tools and click Remote Desktop.
The Windows Security dialog box appears. Enter Username as Administrator and Password as Pa$$w0rd for Windows Server 2016, and click OK.
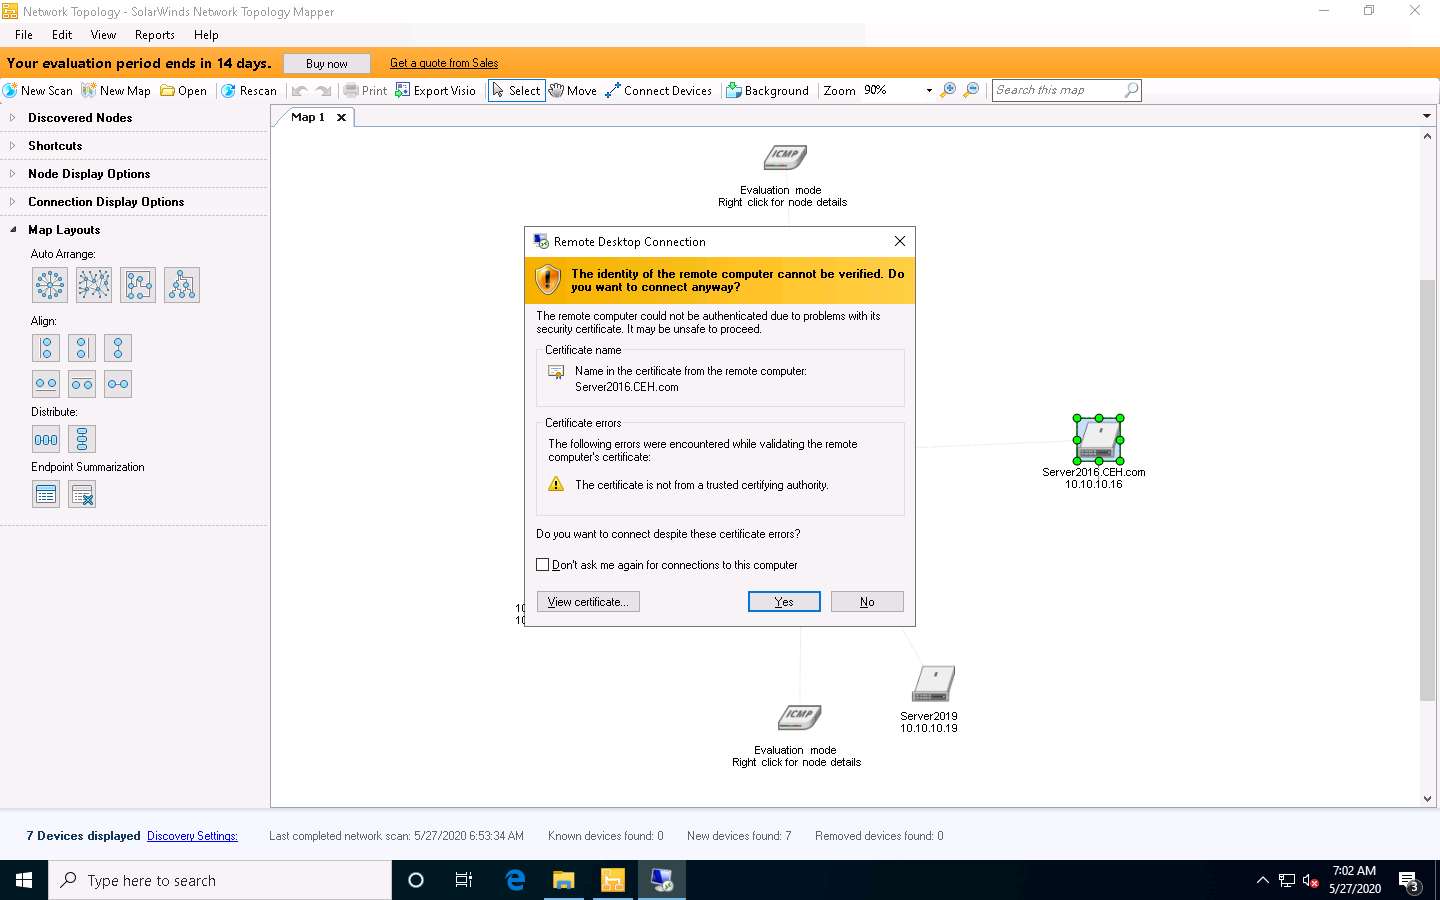
The Remote Desktop Connection pop-up appears; click Yes.
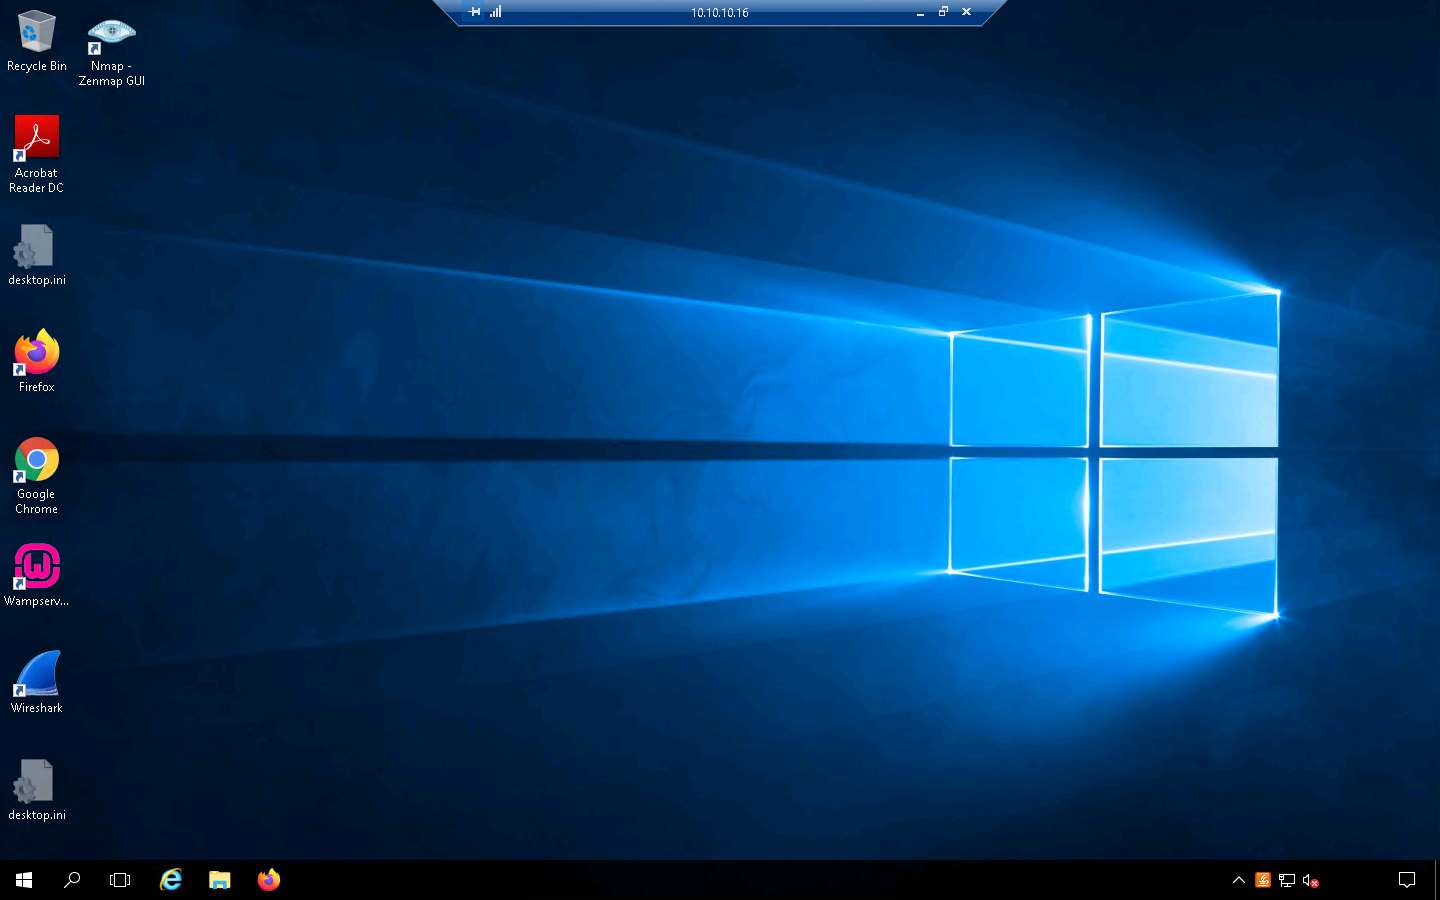
The Remote Desktop Connection is successfully set to the target machine (here, Windows Server 2016), as shown in the following screenshot.
You can use other options such as Ping, Telnet, and Traceroute. Similarly, an attacker can use this application to draw network diagrams, find the active hosts on the network, perform Ping, Telnet, etc.
This concludes the demonstration of drawing network diagram of the target network using Network Topology Mapper.
You can also use other network discovery tools such as OpManager (https://www.manageengine.com), The Dude (https://mikrotik.com), NetSurveyor (http://nutsaboutnets.com), NetBrain (https://www.netbraintech.com), and Spiceworks Network Mapping Tool (https://www.spiceworks.com) to draw network diagram of the target network.
Close all open windows and document all the acquired information.


Comments
Post a Comment