Lab 4: Perform Website Footprinting
Lab 4: Perform Website Footprinting
Module 02: Footprinting and Reconnaissance
Lab 4: Perform Website Footprinting
Task 1: Gather Information About a Target Website using Ping Command Line Utility
open cmd
tyep
ping www.certifiedhacker.com -f -l 1500
esponse, Packet needs to be fragmented but DF set, means that the frame is too large to be on the network and needs to be
fragmented. The packet was not sent as we used the -f switch with the ping command, and the ping command returned this error.
ping www.website.com -f -l 1300
Observe that the maximum packet size is less than 1500 bytes and more than 1300 bytes.
in this cas the max size for the site i searched was 1472 so you can go up and down to find the max size
now, discover what happens when TTL (Time to Live) expires. Every frame on the network has TTL defined. If TTL reaches 0,
ping www.certifiedhacker.com -i 3
Reply from 192.168.100.6: TTL expired in transit means that the router (192.168.100.6, you will
have some other IP address) discarded the frame because its TTL has expired (reached 0).
new cmd
type
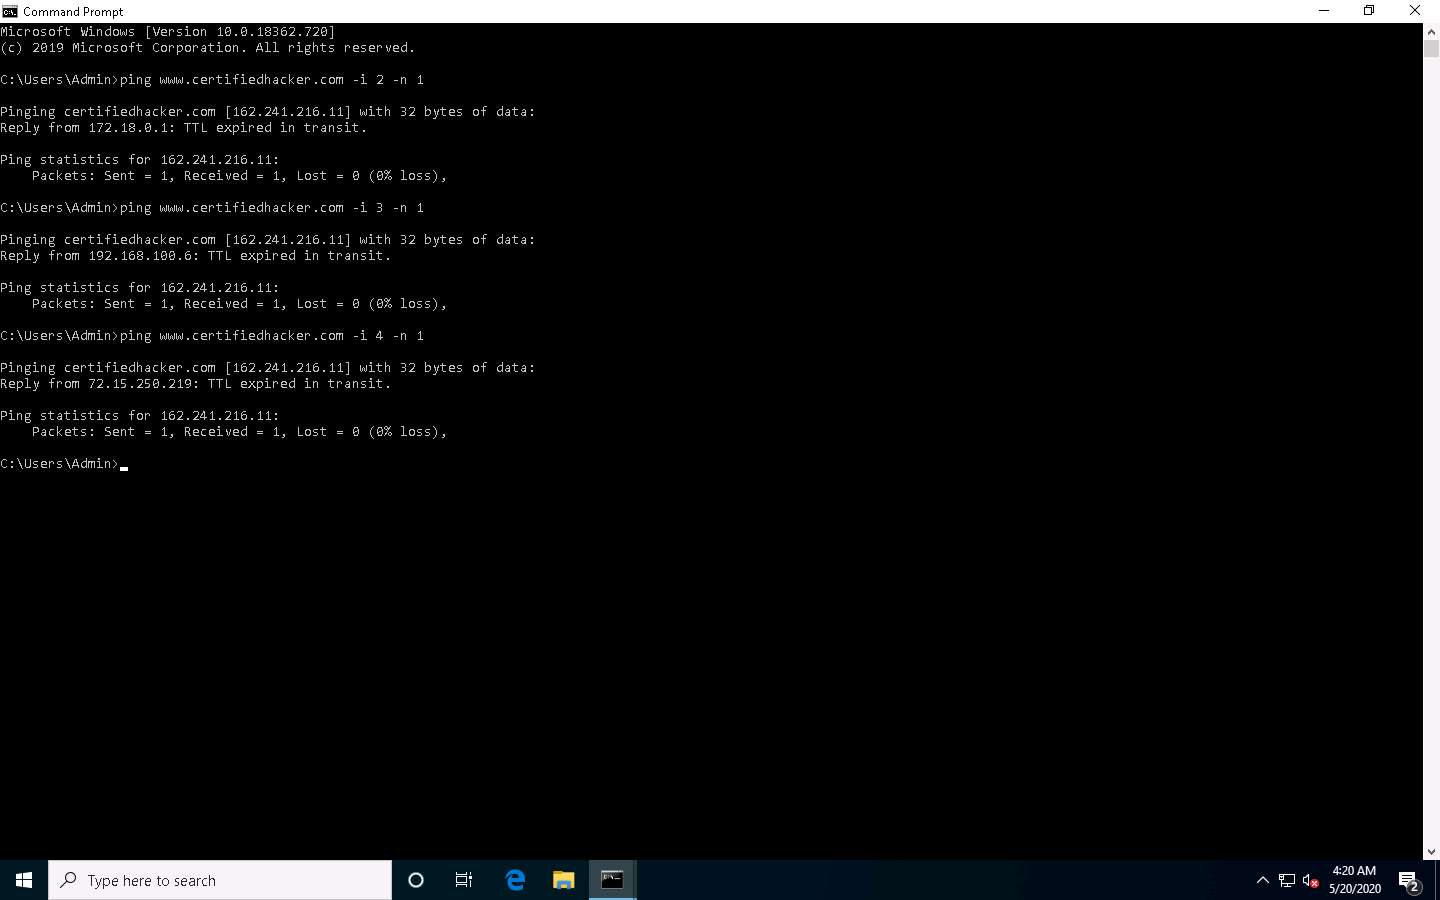
ping www.certifiedhacker.com -i 2 -n 1
Here, we set the TTL value to 2 and the -n value to 1 to check the life span of the packet.
-n specifies the number of echo requests to be sent to the target.
ping www.certifiedhacker.com -i 3 -n 1
Observe that there is a reply coming from the IP address 162.241.216.11, and there is no packet loss.
now try
ping www.certifiedhacker.com -i 4 -n 1
repeate to find top ttl value
if confused go down and read the doc
---------------------------------------------------------------------------------------------------------------------------------------
Module 02: Footprinting and Reconnaissance
Lab 4: Perform Website Footprinting
Task 2: Gather Information About a Target Website using Website Informer
go to
https://website.informer.com
type site in
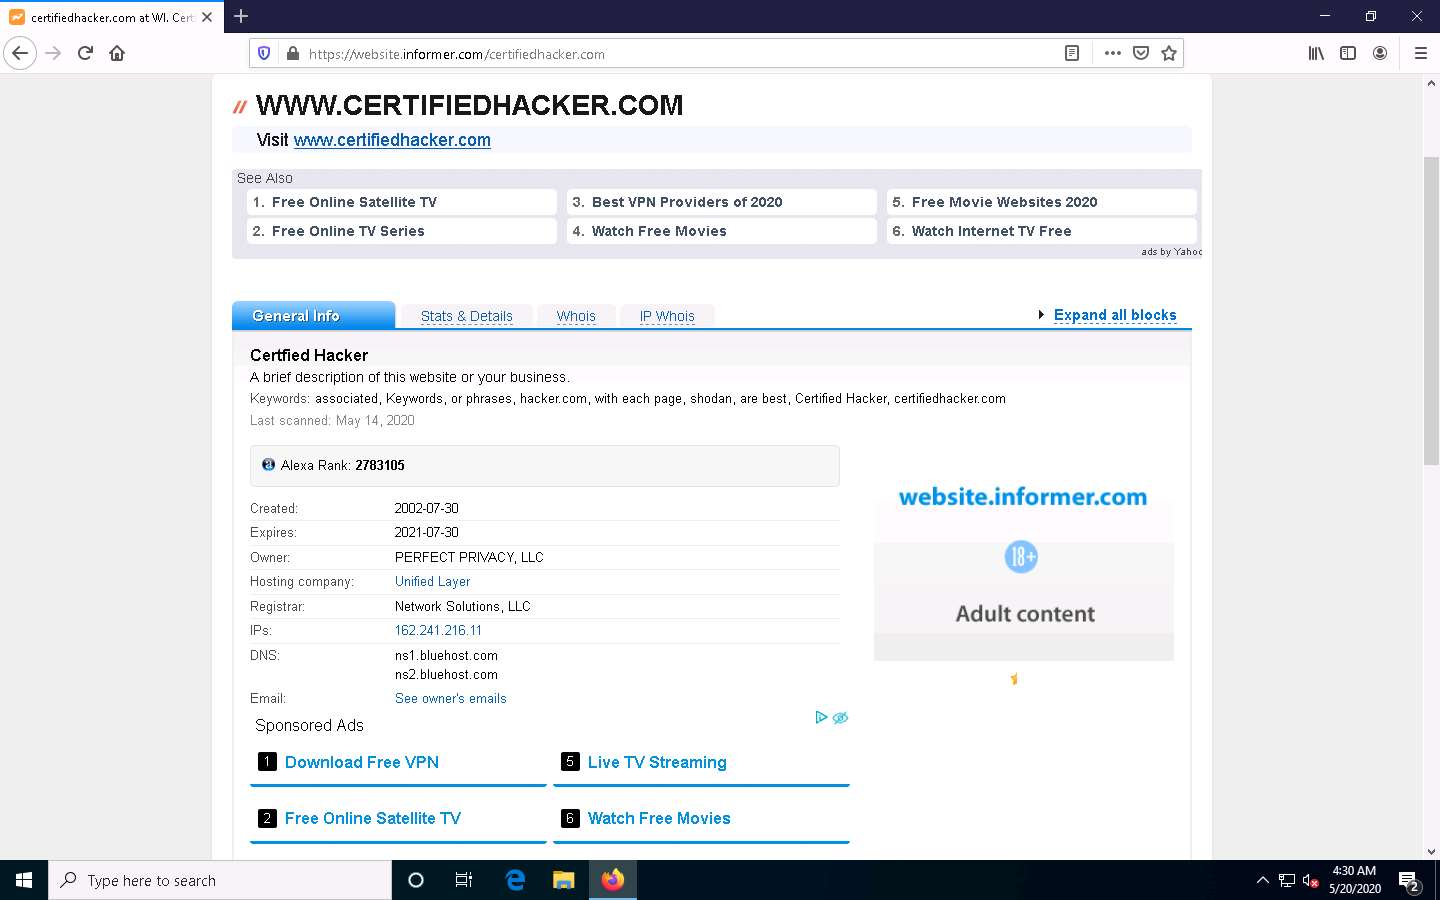
General Info, Stats & Details, Whois, and IP Whois is displayed,
n the General Info tab, information such as Created, Expires, Owner, Hosting company, Registrar, IPs, DNS, and Email
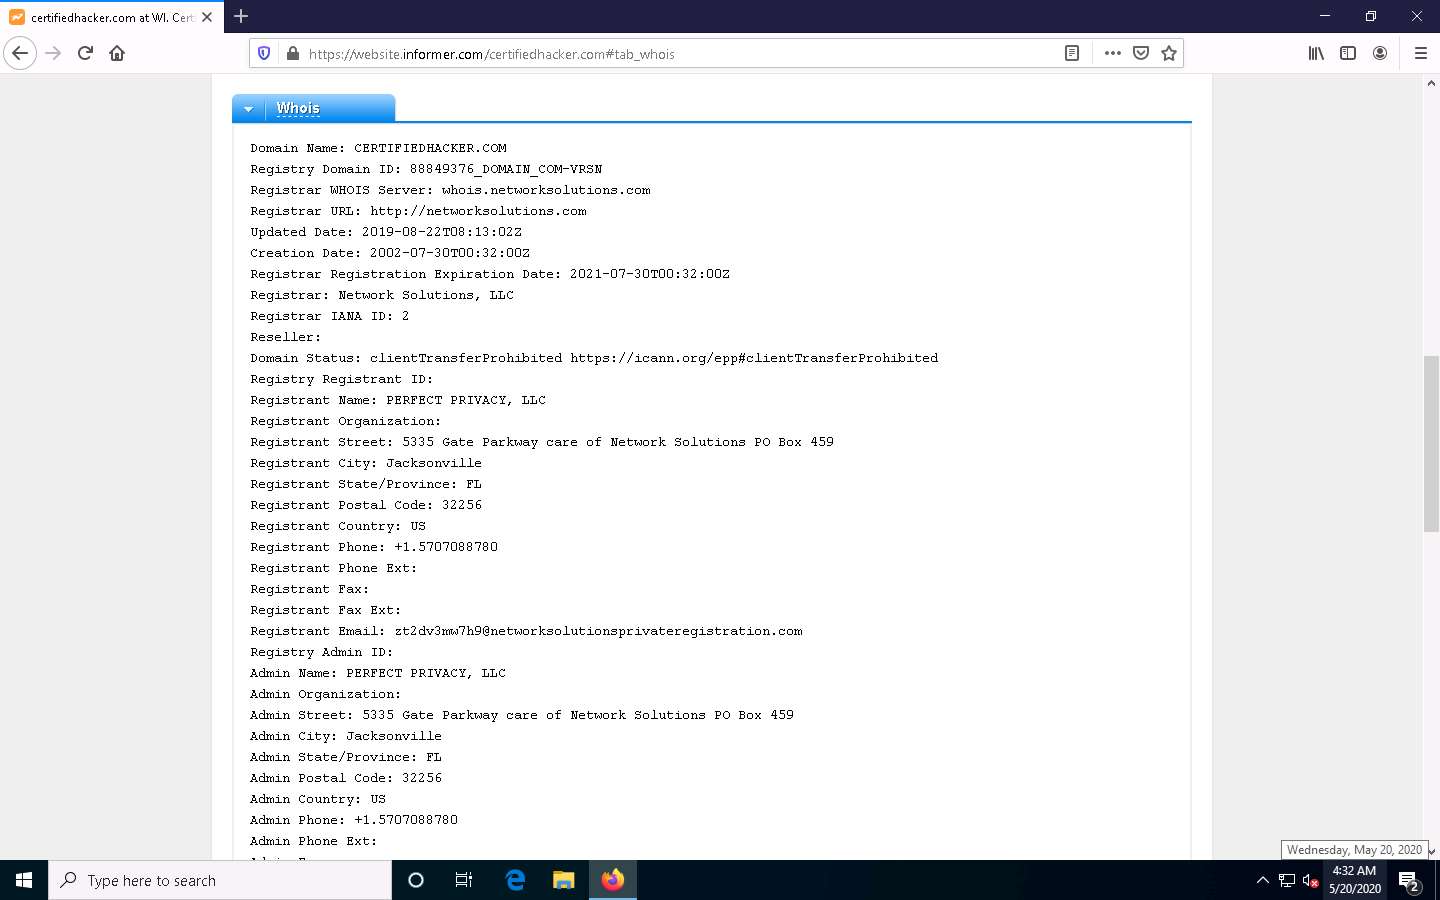
Click on the Whois tab to view detailed Whois information
Stats & Details and IP Whois tabs to view the detailed information of the target website.
---------------------------------------------------------------------------------------------------------------------------------------
Module 02: Footprinting and Reconnaissance
Lab 4: Perform Website Footprinting
Task 3: Extract a Company’s Data using Web Data Extractor
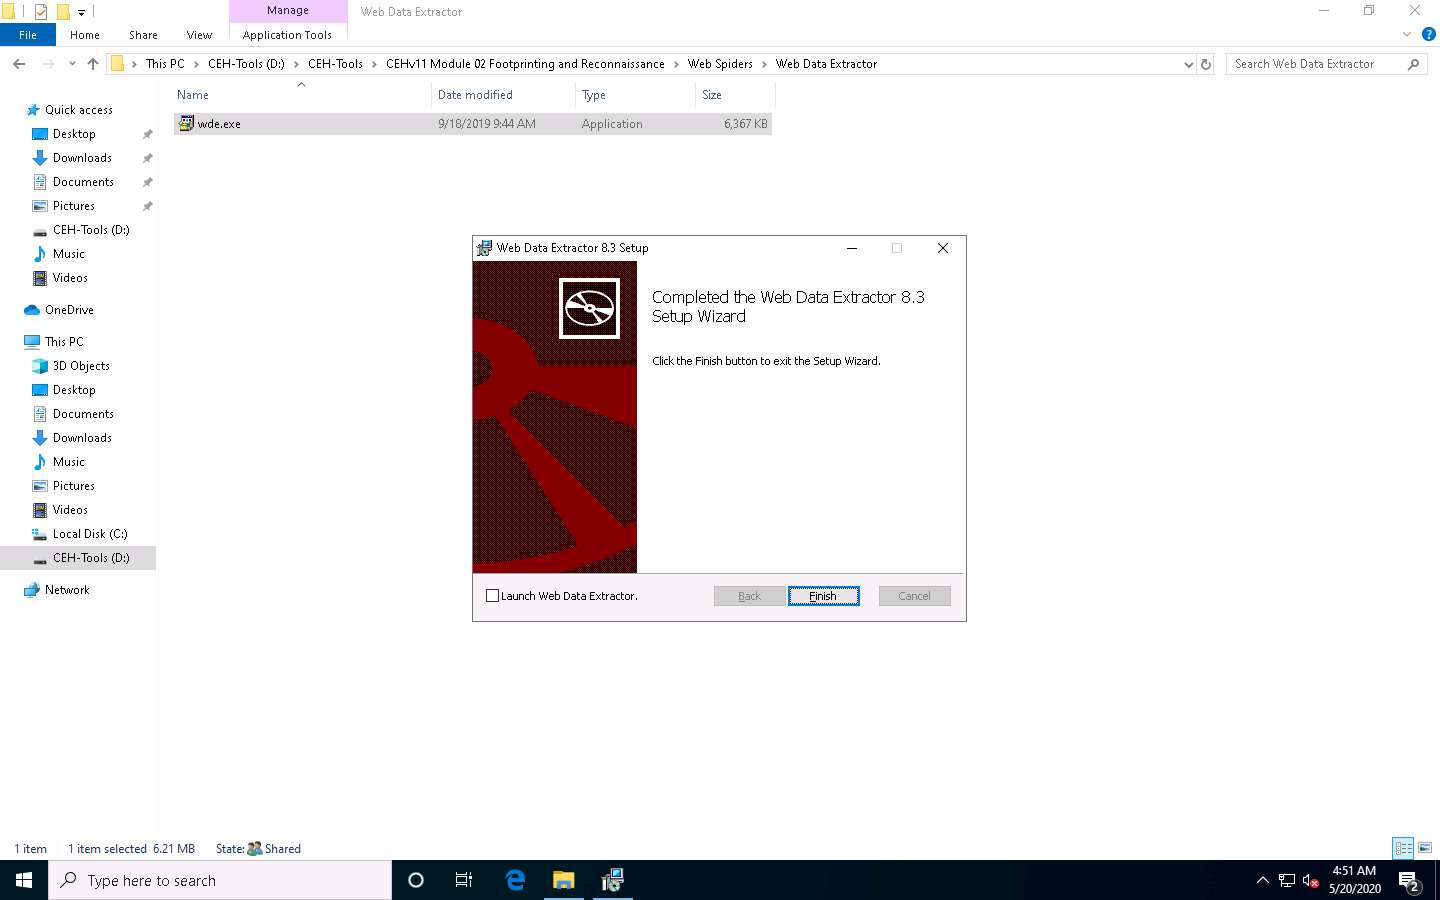
D:\CEH-Tools\CEHv11 Module 02 Footprinting and Reconnaissance\Web Spiders\Web Data Extractor and double-click wde.exe.
or if application is on desktop it will be called web data extractor little computer symblow image thing
click new top right
type site in
specify what data you want to extract with check boxes at bottom
Web Data Extractor will start collecting information (Session, Meta tags,
Emails, Phones, Faxes, Merged list, URLs, and Inactive sites).
View the extracted information by clicking the tabs.
Select the Meta tags tab to view the URL, Title, Keywords, Description, Host, Domain, page
To save the session, choose File and click Save session.
---------------------------------------------------------------------------------------------------------------------------------------
Module 02: Footprinting and Reconnaissance
Lab 4: Perform Website Footprinting
Task 4: Mirror a Target Website using HTTrack Web Site Copier
in the Windows 10 machine, navigate to D:\CEH-Tools\CEHv11 Module 02 Footprinting and Reconnaissance\Website Mirroring
Tools\HTTrack Web Site Copier and double-click httrack-3.49.2.exe.
open the winhttrack website copier
click next
type new project or name it whatever
next
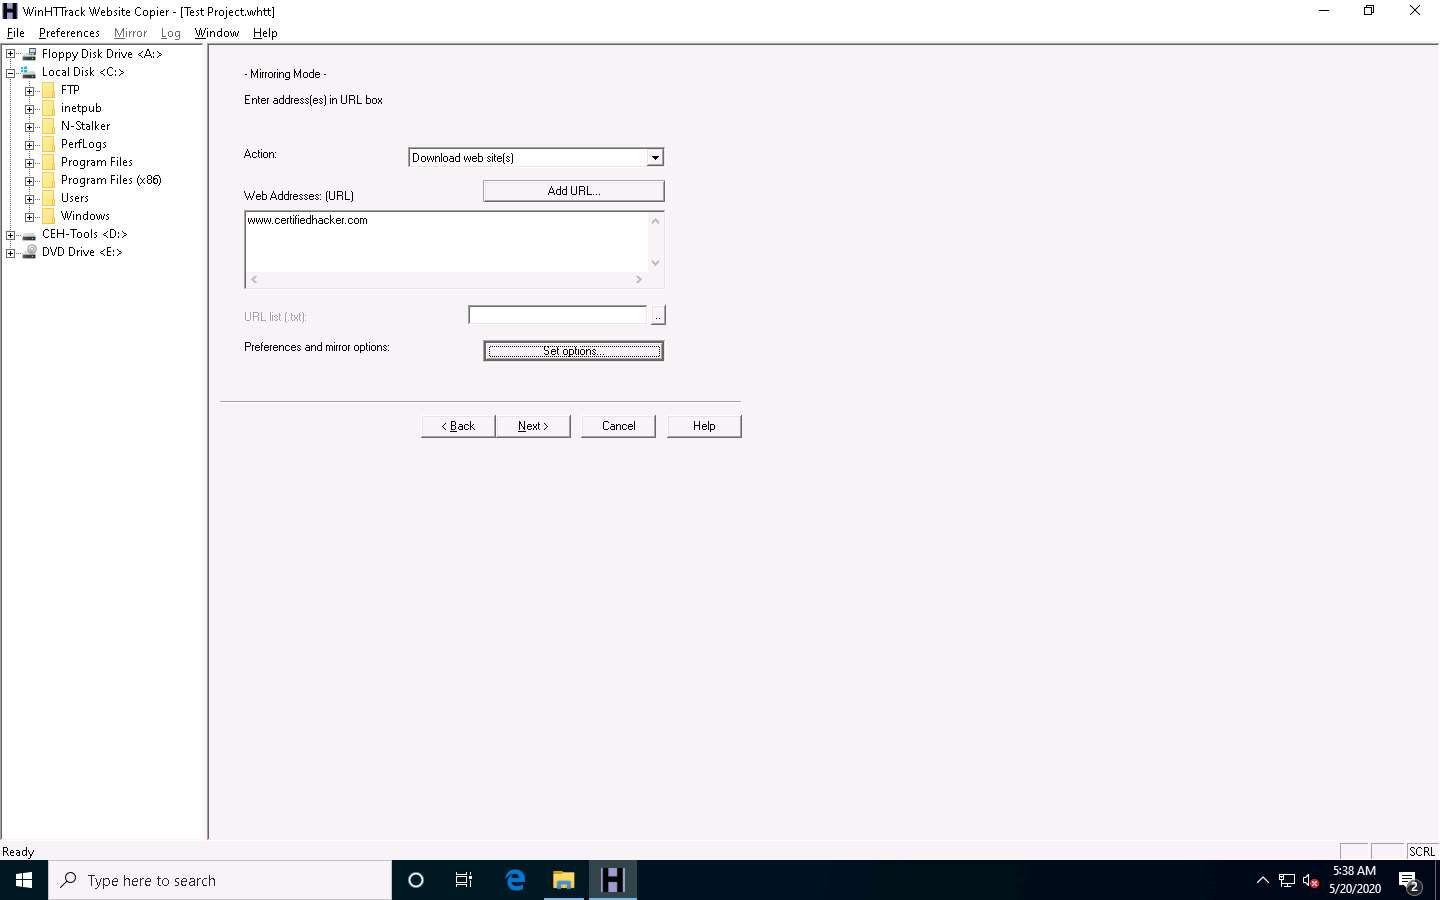
enter site in the web address section
click set options\
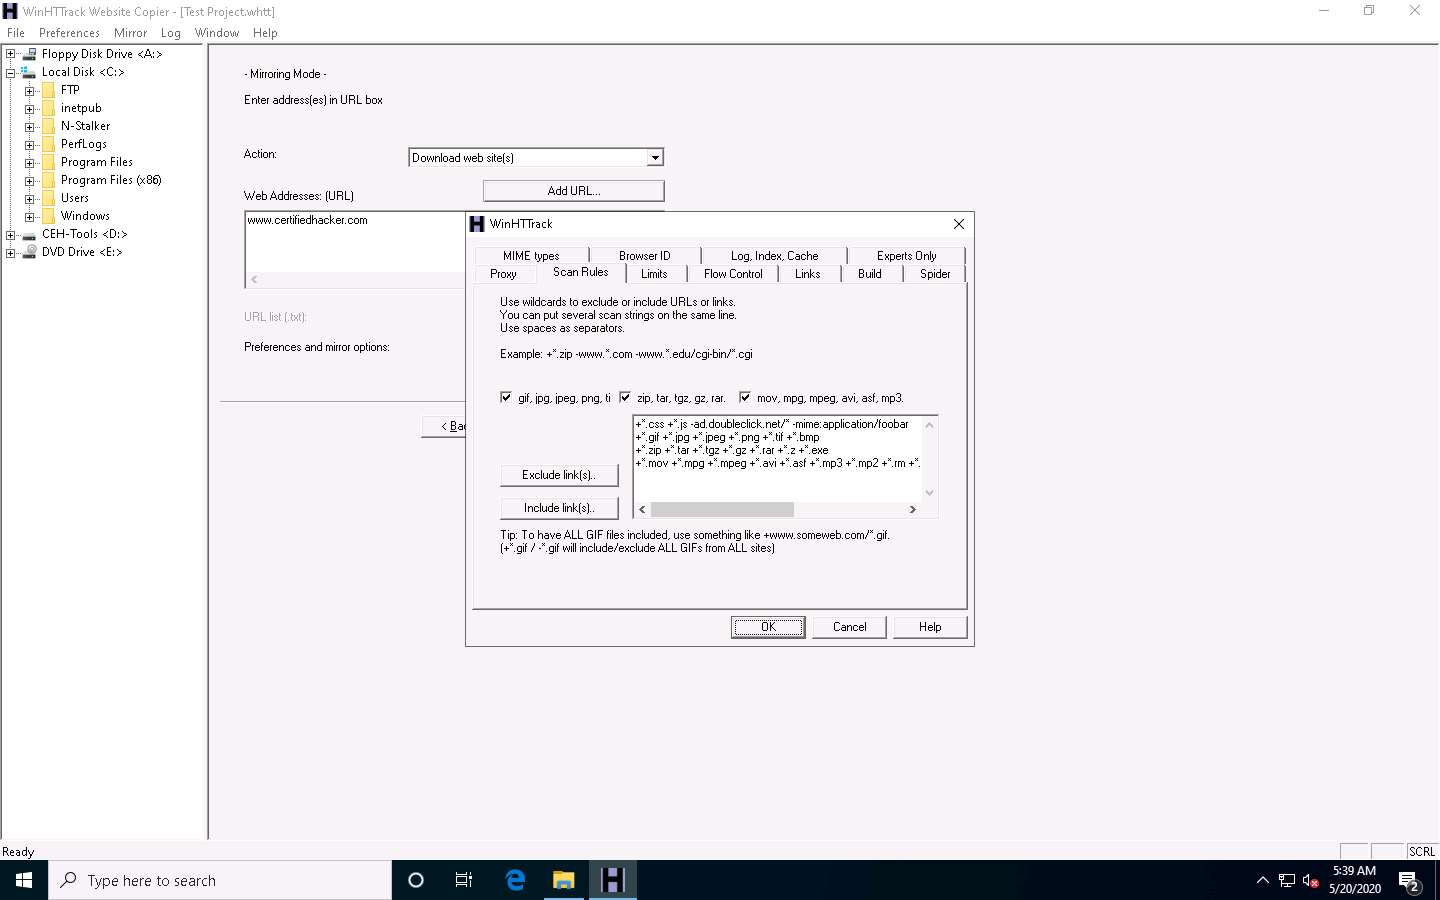
go to scan rules
click all the check boxes
hit Ok
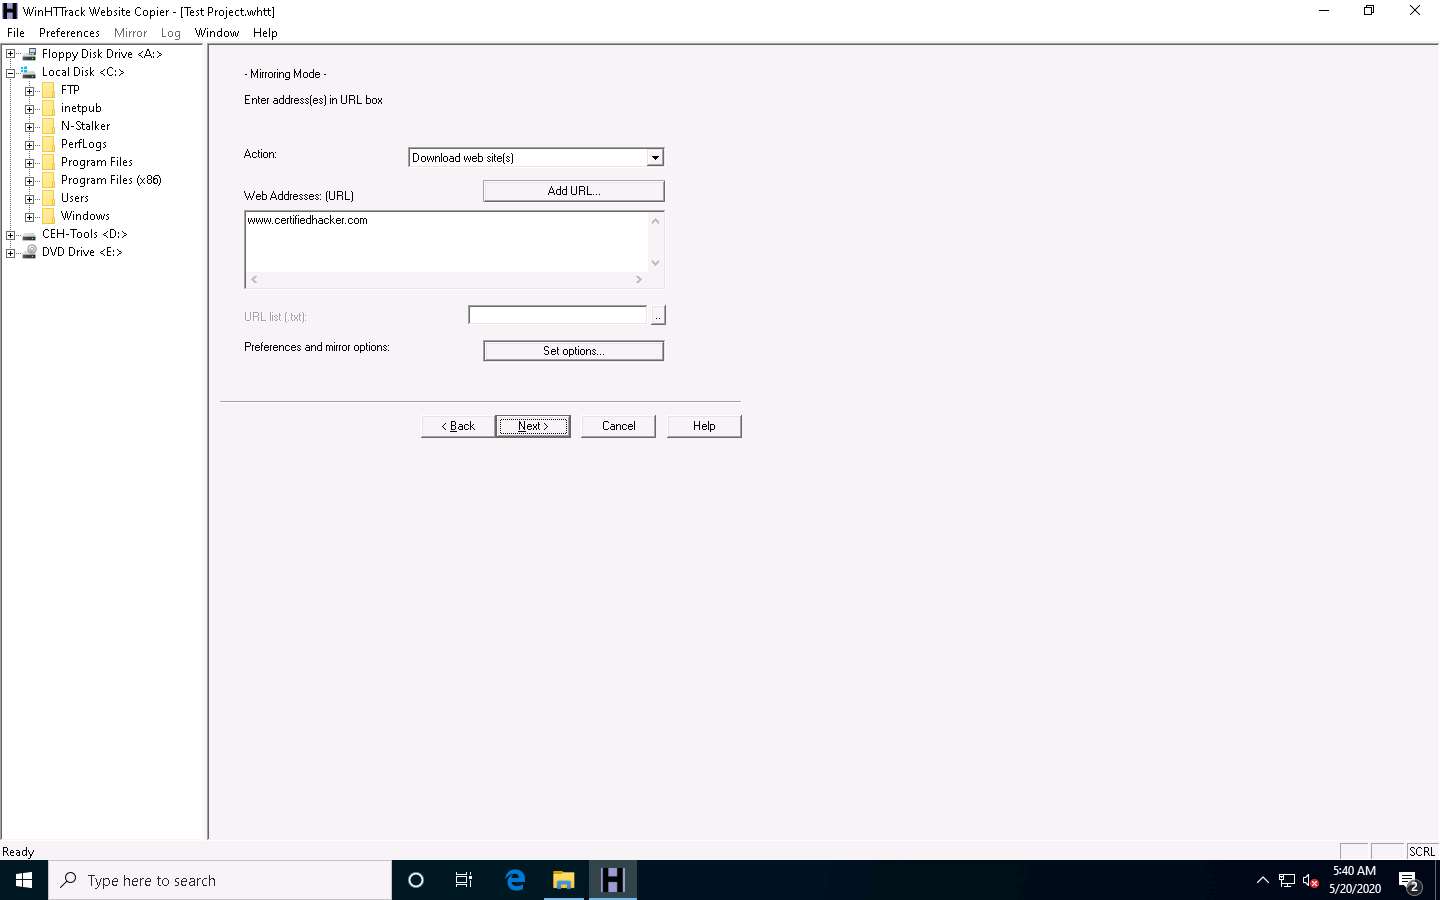
next
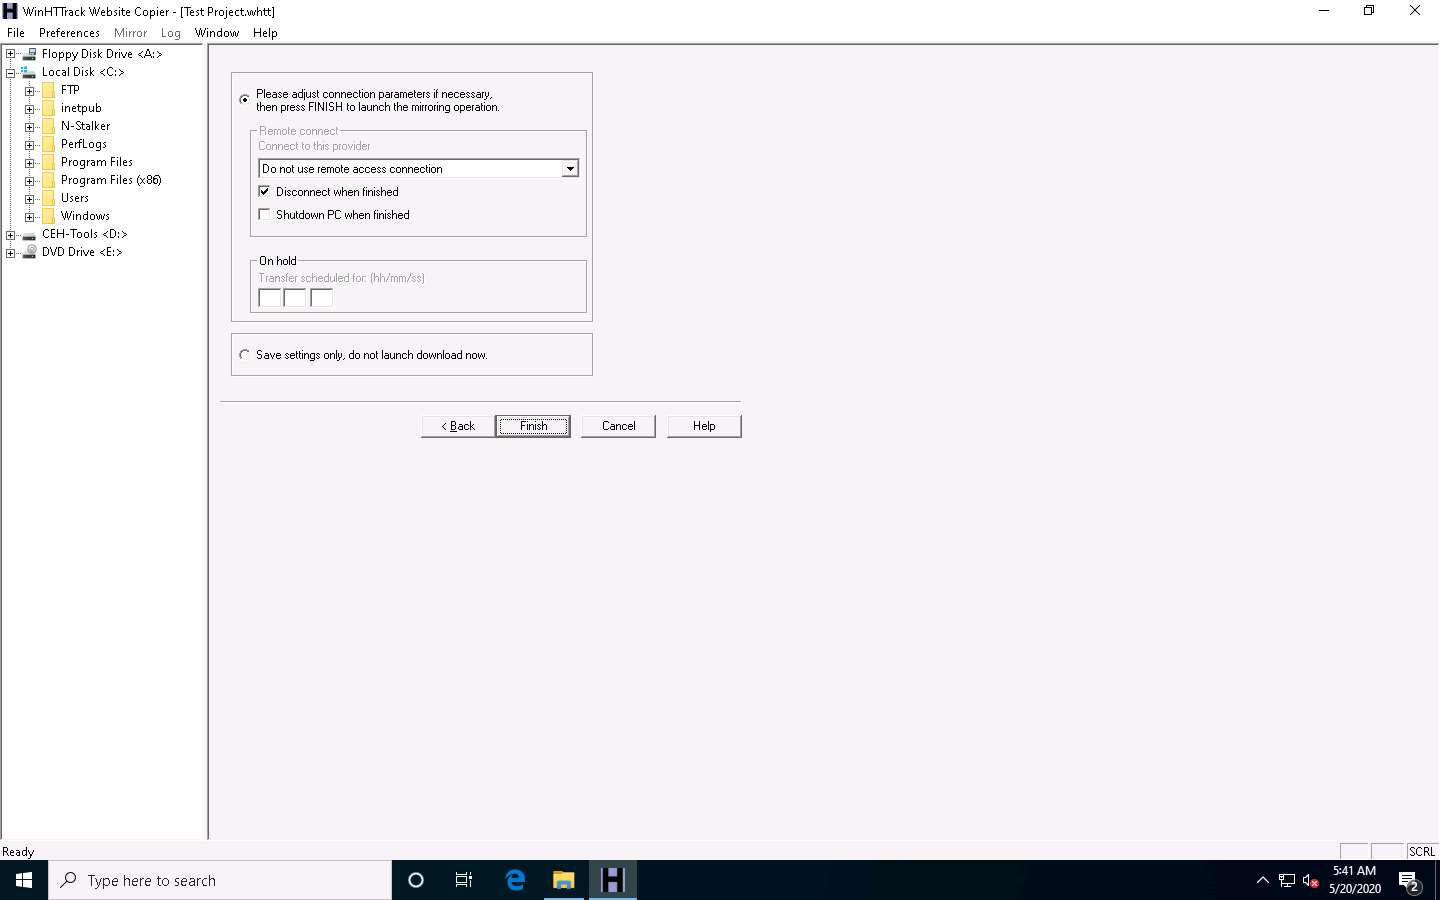
check box dissconnect when finished
press finish
when complete click browse mirroed website
mirrored website for www.certifiedhacker.com launches. The URL displayed in the address
bar indicates that the website's image is stored on the local machine.
Analyze all directories, HTML, images, flash, videos, and other files available on the mirrored target
---------------------------------------------------------------------------------------------------------------------------------------
Module 02: Footprinting and Reconnaissance
Lab 4: Perform Website Footprinting
Task 5: Gather a Wordlist from the Target Website using CeWL
terminal
sudo su
cd
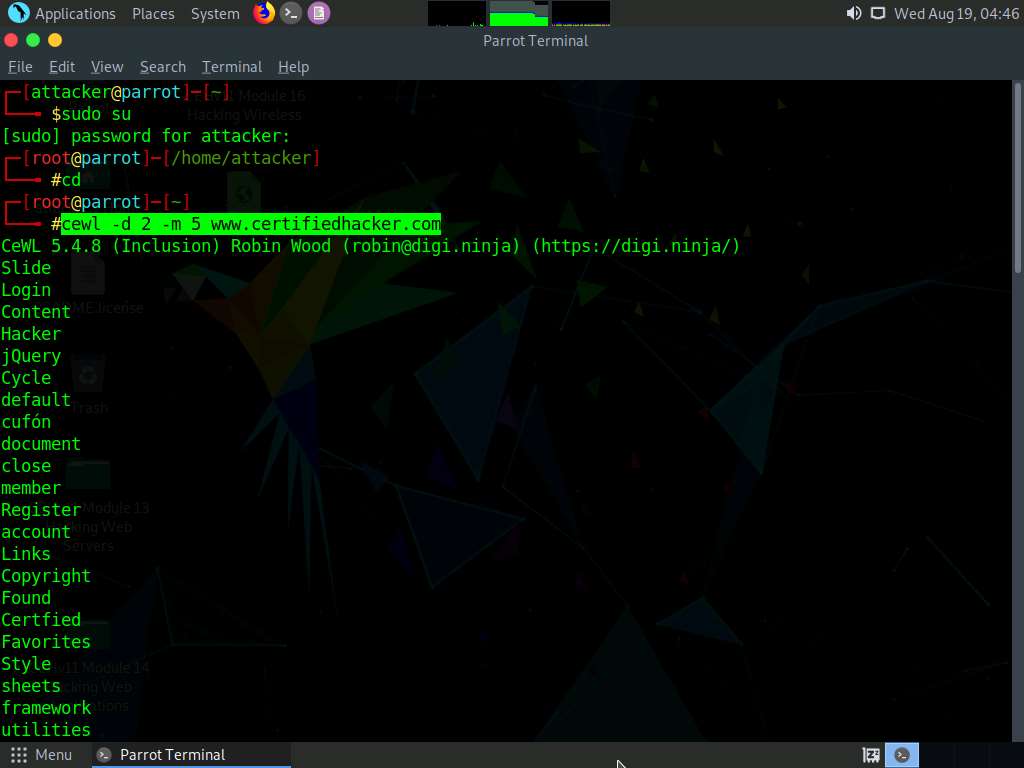
cewl -d 2 -m 5 www.certifiedhacker.com
enter
A unique wordlist from the target website is gathered,
This wordlist can be used further to perform brute-force attacks against the
previously obtained emails of the target organization’s employees.
Lab Scenario
As a professional ethical hacker, you should be able to extract a variety of information about the target organization from its website; by performing website footprinting, you can extract important information related to the target organization’s website such as the software used and the version, operating system details, filenames, paths, database field names, contact details, CMS details, the technology used to build the website, scripting platform, etc. Using this information, you can further plan to launch advanced attacks on the target organization.
Lab Objectives
- Gather information about a target website using ping command line utility
- Gather information about a target website using Website Informer
- Extract a company’s data using Web Data Extractor
- Mirror the target website using HTTrack Web Site Copier
- Gather a wordlist from the target website using CeWL
Overview of Website Footprinting
Website footprinting is a technique used to collect information regarding the target organization’s website. Website footprinting can provide sensitive information associated with the website such as registered names and addresses of the domain owner, domain names, host of the sites, OS details, IP details, registrar details, emails, filenames, etc.
Task 1: Gather Information About a Target Website using Ping Command Line Utility
Ping is a network administration utility used to test the reachability of a host on an IP network and measure the round-trip time for messages sent from the originating host to a destination computer. The ping command sends an ICMP echo request to the target host and waits for an ICMP response. During this request-response process, ping measures the time from transmission to reception, known as round-trip time, and records any loss of packets. The ping command assists in obtaining domain information and the IP address of the target website.
Click Windows 10 to switch to the Windows 10 machine.
Open the Command Prompt window. Type ping www.certifiedhacker.com and press Enter to find its IP address. The displayed response should be similar to the one shown in the screenshot.
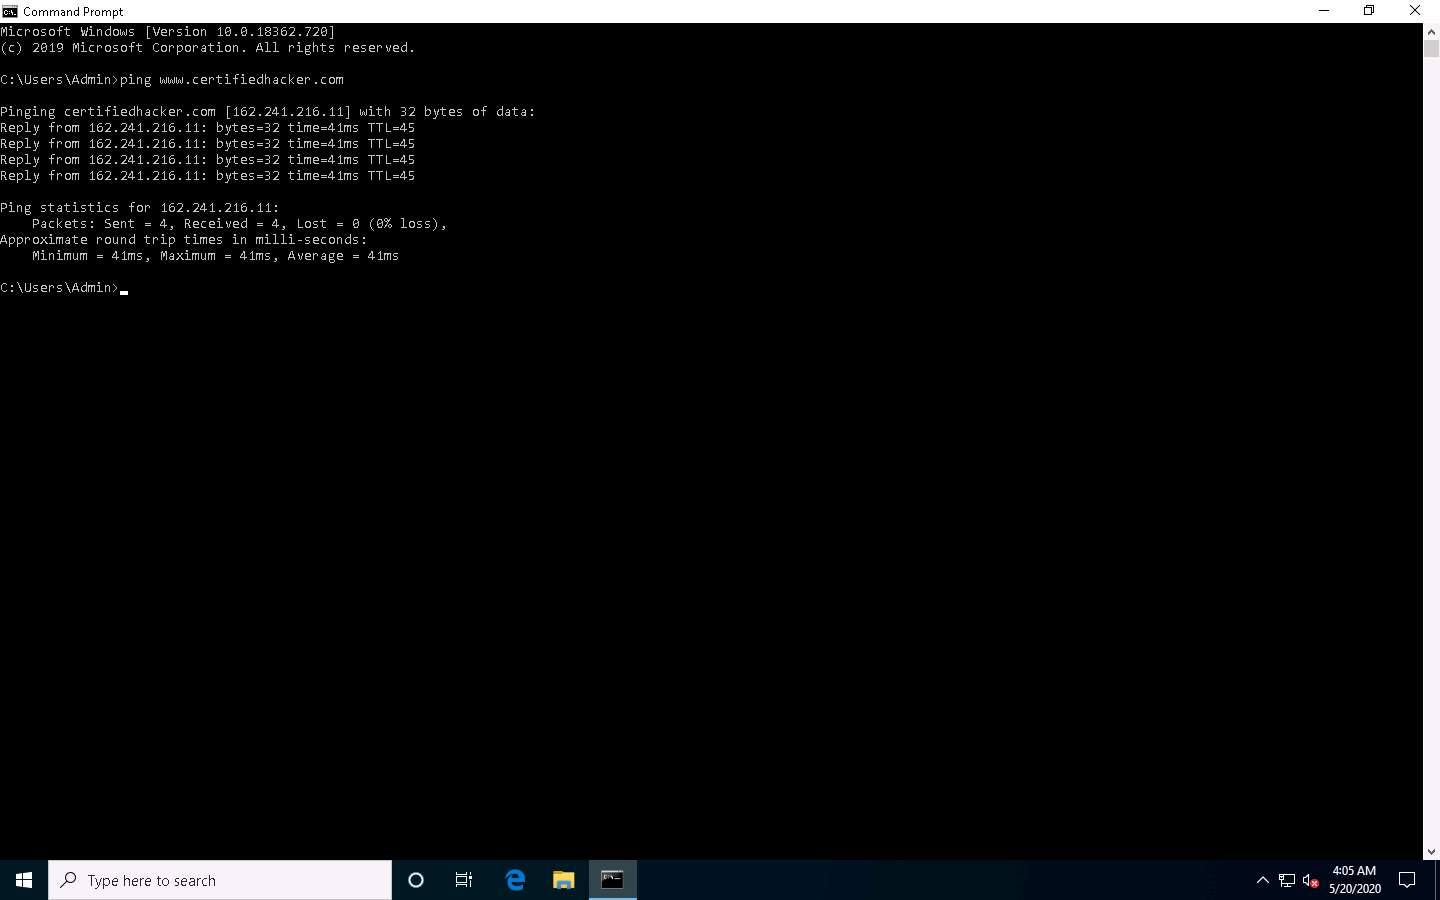
Note the target domain’s IP address in the result above (here, 162.241.216.11). You also obtain information on Ping Statistics such as packets sent, packets received, packets lost, and approximate round-trip time.
In the Command Prompt window, type ping www.certifiedhacker.com -f -l 1500 and press Enter.
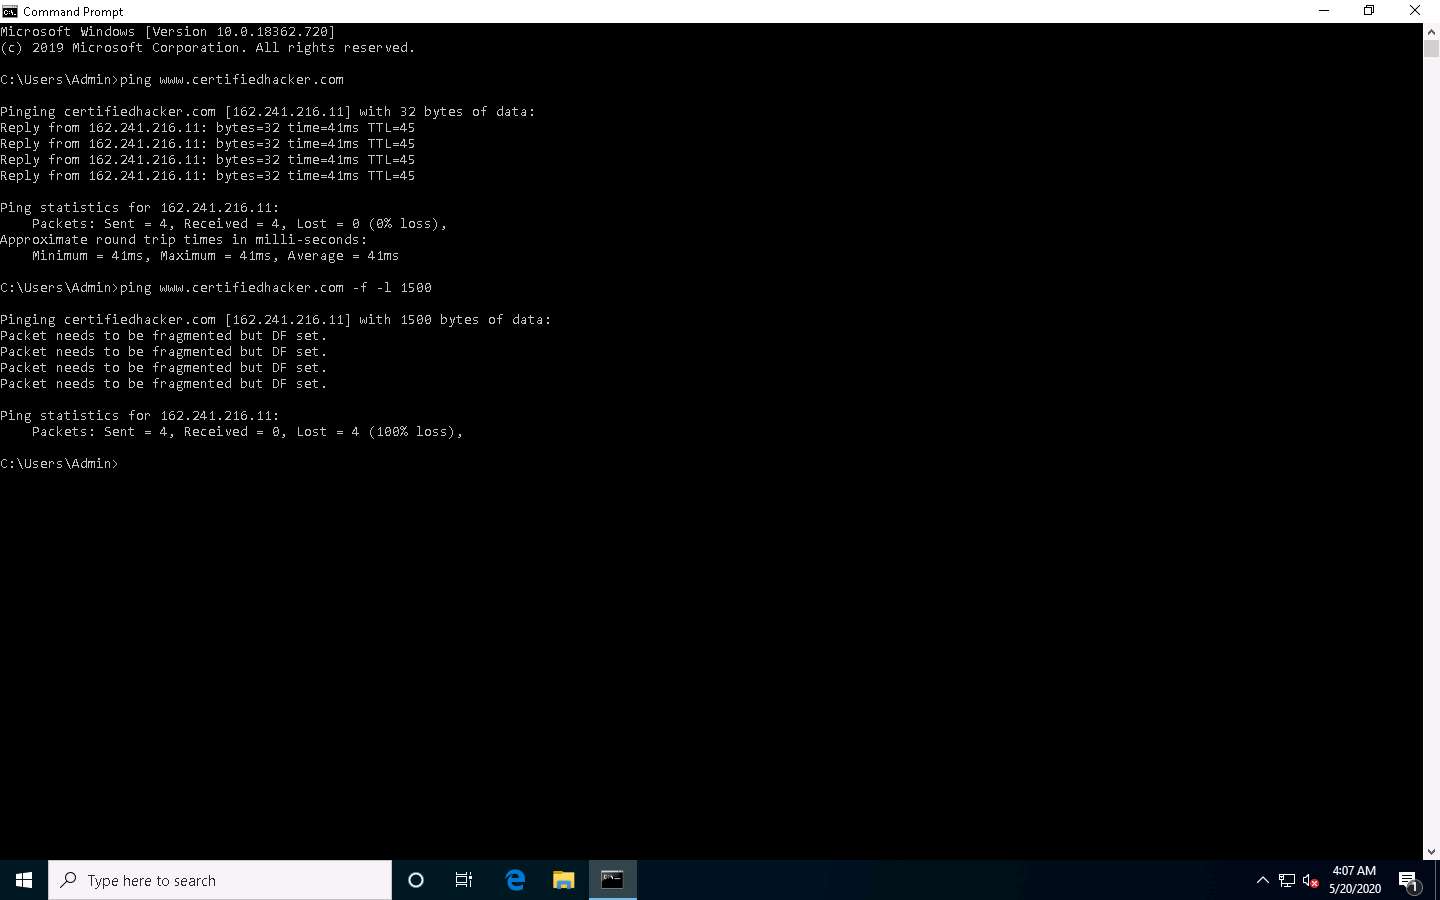
The response, Packet needs to be fragmented but DF set, means that the frame is too large to be on the network and needs to be fragmented. The packet was not sent as we used the -f switch with the ping command, and the ping command returned this error.
In the Command Prompt window, type ping www.certifiedhacker.com -f -l 1300 and press Enter.
Observe that the maximum packet size is less than 1500 bytes and more than 1300 bytes.
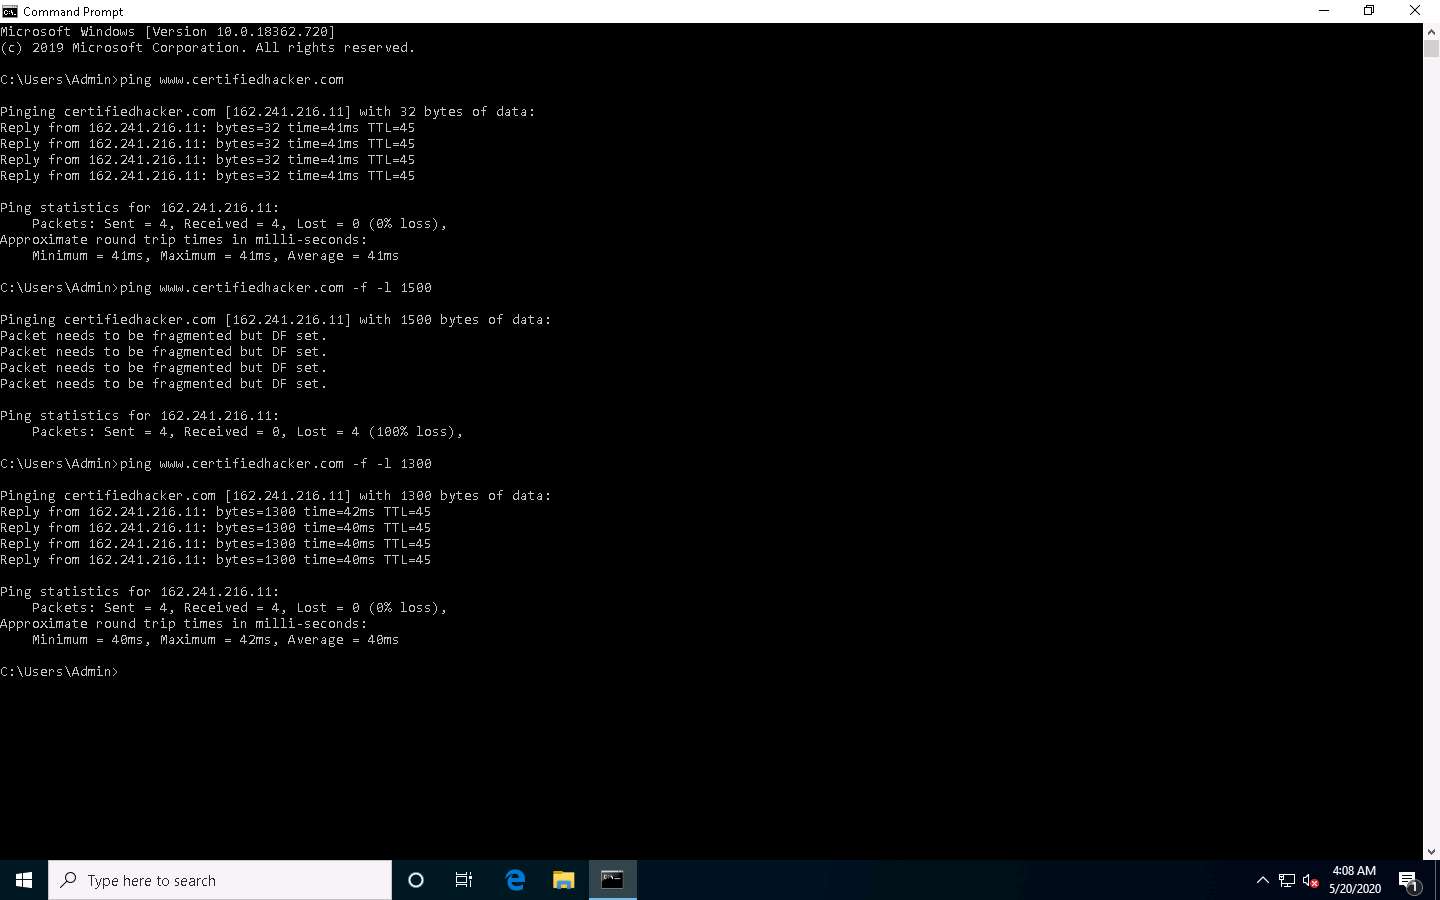
Now, try different values until you find the maximum frame size. For instance, ping www.certifiedhacker.com -f -l 1473 replies with Packet needs to be fragmented but DF set, and ping www.certifiedhacker.com -f -l 1472 replies with a successful ping. It indicates that 1472 bytes are the maximum frame size on this machine’s network.

Now, discover what happens when TTL (Time to Live) expires. Every frame on the network has TTL defined. If TTL reaches 0, the router discards the packet. This mechanism prevents the loss of packets.
In Command Prompt, type ping www.certifiedhacker.com -i 3 and press Enter. This option sets the time to live (-i) value as 3.
The maximum value you can set for TTL is 255.
Reply from 192.168.100.6: TTL expired in transit means that the router (192.168.100.6, you will have some other IP address) discarded the frame because its TTL has expired (reached 0).
The IP address 192.168.100.6 may vary in your lab environment.
Minimize the command prompt shown above and launch a new command prompt. Type ping www.certifiedhacker.com -i 2 -n 1 and press Enter. Here, we set the TTL value to 2 and the -n value to 1 to check the life span of the packet.
-n specifies the number of echo requests to be sent to the target.

Type ping www.certifiedhacker.com -i 3 -n 1. This sets the TTL value to 3.

Observe that there is a reply coming from the IP address 162.241.216.11, and there is no packet loss.
Now, change the time to live value to 4 by typing, ping www.certifiedhacker.com -i 4 -n 1 and press Enter.
Repeat the above step until you reach the IP address for www.certifiedhacker.com (in this case, 162.241.216.11).
Find the hop value by trying different TTL value to reach www.certifiedhacker.com.
On successfully finding the TTL value it will imply that the reply is received from the destination host (162.241.216.11).
This concludes the demonstration of gathering information about a target website using Ping command-line utility (such as the IP address of the target website, hop count to the target, and value of maximum frame size allowed on the target network).
Close all open windows and document all the acquired information.
Task 2: Gather Information About a Target Website using Website Informer
Website Informer is an online tool that gathers detailed information on a website such as a website’s traffic rank, daily visitors rate, page views, etc. Website Informer discovers the main competitors of the website, reveals DNS servers used by the website, and also obtains the Whois record of the target website.
Open any web browser (here, Mozilla Firefox). In the address bar of the browser place your mouse cursor, click https://website.informer.com and press Enter. The Website Informer website appears, as shown in the screenshot.

To extract information associated with the target organization website, type the target website’s URL (here, www.certifiedhacker.com) in the text field, and then click on the Search button, as shown in the screenshot below.

A search result for WWW.CERTIFIEDHACKER.COM containing information such as General Info, Stats & Details, Whois, and IP Whois is displayed, as shown in the screenshot.
In the General Info tab, information such as Created, Expires, Owner, Hosting company, Registrar, IPs, DNS, and Email associated with the target website is displayed as shown in the screenshot
Click on the Whois tab to view detailed Whois information about the target website, as shown in the screenshot.
Similarly, you can click on the Stats & Details and IP Whois tabs to view the detailed information of the target website.
This concludes the demonstration of gathering information about a target website using the Website Informer online tool.
You can also use tools such as Burp Suite (https://portswigger.net), Zaproxy (https://www.owasp.org), etc. to perform website footprinting on a target website.
Close all open windows and document all the acquired information.
Task 3: Extract a Company’s Data using Web Data Extractor
Web data extraction is the process of extracting data from web pages available on the company’s website. A company’s data such as contact details (email, phone, and fax), URLs, meta tags (title, description, keyword) for website promotion,directories, web research, etc. are important sources of information for an ethical hacker. Web spiders (also known as a web crawler or web robot) such as Web Data Extractor perform automated searches on the target website and extract specified information from the target website.
Here, we will gather the target company’s data using the Web Data Extractor tool.
In the Windows 10 machine, navigate to D:\CEH-Tools\CEHv11 Module 02 Footprinting and Reconnaissance\Web Spiders\Web Data Extractor and double-click wde.exe.
If the User Account Control pop-up appears, click Yes.
Follow the wizard steps to install Web Data Extractor and click Finish.
After installation, launch Web Data Extractor from Desktop.

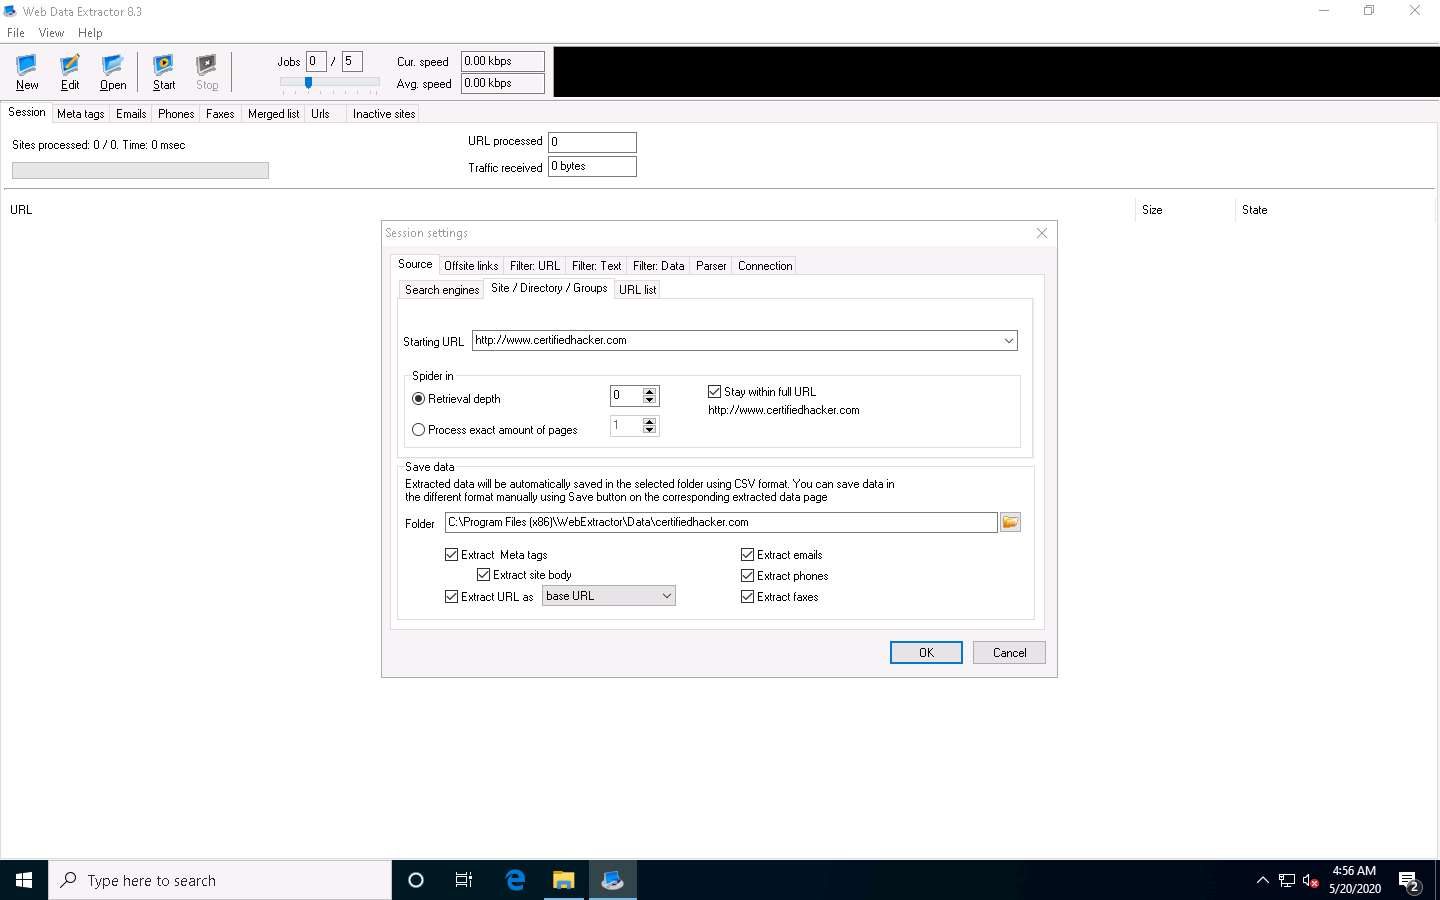
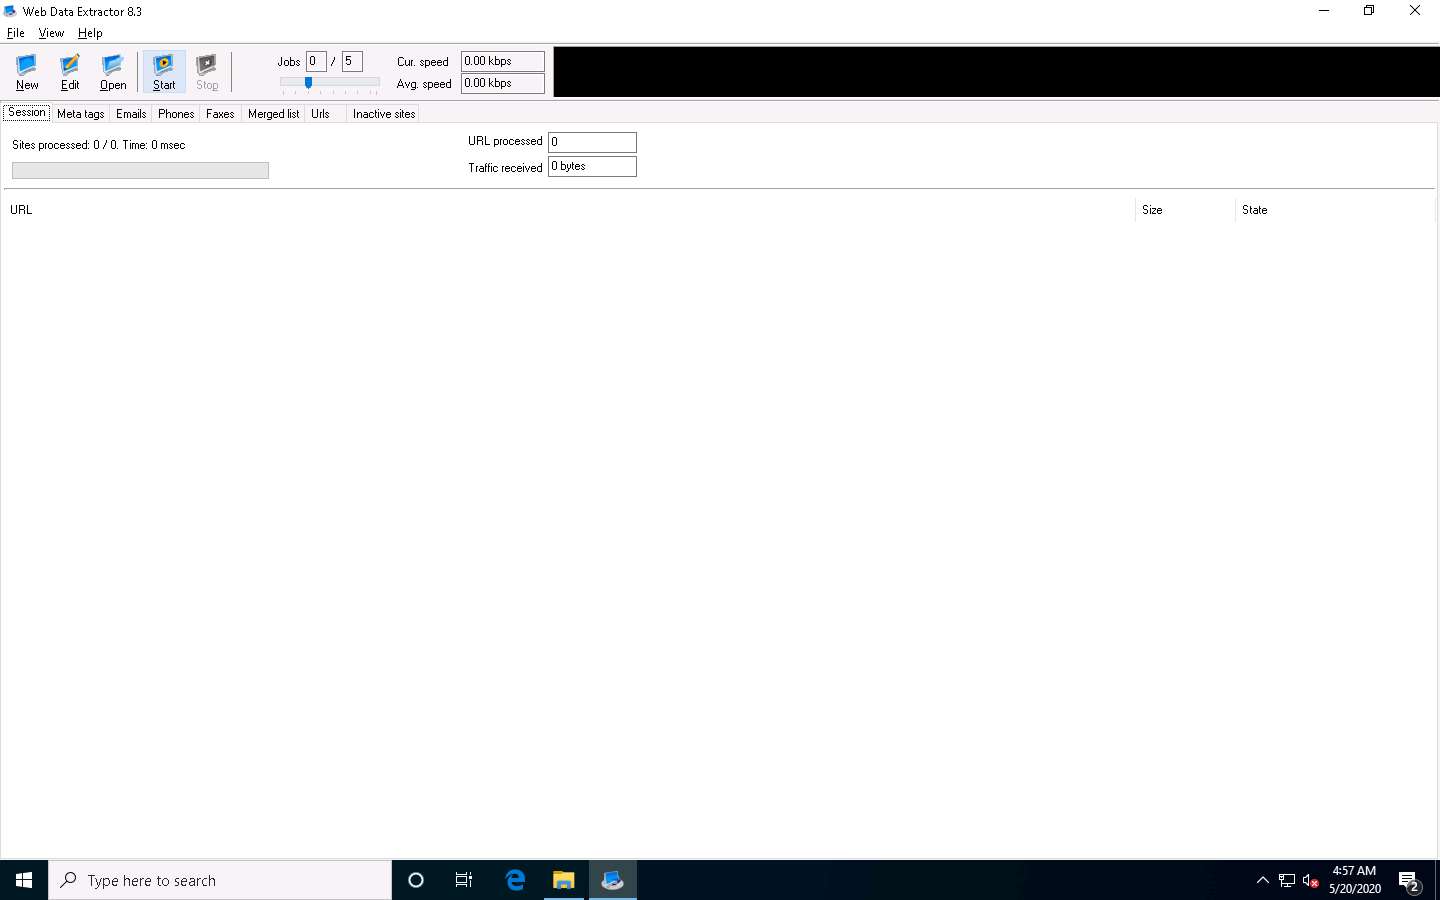
The Web Data Extractor main window appears. Click New to start a new session.

The Session settings window appears; type a URL (here, http://www.certifiedhacker.com) in the Starting URL field. Check all the options, as shown in the screenshot, and click OK.
Click Start to initiate the data extraction.
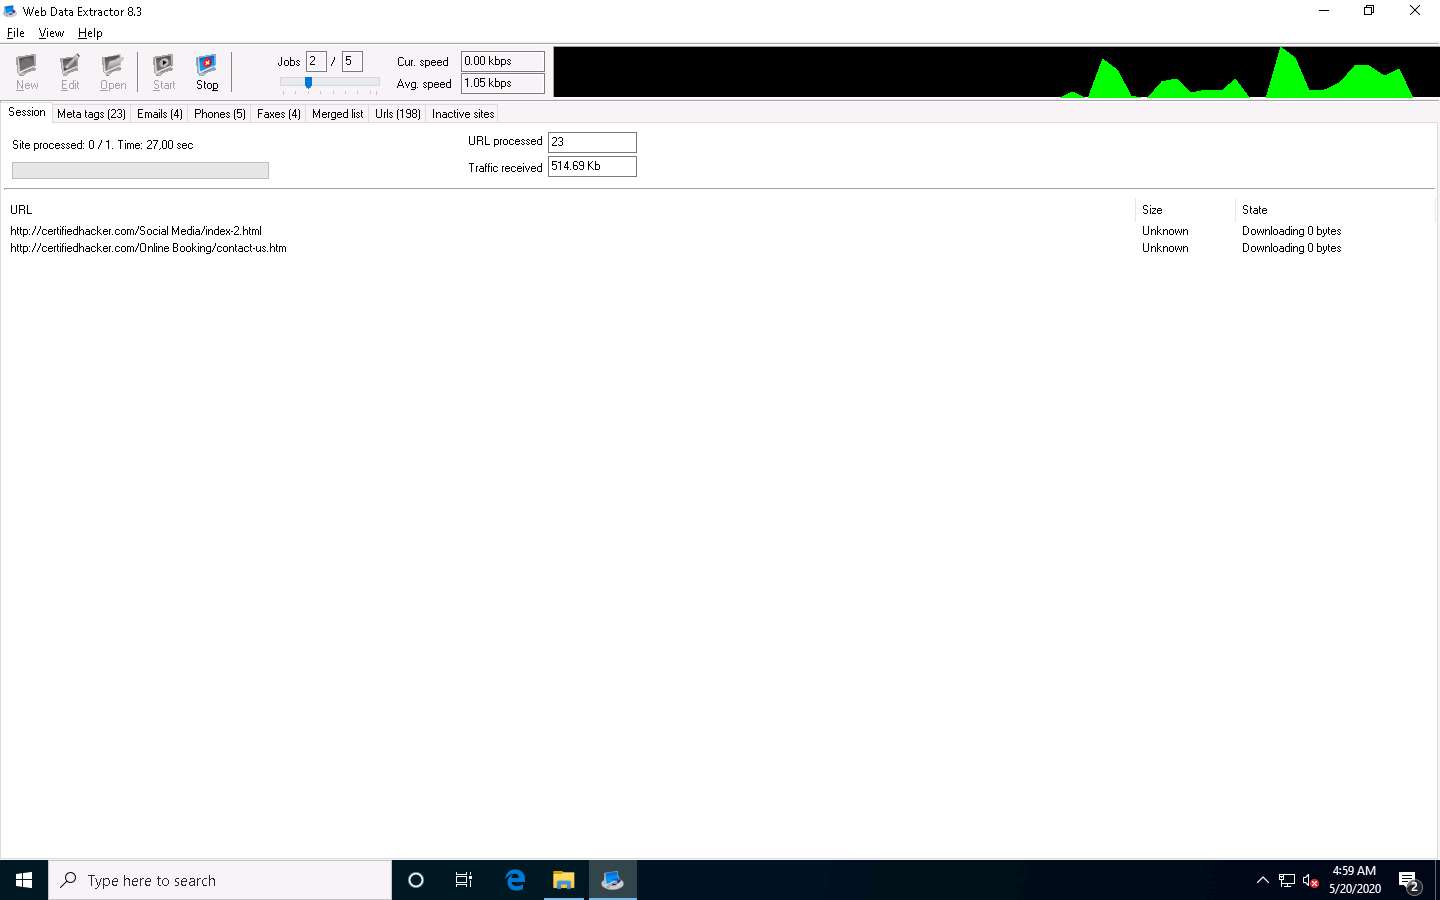
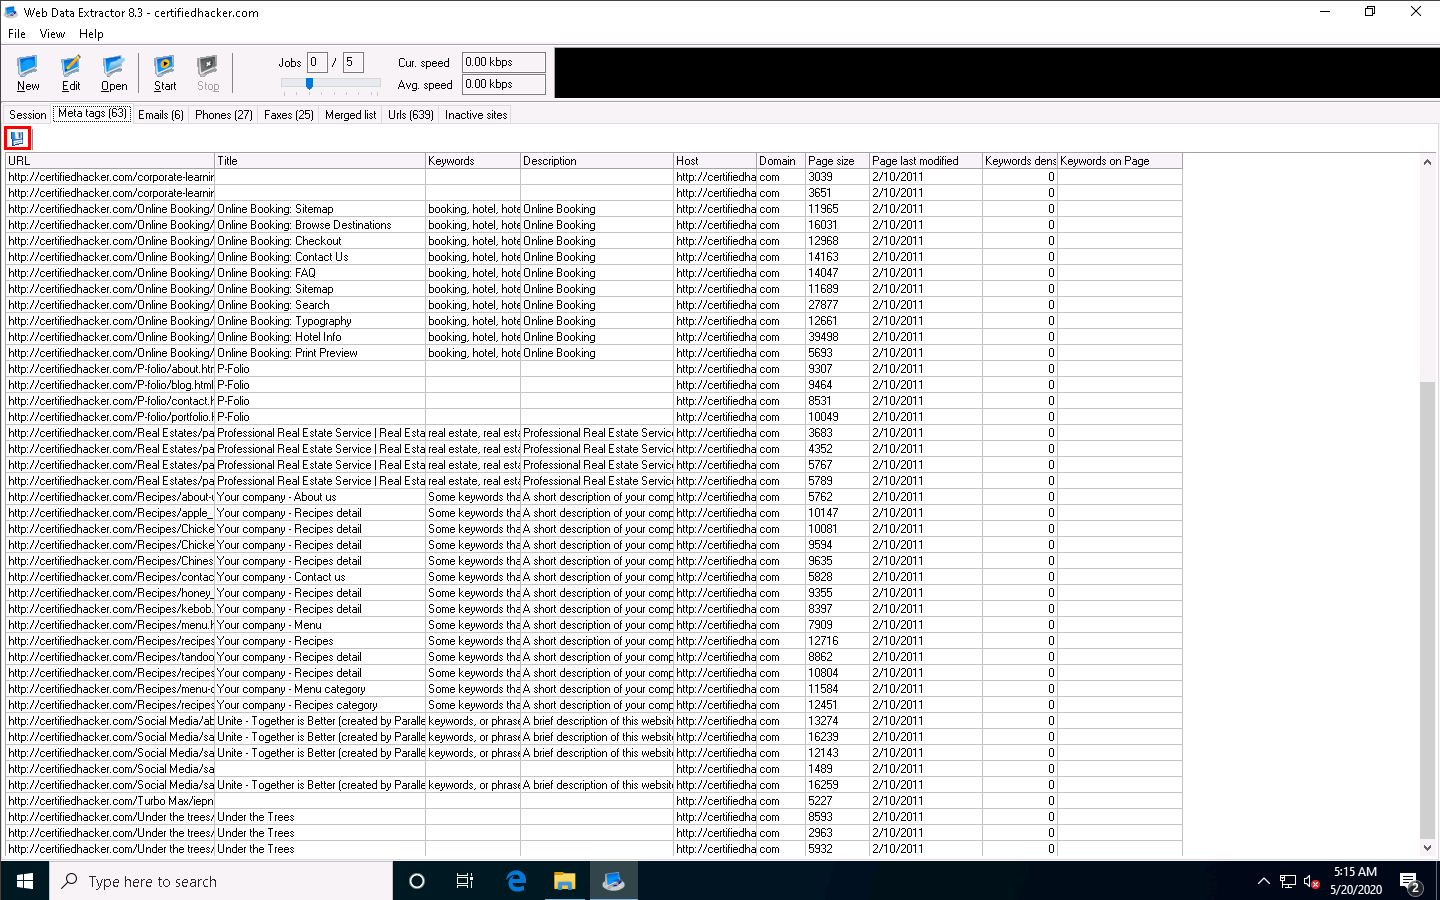
Web Data Extractor will start collecting information (Session, Meta tags, Emails, Phones, Faxes, Merged list, URLs, and Inactive sites).
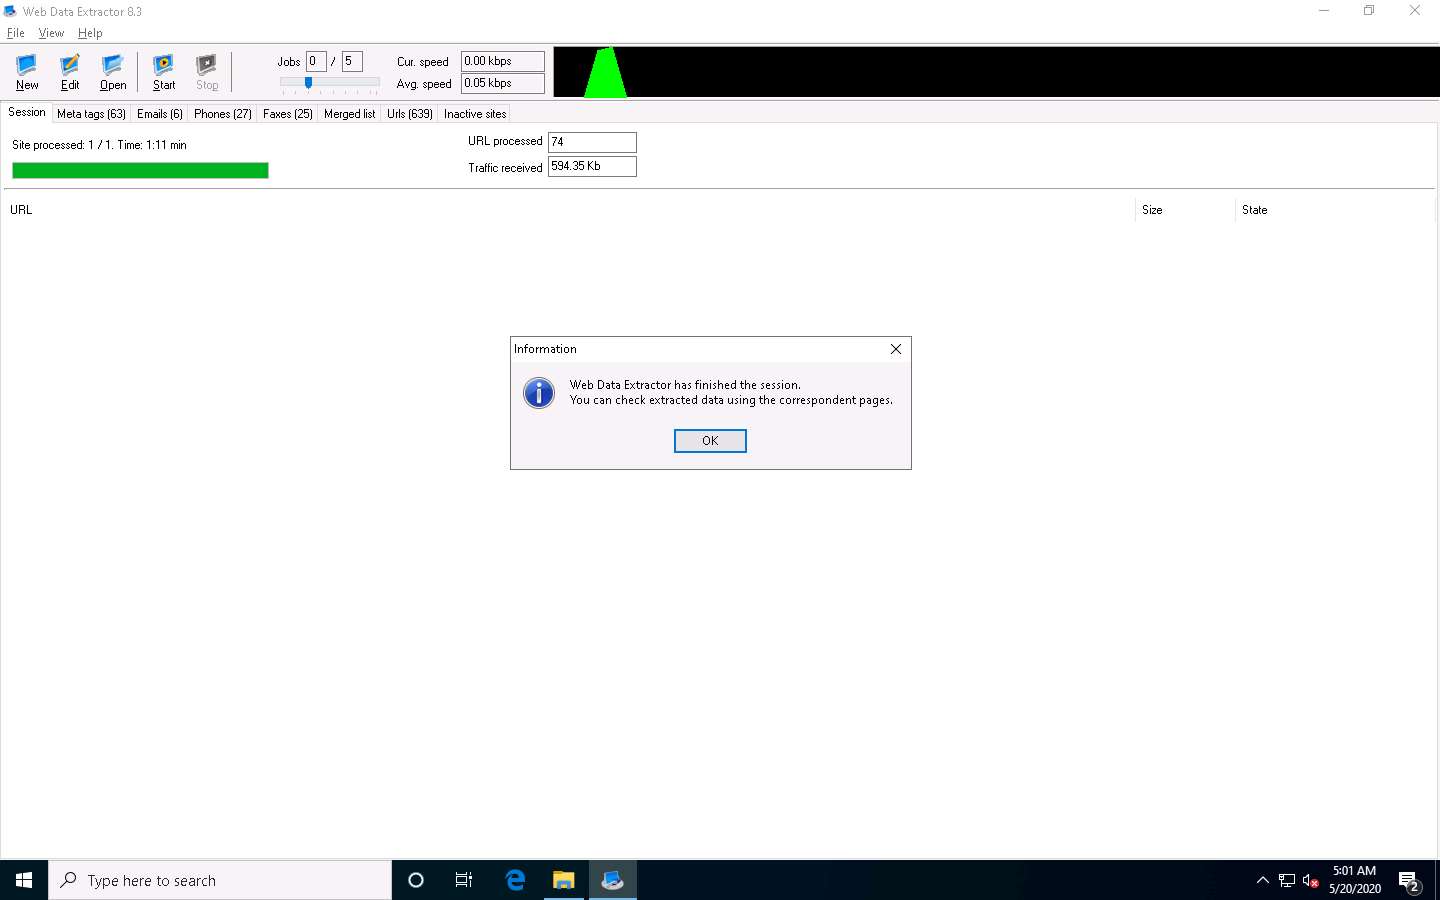
Once the data extraction process is completed, an Information dialog box appears; click OK.
View the extracted information by clicking the tabs.
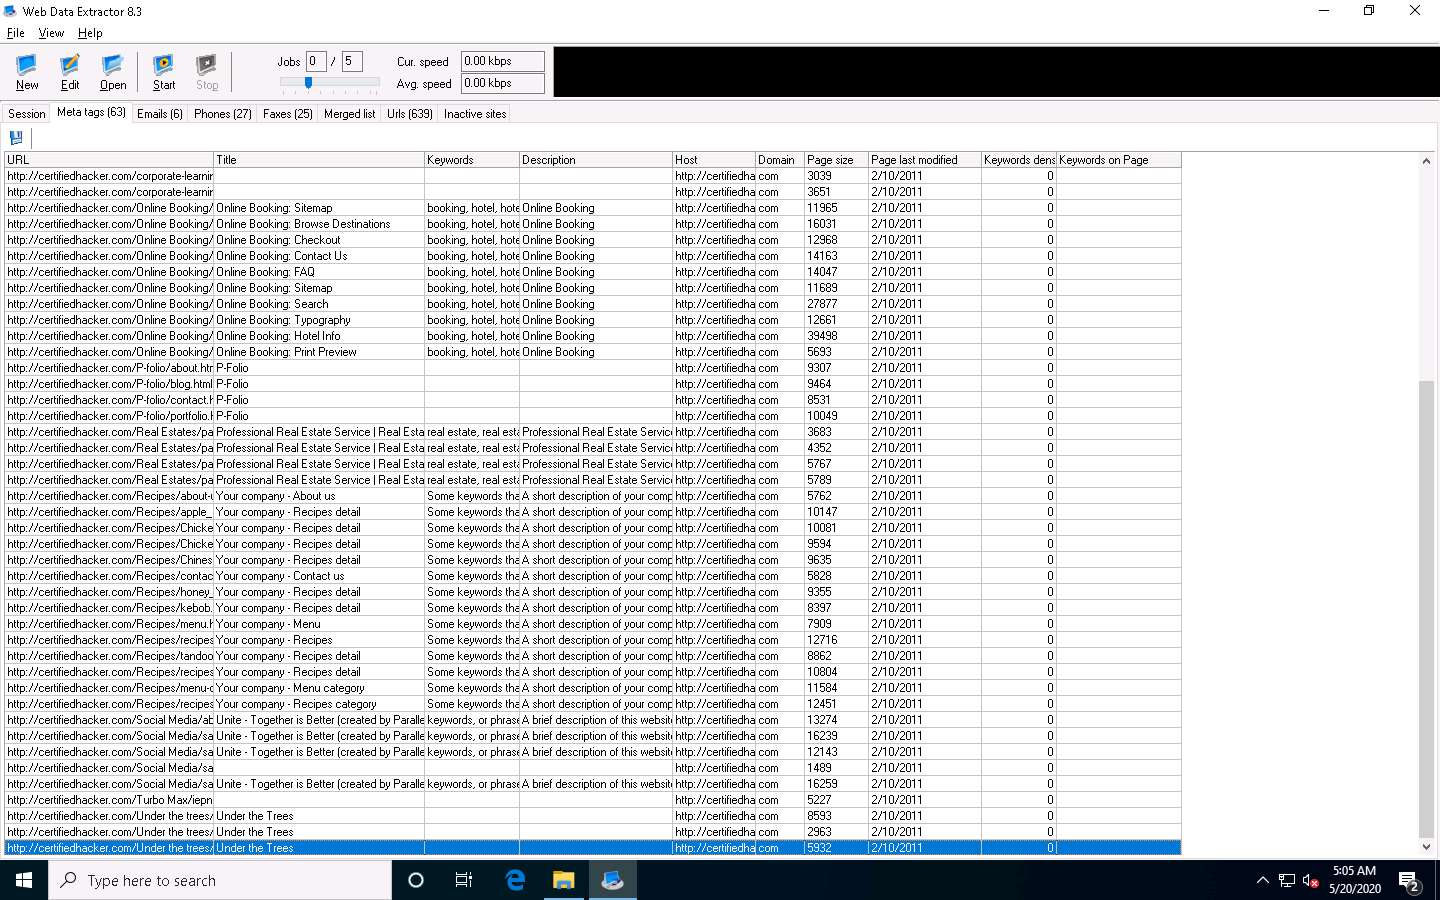
Select the Meta tags tab to view the URL, Title, Keywords, Description, Host, Domain, page size, etc.
Select the Emails tab to view information related to emails such as Email address, Name, URL, Title, etc.

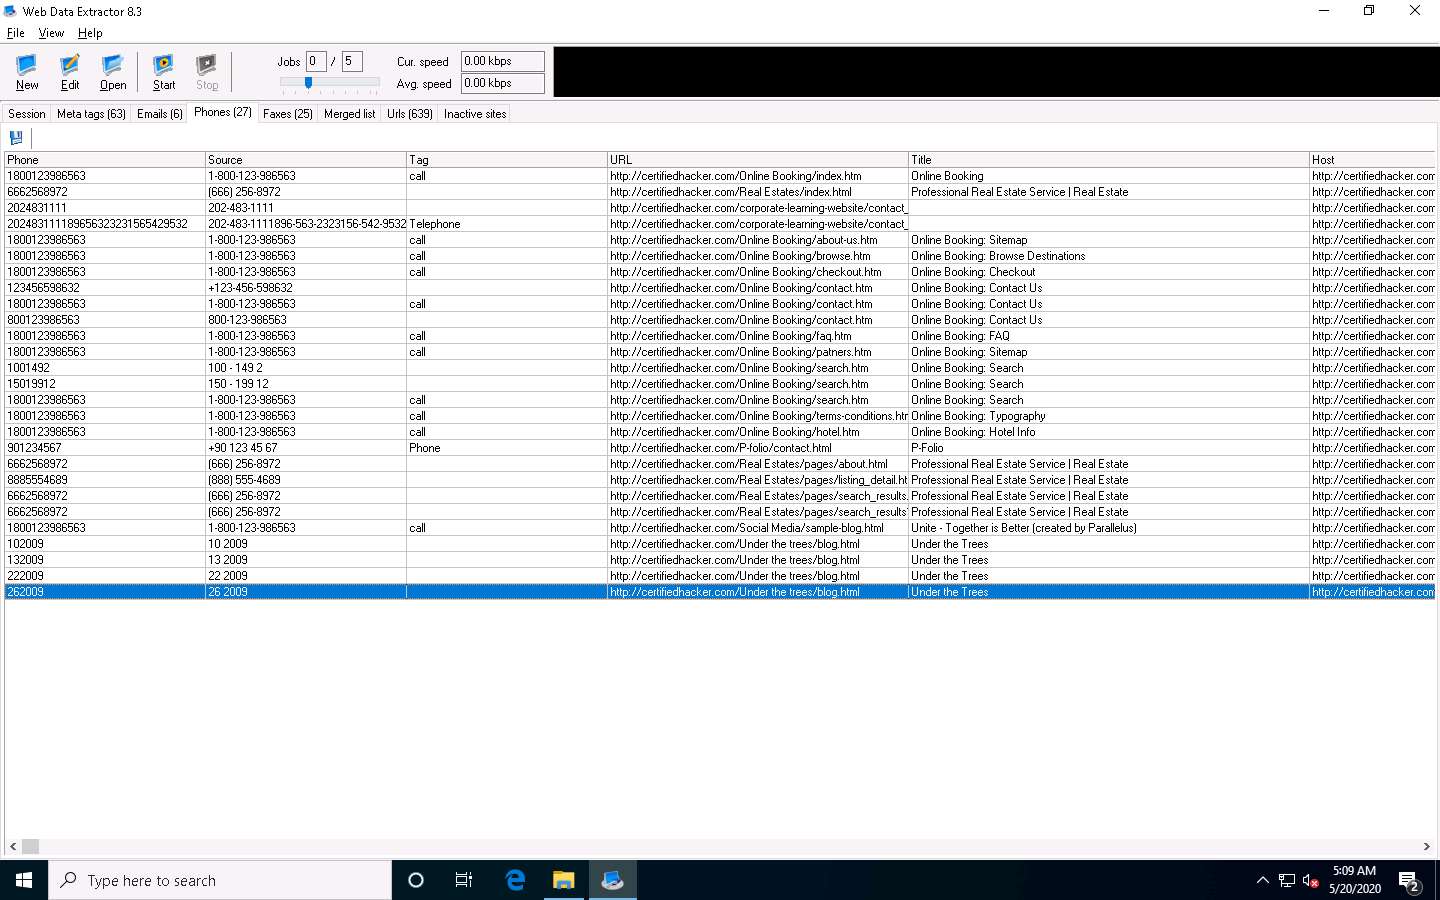
Select the Phones tab to view the Phone, Source, Tag, URL, etc.
Check for more information under the Faxes, Merged list, URLs, and Inactive sites tabs.
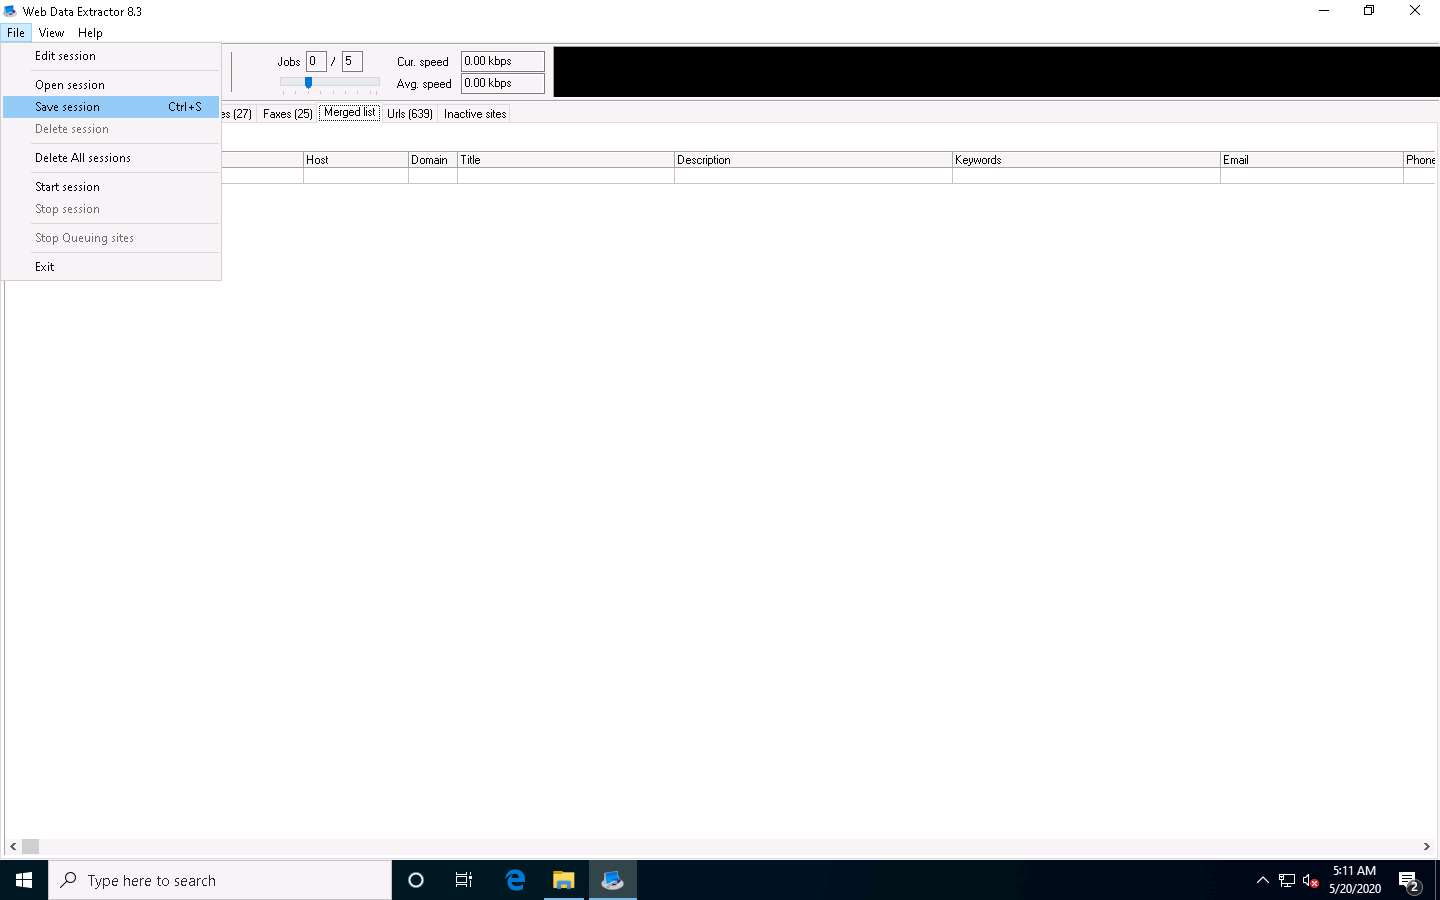
To save the session, choose File and click Save session.
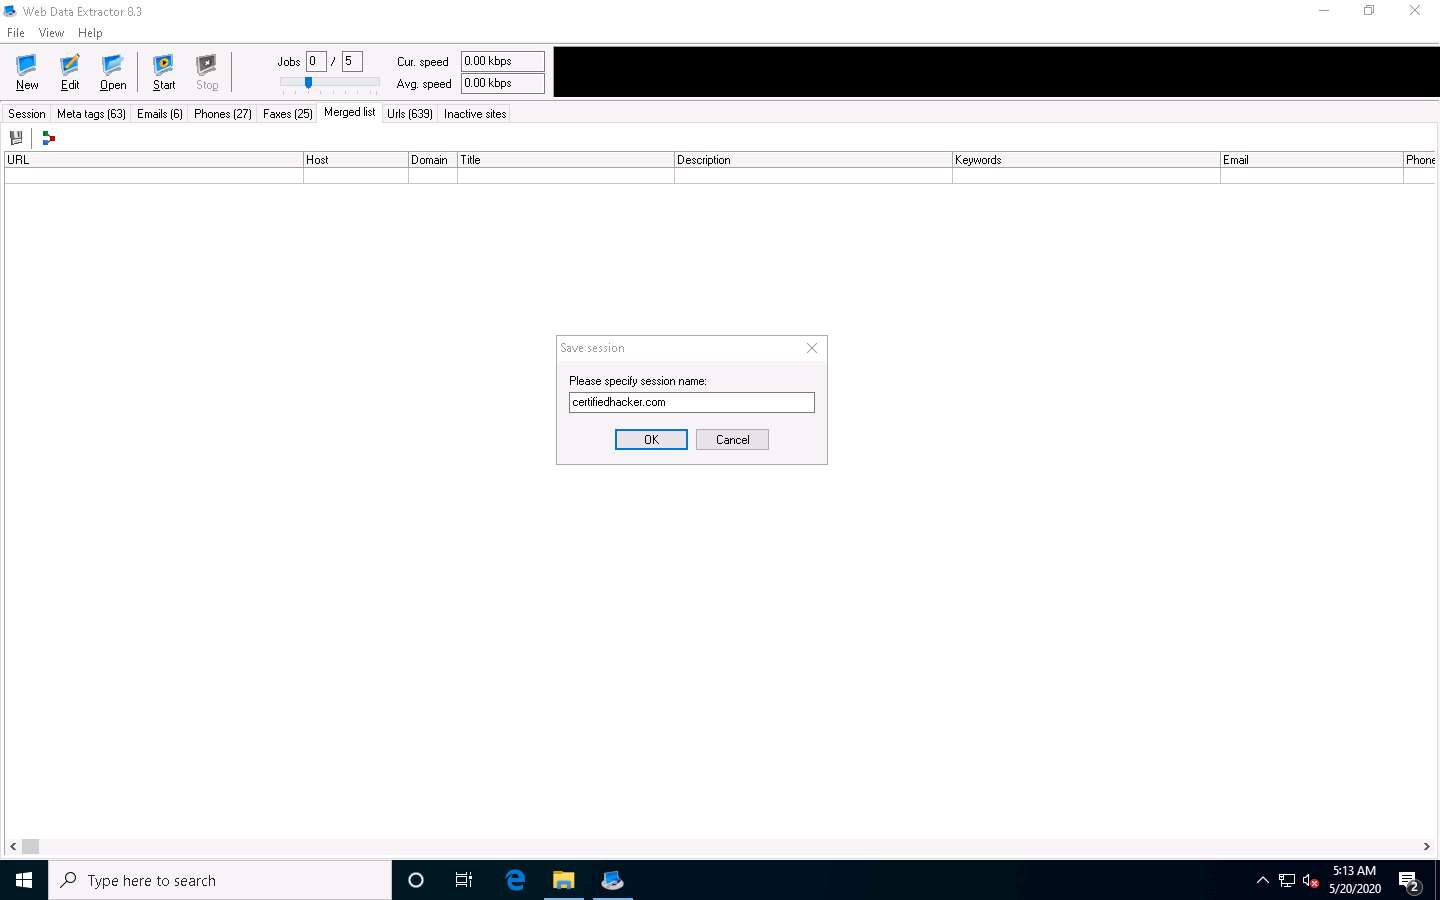
Specify the session name (here, certifiedhacker.com) in the Save session dialog box and click OK.
Click the Meta tags tab, and then click the floppy icon.
An Information pop-up may appear with the message You cannot save more than 10 records in Demo Version; click OK.
The Save Meta tags window appears. In the File name field, click on the folder icon, select the location where you want to save the file, choose File format, and click Save.
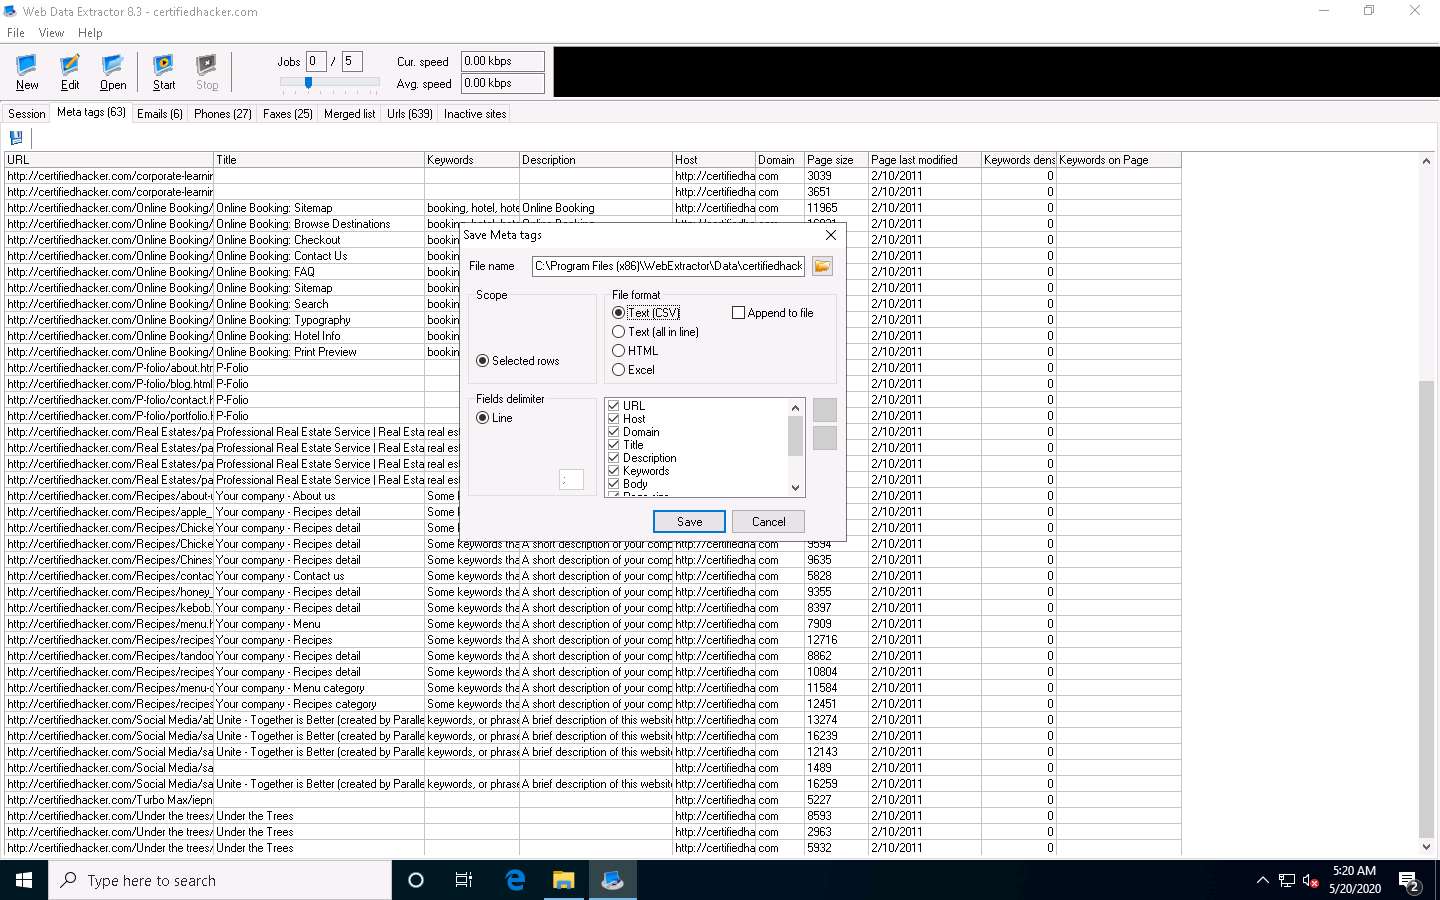
By default, the session will be saved at C:\Program Files (x86)\WebExtractor\Data\certifiedhacker.com. You can choose your desired location to save the file.
This concludes the demonstration of extracting a company’s data using the Web Data Extractor tool.
You can also use other web spiders such as ParseHub (https://www.parsehub.com), SpiderFoot (https://www.spiderfoot.net), etc. to extract the target organization’s data.
Close all open windows and document all the acquired information.
Task 4: Mirror a Target Website using HTTrack Web Site Copier
Website mirroring is the process of creating a replica or clone of the original website; this mirroring of the website helps you to footprint the web site thoroughly on your local system, and allows you to download a website to a local directory, analyze all directories, HTML, images, flash, videos, and other files from the server on your computer.
You can duplicate websites by using website mirroring tools such as HTTrack Web Site Copier. HTTrack is an offline browser utility that downloads a website from the Internet to a local directory, builds all directories recursively, and transfers HTML, images, and other files from the webserver to another computer.
Here, we will use the HTTrack Web Site Copier tool to mirror the entire website of the target organization, store it in the local system drive, and browse the local website to identify possible exploits and vulnerabilities.
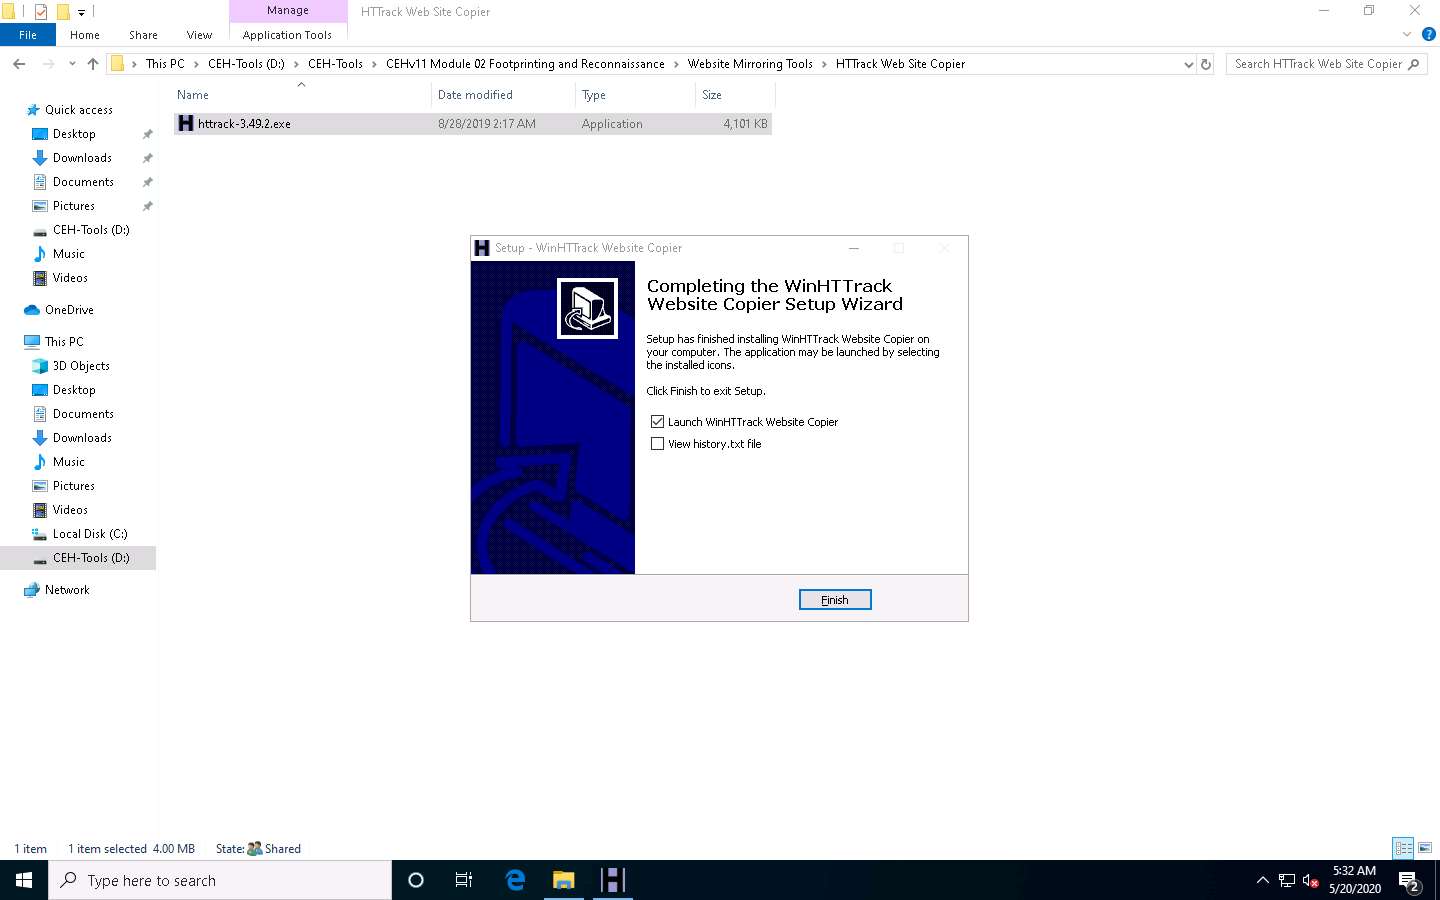
In the Windows 10 machine, navigate to D:\CEH-Tools\CEHv11 Module 02 Footprinting and Reconnaissance\Website Mirroring Tools\HTTrack Web Site Copier and double-click httrack-3.49.2.exe.
If the User Account Control pop-up appears, click Yes.
Follow the wizard steps to install HTTrack Web Site Copier.
In the last step of the installation wizard, uncheck the View history.txt file option and click Finish.
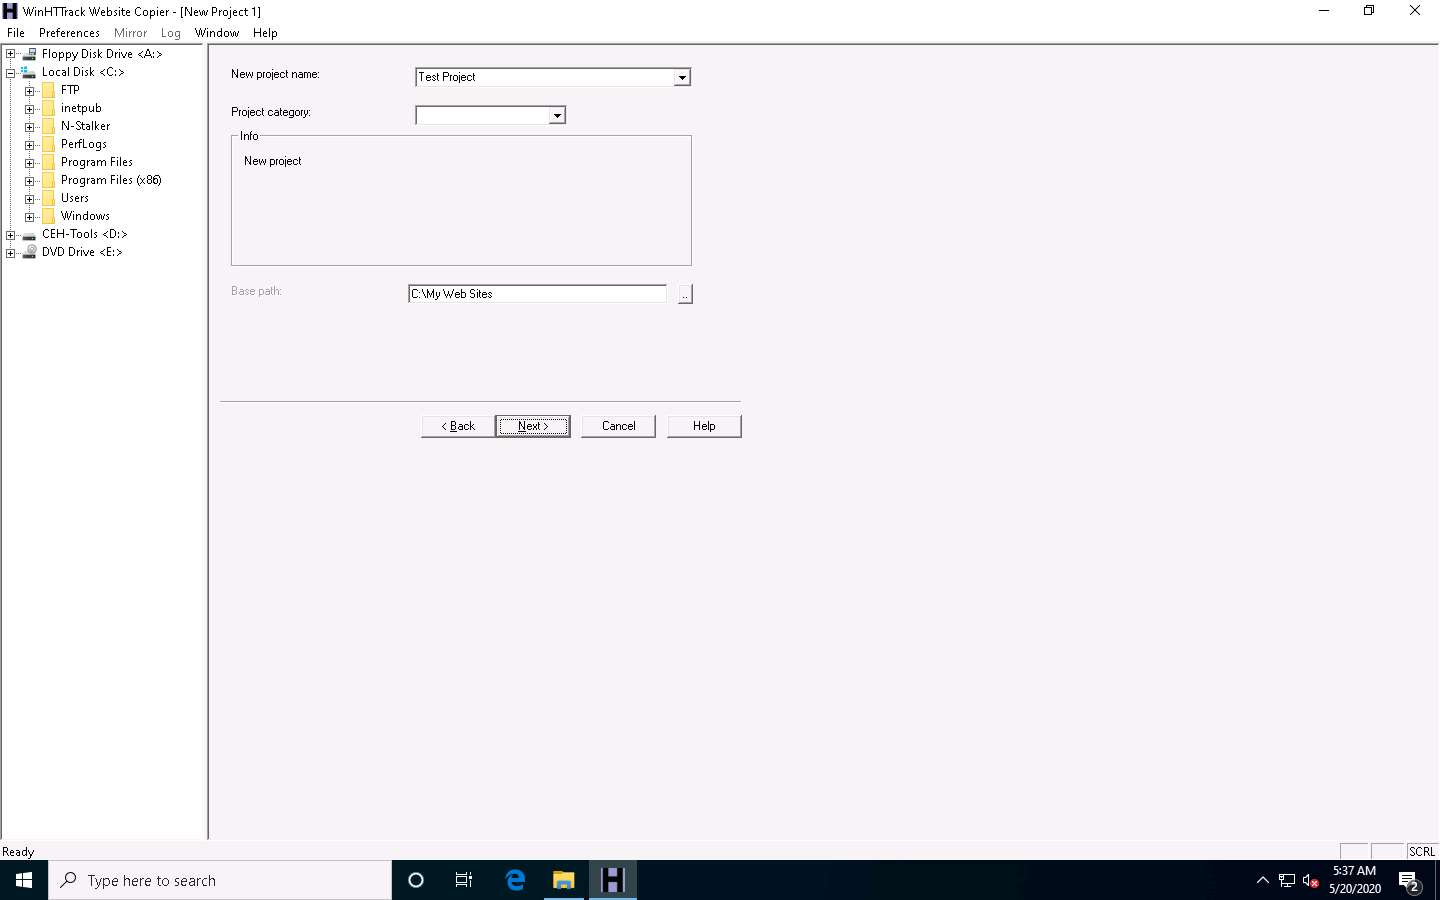
The WinHTTrack Website Copier window appears. Click OK in the pop-up window, and then click Next > to create a New Project.

Enter the name of the project (here, Test Project) in the New project name: field. Select the Base path: to store the copied files; click Next >.
Enter a target URL (here, www.certifiedhacker.com) in the Web Addresses: (URL) field and click Set options….
WinHTTrack window appears, click the Scan Rules tab and select the checkboxes for the file types as shown in the following screenshot; click OK.
Click the Next > button.
By default, the radio button will be selected for Please adjust connection parameters if necessary, then press FINISH to launch the mirroring operation. Check Disconnect when finished and click Finish to start mirroring the website.
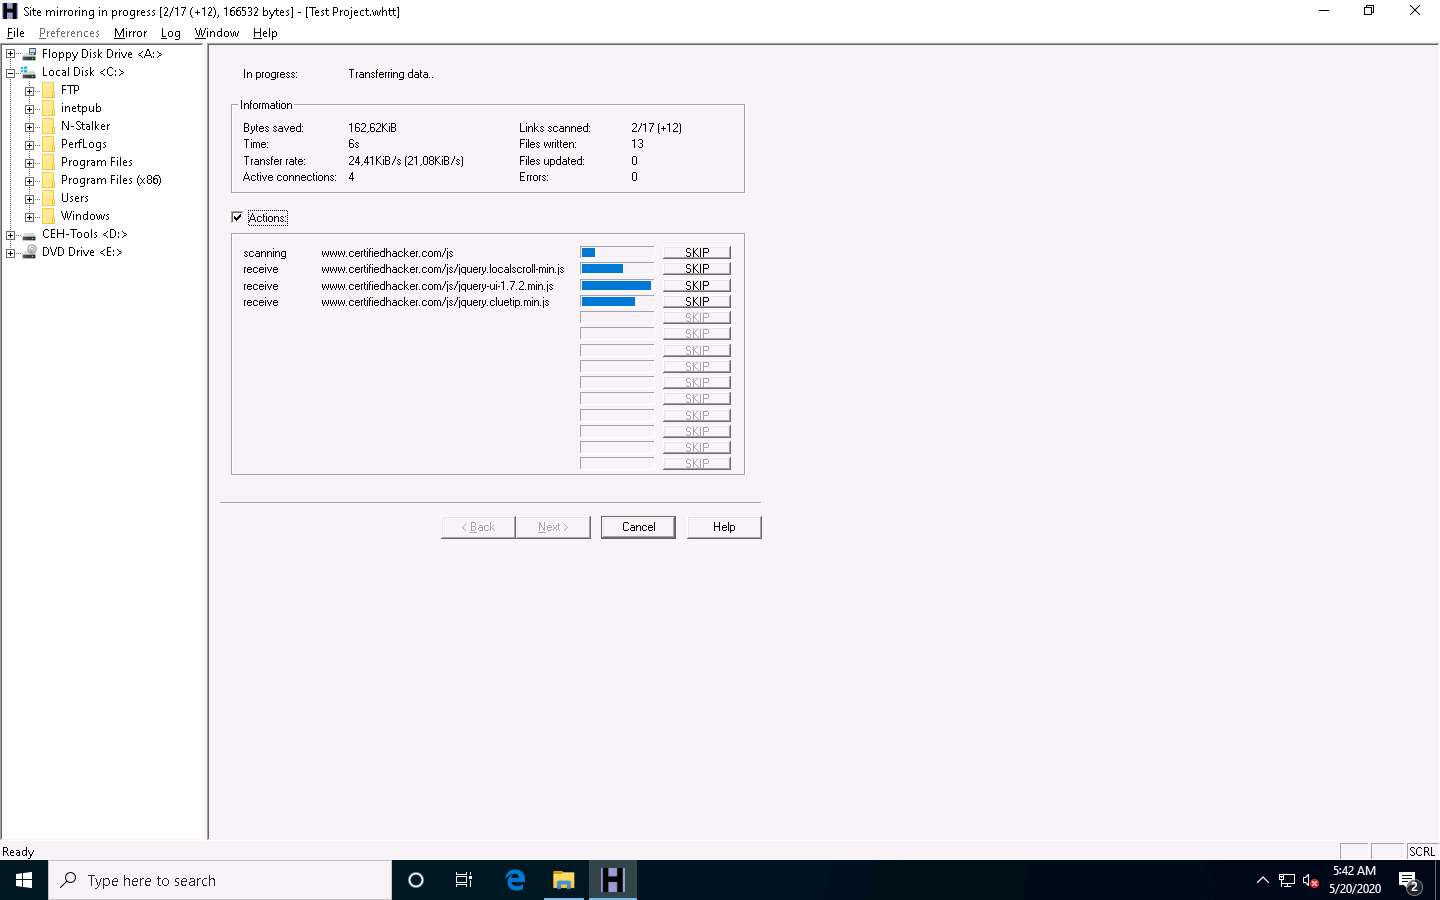
Site mirroring progress will be displayed, as shown in the screenshot.
Once the site mirroring is completed, WinHTTrack displays the message Mirroring operation complete; click on Browse Mirrored Website.

If the How do you want to open this file? pop up appears, select any web browser and click OK.
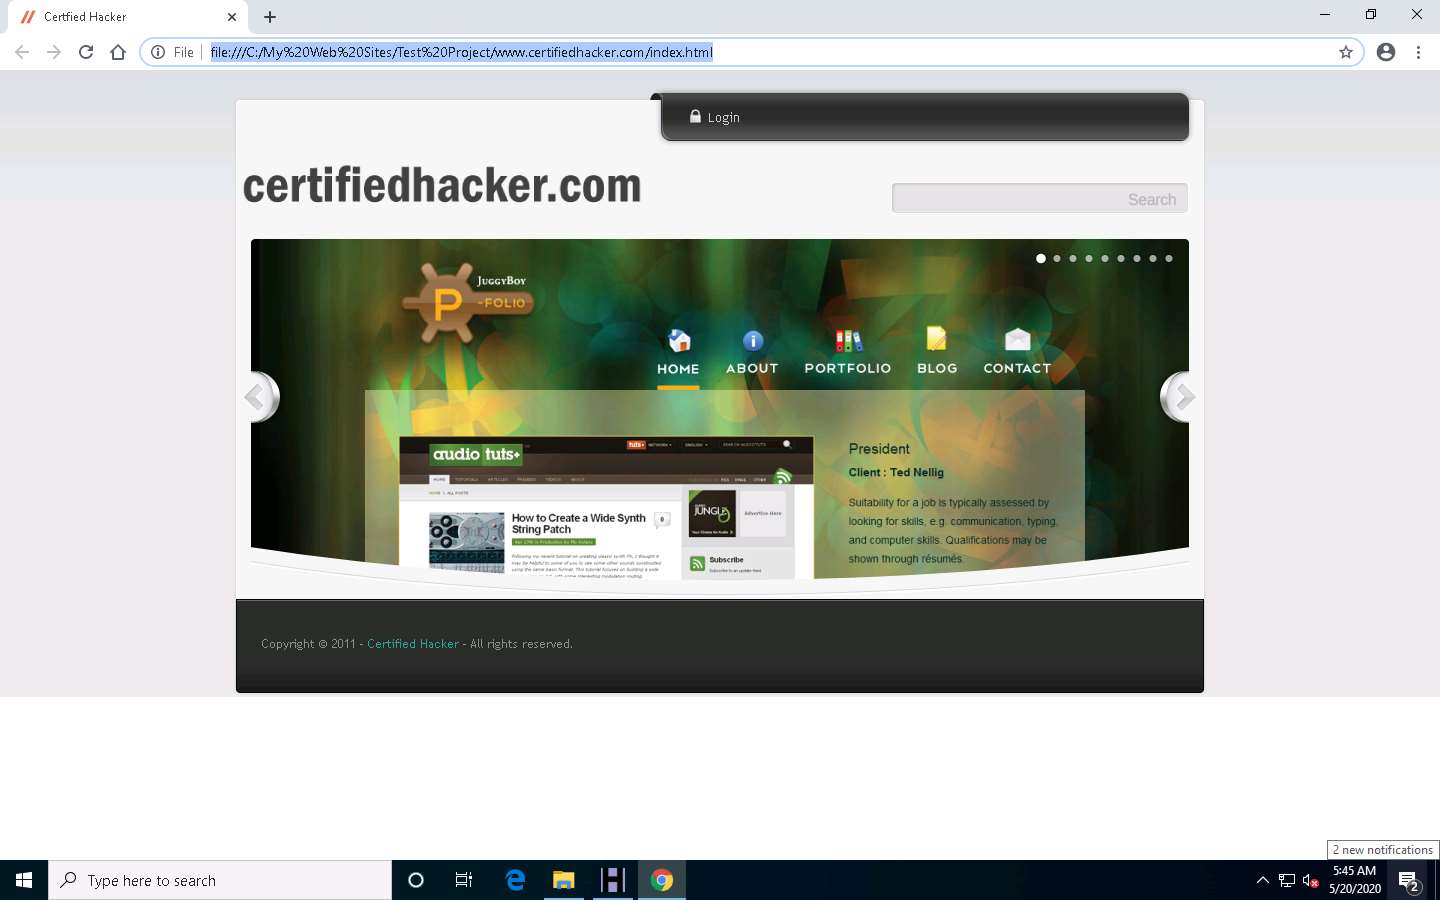
The mirrored website for www.certifiedhacker.com launches. The URL displayed in the address bar indicates that the website's image is stored on the local machine.
Analyze all directories, HTML, images, flash, videos, and other files available on the mirrored target website. You can also check for possible exploits and vulnerabilities. The site will work like a live hosted website.
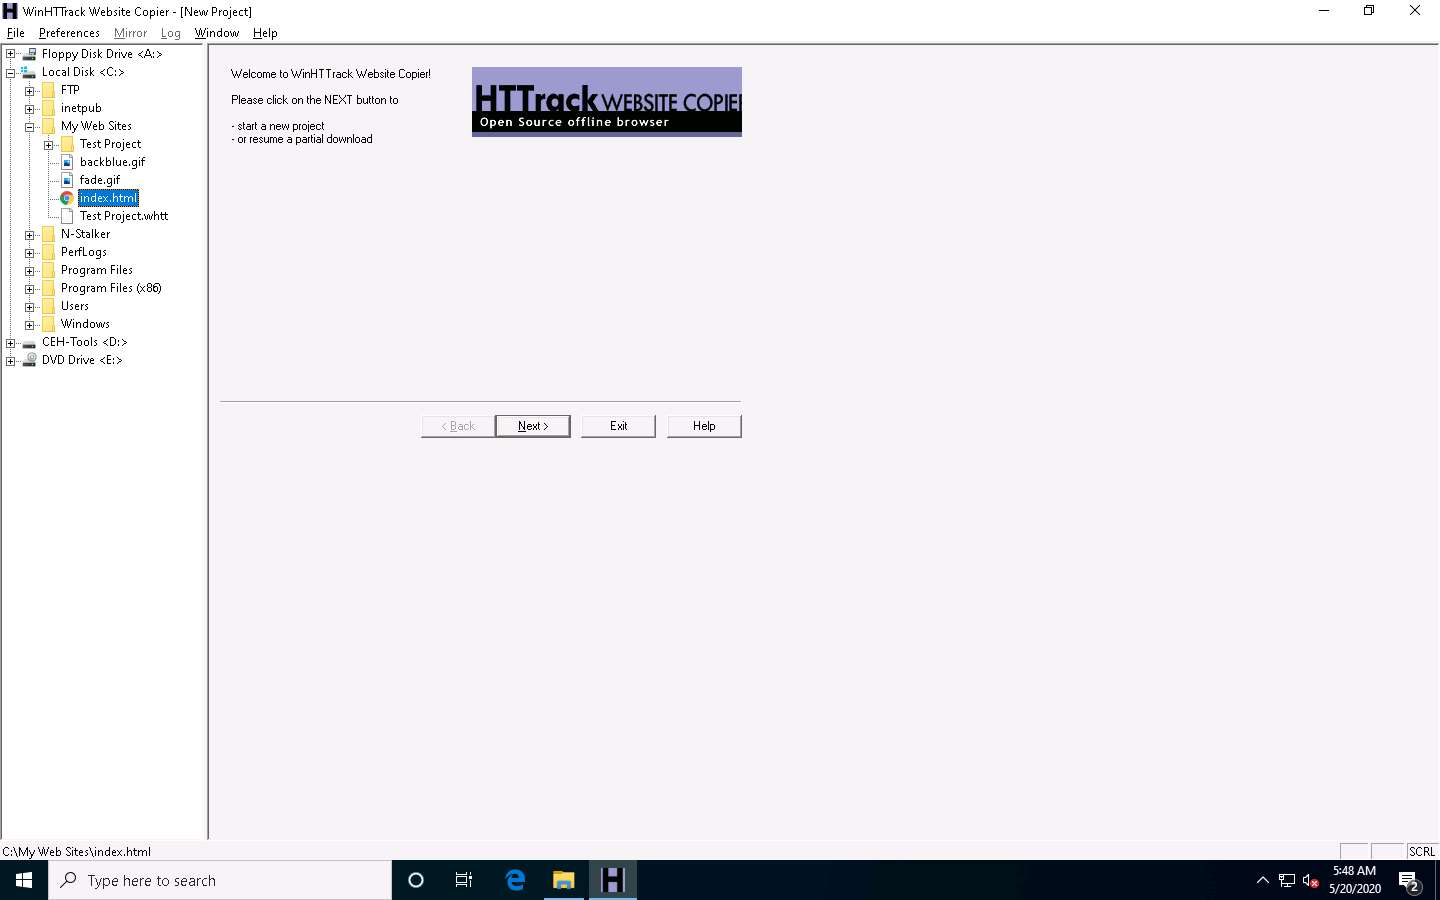
If the webpage does not open, navigate to the directory where you mirrored the website and open index.html with any browser.
Once done with your analysis, close the browser window and click Finish on the WinHTTrack window to complete the process.

Some websites are very large, and it might take a long time to mirror the complete site.
This concludes the demonstration of mirroring a target website using HTTrack Web Site Copier.
You can also use other mirroring tools such as NCollector Studio (http://www.calluna-software.com), Cyotek WebCopy (https://www.cyotek.com), etc. to mirror a target website.
Close all open windows and document all the acquired information.
Task 5: Gather a Wordlist from the Target Website using CeWL
The words available on the target website may reveal critical information that can assist in performing further exploitation. CeWL is a ruby app that is used to spider a given target URL to a specified depth, optionally following external links, and returns a list of unique words that can be used for cracking passwords.
Click Parrot Security to switch to the Parrot Security machine.
Click the MATE Terminal icon at the top-left corner of the Desktop window to open a Terminal window.

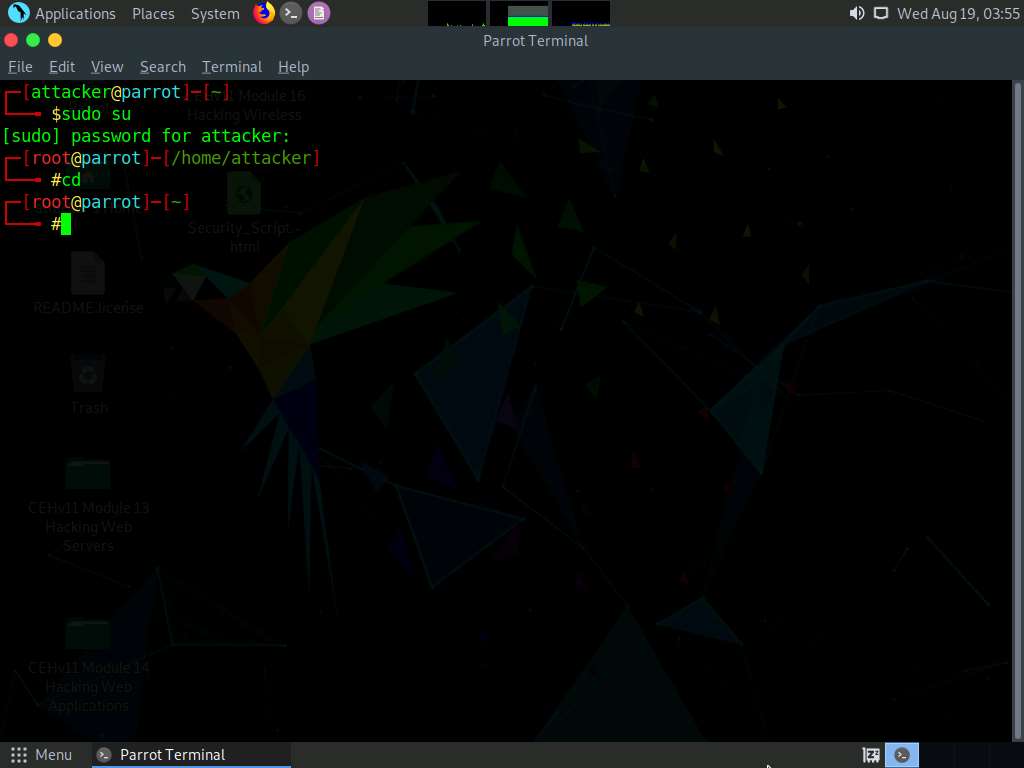
A Parrot Terminal window appears. In the terminal window, type sudo su and press Enter to run the programs as a root user.
In the [sudo] password for attacker field, type toor as a password and press Enter.
The password that you type will not be visible.
Now, type cd and press Enter to jump to the root directory.
In the terminal window, type cewl -d 2 -m 5 www.certifiedhacker.com and press Enter.
-d represents the depth to spider the website (here, 2) and -m represents minimum word length (here, 5).
A unique wordlist from the target website is gathered, as shown in the screenshot.
The minimum word length is 5, and the depth to spider the target website is 2.
Alternatively, this unique wordlist can be written directly to a text file. To do so, type cewl -w wordlist.txt -d 2 -m 5 www.certifiedhacker.com and press Enter.
-w - Write the output to the file (here, wordlist.txt)
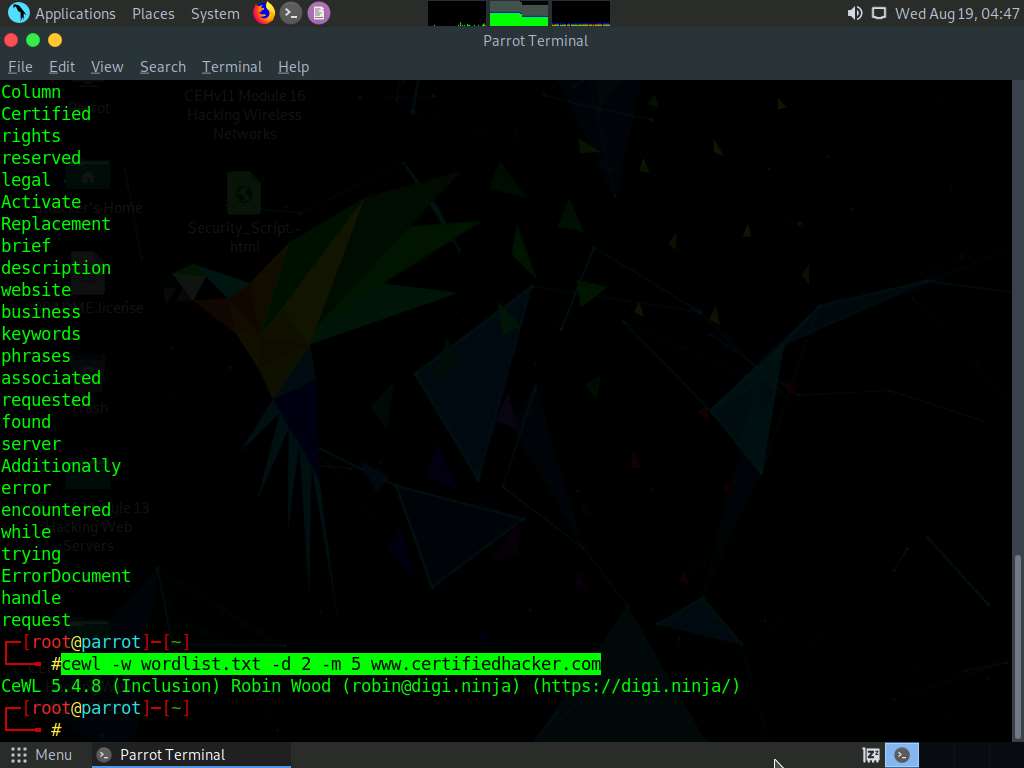
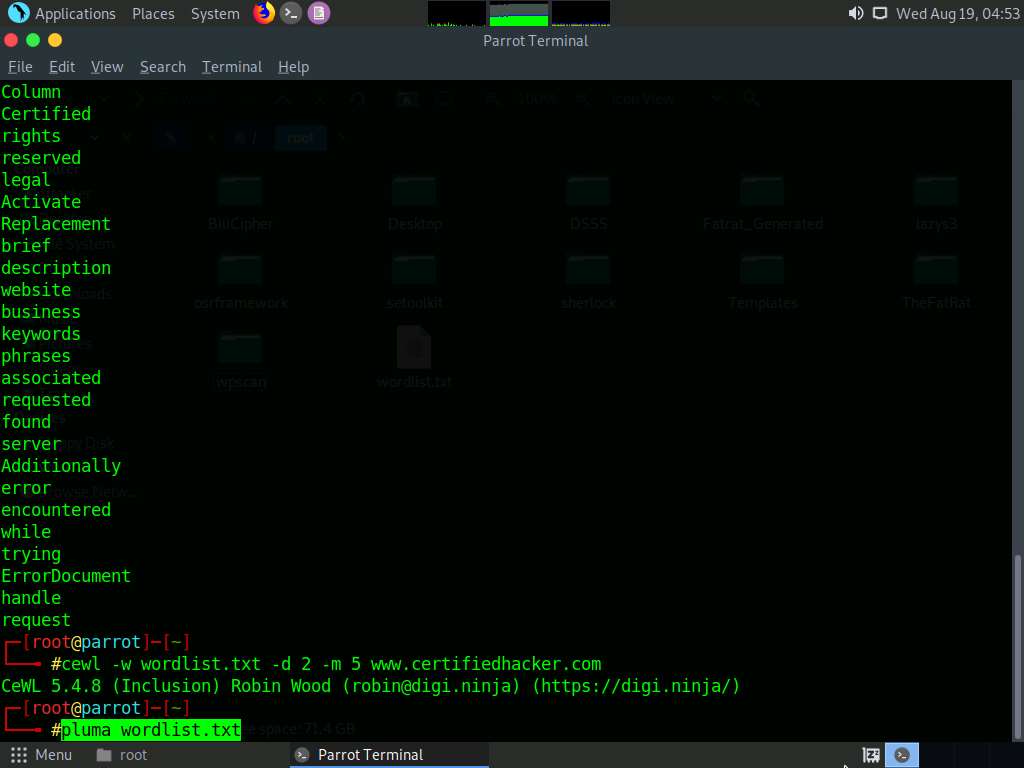
By default, the wordlist file gets saved in the root directory. Type pluma wordlist.txt and press Enter to view the extracted wordlist.
The file containing a unique wordlist extracted from the target website opens, as shown in the screenshot.
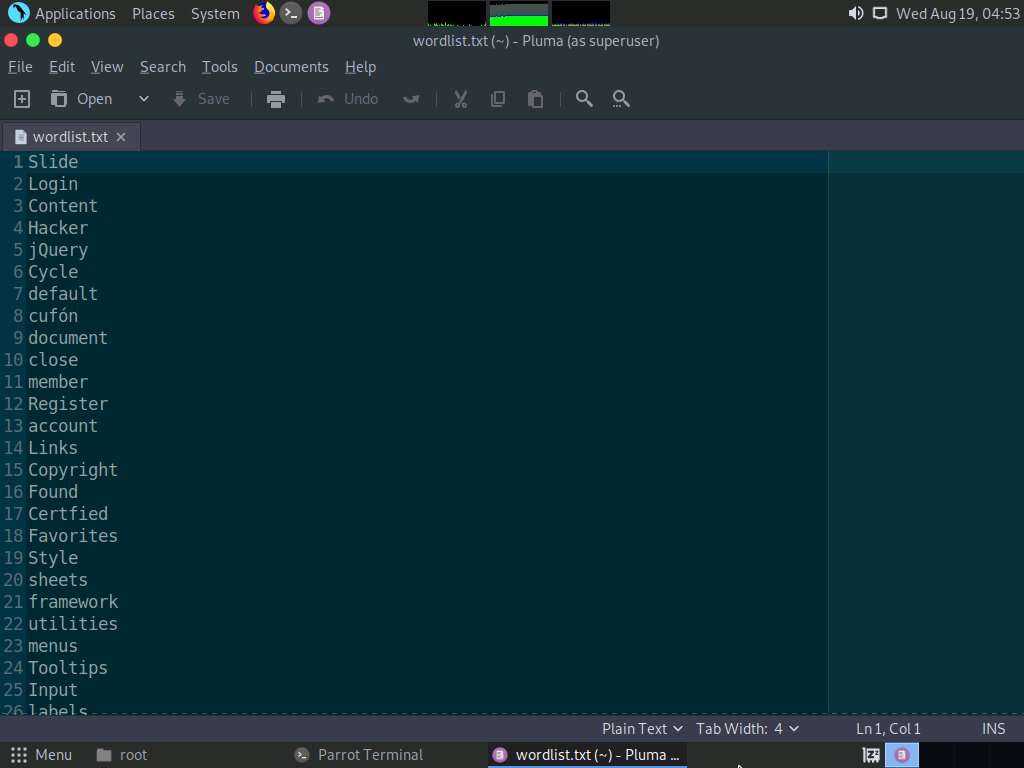
This wordlist can be used further to perform brute-force attacks against the previously obtained emails of the target organization’s employees.
This concludes the demonstration of gathering wordlist from the target website using CeWL.
Close all open windows and document all the acquired information.


Comments
Post a Comment