Lab 4: Perform NFS Enumeration
Lab 4: Perform NFS Enumeration
Module 04: Enumeration'
Lab 4: Perform NFS Enumeration
Task 1: Perform NFS Enumeration using RPCScan and SuperEnum
the next step after LDAP enumeration is to perform NFS enumeration to identify exported directories and extract a list of clients connected
to the server, along with their IP addresses and shared data associated with them.
terminal
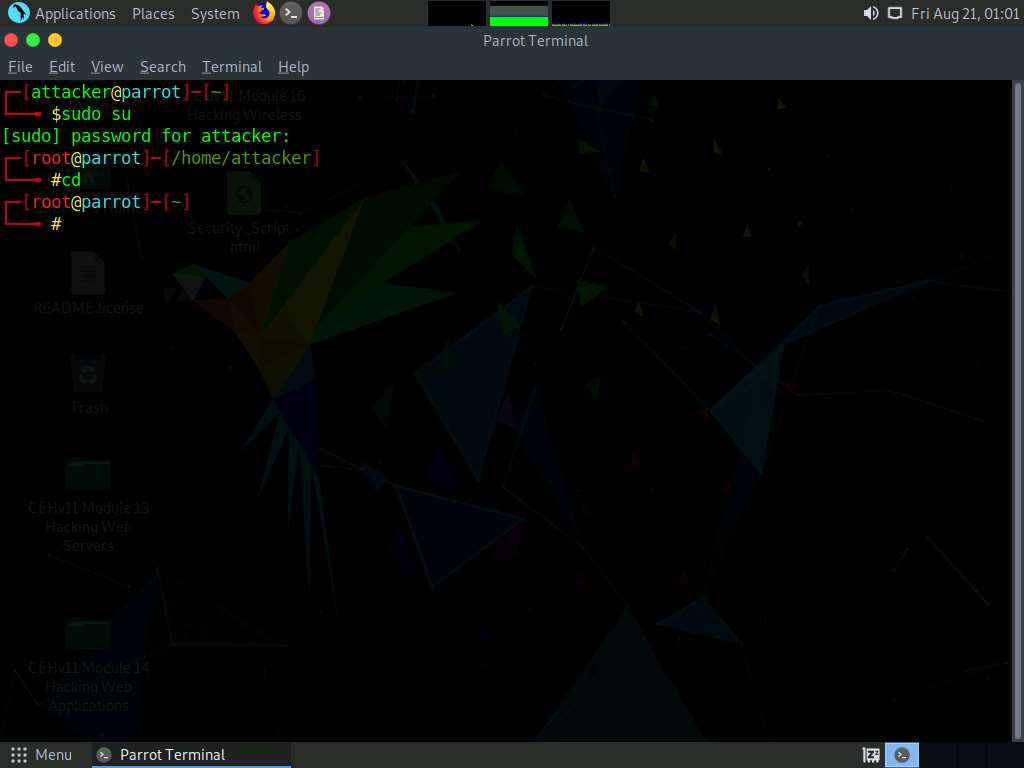
sudo su
cd
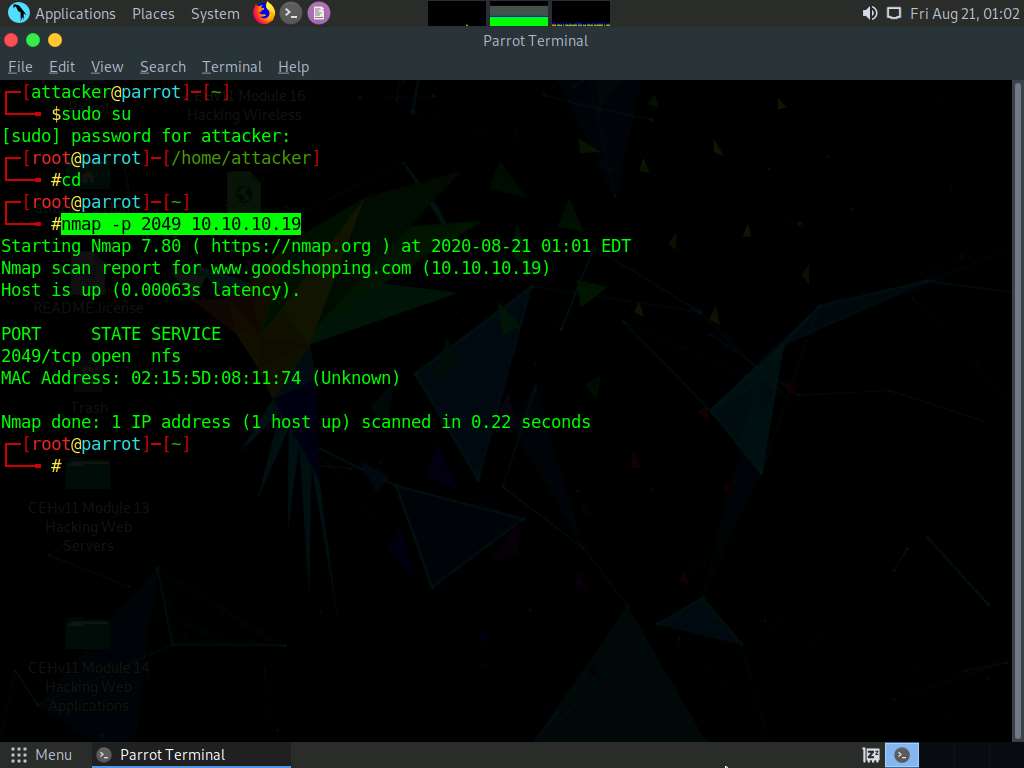
nmap -p 2049 10.10.10.19
if nfs shows open then your good
if its closed then go to blog follow first few steps to open it on the server
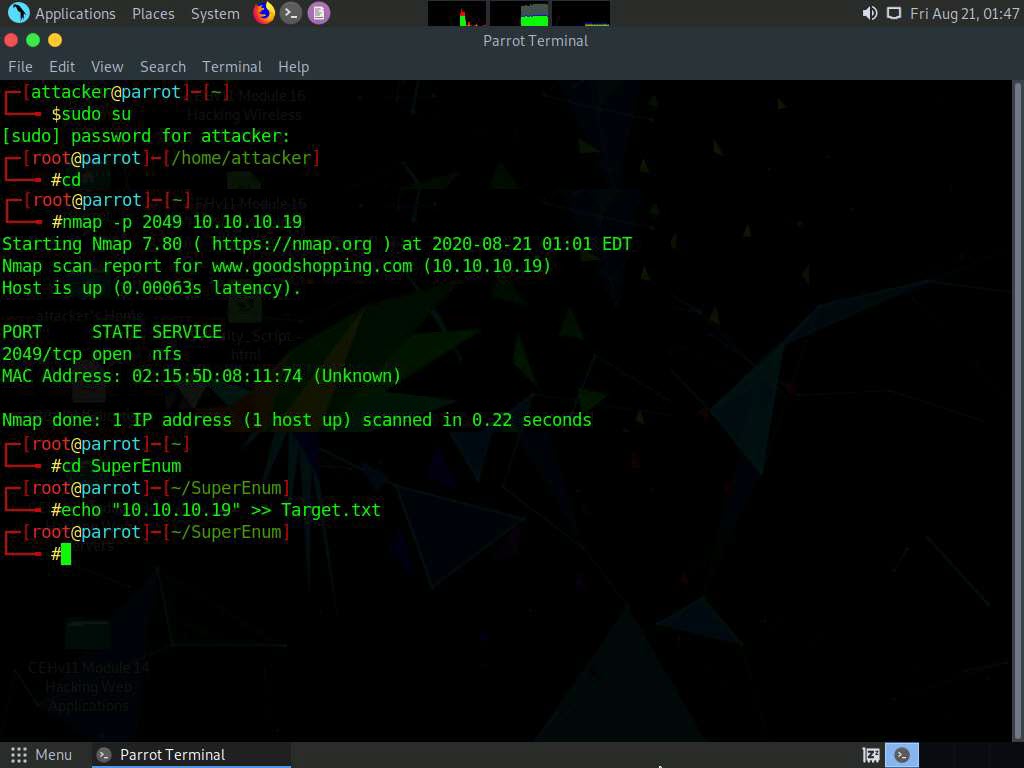
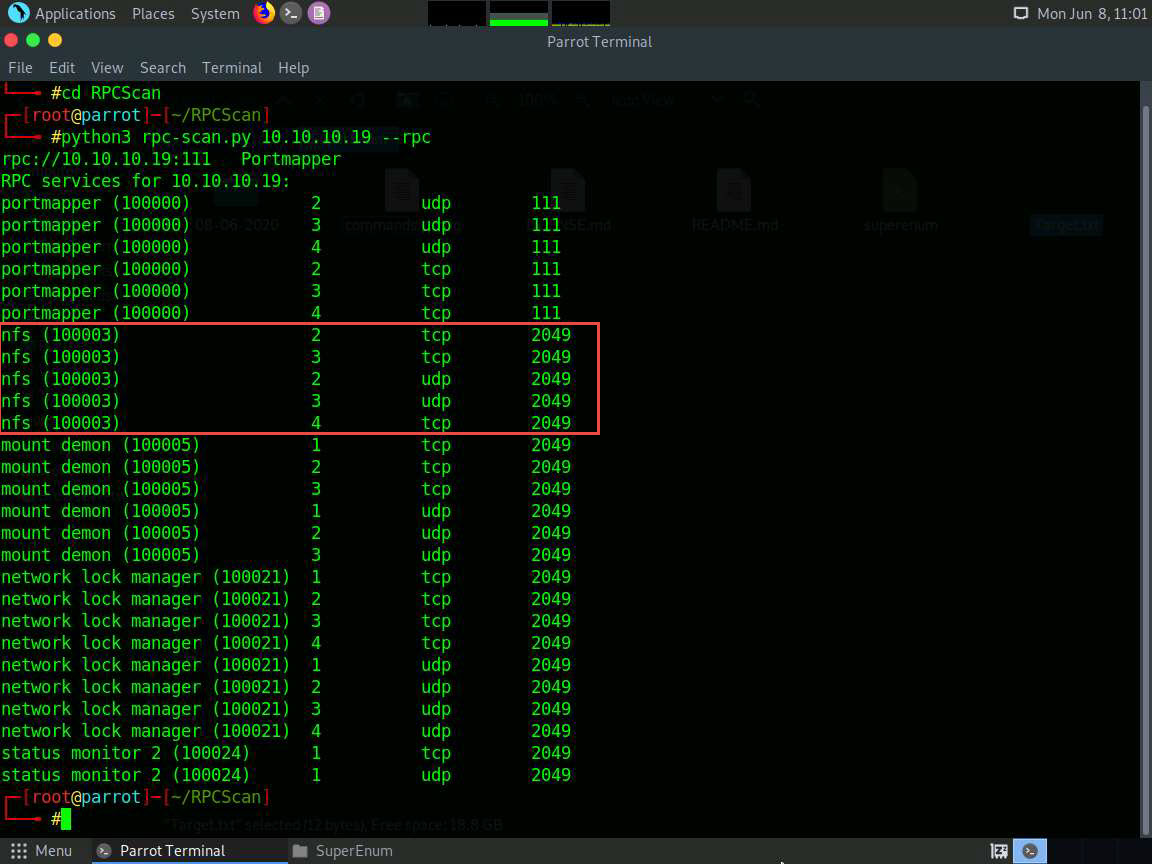
cd SuperEnum
echo "10.10.10.19" >> Target.txt
./superenum
If you get an error running the ./superenum script, type chmod +x superenum and press Enter
./superenum
10.10.10.19
enter
The scan will take approximately 15-20 mins to complete.
After the scan is finished, scroll down to review the results. Note that port 2049 is open and the NFS service is running on it.
You can also observe the other open ports and the services running on them.
cd .. and press Enter
Now, we will perform NFS enumeration using RPCScan. To do so, type cd RPCScan and press Enter
python3 rpc-scan.py [Target IP address] --rpc
the result appears, displaying that port 2049 is open, and the NFS service is running on it.
end
Lab Scenario
As a professional ethical hacker or penetration tester, the next step after LDAP enumeration is to perform NFS enumeration to identify exported directories and extract a list of clients connected to the server, along with their IP addresses and shared data associated with them.
After gathering this information, it is possible to spoof target IP addresses to gain full access to the shared files on the server.
Lab Objectives
- Perform NFS enumeration using RPCScan and SuperEnum
Overview of NFS Enumeration
NFS (Network File System) is a type of file system that enables computer users to access, view, store, and update files over a remote server. This remote data can be accessed by the client computer in the same way that it is accessed on the local system.
Task 1: Perform NFS Enumeration using RPCScan and SuperEnum
RPCScan communicates with RPC (remote procedure call) services and checks misconfigurations on NFS shares. It lists RPC services, mountpoints,and directories accessible via NFS. It can also recursively list NFS shares. SuperEnum includes a script that performs a basic enumeration of any open port, including the NFS port (2049).
Here, we will use RPCScan and SuperEnum to enumerate NFS services running on the target machine.
Before starting this lab, it is necessary to enable the NFS service on the target machine (Windows Server 2019). This will be done in steps 1-6.
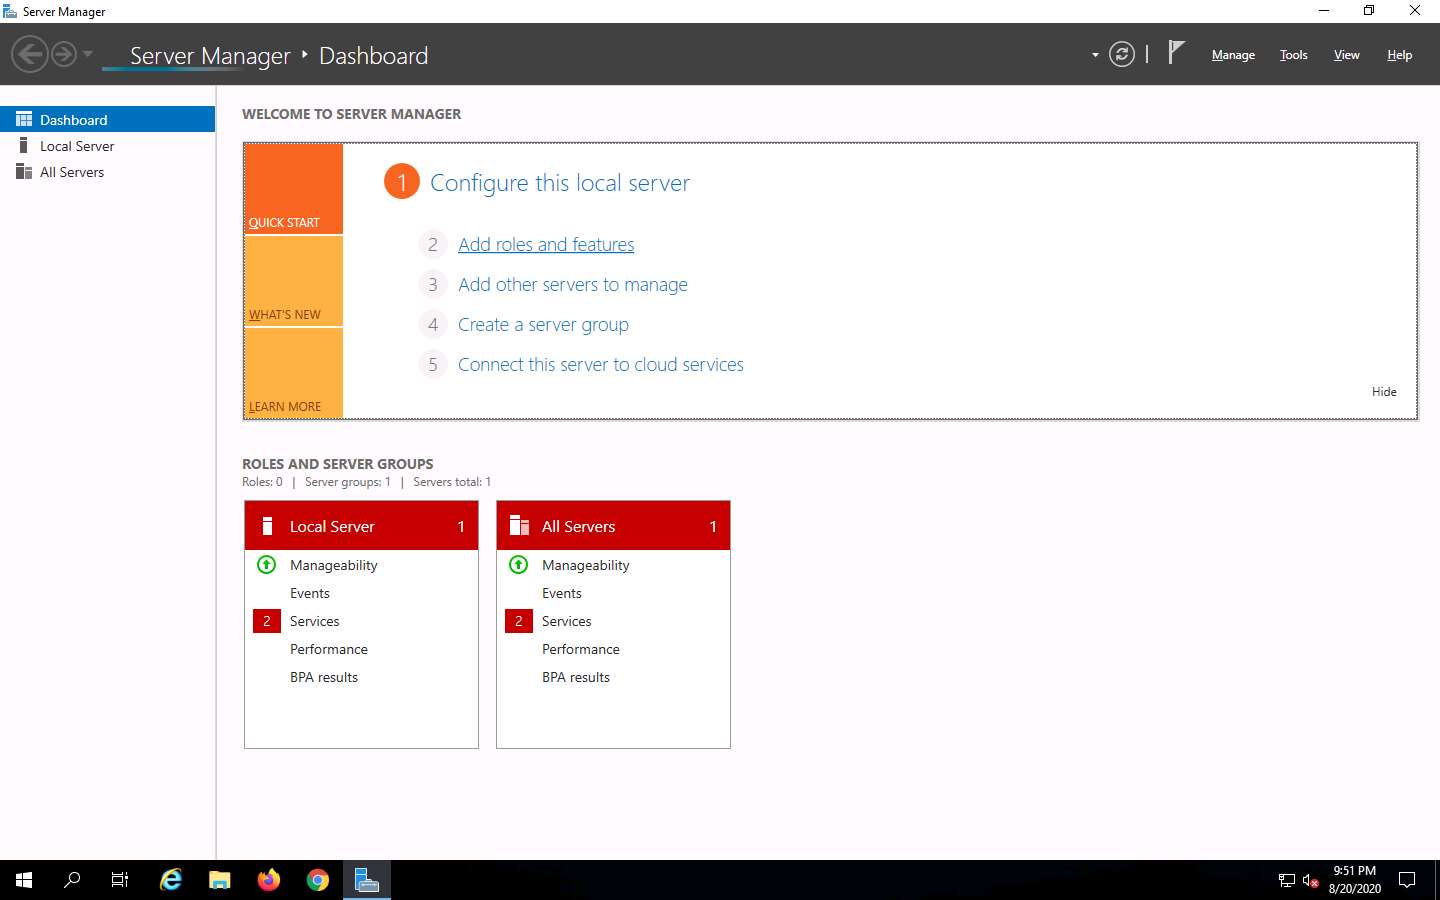
In the Windows Server 2019 machine, click the Start button at the bottom-left corner of Desktop and open Server Manager.
The Server Manager main window appears. By default, Dashboard will be selected; click Add roles and features.
The Add Roles and Features Wizard window appears. Click Next here and in the Installation Type and Server Selection wizards.
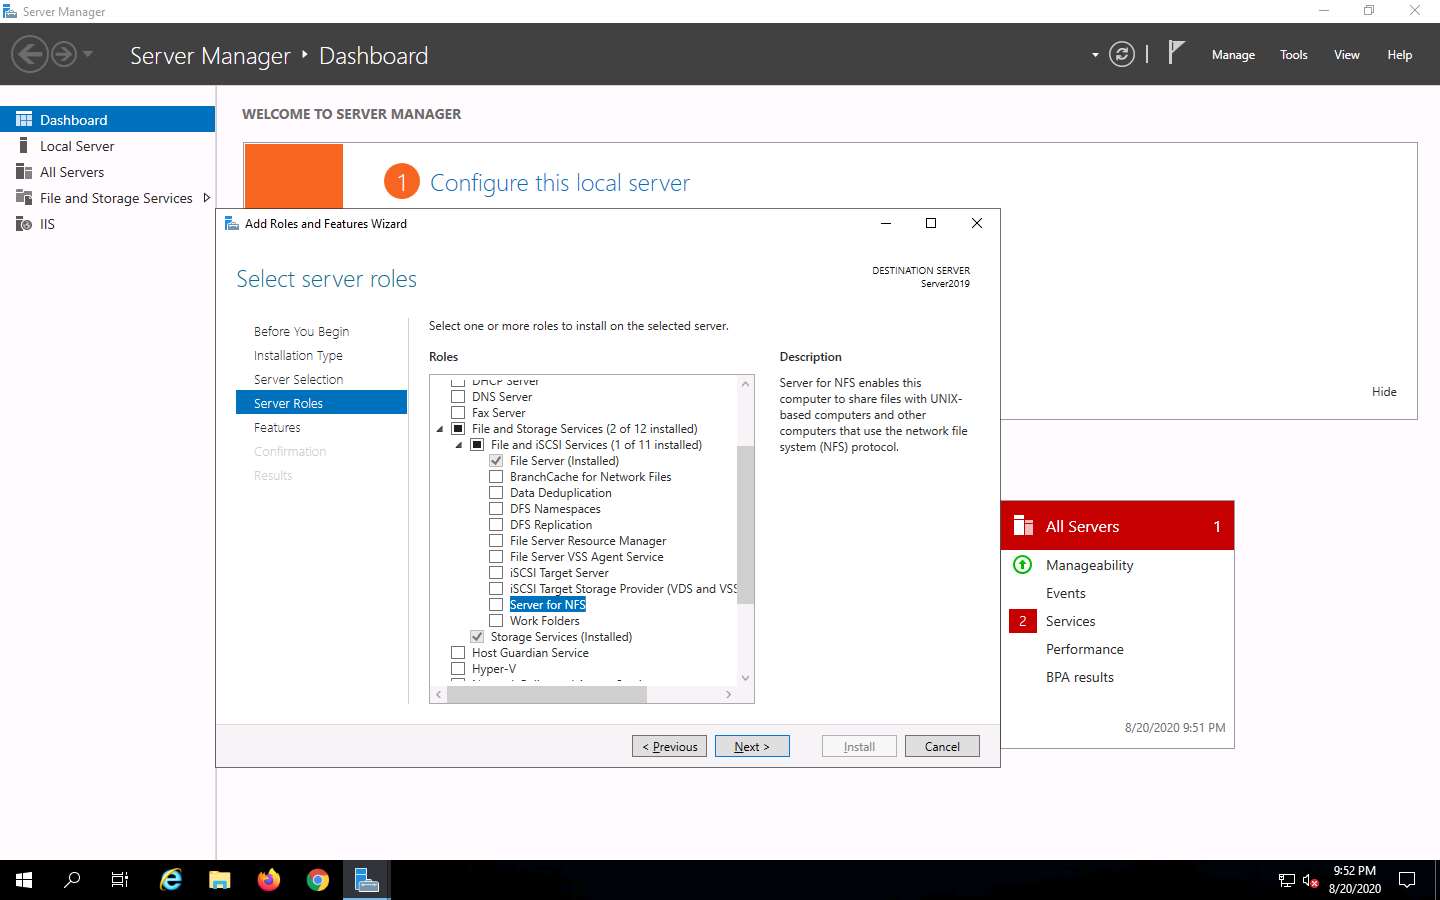
The Server Roles section appears. Expand File and Storage Services and select the checkbox for Server for NFS under the File and iSCSI Services option, as shown in the screenshot. Click Next.
In the Add features that are required for Server for NFS? pop-up window, click the Add Features button.
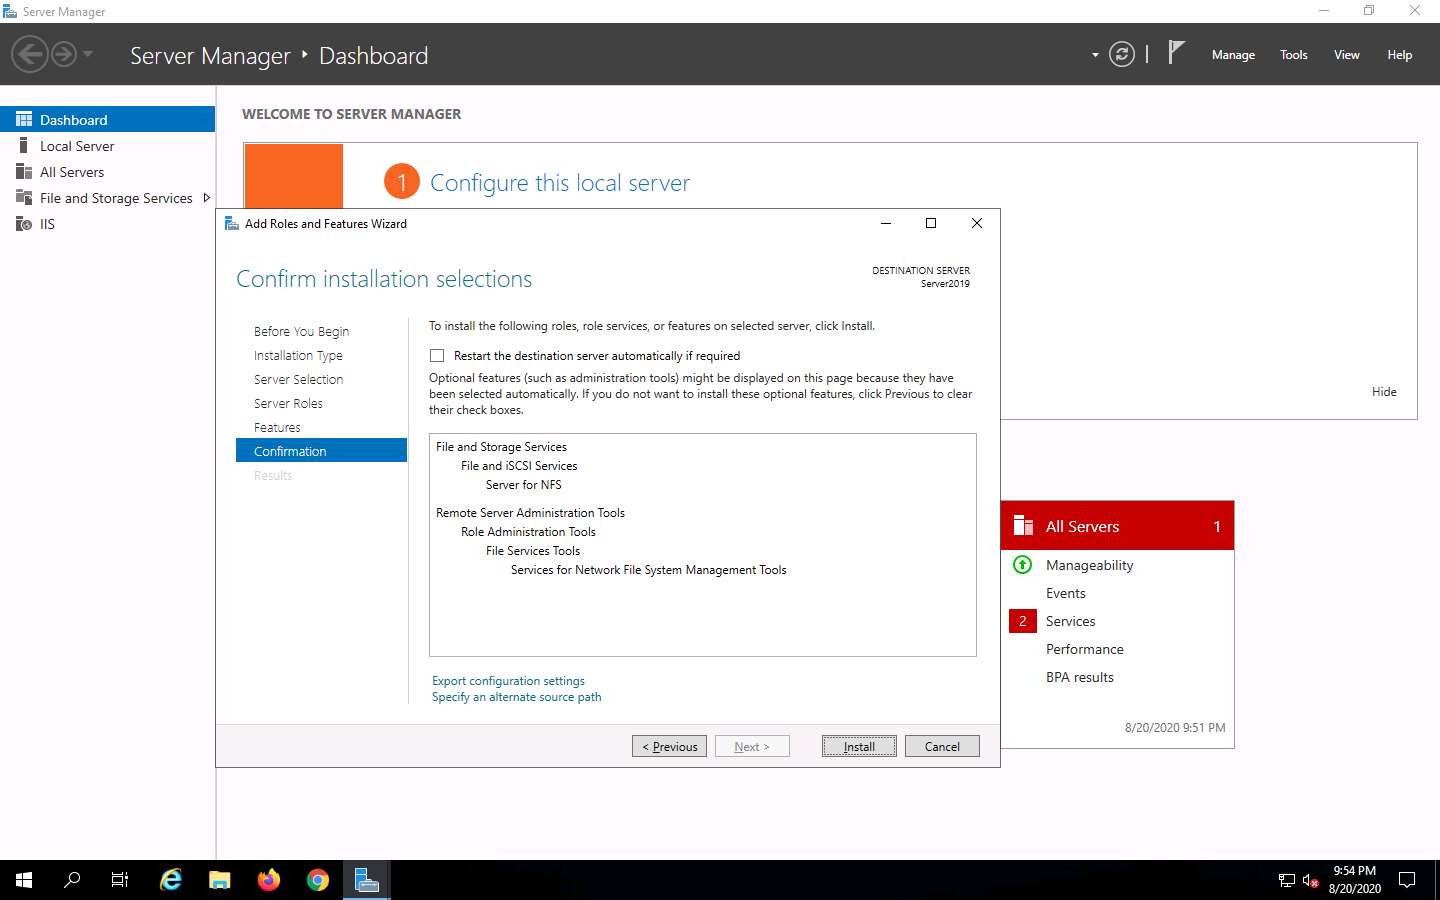
In the Features section, click Next. The Confirmation section appears; click Install to install the selected features.
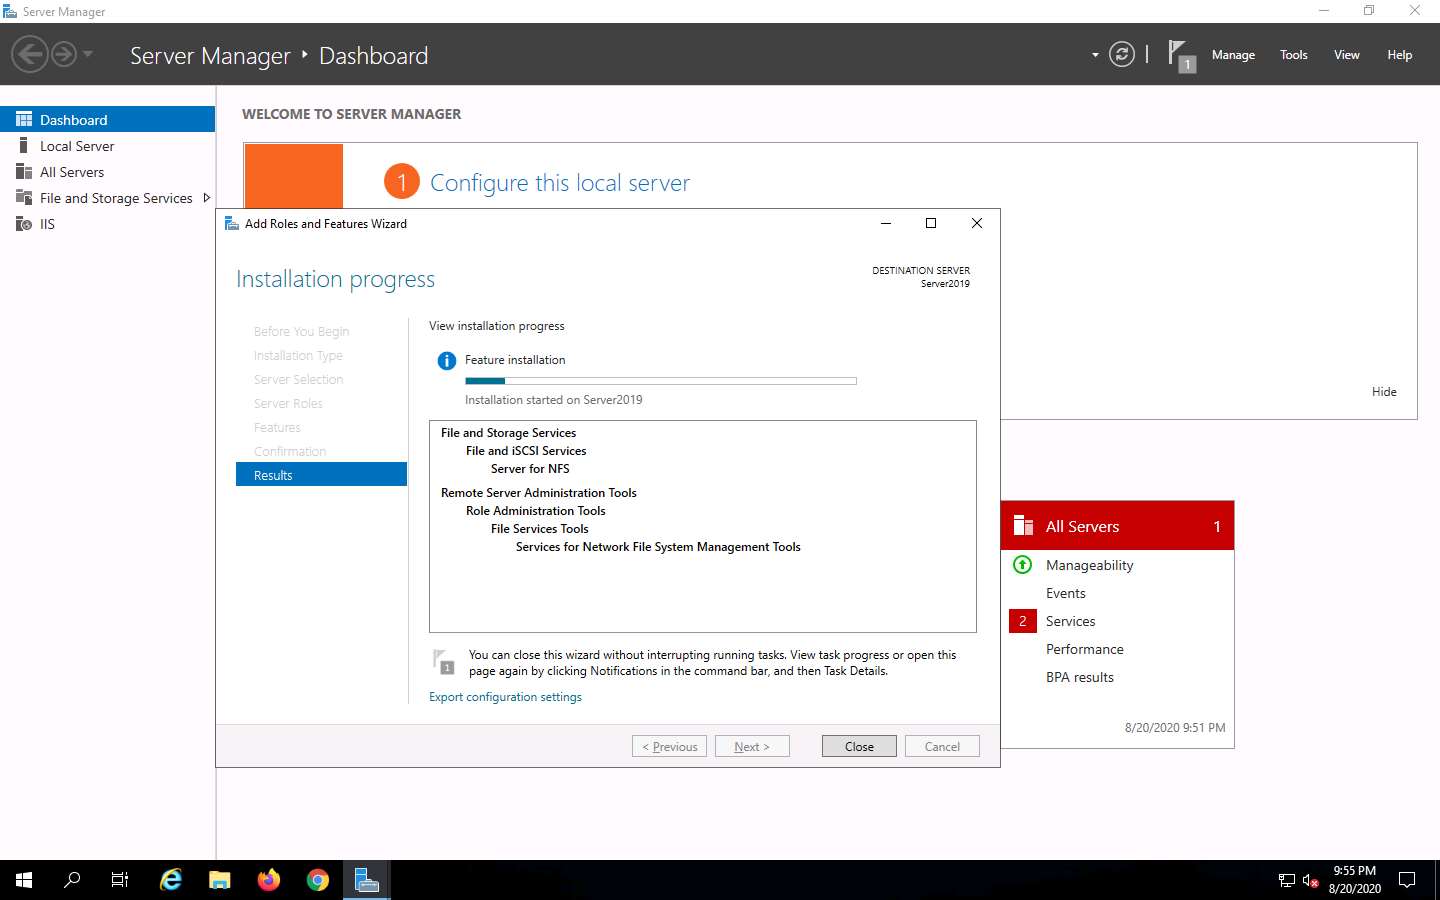
The features begin installing, with progress shown by the Feature installation status bar. When installation completes, click Close.
Having enabled the NFS service, it is necessary to check if it is running on the target system (Windows Server 2019). In order to do this, we will use Parrot Security machine.
Click Parrot Security to switch to the Parrot Security machine.
Click the MATE Terminal icon at the top-left corner of the Desktop window to open a Terminal window.
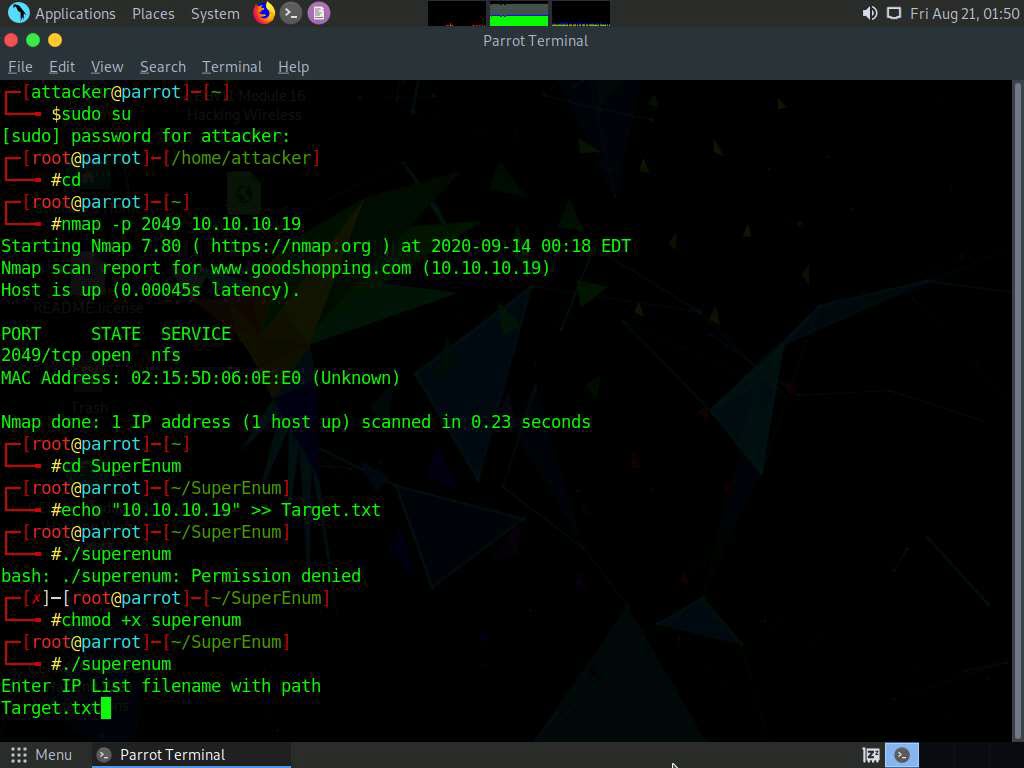
A Parrot Terminal window appears. In the terminal window, type sudo su and press Enter to run the programs as a root user.
In the [sudo] password for attacker field, type toor as a password and press Enter.
The password that you type will not be visible.
Now, type cd and press Enter to jump to the root directory.
In the terminal window, type nmap -p 2049 [Target IP Address] (in this case, 10.10.10.19) and press Enter.
The scan result appears indicating that port 2049 is opened, and the NFS service is running on it, as shown in the screenshot.
Type cd SuperEnum and press Enter to navigate to the SuperEnum folder.
Type echo "10.10.10.19" >> Target.txt and press Enter to create a file having a target machine's IP address (10.10.10.19).
You may enter multiple IP addresses in the Target.txt file. However, in this task we are targeting only one machine, the Windows Server 2019 (10.10.10.19). The IP address may vary in your lab environment.
Type ./superenum and press Enter. Under Enter IP List filename with path, type Target.txt, and press Enter.
If you get an error running the ./superenum script, type chmod +x superenum and press Enter, then repeat Step 17.
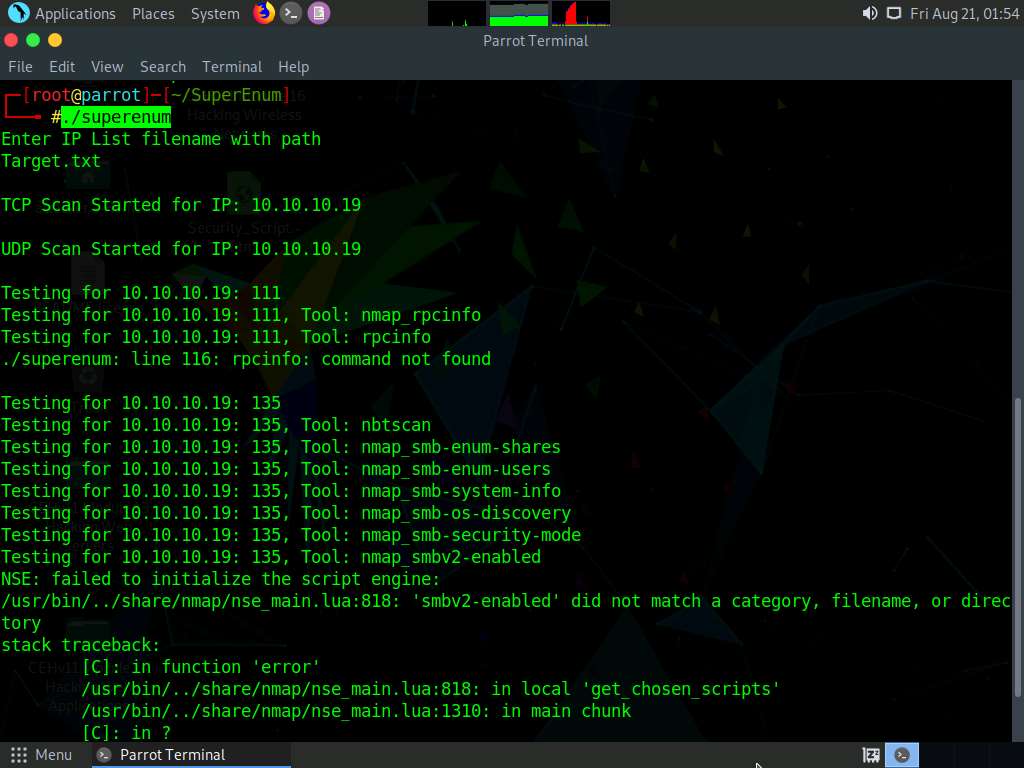
The script starts scanning the target IP address for open NFS and other.
The scan will take approximately 15-20 mins to complete.
After the scan is finished, scroll down to review the results. Note that port 2049 is open and the NFS service is running on it.
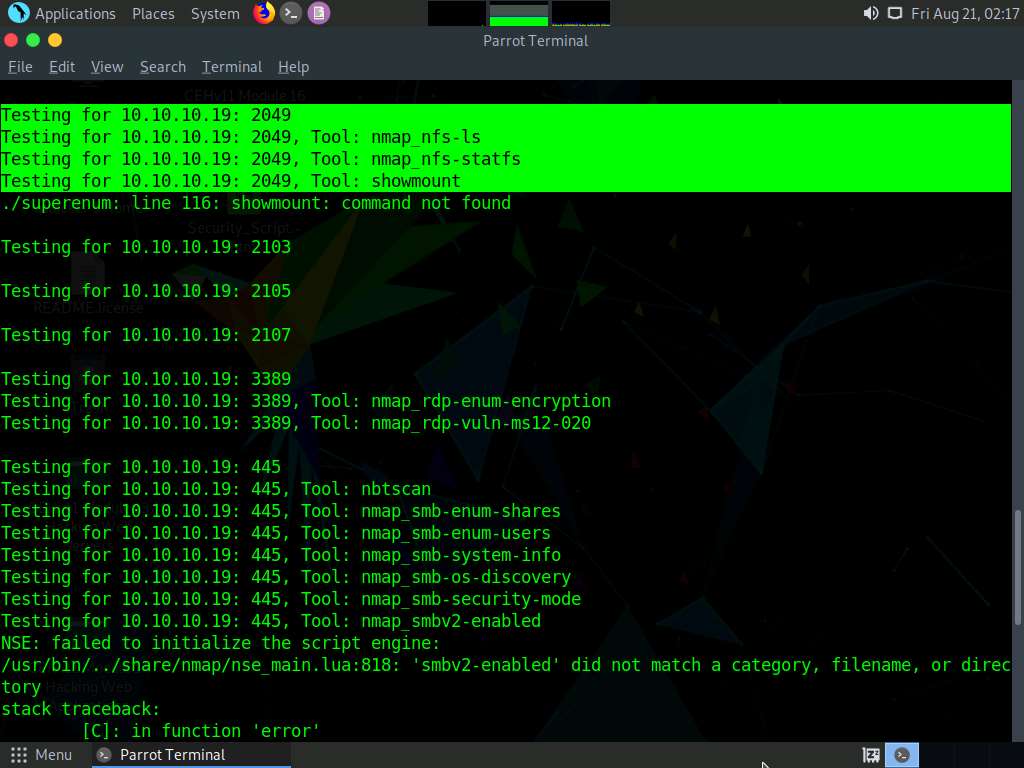
You can also observe the other open ports and the services running on them.
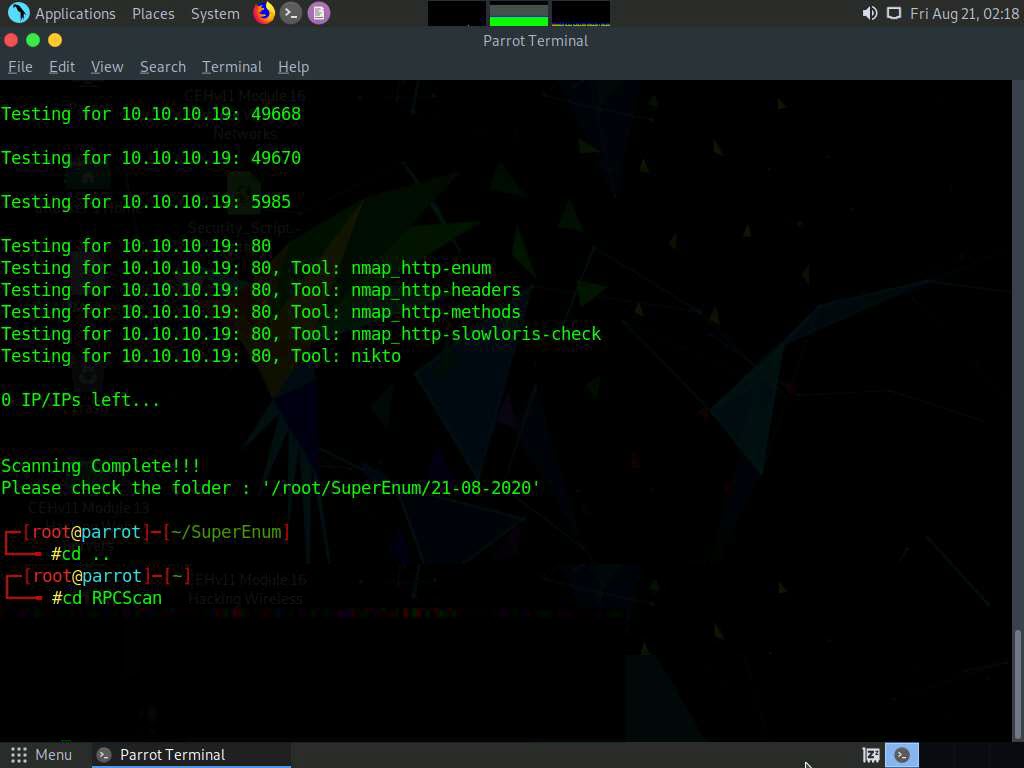
In the terminal window, type cd .. and press Enter to return to the root directory.
Now, we will perform NFS enumeration using RPCScan. To do so, type cd RPCScan and press Enter
Type python3 rpc-scan.py [Target IP address] --rpc (in this case, the target IP address is 10.10.10.19, the Windows Server 2019 machine); press Enter.
--rpc: lists the RPC (portmapper); the target IP address may differ in your lab environment.
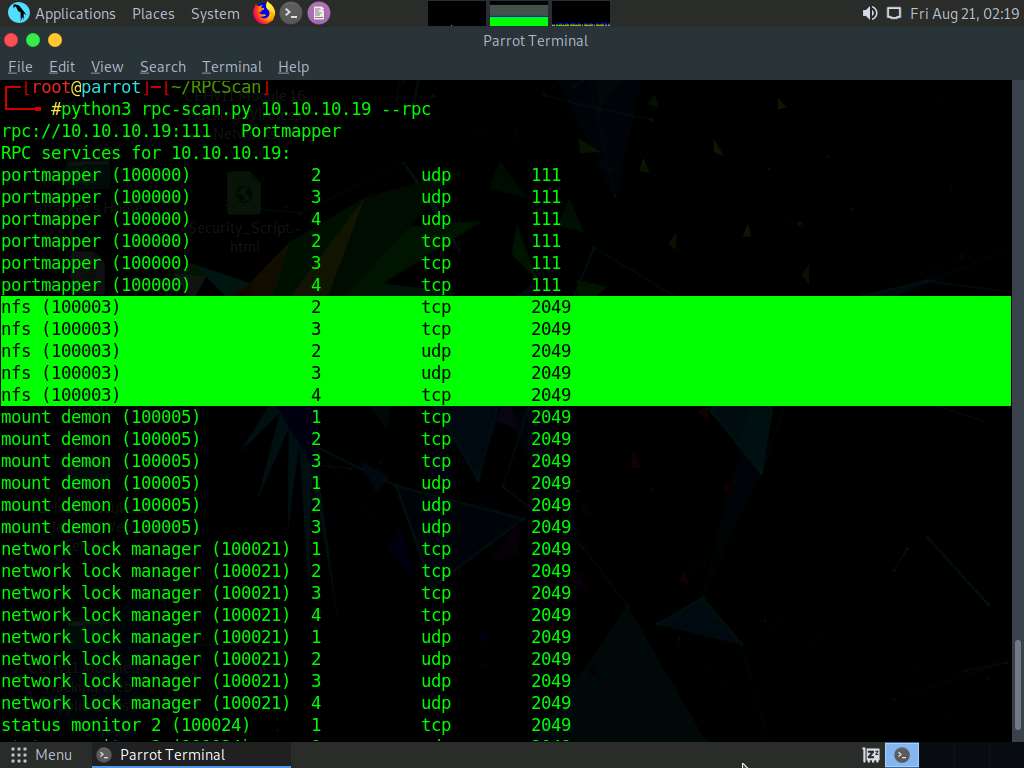
The result appears, displaying that port 2049 is open, and the NFS service is running on it.
This concludes the demonstration of performing NFS enumeration using SuperEnum and RPCScan.
Close all open windows and document all the acquired information.


Comments
Post a Comment