Lab 3: Perform Static Malware Analysis
Lab 3: Perform Static Malware Analysis
Module 07: Malware Threats
Lab 3: Perform Static Malware Analysis
Task 1: Perform Online Malware Scanning using VirusTotal
open google chrome
go to virus total
upload choose file
D:\CEH-Tools\CEHv11 Module 07 Malware Threats\Viruses
click the DETAILS tab to view the malicious file details such as Basic Properties, History, Names, Portable Executable Info, Sections,
Imports, and ExifTool File Metadata.
Click the RELATIONS tab to view Execution Parents, PE Resource Parents, Contained in Graphs, and Graph Summary. Scroll down to view other details.
Click the BEHAVIOR tab to view the File System Actions, Process and Service Actions, Shell Commands, and Synchronization Mechanisms & Signals.
You can also use other local and online malware scanning tools
such as Hybrid Analysis (https://www.hybrid-analysis.com),
Cuckoo Sandbox (https://cuckoosandbox.org), Jotti (https://virusscan.jotti.org), or
Valkyrie Sandbox (https://valkyrie.comodo.com) to perform online malware scanning.
---------------------------------------------------------------------------------------------------------------------------------------
Module 07: Malware Threats
Lab 3: Perform Static Malware Analysis
Task 2: Perform a Strings Search using BinText
D:\CEH-Tools\CEHv11 Module 07 Malware Threats\Malware Analysis Tools\Static Malware Analysis Tools\String Searching Tools\BinText
bintext.exe.
Make sure that the Advanced view option is checked.
file to scan put: D:\CEH-Tools\CEHv11 Module 07 Malware Threats\Viruses\Klez Virus Live!
face.exe
click go
The type of string is designated by a colored letter to the left of the list. ANSI strings are marked with a green “A,”
Unicode strings (double byte ANSI) have a red “U,” and resource strings have a blue “R.”
“File pos” is the HEX position at which the text is located in the file.
“Mem pos” if the file is a Win32 PE file (such as Win95 EXEs and DLLs), then this is the HEX
address at which the text is referred to in the memory at runtime, as determined by its sections table.
“ID” is the decimal string resource ID or 0 if it is not a resource string.
---------------------------------------------------------------------------------------------------------------------------------------
Module 07: Malware Threats
Lab 3: Perform Static Malware Analysis
Task 3: Identify Packaging and Obfuscation Methods using PEid
Attackers often use packing and obfuscation or a packer to compress, encrypt, or modify a malware executable file to
avoid detection. Obfuscation also hides the execution of the programs. When the user executes a packed program, it also
runs a small wrapper program to decompress the packed file, and then runs the unpacked file. It complicates the task of
reverse engineers to determine the actual program logic and other metadata via static analysis. The best approach is to
try and identify if the file includes packed elements and locate the tool or method used to pack it.
PEid is a free tool that provides details about Windows executable files. It can identify signatures associated with over
600 different packers and compilers. This tool also displays the type of packer used in packing a program.
refer to blog
---------------------------------------------------------------------------------------------------------------------------------------
Module 07: Malware Threats
Lab 3: Perform Static Malware Analysis
Task 4: Find the Portable Executable (PE) Information of a Malware Executable File using PE Explorer
The Portable Executable (PE) format is the executable file format used on Windows OSes that stores the information
a Windows system requires to manage the executable code. The PE stores metadata about the program, which helps in
finding additional details of the file. For instance, the Windows binary is in PE format that consists of information
such as time of creation and modification, import and export functions, compilation time, DLLs, and linked files, as well
as strings, menus, and symbols.
PE Explorer lets you open, view, and edit a variety of different 32-bit Windows executable file types (also called PE files)
ranging from common such as EXE, DLL, and ActiveX Controls to less familiar types such as SCR (Screensavers), CPL
(Control Panel Applets), SYS, MSSTYLES, BPL, DPL, and more (including executable files that run on MS Windows Mobile platform).
refer to blog
---------------------------------------------------------------------------------------------------------------------------------------
Module 07: Malware Threats
Lab 3: Perform Static Malware Analysis
Task 5: Identify File Dependencies using Dependency Walker
Any software program depends on the various inbuilt libraries of an OS that help in performing specified actions
in a system. Programs need to work with internal system files to function correctly. Programs store their import
and export functions in a kernel32.dll file. File dependencies contain information about the internal system files
that the program needs to function properly; this includes the process of registration and location on the machine.
Find the libraries and file dependencies, as they contain information about the run-time requirements of an application.
Then, check to find and analyze these files to provide information about the malware in the file. File dependencies include
linked libraries, functions, and function calls. Check the dynamically linked list in the malware executable file. Finding out
all library functions may allow guessing about what the malware program can do. You should know the various DLLs used to load
and run a program.
Some of the standard DLLs are:
refer to blog
---------------------------------------------------------------------------------------------------------------------------------------
Module 07: Malware Threats
Lab 3: Perform Static Malware Analysis
Task 6: Perform Malware Disassembly using IDA and OllyDbg
Static analysis also includes the dismantling of a given executable into binary format to study its
functionalities and features. This process helps identify the language used for programming the malware,
look for APIs that reveal its function, and retrieve other information. Based on the reconstructed assembly
code, you can inspect the program logic and recognize its threat potential. This process uses debugging tools
such as IDA Pro and OllyDbg.
IDA As a disassembler, IDA explores binary programs, for which the source code might not be available, to create
maps of their execution. The primary purpose of a disassembler is to display the instructions actually executed
by the processor in a symbolic representation called “assembly language.” However, in real life, things are not
always simple. Hostile code usually does not cooperate with the analyst. Viruses, worms, and Trojans are often
armored and obfuscated; as such, more powerful tools are required. The debugger in IDA complements the static
analysis capabilities of the disassembler. By allowing an analyst to single-step through the code being investigated,
the debugger often bypasses the obfuscation. It helps obtain data that the more powerful static disassembler will be
able to process in depth.
OllyDbg OllyDbg is a debugger that emphasizes binary code analysis, which is useful when source code is unavailable.
It traces registers, recognizes procedures, API calls switches, tables, constants, and strings, and locates routines
from object files and libraries.
There is a new debugging option, “Set permanent breakpoints on system calls.” When active, it requests OllyDbg to
set breakpoints on KERNEL32.UnhandledExceptionFilter(), NTDLL.KiUserExceptionDispatcher(), NTDLL.ZwContinue(),
and NTDLL.NtQueryInformationProcess().
refer to blog
---------------------------------------------------------------------------------------------------------------------------------------
Lab Scenarios
Attackers use sophisticated malware techniques as cyber weapons to steal sensitive data. Malware can inflict intellectual and financial losses on the target, be it an individual, a group of people, or an organization. The worst part is that it spreads from one system to another with ease and stealth.
Malware such as viruses, Trojans, worms, spyware, and rootkits allow an attacker to breach security defenses and subsequently launch attacks on target systems. Thus, to find and cure the existing infections and thwart future problems, it is necessary to perform malware analysis. Many tools and techniques exist to perform such tasks. Malware analysis provides an in-depth understanding of each individual sample and identifies emerging technology trends from large collections of malware samples without executing them. The samples of malware are mostly compatible with the Windows binary executable.
By performing malware analysis, detailed information regarding the malware can be extracted. This information includes items like the malicious intent of the malware, indicators of compromise, complexity level of the intruder, exploited vulnerability, extent of damage caused by the intrusion, perpetrator accountable for installing the malware, and system vulnerability the malware has exploited. An ethical hacker and pen tester must perform malware analysis to understand the workings of the malware and assess the damage that it may cause to the information system. Malware analysis is an integral part of any penetration testing process.
It is very dangerous to analyze malware on production devices connected to production networks. Therefore, one should always analyze malware samples in a testing environment on an isolated network.
Lab Objectives
- Perform online malware scanning using VirusTotal
- Perform a strings search using BinText
- Identify packing and obfuscation methods using PEid
- Find the portable executable (PE) information of a malware executable file using PE Explorer
- Identify file dependencies using Dependency Walker
- Perform malware disassembly using IDA and OllyDbg
Overview of Static Malware Analysis
Static Malware Analysis, also known as code analysis, involves going through the executable binary code without executing it to gain a better understanding of the malware and its purpose. The process includes the use of different tools and techniques to determine the malicious part of the program or a file. It also gathers information about malware functionality and collects the technical pointers or simple signatures it generates. Such pointers include file name, MD5 checksums or hashes, file type, and file size. Analyzing the binary code provides information about the malware’s functionality, network signatures, exploit packaging technique, dependencies involved, as well as other information.
Some of the static malware analysis techniques are:
- File fingerprinting
- Local and online malware scanning
- Performing strings search
- Identifying packing and obfuscation methods -Finding portable executable (PE) information
- Identifying file dependencies
- Malware disassembly
Task 1: Perform Online Malware Scanning using VirusTotal
VirusTotal is a free service that analyzes suspicious files and URLs and facilitates the quick detection of viruses, worms, Trojans, and other kinds of malware.
VirusTotal aims to improve the anti-virus and security industry and make the Internet a safer place through the development of free tools and services. VirusTotal simply acts as an information aggregator. The aggregated data are the output of different antivirus engines, website scanners, file and URL analysis tools, and user contributions. The malware signatures of antivirus solutions present in VirusTotal are periodically updated as they are developed and distributed by anti-virus companies. The update polling frequency is 15 minutes—thus ensuring that these products are using the latest signature sets. Website scanning is done via API queries to the different companies providing the solution; hence, the most updated version of their dataset is always used.
VirusTotal helps ethical hackers and penetration testers to analyze files and URLs, enabling the identification of viruses, worms, Trojans, and other malicious content detected by anti-virus engines and website scanners.
This lab activity will demonstrate how to analyze malware using online virus analysis services.
By default, Windows 10 machine selected, click Ctrl+Alt+Delete.
Alternatively, you can also click Ctrl+Alt+Delete button under Windows 10 machine thumbnail in the Resources pane or Click Ctrl+Alt+Delete button under Commands (thunder icon) menu.
By default, Admin user profile is selected, click Pa$$w0rd to paste the password in the Password field and press Enter to login.
Alternatively, you can also click Pa$$w0rd under Windows 10 machine thumbnail in the Resources pane or Click Type Text | Type Password button under Commands (thunder icon) menu.
Networks screen appears, click Yes to allow your PC to be discoverable by other PCs and devices on the network.
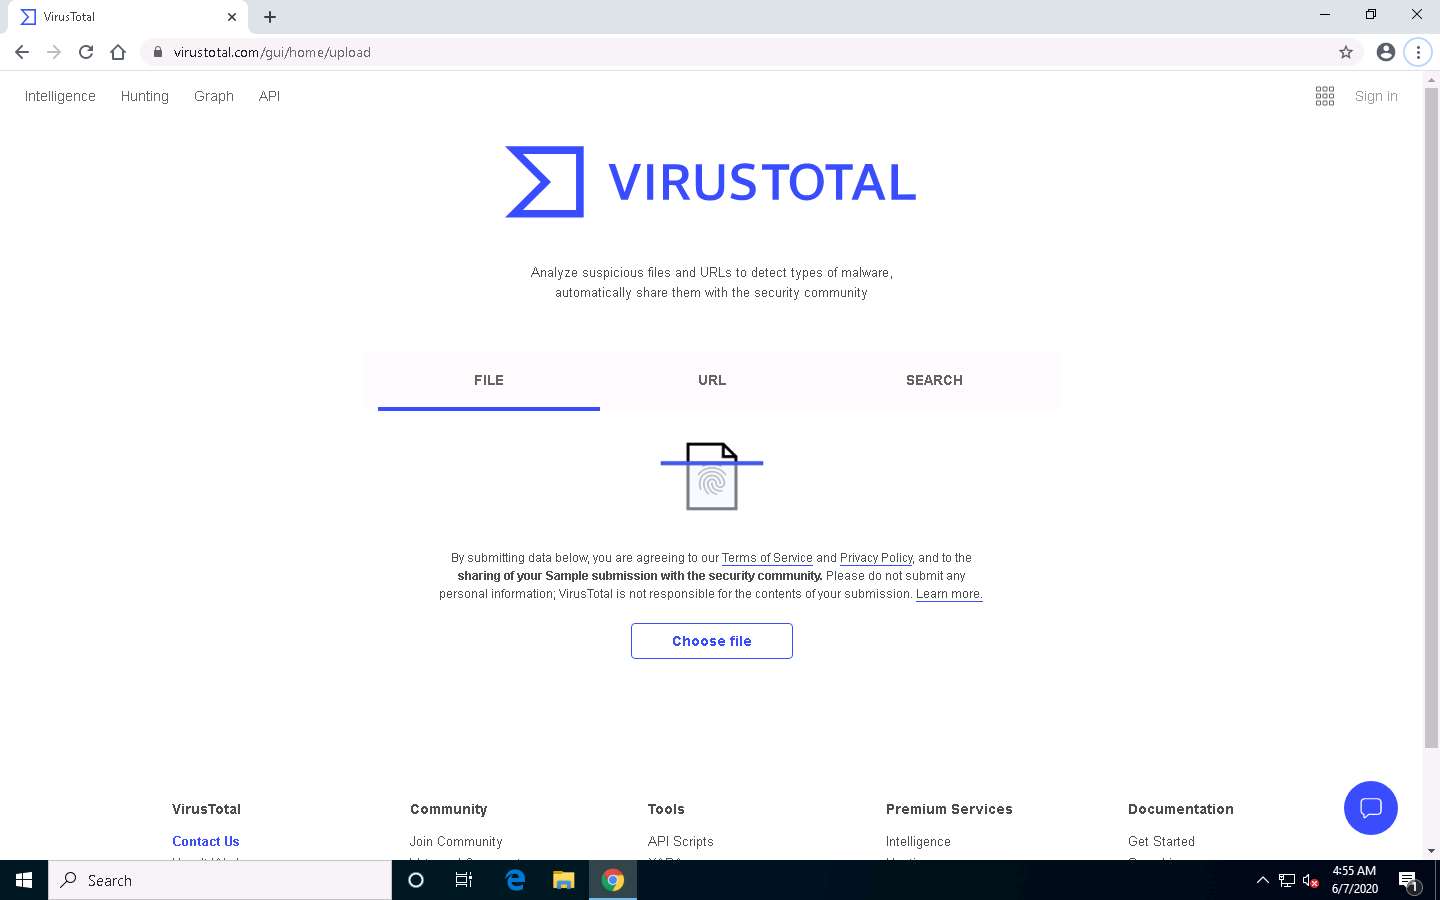
Open any web browser (here, Google Chrome).In the address bar of the browser place your mouse cursor and click https://www.virustotal.com and press Enter.
The VirusTotal main analysis site appears; click Choose file to upload a virus file.
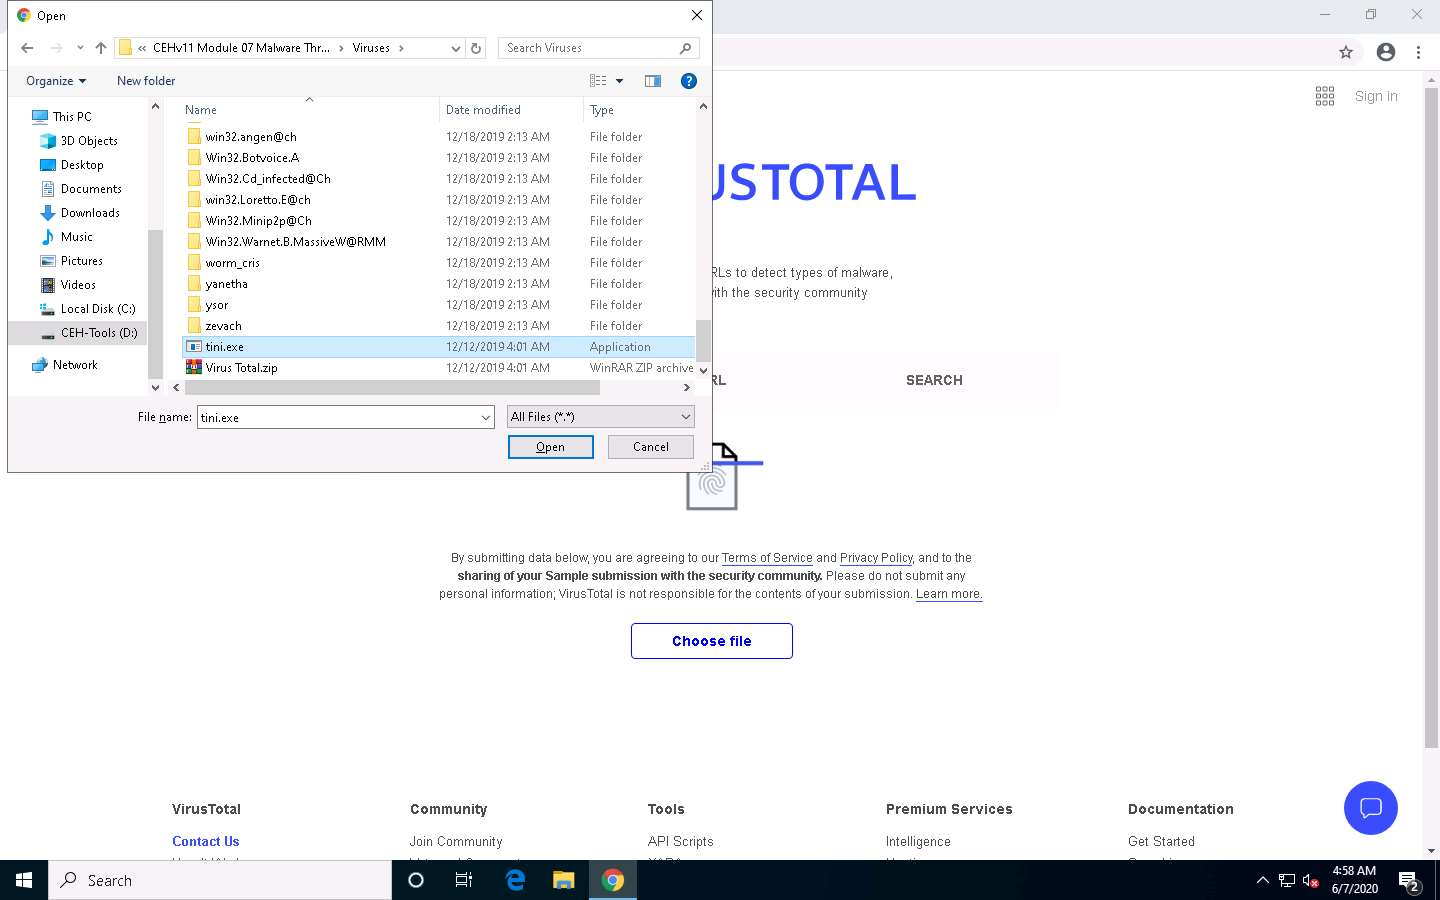
The Open window appears; navigate to D:\CEH-Tools\CEHv11 Module 07 Malware Threats\Viruses, select tini.exe, and click Open.
The selected file will be sent to the VirusTotal server for analysis.
VirusTotal returns a detailed report displaying the result of each anti-virus for the selected tini.exe malicious file under the DETECTION tab, as shown in the screenshot.
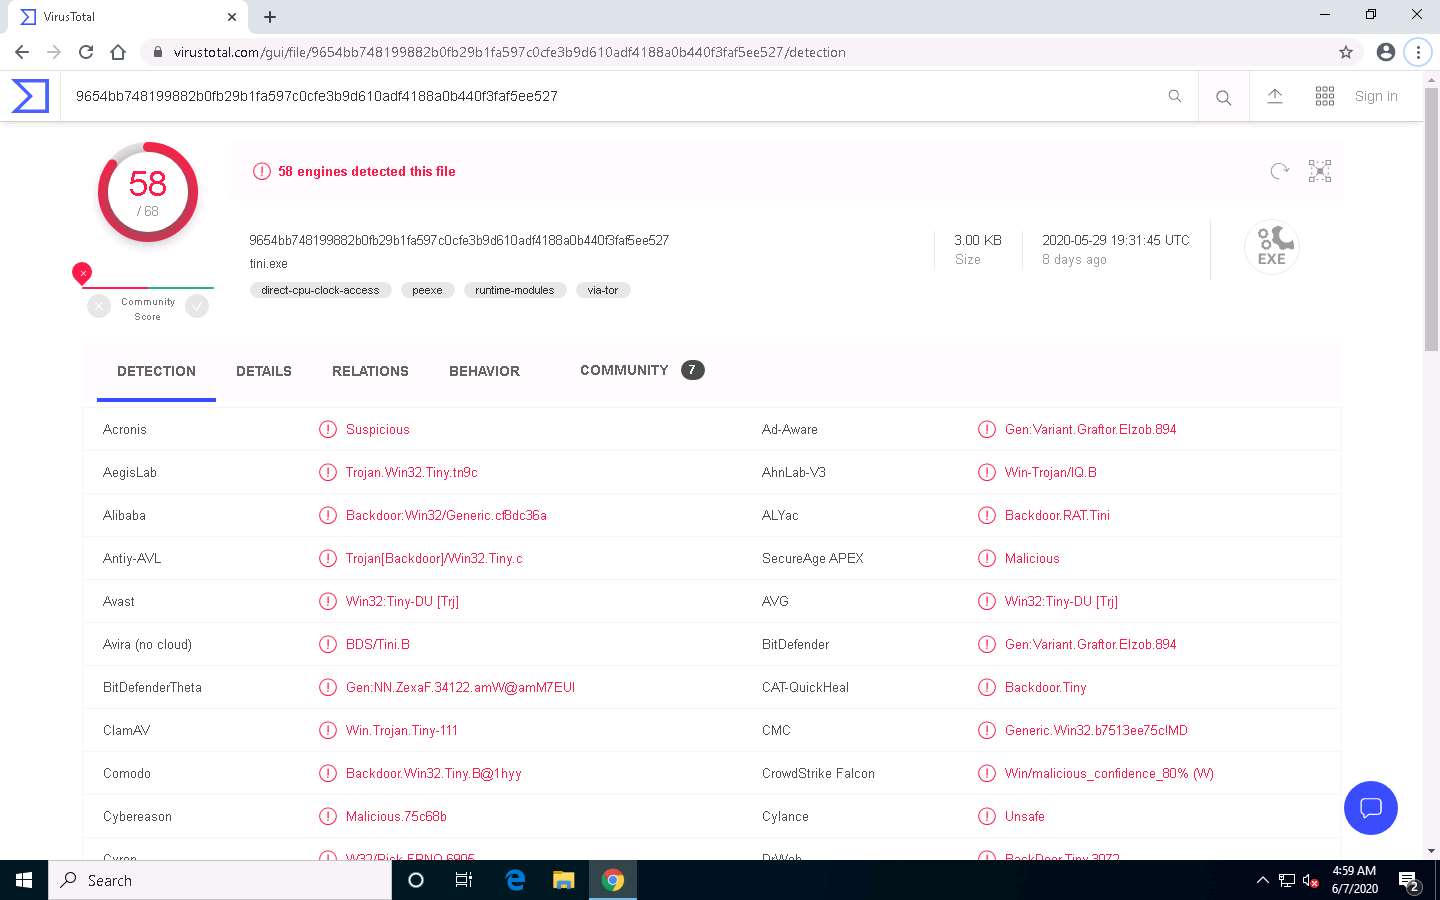
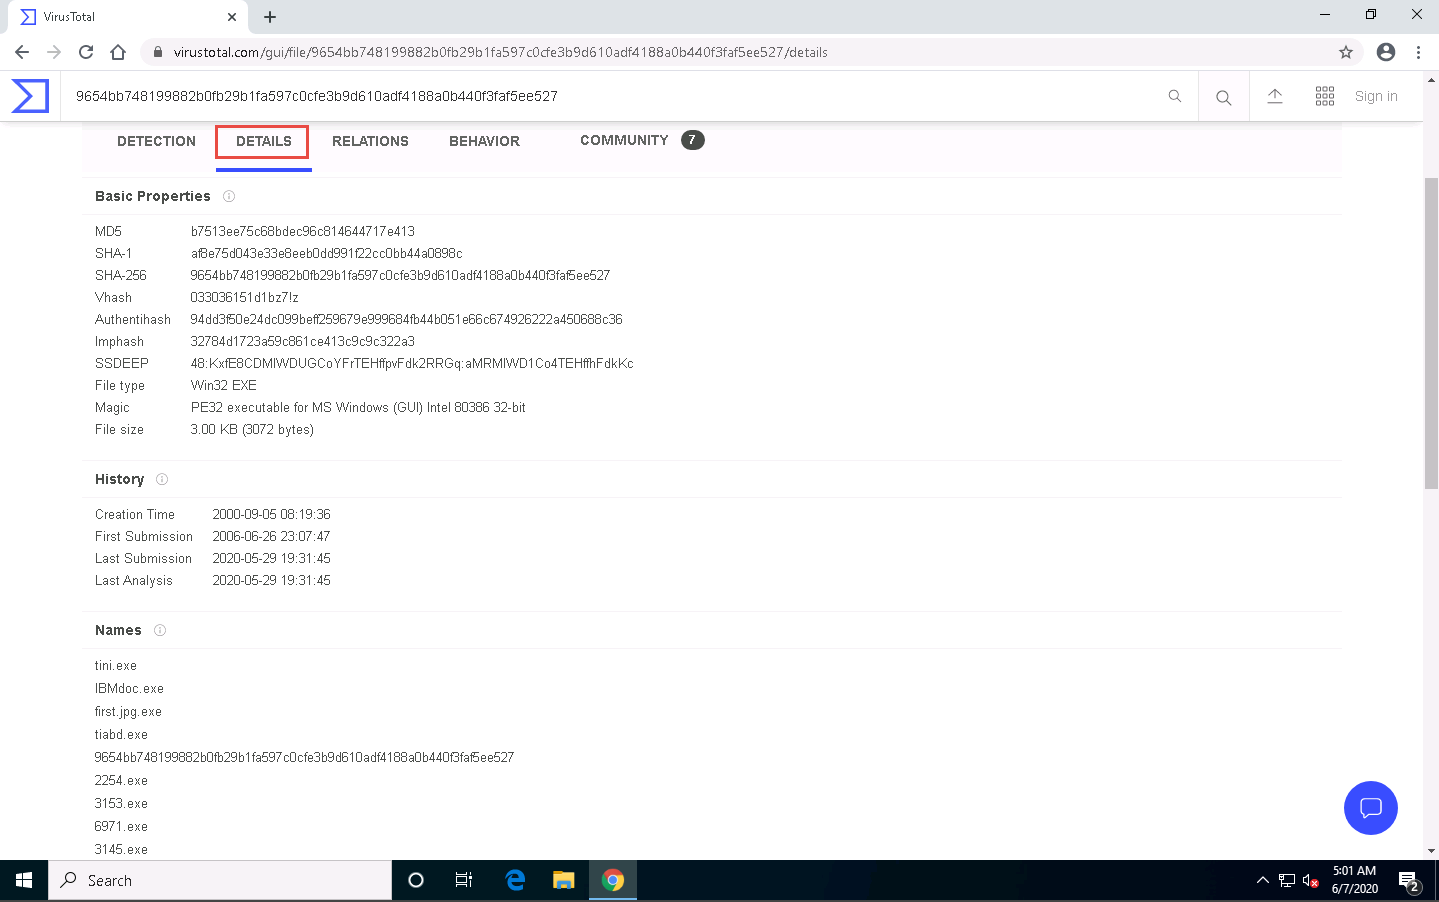
Now, click the DETAILS tab to view the malicious file details such as Basic Properties, History, Names, Portable Executable Info, Sections, Imports, and ExifTool File Metadata.
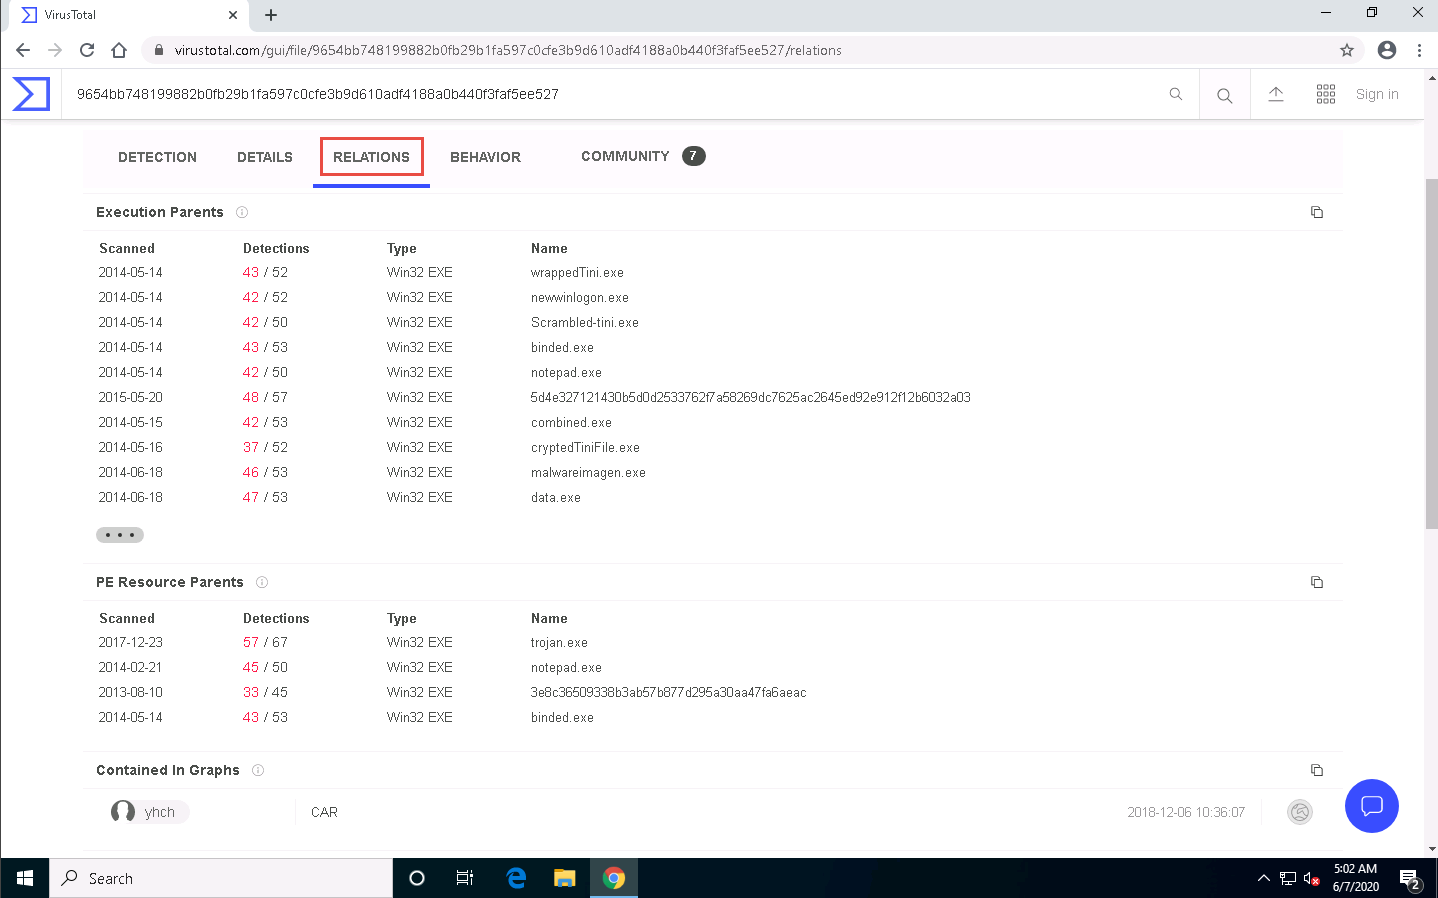
Click the RELATIONS tab to view Execution Parents, PE Resource Parents, Contained in Graphs, and Graph Summary. Scroll down to view other details.
To view Graph Summary, you will need a VirusTotal account.
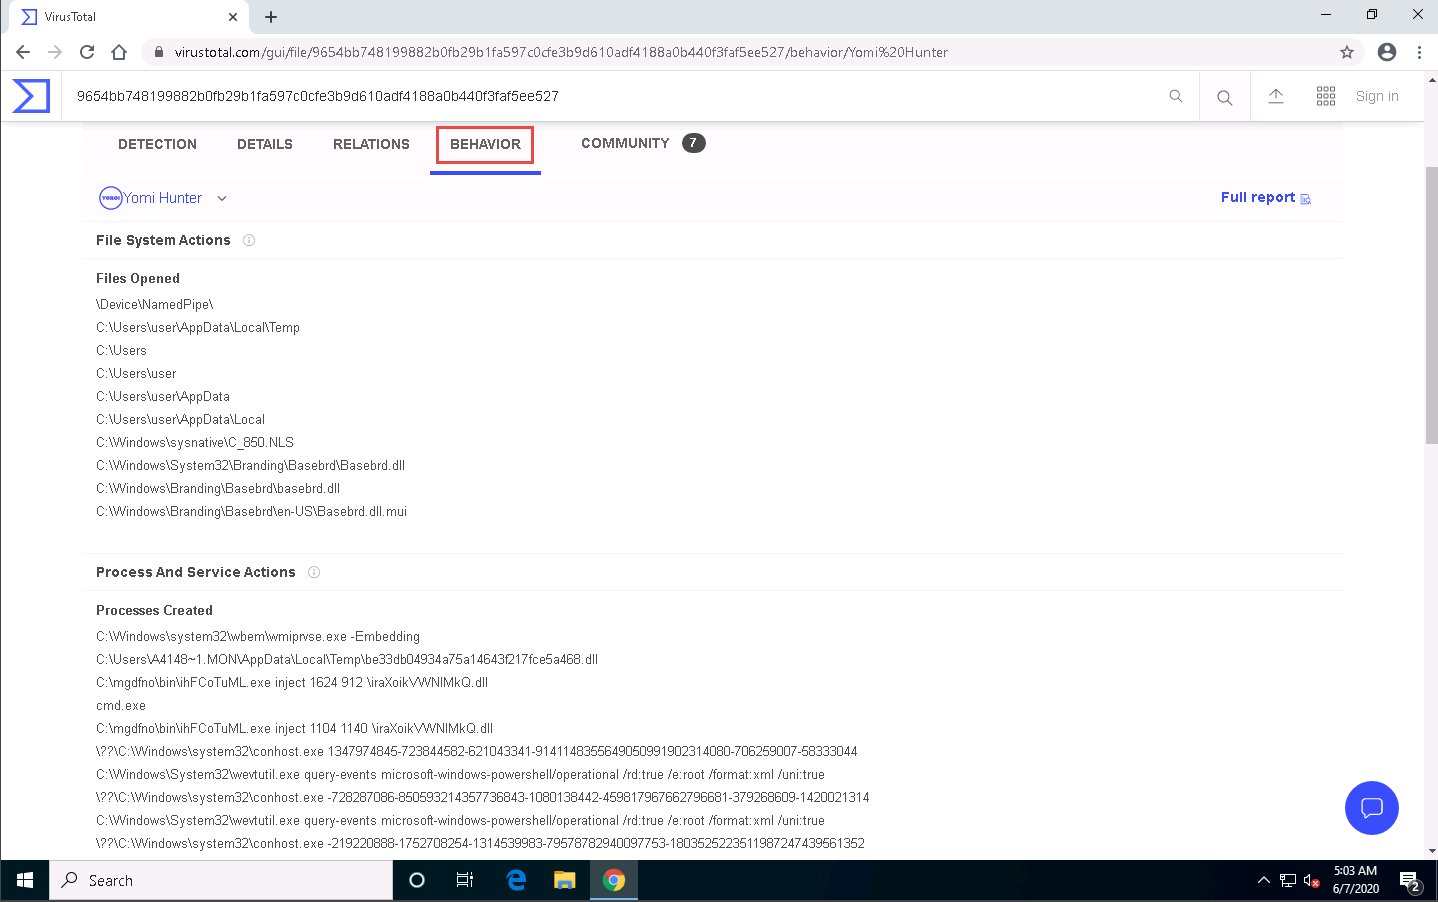
Click the BEHAVIOR tab to view the File System Actions, Process and Service Actions, Shell Commands, and Synchronization Mechanisms & Signals.
Close the web browser once the analysis is complete.
You can also use other local and online malware scanning tools such as Hybrid Analysis (https://www.hybrid-analysis.com), Cuckoo Sandbox (https://cuckoosandbox.org), Jotti (https://virusscan.jotti.org), or Valkyrie Sandbox (https://valkyrie.comodo.com) to perform online malware scanning.
Task 2: Perform a Strings Search using BinText
Software programs include some strings that are commands to perform specific functions such as printing output. Strings communicate information from a program to its user. Various strings that could represent the malicious intent of a program such as reading the internal memory or cookie data, are embedded in the compiled binary code.
Searching through strings can provide information about the basic functionality of any program. During malware analysis, search for malicious strings that could determine the harmful actions that a program can perform. For instance, if the program accesses a URL, it will have that URL string stored in it. You should be attentive while looking for strings and search for the embedded and encrypted strings for a complete analysis of the suspect file.
BinText is a text extractor that can extract text from any file. It includes the ability to find plain ASCII text, Unicode text, and Resource strings, providing useful information for each item.
Here, we will use the BinText tool to extract embedded strings from executable files.
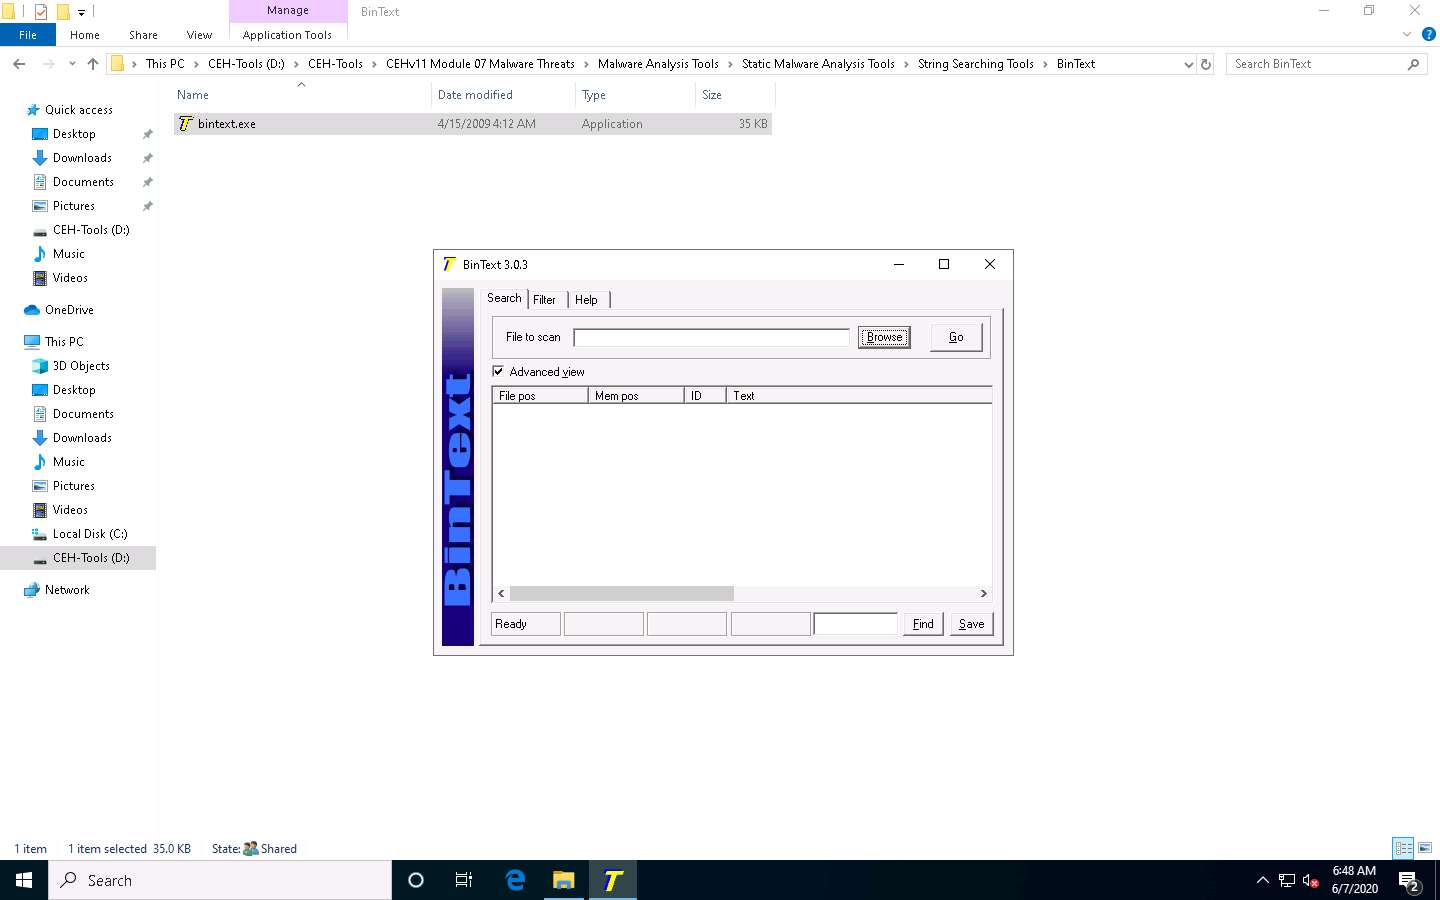
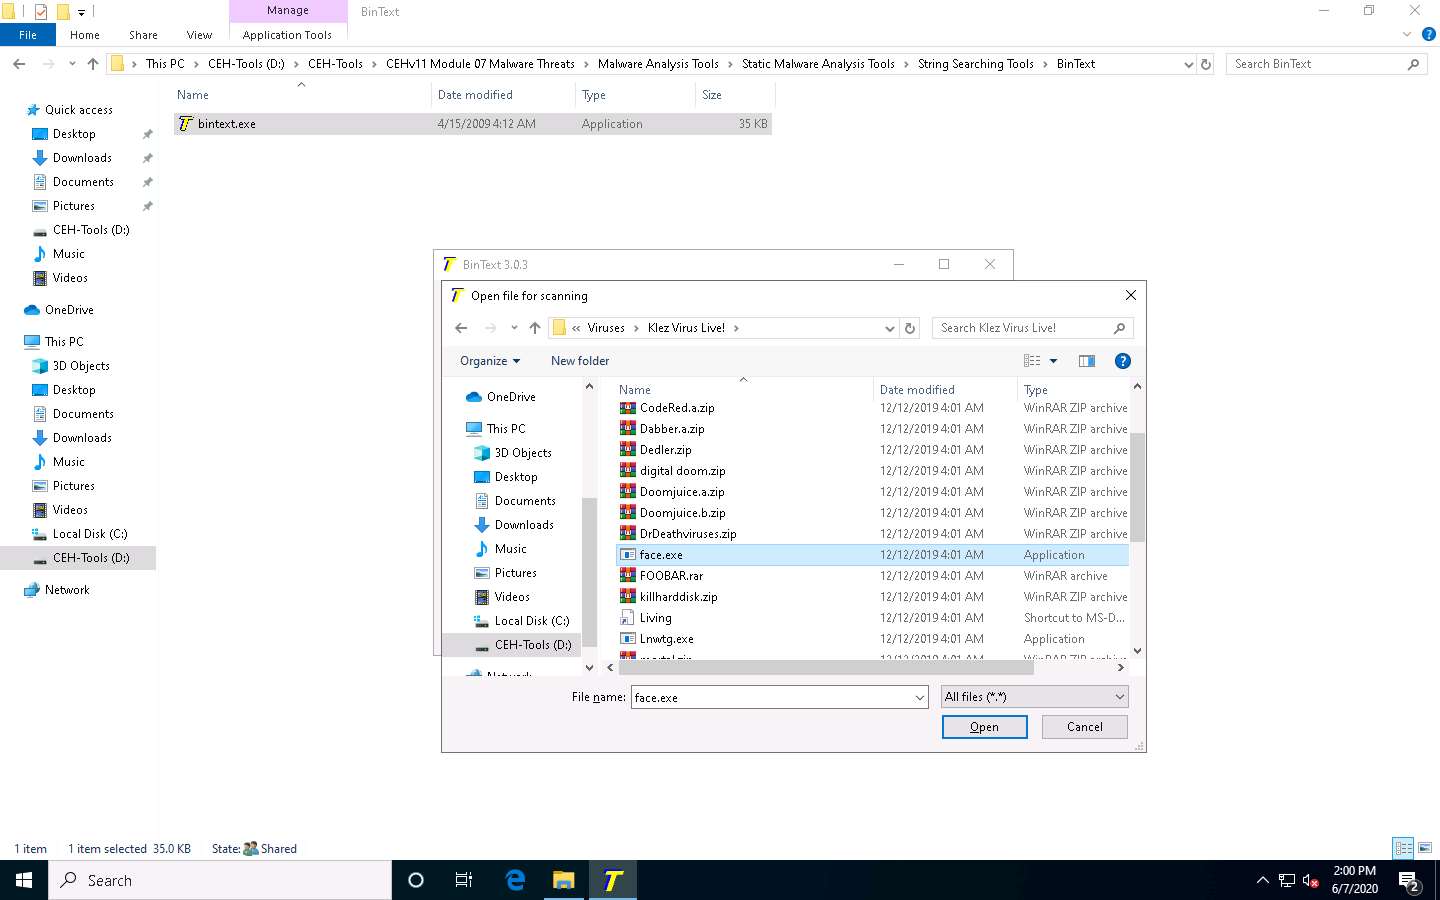
On the Windows 10 machine, navigate to D:\CEH-Tools\CEHv11 Module 07 Malware Threats\Malware Analysis Tools\Static Malware Analysis Tools\String Searching Tools\BinText and double-click bintext.exe.
The BinText main window appears; click Browse to provide a file to scan. Here, we need to provide a malicious file to analyze the text.
Make sure that the Advanced view option is checked.
The Open file for Scanning window appears, navigate to D:\CEH-Tools\CEHv11 Module 07 Malware Threats\Viruses\Klez Virus Live! and select face.exe, the malicious file, and click Open to extract the text from the malicious file.
As soon as the file is provided for scan, click Go. BinText will start extracting the text from the designated malicious file.

BinText extracts the provided malicious file’s critical information, as shown in the screenshot.
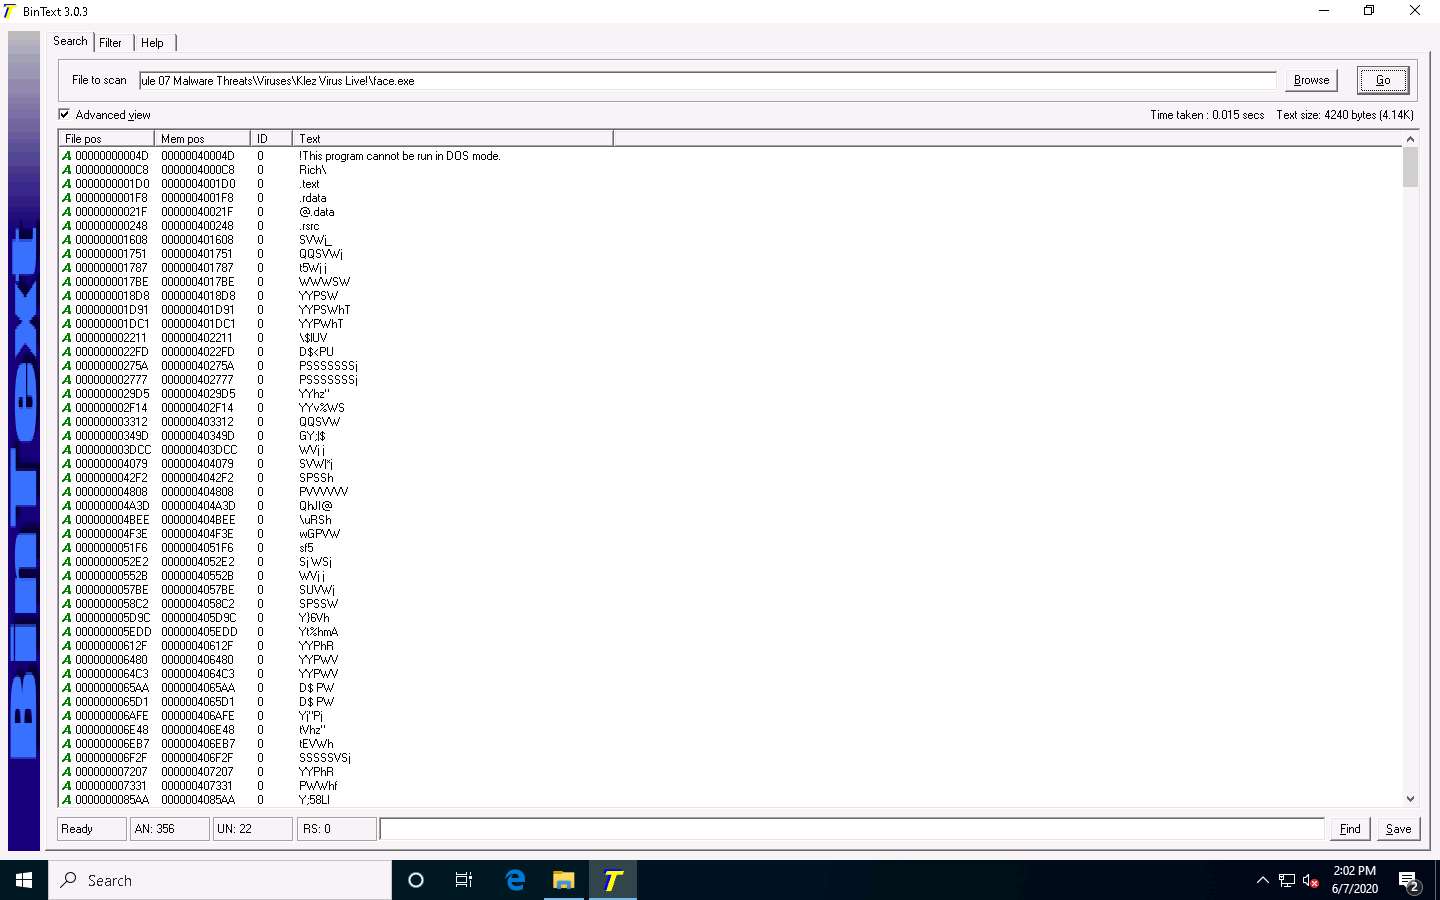
The type of string is designated by a colored letter to the left of the list. ANSI strings are marked with a green “A,” Unicode strings (double byte ANSI) have a red “U,” and resource strings have a blue “R.”
“File pos” is the HEX position at which the text is located in the file.
“Mem pos” if the file is a Win32 PE file (such as Win95 EXEs and DLLs), then this is the HEX address at which the text is referred to in the memory at runtime, as determined by its sections table.
“ID” is the decimal string resource ID or 0 if it is not a resource string.
Close all windows once the analysis is complete.
You can also use other string searching tools such as FLOSS (https://www.fireeye.com), Strings (https://docs.microsoft.com), Free EXE DLL Resource Extract (http://www.resourceextract.com), or FileSeek (https://www.fileseek.ca) to perform string search.
Task 3: Identify Packaging and Obfuscation Methods using PEid
Attackers often use packing and obfuscation or a packer to compress, encrypt, or modify a malware executable file to avoid detection. Obfuscation also hides the execution of the programs. When the user executes a packed program, it also runs a small wrapper program to decompress the packed file, and then runs the unpacked file. It complicates the task of reverse engineers to determine the actual program logic and other metadata via static analysis. The best approach is to try and identify if the file includes packed elements and locate the tool or method used to pack it.
PEid is a free tool that provides details about Windows executable files. It can identify signatures associated with over 600 different packers and compilers. This tool also displays the type of packer used in packing a program.
Here, we will use the PEid tool to detect common packers, cryptors, and compilers for PE executable files.
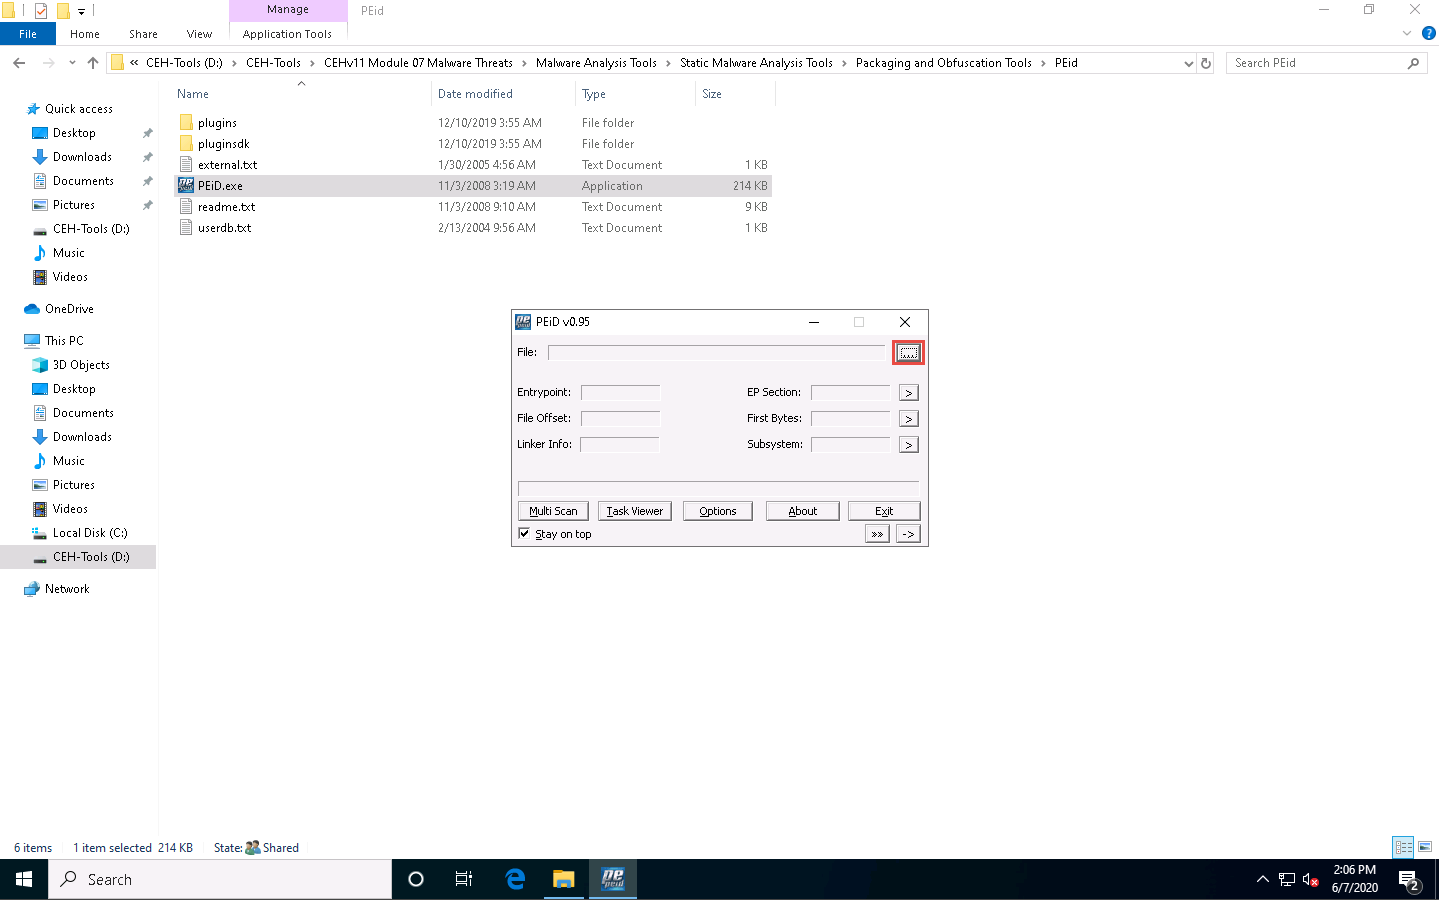
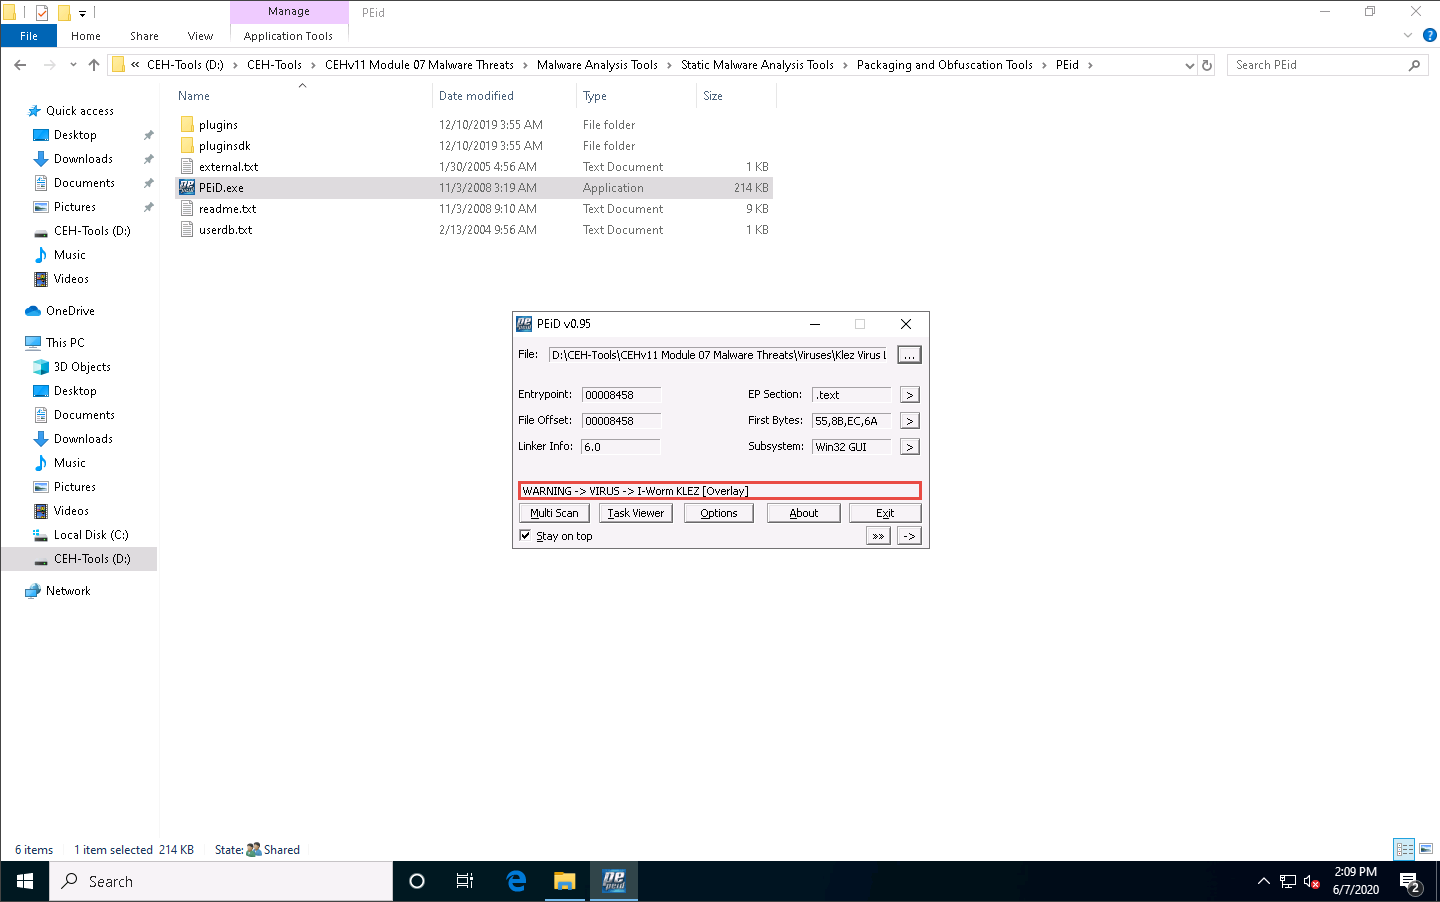
In the Windows 10 machine, navigate to D:\CEH-Tools\CEHv11 Module 07 Malware Threats\Malware Analysis Tools\Static Malware Analysis Tools\Packaging and Obfuscation Tools\PEid and double-click PEiD.exe.
The PEiD main window appears. Click the Browse button to upload a malicious file for analysis.
The Choose the file to open window appears; navigate to D:\CEH-Tools\CEHv11 Module 07 Malware Threats\Viruses\Klez Virus Live!, select the face.exe file, and click Open.
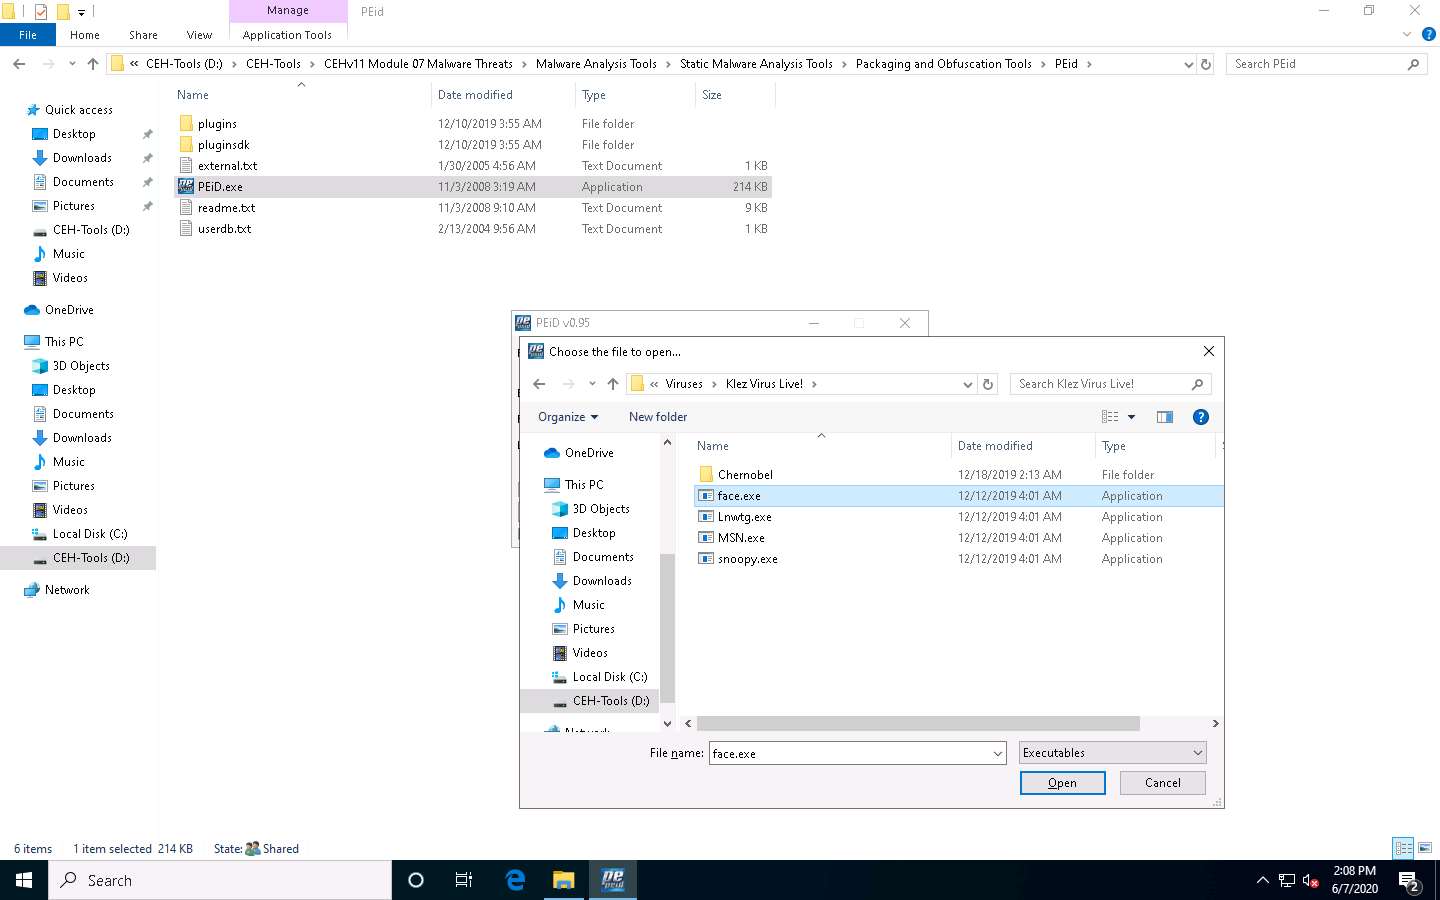
As soon as you click Open, PEiD analyzes the file and provides information, as shown in the screenshot.
Close all windows once the analysis is complete.
You can also use other packaging/obfuscation tools such as Macro_Pack (https://github.com), UPX (https://upx.github.io), or ASPack (http://www.aspack.com) to identify packing/obfuscation methods.
Task 4: Find the Portable Executable (PE) Information of a Malware Executable File using PE Explorer
The Portable Executable (PE) format is the executable file format used on Windows OSes that stores the information a Windows system requires to manage the executable code. The PE stores metadata about the program, which helps in finding additional details of the file. For instance, the Windows binary is in PE format that consists of information such as time of creation and modification, import and export functions, compilation time, DLLs, and linked files, as well as strings, menus, and symbols.
PE Explorer lets you open, view, and edit a variety of different 32-bit Windows executable file types (also called PE files) ranging from common such as EXE, DLL, and ActiveX Controls to less familiar types such as SCR (Screensavers), CPL (Control Panel Applets), SYS, MSSTYLES, BPL, DPL, and more (including executable files that run on MS Windows Mobile platform).
Here, we will use the PE Explorer tool to view the PE information of a malware executable file.
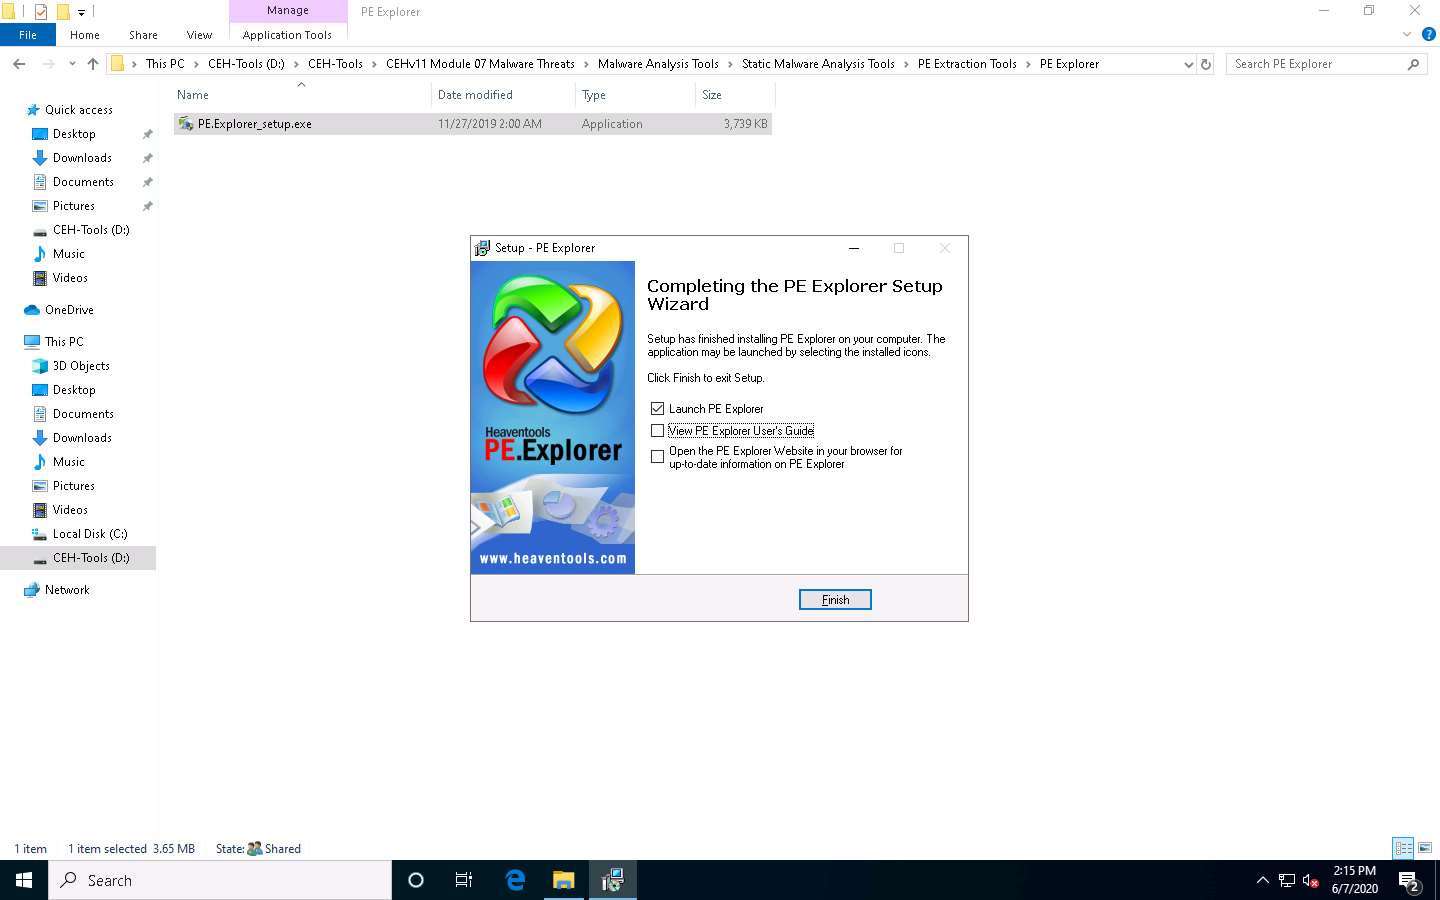
On the Windows 10 machine, navigate to D:\CEH-Tools\CEHv11 Module 07 Malware Threats\Malware Analysis Tools\Static Malware Analysis Tools\PE Extraction Tools\PE Explorer and double-click PE.Explorer_setup.exe.
If a User Account Control pop-up appears, click Yes.
Follow the wizard-driven installation steps to install PE Explorer.
In the last step of the installation, make sure that the Launch PE Explorer option is checked to launch the application automatically; uncheck the View PE Explorer User’s Guide option and click Finish.
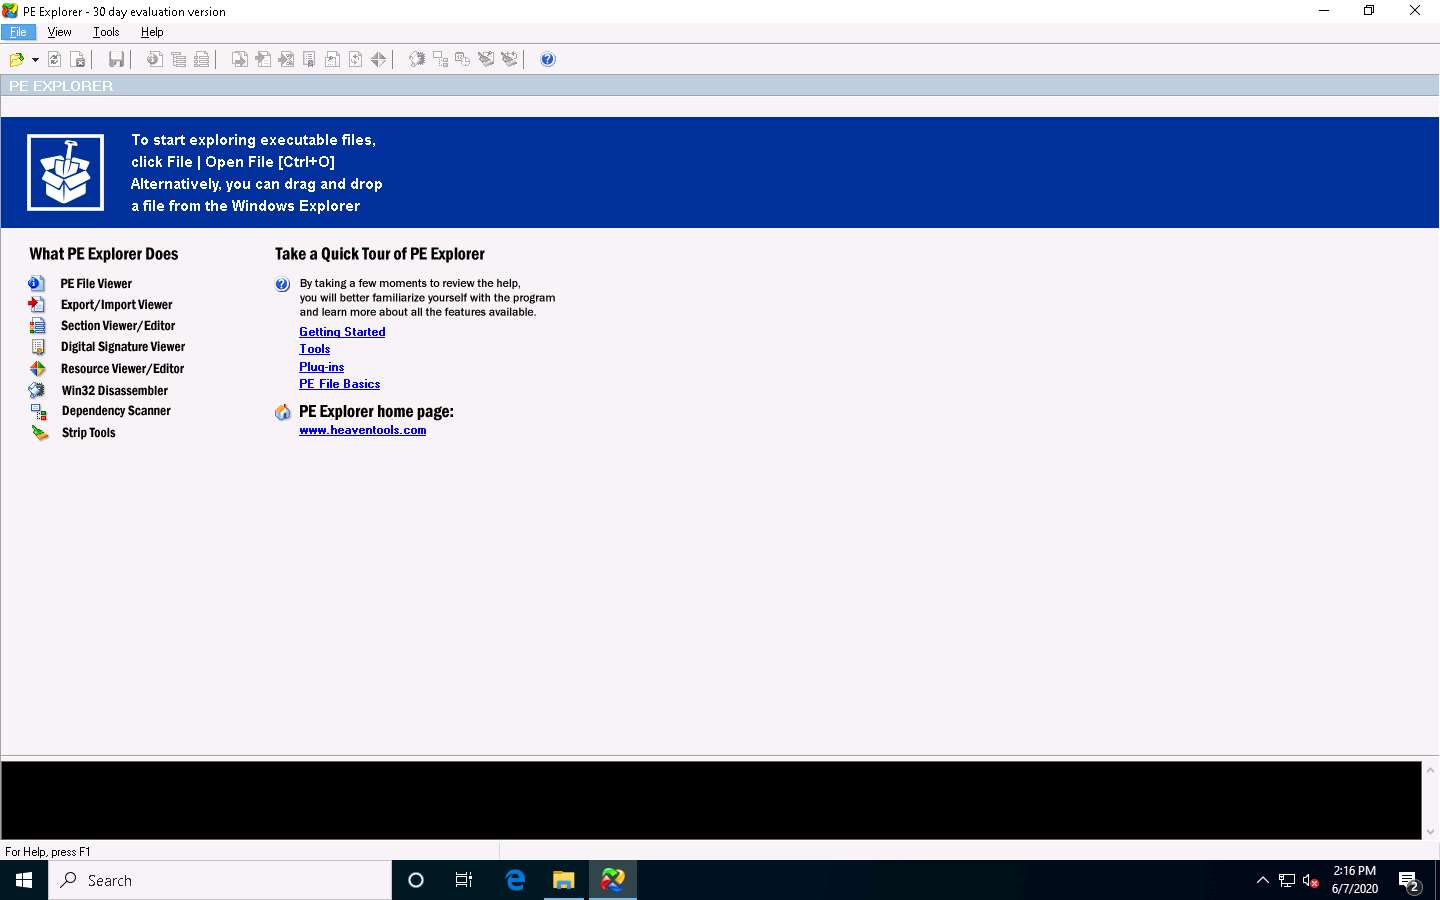
The PE Explorer main window appears. Navigate to File and click Open File from the menu to start exploring executable files. You can drag and drop the file into the PE Explorer window.
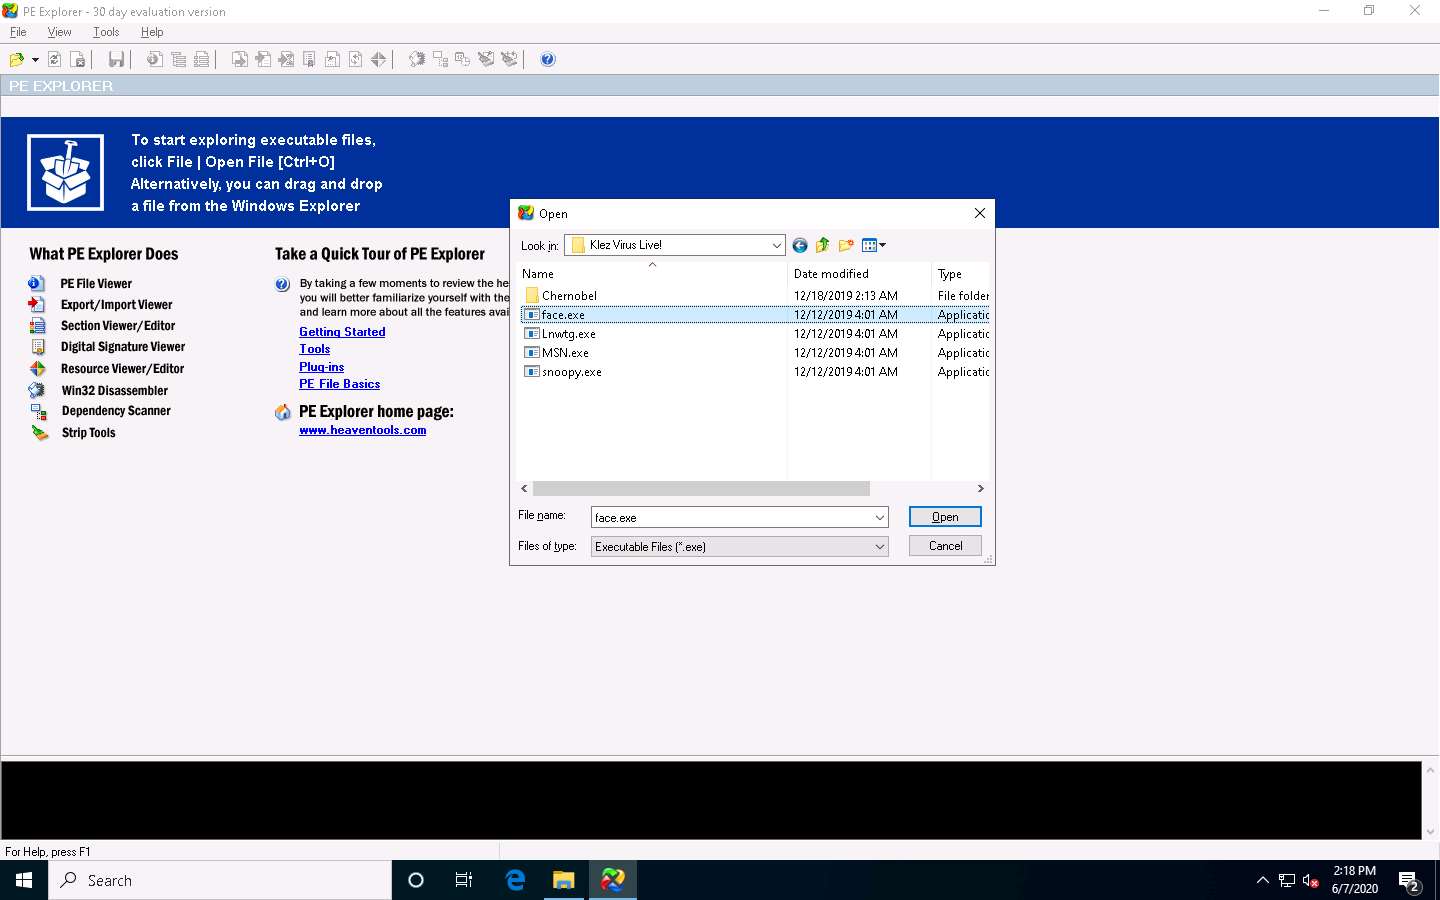
An open window appears; navigate to D:\CEH-Tools\CEHv11 Module 07 Malware Threats\Viruses\Klez Virus Live!. Select the face.exe file and click Open.
The PE Explorer evaluation pop-up appears; click Continue.

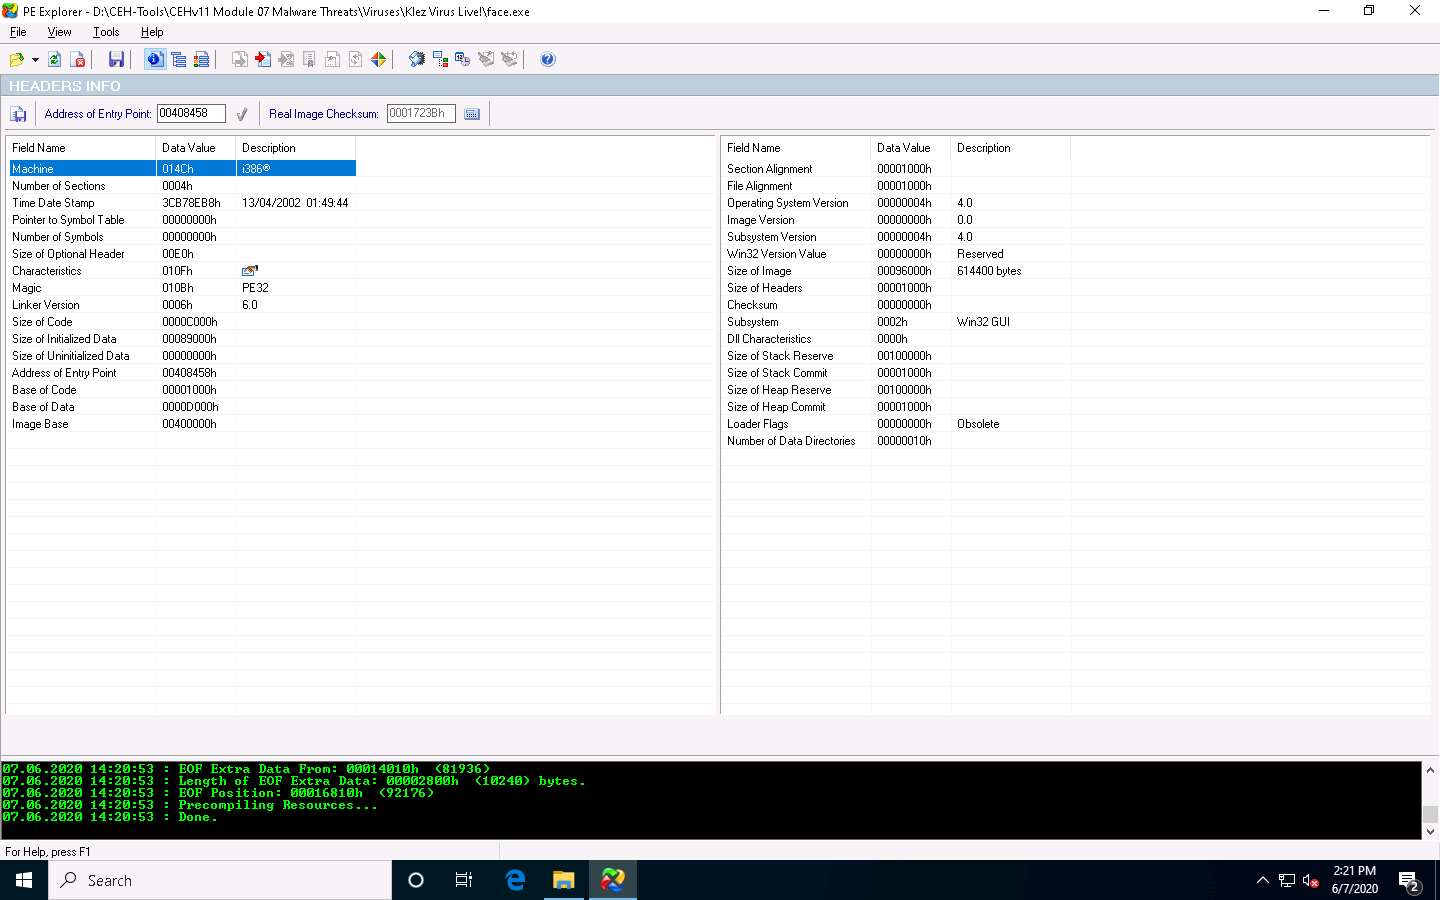
PE Explorer provides you with an analysis of the file, as shown in the screenshot.
The HEADERS INFO section provides you with the ability to:
- View and save a text report on the file headers information
- Modify the entry point value
- Updates the value of the checksum in the header
- Set flag bits in the file header characteristics field
Click the Data Directories icon from the menu bar. This will provide you with the DATA DIRECTORIES information such as the ability to view and edit the virtual address and size of the chosen directory describing provisions of parts of the code.
The trailing array of Data Directories cover pointers to the data in the sections.

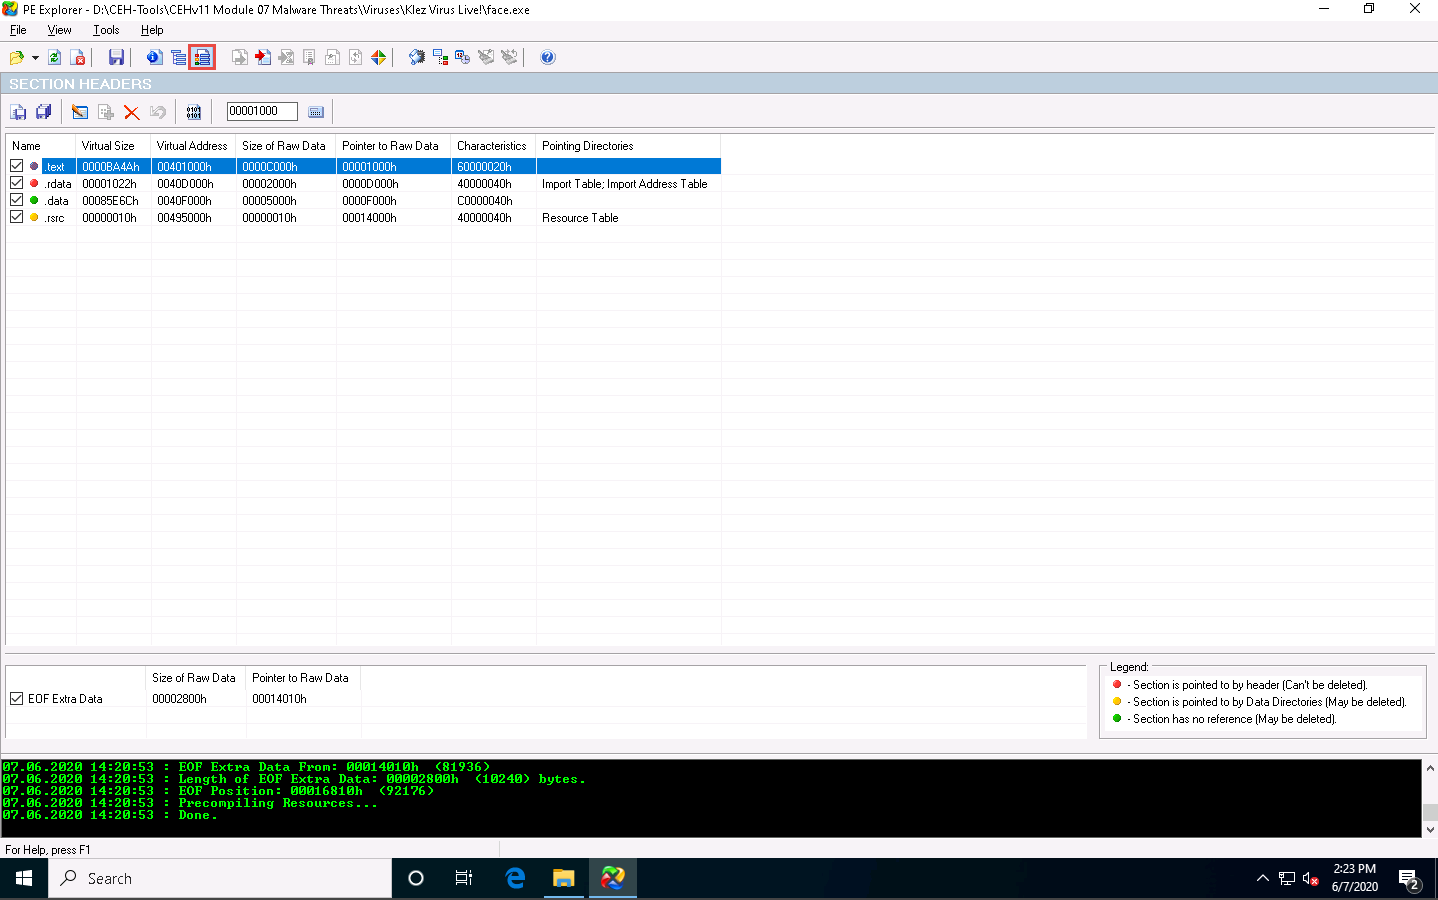
Click Section Headers icon from the menu bar. This will provide you with the SECTION HEADERS information, allowing you to view all sections and information about their location and size.
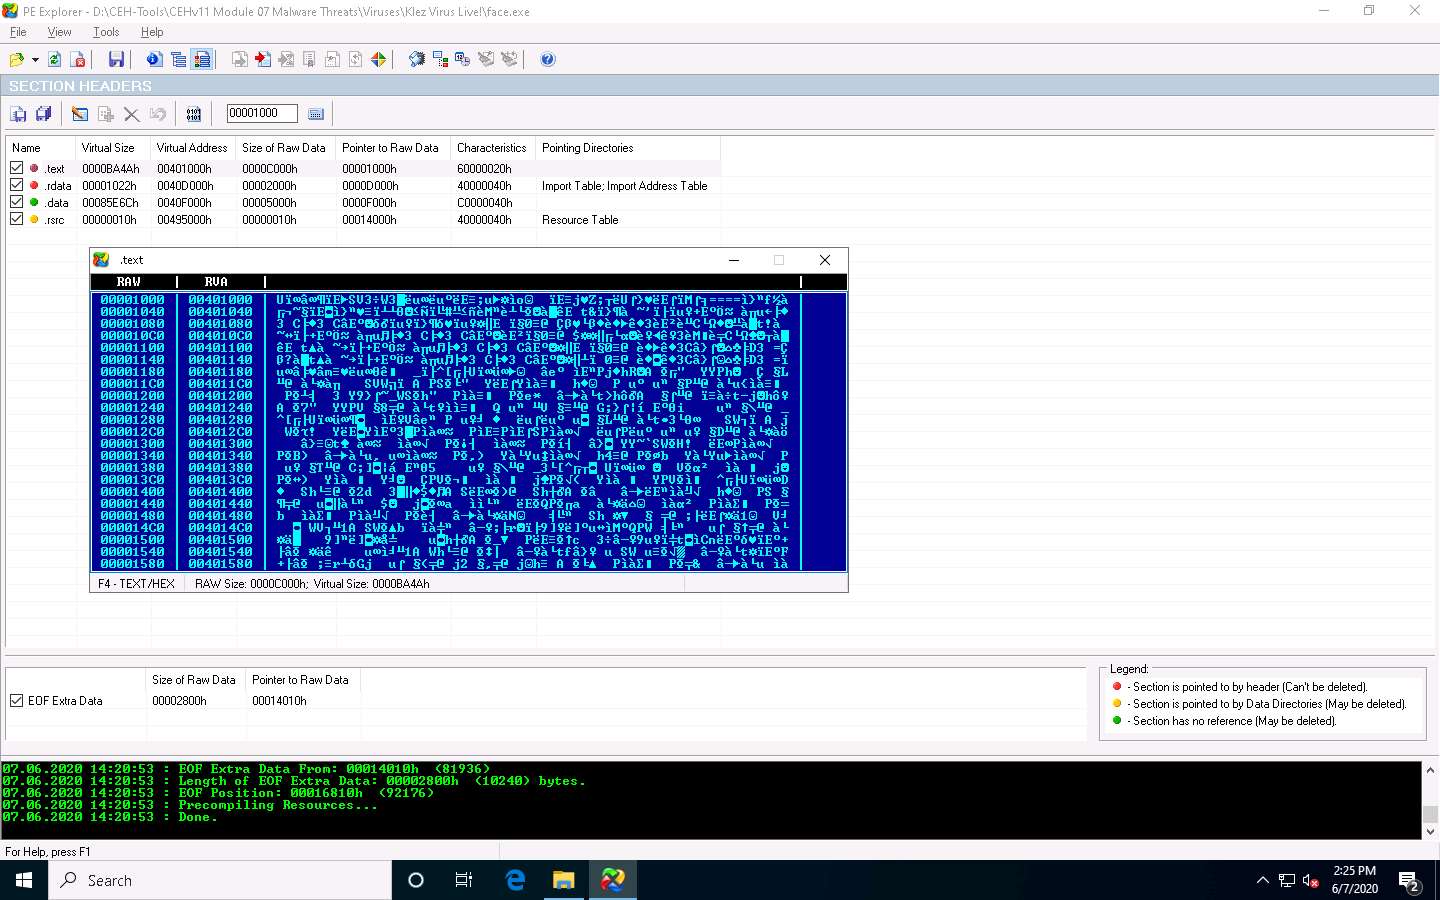
Double click on any section to view the raw content. This will open a mini hex viewer window.
Close the hex viewer window after analysis.
This is how to analyze a malicious file using PE Explorer. Close all open windows.
You can also use other PE extraction tools such as Portable Executable Scanner (pescan) (https://tzworks.net), Resource Hacker (http://www.angusj.com), or PEView (https://www.aldeid.com) to find the Portable Executable (PE) information of a malware executable file.
Task 5: Identify File Dependencies using Dependency Walker
Any software program depends on the various inbuilt libraries of an OS that help in performing specified actions in a system. Programs need to work with internal system files to function correctly. Programs store their import and export functions in a kernel32.dll file. File dependencies contain information about the internal system files that the program needs to function properly; this includes the process of registration and location on the machine.
Find the libraries and file dependencies, as they contain information about the run-time requirements of an application. Then, check to find and analyze these files to provide information about the malware in the file. File dependencies include linked libraries, functions, and function calls. Check the dynamically linked list in the malware executable file. Finding out all library functions may allow guessing about what the malware program can do. You should know the various DLLs used to load and run a program.
Some of the standard DLLs are:
| DLLs | Description of contents |
|---|---|
| Kernel32.dll | Core functionality such as access and manipulation of memory, files, and hardware |
| Advapi32.dll | Provides access to advanced core Windows components such as the Service Manager and Registry |
| User32.dll | User-interface components such as buttons, scrollbars, and components for controlling and responding to user actions |
| Gdi32.dll | Functions for displaying and manipulating graphics |
| Ntdll.dll | Interface to the Windows kernel |
| WSock32.dll and Ws2_32.dll | Networking DLLs that help to connect to a network or perform network-related tasks |
| Wininet.dll | Supports higher-level networking functions |
The Dependency Walker tool lists all dependent modules of an executable file and builds hierarchical tree diagrams. It also records all functions that each module exports and calls. Further, it detects many common application problems such as missing and invalid modules, import and export mismatches, circular dependency errors, mismatched machine modules, and module initialization failures.
Here, we will use the Dependency Walker tool to identify the file dependencies of an executable file.
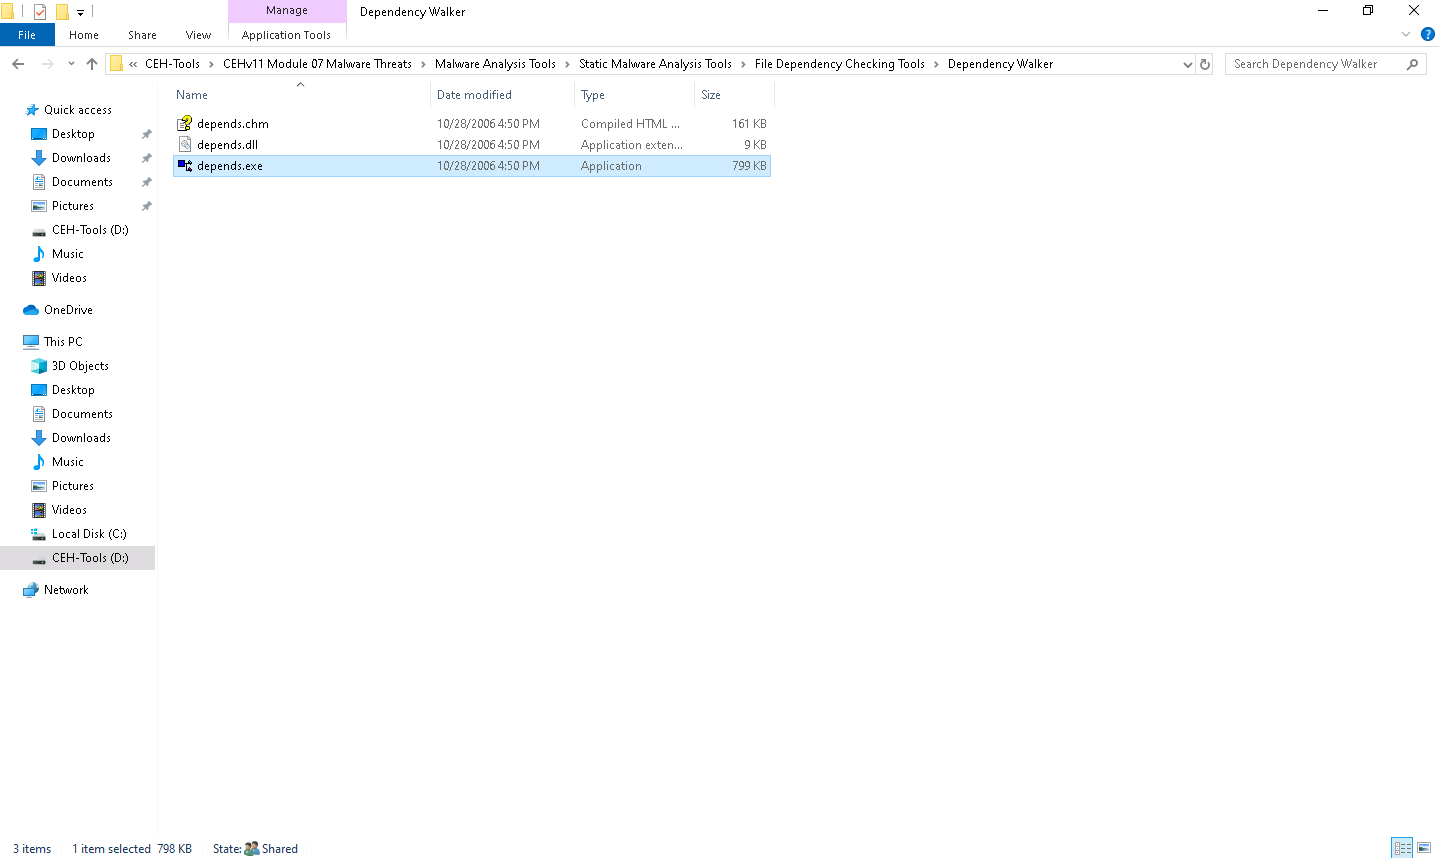
On the Windows 10 machine, navigate to D:\CEH-Tools\CEHv11 Module 07 Malware Threats\Malware Analysis Tools\Static Malware Analysis Tools\File Dependency Checking Tools\Dependency Walker, and double-click depends.exe.
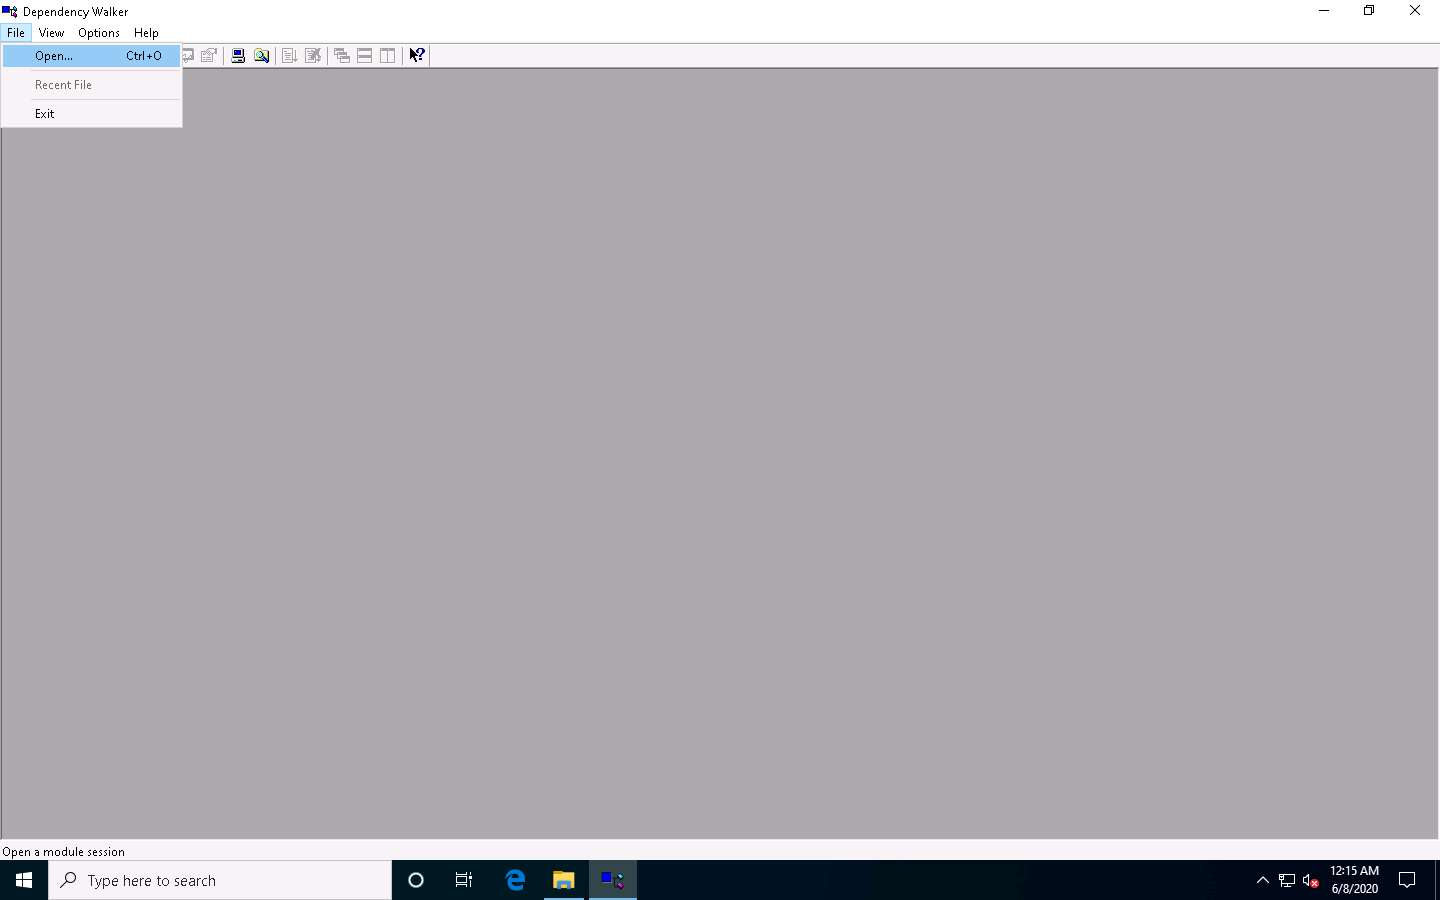
The Dependency Walker main window appears; navigate to File and click Open to import the malicious file.
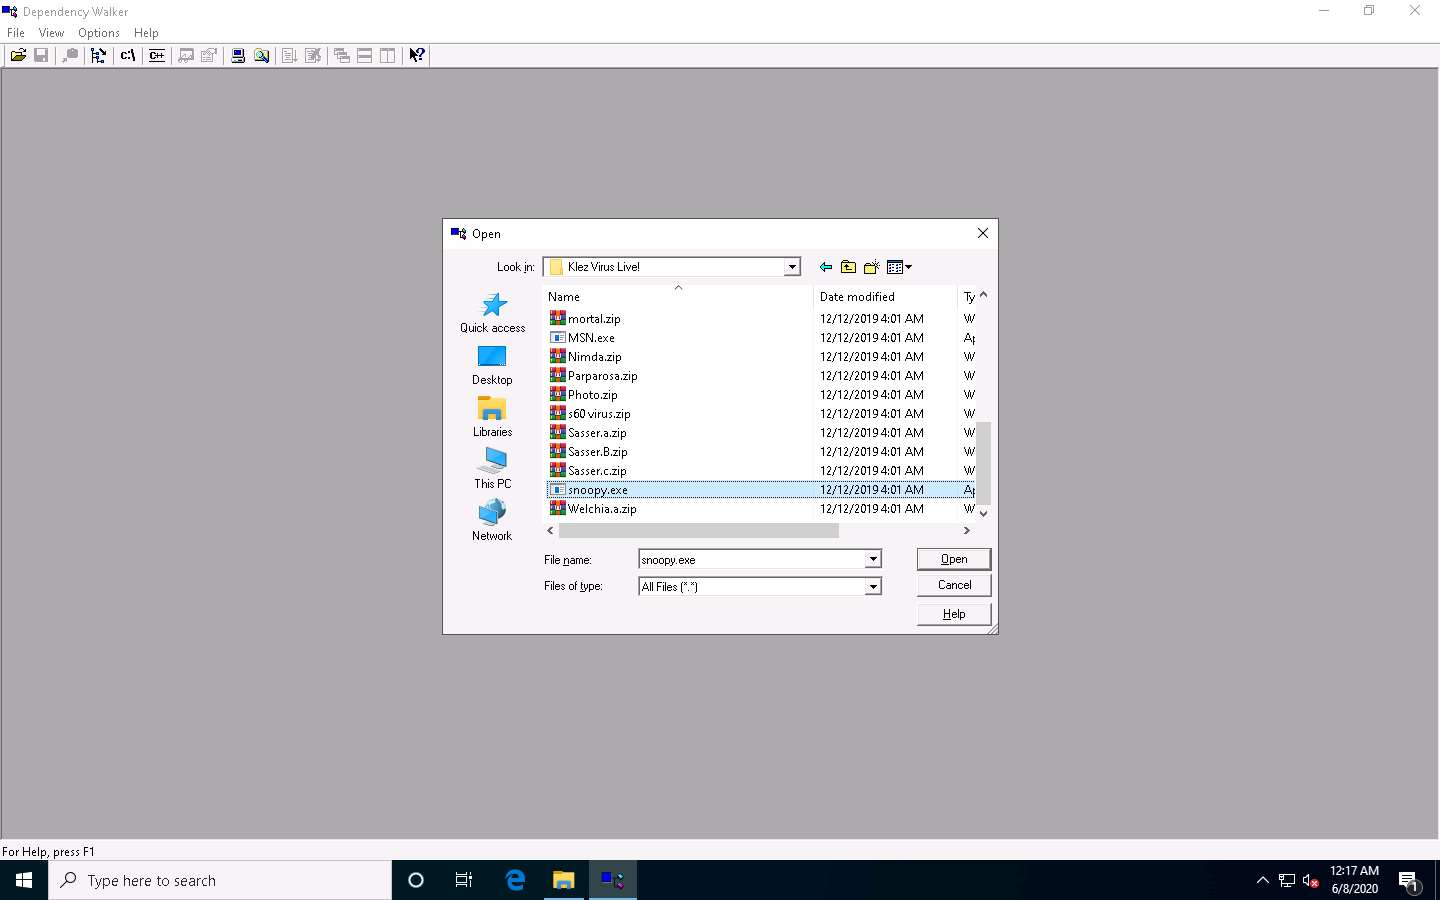
The open window appears; navigate to D:\CEH-Tools\CEHv11 Module 07 Malware Threats\Viruses\Klez Virus Live!. Select the snoopy.exe file and click Open.
The Dependency Walker pop-up appears, along with the error detected while processing the file; click OK.
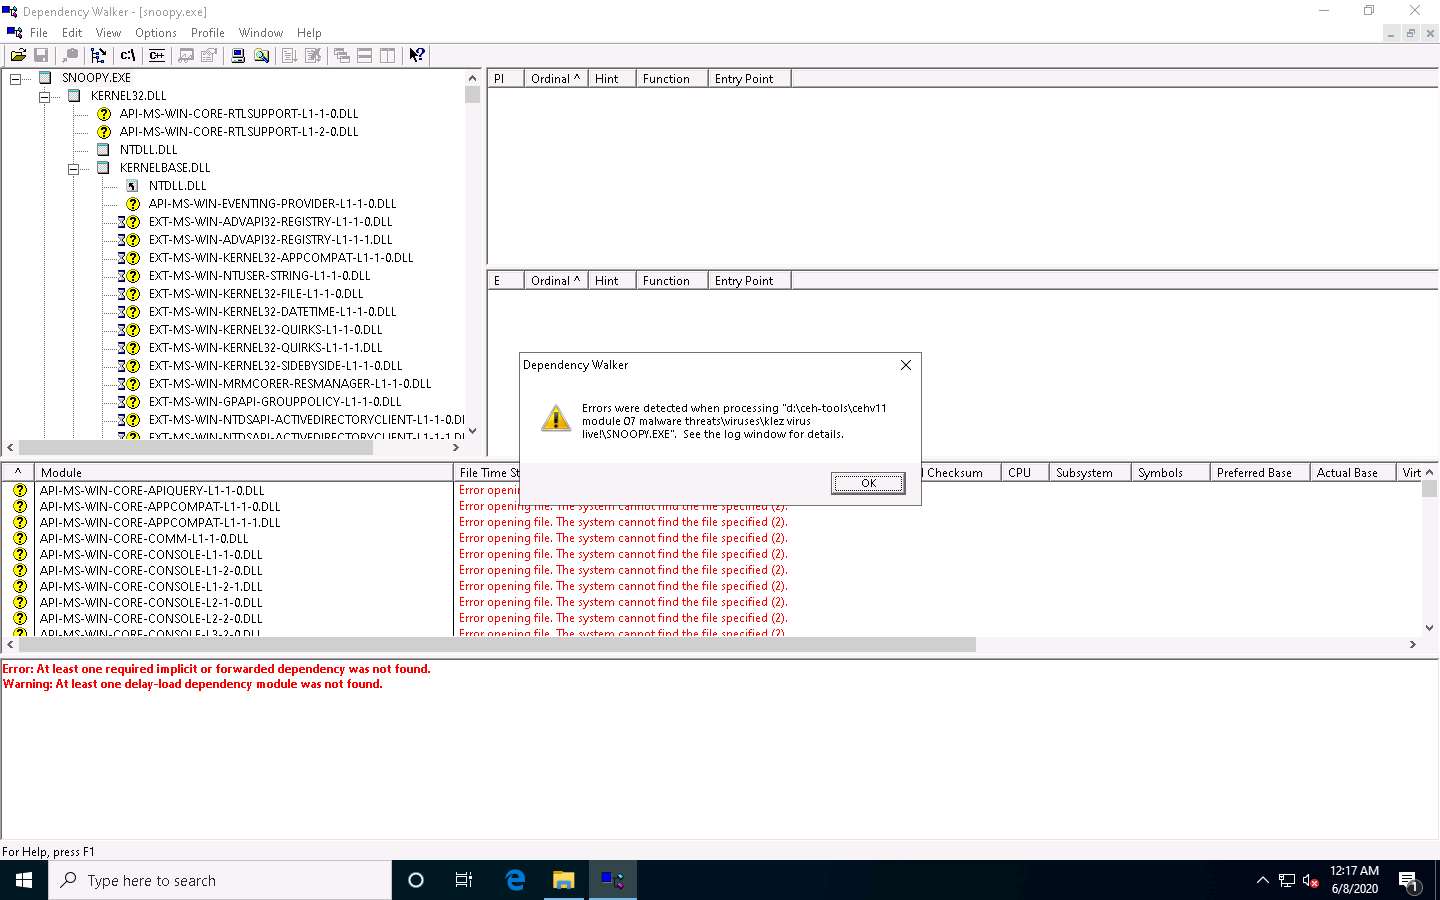
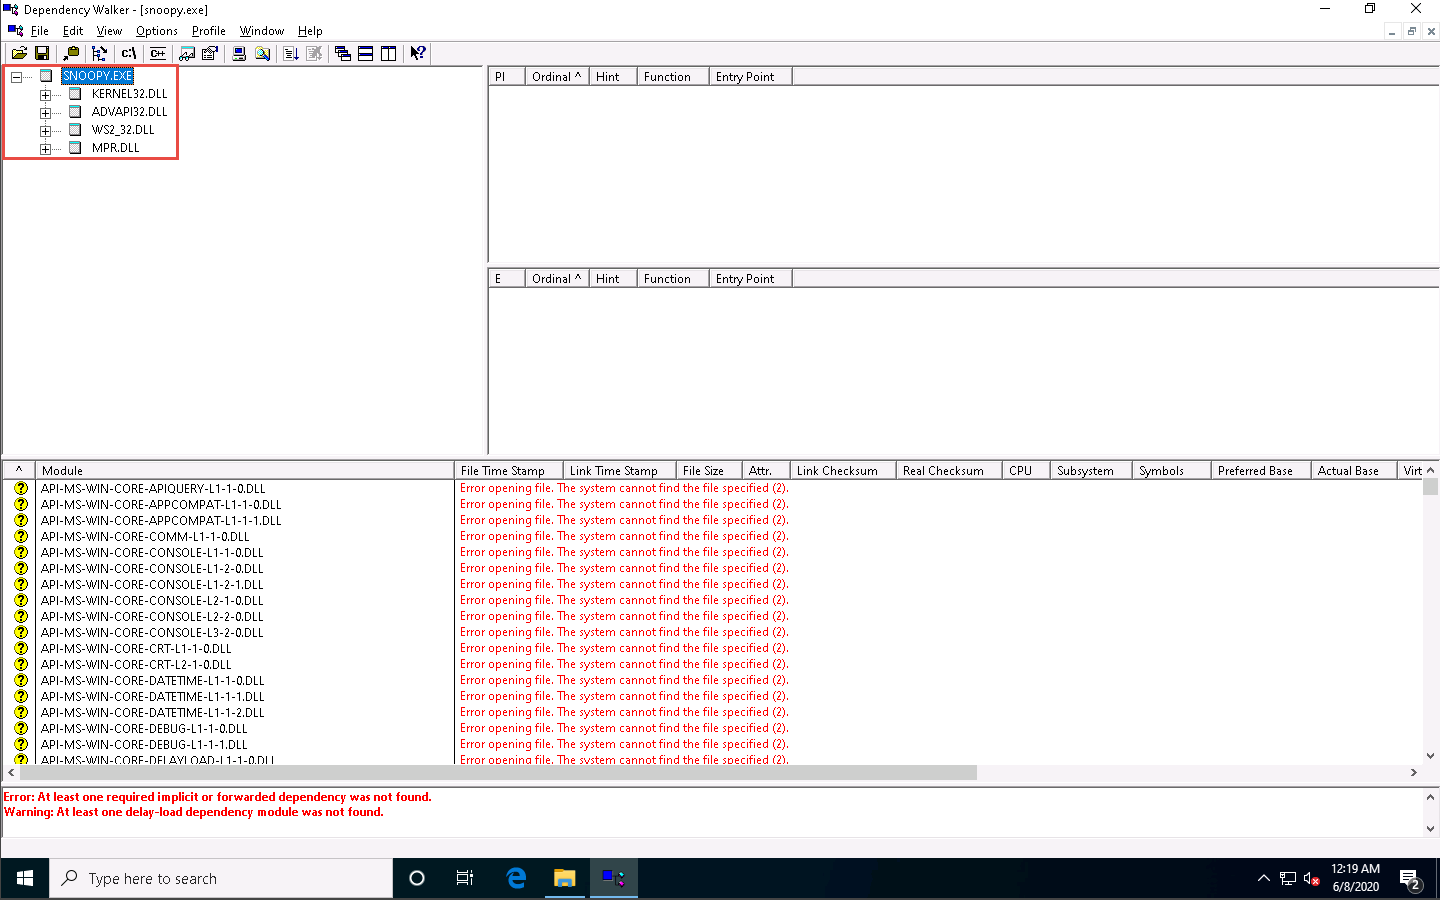
The SNOOPY.EXE file is imported to the Dependency Walker, as shown in the screenshot.
Shrink the .DLL nodes to view all available DLLs for the malicious file.
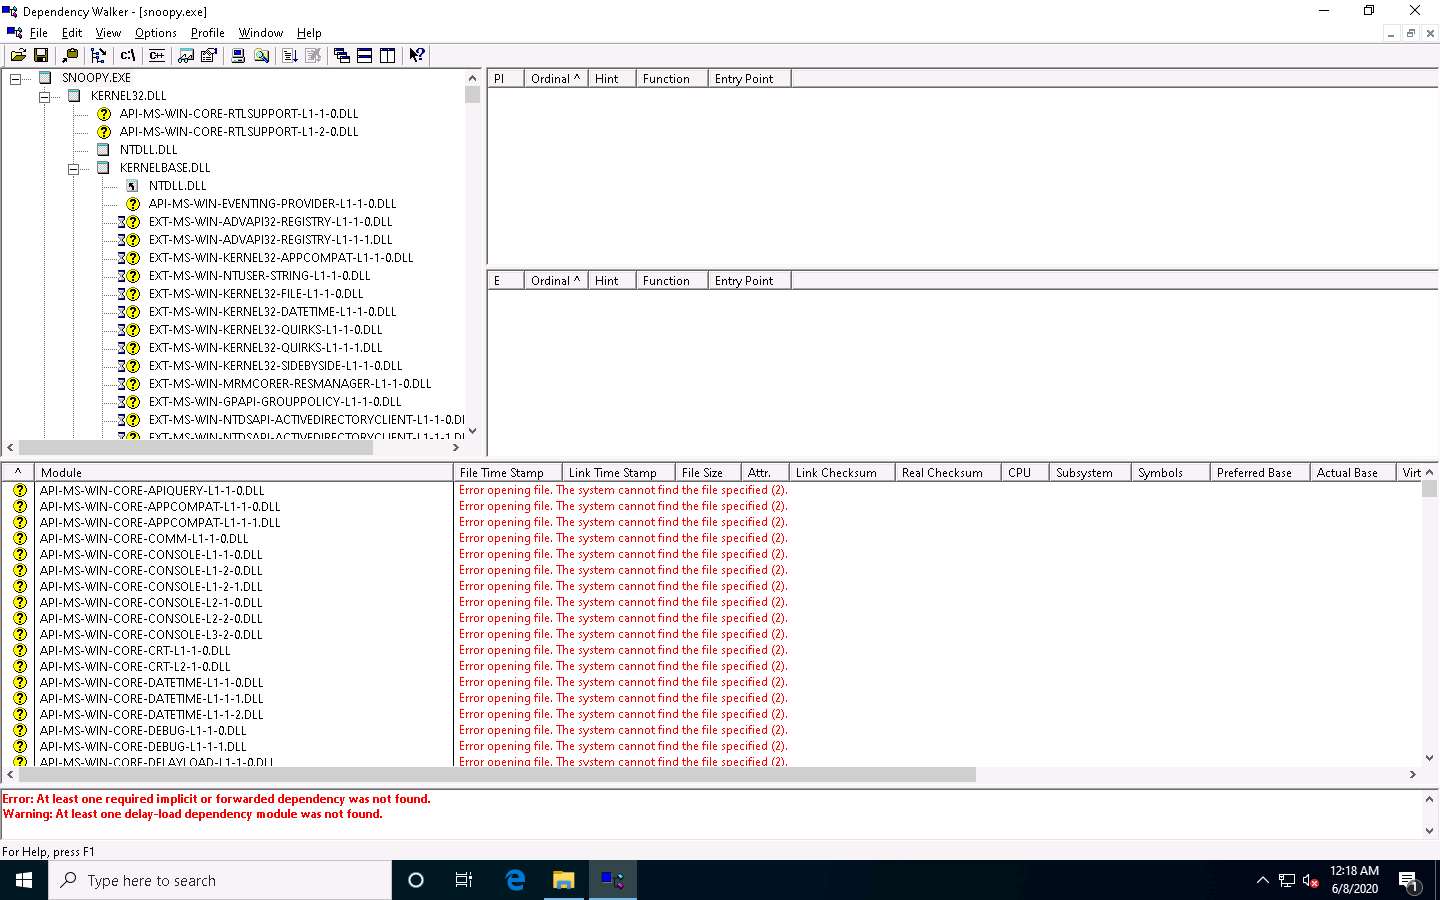
The available DLLs for snoopy.exe are listed, as shown in the screenshot.
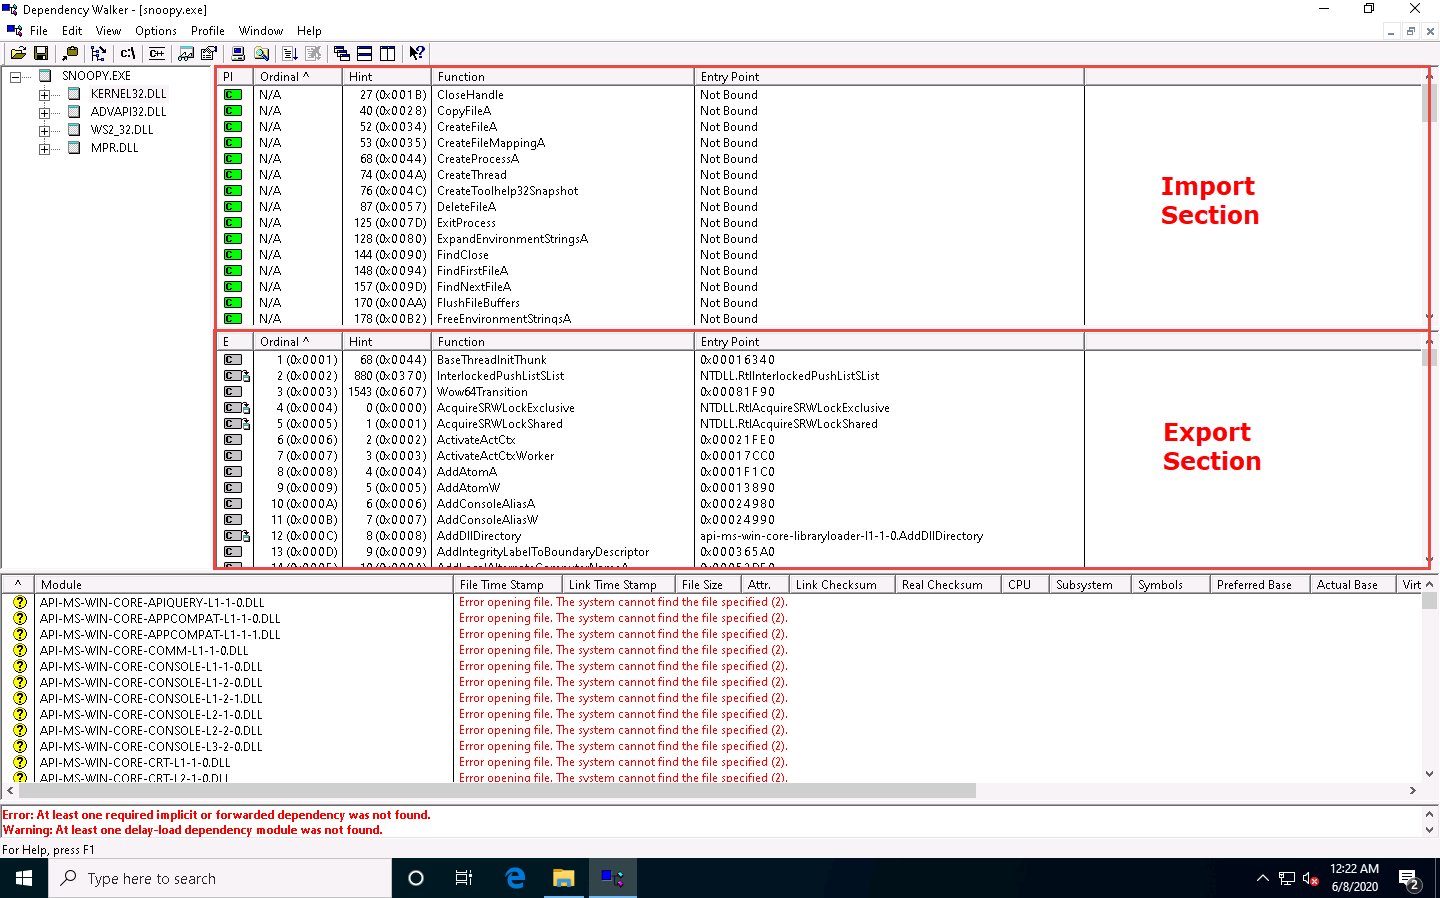
Click on any DLL dependency to view the details of the DLL file. In this lab, we are choosing KERNEL32.DLL.
As soon as you select the DLL, the Dependency Walker displays the DLL details in the Import Section and Export Section, as shown in the screenshot.
Analyze all DLL dependencies of the imported malicious file. Close all open windows once the analysis is complete.
You can also use other dependency checking tools such as Dependency-check (https://jeremylong.github.io), Snyk (https://snyk.io), Hakiri (https://hakiri.io), or RetireJS (https://retirejs.github.io) to identify file dependencies.
Task 6: Perform Malware Disassembly using IDA and OllyDbg
Static analysis also includes the dismantling of a given executable into binary format to study its functionalities and features. This process helps identify the language used for programming the malware, look for APIs that reveal its function, and retrieve other information. Based on the reconstructed assembly code, you can inspect the program logic and recognize its threat potential. This process uses debugging tools such as IDA Pro and OllyDbg.
IDA As a disassembler, IDA explores binary programs, for which the source code might not be available, to create maps of their execution. The primary purpose of a disassembler is to display the instructions actually executed by the processor in a symbolic representation called “assembly language.” However, in real life, things are not always simple. Hostile code usually does not cooperate with the analyst. Viruses, worms, and Trojans are often armored and obfuscated; as such, more powerful tools are required. The debugger in IDA complements the static analysis capabilities of the disassembler. By allowing an analyst to single-step through the code being investigated, the debugger often bypasses the obfuscation. It helps obtain data that the more powerful static disassembler will be able to process in depth.
OllyDbg OllyDbg is a debugger that emphasizes binary code analysis, which is useful when source code is unavailable. It traces registers, recognizes procedures, API calls switches, tables, constants, and strings, and locates routines from object files and libraries.
There is a new debugging option, “Set permanent breakpoints on system calls.” When active, it requests OllyDbg to set breakpoints on KERNEL32.UnhandledExceptionFilter(), NTDLL.KiUserExceptionDispatcher(), NTDLL.ZwContinue(), and NTDLL.NtQueryInformationProcess().
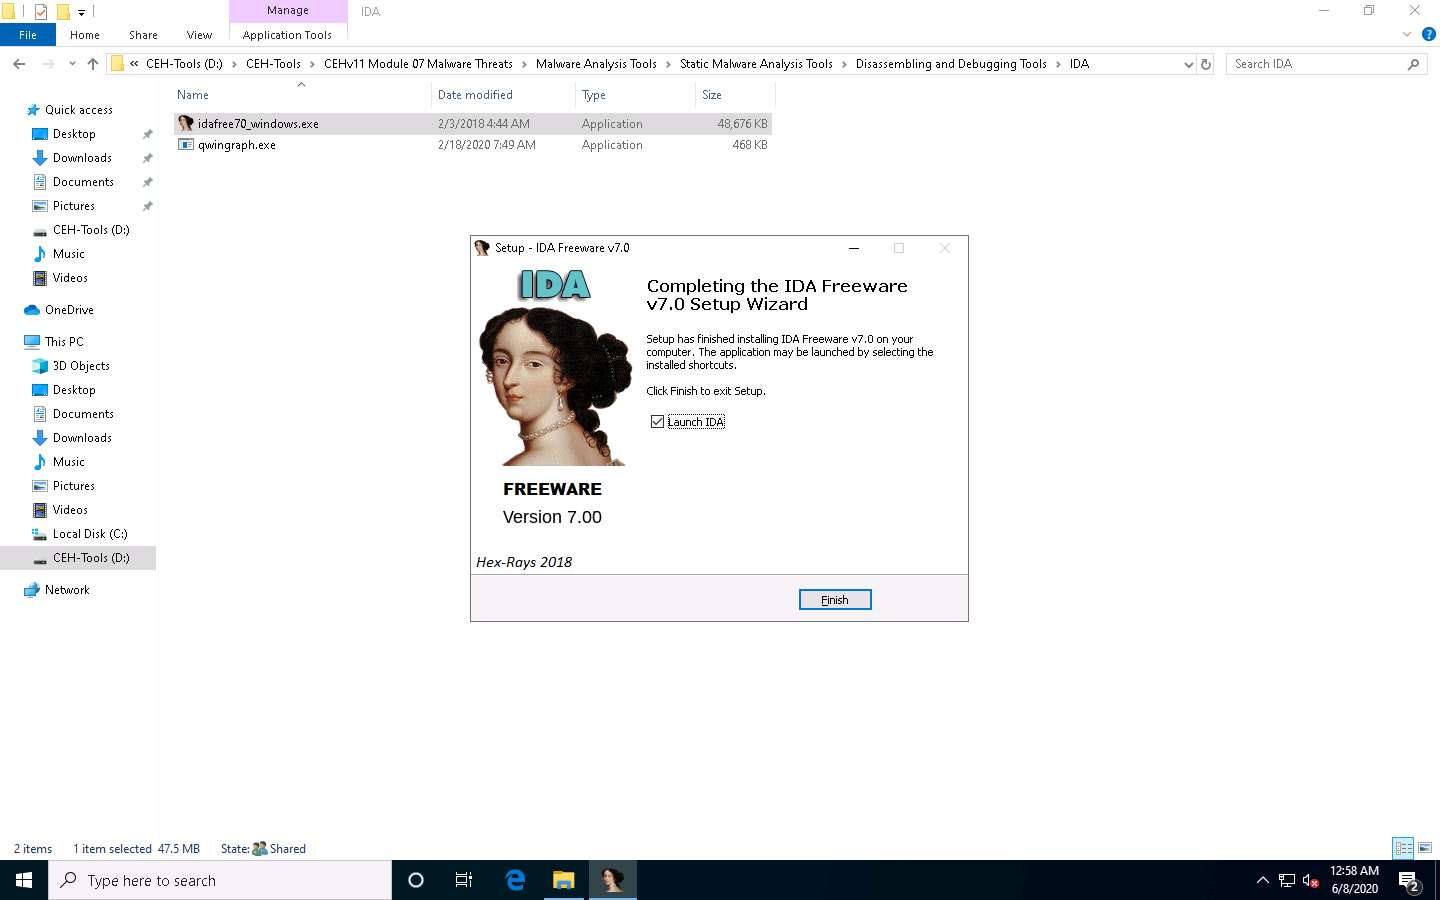
On the Windows 10 machine, navigate to D:\CEH-Tools\CEHv11 Module 07 Malware Threats\Malware Analysis Tools\Static Malware Analysis Tools\Disassembling and Debugging Tools\IDA and double-click idafree70_windows.exe.
If a User Account Control window appears, click Yes.
If an Open File - Security Warning pop-up appears, click Run.
The IDA installation wizard appears; follow the wizard-driven installation steps to install IDA.
In the final step of the installation, ensure that the Launch IDA option is checked; this will launch the application automatically once you click Finish.
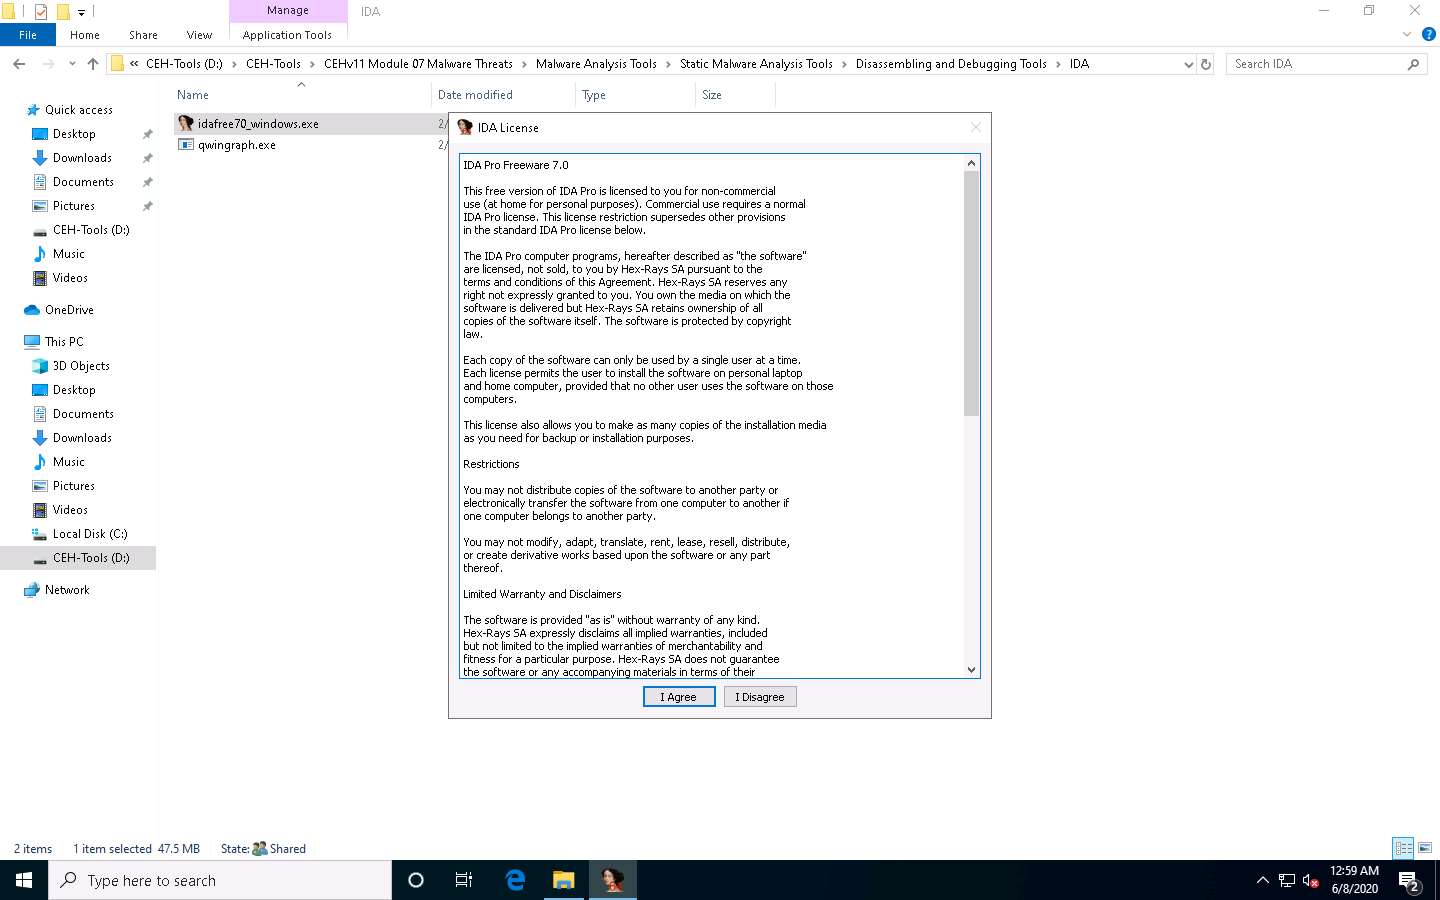
If the IDA License window appears, click on I Agree.
The IDA: Quick start pop-up appears; click on New to select a malicious file for disassembly.

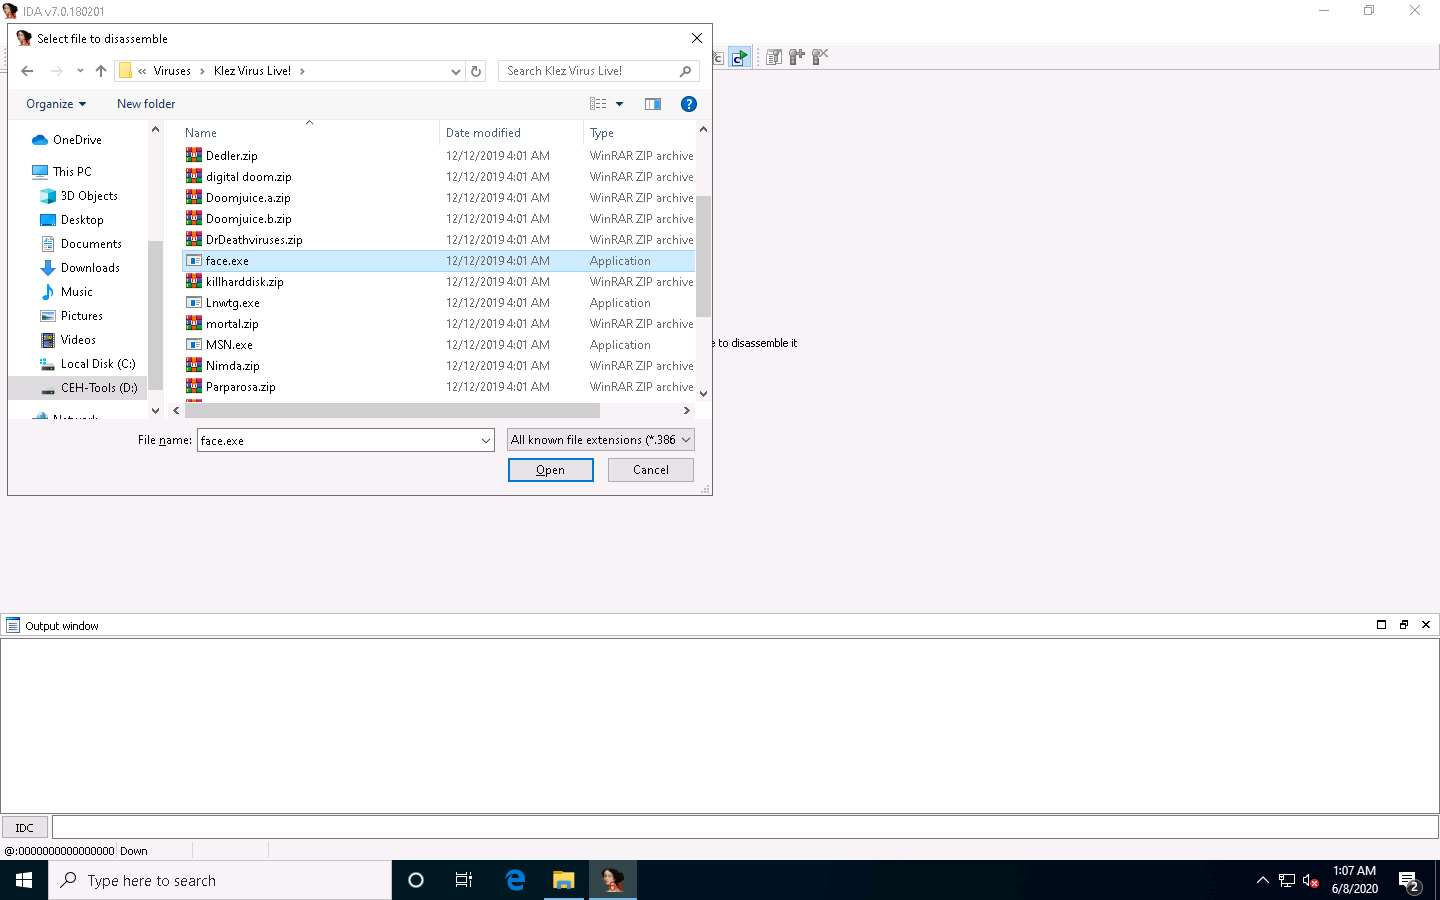
The IDA main window appears, along with the Select file to disassemble window.
In the Select file to disassemble window, navigate to D:\CEH-Tools\CEHv11 Module 07 Malware Threats\Viruses\Klez Virus Live!, select face.exe, and click Open.
The Load a new file window appears; by default, the Portable executable for 80386 (PE) [pe64.dll] option selected; click OK.
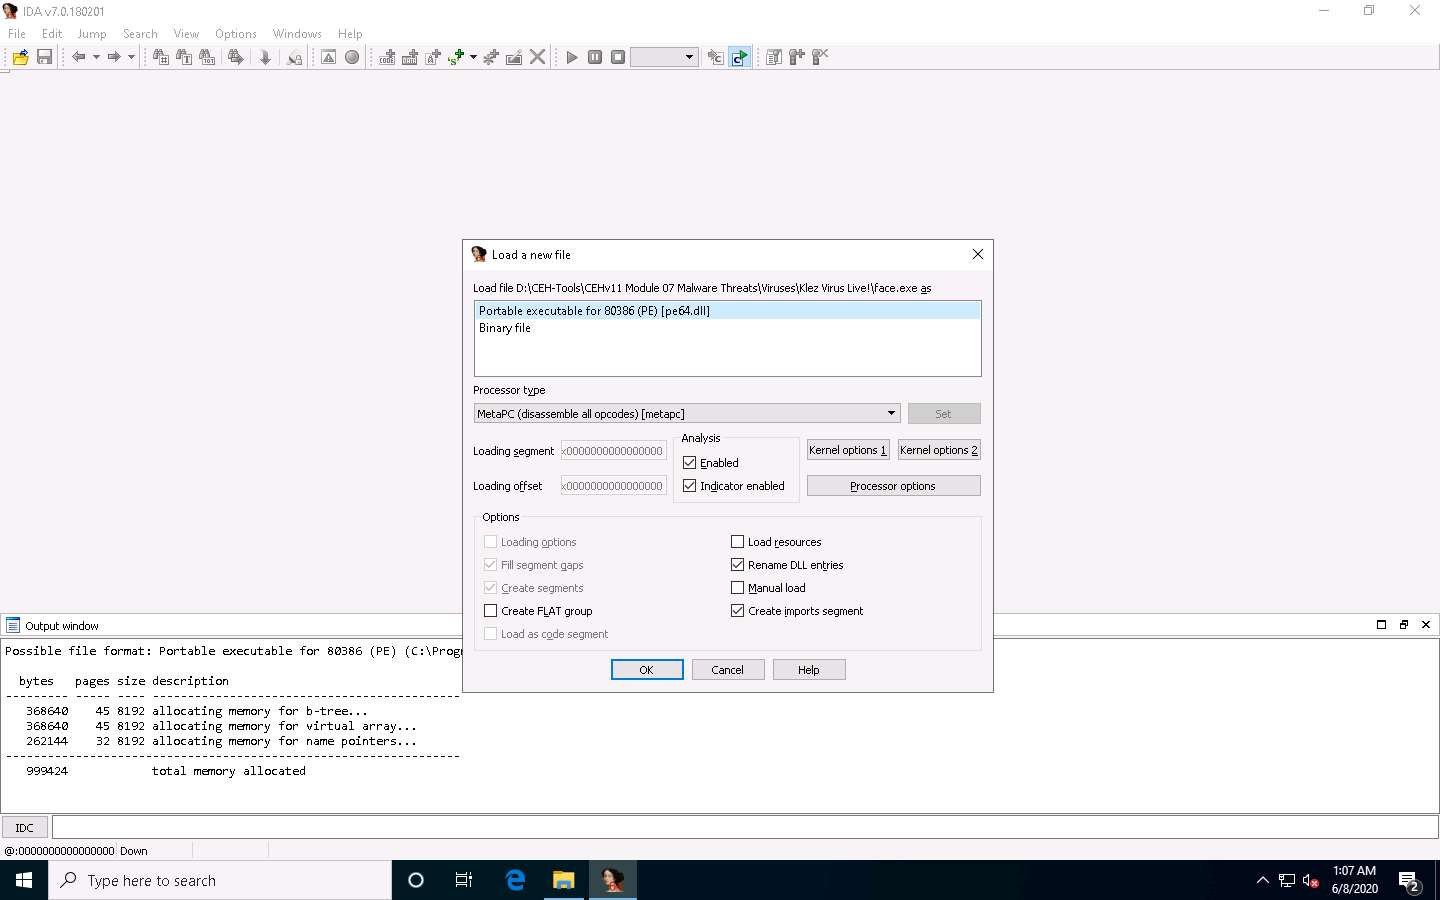
If a Warning pop-up appears, click OK.
If a Please confirm dialog-box appears, read the instructions carefully, and then click Yes.
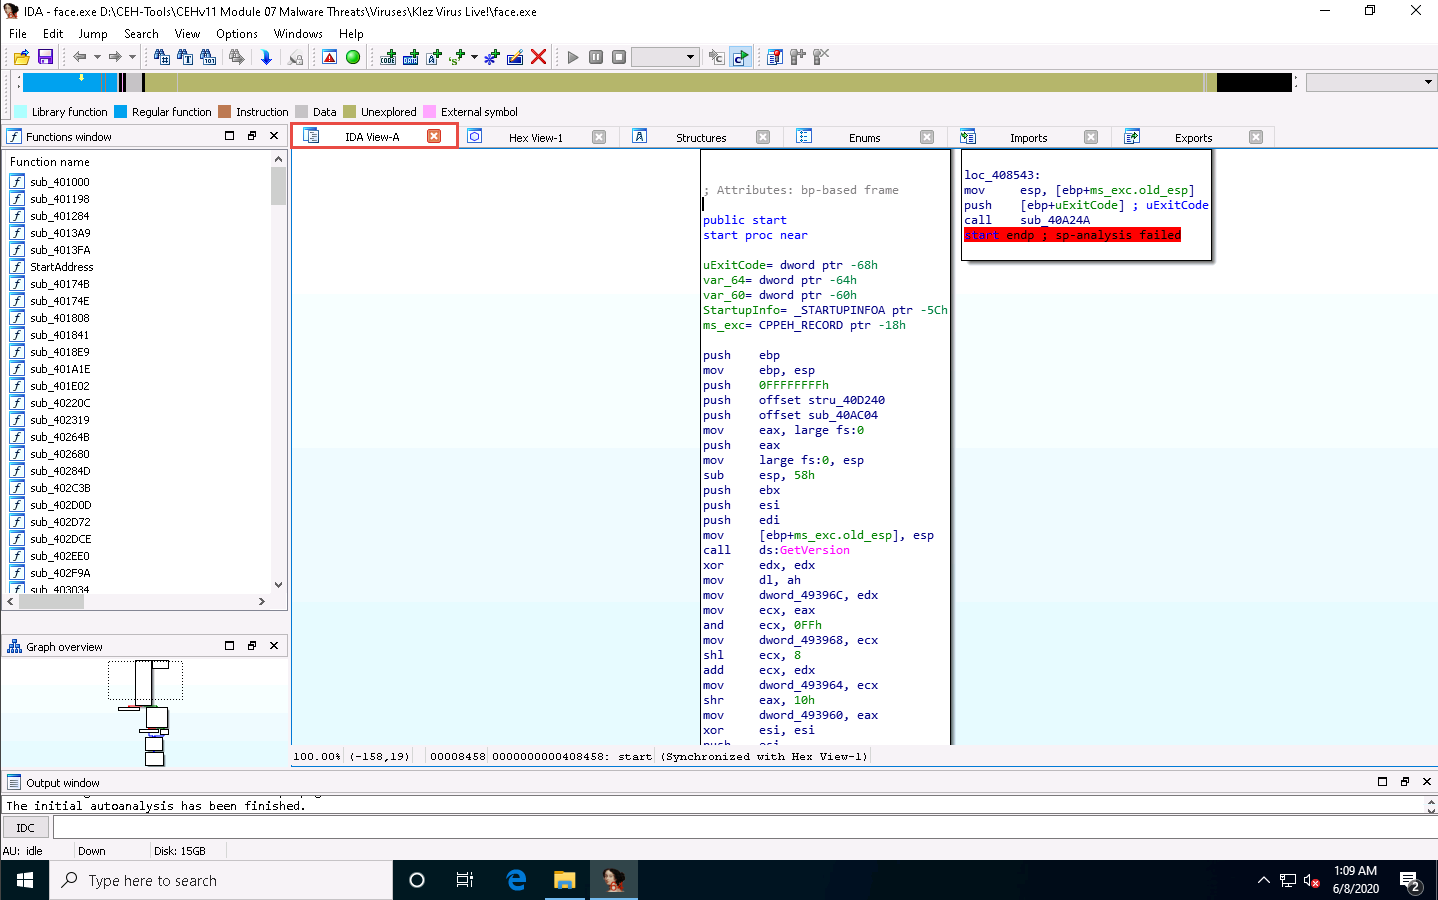
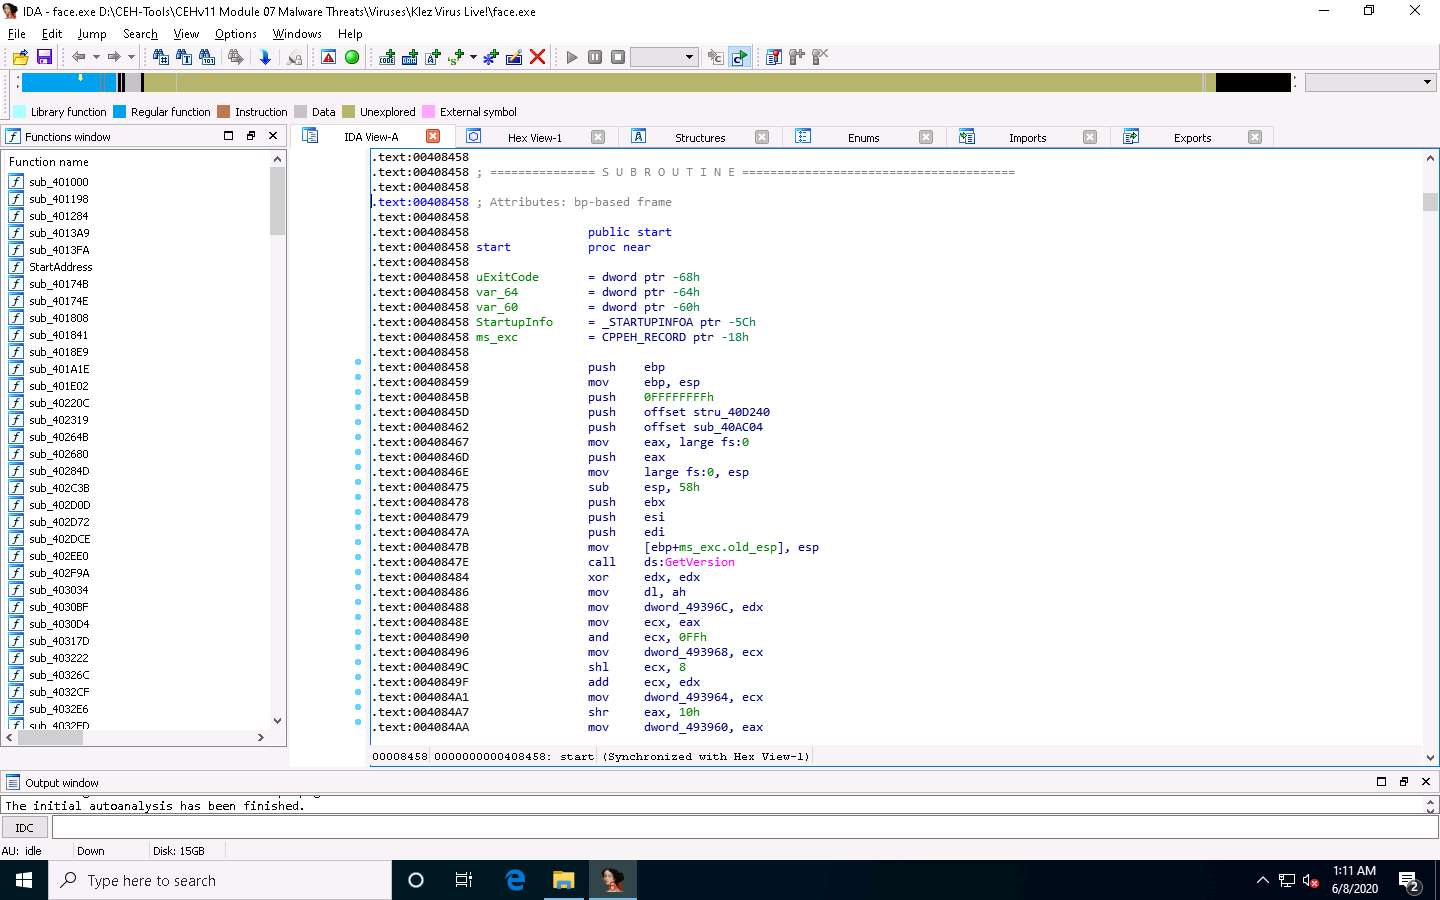
IDA completes the analysis of the imported malicious file and displays the results in the IDA View-A tab, as shown in the screenshot.
In the IDA View-A section, right-click anywhere and choose Text view from the context menu to view the text information of the malicious file uploaded to IDA for analysis.
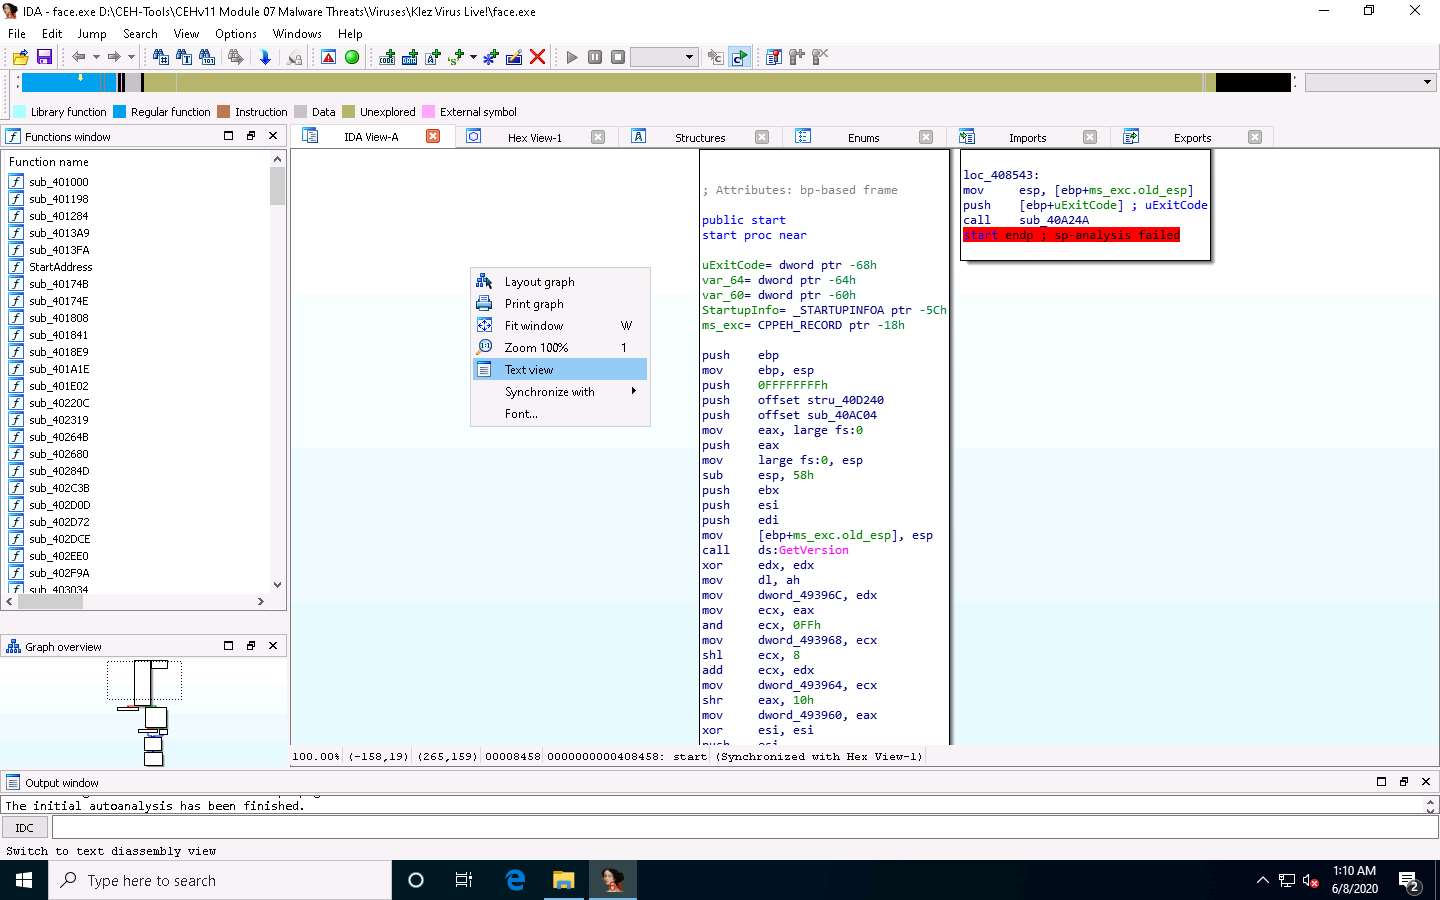
This reveals the text view of the malicious file, allowing analysis of its information.
Now, minimize the IDA window, and navigate to D:\CEH-Tools\CEHv11 Module 07 Malware Threats\Malware Analysis Tools\Static Malware Analysis Tools\Disassembling and Debugging Tools\IDA. Copy the qwingraph.exe file and paste it in IDA’s installation location. In this lab, the location is C:\Program Files\IDA Freeware 7.0.
If a Destination Folder Access Denied notification appears, click Continue.
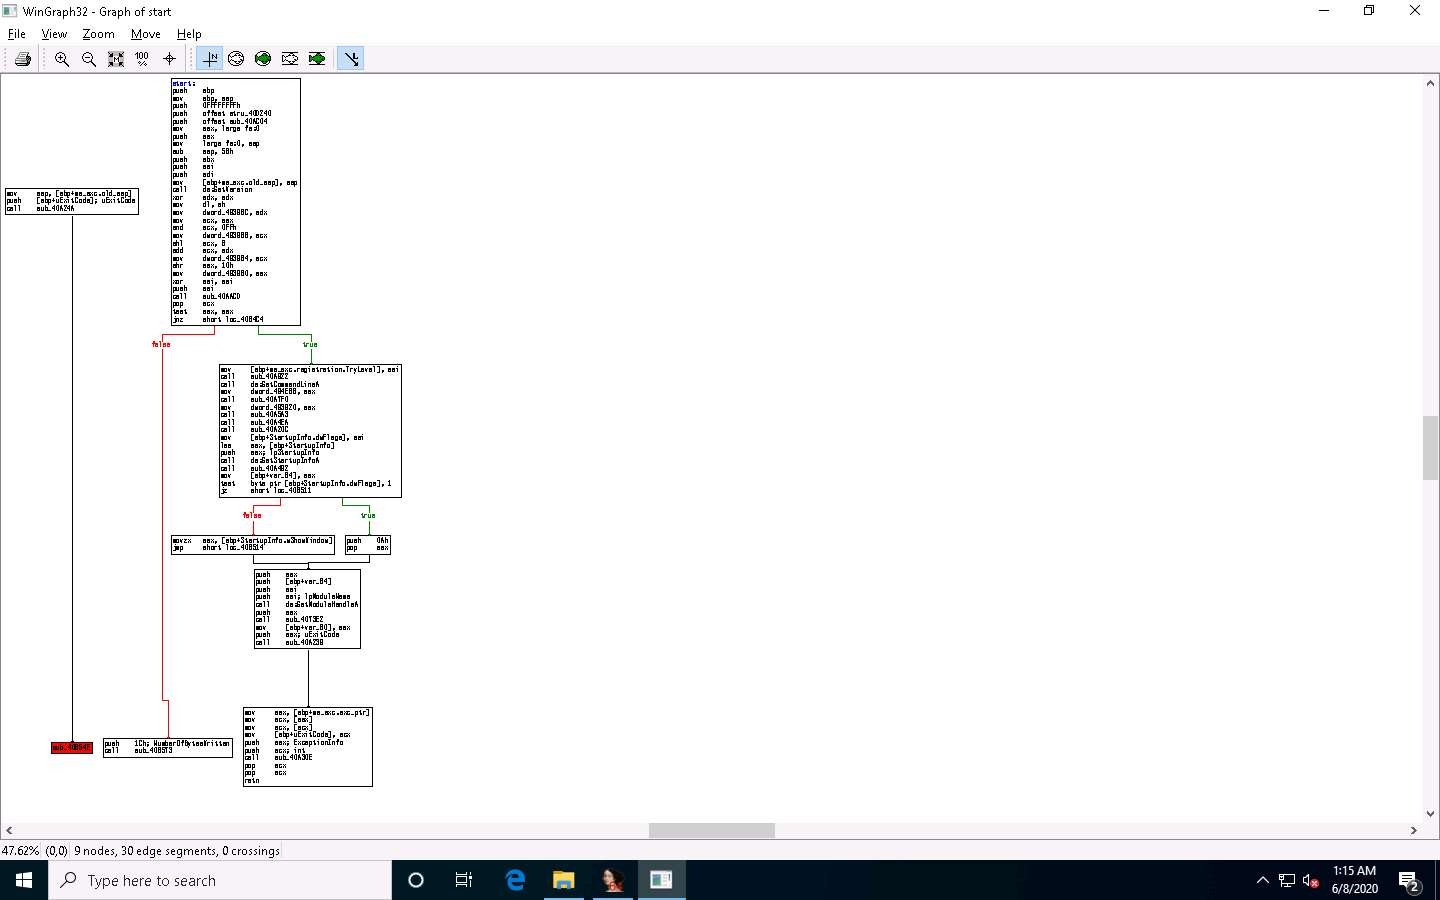
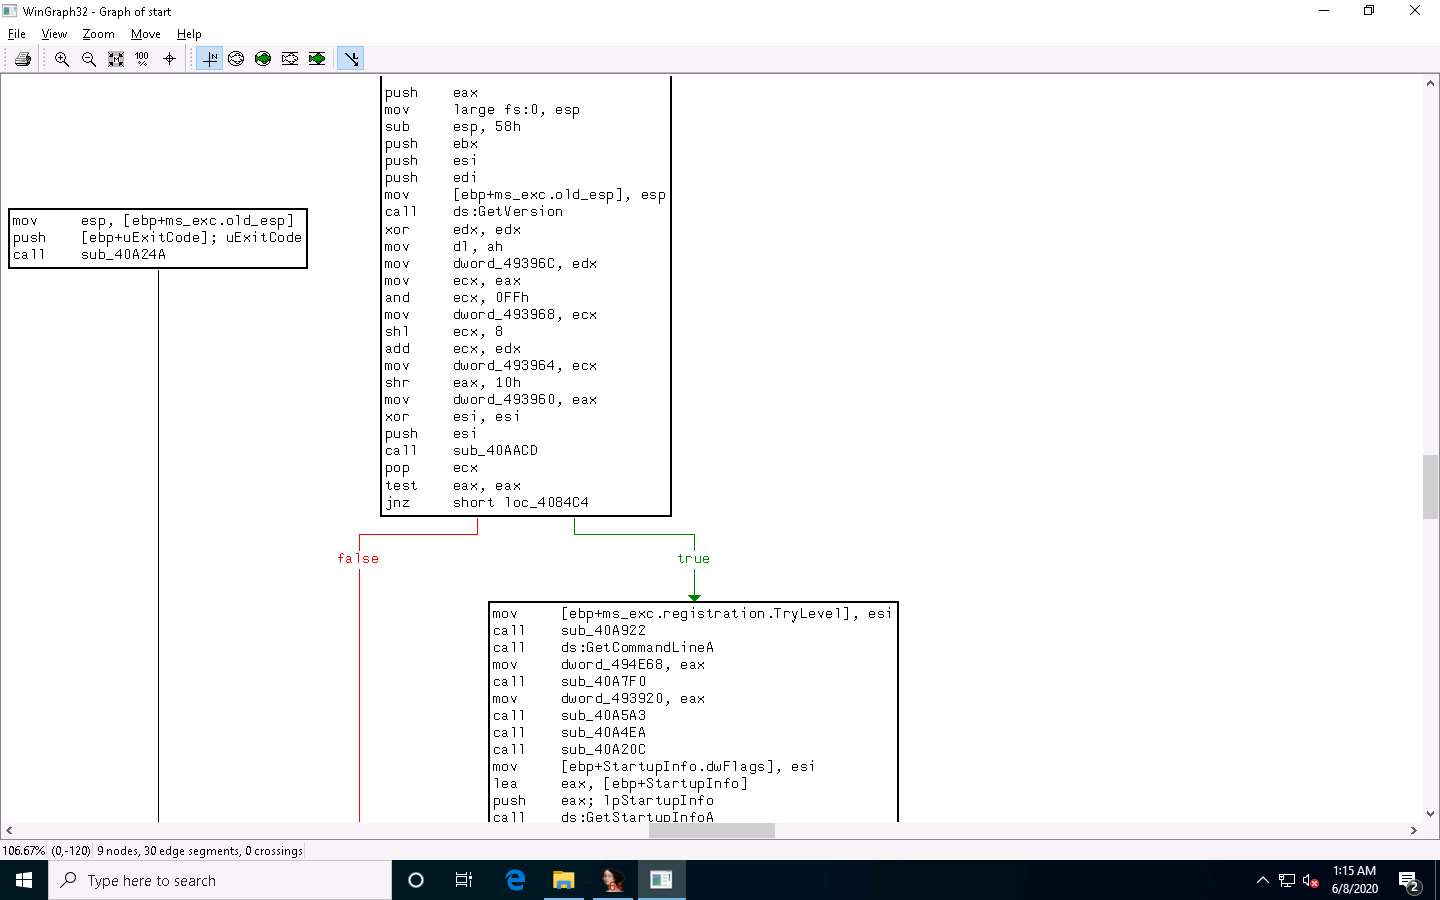
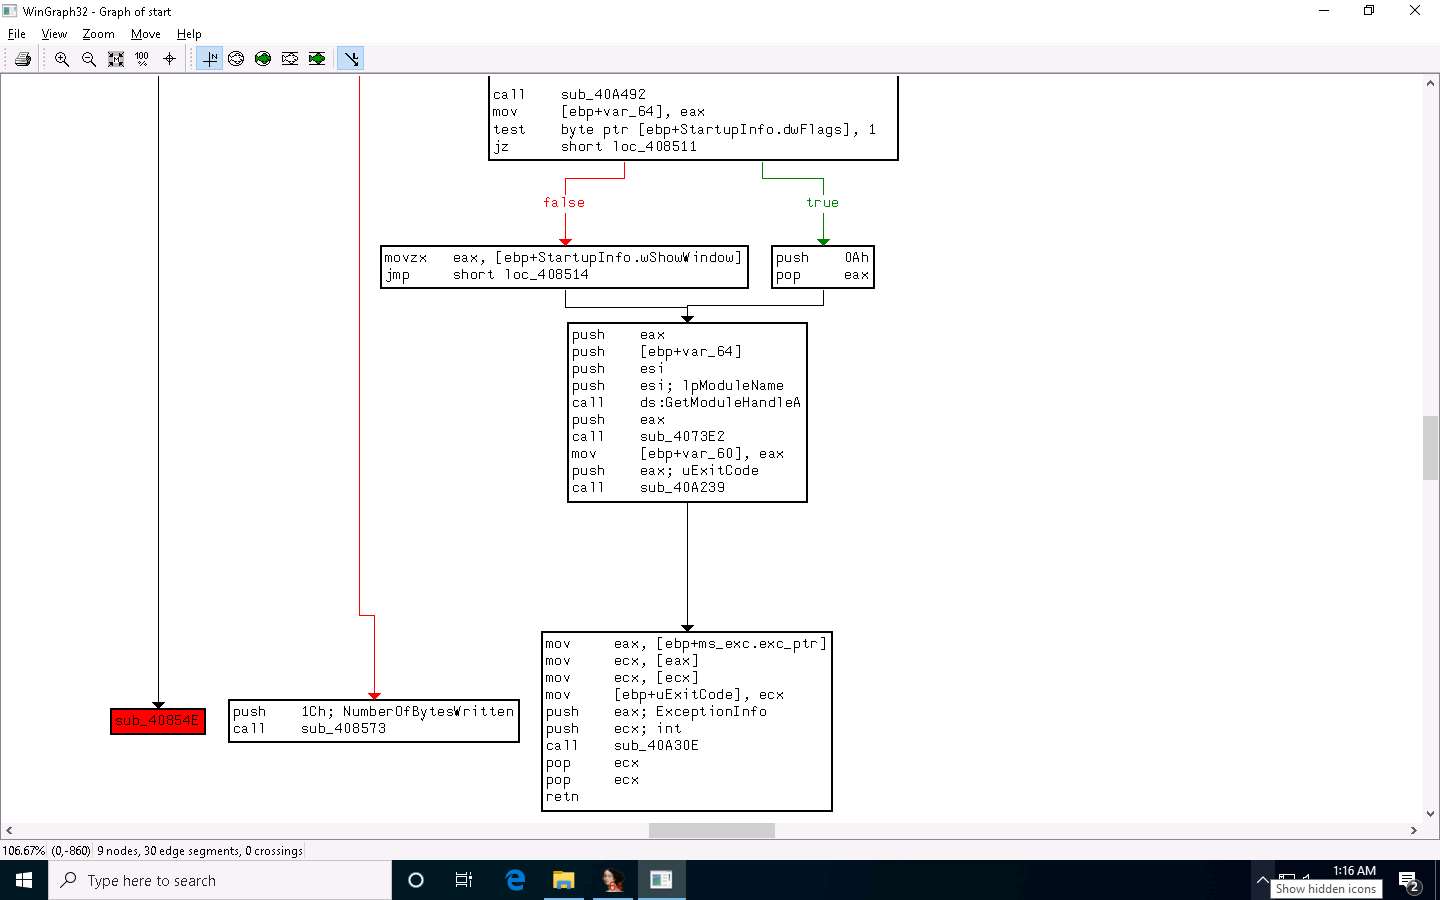
Maximize the IDA window. To view the flow of the uploaded malicious file, navigate to View --> Graphs and click Flow chart.
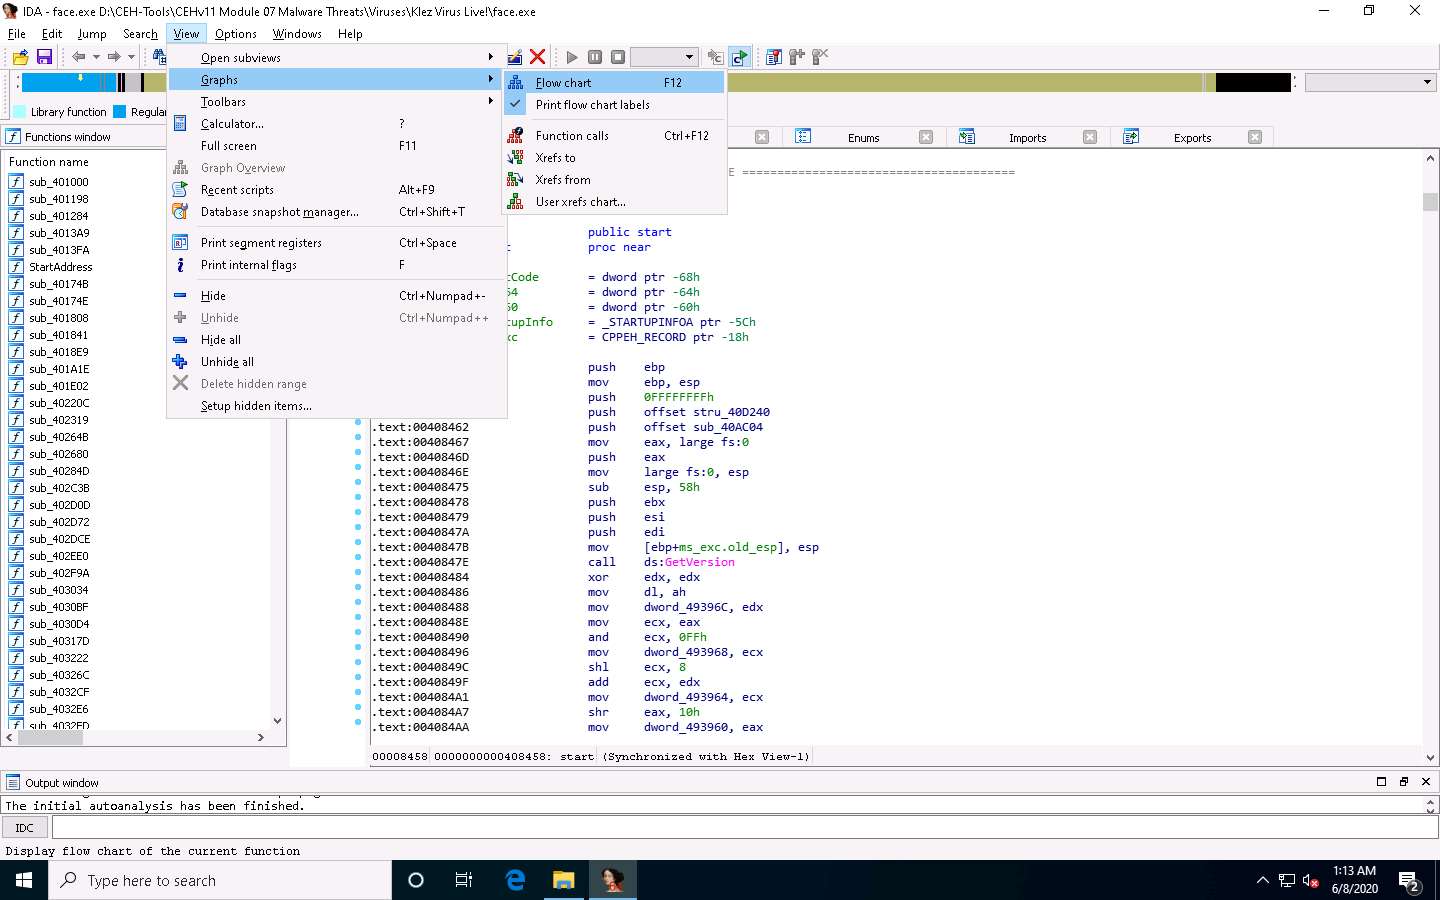
A Graph window appears with the flow. You may zoom in to view this more clearly.
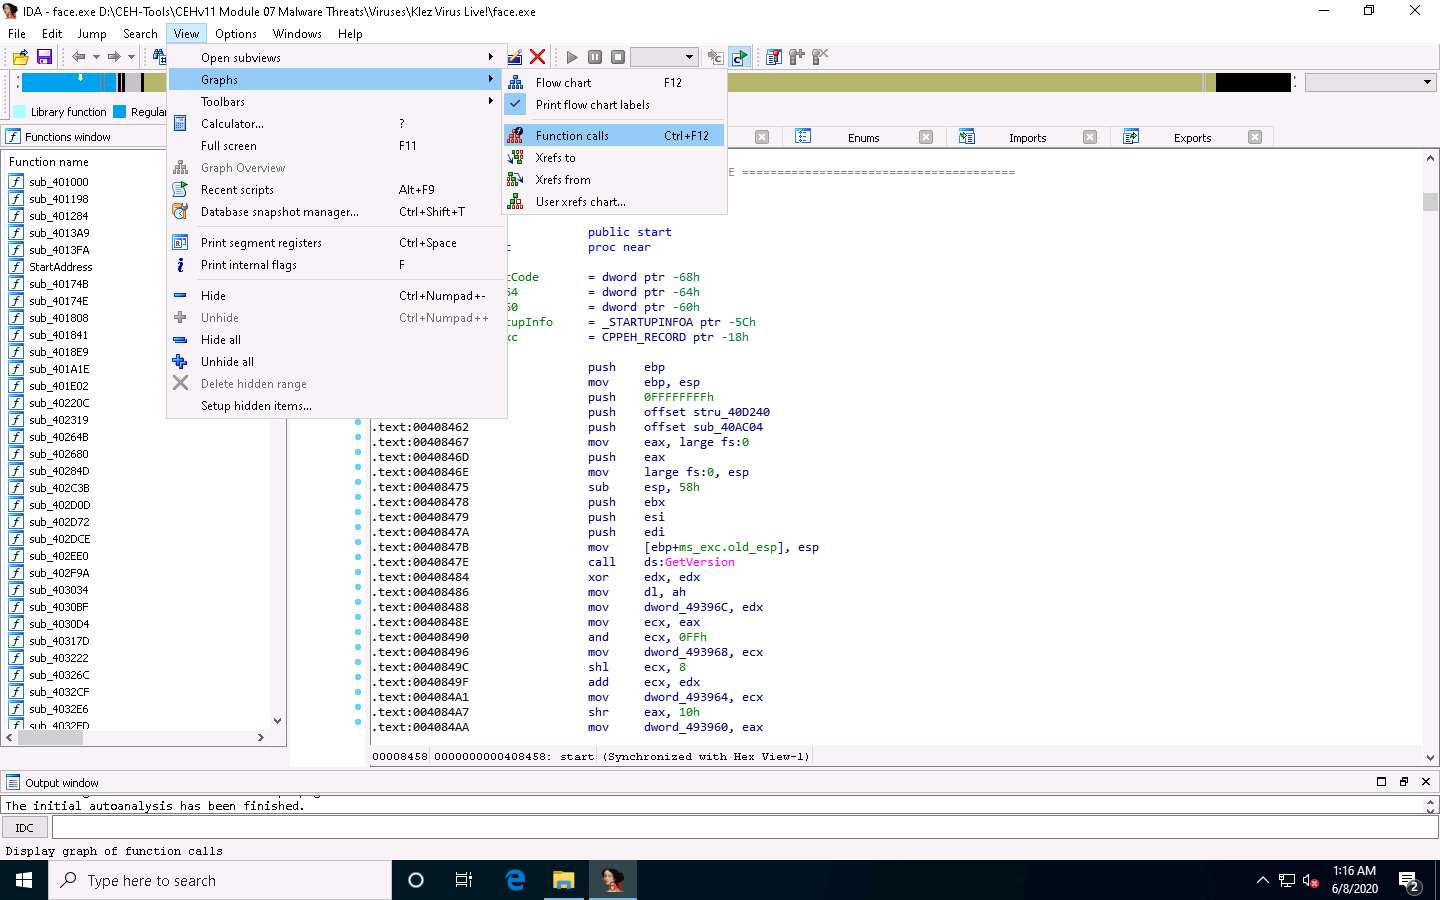
Close the Graph window, go to View --> Graphs, and click Function calls from the menu bar.
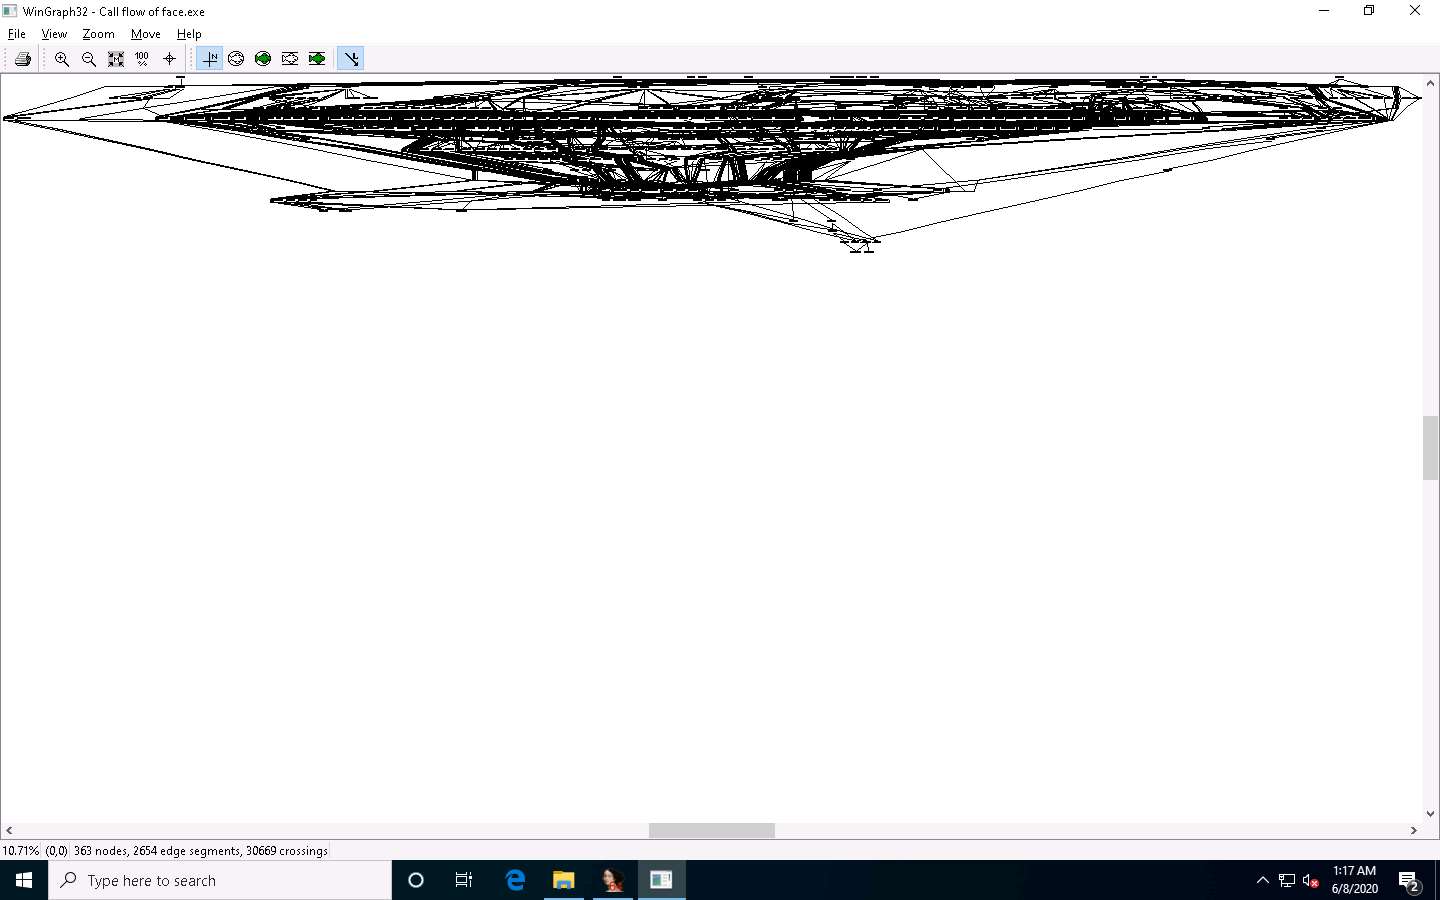
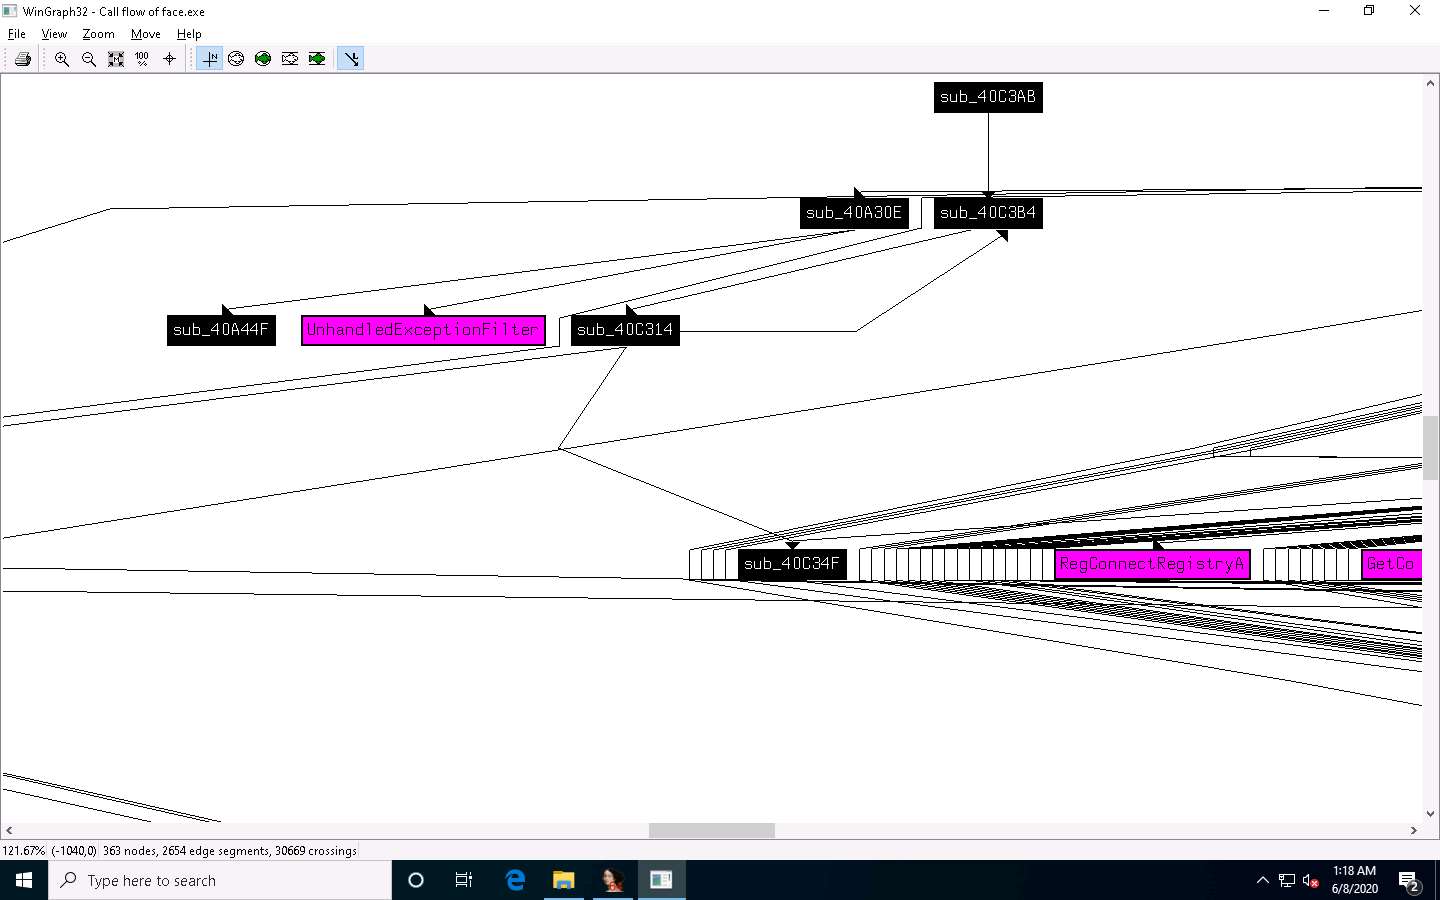
A window showing call flow appears; zoom in for a better view. Close the WinGraph32 Call flow window after completing the analysis.
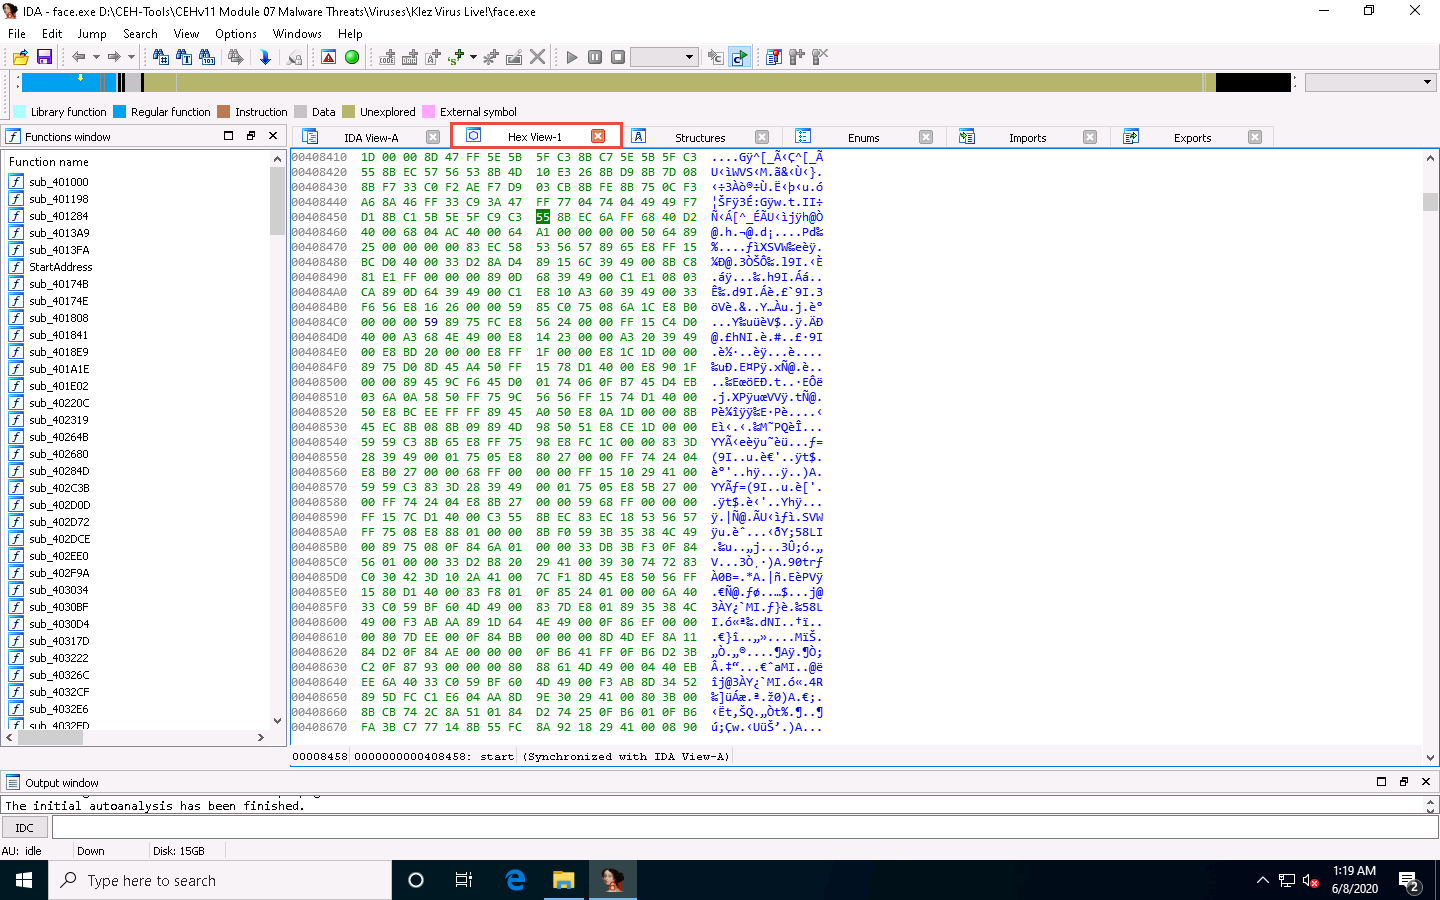
Click the HexView-1 tab to view the hex value of the malicious file.
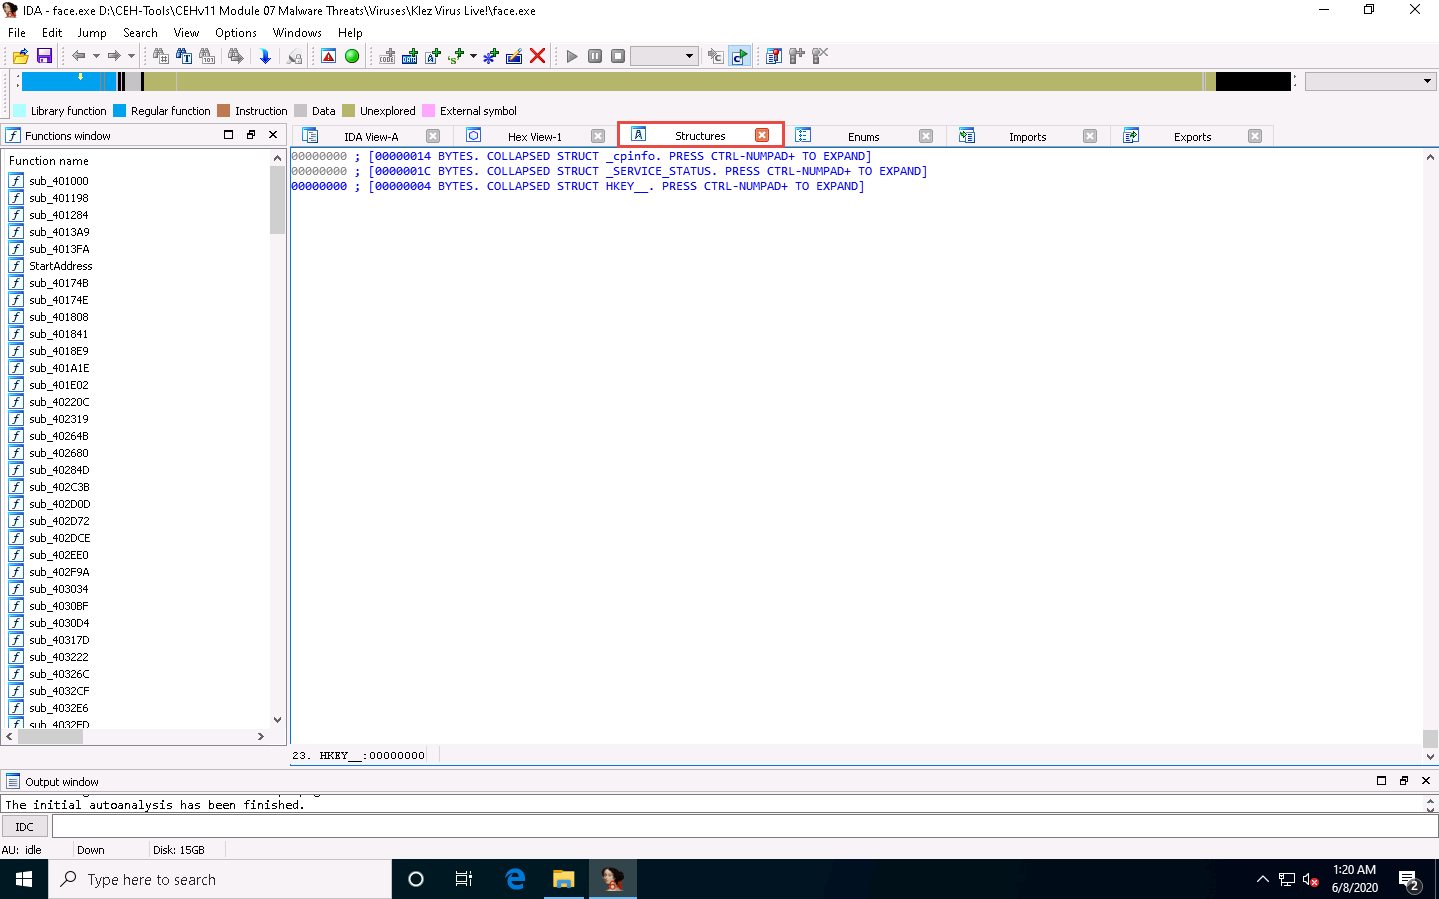
Click the Structures tab to view the structure of the file, as shown in the screenshot.
IDA displays all Structures (to expand the structures, click on Ctrl and +).
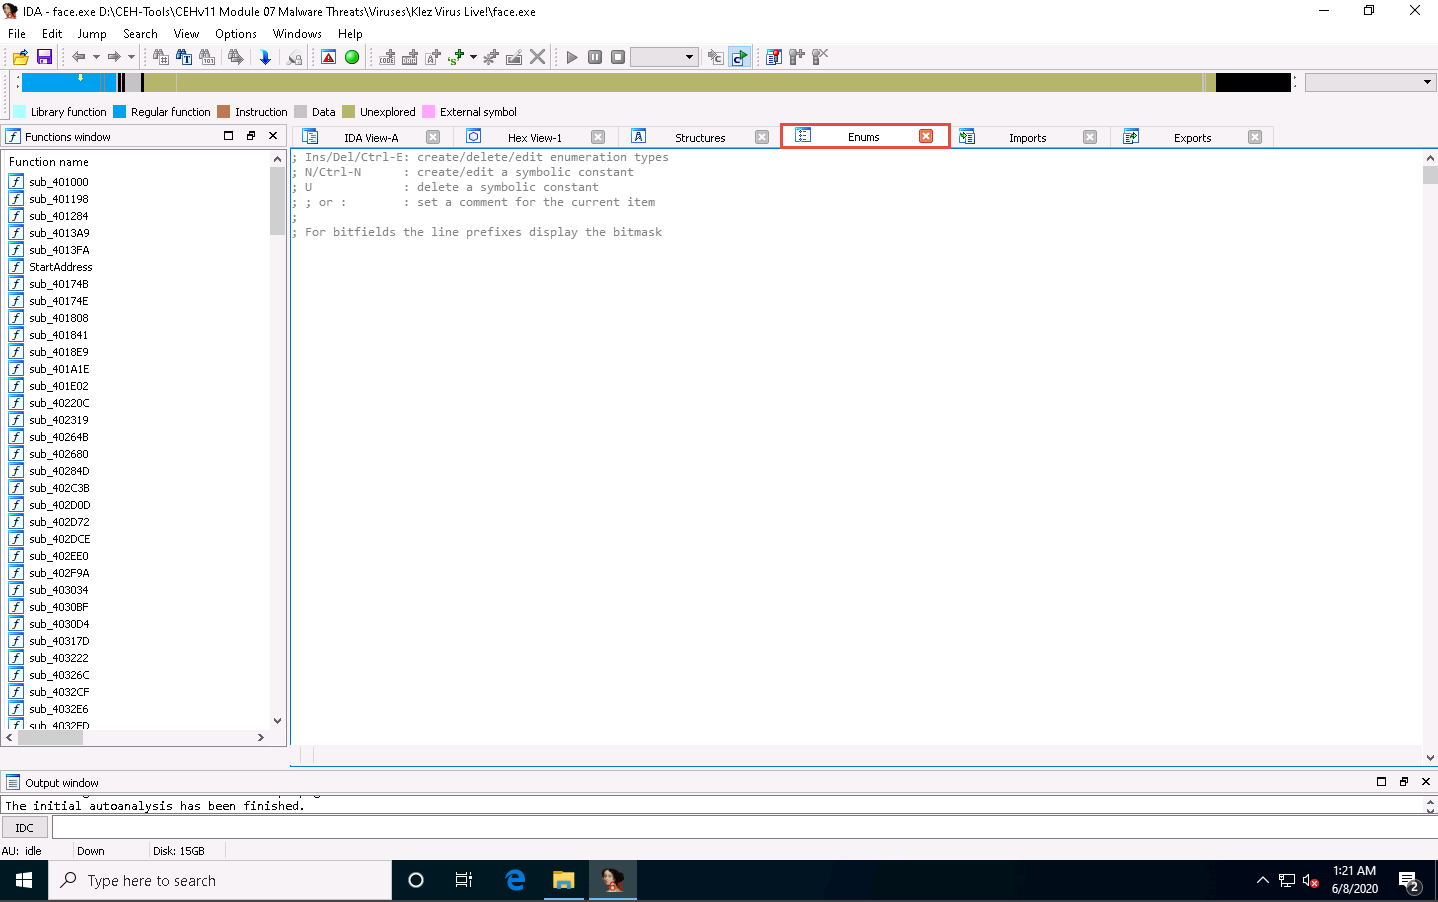
Click the Enums tab to view the Windows Enum results, as shown in the screenshot
Close all open windows.
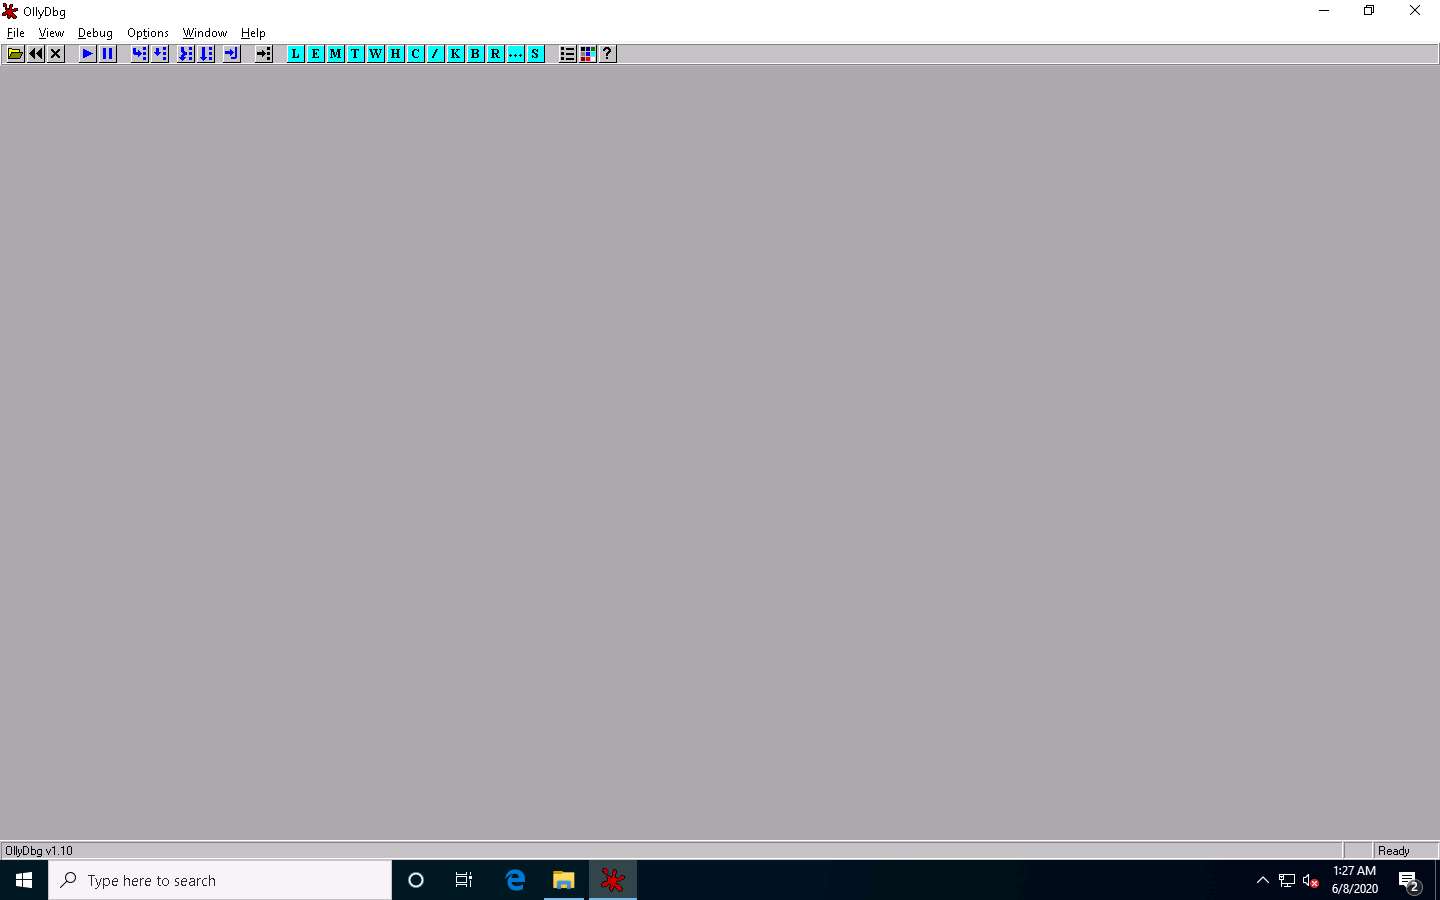
Navigate to D:\CEH-Tools\CEHv11 Module 07 Malware Threats\Malware Analysis Tools\Static Malware Analysis Tools\Disassembling and Debugging Tools\OllyDbg and double-click OLLYDBG.EXE.
If an Open File - Security Warning pop-up appears, click Run.

If a UDD Directory Absent dialog box appears, click OK.
If an OllyDbg warning message appears, for administrative rights, click OK.
The OllyDbg main window appears, as shown in the screenshot.
When you launch OllyDbg for the first time, several sub-windows might appear in the main window of OllyDbg; close them all.
Choose File from the menu bar, and then choose Open.
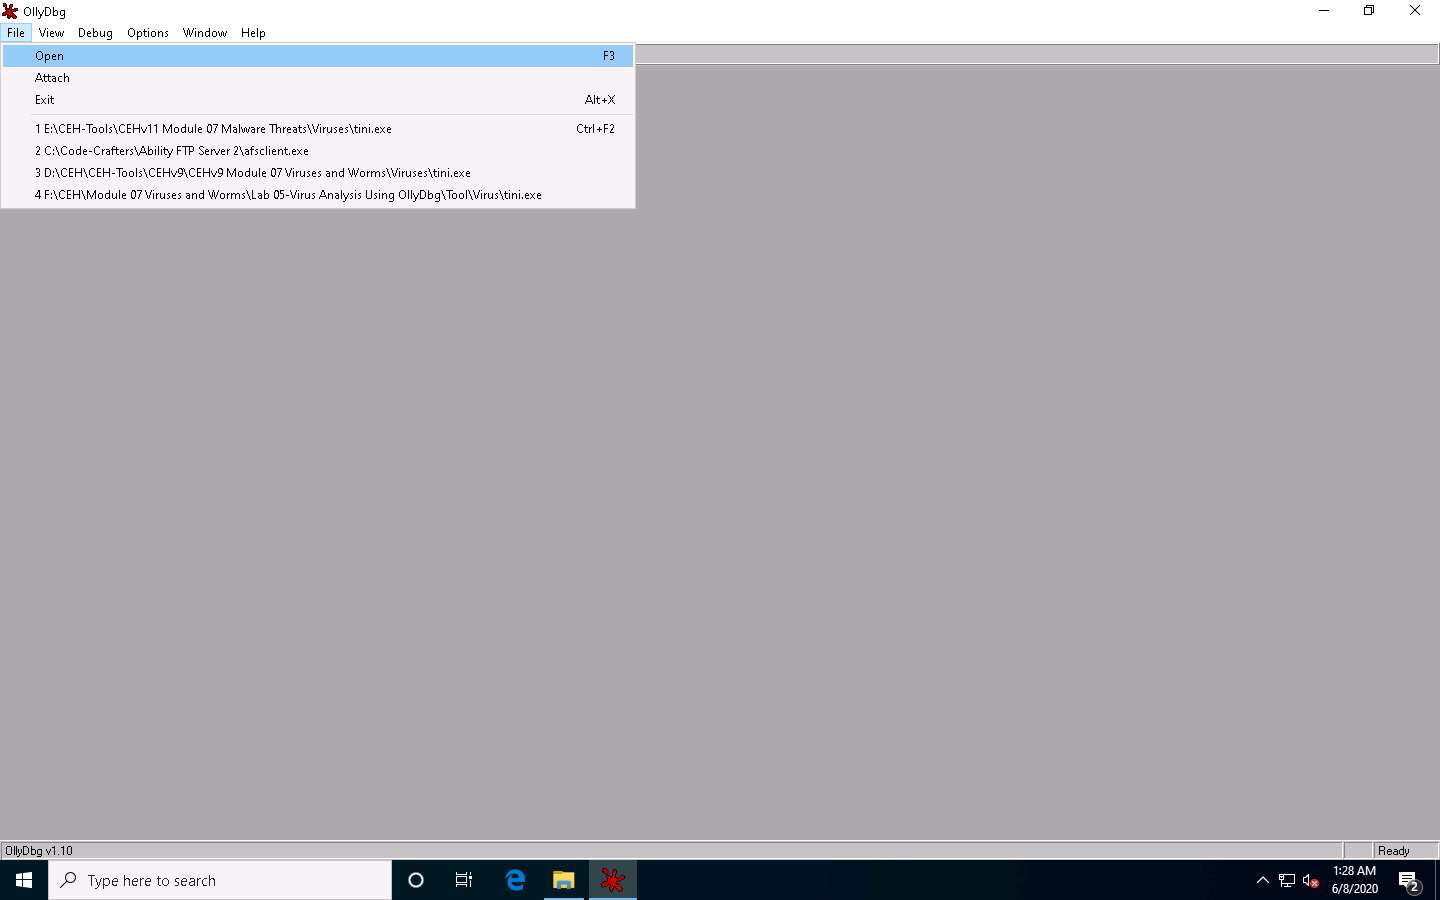
The Open 32-bit executable window appears; navigate to D:\CEH-Tools\CEHv11 Module 07 Malware Threats\Viruses, select tini.exe, and click Open.

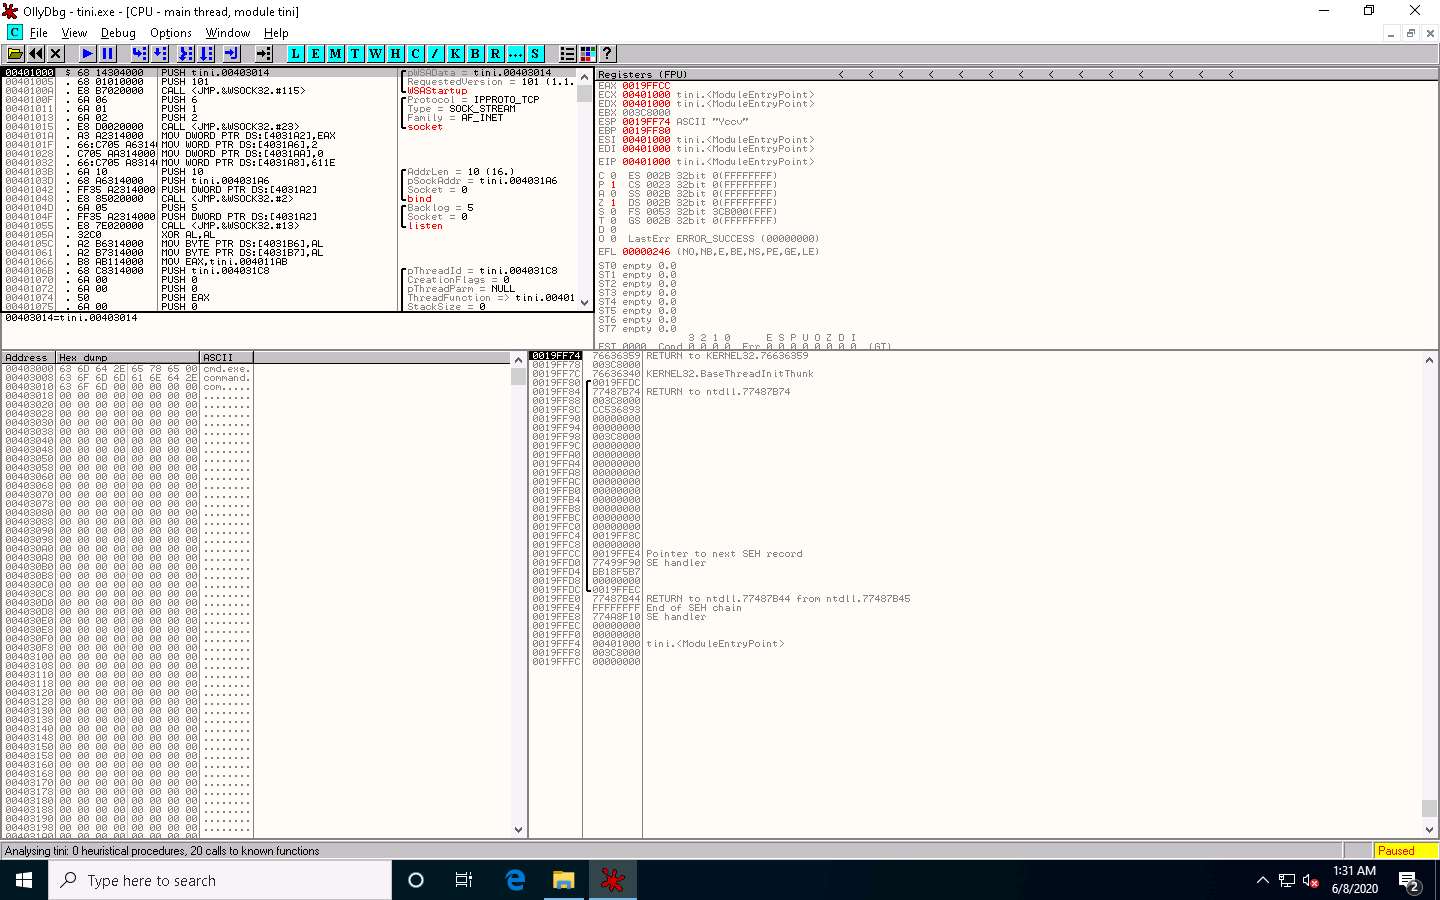
The output appears in a window named CPU - main thread, module ntdll, maximize the window.
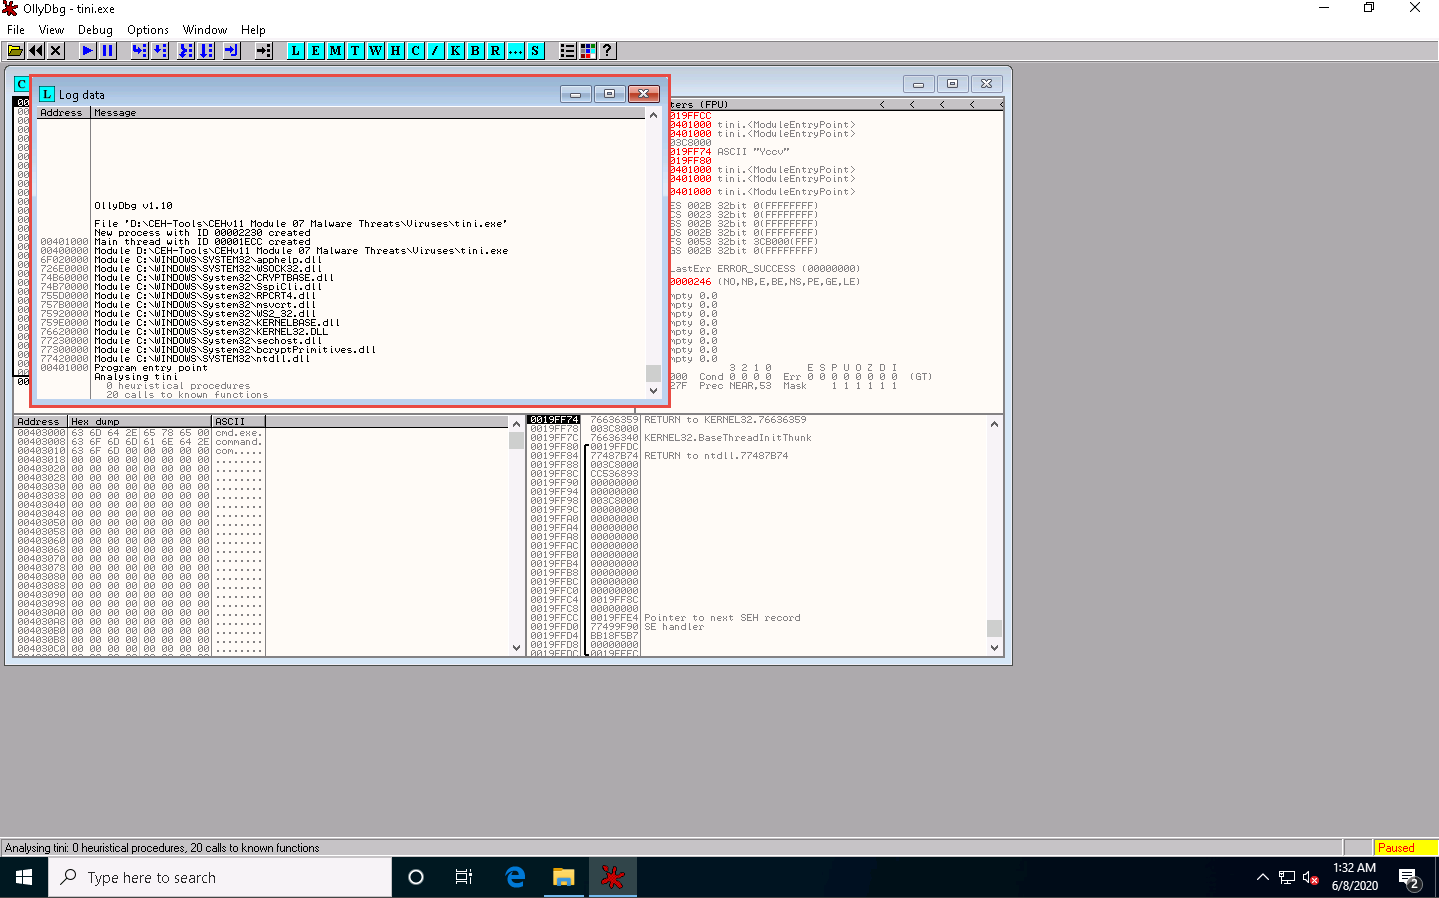
Choose View in the menu bar, and then choose Log.

A window named Log data appears in OllyDbg, displaying the log details, as shown in the screenshot.
The Log data also displays the program entry point and its calls to known functions. Close the Log data window after completing the analysis.
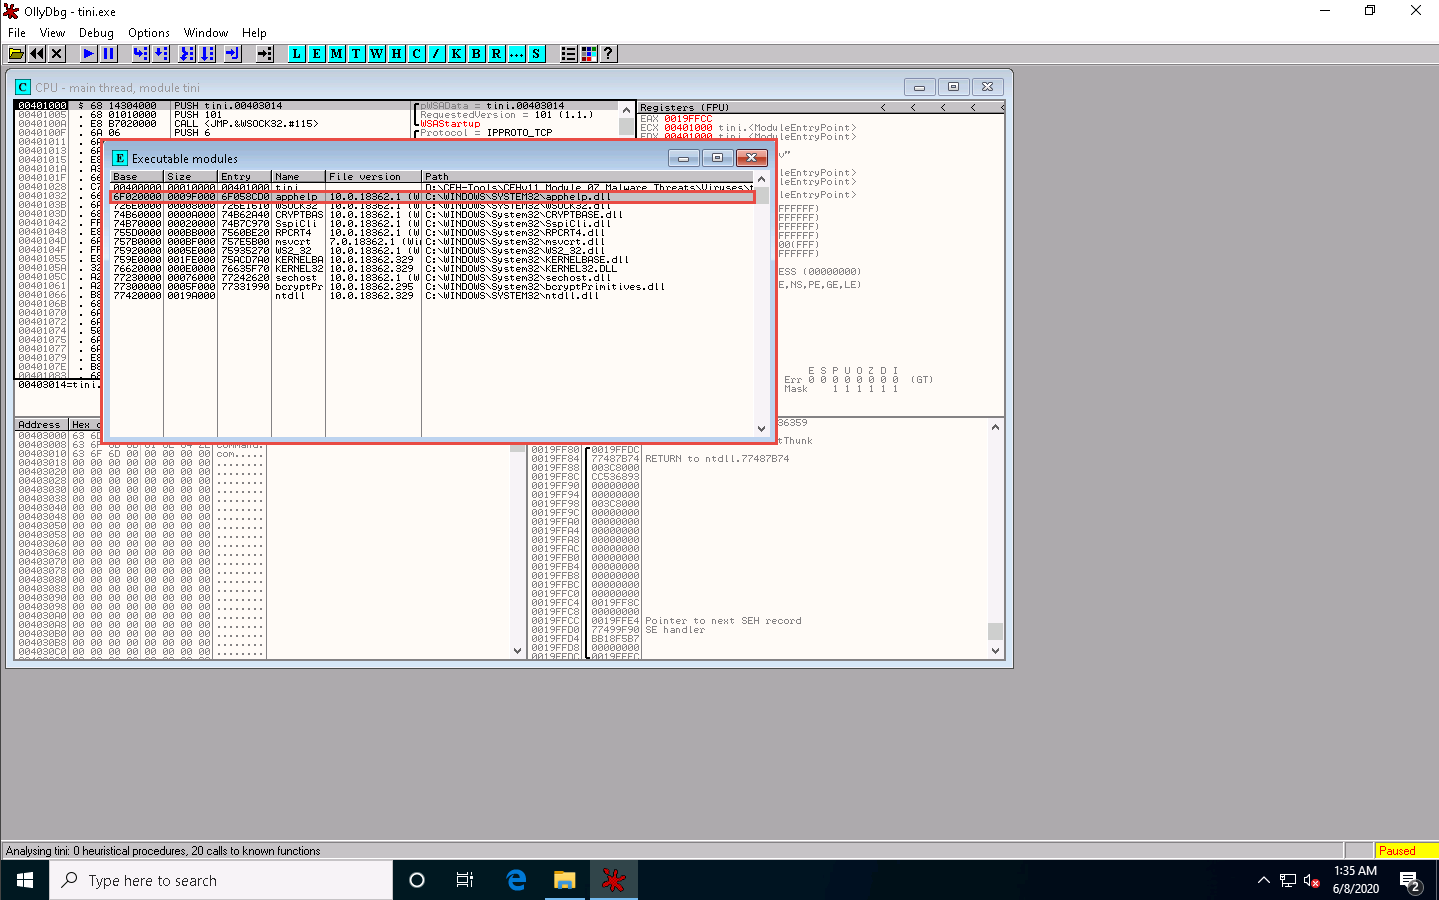
Choose View in the menu bar, and then choose Executable modules.
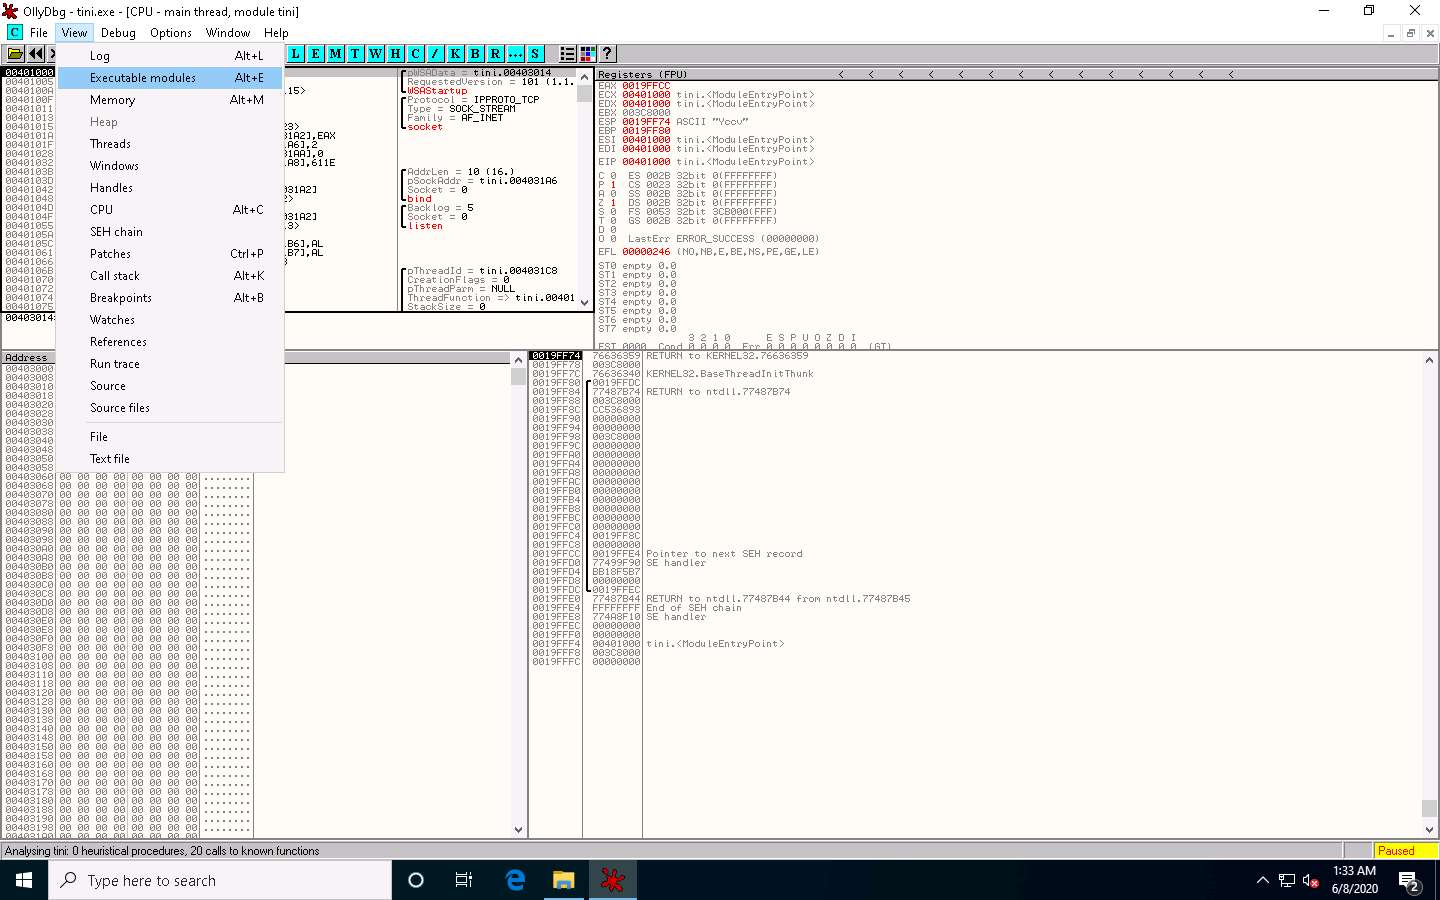
A window named Executable modules appears in OllyDbg, displaying all executable modules, as shown in the screenshot.
Double-click any module to view the complete information of the selected module.
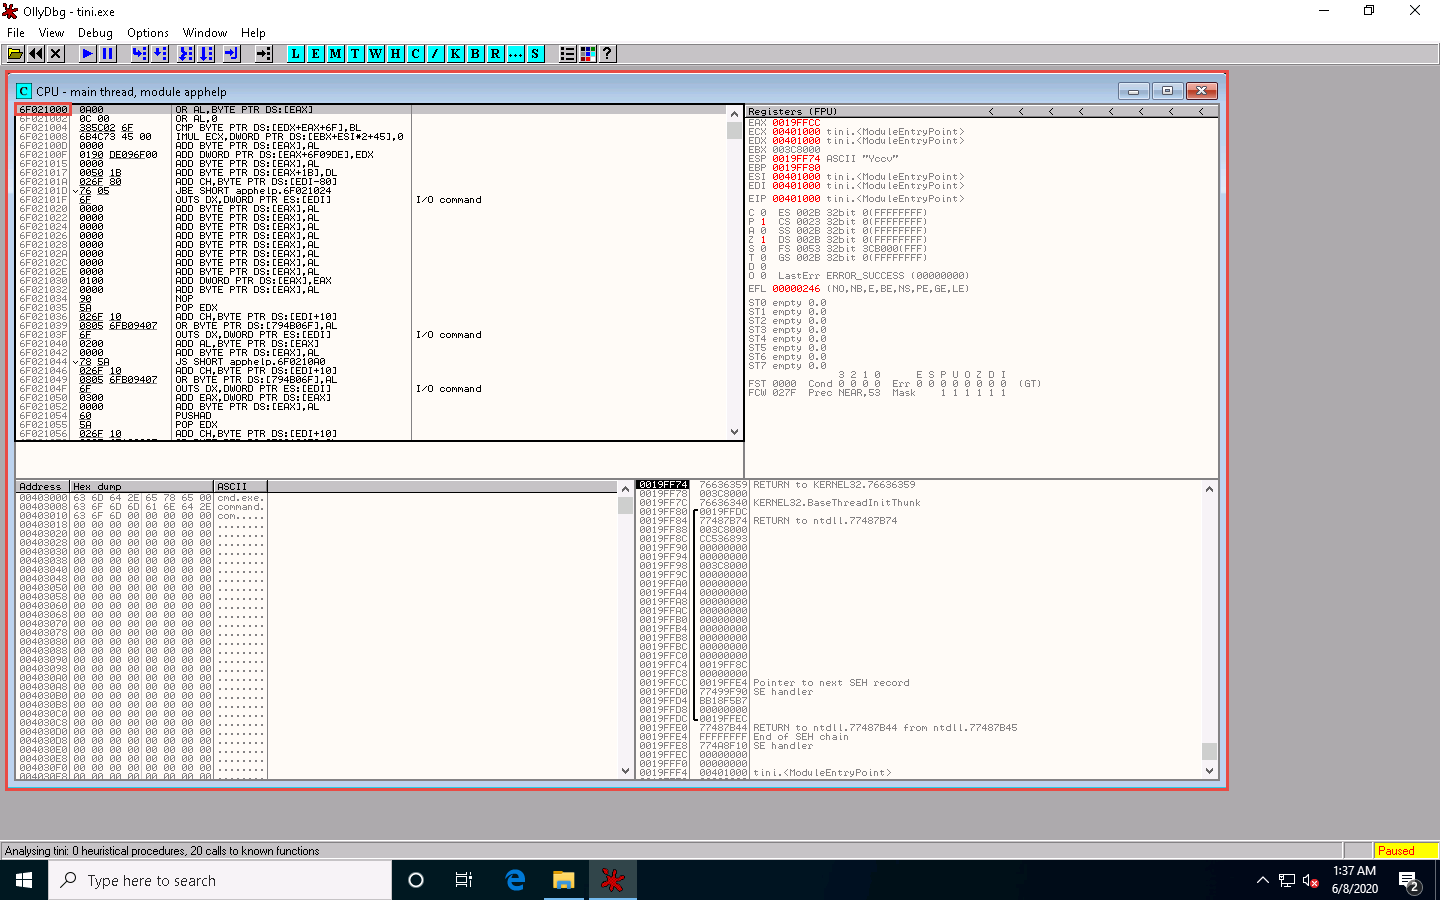
In this exercise, we are choosing the 6F020000 module.
This will redirect you to the CPU - main thread window, as shown in the screenshot.
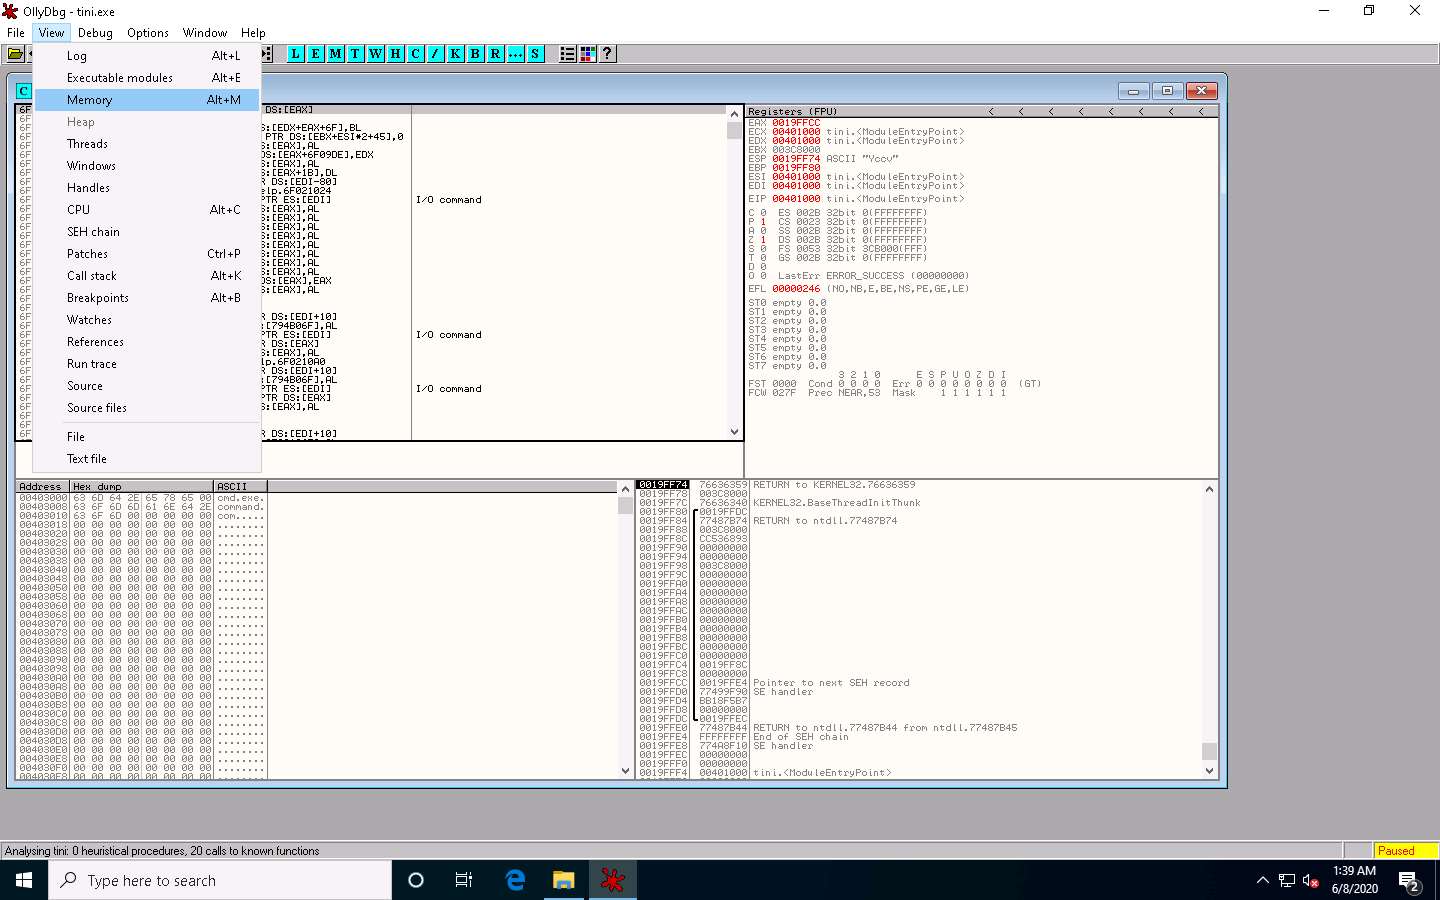
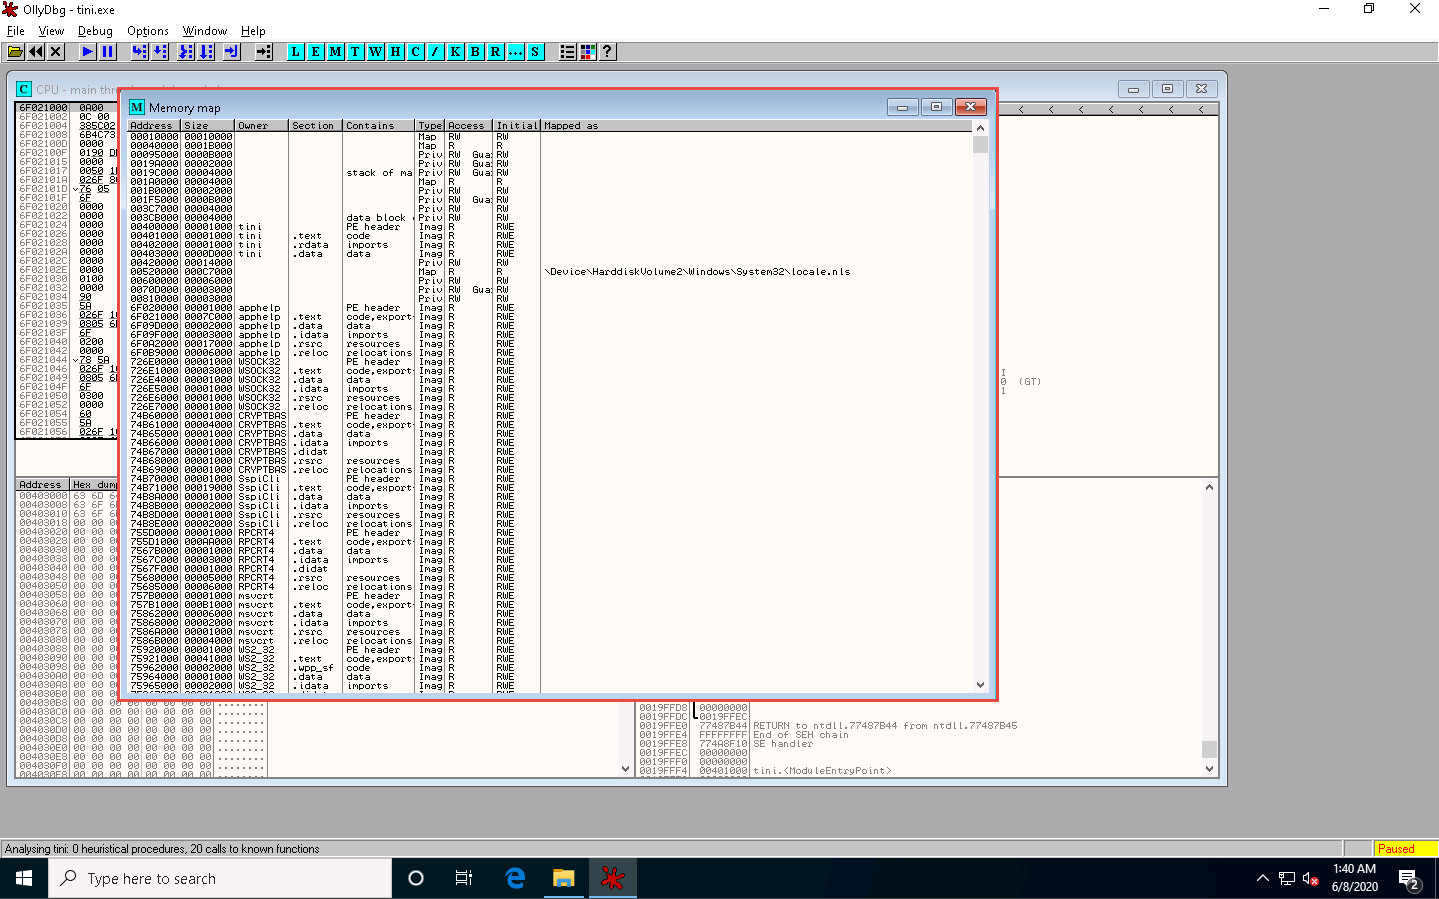
Choose View in the menu bar, and then choose Memory.
A window named Memory map appears in OllyDbg, displaying all memory mappings, as shown in the screenshot. Close the Memory map window.
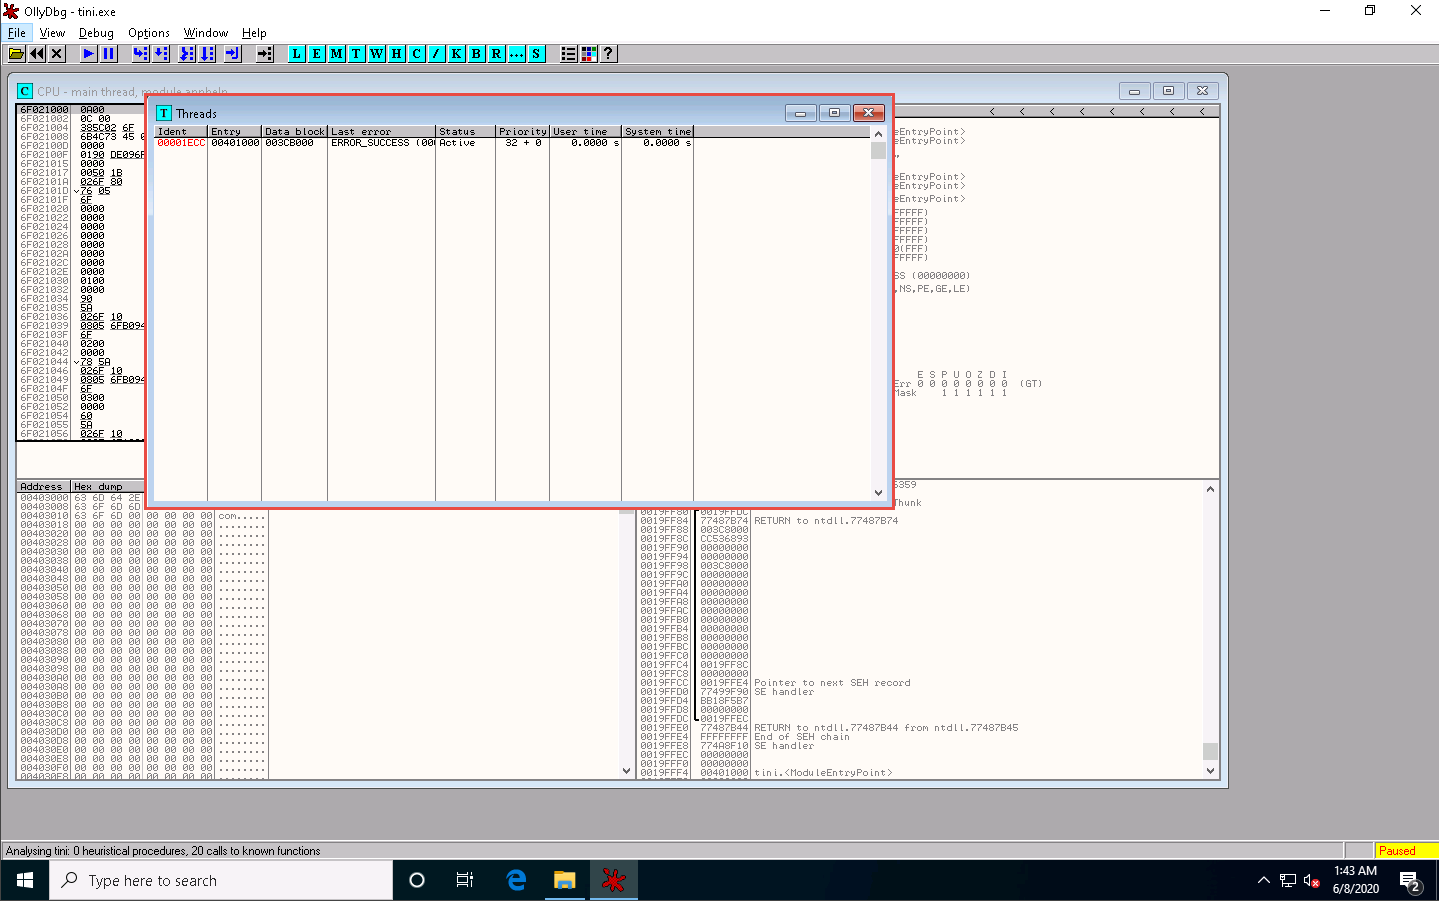
Choose View in the menu bar, and then choose Threads.

A window named Threads appears in OllyDbg, displaying all threads, as shown in the screenshot.
This way, you can scan files and analyze the output using OllyDbg.
Close all open windows.
You can also use other disassembling and debugging tools such as Ghirda (https://ghidra-sre.org), Radare2 (https://rada.re), WinDbg (http://www.windbg.org), and ProcDump (https://docs.microsoft.com) to perform malware disassembly.


Comments
Post a Comment