Lab 3: Perform OS Discovery
Lab 3: Perform OS Discovery
Module 03: Scanning Networks
Lab 3: Perform OS Discovery
Task 1: Identify the Target System’s OS with Time-to-Live (TTL) and TCP Window Sizes using Wireshark
open wireshark
select ethernet2
open cmd
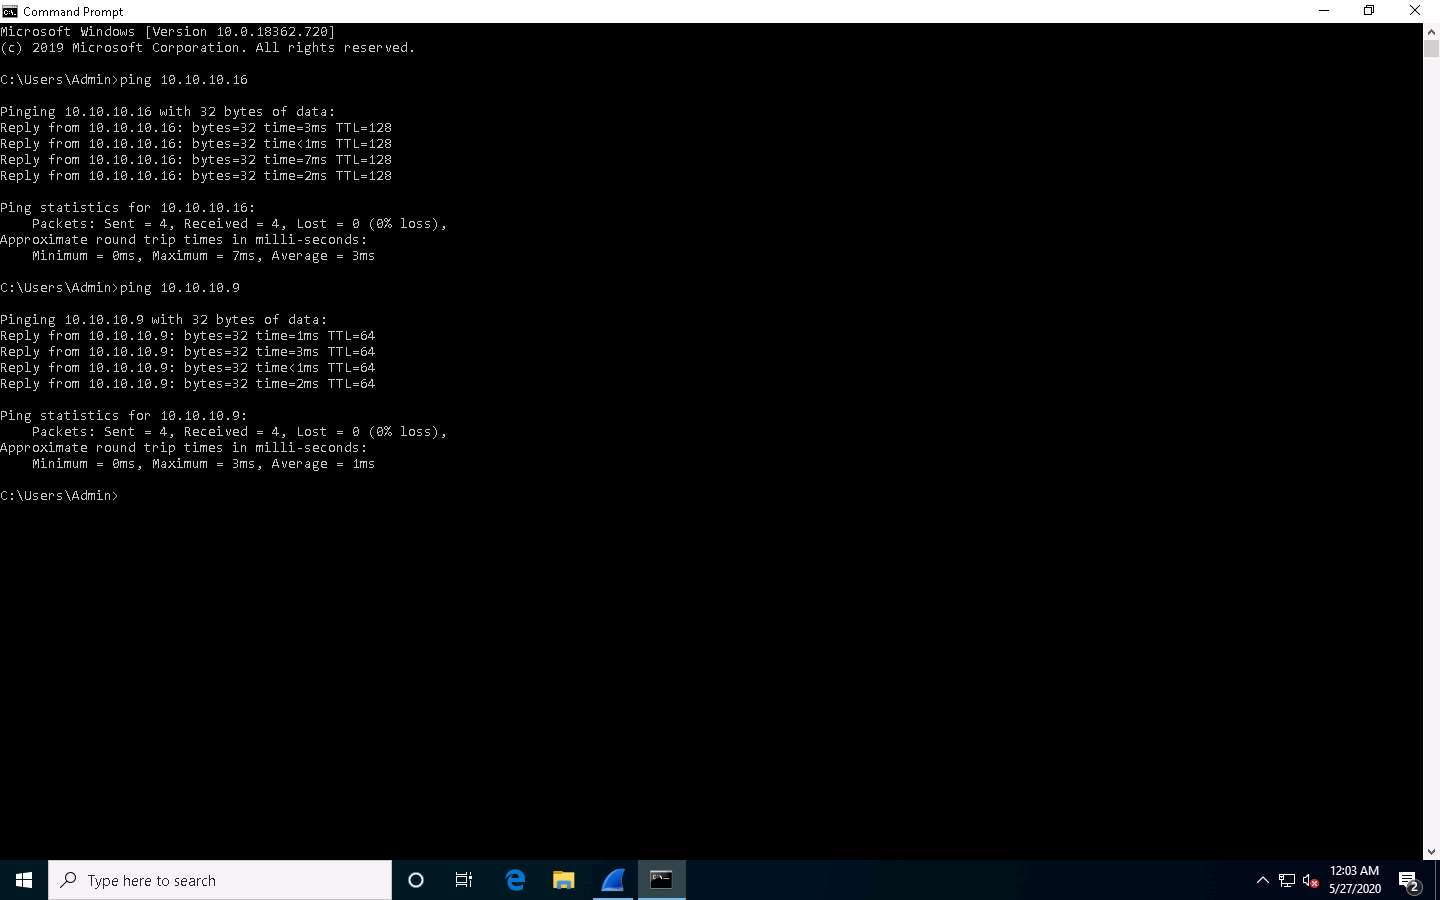
ping 10.10.10.16 in this case windwos server
stop scanning on wireshark
Choose any packet of the ICMP reply
should say in the info echo (ping) reply
The TTL value is recorded as 128, which means that the ICMP reply possibly came from a Windows-based machine.
Start capturing packets
go to cmd
ping 10.10.10.9
stop capturing packets
The TTL value is recorded as 64, which means the ICMP reply possibly came from a Linux-based machine.
end
Lab Scenario
As a professional ethical hacker or a pen tester, the next step after discovering the open ports and services running on the target range of IP addresses is to perform OS discovery. Identifying the OS used on the target system allows you to assess the system’s vulnerabilities and the exploits that might work on the system to perform additional attacks.
Lab Objectives
- Identify the target system’s OS with Time-to-Live (TTL) and TCP window sizes using Wireshark
- Perform OS discovery using Nmap Script Engine (NSE)
- Perform OS discovery using Unicornscan
Overview of OS Discovery/ Banner Grabbing
Banner grabbing, or OS fingerprinting, is a method used to determine the OS that is running on a remote target system.
There are two types of OS discovery or banner grabbing techniques:
Active Banner Grabbing Specially crafted packets are sent to the remote OS, and the responses are noted, which are then compared with a database to determine the OS. Responses from different OSes vary, because of differences in the TCP/IP stack implementation.
Passive Banner Grabbing This depends on the differential implementation of the stack and the various ways an OS responds to packets. Passive banner grabbing includes banner grabbing from error messages, sniffing the network traffic, and banner grabbing from page extensions.
Parameters such as TTL and TCP window size in the IP header of the first packet in a TCP session plays an important role in identifying the OS running on the target machine. The TTL field determines the maximum time a packet can remain in a network, and the TCP window size determines the length of the packet reported. These values differ for different OSes: you can refer to the following table to learn the TTL values and TCP window size associated with various OSes.
| Operating System (OS) | Time To Live | TCP Window Size | |
|---|---|---|---|
| Linux (Kernel 2.4 and 2.6) | 64 | 5840 | |
| Google Linux | 64 | 5720 | |
| FreeBSD | 64 | 65535 | |
| OpenBSD | 64 | 16384 | |
| Windows 95 | 32 | 8192 | |
| Windows 2000 | 128 | 16384 | |
| Windows XP | 128 | 65535 | |
| Windows 98, Vista and 7 (Server 2008) | 128 | 8192 | |
| iOS 12.4 (Cisco Routers) | 255 | 4128 | |
| Solaris 7 | 255 | 8760 | |
| AIX 4.3 | 64 | 16384 |
]
Wireshark is a network protocol analyzer that allows capturing and interactively browsing the traffic running on a computer network. It is used to identify the target OS through sniffing/capturing the response generated from the target machine to the request-originated machine. Further, you can observe the TTL and TCP window size fields in the captured TCP packet. Using these values, the target OS can be determined.
Here, we will use the Wireshark tool to perform OS discovery on the target host(s).
Click Windows 10 to switch to the Windows 10 machine.
In the Desktop, double-click Wireshark shortcut.

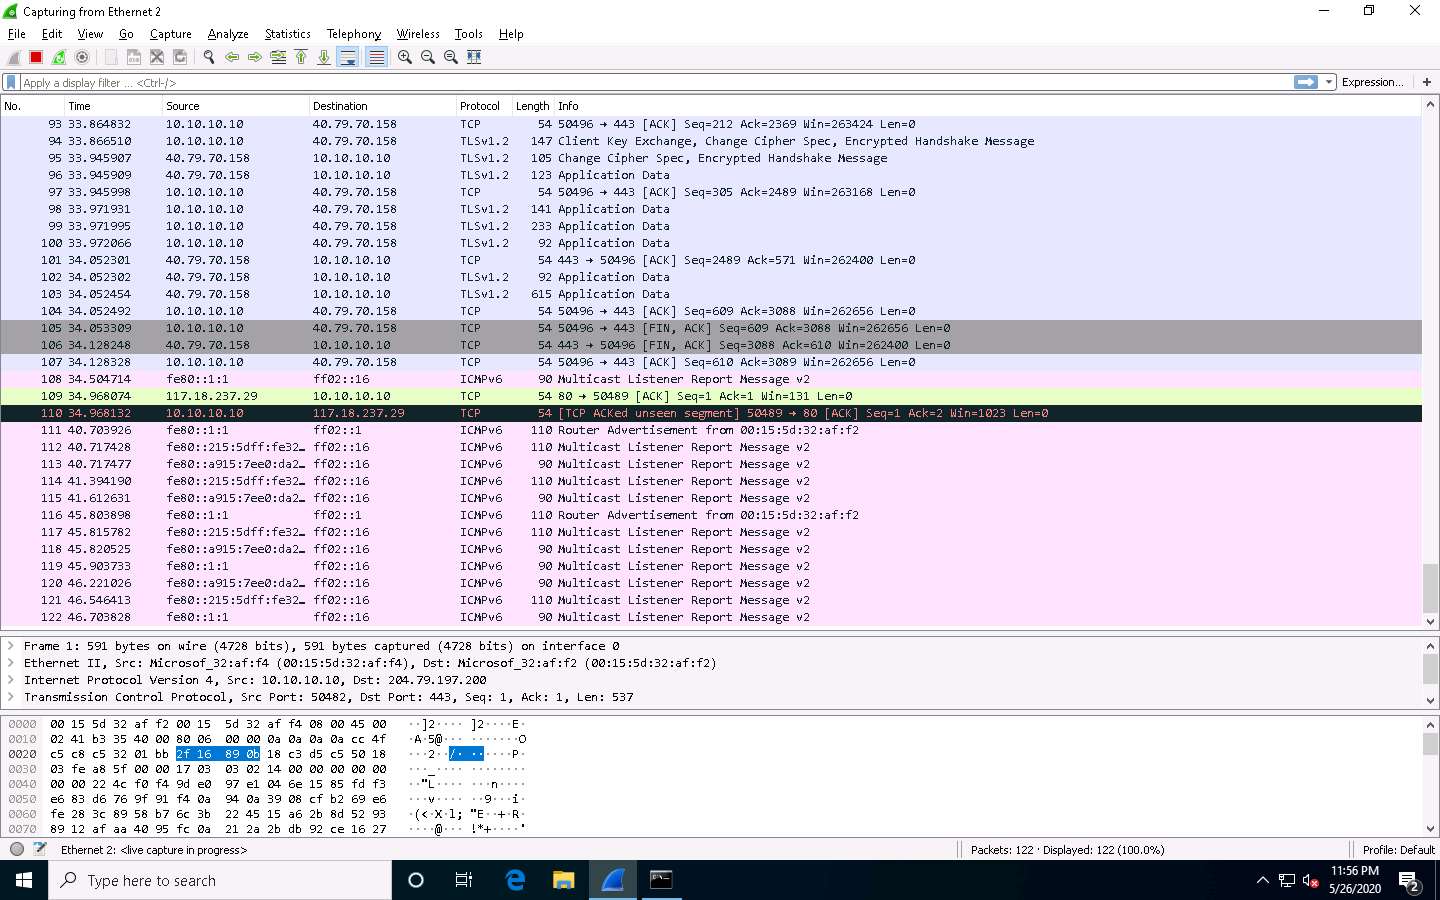
The Wireshark Network Analyzer main window appears; double-click the available ethernet or interface (here, Ethernet2) to start the packet capture, as shown in the screenshot.
If Software Update window appears, click Remind me later.

Open the Command Prompt, type ping 10.10.10.16 and press Enter.
10.10.10.16 is the IP address of the Windows Server 2016 machine.

Observe the packets captured by Wireshark.
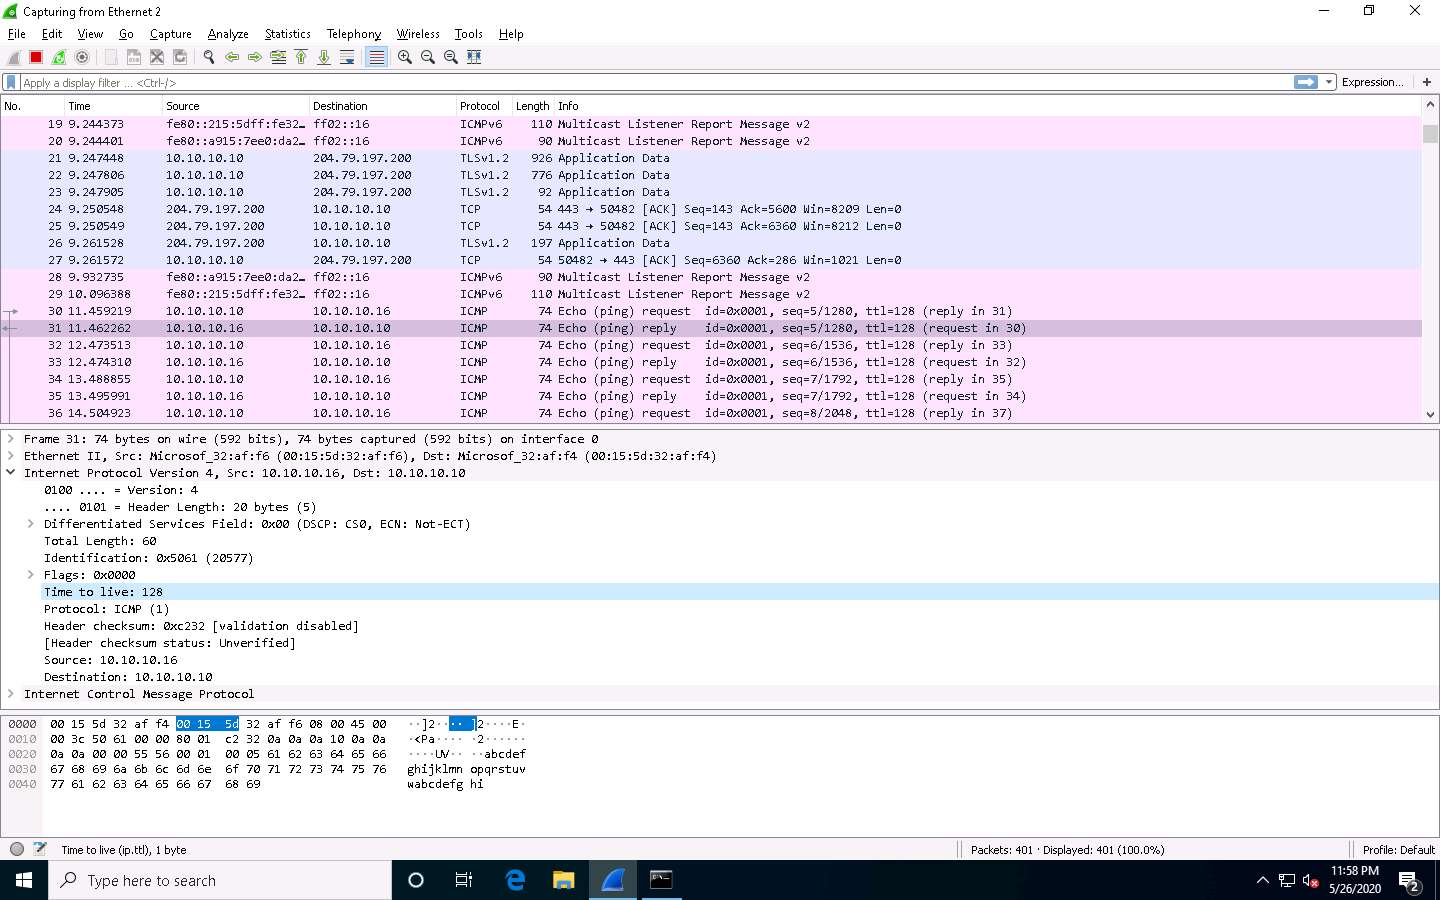
Choose any packet of the ICMP reply from the Windows Server 2016 (10.10.10.16) to Windows 10 (10.10.10.10) machines and expand the Internet Protocol Version 4 node in the Packet Details pane.
The TTL value is recorded as 128, which means that the ICMP reply possibly came from a Windows-based machine.
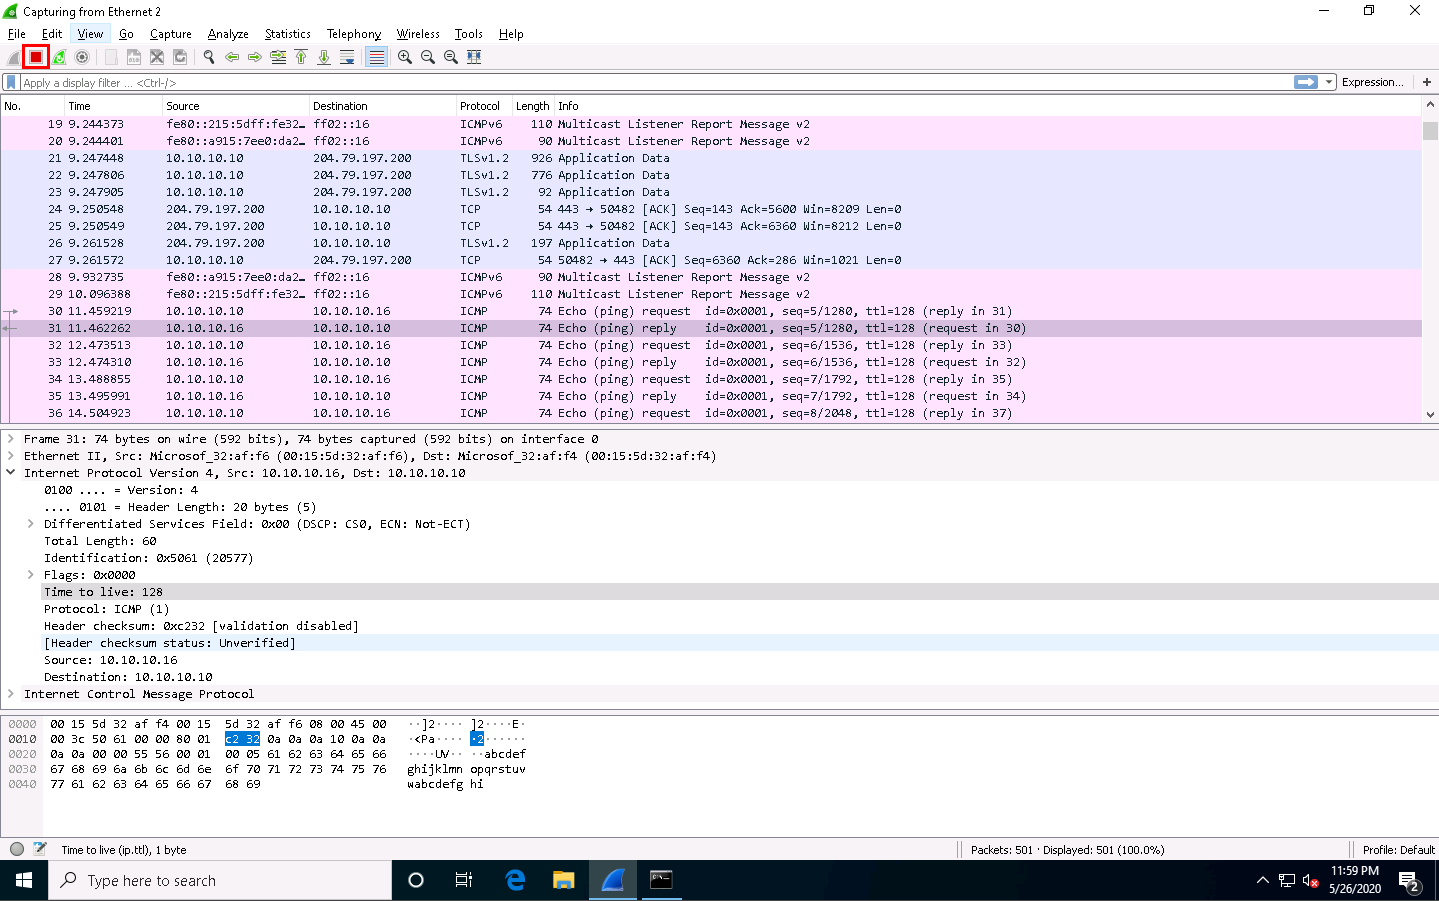
Now, stop the capture in the Wireshark window by clicking on the Stop button from the toolbar.
Now, click the Start capturing packets button from the toolbar. If an Unsaved packets… pop-up appears, click Continue without Saving.
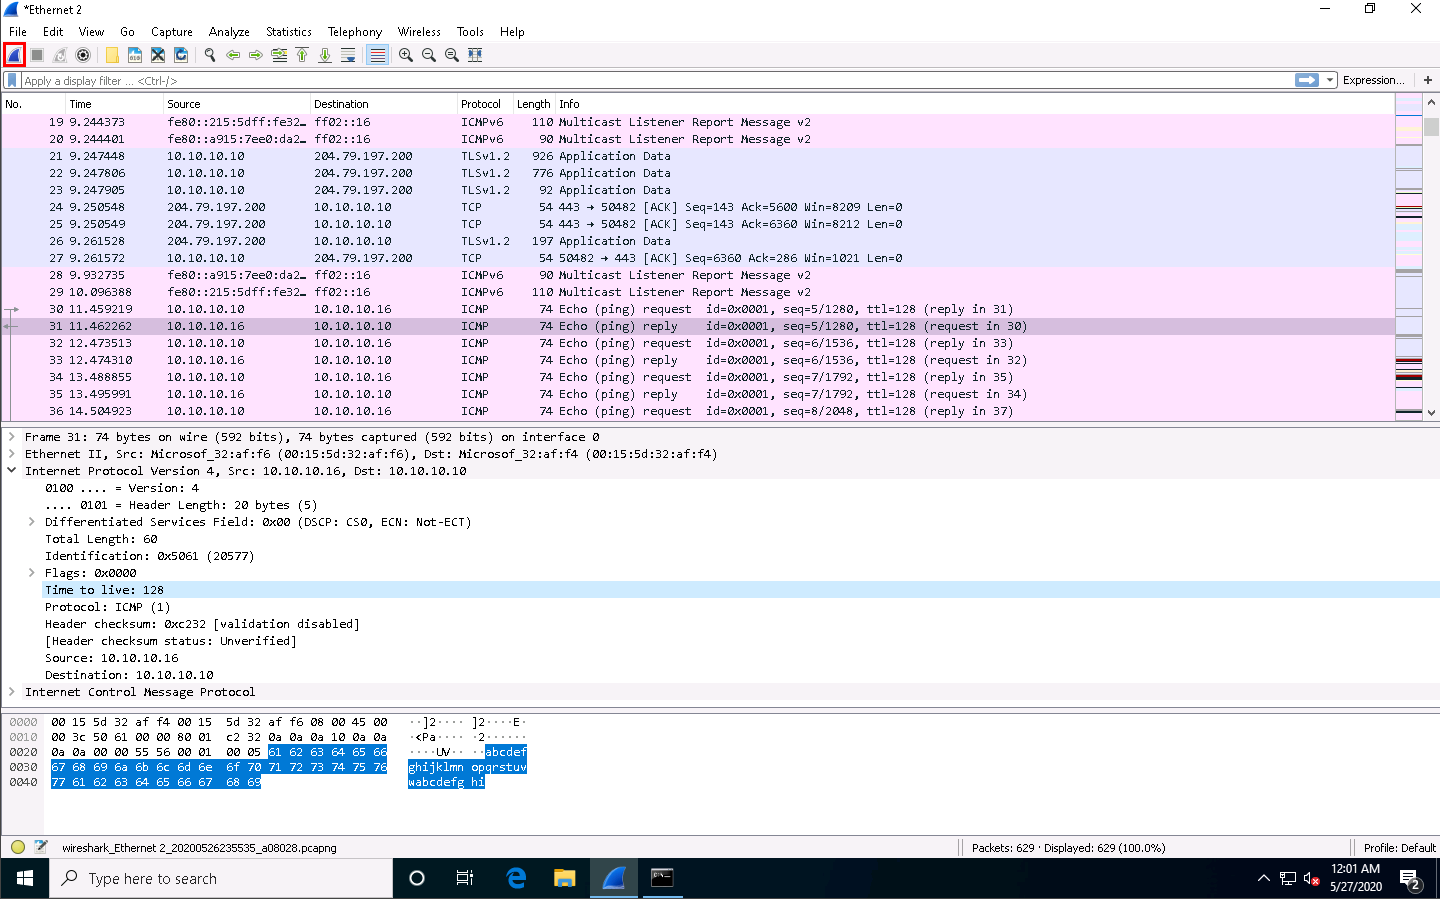
Wireshark will start capturing the new packets.
In the Command Prompt window, type ping 10.10.10.9 and press Enter.
10.10.10.9 is the IP address of the Ubuntu machine.
Observe the packets captured by Wireshark.
Choose any packet of ICMP reply from the Ubuntu (10.10.10.9) to Windows 10 (10.10.10.10) machine and expand the Internet Protocol Version 4 node in the Packet Details pane.
The TTL value is recorded as 64, which means the ICMP reply possibly came from a Linux-based machine.
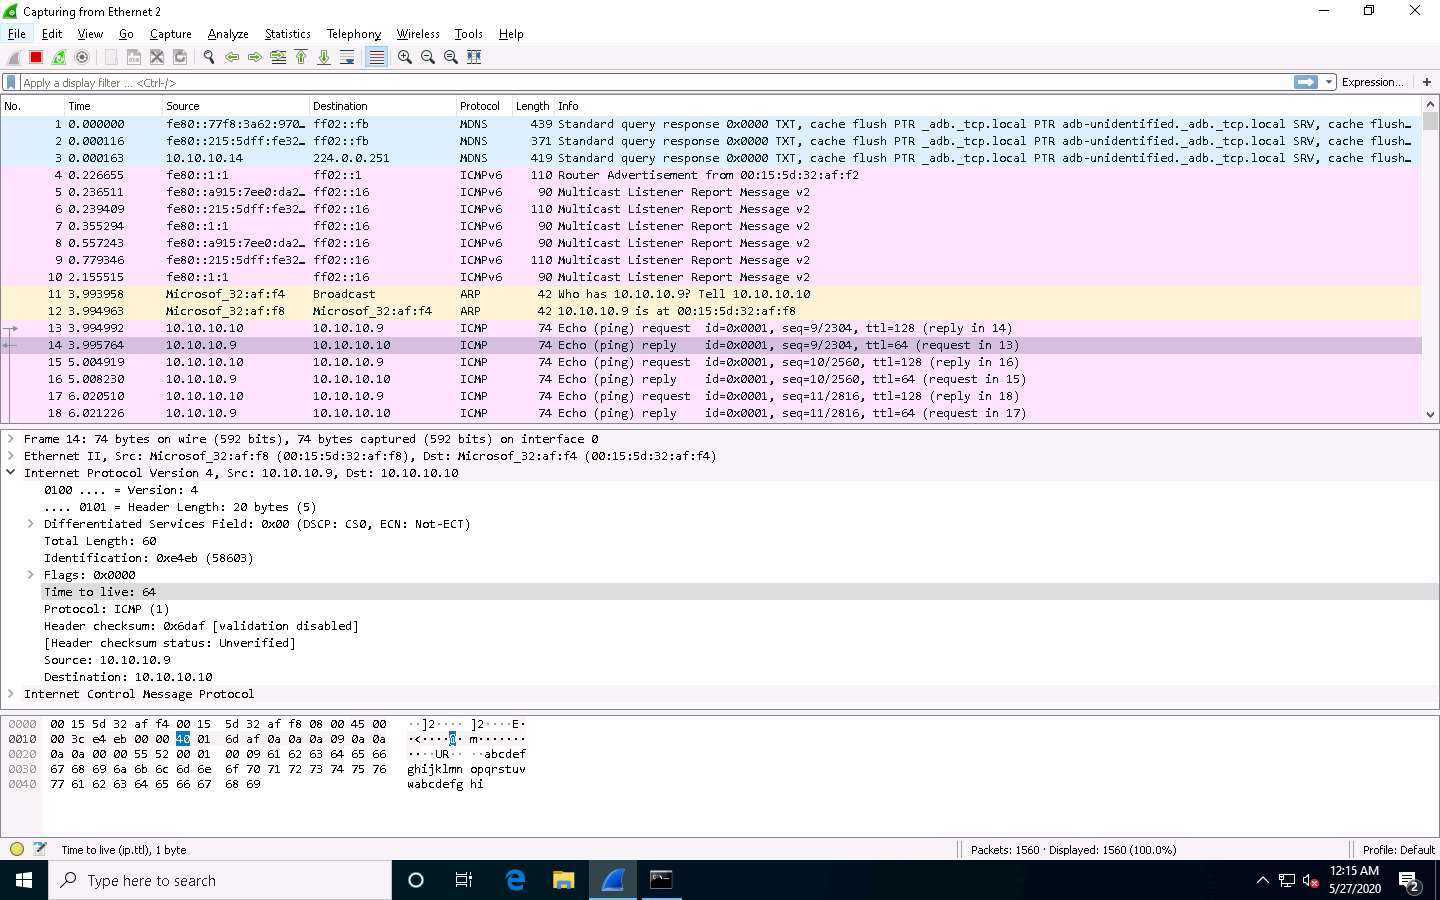
Stop the capture in the Wireshark window by clicking on the Stop button.
This concludes the demonstration of identifying the OS of the target system using Wireshark.
Close all open windows and document all the acquired information.


Comments
Post a Comment