Lab 3: Perform Email Encryption
Lab 3: Perform Email Encryption
Module 20: Cryptography
Lab 3: Perform Email Encryption
Task 1: Perform Email Encryption using RMail
RMail is an email security tool that provides open tracking, proof of delivery, email encryption, electronic signatures, large
file transfer functionality, etc. RMail works seamlessly with users’ existing email platforms, including Microsoft Outlook and Gmail,
amongst others. Using this tool, you can encrypt sensitive emails and attachments for security or legal compliance.
Here, we will use the RMail tool to perform email encryption.
refer to blog
Lab Scenario
Currently, the majority of businesses use email as their primary source of communication, as it is simple and easy to communicate or share information. Emails can contain sensitive information about an organization such as projects, upcoming news, and financial data, which, when accessed by the wrong person, can cause huge losses to the organization. One can protect emails containing sensitive information by encrypting them.
As a professional ethical hacker and penetration tester, you must have proper knowledge of encrypting email messages so that sensitive information sent through emails remain intact. This lab will demonstrate how to encrypt email messages using various email encryption tools.
Lab Objectives
- Perform email encryption using RMail
Overview of Email Encryption
Email encryption hides the email content from eavesdroppers by encrypting it into an unreadable form. Emails can be encrypted and decrypted by means of a digital signature mechanism that uses public and private keys: the public key is shared, while the private key is kept private.
There are numerous methods that can be employed for email encryption, including:
- Digital Signature: Uses asymmetric cryptography to simulate the security properties of a signature in digital, rather than written form
- Secure Sockets Layer (SSL): Uses RSA asymmetric (public key) encryption to encrypt data transferred over SSL connections
- Transport Layer Security (TLS): Uses a symmetric key for bulk encryption, an asymmetric key for authentication and key exchange, and message authentication codes for message integrity
- Pretty Good Privacy (PGP): Used to encrypt and decrypt data that provides authentication and cryptographic privacy
- GNU Privacy Guard (GPG): Software replacement of PGP and free implementation of the OpenPGP standard that is used to encrypt and decrypt data
Task 1: Perform Email Encryption using RMail
RMail is an email security tool that provides open tracking, proof of delivery, email encryption, electronic signatures, large file transfer functionality, etc. RMail works seamlessly with users’ existing email platforms, including Microsoft Outlook and Gmail, amongst others. Using this tool, you can encrypt sensitive emails and attachments for security or legal compliance.
Here, we will use the RMail tool to perform email encryption.
Click Windows 10 to switch to the Windows 10 machine.
Launch any web browser (here, Google Chrome), Place the cursor in the address bar and click https://www.rmail.com/free-trial/, and press Enter.
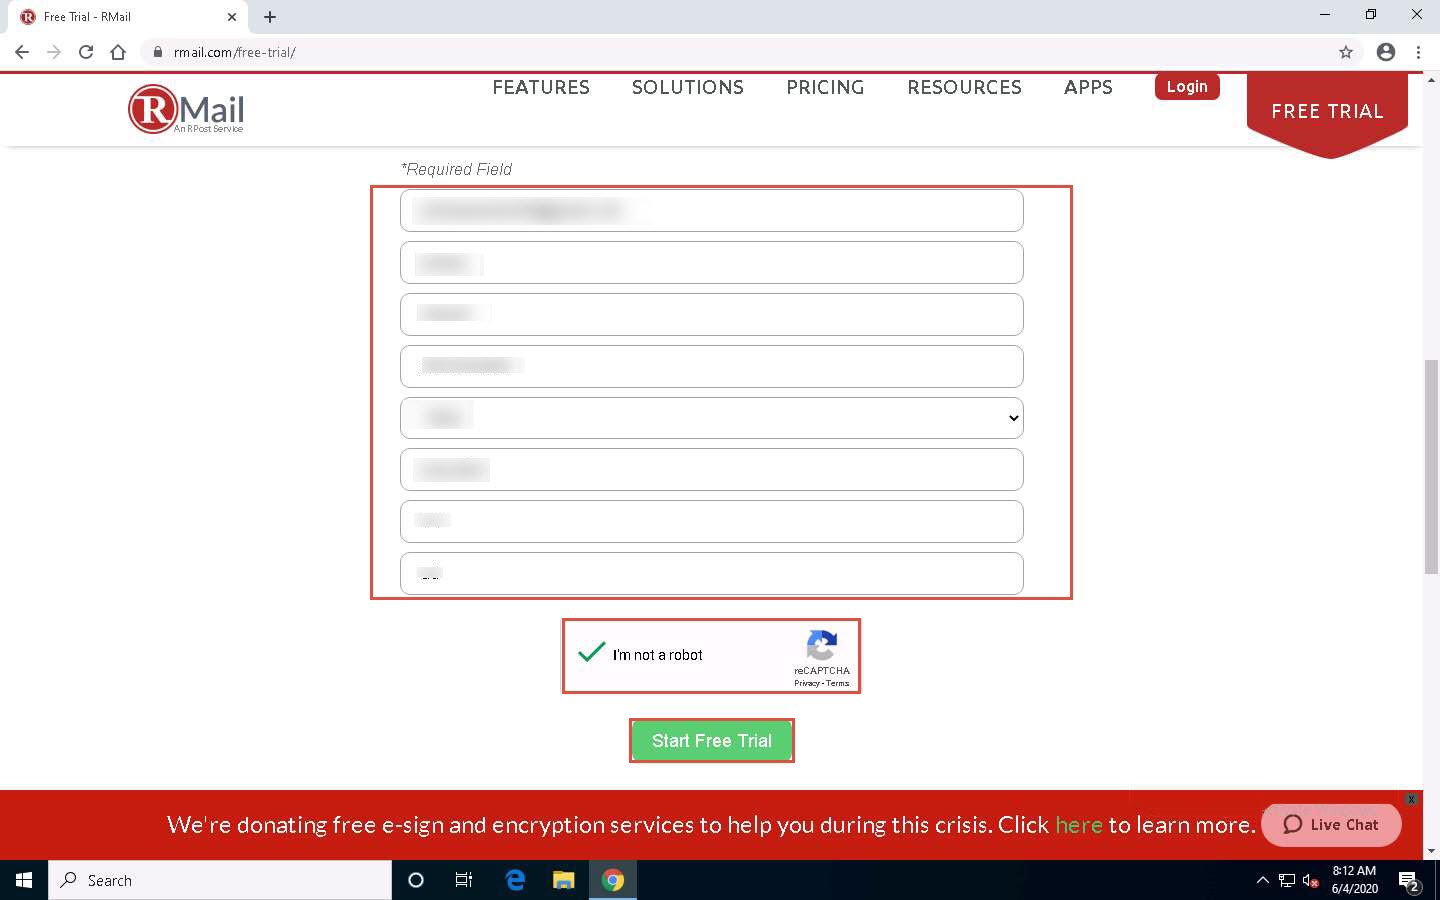
The RMail FREE TRIAL webpage appears, as well as the registration form. Fill in the required personal details.
Check the I’m not a robot checkbox and click Start Free Trial
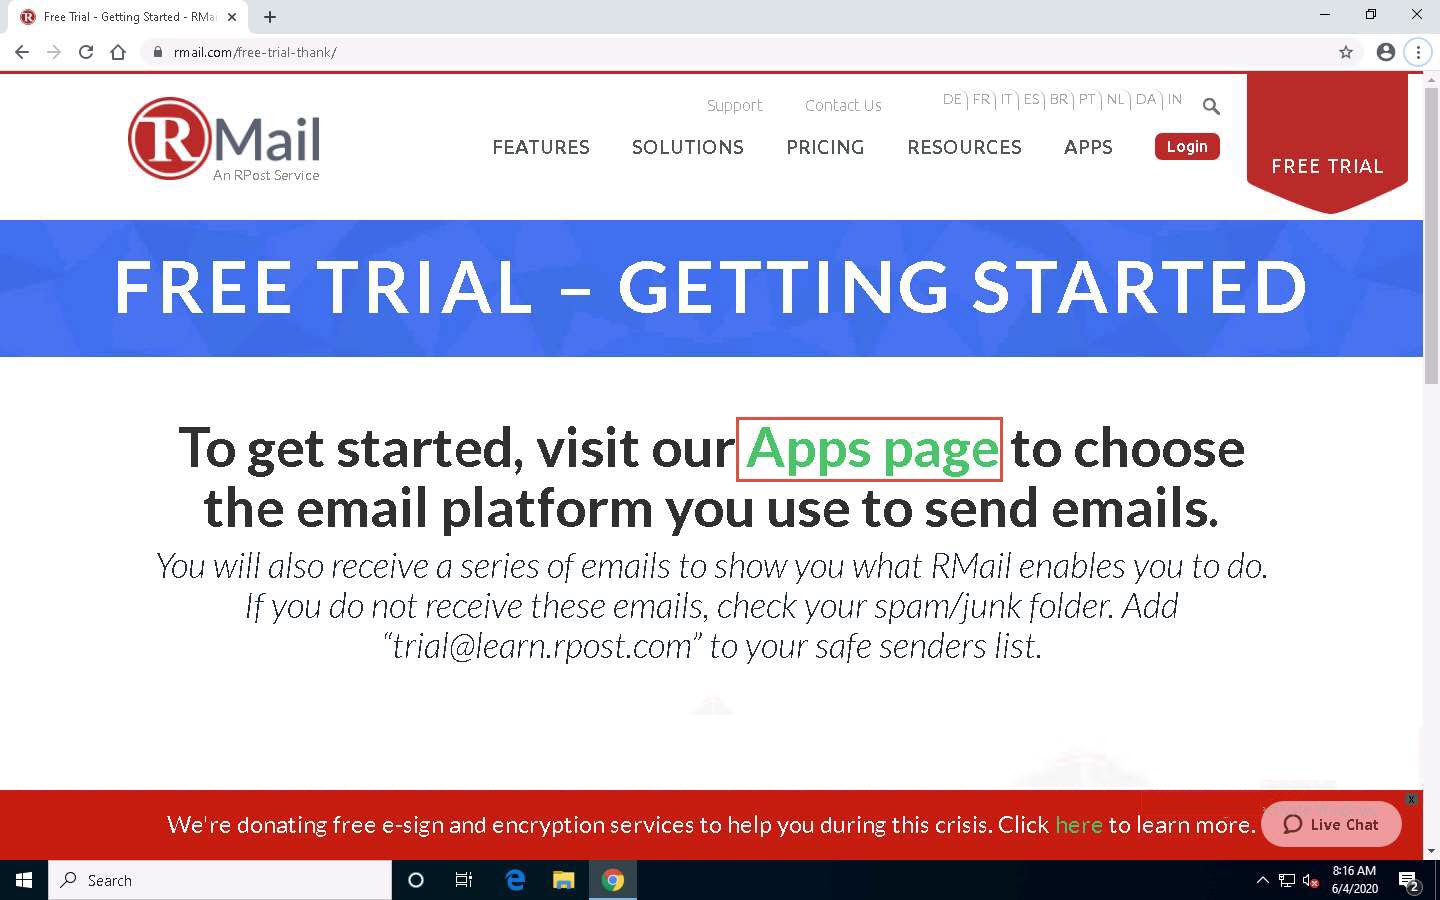
The FREE TRIAL - GETTING STARTED page appears; click Apps page hyperlink.
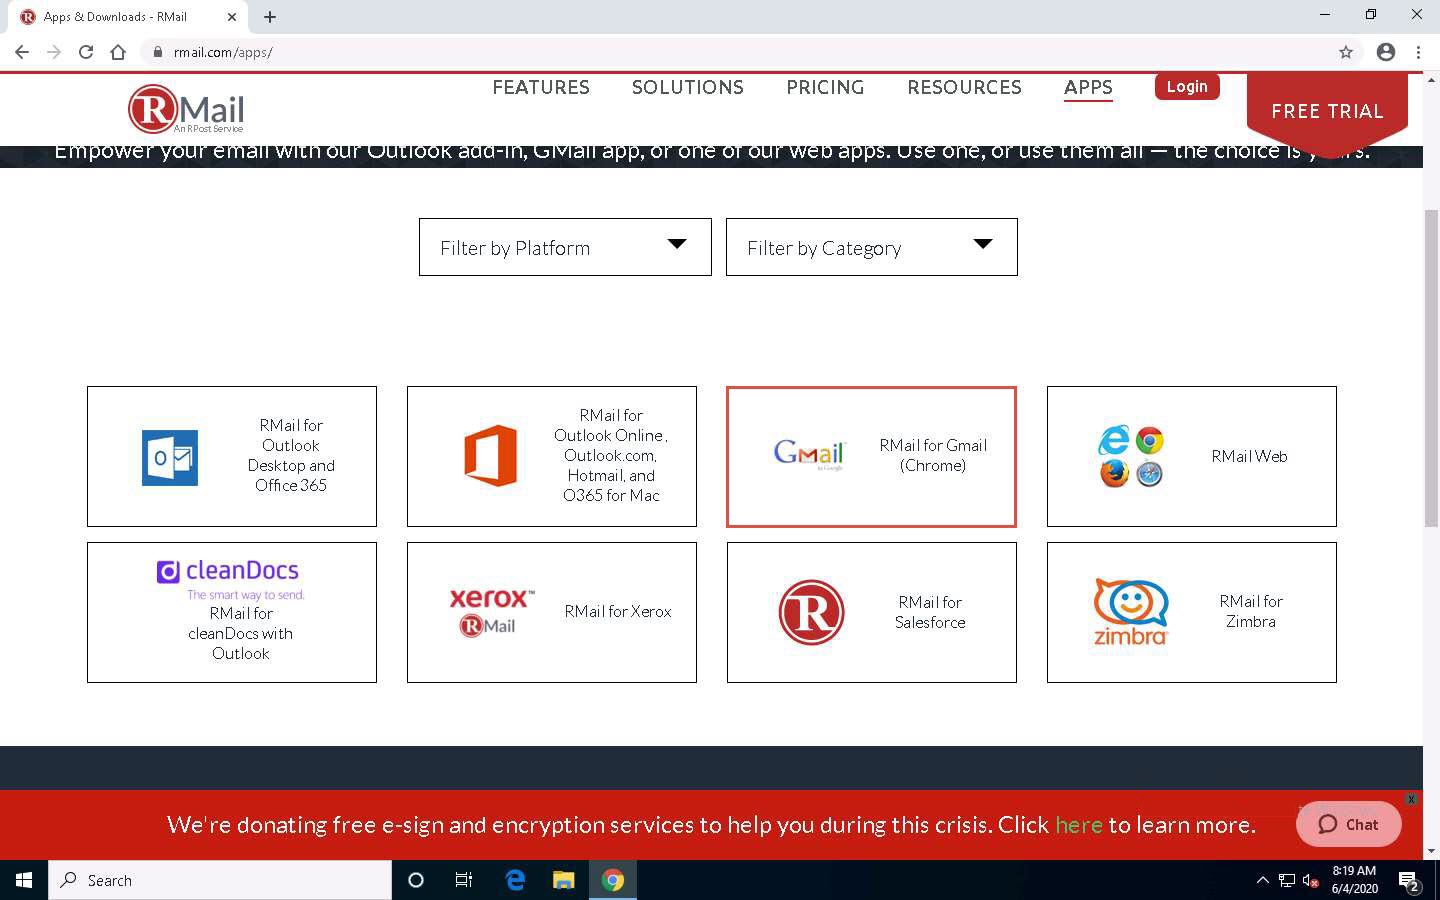
The APPS & DOWNLOADS page appears; click the RMail for Gmail (Chrome) option from the available platforms.
In this task, we will be using the Gmail platform to demonstrate the working of RMail. However, you can use RMail on the platform of your choice.
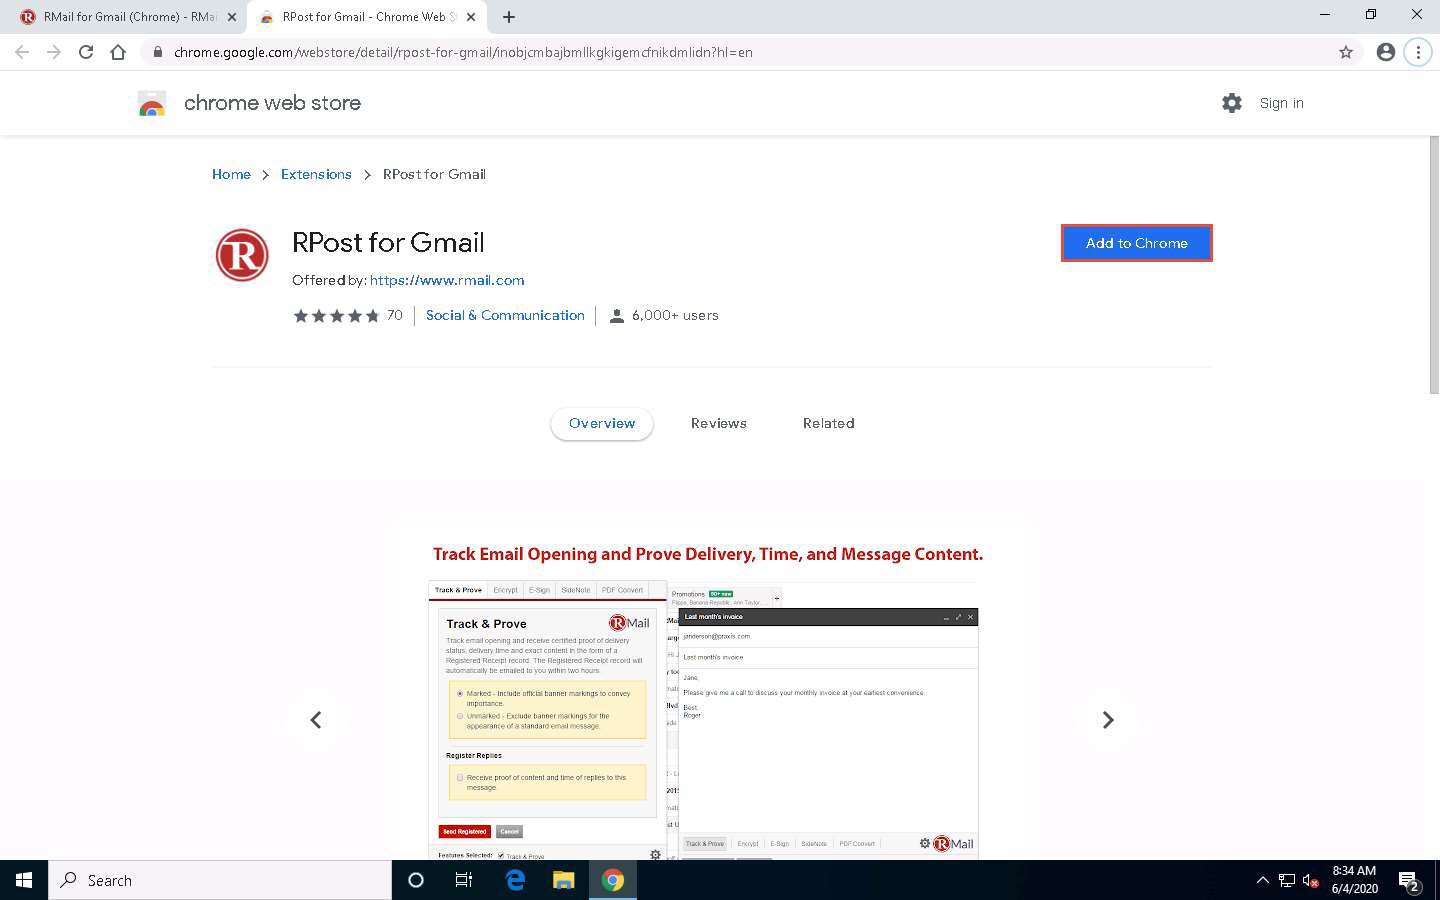
The RMAIL FOR GMAIL (GOOGLE CHROME) page appears; scroll down and click the ADD TO CHROME button.

A chrome web store page appears; click the Add to Chrome button under the RPost for Gmail option.
The Add “RPost for Gmail”? notification appears; click Add extension.

RPost is added to the browser and an RPost for Gmail has been added to Chrome notification appears.
Now, open a new tab in the browser and open the Gmail account within which you wish to implement email encryption
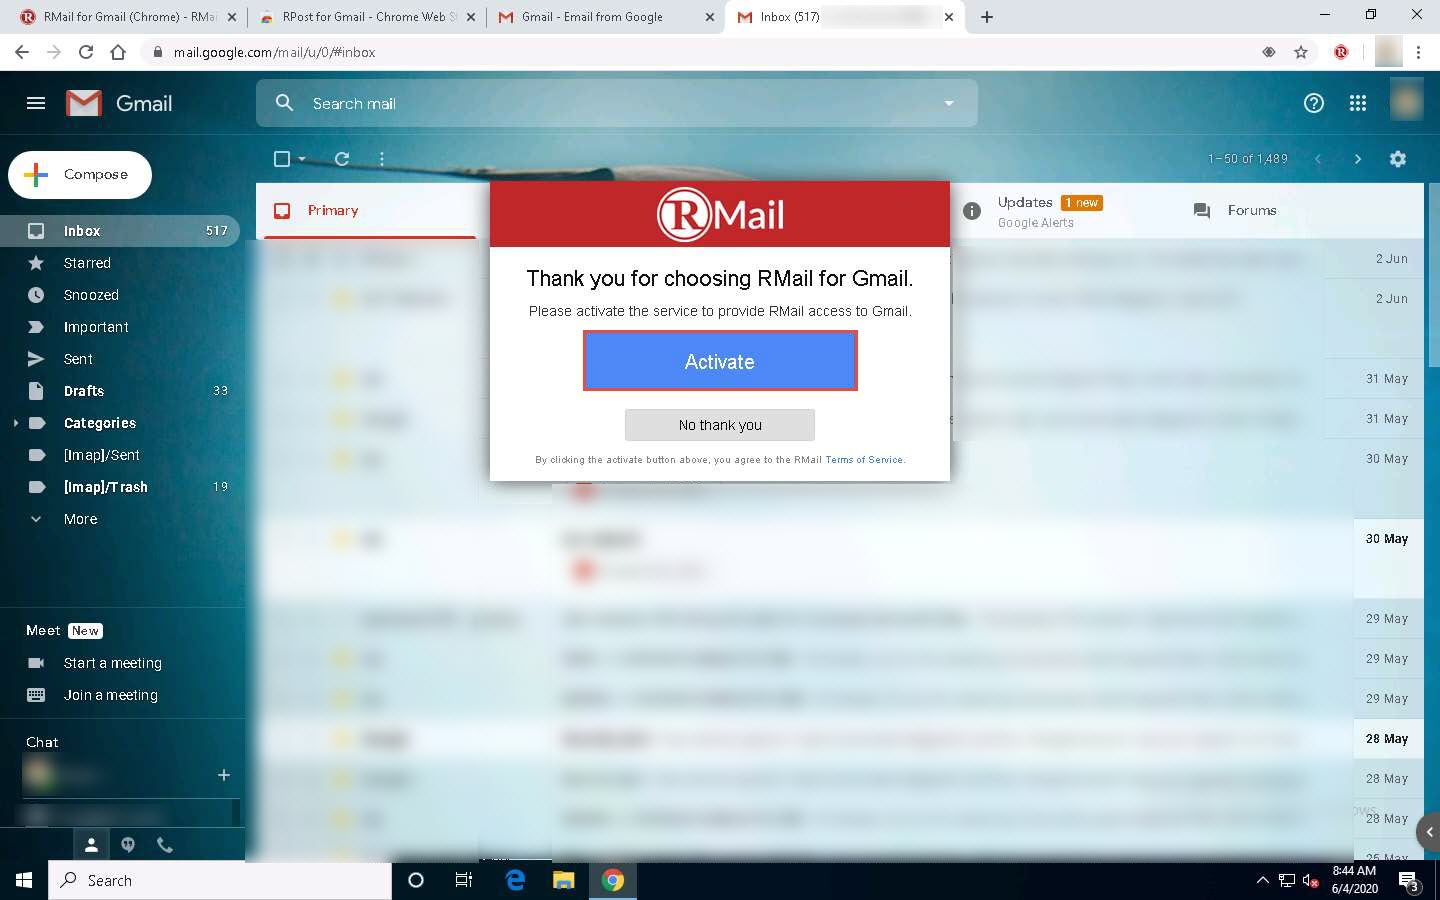
Once you log in to your Gmail account, the RMail pop-up appears. Click the Activate button.
The Sign in - Google Accounts page appears; under the Choose an account, click on your account.

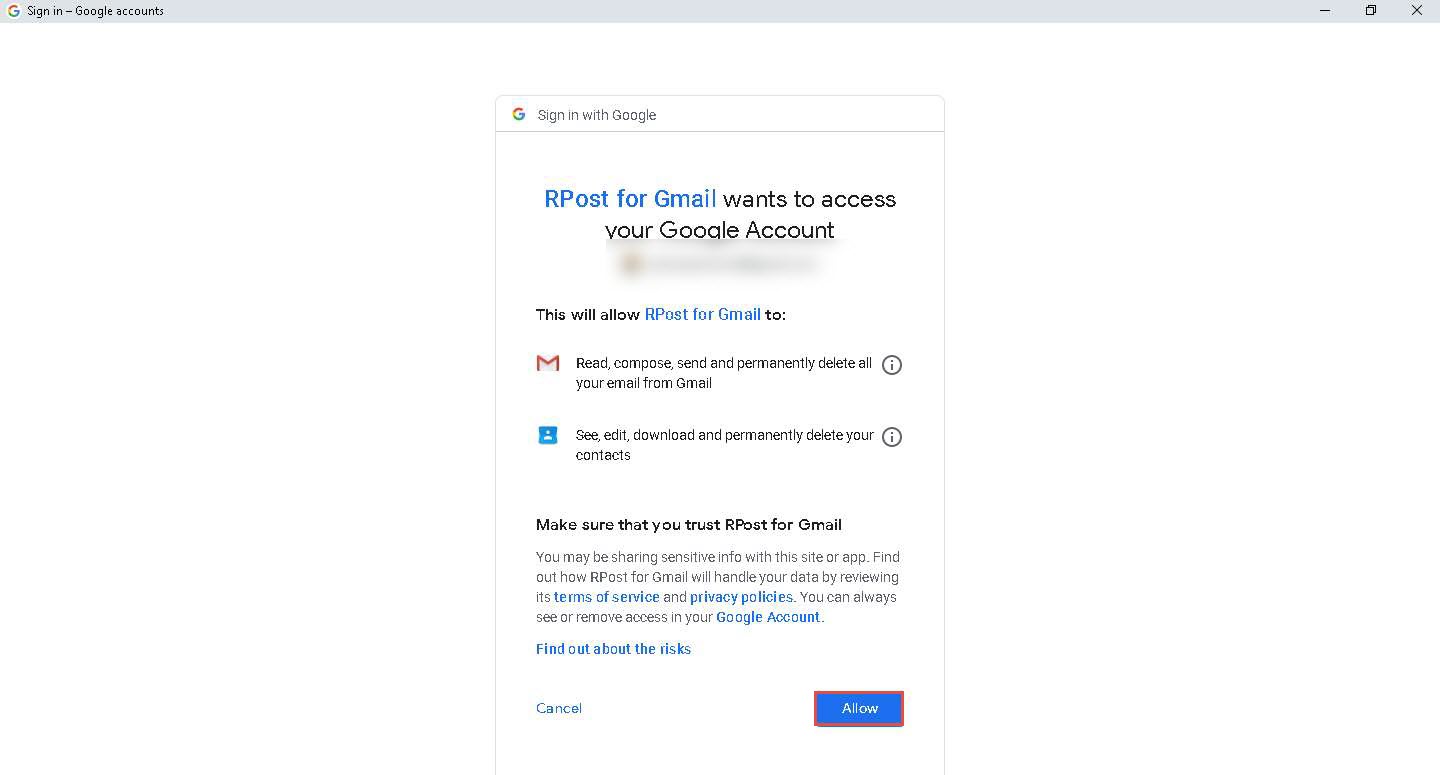
The RPost for Gmail wants to access your Google Account wizard appears; click the Allow button.
The Thank you For Choosing RMail page appears. Close the tab and navigate back to your Gmail account page.
Click Compose from the left-hand pane; the email body appears. Compose an email and click Send Registered.
If a tutorial pop-up appears, skip it.

The RMail Track & Prove pop-up appears; ensure that the Marked radio button is selected. Under the Register Replies section, check the Receive proof of content and time of replies to this message checkbox. Then, click the Encrypt tab.

In the Encrypt tab, check the Encrypt message and any attachments checkbox and click the E-sign tab.

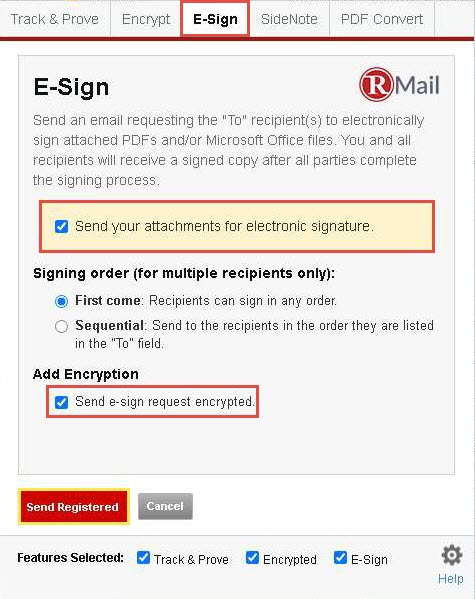
In the E-Sign tab, check both the Send your attachments for electronic signature and Send e-sign request encrypted checkboxes. Click the Send Registered button.
In the Inbox, you can observe an Acknowledgement email with Proof of Sending.
In this task, for the purpose of demonstration, we will open the recipient’s account and view the email.
To do so, click on Windows Server 2019 to switch to the Windows Server 2019, click Ctrl+Alt+Delete to activate the machine. By default, Administrator profile is selected, click on Pa$$w0rd to enter password in the password field and press Enter to login.

Open any web browser (here, Google Chrome) and log in to the Gmail account of the recipient. Open the email from the sender.
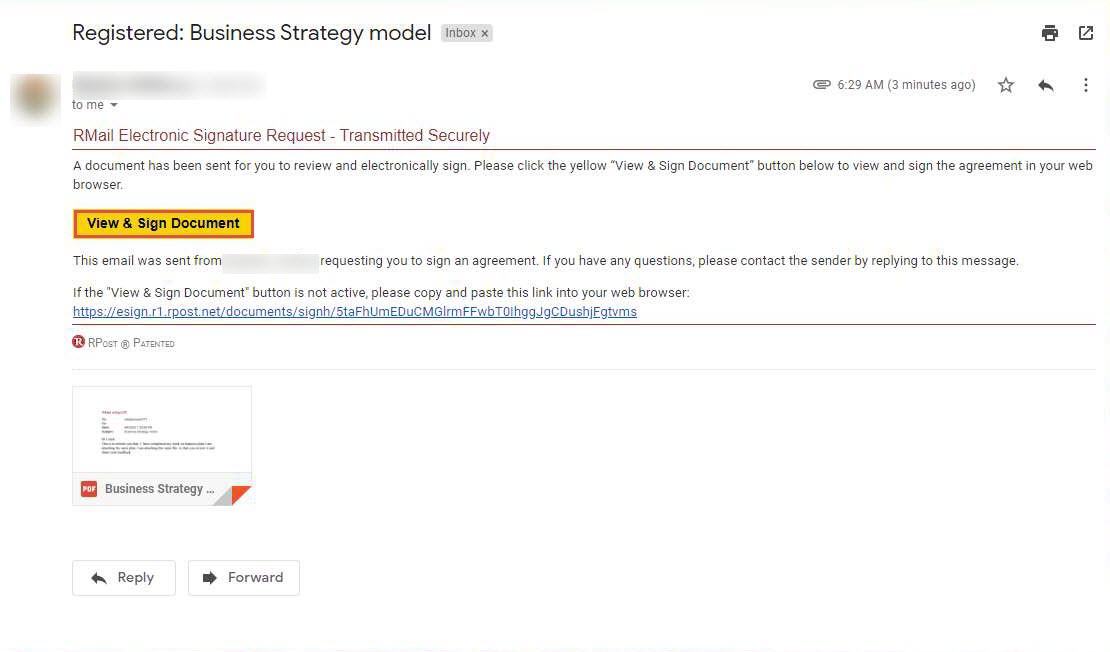
You can observe that the email received is tagged as a registered email wherein a document has been sent for the recipient to review and electronically sign to confirm his/her identity.
You might receive an email in the spam folder.
Click the View & Sign Document button to sign an agreement.
A new E-Sign webpage appears displaying the email content; click CONTINUE.

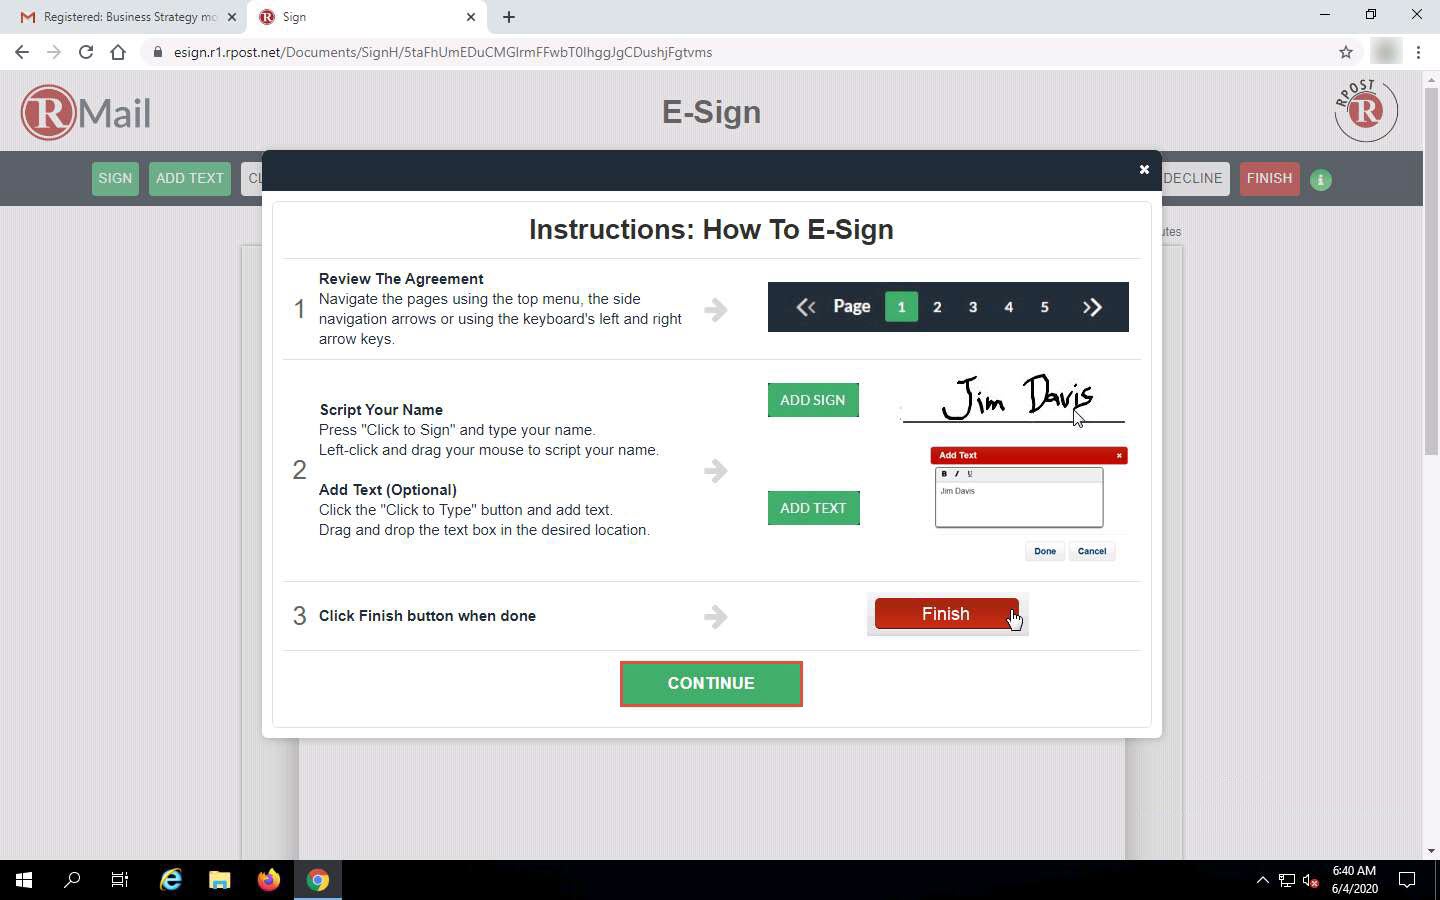
The Instructions: How To E-Sign page appears; read the instructions carefully and click CONTINUE.
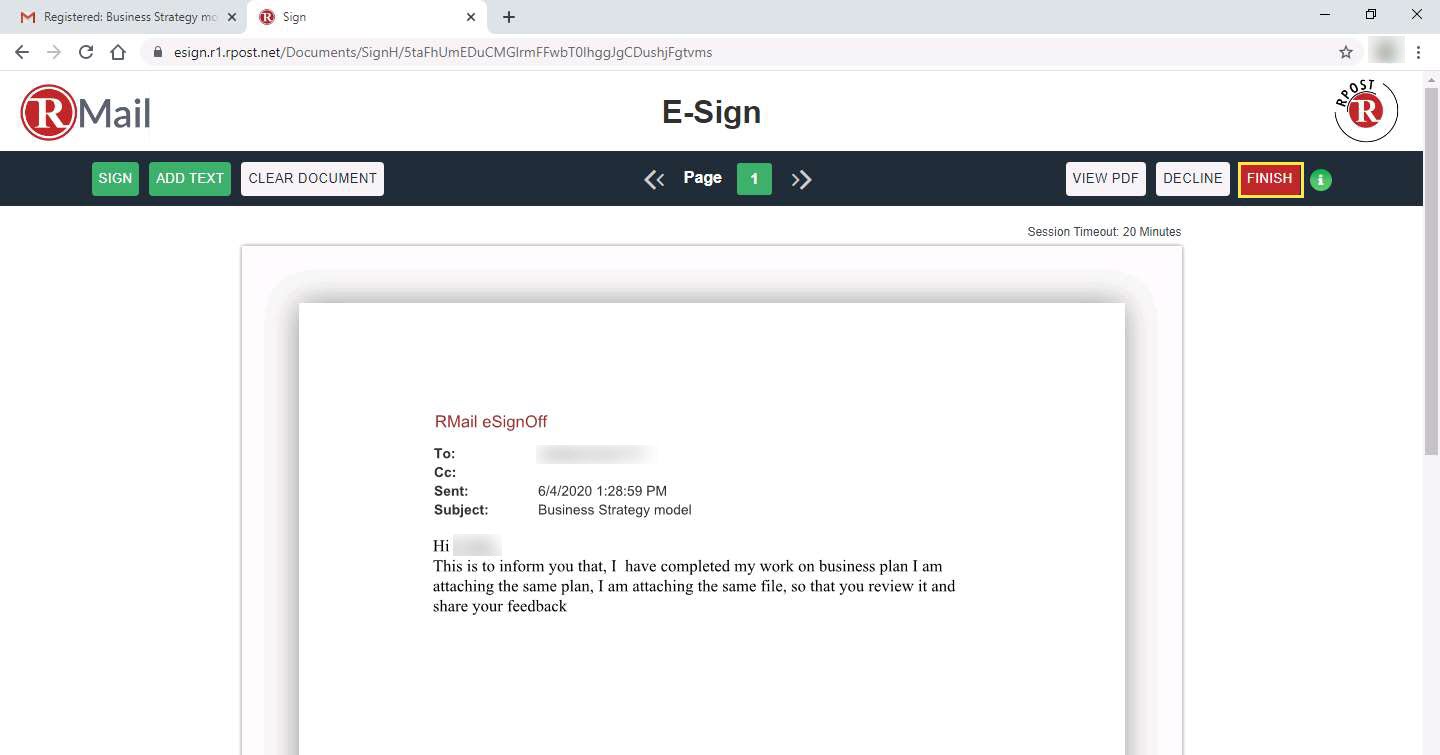
The attached document to the email (Business Strategy Model (2019)) appears, as shown in the screenshot.
After viewing the attached document, click FINISH.
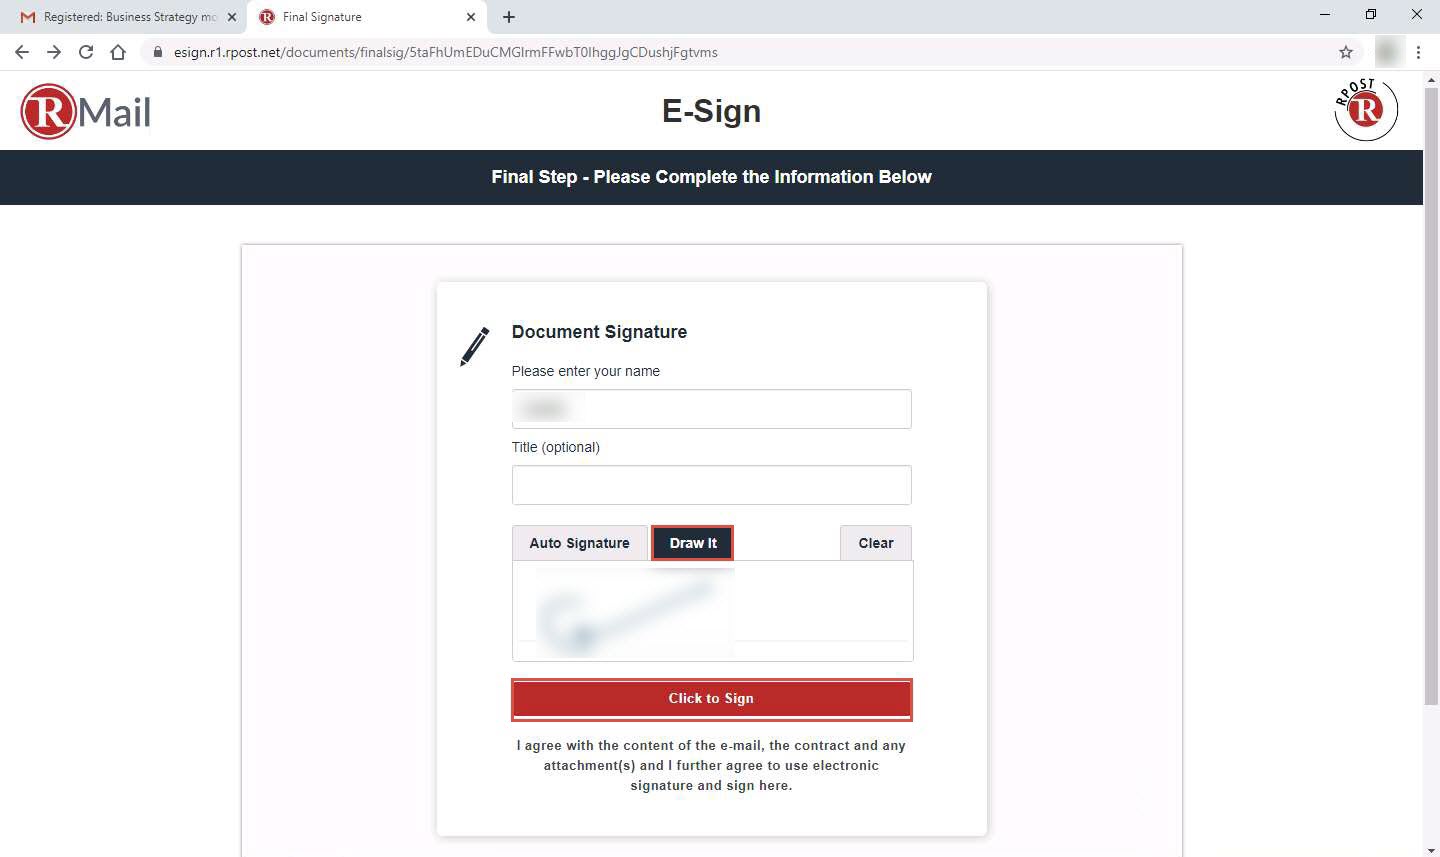
The Final Step - Please Complete the Information Below page appears with the Document Signature form. In the Please enter your name field, enter your name (Recipient’s name) and leave the Title field blank.
Click the Draw It tab, and draw the signature in the tab and click the Click to Sign button.
The YOU’RE ALL DONE! page appears; close the current tab to return to the opened email. Click Inbox from the left-hand pane to navigate to the inbox.
Open an email from RPost eSignOff Service. You can observe that it is an acknowledgment email from RPost along with various details such as Signed By, Date, Time, Original Recipient, IP, Message Id, etc.

Now, click on Windows 10 to return to the Windows 10 machine, where the sender’s account is opened. In Inbox, you can observe two emails (Receipt and RPost eSignOff Service). Click to open the Receipt email.
You might receive a Receipt mail in the RMail Receipts inbox folder present in the left-hand pane.
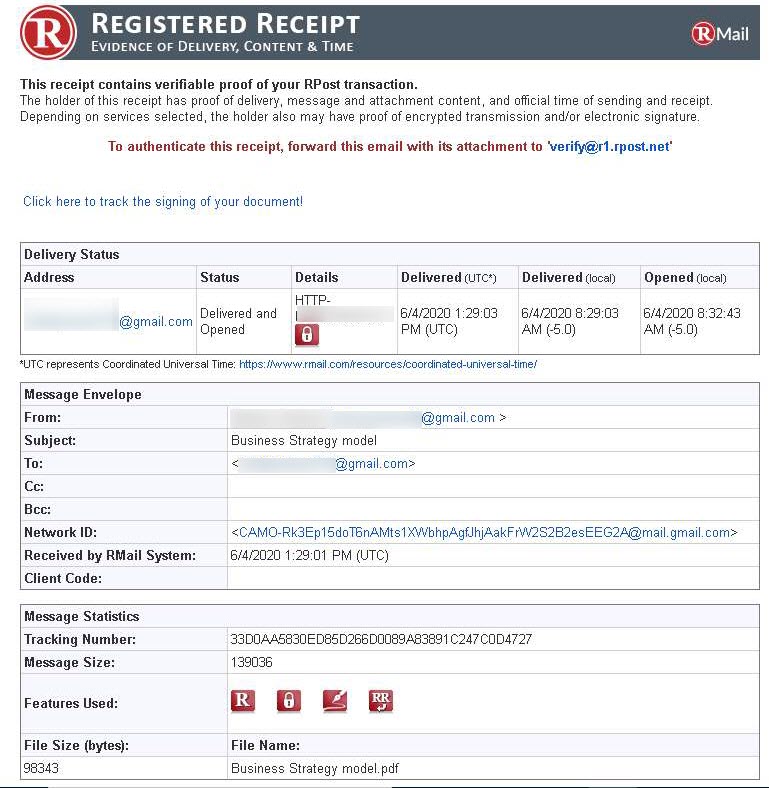
The Receipt email contains information about the Delivery Status, Message Envelope, and Message Statistics of the sent email, as shown in the screenshot.
The Receipt email also includes the DeliveryReceipt and HtmlReceipt attachments containing detailed information regarding the sent email.
Now, navigate back to the Inbox and open an email from RPost eSignOff Service. This email contains the same information as the email received from RPost eSignOff Service by the recipient.
This concludes the demonstration of performing email encryption using RMail.
You can also use other email encryption tools such as Virtru (https://www.virtru.com), ZixMail (https://www.zixcorp.com), Egress Secure Email and File Transfer (https://www.egress.com), and Proofpoint Email Protection (https://www.proofpoint.com) to perform email encryption.
Close all open windows and document all the acquired information.


Comments
Post a Comment