Lab 3: Detect Network Sniffing
Lab 3: Detect Network Sniffing
Lab Scenario
Module 08: Sniffing
Lab 3: Detect Network Sniffing
Task 1: Detect ARP Poisoning in a Switch-Based Network
using cain & Abel
Double-click the Cain icon on Desktop to launch Cain & Abel.
Configure on the top bar
Ensure that the Adapter associated with the IP address of the machine is selected and click OK.
Click the Start/Stop Sniffer
click the Sniffer tab
Click the plus (+) icon or right-click in the window and select Scan MAC Addresses to scan the network for hosts.
MAC Address Scanner window appears. Check the Range radio button and specify the IP address
range as 10.10.10.1-10.10.10.30. Select the All Tests checkbox; then, click OK.
Cain & Abel starts scanning for MAC addresses and lists all those found.
After the completion of the scan, a list of all active IP addresses along with their corresponding
MAC addresses is displayed, as shown in the screenshot.
click the APR tab at the bottom of the window.
APR options appear in the left-hand pane. Click anywhere on the topmost section
in the right-hand pane to activate the plus (+) icon.
this is up to step 14 continue on the blog if needed for use.
refer to blog
---------------------------------------------------------------------------------------------------------------------------------------
Module 08: Sniffing
Lab 3: Detect Network Sniffing
Task 2: Detect ARP Attacks using XArp
XArp is a security application that detects ARP-based attacks.
D:\CEH-Tools\CEHv11 Module 08 Sniffing\ARP Spoofing Detection Tools\XArp
double-click xarp-2.2.2-win.exe
- The XArp main window appears with a Status of ARP attacks detected! It also displays lists of the IPs, MAC
addresses, hosts, and other information regarding the machines in the network.
that should be it
it will show a alet pop up if it detects anything and show all infromation related to it
---------------------------------------------------------------------------------------------------------------------------------------
Module 08: Sniffing
Lab 3: Detect Network Sniffing
Task 3: Detect Promiscuous Mode using Nmap and NetScanTools Pro
Promiscuous mode allows a network device to intercept and read each network packet that arrives in its
entirety. The sniffer toggles the NIC of a system to promiscuous mode, so that it listens to all data
transmitted on its segment. A sniffer can constantly monitor all network traffic to a computer through
the NIC by decoding the information encapsulated in the data packet. Promiscuous mode in the network can
be detected using various tools.
open zenmap
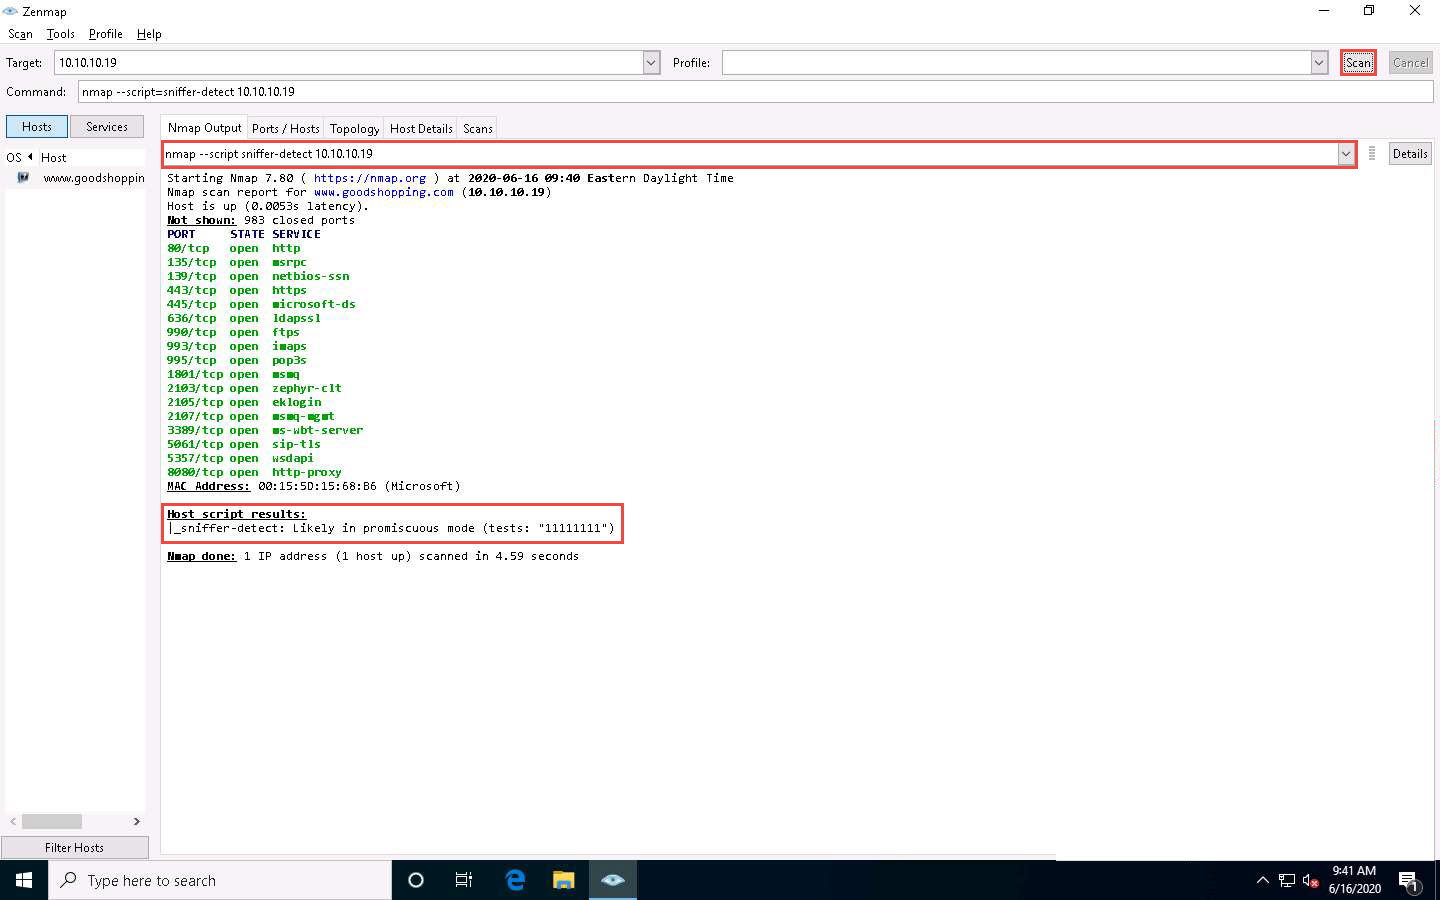
nmap --script=sniffer-detect 10.10.10.19
you can enter 1 ip or a range
scan results if positive will show this near the bottom:
host script results sniffere detected likley in promiscous mode tests:11111111
refer to lab for detection using netscantools pro otherwise your done
---------------------------------------------------------------------------------------------------------------------------------------
The previous labs demonstrated how an attacker carries out sniffing with different techniques and tools. This lab helps you understand possible defensive techniques used to defend a target network against sniffing attacks.
A professional ethical hacker or pen tester should be able to detect network sniffing in the network. A sniffer on a network only captures data and runs in promiscuous mode, so it is not easy to detect. Promiscuous mode allows a network device to intercept and read each network packet that arrives in its entirety. The sniffer leaves no trace, since it does not transmit data. Therefore, to detect sniffing attempts, you must use the various network sniffing detection techniques and tools discussed in this lab.
Lab Objectives
Detect ARP poisoning in a switch-based network
Detect ARP attacks using XArp
Detect promiscuous mode using Nmap and NetScanTools Pro
Overview of Detecting Network Sniffing
Network sniffing involves using sniffer tools that enable the real-time monitoring and analysis of data packets flowing over computer networks. These network sniffers can be detected by using various techniques such as:
Ping Method: Identifies if a system on the network is running in promiscuous mode
DNS Method: Identifies sniffers in the network by analyzing the increase in network traffic
ARP Method: Sends a non-broadcast ARP to all nodes in the network; a node on the network running in promiscuous mode will cache the local ARP address
Task 1: Detect ARP Poisoning in a Switch-Based Network
ARP poisoning involves forging many ARP request and reply packets to overload a switch. ARP cache poisoning is the method of attacking a LAN network by updating the target computer’s ARP cache with both forged ARP request and reply packets designed to change the Layer 2 Ethernet MAC address (that of the network card) to one that the attacker can monitor. Attackers use ARP poisoning to sniff on the target network. Attackers can thus steal sensitive information, prevent network and web access, and perform DoS and MITM attacks.
The ethical hacker and pen tester must assess the organization or target of evaluation for ARP poisoning vulnerabilities.
Here, we will detect ARP poisoning in a switch-based network.
In this task, we will use the Windows Server 2019 machine as the host machine to perform ARP poisoning, and will sniff traffic flowing between the Windows 10 and Parrot Security machines. Further, we will use the same machine (Windows Server 2019) to detect ARP poisoning.
Click Windows Server 2019 to switch to the Windows Server 2019 machine.
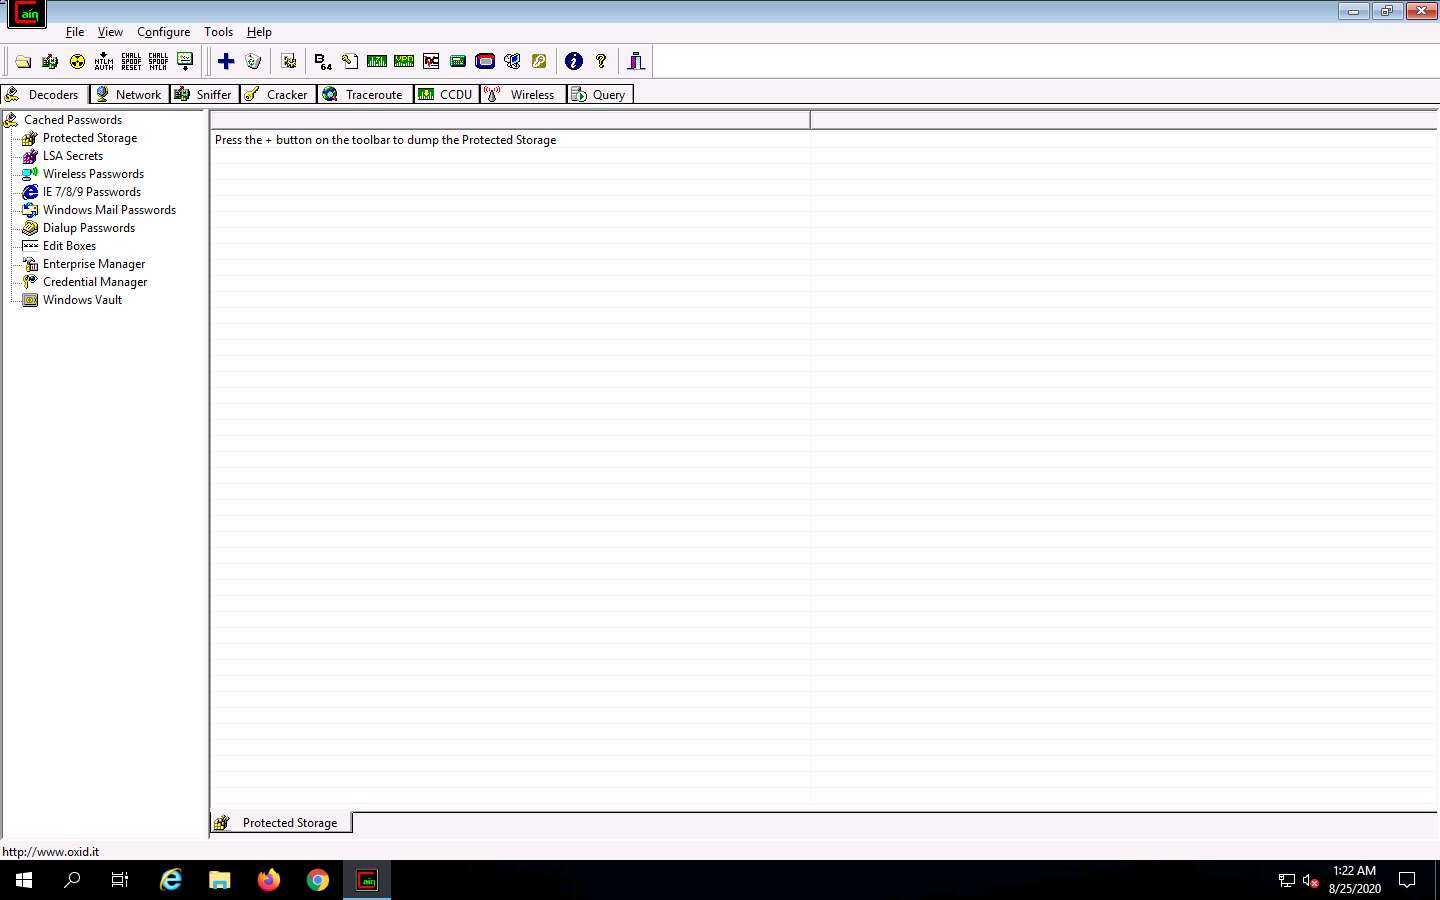
Double-click the Cain icon on Desktop to launch Cain & Abel.

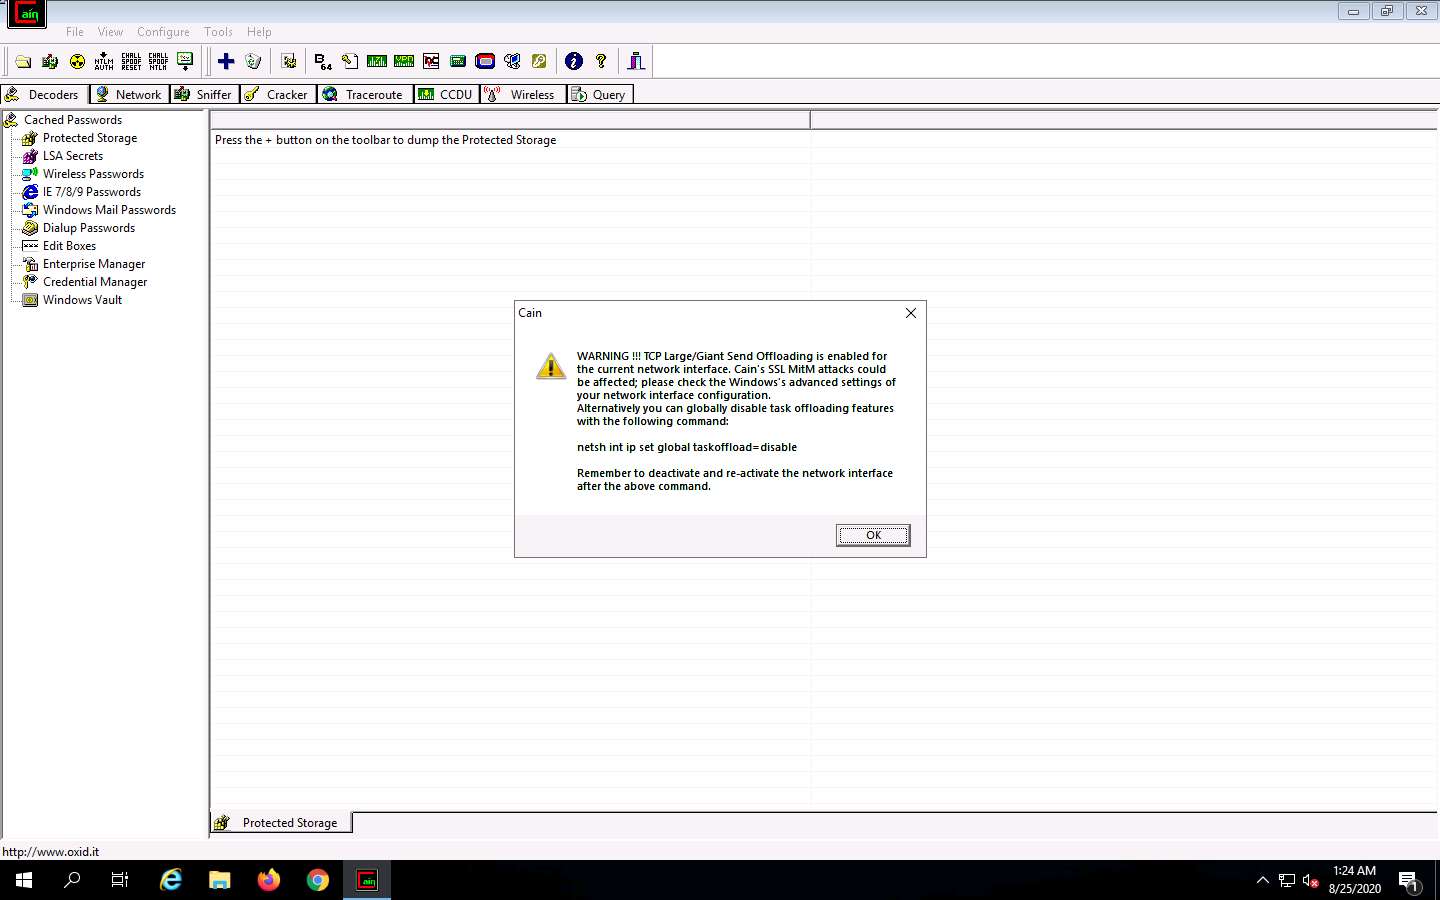
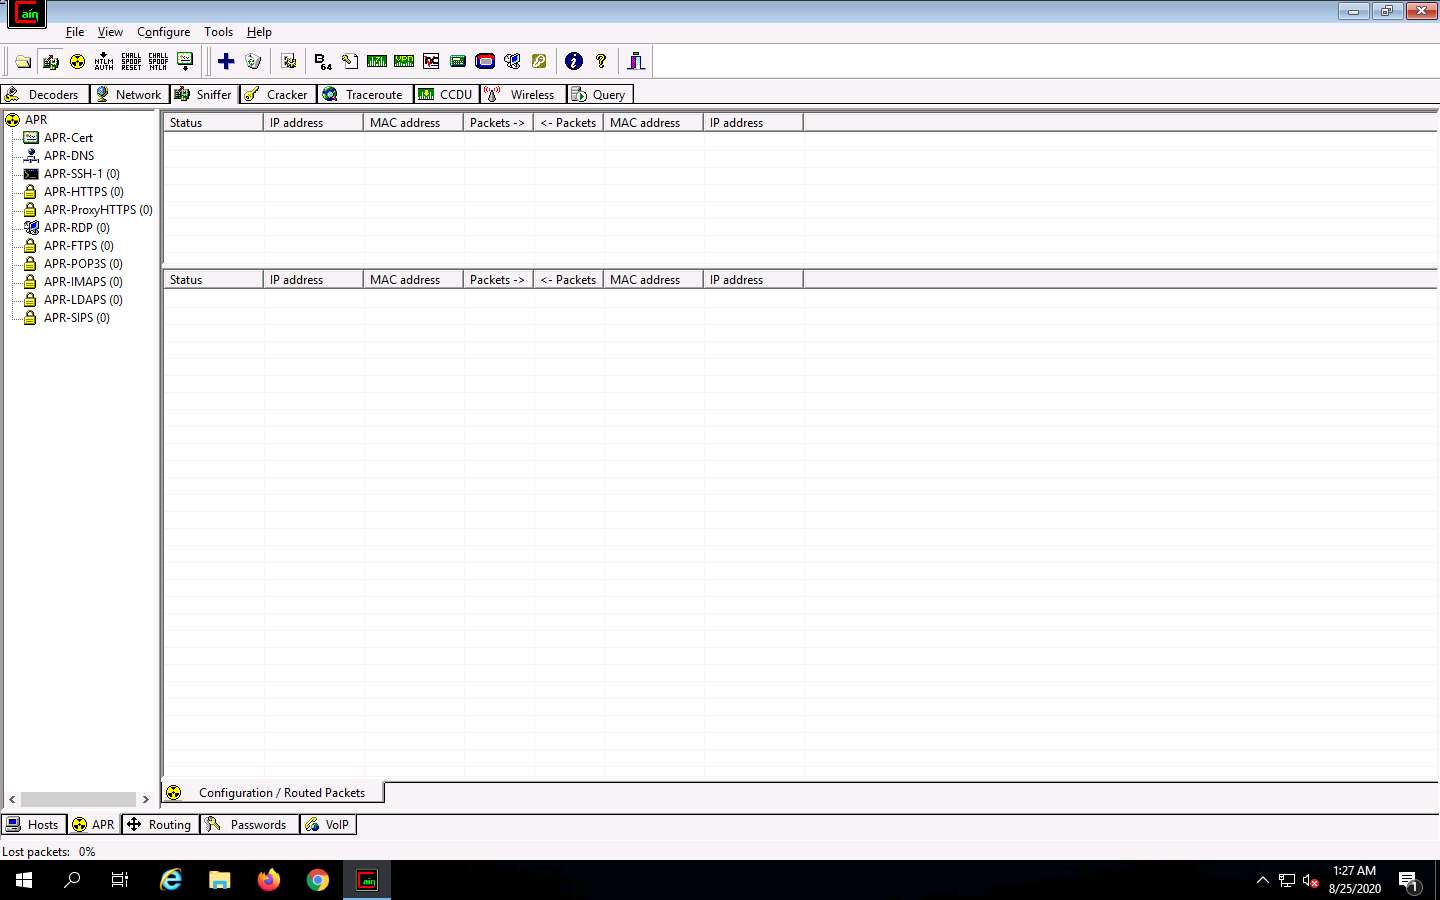
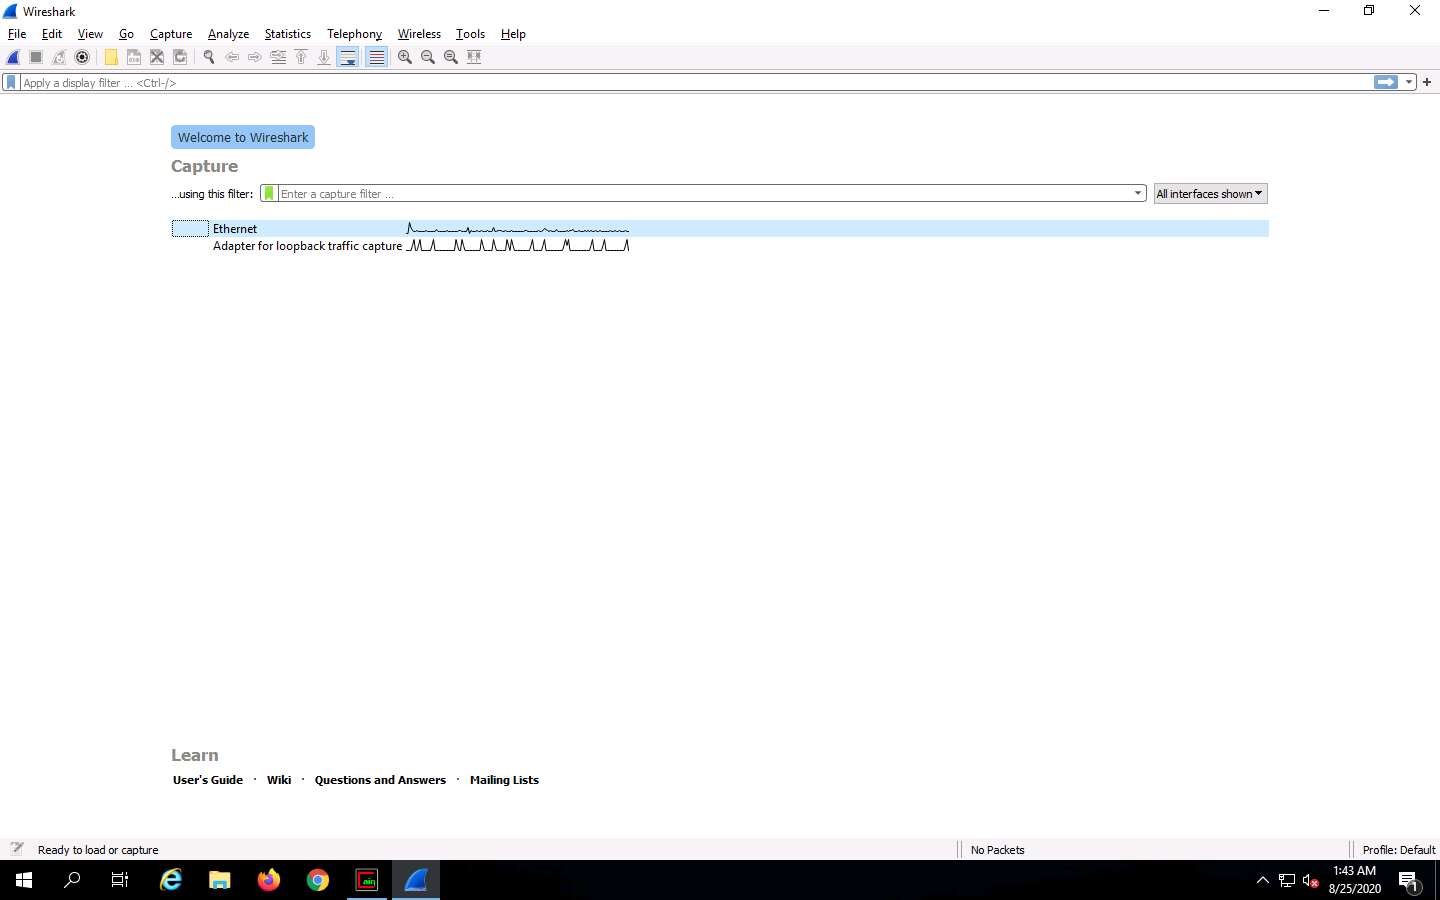
The Cain & Abel main window appears, as shown in the screenshot.
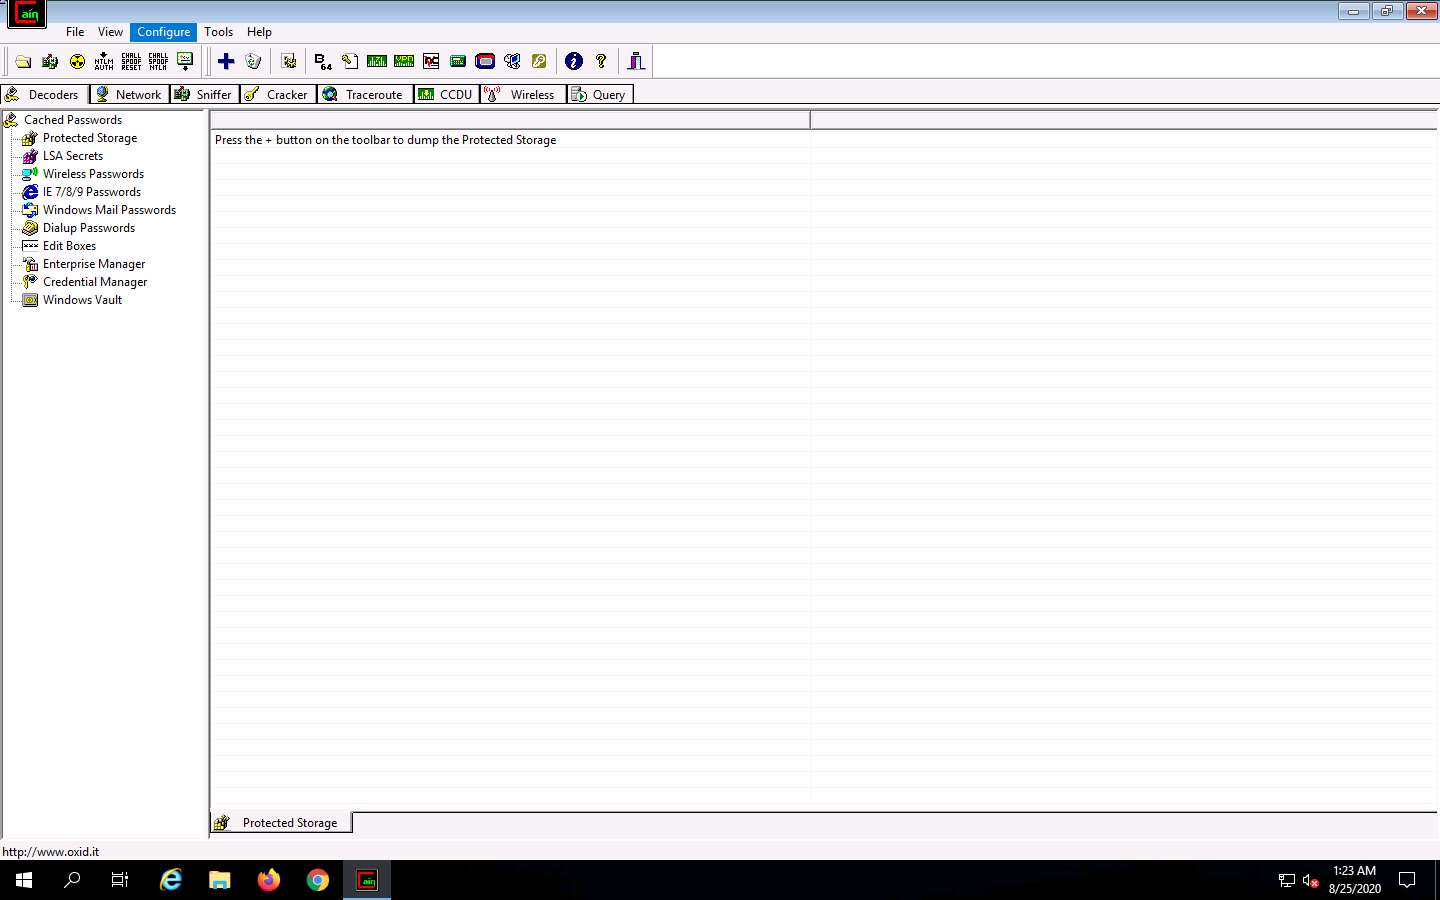
Click Configure from the menu bar to configure an ethernet card.
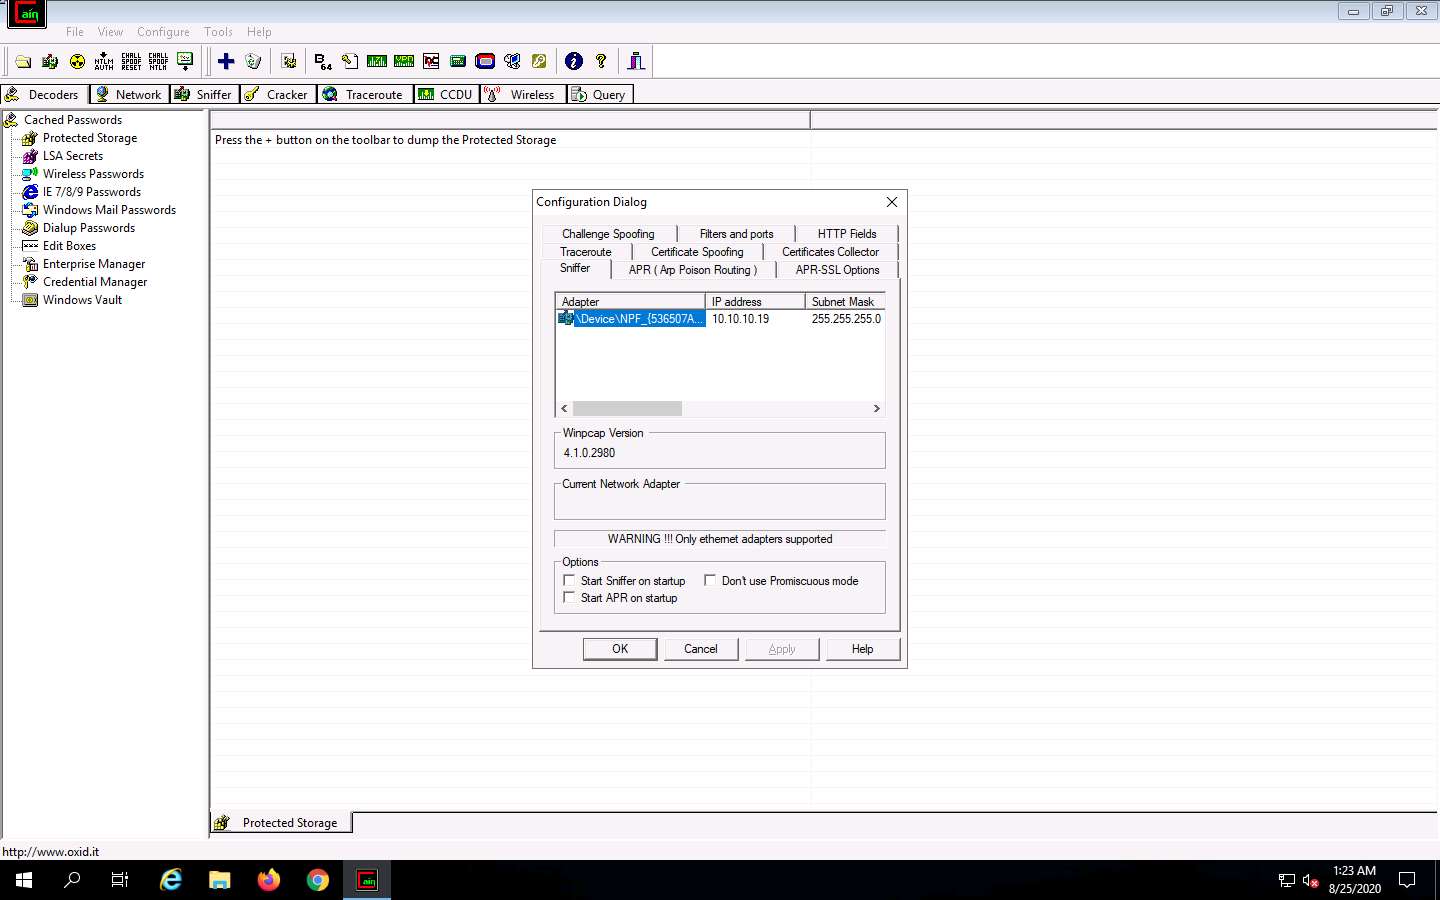
The Configuration Dialog window appears. The Sniffer tab is selected by default. Ensure that the Adapter associated with the IP address of the machine is selected and click OK.
Click the Start/Stop Sniffer icon on the toolbar to begin sniffing.
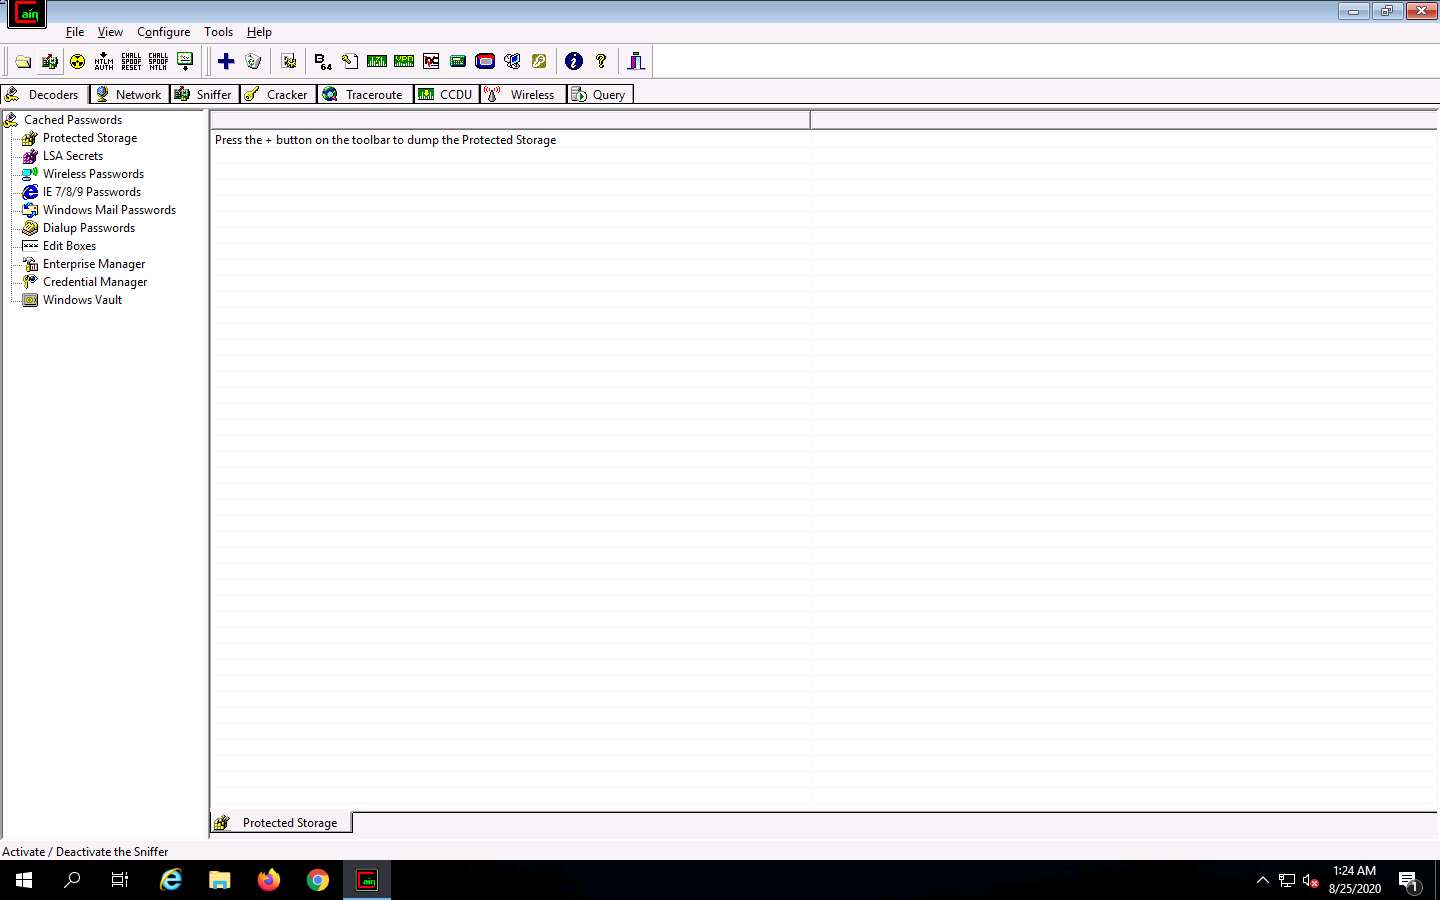
The Cain pop-up appears with a Warning message, click OK.
Now, click the Sniffer tab.
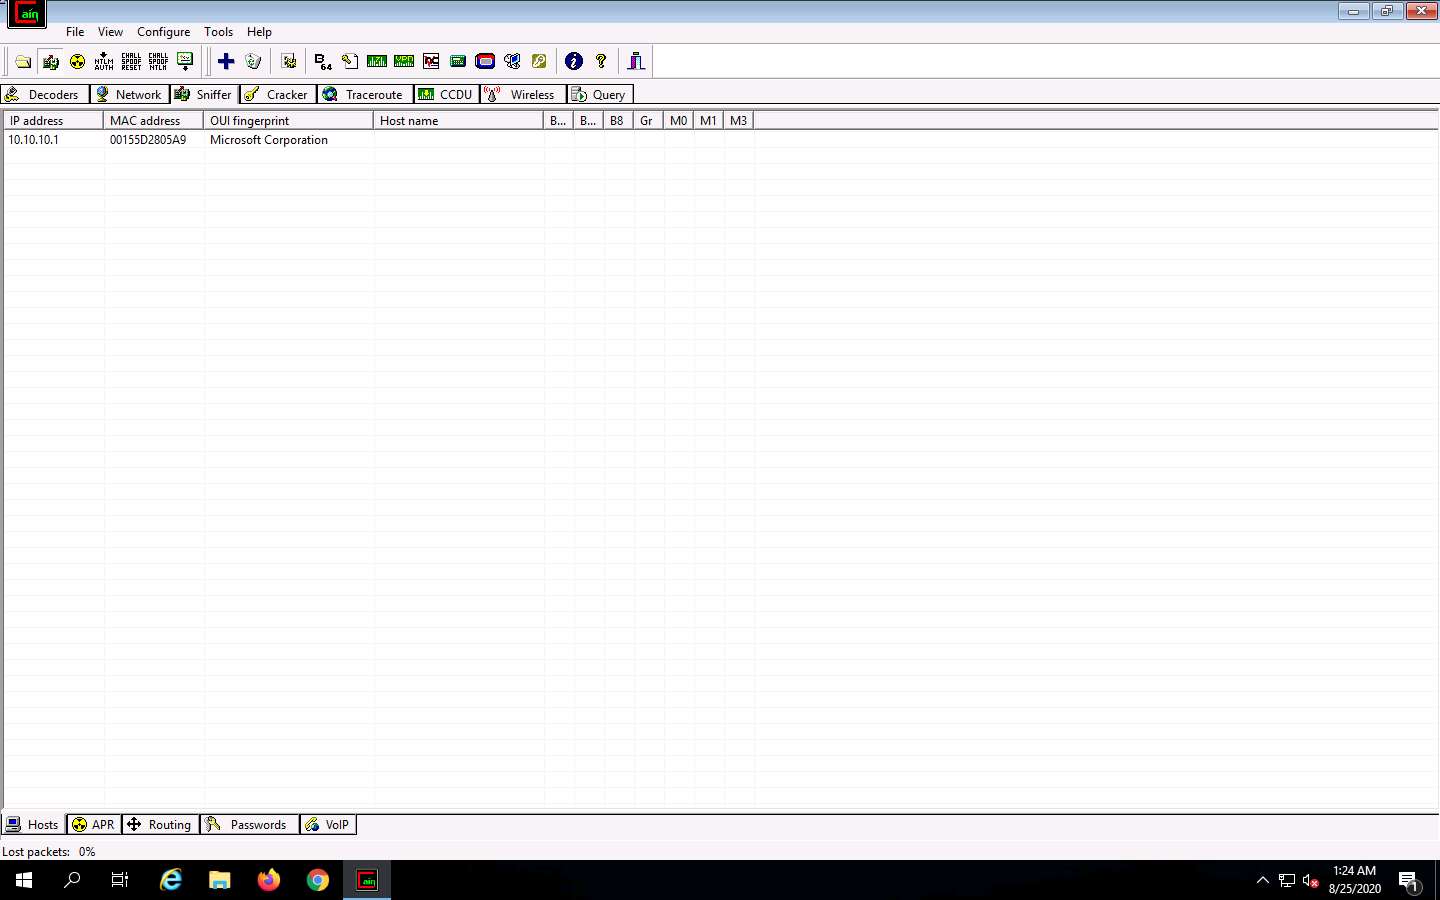
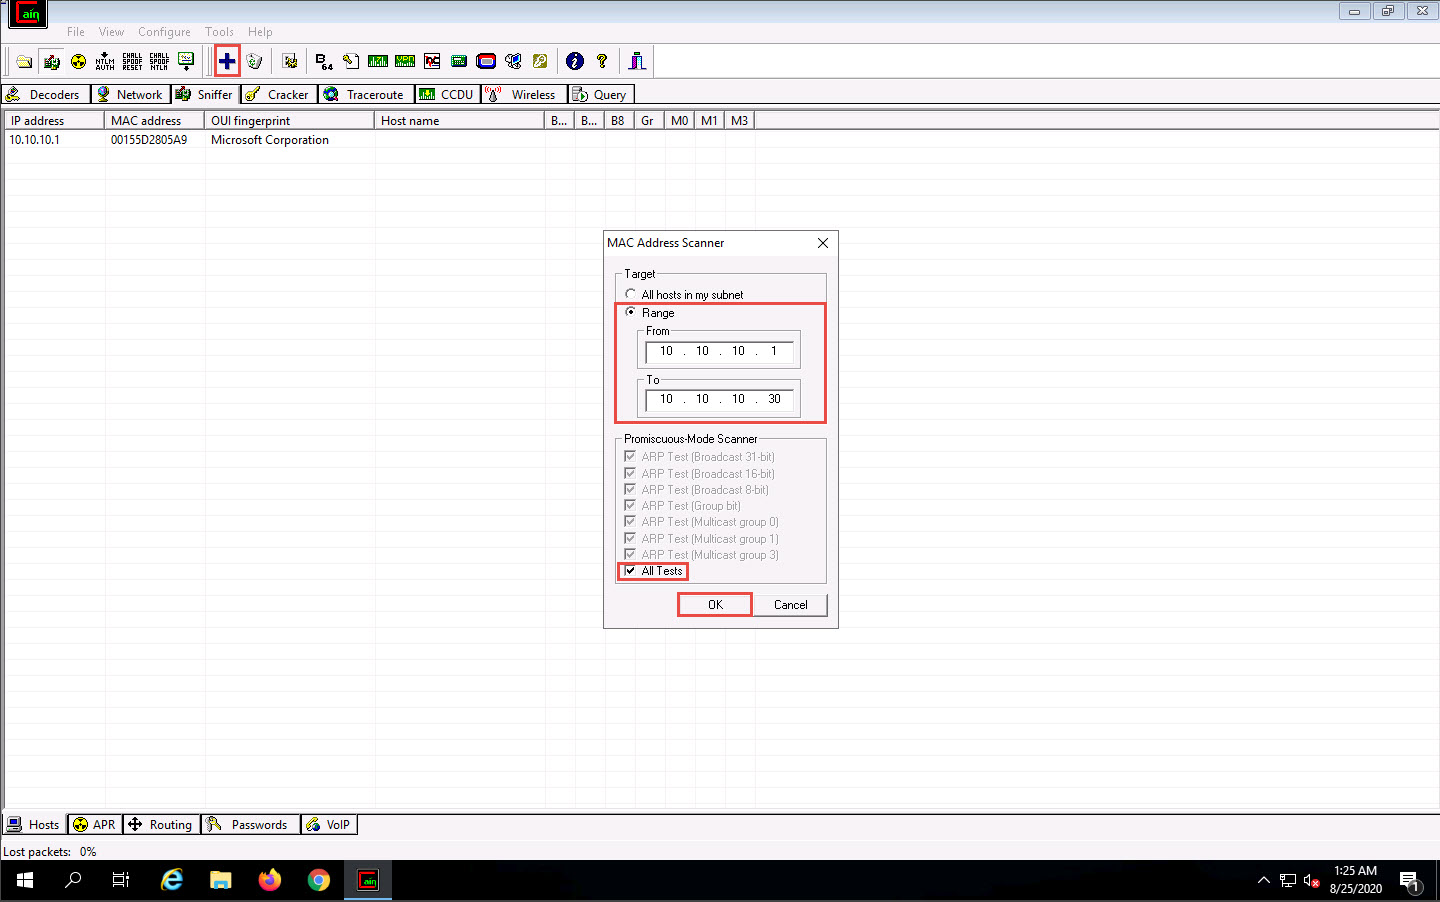
Click the plus (+) icon or right-click in the window and select Scan MAC Addresses to scan the network for hosts.
The MAC Address Scanner window appears. Check the Range radio button and specify the IP address range as 10.10.10.1-10.10.10.30. Select the All Tests checkbox; then, click OK.
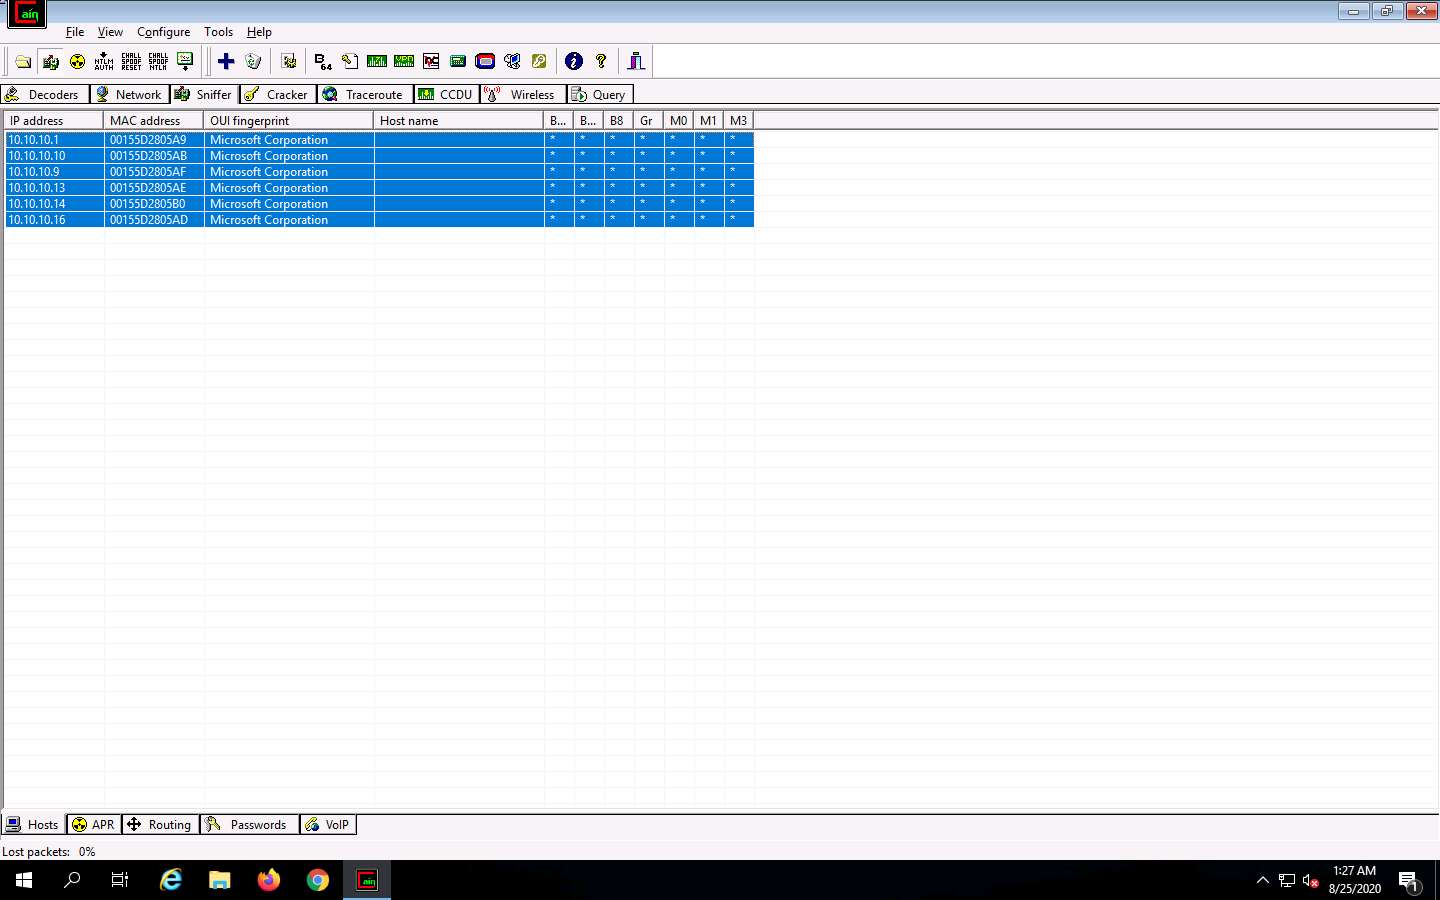
Cain & Abel starts scanning for MAC addresses and lists all those found.
After the completion of the scan, a list of all active IP addresses along with their corresponding MAC addresses is displayed, as shown in the screenshot.
Now, click the APR tab at the bottom of the window.
APR options appear in the left-hand pane. Click anywhere on the topmost section in the right-hand pane to activate the plus (+) icon.
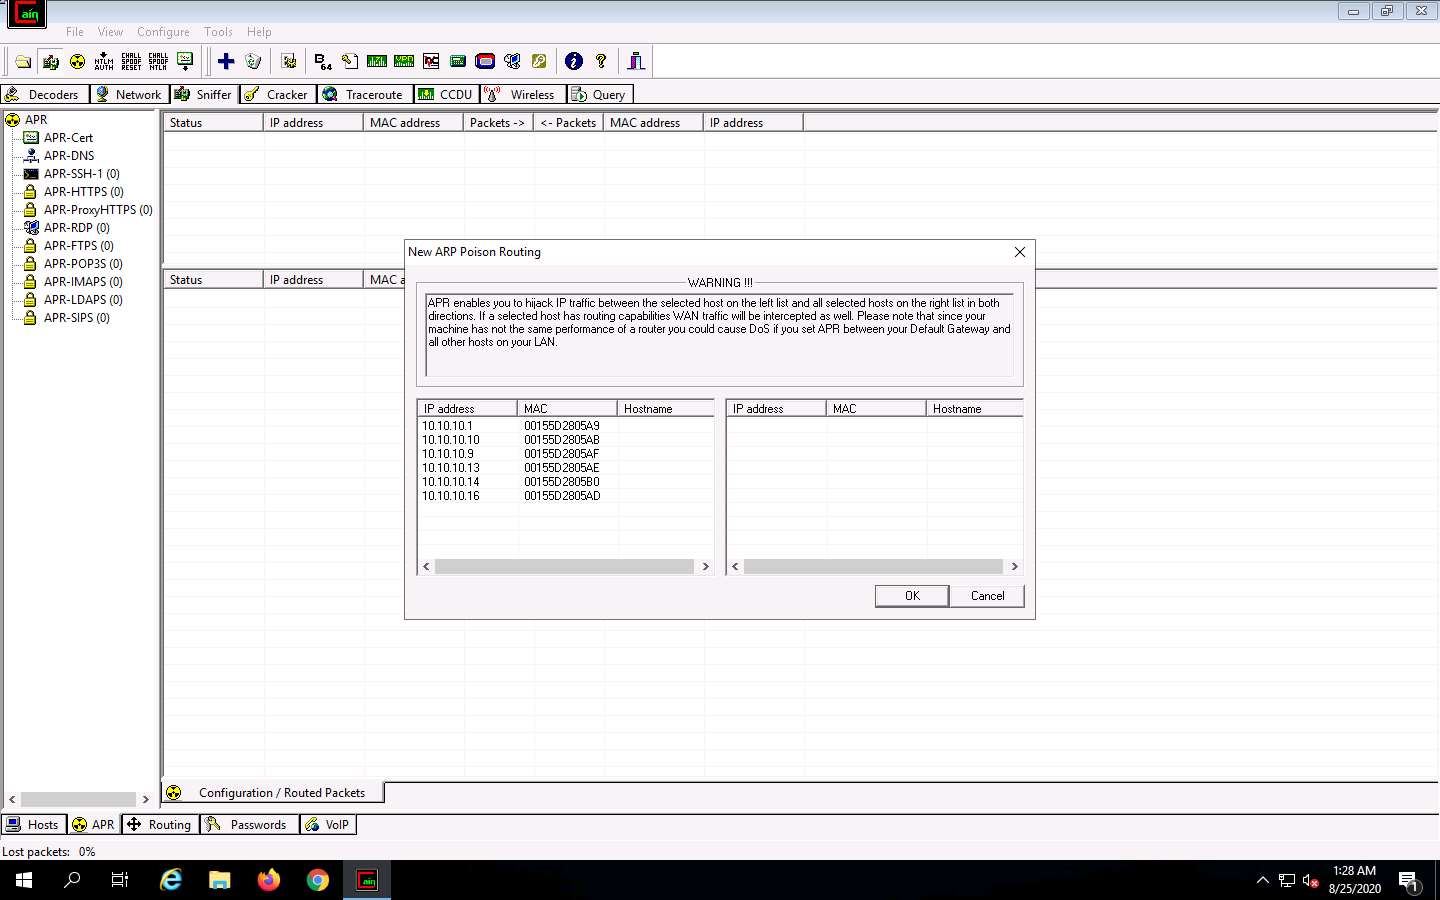
Click the plus (+) icon; a New ARP Poison Routing window appears; from which we can add IPs to listen to traffic.
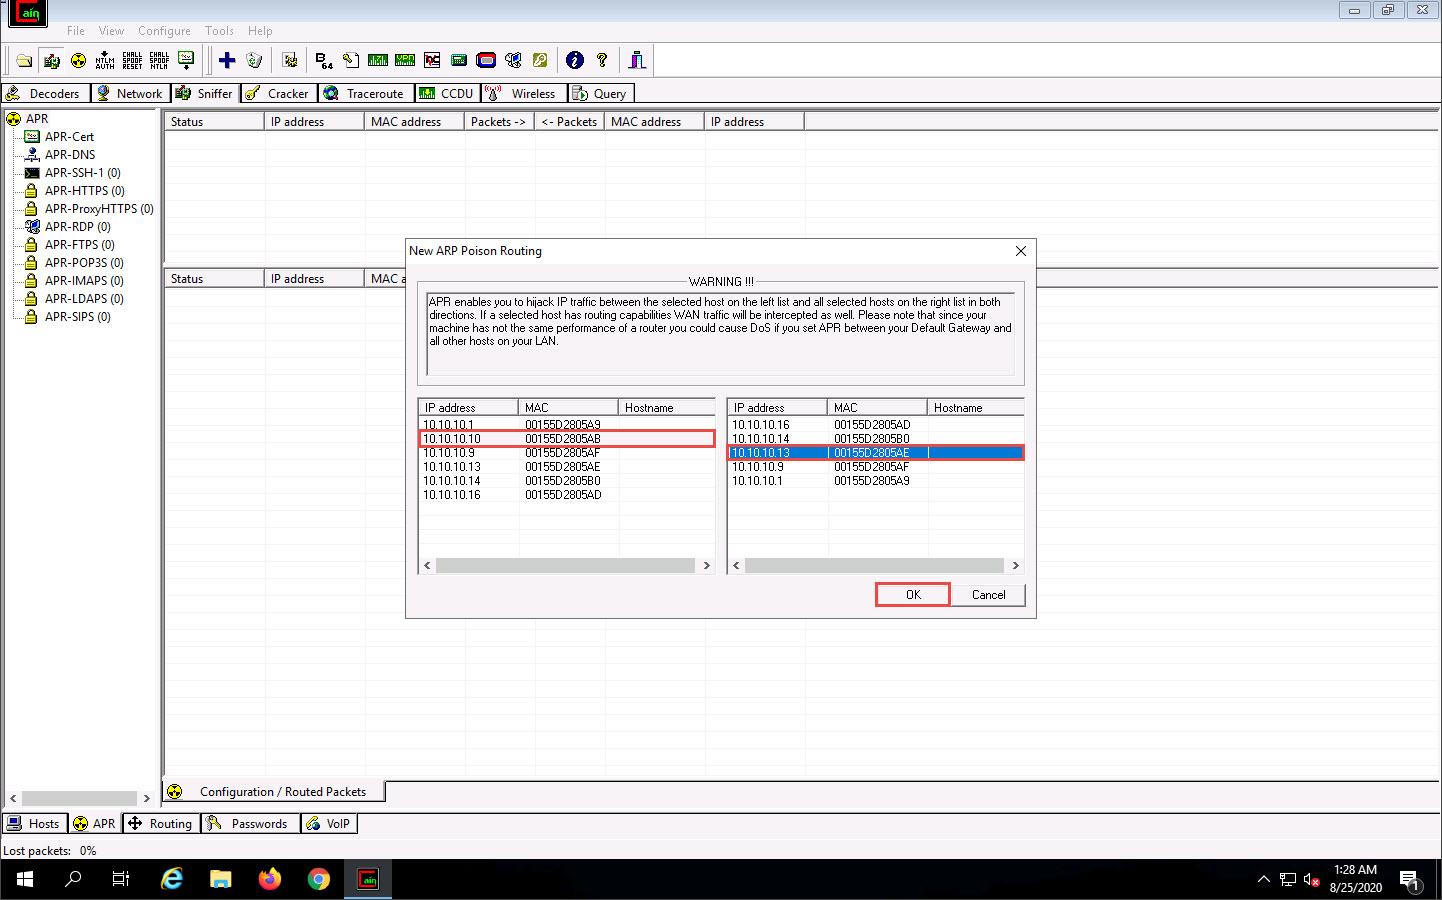
To monitor the traffic between two systems (here, Windows 10 and Parrot Security), from the left-hand pane, click to select 10.10.10.10 (Windows 10) and from the right-hand pane, click 10.10.10.13 (Parrot Security); click OK. By doing so, you are setting Cain to perform ARP poisoning between the first and second targets.
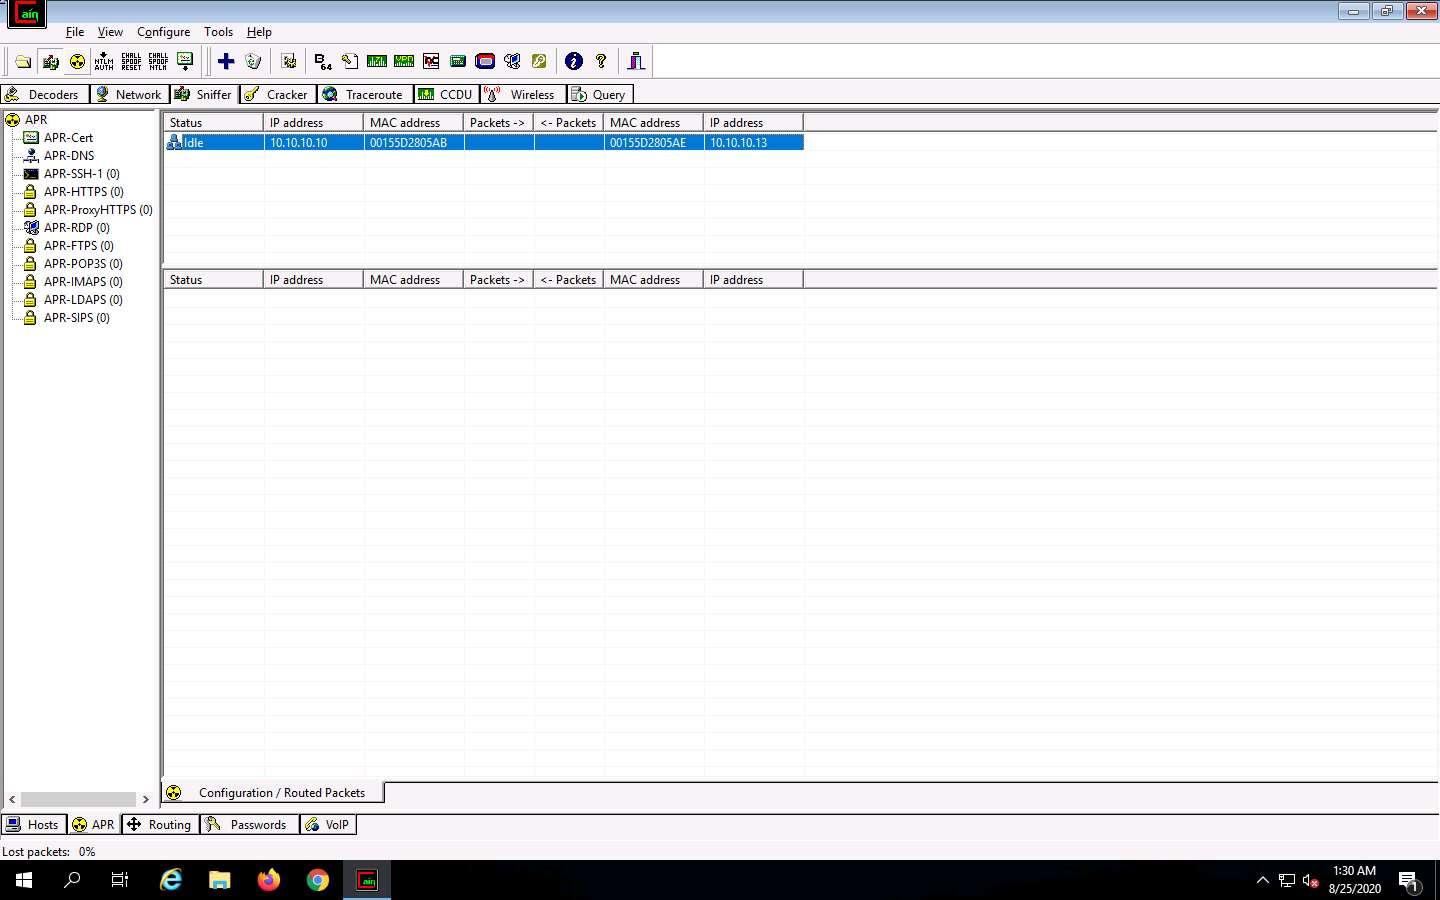
Click to select the created target IP address scan that is displayed in the Configuration / Routed Packets tab.
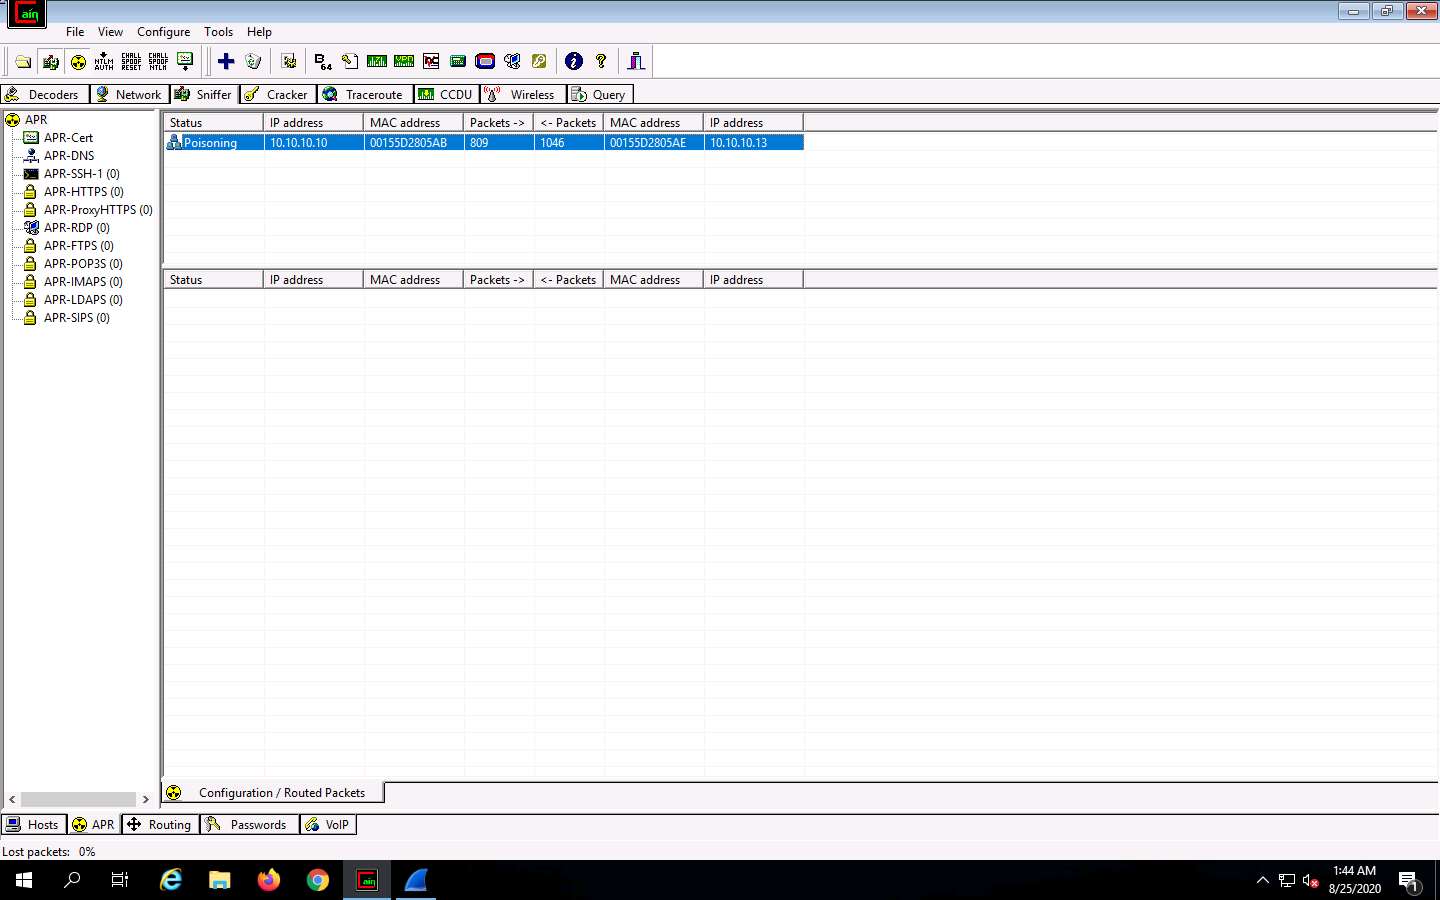
Click on the Start/Stop APR icon to start capturing ARP packets.
After clicking on the Start/Stop APR icon, Cain & Abel starts ARP poisoning and the status of the scan changes to Poisoning, as shown in the screenshot.

Cain & Abel intercepts the traffic traversing between these two machines.
To generate traffic between the machines, you need to ping one target machine using the other.
Click Parrot Security to switch to the Parrot Security machine.
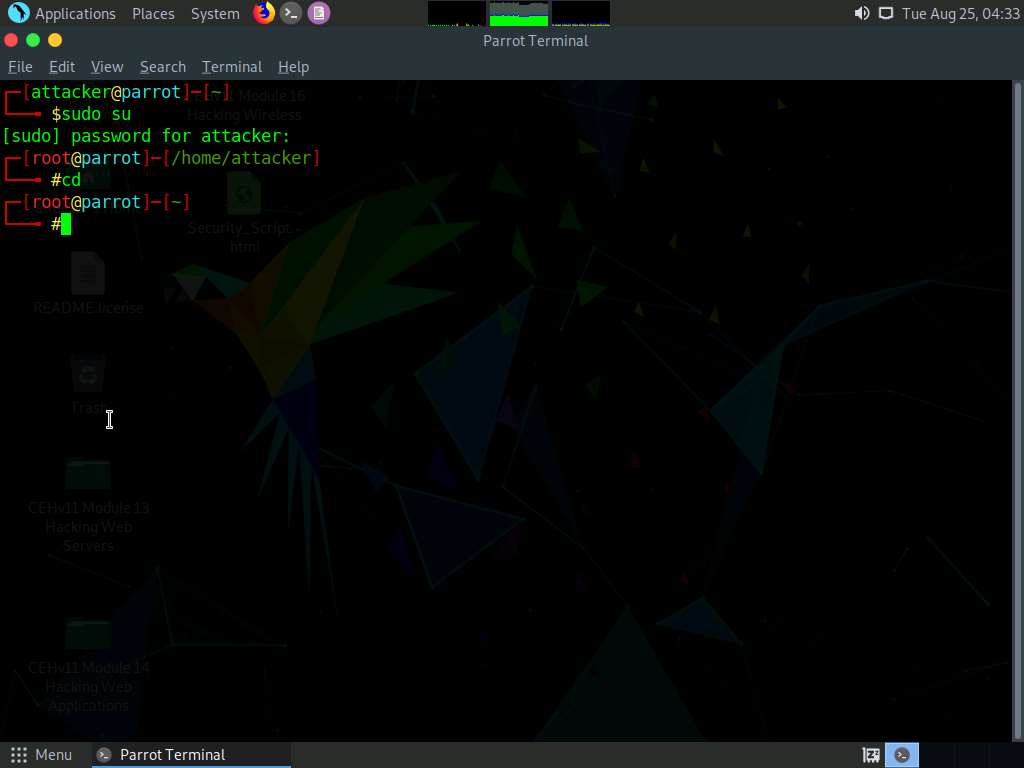
Click the MATE Terminal icon at the top of the Desktop window to open a Terminal window.

A Parrot Terminal window appears. In the terminal window, type sudo su and press Enter to run the programs as a root user.
In the [sudo] password for attacker field, type toor as a password and press Enter.
The password that you type will not be visible.
Now, type cd and press Enter to jump to the root directory.
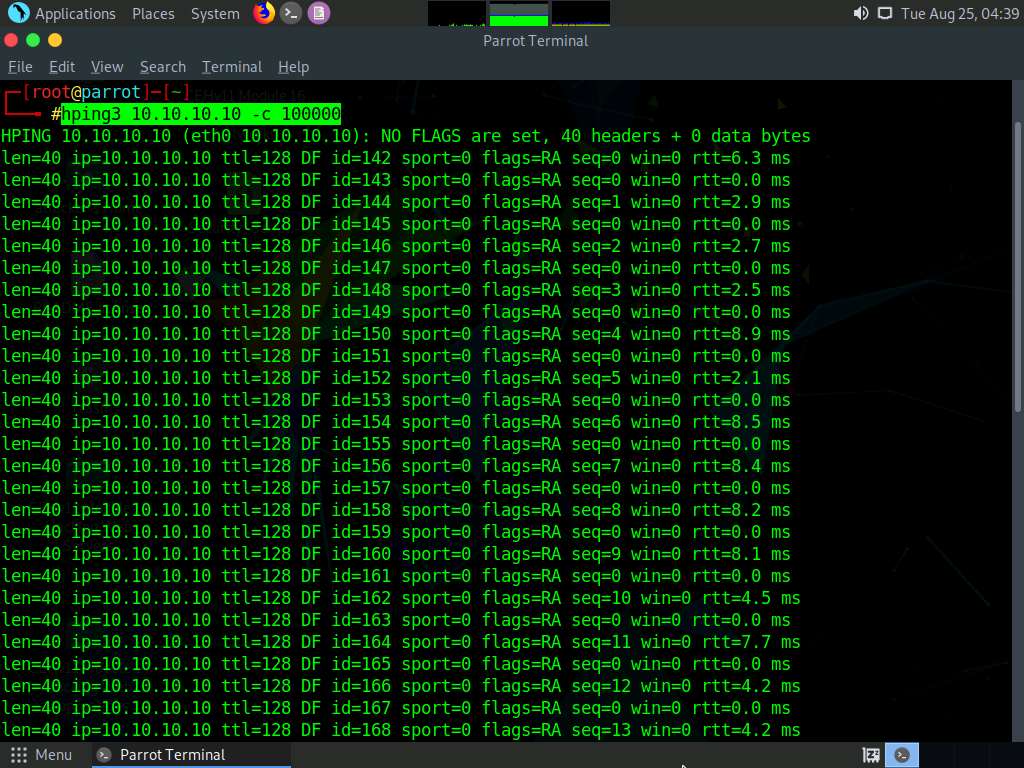
A Parrot Terminal window appears; type hping3 [Target IP Address] -c 100000 (here, target IP address is 10.10.10.10 [Windows 10]) and press Enter.
-c: specifies the packet count.
This command will start pinging the target machine (Windows 10) with 100,000 packets.
Leave the command running and immediately click Windows Server 2019 to switch to the Windows Server 2019 machine.
Navigate to the Desktop and double-click Wireshark shortcut to launch it.

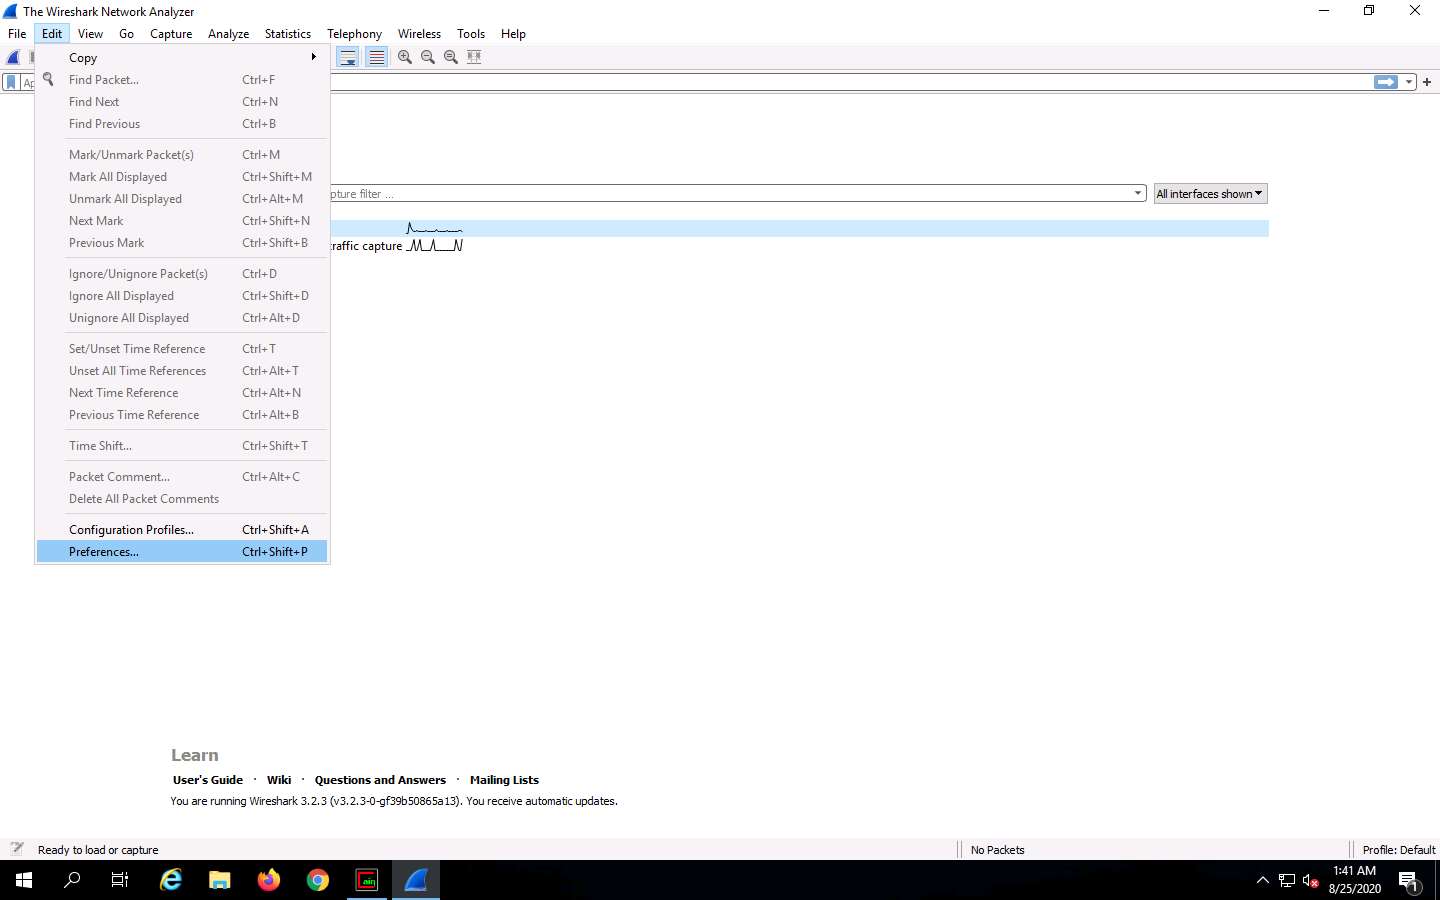
The Wireshark Network Analyzer window appears; click Edit in the menu bar and select Preferences….
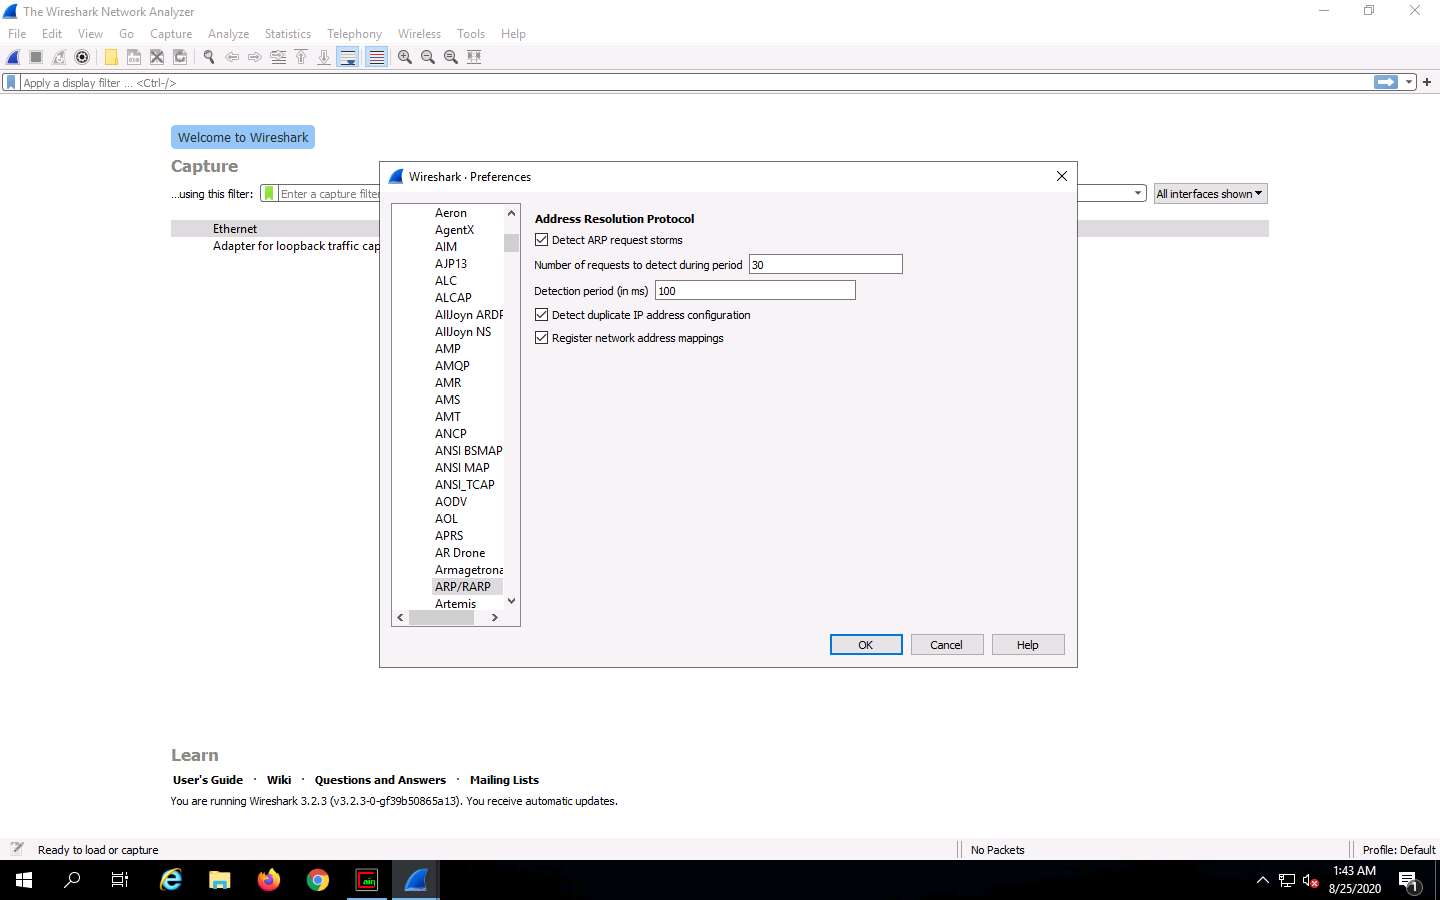
The Wireshark . Preferences window appears; expand the Protocols node.

Scroll-down in the Protocols node and select the ARP/RARP option.
From the right-hand pane, click the Detect ARP request storms checkbox and ensure that the Detect duplicate IP address configuration checkbox is checked; click OK.
Now, double-click on the adapter associated with your network (here, Ethernet) to start capturing the network packets.
Wireshark begins to capture the traffic between the two machines, as shown in the screenshot.
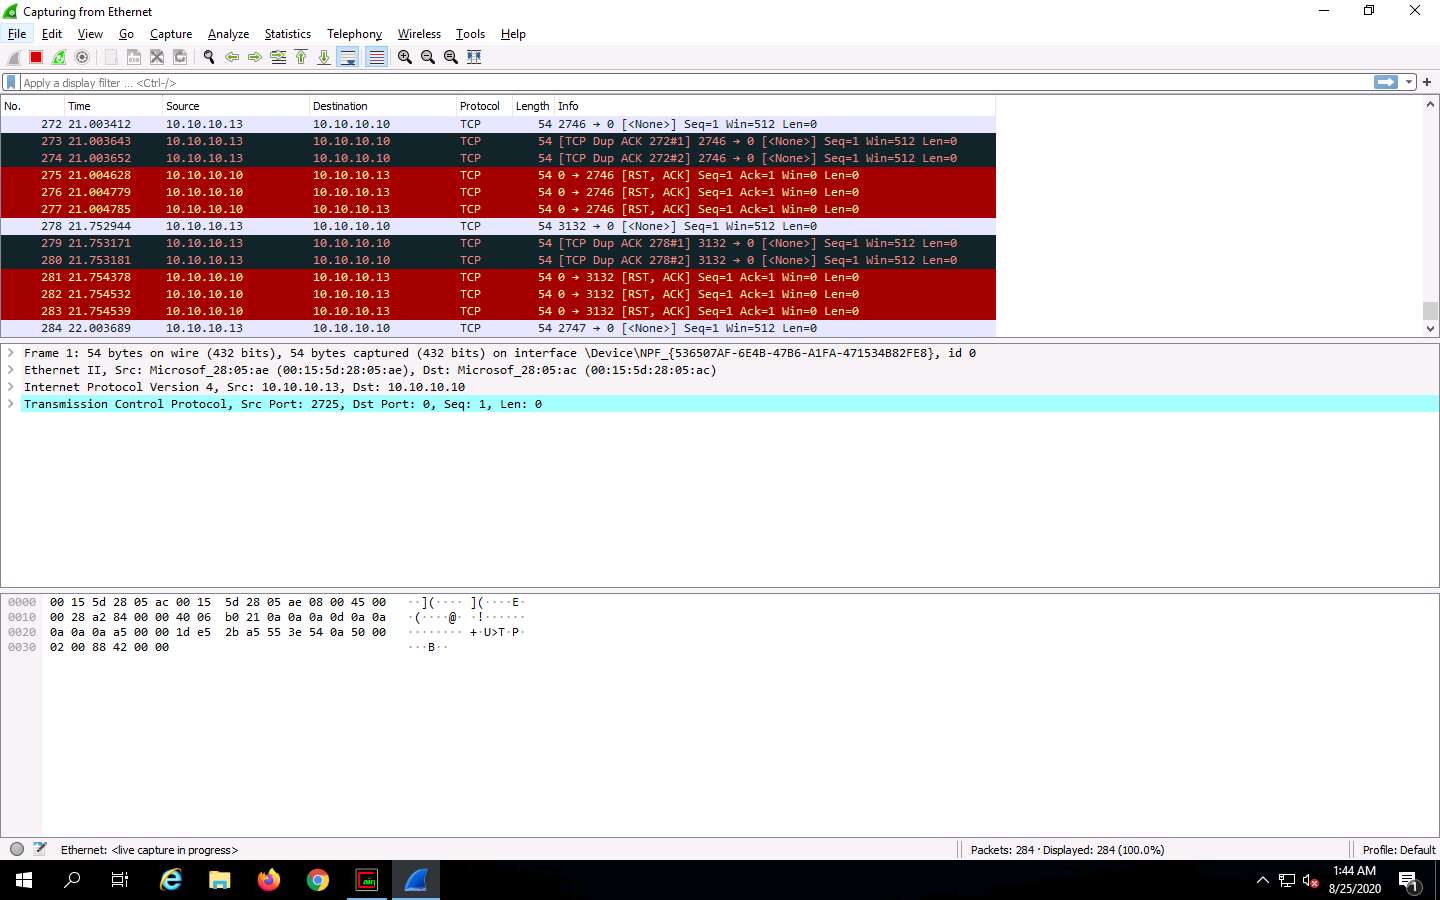
Switch to the Cain & Abel window to observe the packets flowing between the two machines.
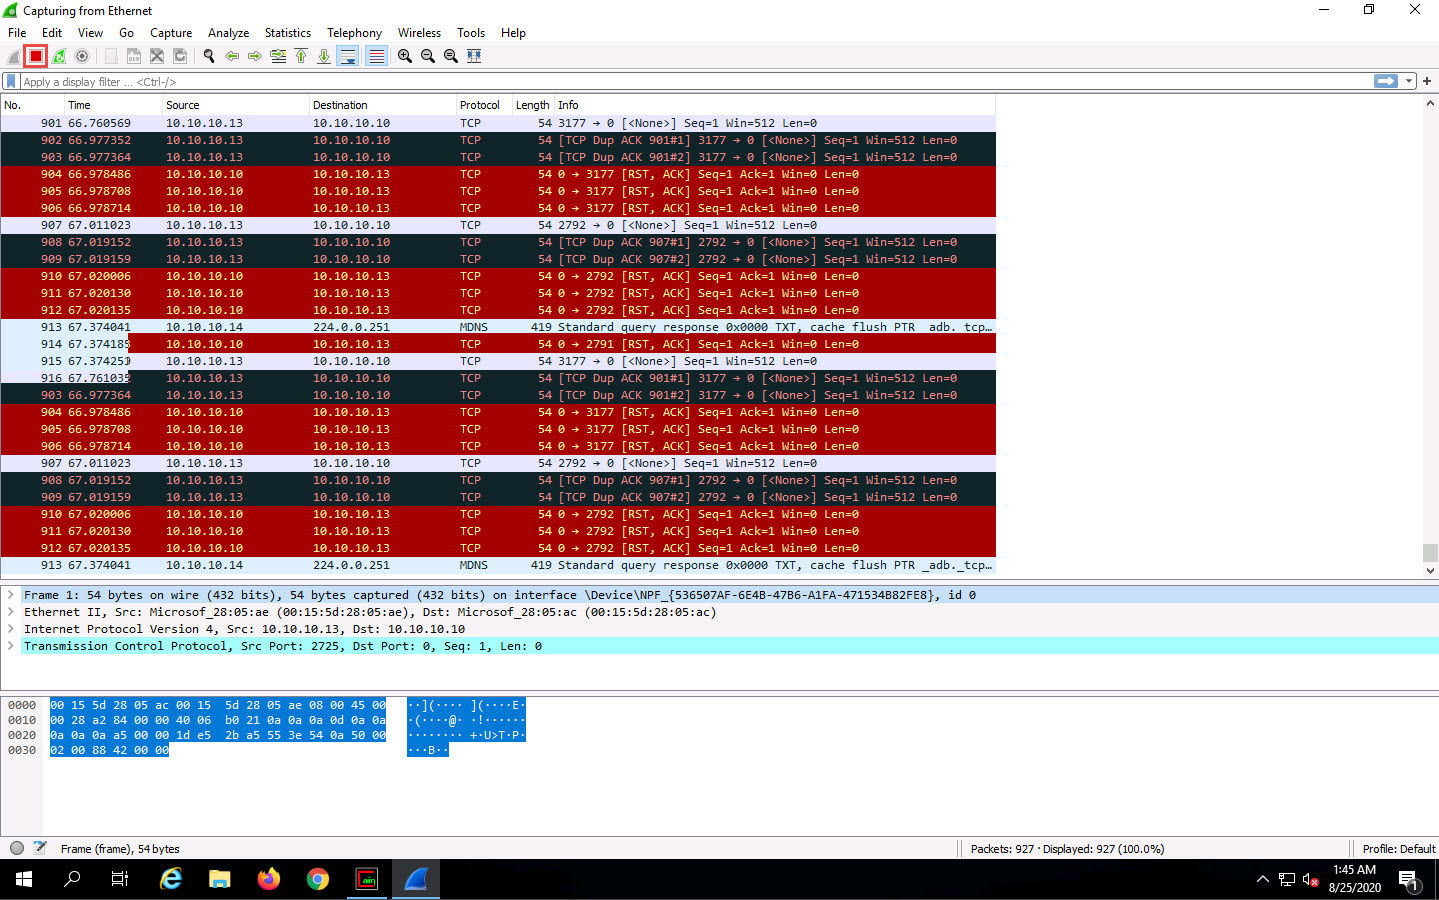
Now, switch to Wireshark and click the Stop packet capturing icon to stop the packet capturing.
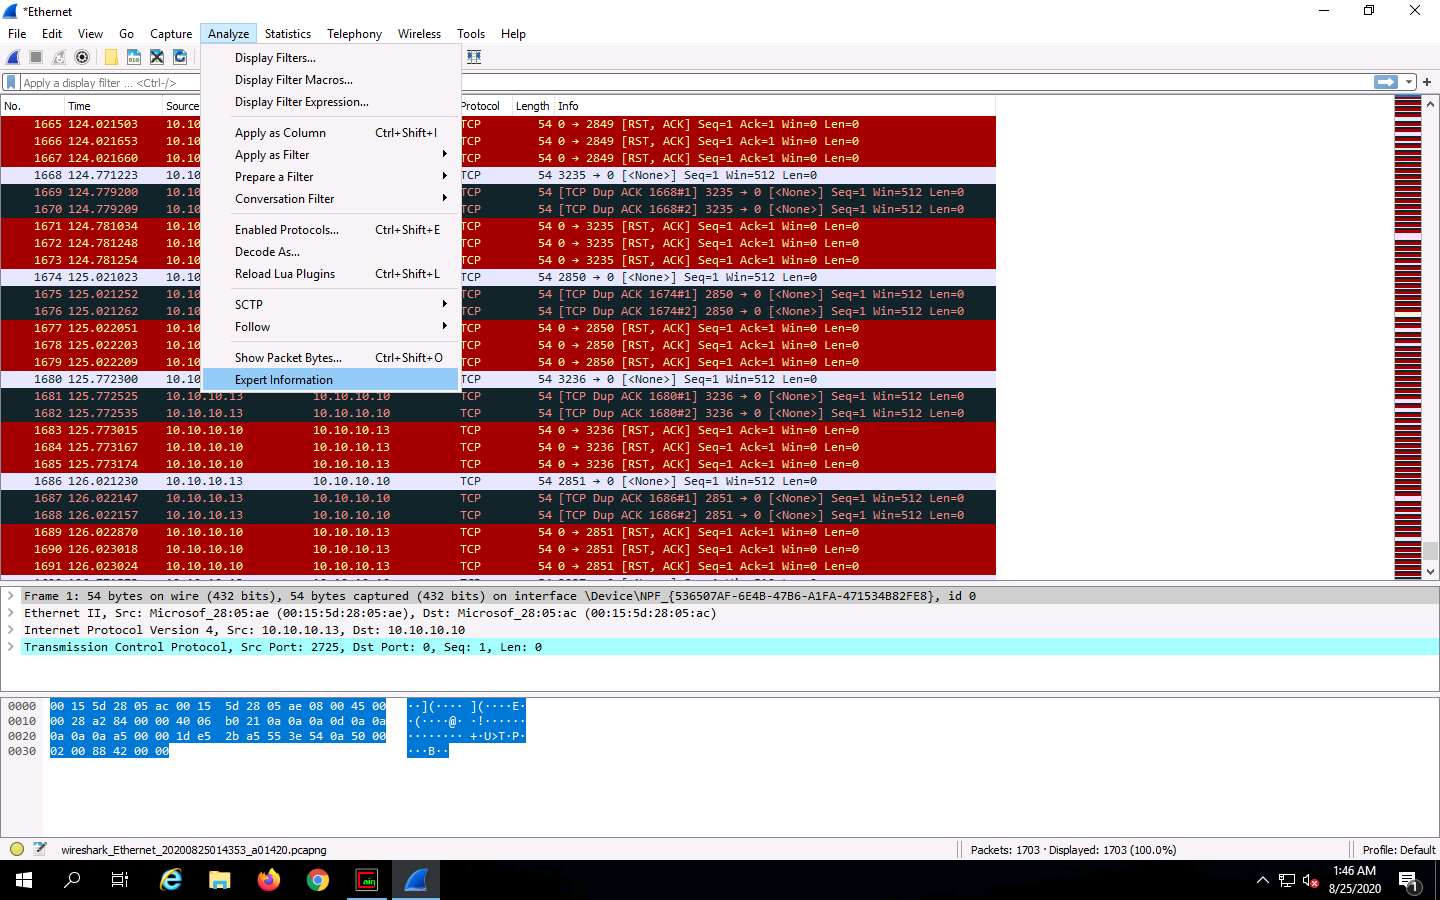
Click Analyze from the menu bar and select Expert Information from the drop-down options.
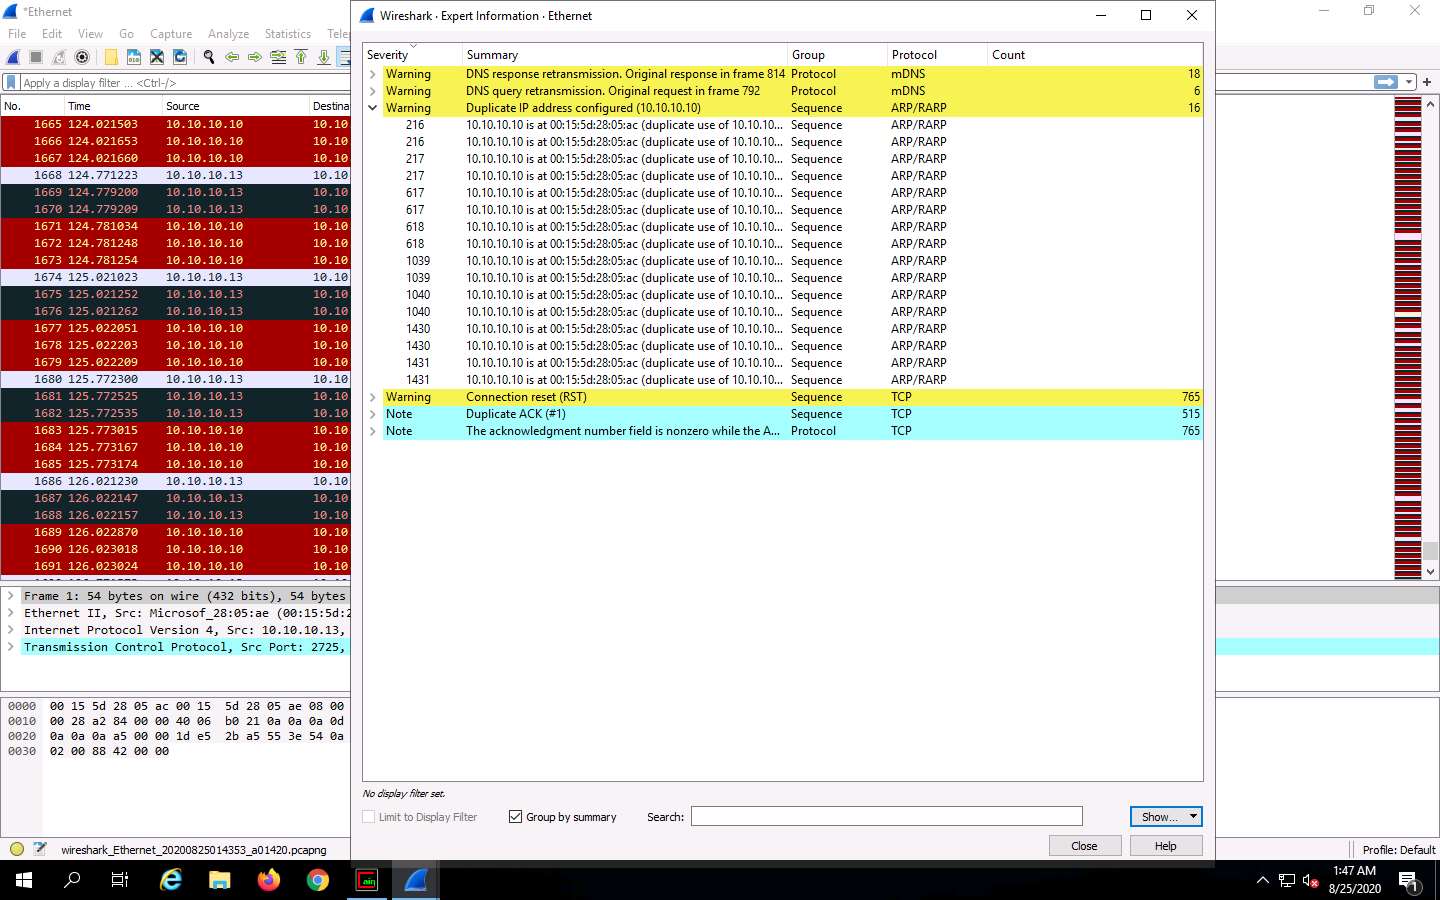
The Wireshark . Expert Information window appears; click to expand the Warning node labeled Duplicate IP address configured (10.10.10.13), running on the ARP/RARP protocol.
Arrange the Wireshark . Expert Information window above the Wireshark window so that you can view the packet number and the Packet details section.
In the Wireshark . Expert Information window, click any packet (here, 216).
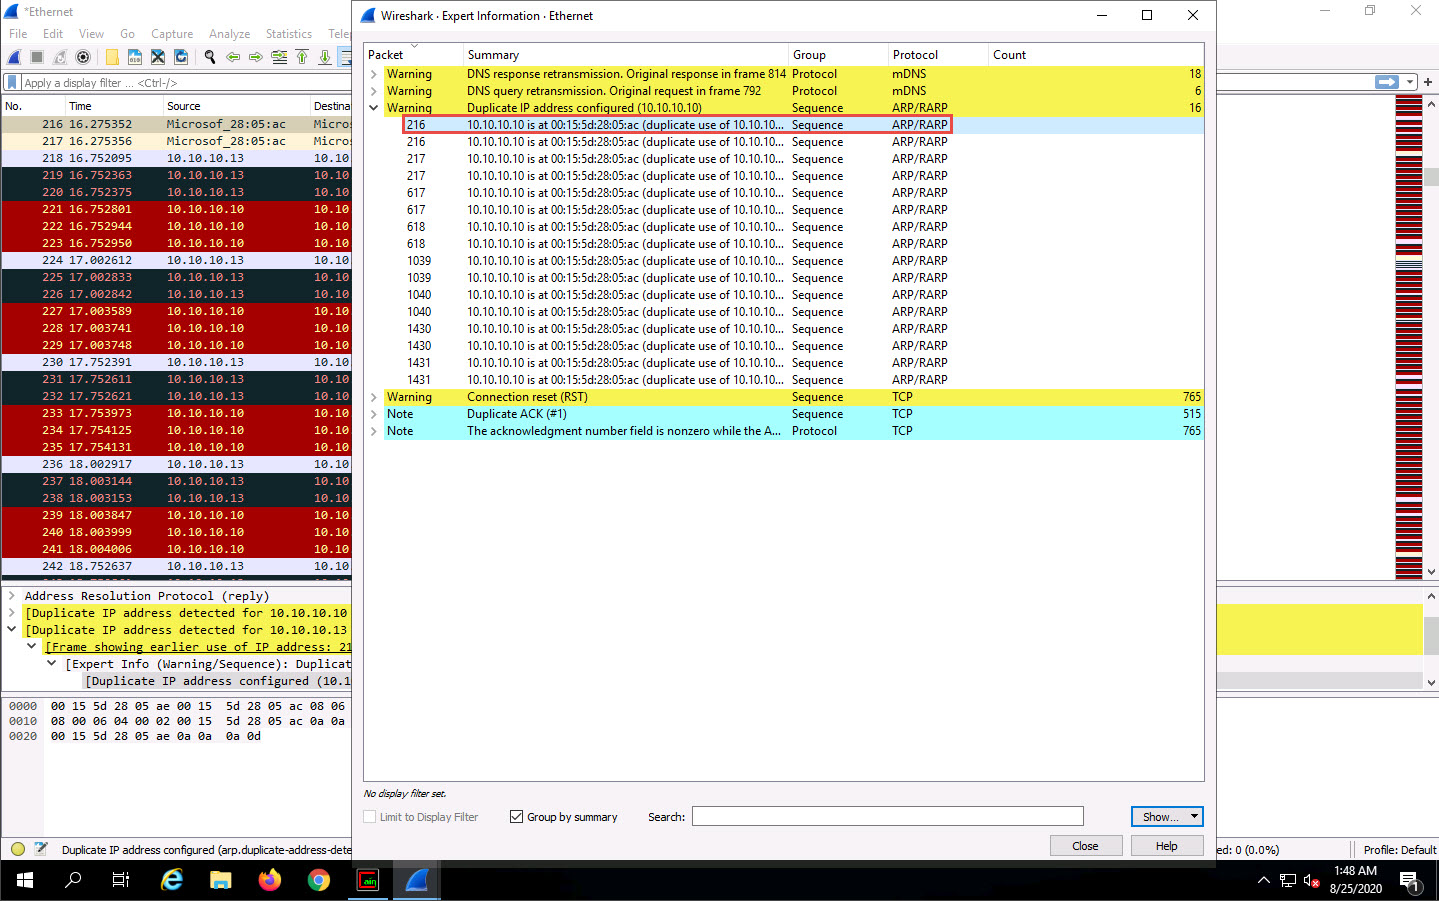
On selecting the packet number, Wireshark highlights the packet, and its associated information is displayed under the packet details section. Close the Wireshark . Expert Information window.
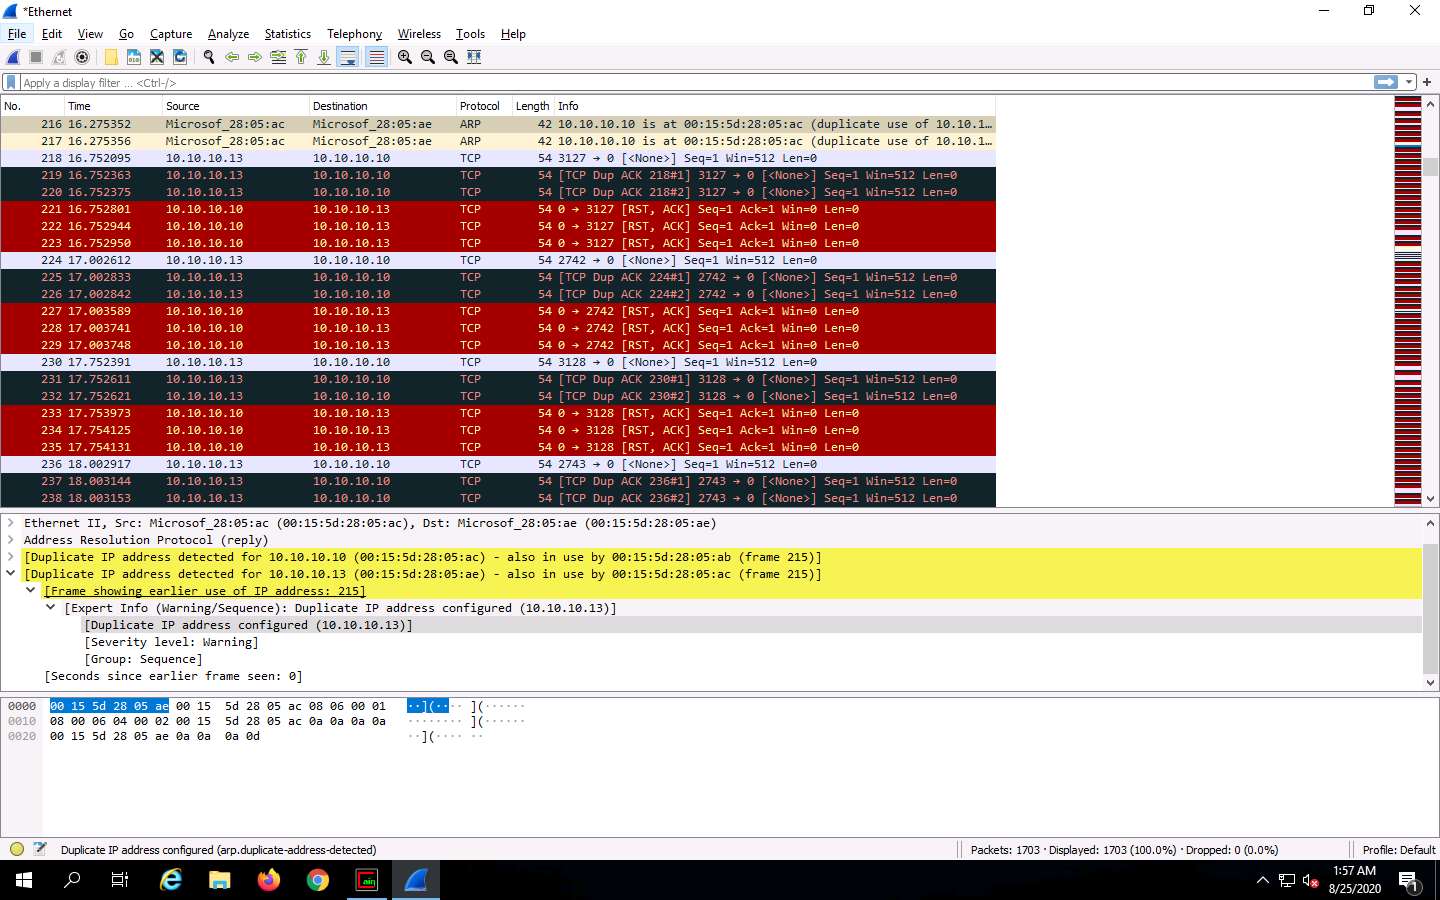
The warnings highlighted in yellow indicate that duplicate IP addresses have been detected at one MAC address, as shown in the screenshot.
ARP spoofing succeeds by changing the IP address of the attacker’s computer to the IP address of the target computer. A forged ARP request and reply packet find a place in the target ARP cache in this process. As the ARP reply has been forged, the destination computer (target) sends frames to the attacker’s computer, where the attacker can modify the frames before sending them to the source machine (User A) in an MITM attack. At this point, the attacker can launch a DoS attack by associating a non-existent MAC address with the IP address of the gateway or may passively sniff the traffic, and then forward it to the target destination.
This concludes the demonstration of detecting ARP poisoning in a switch-based network.
Close the Wireshark window and leave all other windows running.
Task 2: Detect ARP Attacks using XArp
XArp is a security application that detects ARP-based attacks. It detects critical network attacks that firewalls cannot cover. It uses advanced techniques to detect ARP attacks like ARP spoofing. This application screens the whole subnet for ARP attacks using different security levels and fine-tuning possibilities. A local network that is subject to ARP attacks inspects every ARP packet and reports attacks against remote machines.
Here, we will use the XArp tool to detect ARP attacks in the network.
Ensure that the ARP poisoning is running from the previous task where we used the Windows Server 2019 machine to perform ARP poisoning on the target systems, the Windows 10 and Parrot Security machines.
Click Windows 10 to switch to the Windows 10 machine. Navigate to D:\CEH-Tools\CEHv11 Module 08 Sniffing\ARP Spoofing Detection Tools\XArp and double-click xarp-2.2.2-win.exe.
If a User Account Control pop-up appears, click Yes.

The XArp Setup window appears; click Next.
Follow the wizard-driven installation steps to install XArp with the default settings.

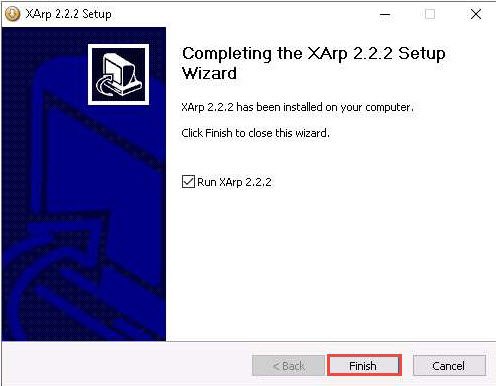
On completion of the installation, the Completing the XArp Setup Wizard appears. Ensure that the Run XArp checkbox is selected and click Finish.
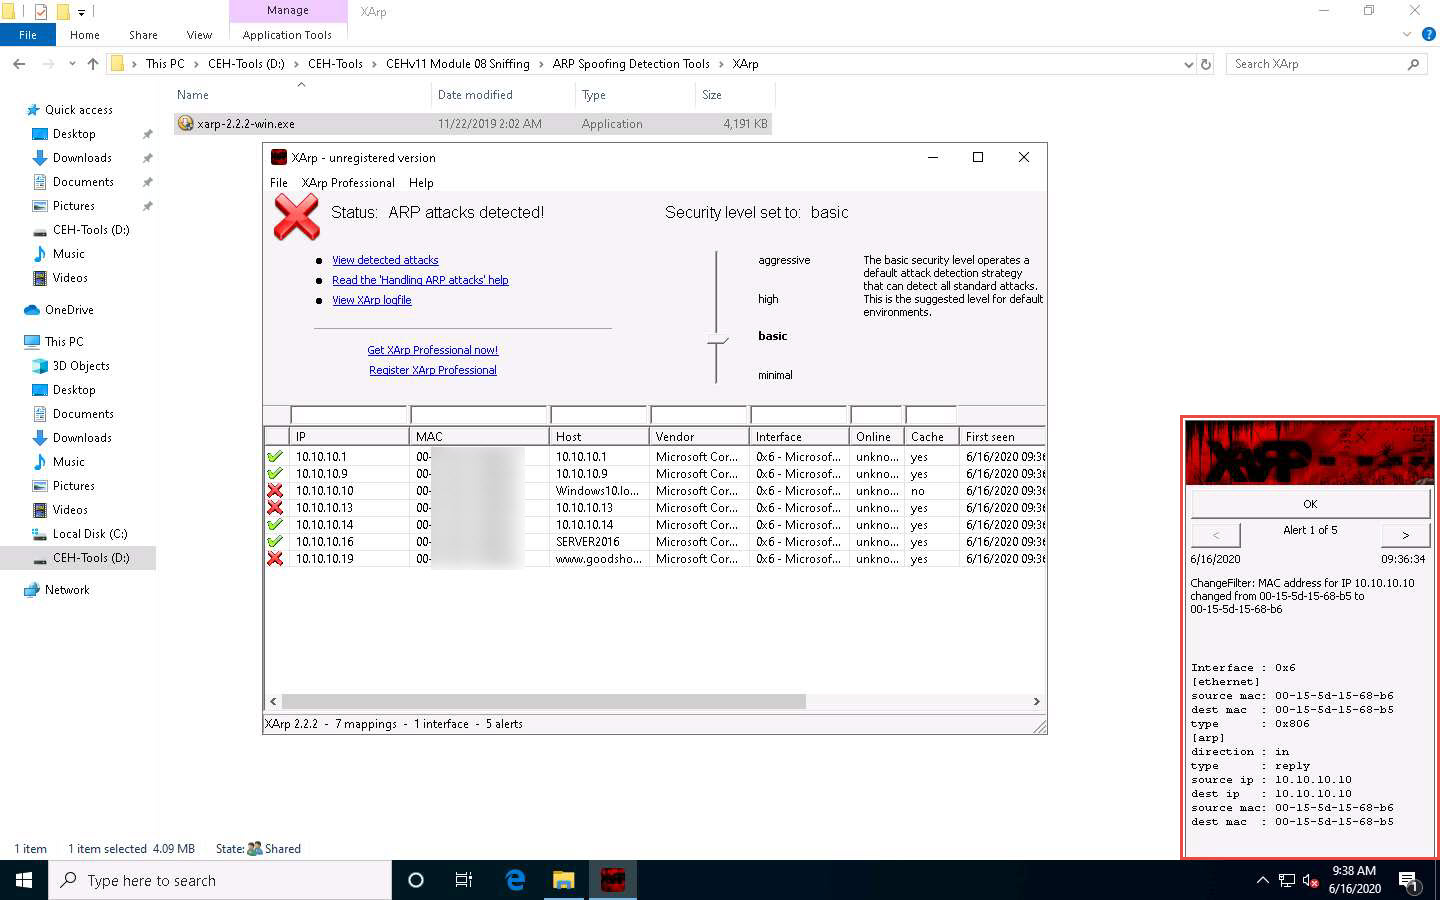
The XArp main window appears with a Status of ARP attacks detected! It also displays lists of the IPs, MAC addresses, hosts, and other information regarding the machines in the network.
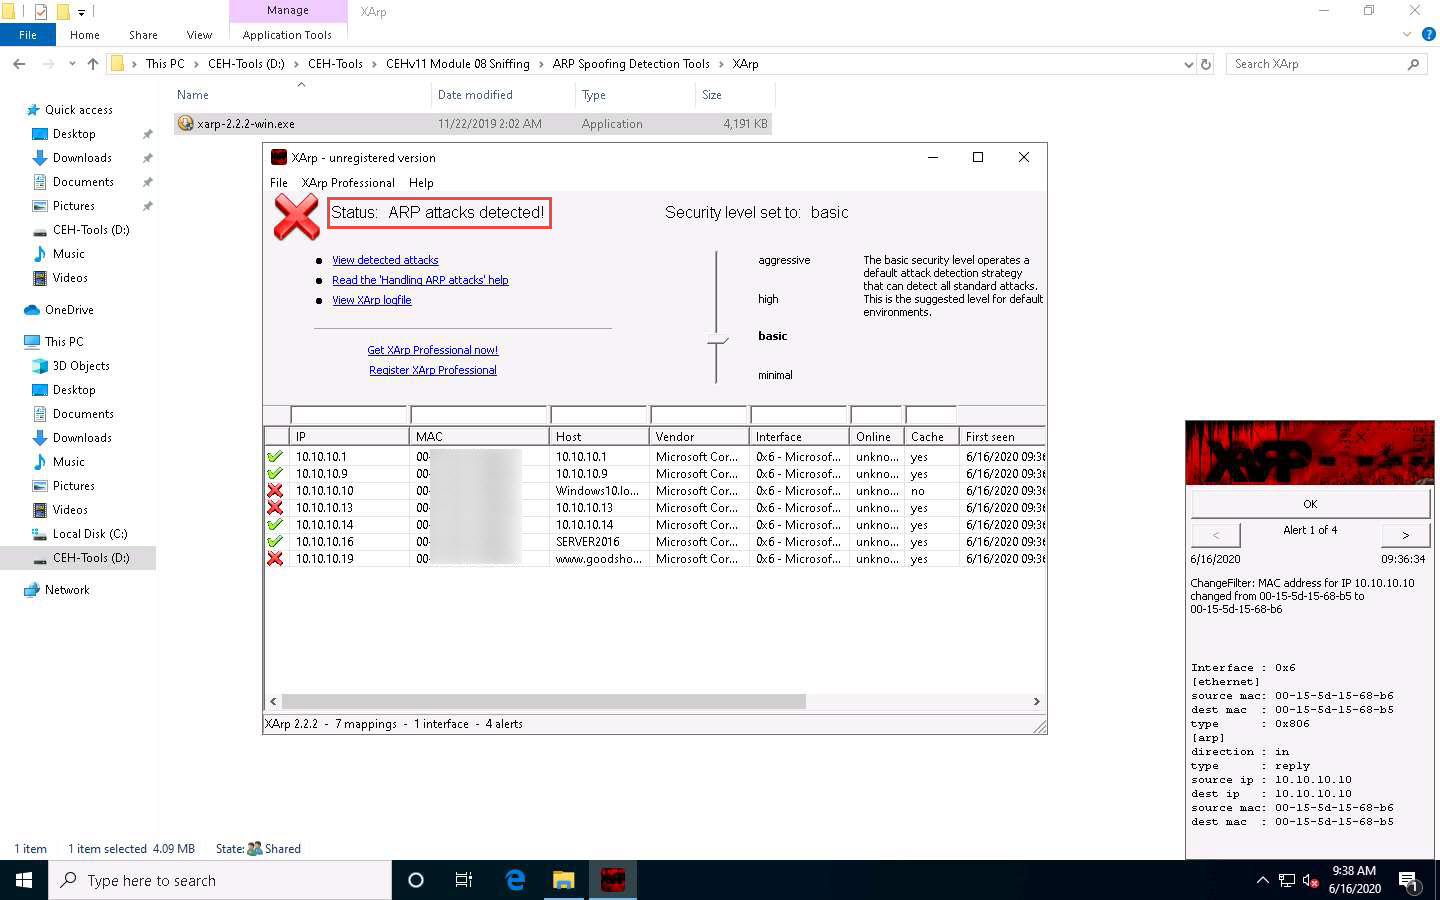
The XArp pop-up appears in the right-hand pane of Desktop, displaying the Alert.
This concludes the demonstration of detecting APR poisoning using XArp.
Close the XArp tool window and leave all other windows running.
Document all the acquired information.
Navigate to Control Panel --> Programs --> Programs and Features and uninstall XArp.
Task 3: Detect Promiscuous Mode using Nmap and NetScanTools Pro
Promiscuous mode allows a network device to intercept and read each network packet that arrives in its entirety. The sniffer toggles the NIC of a system to promiscuous mode, so that it listens to all data transmitted on its segment. A sniffer can constantly monitor all network traffic to a computer through the NIC by decoding the information encapsulated in the data packet. Promiscuous mode in the network can be detected using various tools.
Here, we will use the Nmap Scripting Engine (NSE) and NetScan Tools Pro to check if a system on a local Ethernet has its network card in promiscuous mode.
Ensure that the ARP poisoning is still running from the previous task where we used the Windows Server 2019 machine to perform ARP poisoning on the target systems, the Windows 10 and Parrot Security machines.
Click Windows 10 to switch to the Windows 10 machine, double-click the Nmap - Zenmap GUI shortcut on Desktop to launch Nmap.

The Zenmap window appears. In the Command field, type the command nmap --script=sniffer-detect [Target IP Address/ IP Address Range] (here, target IP address is 10.10.10.19 [Windows Server 2019]) and click Scan.
The scan results appear, displaying Likely in promiscuous mode under the Host script results section. This indicates that the target system is in promiscuous mode.
Close the Nmap tool window and document all the acquired information.
Now, we shall perform promiscuous mode detection using NetScanTools Pro.
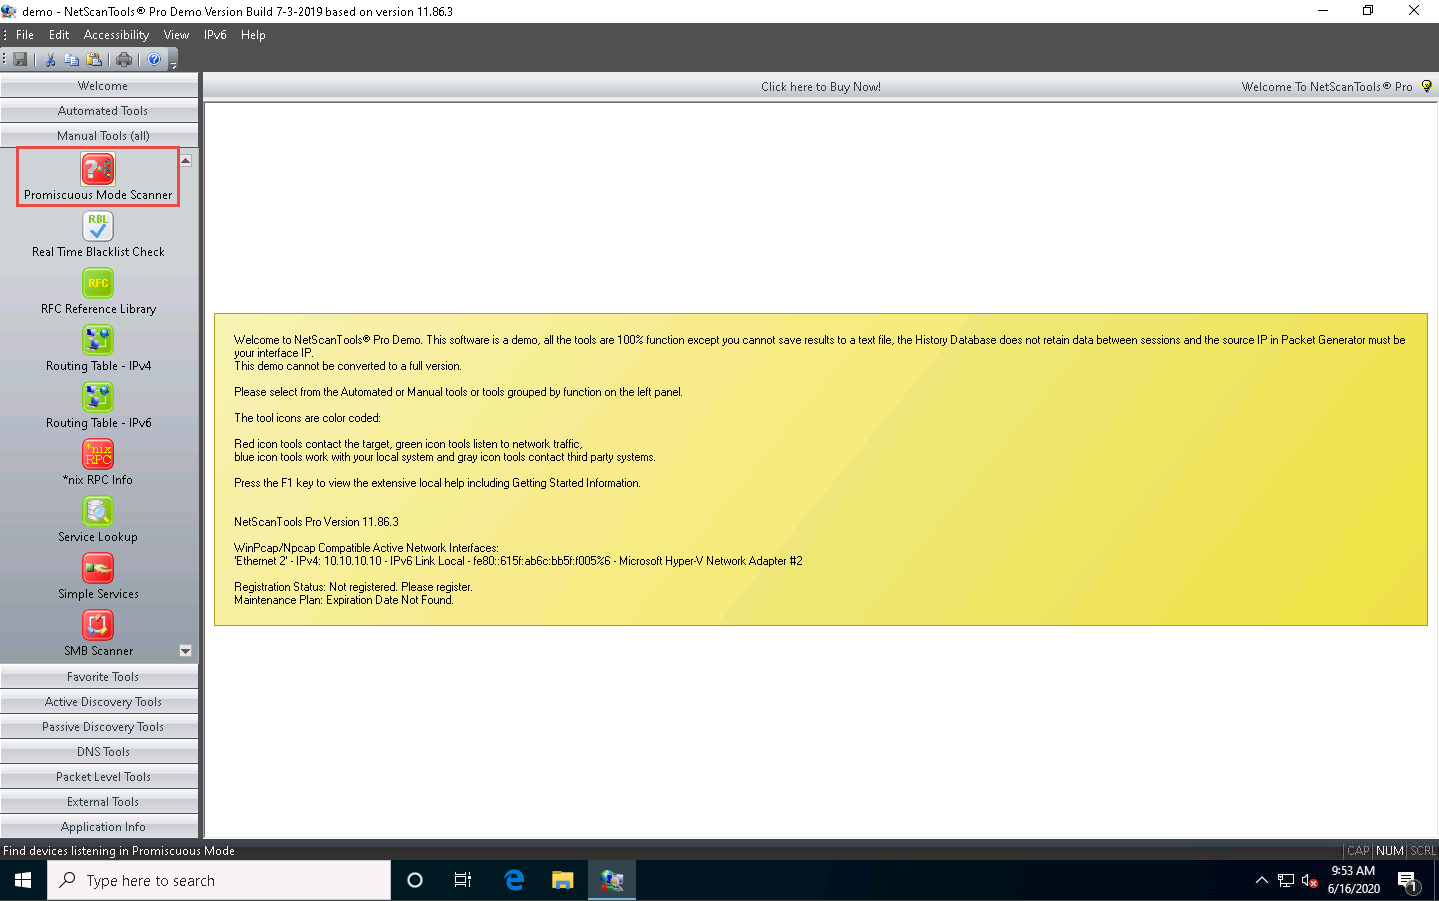
Double-click the NetScanTools Pro Demo shortcut on Desktop to launch NetScanTools Pro.
If a remainder appears Click on Start the DEMO
In the next page select Start NetScan Tools Pro Demo…

The NetScanTools Pro main window appears. In the left-hand pane, under the Manual Tools (all) section, scroll down and click the Promiscuous Mode Scanner option.
If a dialog box explaining the Promiscuous Mode Scanner tool appears, click OK.
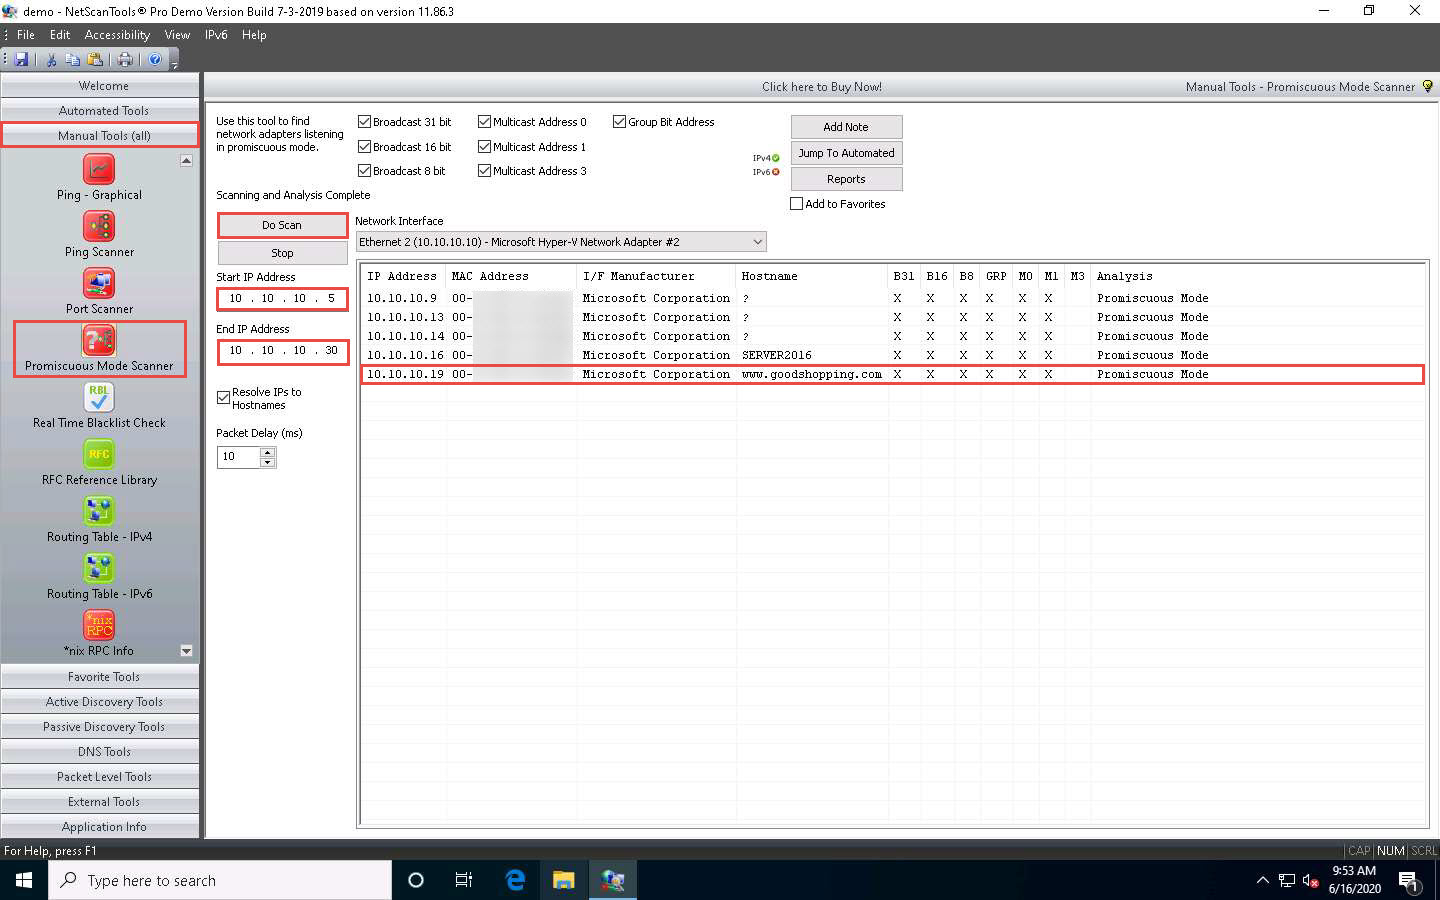
In the right-hand pane, enter Start IP Address and End IP Address as 10.10.10.5 and 10.10.10.30, respectively, and click the Do Scan button.
The results appear, displaying IP Address 10.10.10.19 as being in Promiscuous Mode under the Analysis column, as shown in the screenshot.
This concludes the demonstration of detecting promiscuous mode using Nmap and NetScanTools Pro.
Close all open windows and document all the acquired information.


Comments
Post a Comment