Lab 2: Exploit S3 Buckets
Lab 2: Exploit S3 Buckets
Lab Scenario
As a professional ethical hacker or pen tester, you must have sound knowledge of enumerating S3 buckets. Using various techniques, you can exploit misconfigurations in bucket implementation and breach the security mechanism to compromise data privacy. Leaving the S3 bucket session running enables you to modify files such as JavaScript or related code and inject malware into the bucket files. Furthermore, finding the bucket’s location and name will help you in testing its security and identifying vulnerabilities in the implementation.
Lab Objectives
- Exploit open S3 buckets using AWS CLI
Overview of S3 Buckets
S3 buckets are used by customers and end users to store text documents, PDFs, videos, images, etc. To store all these data, the user needs to create a bucket with a unique name.
Listed below are several techniques that can be adopted to identify AWS S3 Buckets:
- Inspecting HTML: Analyze the source code of HTML web pages in the background to find URLs to the target S3 buckets
- Brute-Forcing URL: Use Burp Suite to perform a brute-force attack on the target bucket’s URL to identify its correct URL
- Finding subdomains: Use tools such as Findsubdomains and Robtex to identify subdomains related to the target bucket
- Reverse IP Search: Use search engines such as Bing to perform reverse IP search to identify the domains of the target S3 buckets
- Advanced Google hacking: Use advanced Google search operators such as “inurl” to search for URLs related to the target S3 buckets
Task 1: Exploit Open S3 Buckets using AWS CLI
The AWS command line interface (CLI) is a unified tool for managing AWS services. With just one tool to download and configure, you can control multiple AWS services from the command line and automate them through scripts.
Before starting this task, you must create your AWS account (https://aws.amazon.com).
In the Parrot Security machine, click the MATE Terminal icon in the menu to launch the terminal.
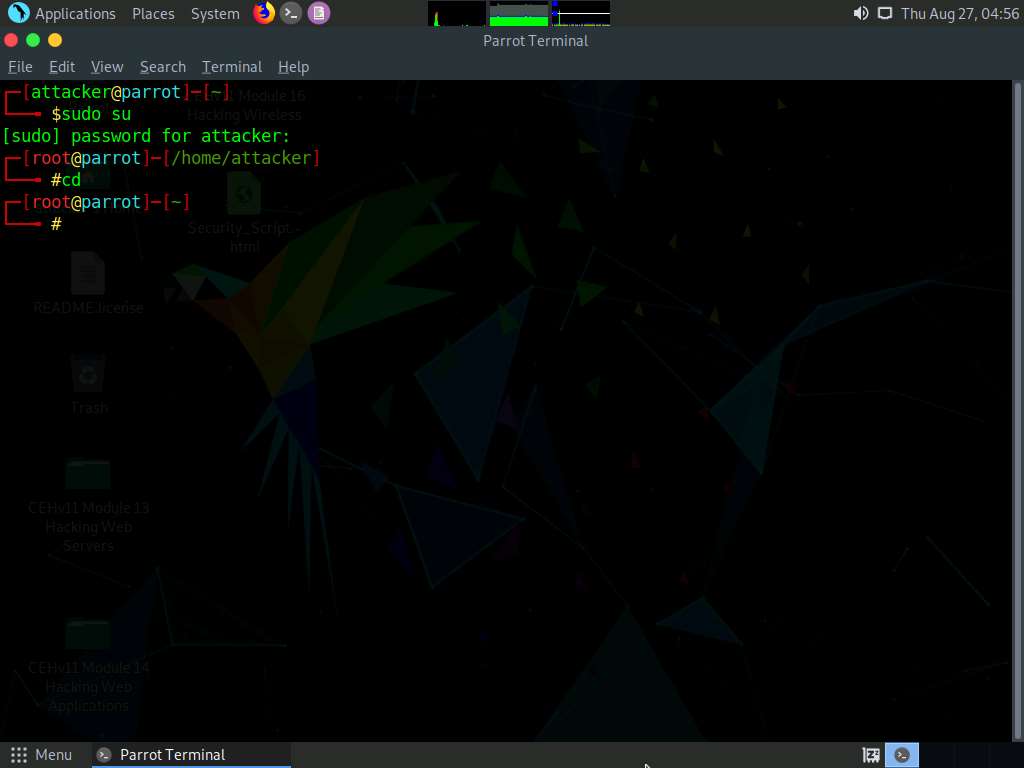
A Parrot Terminal window appears. In the terminal window, type sudo su and press Enter to run the programs as a root user.
In the [sudo] password for attacker field, type toor as a password and press Enter.
The password that you type will not be visible.
Now, type cd and press Enter to jump to the root directory.
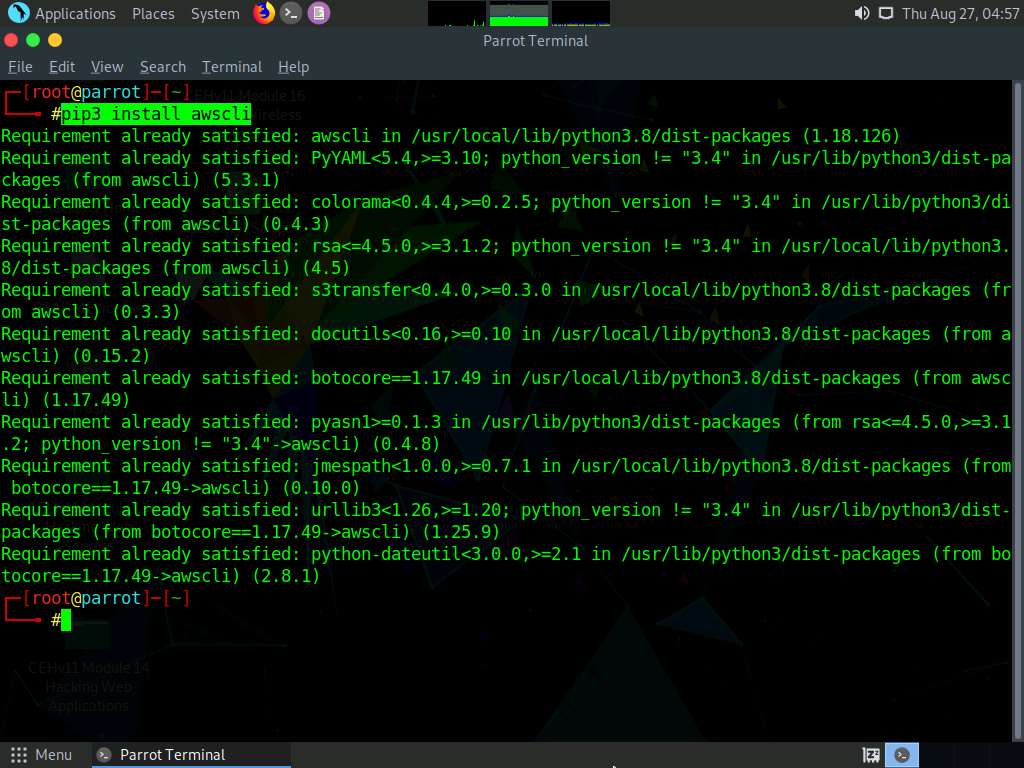
In the terminal window, type pip3 install awscli and press Enter to install AWS CLI.
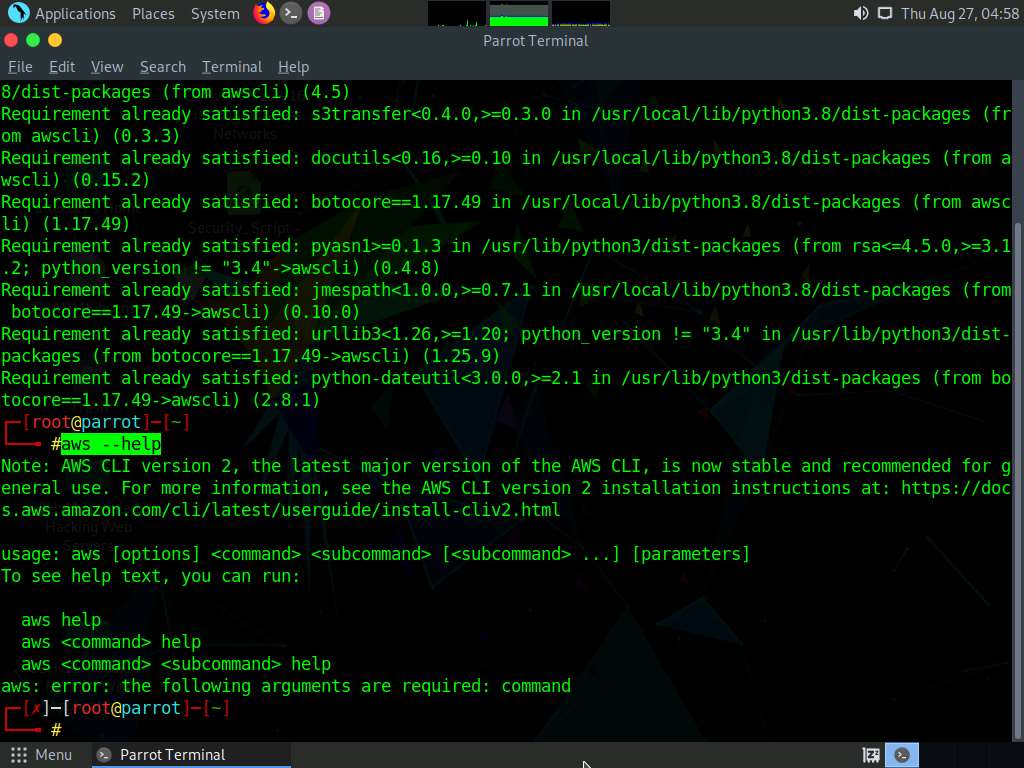
Once the installation is completed, type aws --help and press Enter to check whether AWS CLI is properly installed.
Here, the awscli is already installed.
Ignore the errors (if you find any).
Now, we need to configure AWS CLI. To configure AWS CLI in the terminal window, type aws configure and press Enter.
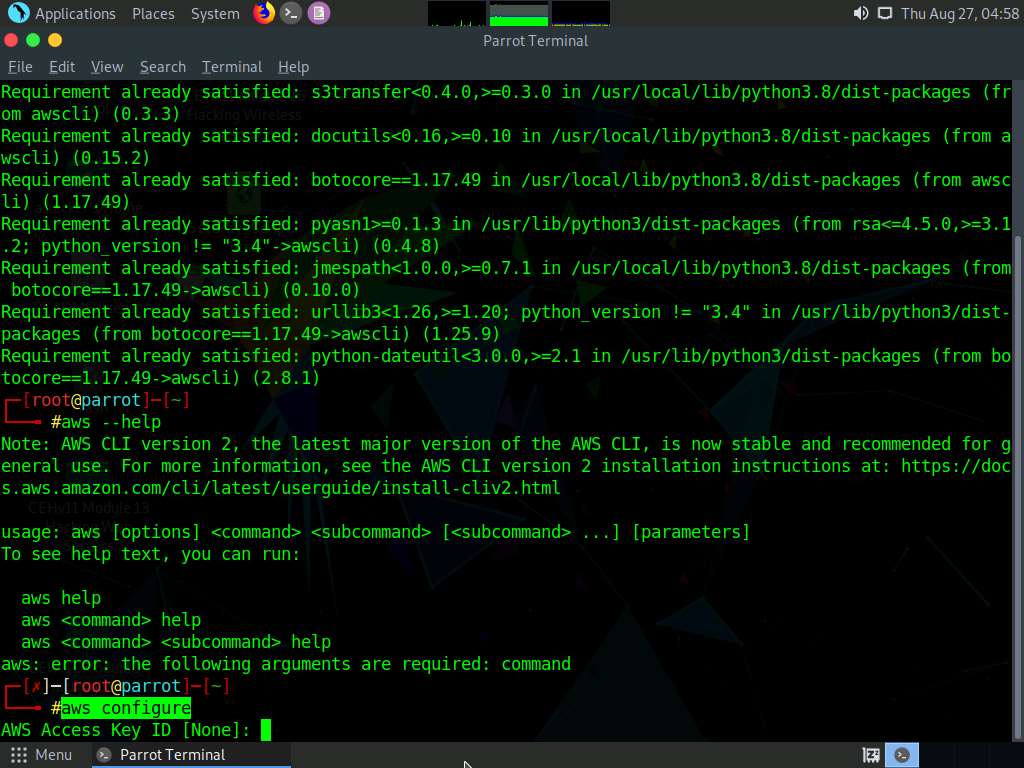
It will ask for the following details:
- AWS Access Key ID
- AWS Secret Access Key
- Default region name
- Default output format
To provide these details, you need to login to your AWS account.
Cick Firefox icon from the top-section of the Desktop.
Login to your AWS account that you created at the beginning of this task. Click the Firefox browser icon in the menu, type https://console.aws.amazon.com in the address bar, and press Enter.
If you do not have an AWS account, create one with the Basic Free Plan, and then proceed with the tasks.
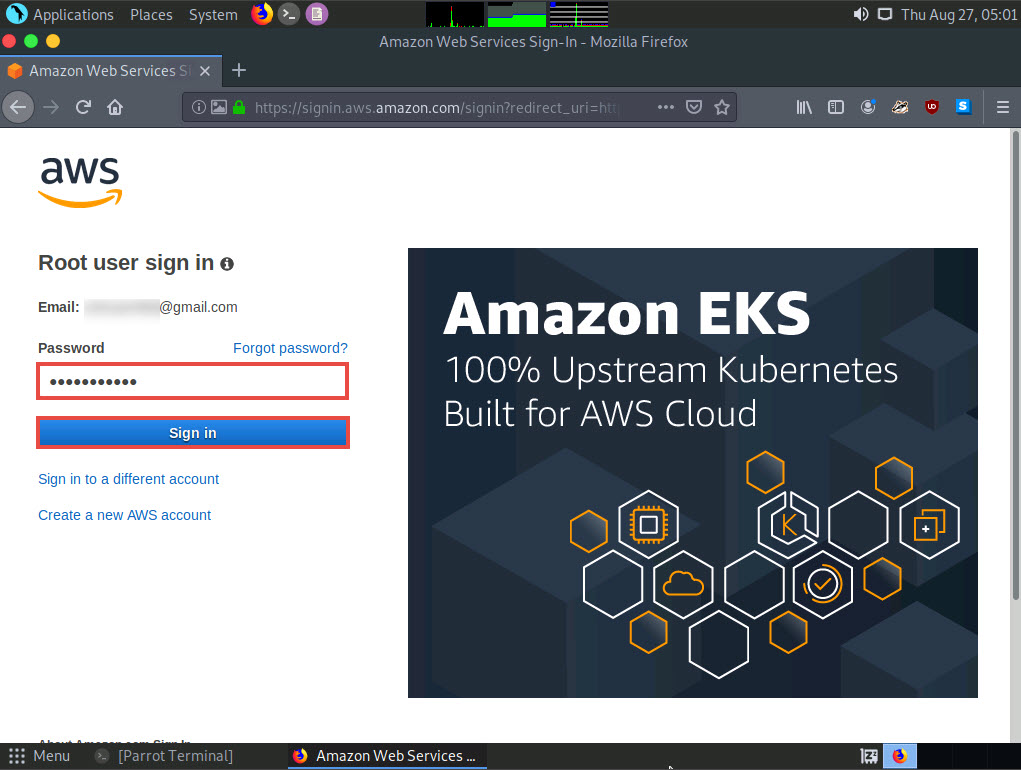
The Amazon Web Services Sign-In page appears; type your email account in the Email address field and click Next.

Type your AWS account password in the Password field and click Sign in.
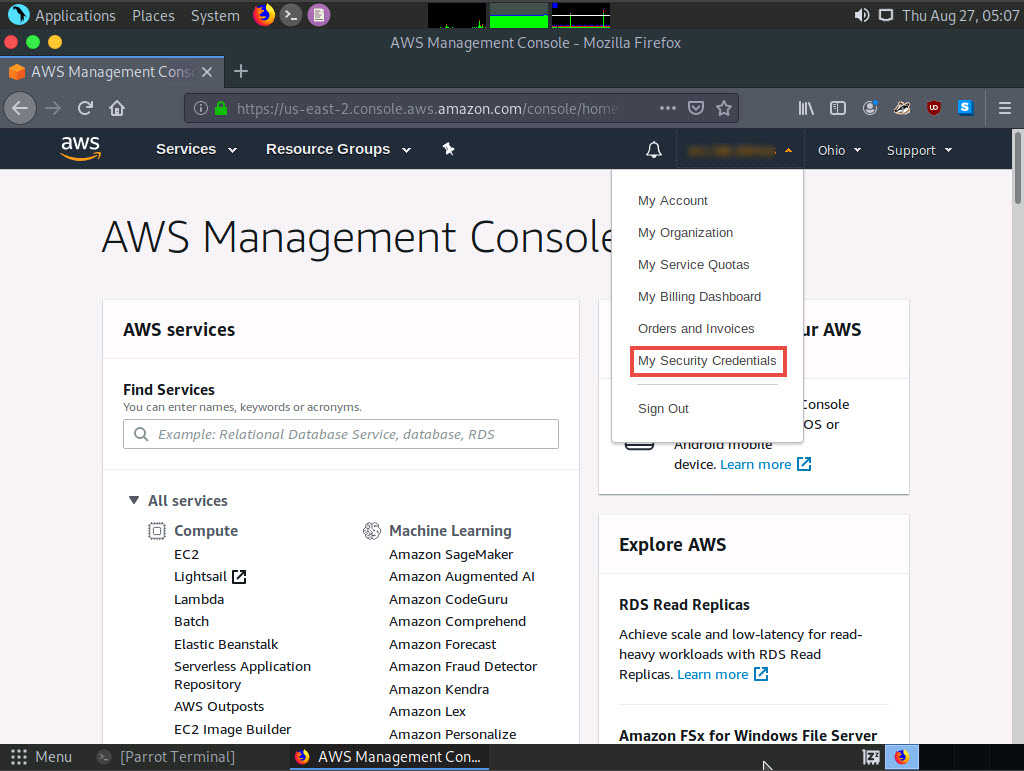
Click the AWS account drop-down menu and click My Security Credentials, as shown in the screenshot.
Click Access keys (access key ID and secret access key) in the Your Security Credentials section.
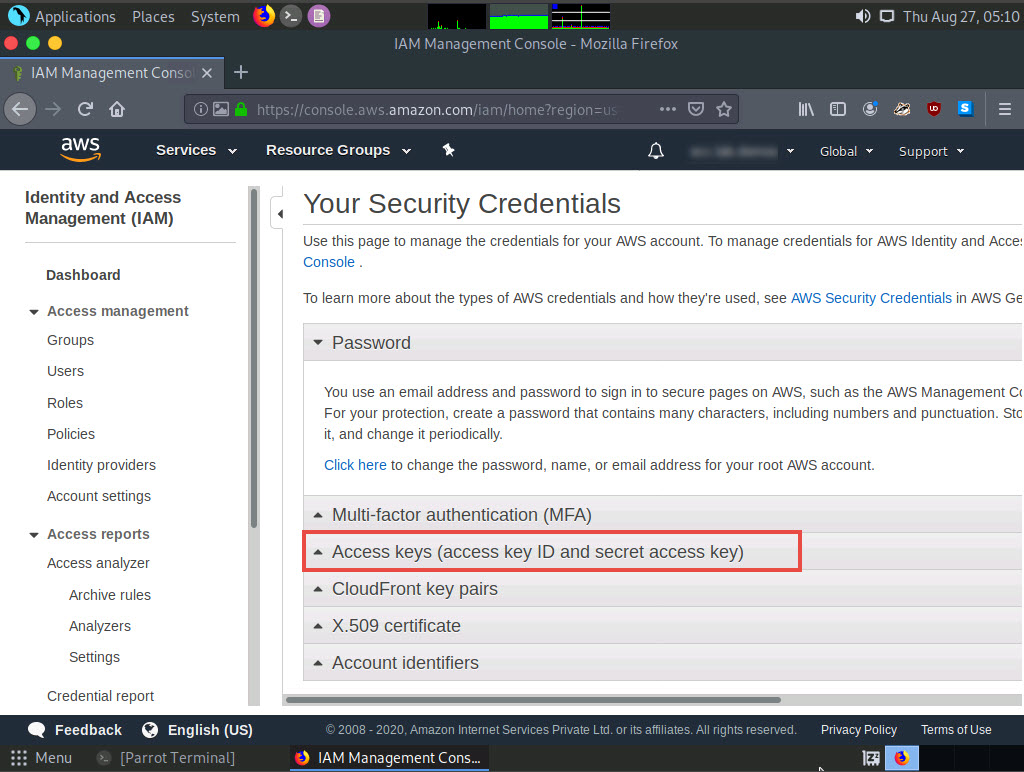
Click the Create New Access Key button.

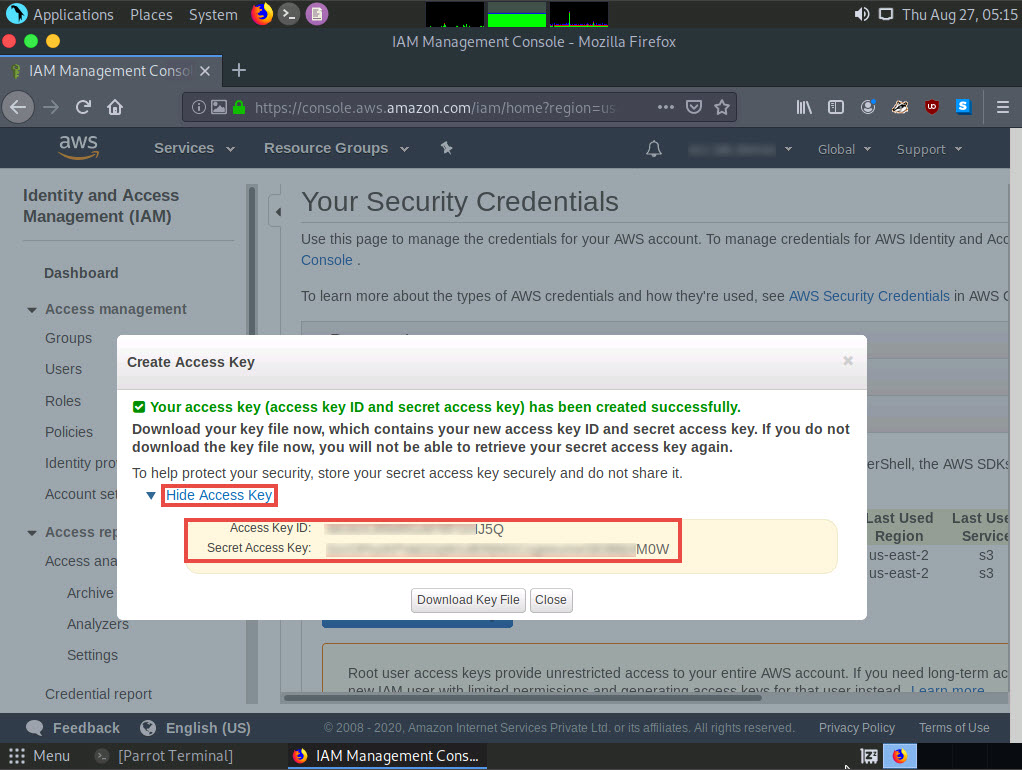
A Create Access Key pop-up appears, stating that your access key has been successfully created. Click the Show Access Key link to view the access key.
Copy the Access Key ID displayed by pressing Ctrl+C on your keyboard and switch to the Terminal window.
In the terminal window, right-click your mouse; select Paste from the context menu to paste the copied Access Key ID and press Enter. It will prompt you to the AWS Secret Access Key. Switch to your AWS Account in the browser.
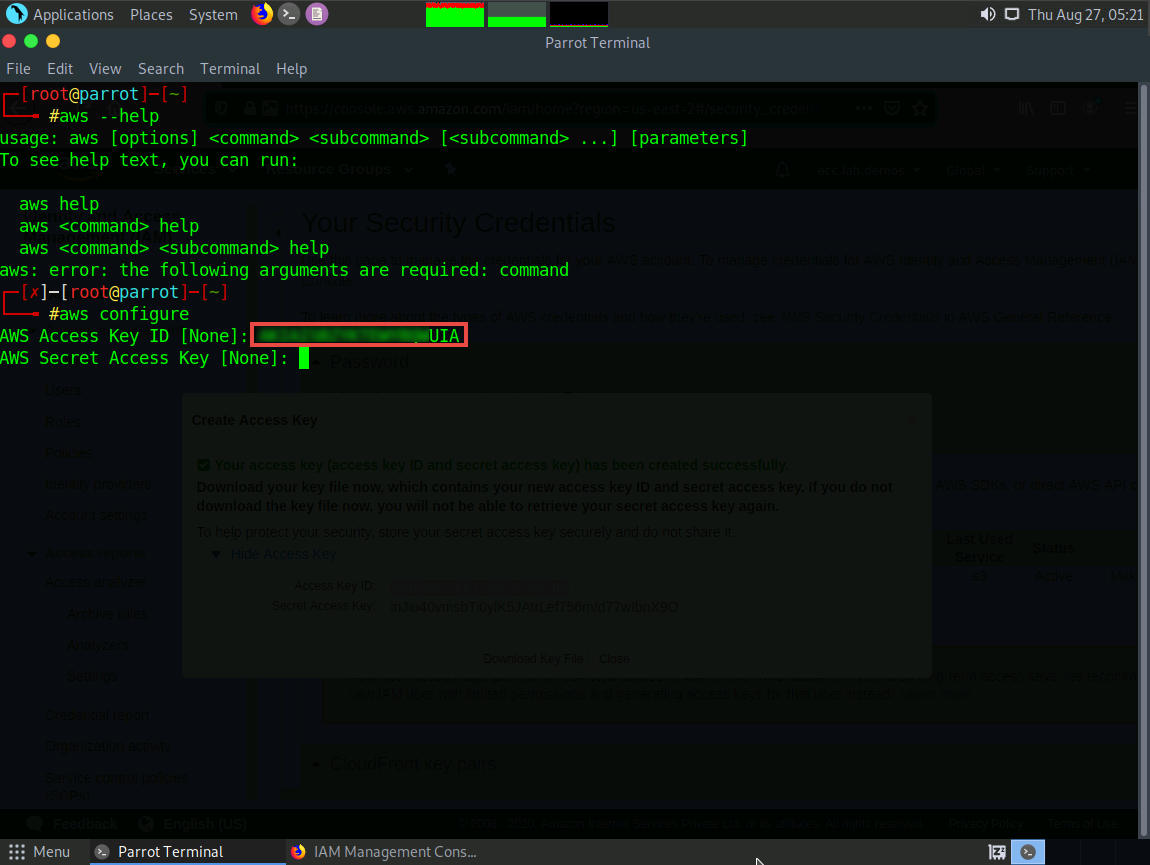
In the Create Access Key pop-up, select the Secret Access Key displayed, copy it by pressing Ctrl+C on your keyboard, and minimize the browser window. Switch to the Terminal window.
In the terminal window, right-click your mouse, select Paste from the context menu to paste the copied Secret Access Key and press Enter. It will prompt you for the default region name.
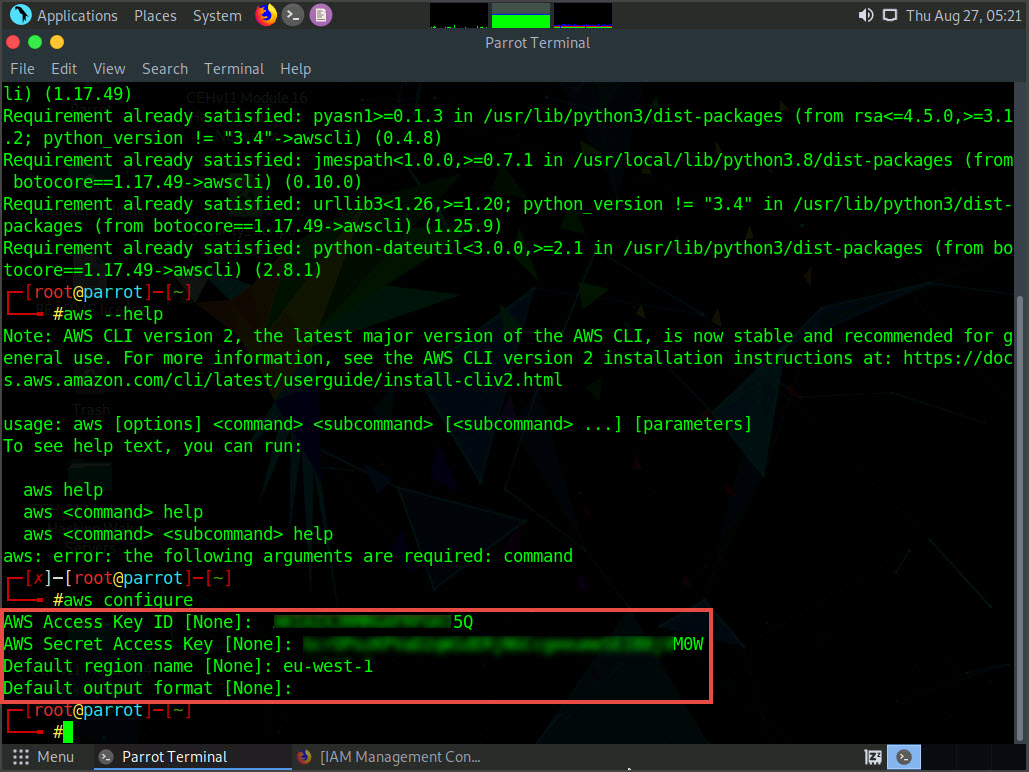
In the Default region name field, type eu-west-1 and press Enter.
The Default output format prompt appears; leave it as default and press Enter.
For demonstration purposes, we have created an open S3 bucket with the name certifiedhacker1 in the AWS service. We are going to use that bucket in this task.
The public S3 buckets can be found during the enumeration phase.
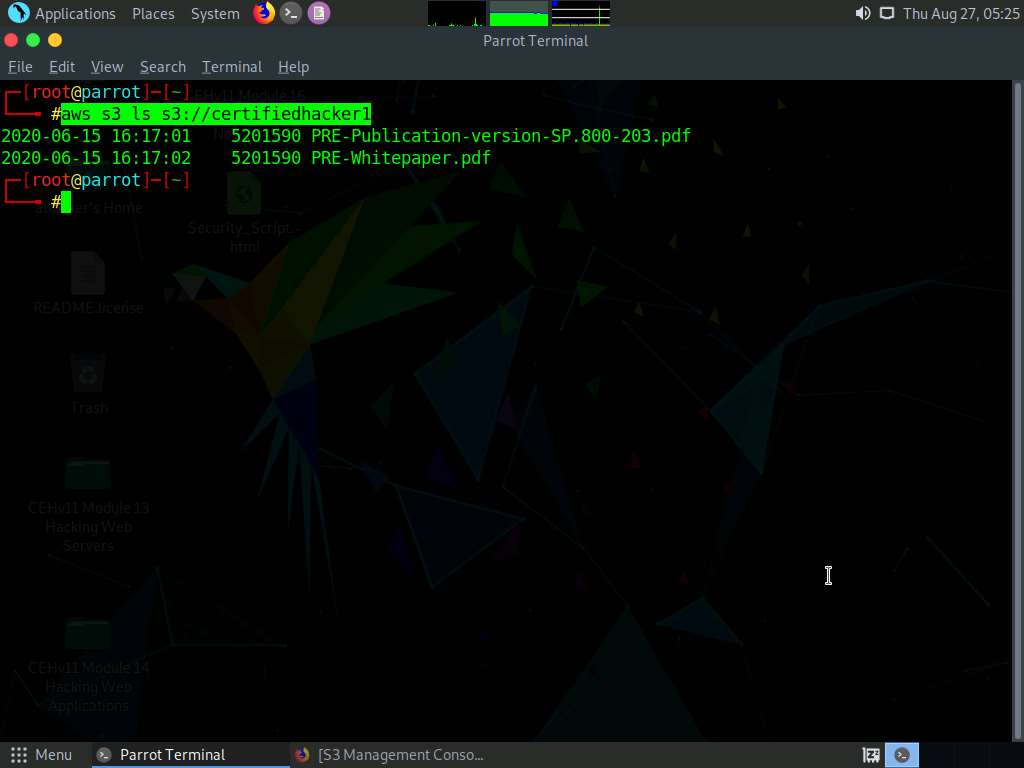
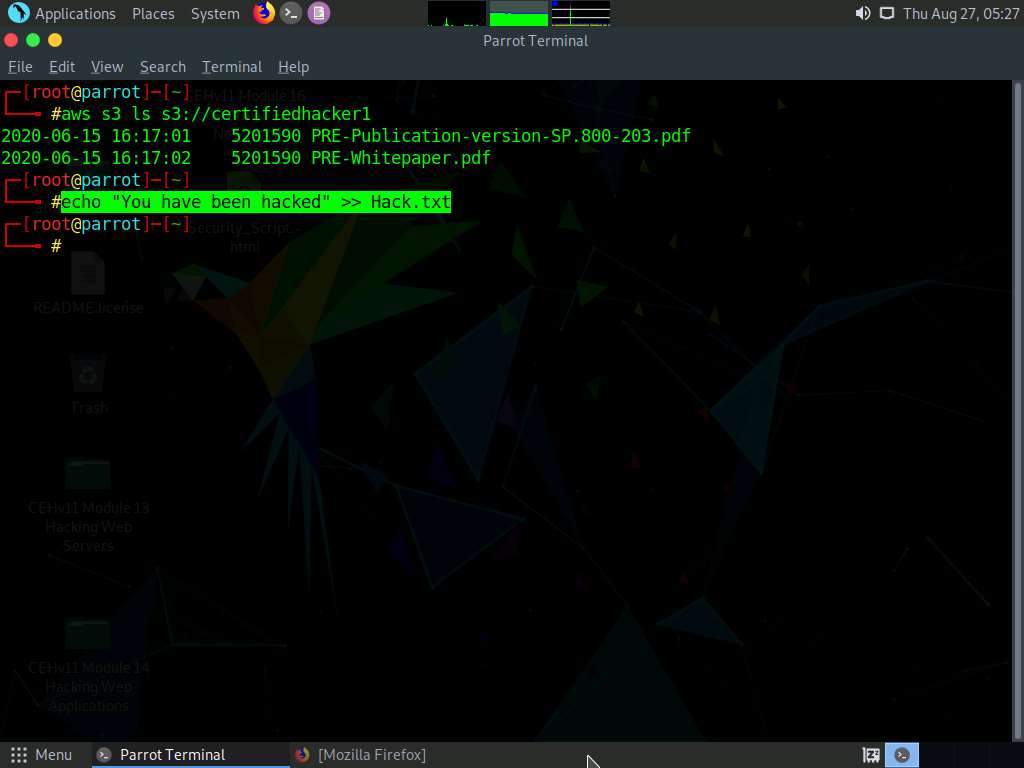
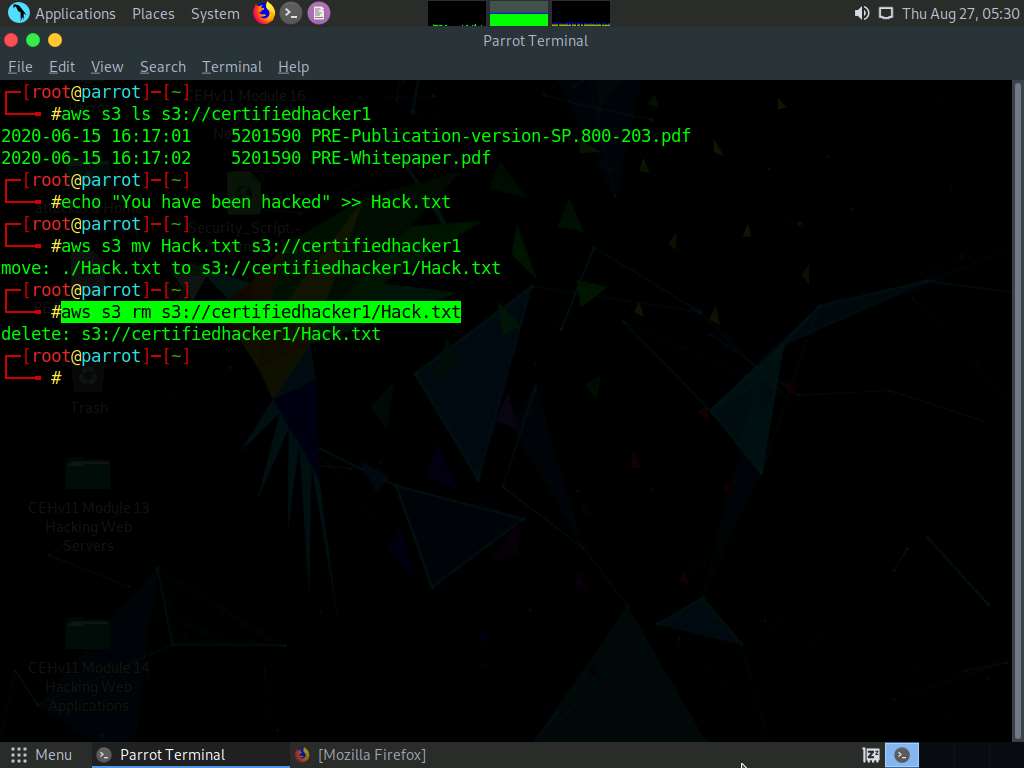
Let us list the directories in the certifiedhacker1 bucket. In the terminal window, type aws s3 ls s3://[Bucket Name] (here, Bucket Name is certifiedhacker1) and press Enter.
The bucket name may be different in your lab environment depending on the bucket you are targeting.
This will show you the list of directories in the certifiedhacker1 S3 bucket, as shown in the screenshot.
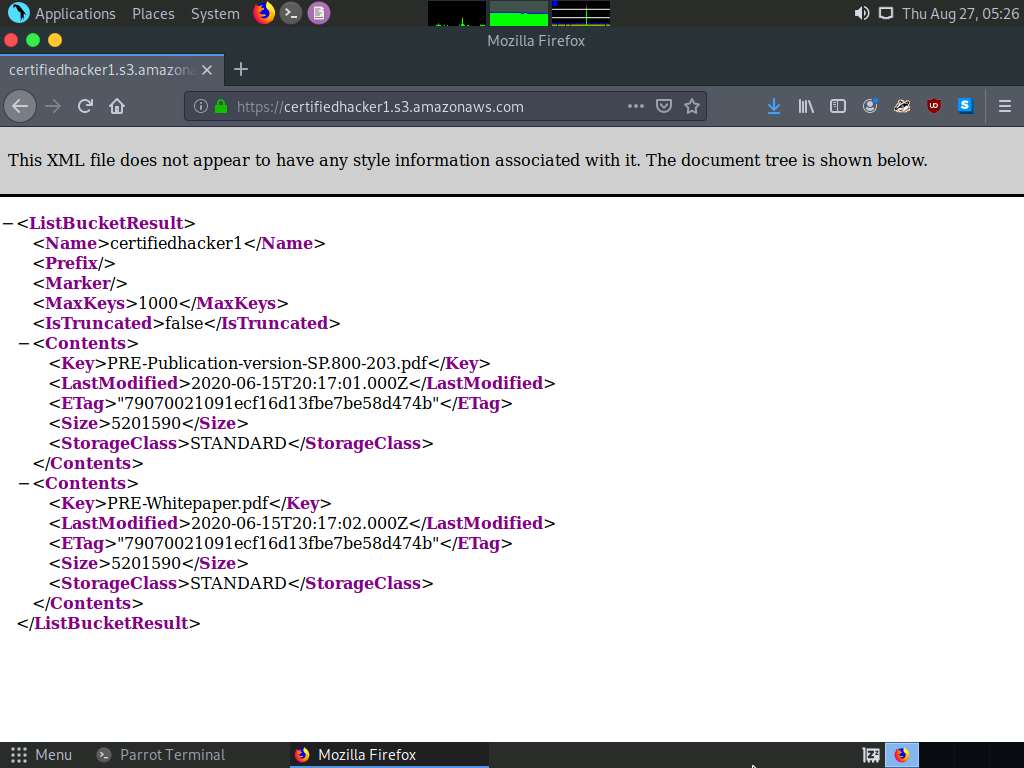
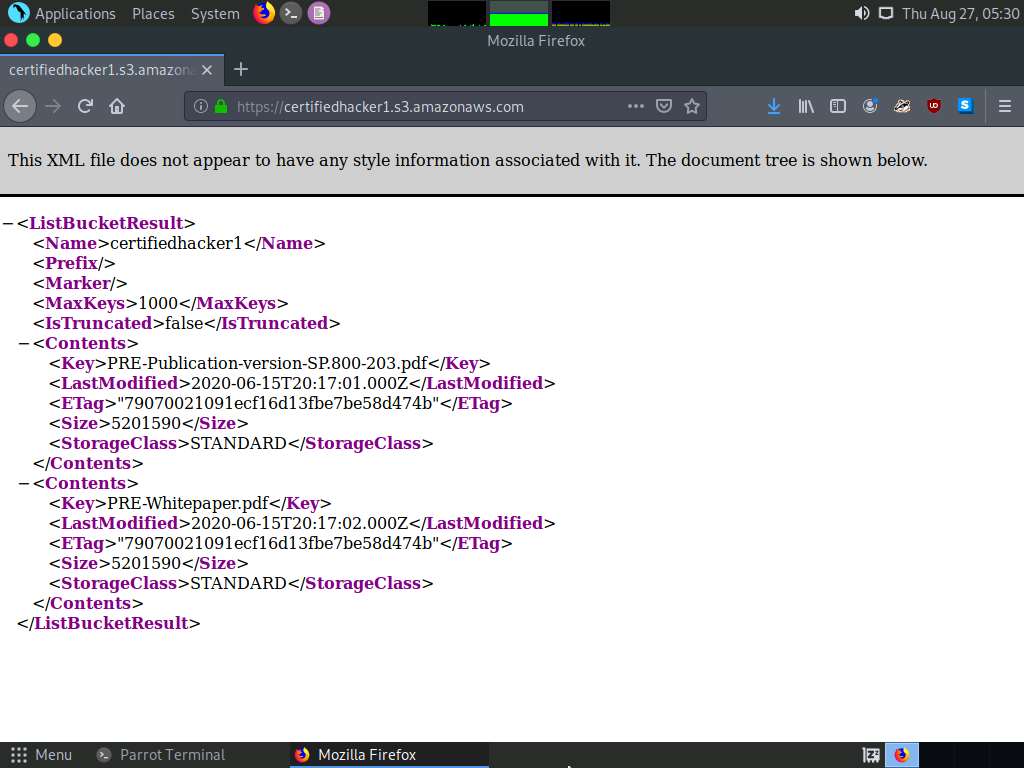
Now, maximize the browser window, type certifiedhacker1.s3.amazonaws.com in the address bar, and press Enter.
This will show you the complete list of directories and files available in this bucket.
Minimize the browser window and switch to Terminal.
Let us move some files to the certifiedhacker1 bucket. To do this, in the terminal window, type echo “You have been hacked” >> Hack.txt and press Enter.
By issuing this command, you are creating a file named Hack.txt.
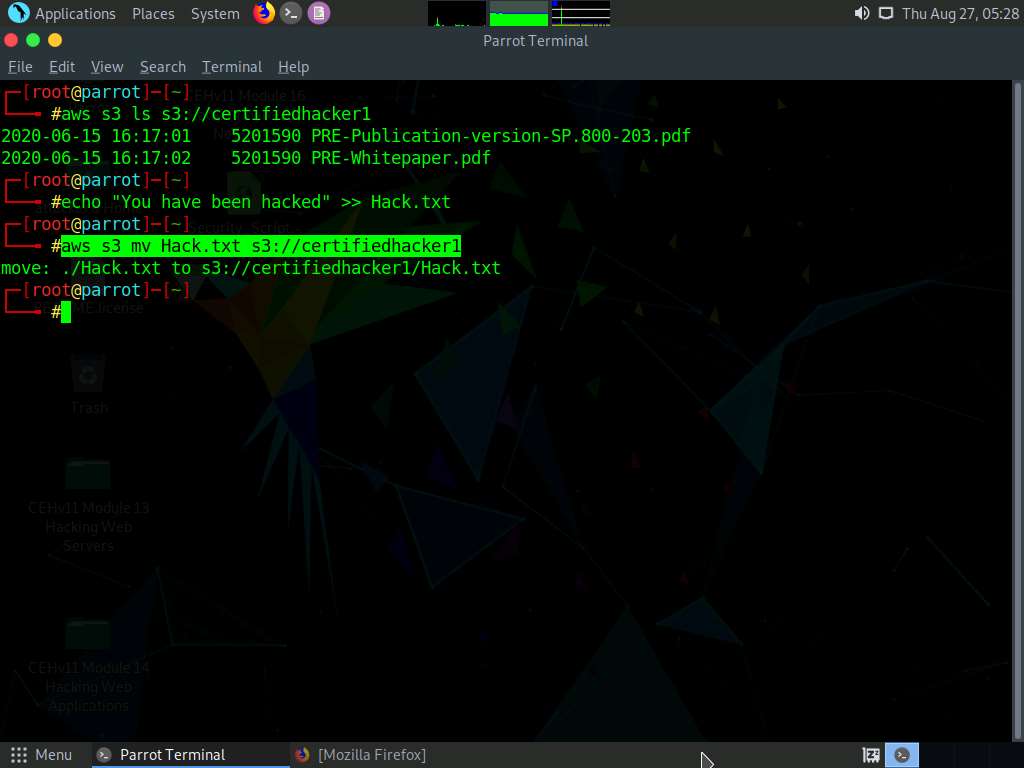
Let us try to move the Hack.txt file to the certifiedhacker1 bucket. In the terminal window, type aws s3 mv Hack.txt s3://certifiedhacker1 and press Enter.
You have successfully moved the Hack.txt file to the certifiedhacker1 bucket.
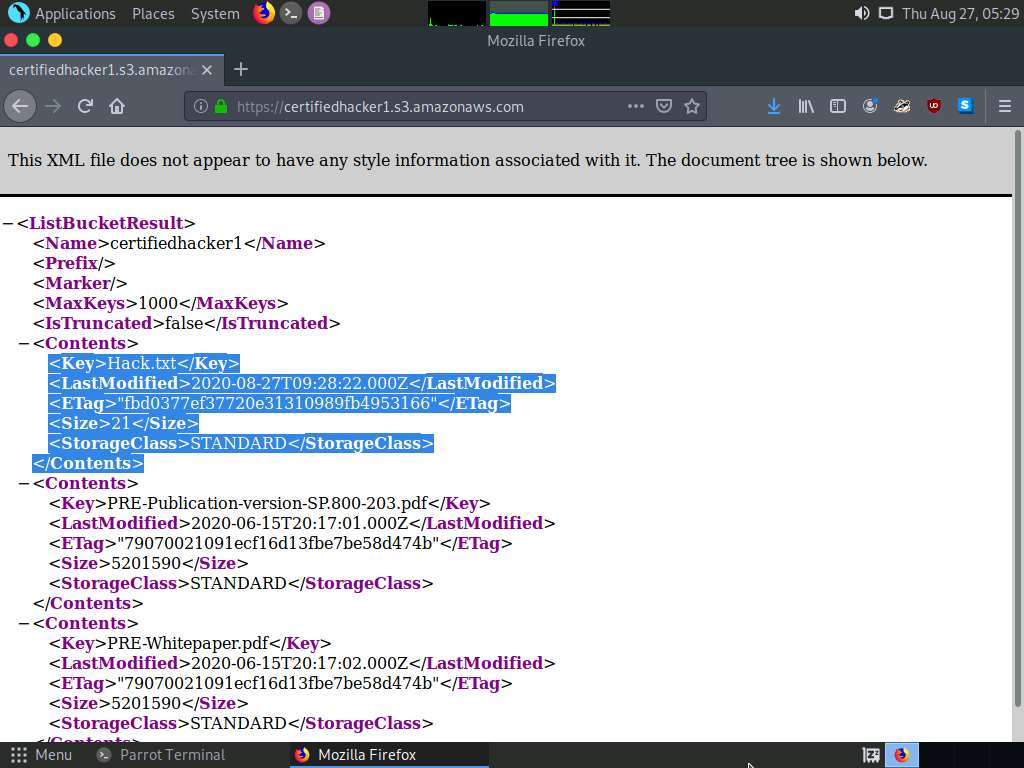
To verify whether the file is moved, switch to the browser window and maximize it. Reload the page.
You can observe that the Hack.txt file is moved to the certifiedhacker1 bucket, as shown in the screenshot.
Minimize the browser window and switch to the Terminal window.
Let us delete the Hack.txt file from the certifiedhacker1 bucket. In the terminal window, type aws s3 rm s3://certifiedhacker1/Hack.txt and press Enter.
By issuing this command, you have successfully deleted the Hack.txt file from the certifiedhacker1 bucket.
To verify whether the file is deleted, switch to the browser window and reload the page.
The Hack.txt file is deleted from the certifiedhacker1 bucket.
Thus, you can add or delete files from open S3 buckets.
This concludes the demonstration of exploiting public S3 buckets.
Close all open windows and document all the acquired information.


Comments
Post a Comment