Lab 2: Detect Session Hijacking
Lab 2: Detect Session Hijacking
Module 11: Session Hijacking
Lab 2: Detect Session Hijacking
Task 1: Detect Session Hijacking using Wireshark
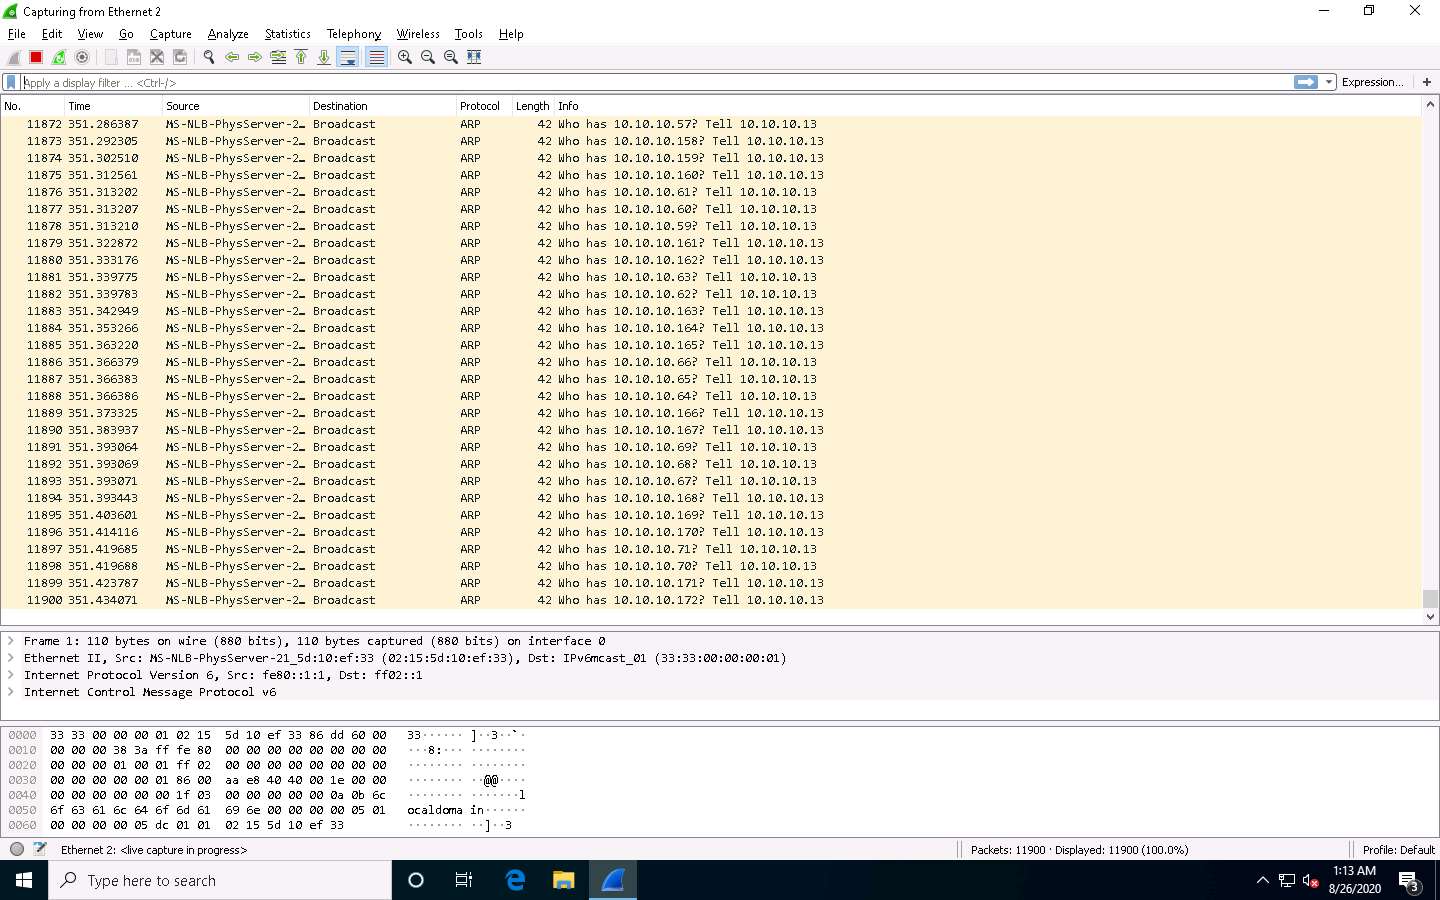
summery: bettercap sends several ARP broadcast requests to the hosts (or potentially active hosts).
A high number of ARP requests indicates that the system at 10.10.10.13 (the attacker’s system in this
task) is acting as a client for all the IP addresses in the subnet, which means that all the packets
from the victim node (in this case, 10.10.10.10) will first go to the host system (10.10.10.13), and
then the gateway. Similarly, any packet destined for the victim node is first
open wireshark
select ethernet 2
Windows 10 machine and observe the huge number of ARP packets captured by the Wireshark,
refer to screen shot on blog for more info
refer to blog for rest of steps
Lab Scenarios
Session hijacking is very dangerous; it places the victim at risk of identity theft, fraud, and loss of sensitive information. All networks that use TCP/IP are vulnerable to different types of hijacking attacks. Moreover, these kinds of attacks are very difficult to detect, and often go unnoticed unless the attacker causes severe damage. However, following best practices can protect against session hijacking attacks.
As a professional ethical hacker or penetration tester, it is very important that you have the required knowledge to detect session hijacking attacks and protect your organization’s system against them. Fortunately, there are various tools available that can help you to detect session hijacking attacks such as packet sniffers, IDSs, and SIEMs.
Lab Objectives
- Detect session hijacking using Wireshark
Overview of Detecting Session Hijacking
There are two primary methods that can be used to detect session hijacking:
Manual Method: Involves using packet sniffing software such as Wireshark and SteelCentral Packet Analyzer to monitor session hijacking attacks; the packet sniffer captures packets being transferred across the network, which are then analyzed using various filtering tools
Automatic Method: Involves using Intrusion Detection Systems (IDS) and Intrusion Prevention Systems (IPS) to monitor incoming network traffic; if a packet matches any of the attack signatures in the internal database, the IDS generates an alert, and the IPS blocks the traffic from entering the database
Task 1: Detect Session Hijacking using Wireshark
Wireshark allows you to capture and interactively browse the traffic running on a network. The tool uses WinPcap to capture packets, and so is only able to capture packets on networks that are supported by WinPcap. It captures live network traffic from Ethernet, IEEE 802.11, PPP/HDLC, ATM, Bluetooth, USB, Token Ring, Frame Relay, and FDDI networks. Security professionals can use Wireshark to monitor and detect session hijacking attempts.
Here, we will use the Wireshark tool to detect session hijacking attacks manually on the target system.
We will use the Parrot Security (10.10.10.13) machine to carry out a session hijacking attack on the Windows 10 (10.10.10.10) machine.
Click Windows 10 to switch to the Windows 10 machine. In the Desktop, double-click Wireshark shortcut.

The Wireshark Network Analyzer window opens. Double-click the primary network interface (in this case, Ethernet 2) to start capturing network traffic.

Wireshark starts capturing network traffic. Leave it running.
Now, we shall launch a session hijacking attack on the target machine (Windows 10) using bettercap.
To do so, you may either follow Steps 8-18 below, or refer to Task 2 (Intercept HTTP Traffic using bettercap) in Lab 1.
Click Parrot Security to switch to the Parrot Security machine.
Click the MATE Terminal icon at the top of the Desktop window to open a Terminal window.
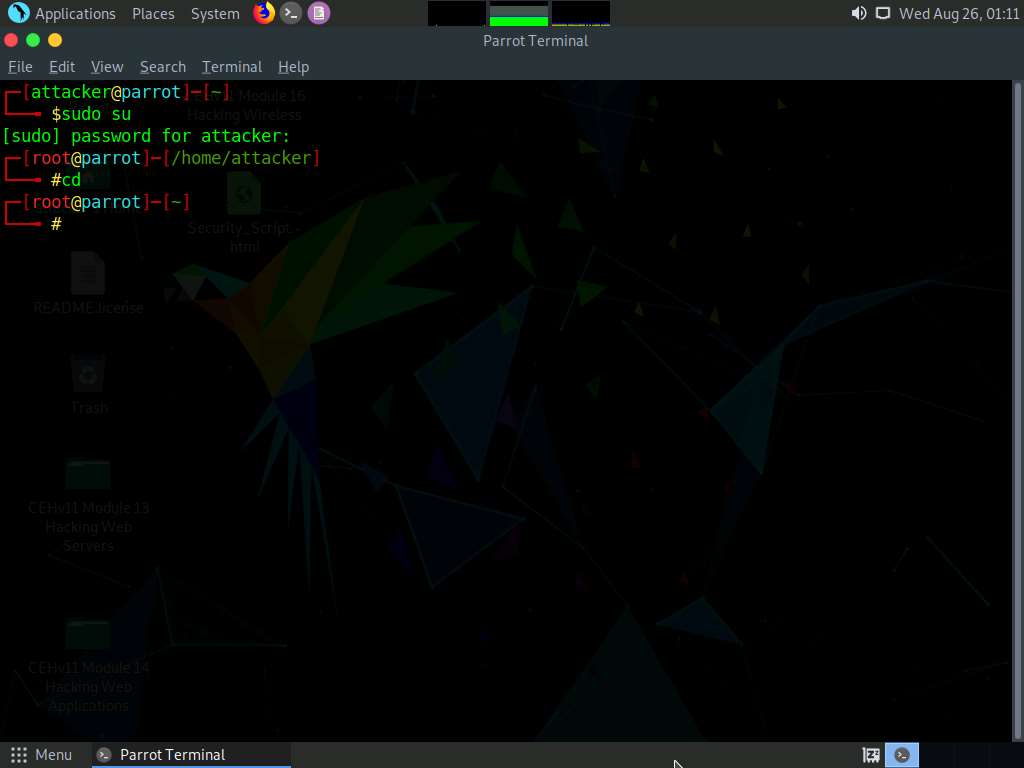
A Parrot Terminal window appears. In the terminal window, type sudo su and press Enter to run the programs as a root user.
In the [sudo] password for attacker field, type toor as a password and press Enter.
The password that you type will not be visible.
Now, type cd and press Enter to jump to the root directory.
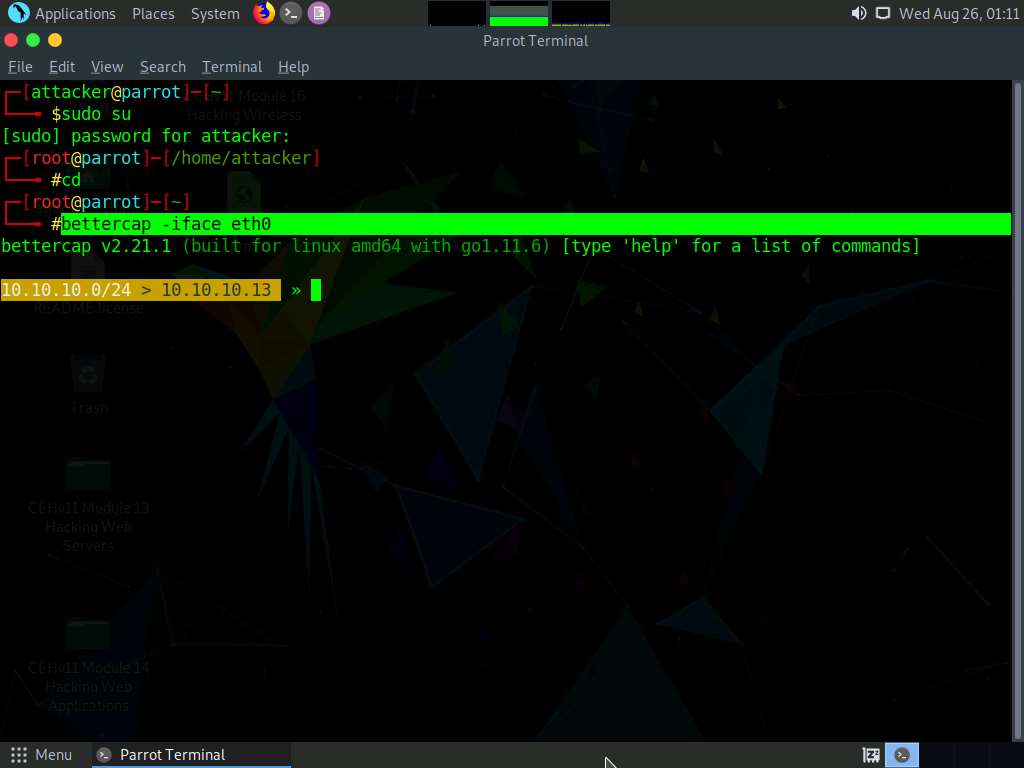
In the terminal window, type bettercap -iface eth0 and press Enter to set the network interface.
-iface: specifies the interface to bind to (in this example, eth0).
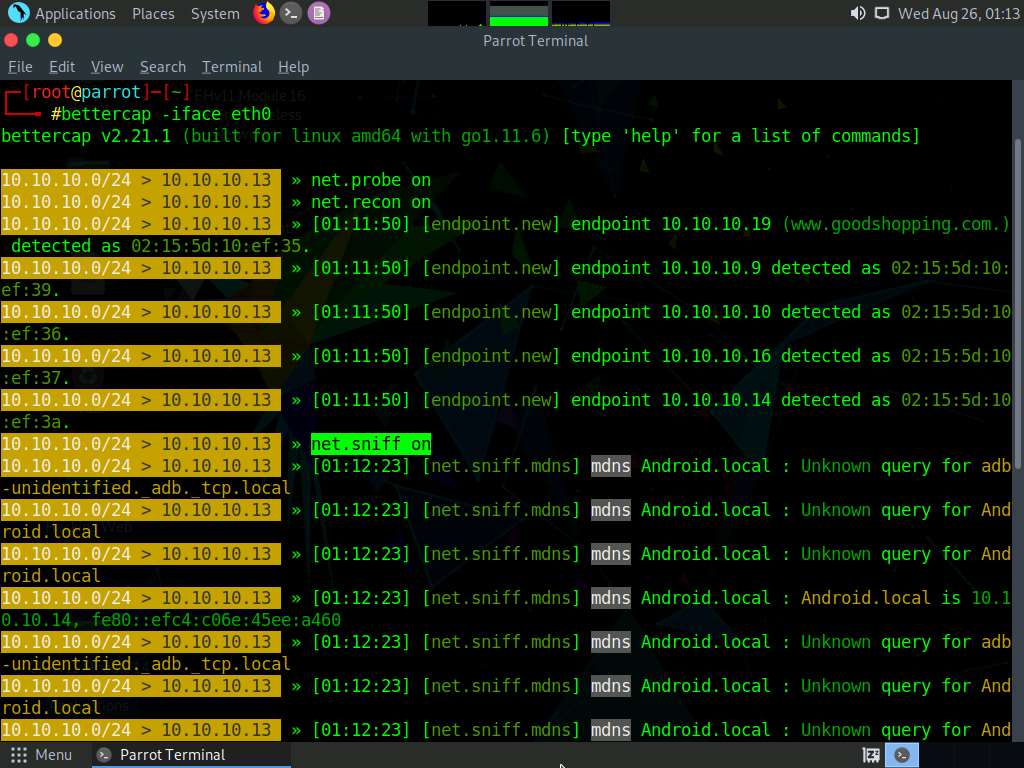
Type net.probe on and press Enter. This module will send different types of probe packets to each IP in the current subnet for the net.recon module to detect them.
Type net.recon on and press Enter. This module is responsible for periodically reading the system ARP table to detect new hosts on the network.
The net.recon module displays the detected active IP addresses in the network. In real-time, this module will start sniffing network packets.
Type net.sniff on and press Enter. This module is responsible for performing sniffing on the network.
You can observe that bettercap starts sniffing network traffic on different machines in the network, as shown in the screenshot.
Click Windows 10 to switch back to the Windows 10 machine and observe the huge number of ARP packets captured by the Wireshark, as shown in the screenshot.
This concludes the demonstration of how to detect a session hijacking attack using Wireshark.
Close all open windows and document all the acquired information.


Comments
Post a Comment