Lab 2: Detect and Protect Against DoS and DDoS Attacks
Lab 2: Detect and Protect Against DoS and DDoS Attacks
Module 10: Denial-of-Service
Lab 2: Detect and Protect Against DoS and DDoS Attacks
Task 1: Detect and Protect against DDoS Attack using Anti DDoS Guardian
D:\CEH-Tools\CEHv11 Module 10 Denial-of-Service\DoS and DDoS Protection Tools\Anti DDoS Guardian
double click Anti_DDoS_Guardian_setup.exe.
actually go through install steps follow the blog for full details
lab is kinda long / hard
summery
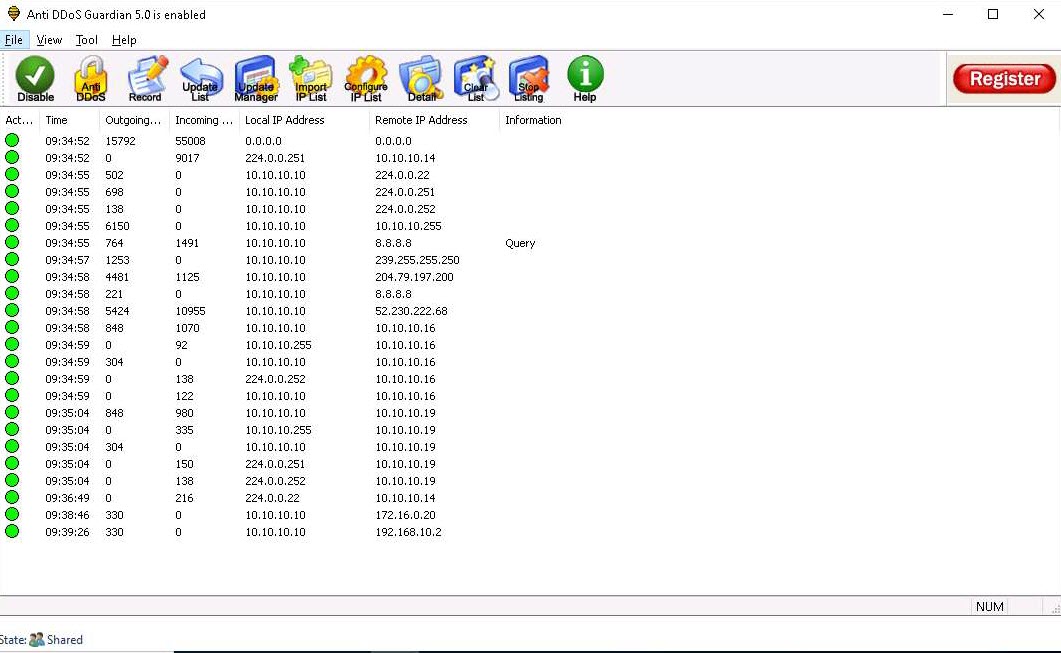
Anti DDoS Guardian window appears, displaying information about incoming and outgoing traffic,
Observe the huge number of packets coming from the host machines this will show what wones are possibly attacking
under incoming it will have like 505050050
DoS/DDoS attacks are one of the foremost security threats on the Internet; thus, there is a greater necessity for solutions to mitigate these attacks. Early detection techniques help to prevent DoS and DDoS attacks. Detecting such attacks is a tricky job. A DoS and DDoS attack traffic detector needs to distinguish between genuine and bogus data packets, which is not always possible; the techniques employed for this purpose are not perfect. There is always a chance of confusion between traffic generated by a legitimate network user and traffic generated by a DoS or DDoS attack. One problem in filtering bogus from legitimate traffic is the volume of traffic. It is impossible to scan each data packet to ensure security from a DoS or DDoS attack. All the detection techniques used today define an attack as an abnormal and noticeable deviation in network traffic statistics and characteristics. These techniques involve the statistical analysis of deviations to categorize malicious and genuine traffic.
As a professional ethical hacker or pen tester, you must use various DoS and DDoS attack detection techniques to prevent the systems in the network from being damaged.
This lab provides hands-on experience in detecting DoS and DDoS attacks using various detection techniques.
Lab Objectives
- Detect and protect against DDoS attacks using Anti DDoS Guardian
Overview of DoS and DDoS Attack Detection
Detection techniques are based on identifying and discriminating the illegitimate traffic increase and flash events from the legitimate packet traffic.
The following are the three types of detection techniques:
- Activity Profiling: Profiles based on the average packet rate for a network flow, which consists of consecutive packets with similar packet header information
- Sequential Change-point Detection: Filters network traffic by IP addresses, targeted port numbers, and communication protocols used, and stores the traffic flow data in a graph that shows the traffic flow rate over time
- Wavelet-based Signal Analysis: Analyzes network traffic in terms of spectral components
Task 1: Detect and Protect against DDoS Attack using Anti DDoS Guardian
Anti DDoS Guardian is a DDoS attack protection tool. It protects IIS servers, Apache serves, game servers, Camfrog servers, mail servers, FTP servers, VOIP PBX, and SIP servers and other systems. Anti DDoS Guardian monitors each incoming and outgoing packet in Real-Time. It displays the local address, remote address, and other information of each network flow. Anti DDoS Guardian limits network flow number, client bandwidth, client concurrent TCP connection number, and TCP connection rate. It also limits the UDP bandwidth, UDP connection rate, and UDP packet rate.
Here, we will detect and protect against a DDoS attack using Anti DDoS Guardian.
In this task, we will use the Windows Server 2019 and Windows Server 2016 machines to perform a DDoS attack on the target system, Windows 10.
On the Windows 10 machine, navigate to D:\CEH-Tools\CEHv11 Module 10 Denial-of-Service\DoS and DDoS Protection Tools\Anti DDoS Guardian and double click Anti_DDoS_Guardian_setup.exe.
If a User Account Control pop-up appears, click Yes.

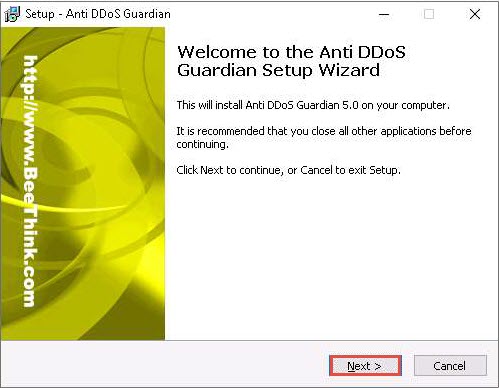
The Setup - Anti DDoS Guardian window appears; click Next. Follow the wizard-driven installation steps to install the application.
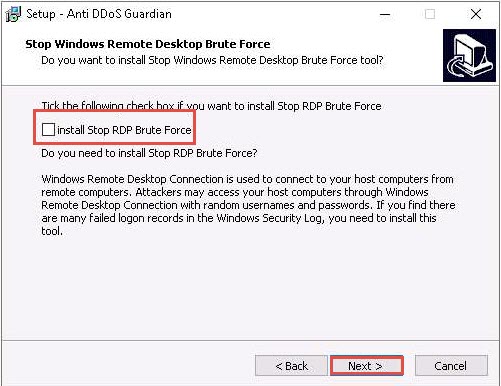
In the Stop Windows Remote Desktop Brute Force wizard, uncheck the install Stop RDP Brute Force option, and click Next.
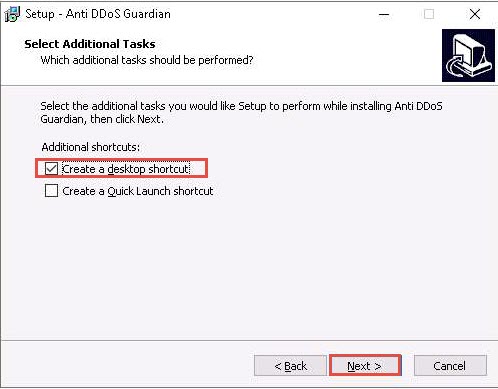
The Select Additional Tasks wizard appears; check the Create a desktop shortcut option, and click Next.
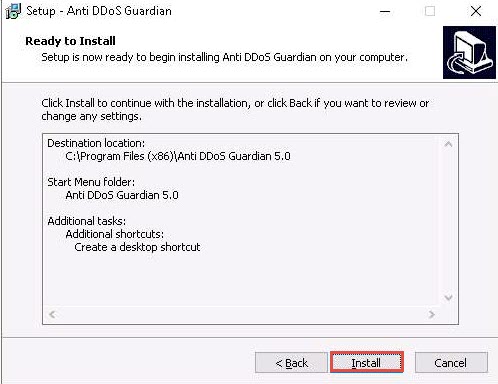
The Ready to Install wizard appears; click Install.
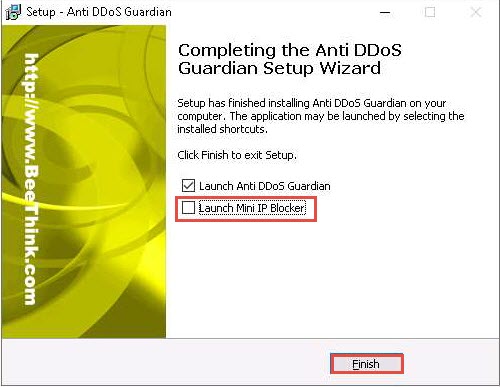
The Completing the Anti DDoS Guardian Setup Wizard window appears; uncheck the Launch Mini IP Blocker option and click Finish.
The Anti-DDoS Wizard window appears; click Continue in all the wizard steps, leaving all the default settings. In the last window, click Finish.
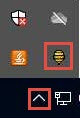
Click Show hidden icons from the bottom-right corner of Desktop and click the Anti DDoS Guardian icon.
The Anti DDoS Guardian window appears, displaying information about incoming and outgoing traffic, as shown in the screenshot.
Now, click Windows Server 2019 to switch to the Windows Server 2019 and click Ctrl+Alt+Delete to activate the machine. By default, Administrator profile is selected, click Pa$$w0rd to enter the password and press Enter to log in.
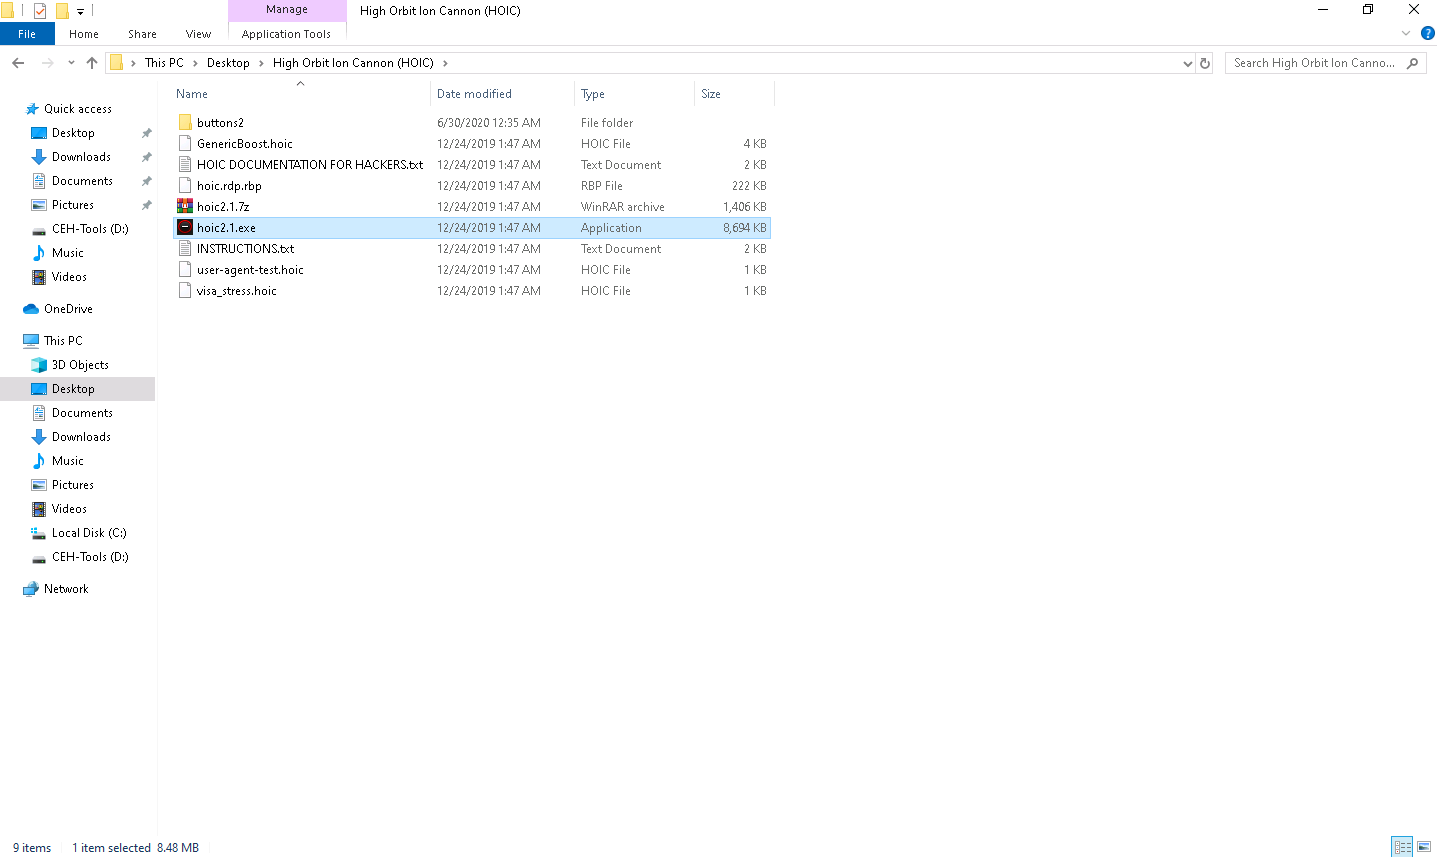
Navigate to Desktop, open the High Orbit Ion Cannon (HOIC) folder, and double-click hoic2.1.exe.
If an Open File - Security Warning pop-up appears, click Run.
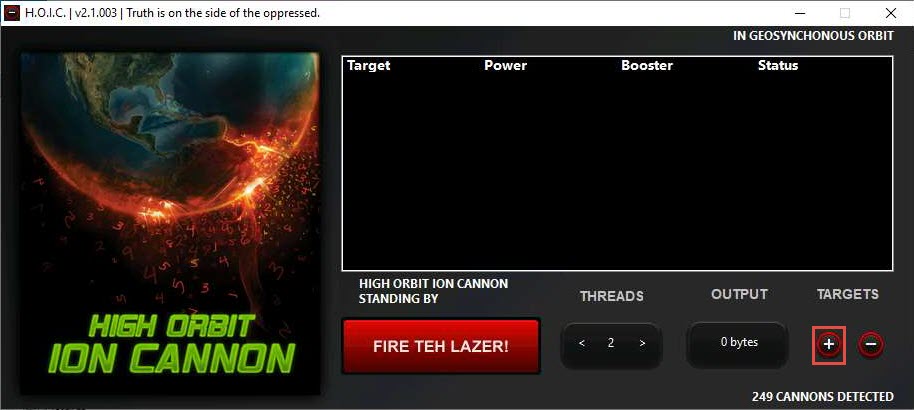
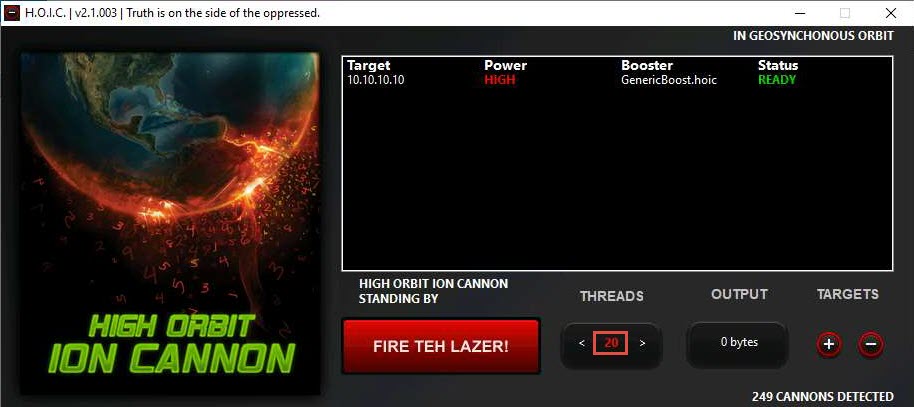
The HOIC GUI main window appears. Click the “+” button below the TARGETS section.
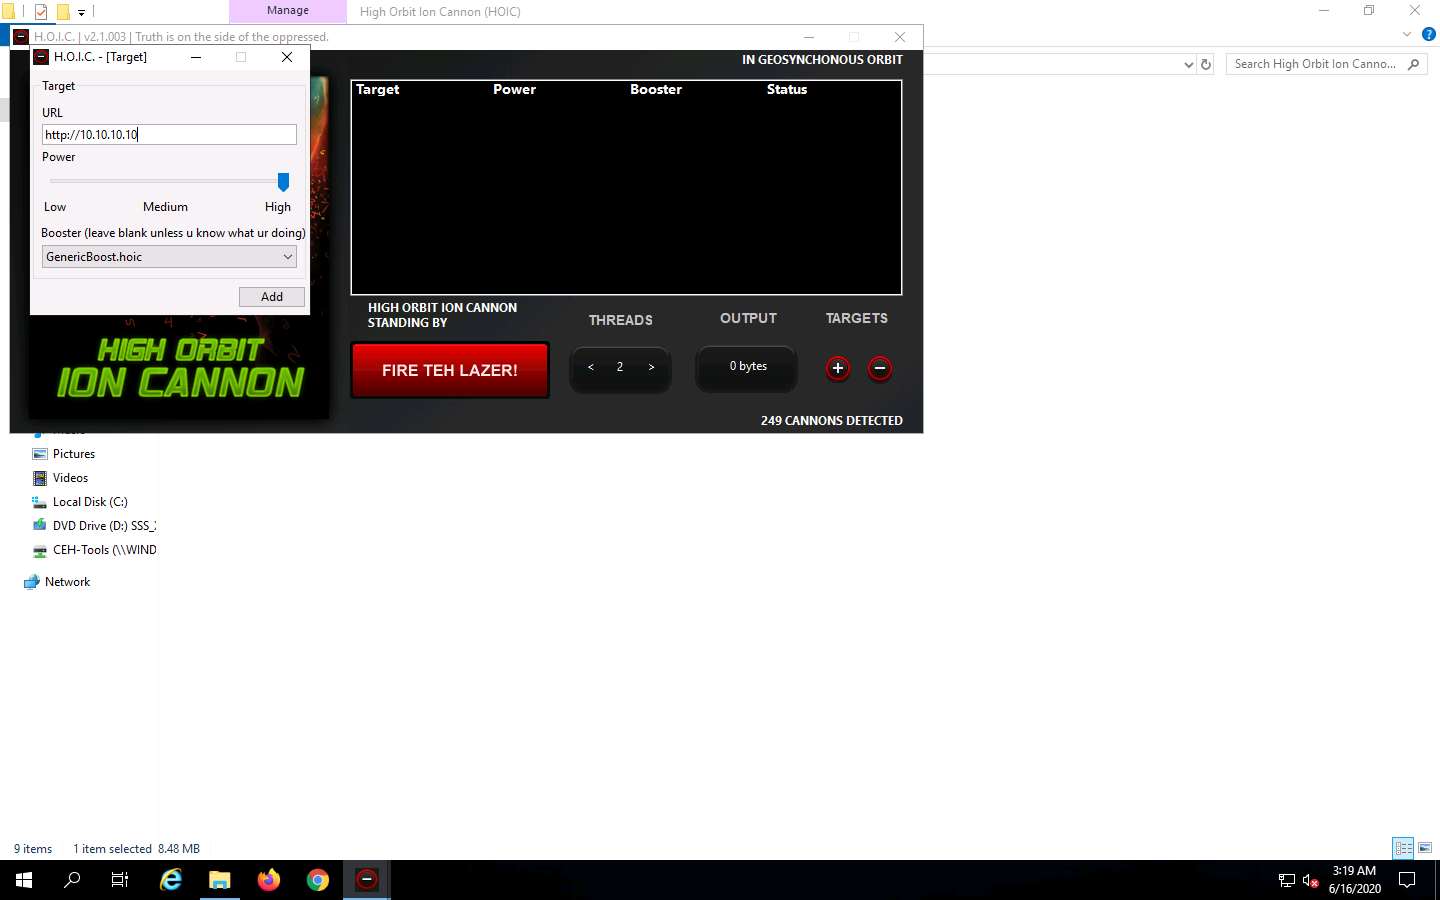
The HOIC - [Target] pop-up appears. Type the target URL such as http://[Target IP Address] (here, the target IP address is 10.10.10.10 [Windows 10]) in the URL field. Slide the Power bar to High. Under the Booster section, select GenericBoost.hoic from the drop-down list and click Add.
Set the THREADS value to 20 by clicking the > button until the value is reached.
Now, click Windows Server 2016 to switch to Windows Server 2016 and click Ctrl+Alt+Delete to activate the machine. By default, CEH\Administrator profile is selected, click Pa$$w0rd to enter the password and press Enter to log in. Follow Steps 12 - 15 to launch and configure HOIC.
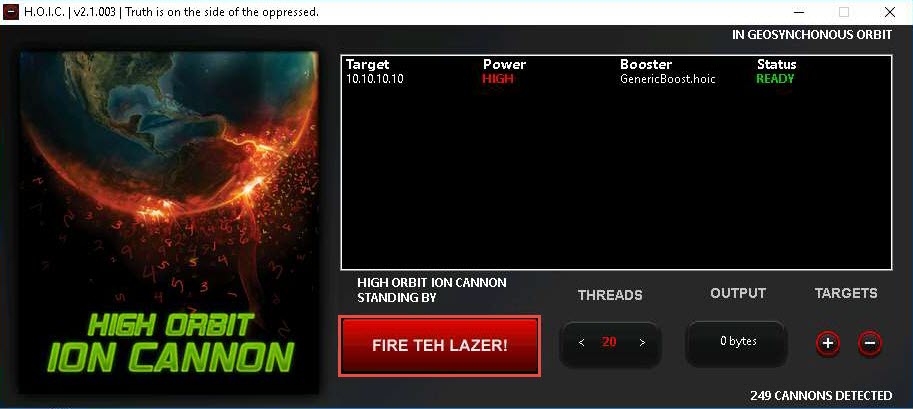
Once HOIC is configured on both machines, switch to each machine (Windows Server 2019 and Windows Server 2016) and click the FIRE TEH LAZER! button to initiate the DDoS attack on the target Windows 10 machine.
To switch to the Windows Server 2019, click Windows Server 2019.
To switch to the Windows Server 2016, click Windows Server 2016.
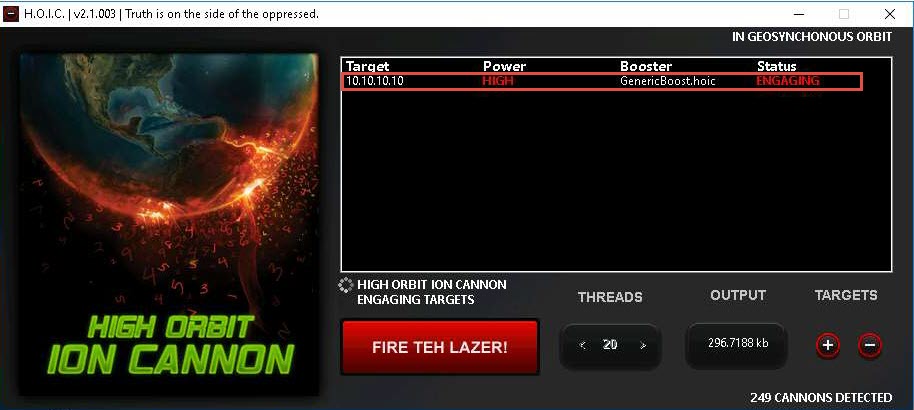
Observe that the Status changes from READY to ENGAGING, as shown in the screenshot.
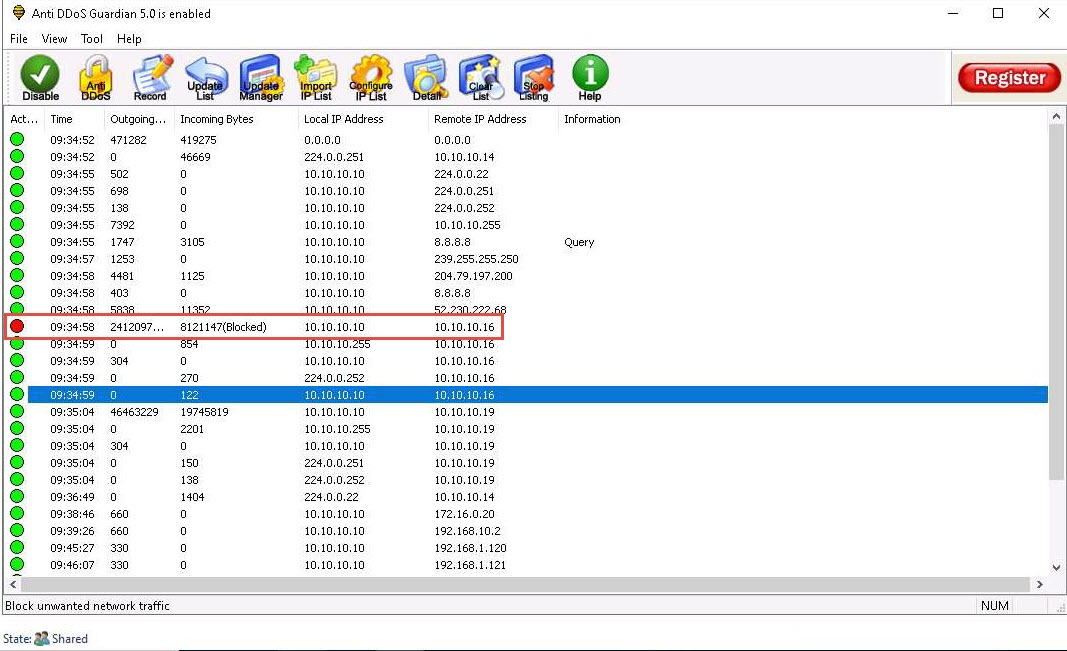
Click Windows 10 to switch back to the Windows 10 machine and observe the packets captured by Anti DDoS Guardian.
Observe the huge number of packets coming from the host machines (10.10.10.19 [Windows Server 2019] and 10.10.10.16 [Windows Server 2016]).
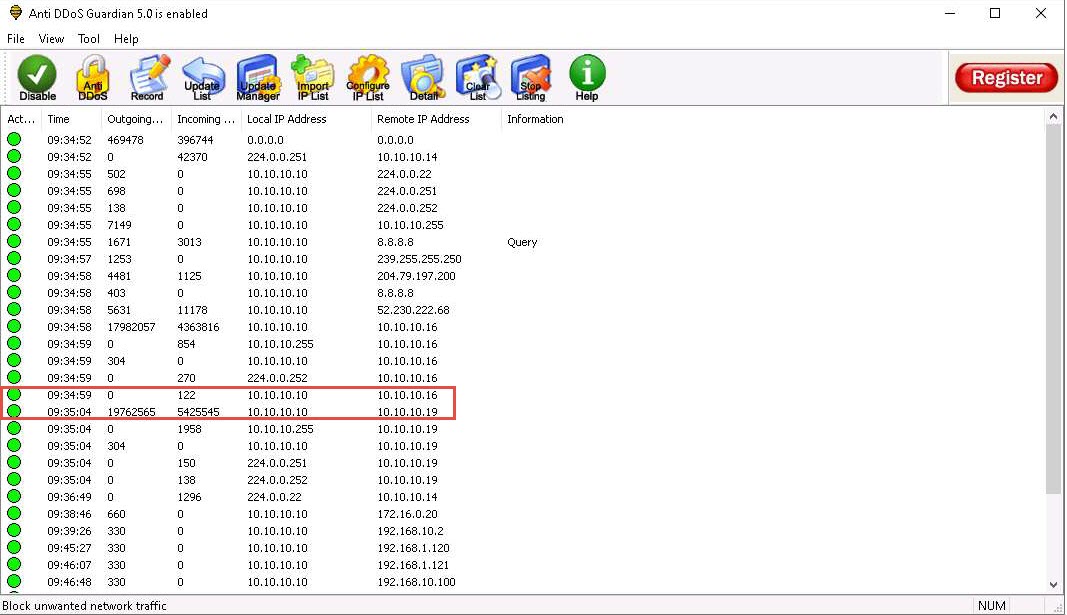
Double-click any of the sessions 10.10.10.19 or 10.10.10.16.
Here, we have selected 10.10.10.16. You can select either of them.
The Anti DDoS Guardian Traffic Detail Viewer window appears, displaying the content of the selected session in the form of raw data. You can observe the high number of incoming bytes from Remote IP address 10.10.10.16, as shown in the screenshot.
You can use various options from the left-hand pane such as Clear, Stop Listing, Block IP, and Allow IP. Using the Block IP option blocks the IP address sending the huge number of packets.
In the Traffic Detail Viewer window, click Block IP option from the left pane.
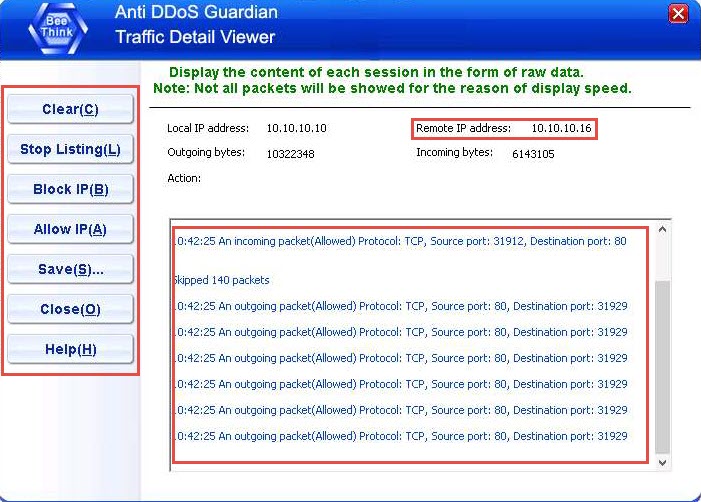
Observe that the blocked IP session turns red in the Action Taken column.
Similarly, you can Block IP the address of the 10.10.10.19 session.
On completion of the task, click FIRE TEH LAZER! again, and then close the HOIC window on all attacker machines (Windows Server 2019 and Windows Server 2016).
To switch to the Windows Server 2019, click Windows Server 2019.
To switch to the Windows Server 2016, click Windows Server 2016.
This concludes the demonstration of how to detect and protect against a DDoS attack using Anti DDoS Guardian.
Close all open windows and document all the acquired information.
You can also use other DoS and DDoS protection tools such as Imperva Incapsula DDoS Protection (https://www.incapsula.com), DOSarrest’s DDoS protection service (https://www.dosarrest.com), DDoS-GUARD (https://ddos-guard.net), and Cloudflare (https://www.cloudflare.com) to protect organization’s systems and networks from DoS and DDoS attacks.
Navigate to Control Panel --> Programs --> Programs and Features and uninstall Anti DDoS Guardian.


Comments
Post a Comment