Lab 2: Create a Self-signed Certificate
Lab 2: Create a Self-signed Certificate
Module 20: Cryptography
Lab 2: Create a Self-signed Certificate
Task 1: Create and Use Self-signed Certificates
Self-signed certificates are widely used for testing servers. In self-signed certificates, a user creates a pair of public and
private keys using a certificate creation tool such as Adobe Acrobat Reader, Java’s keytool, Apple’s Keychain, etc. and signs the
document with the public key. The recipient requests the private key from the sender in order to verify the certificate. However,
certificate verification rarely occurs due to the necessity of disclosing the private key: this makes self-signed certificates useful
only in a self-controlled testing environment.
Here, we will create a self-signed certificate in Windows Server 2019.
refer to blog
Lab Scenario
As a professional ethical hacker and penetration tester, you must possess a proper knowledge of creating this certificate as it validates the public key contained within the certificate belonging to the person, company, server, or other entity mentioned. The labs in this exercise demonstrate the creation of a self-signed certificate.
Lab Objectives
- Create and use self-signed certificates
Overview of Self-signed Certificate
In cryptography and computer security, a self-signed certificate is an identity certificate signed by the same entity whose identity it verifies. However, the term is unrelated to the identity of the person or organization that actually performs the signing procedure.
Task 1: Create and Use Self-signed Certificates
Self-signed certificates are widely used for testing servers. In self-signed certificates, a user creates a pair of public and private keys using a certificate creation tool such as Adobe Acrobat Reader, Java’s keytool, Apple’s Keychain, etc. and signs the document with the public key. The recipient requests the private key from the sender in order to verify the certificate. However, certificate verification rarely occurs due to the necessity of disclosing the private key: this makes self-signed certificates useful only in a self-controlled testing environment.
Here, we will create a self-signed certificate in Windows Server 2019.
Click on Windows Server 2019 to switch to the Windows Server 2019, click Ctrl+Alt+Delete to activate the machine, By default, Administrator profile is selected, click on Pa$$w0rd to enter password in the password field and press Enter to login.
Before you start this task, you will need to check with your local sites whether they include a self-signed certificate.
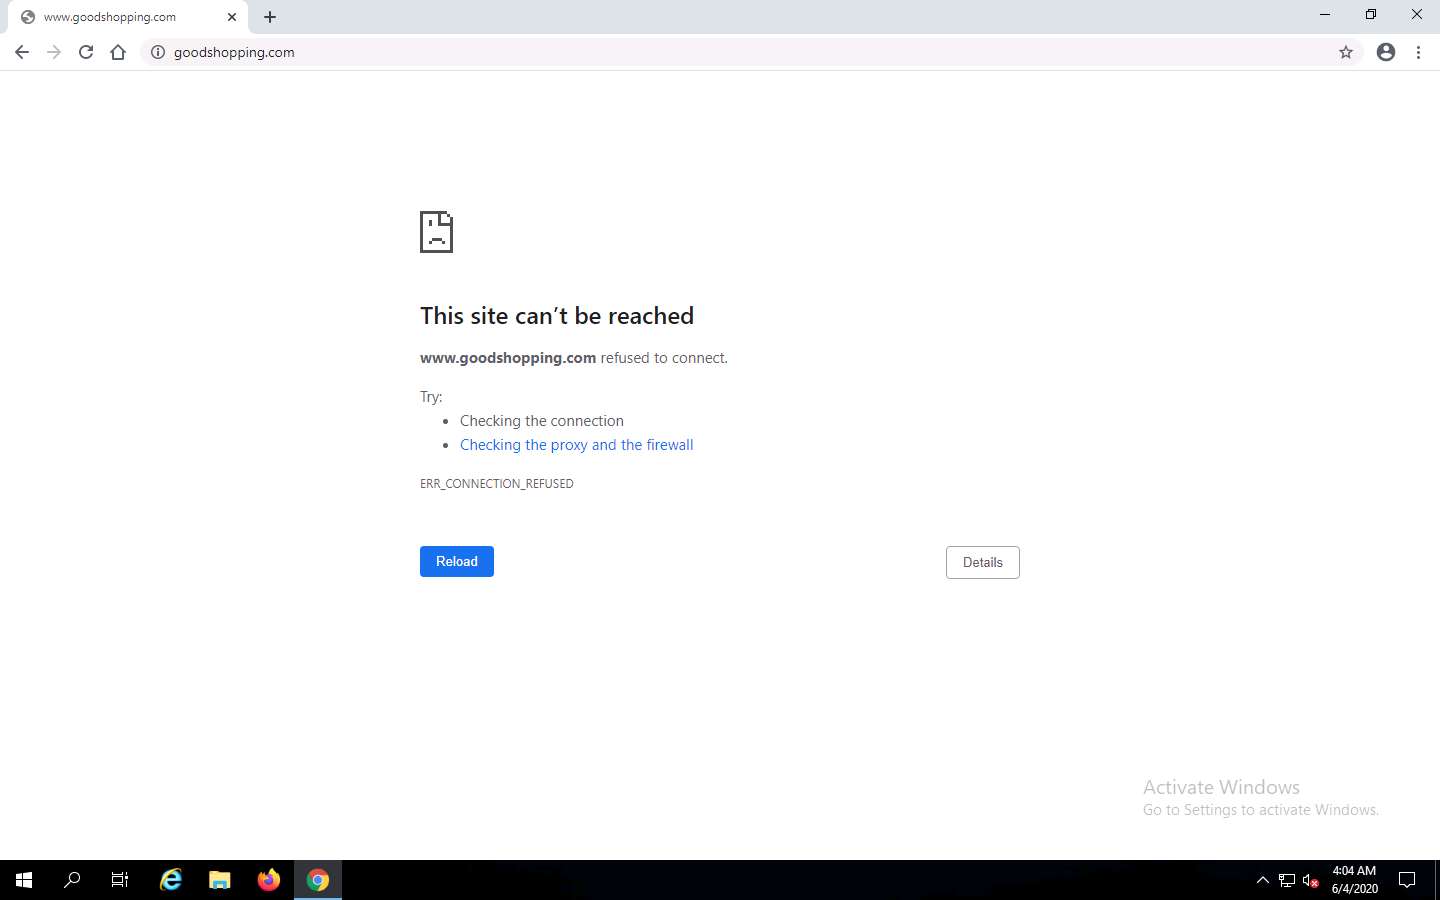
Launch any web browser (here, Google Chrome), place the cursor in the address bar and click on https://www.goodshopping.com, and press Enter.
As you are using an https channel to browse the website, it displays a page stating that This site can’t be reached.
As the site does not have a self-signed certificate, it displays a connection refused message, as shown in the screenshot. Close the web browser.
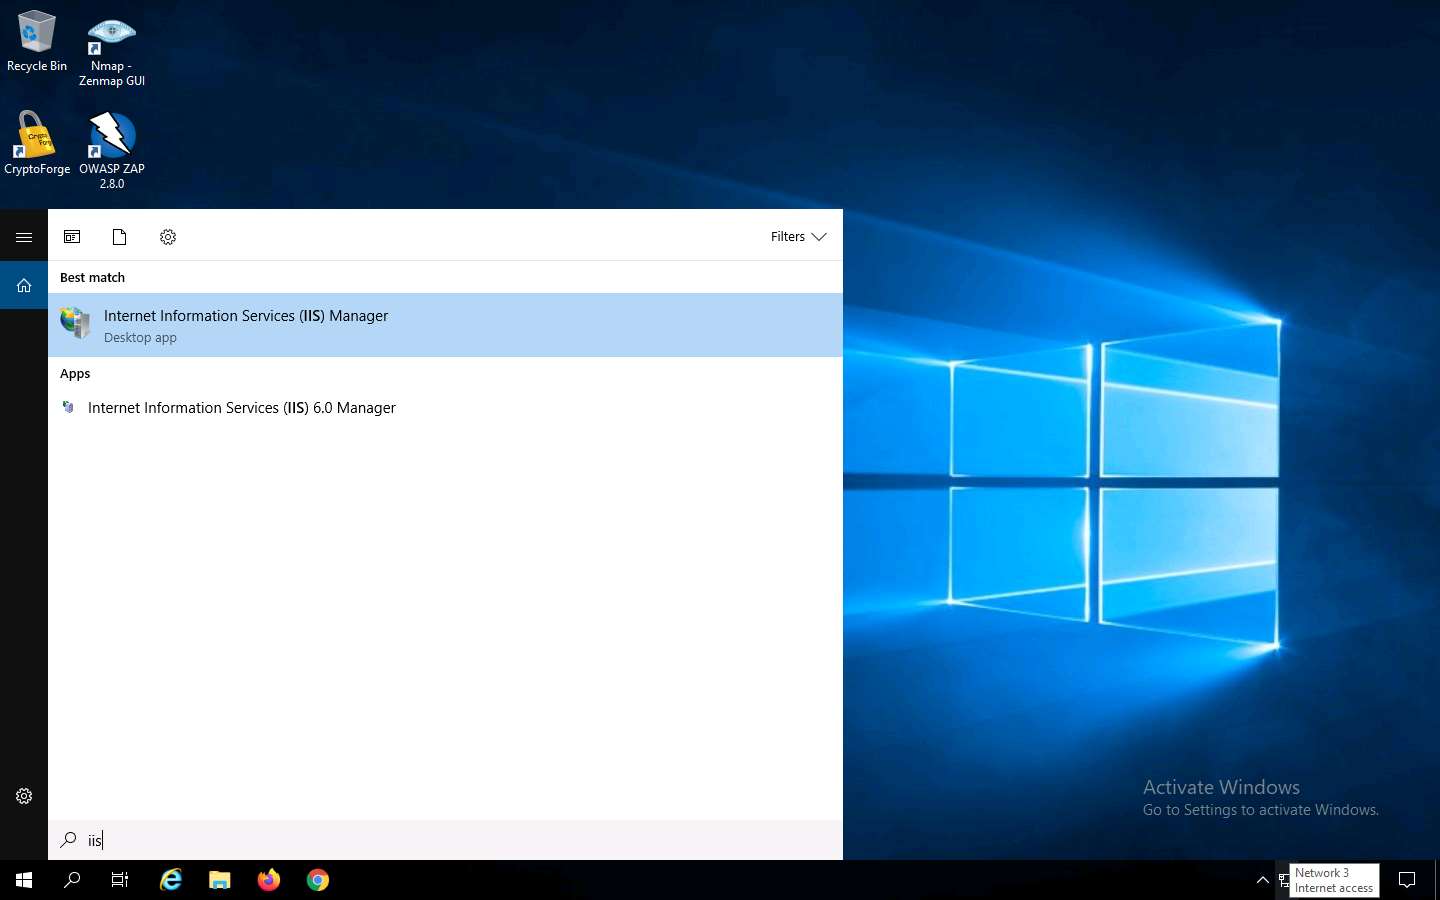
Click the Type here to search icon present in the bottom-left of Desktop and type iis. Select Internet Information Services (IIS) Manager from the results.
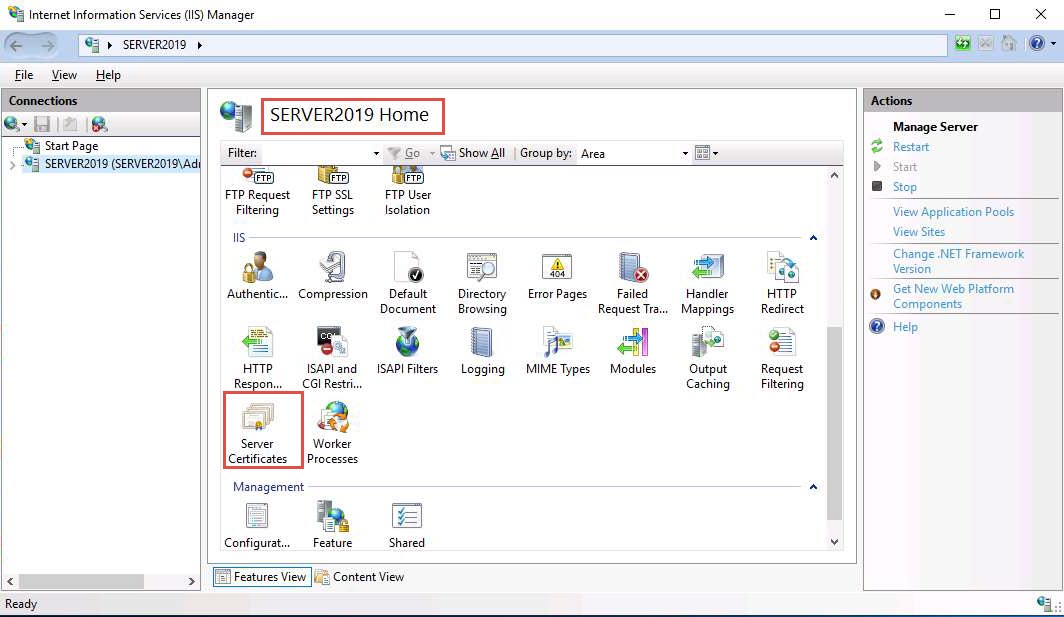
The Internet Information Services (IIS) Manager window appears; click the machine name (SERVER2019 (SERVER2019\Administrator)) under the Connections section from the left-hand pane.
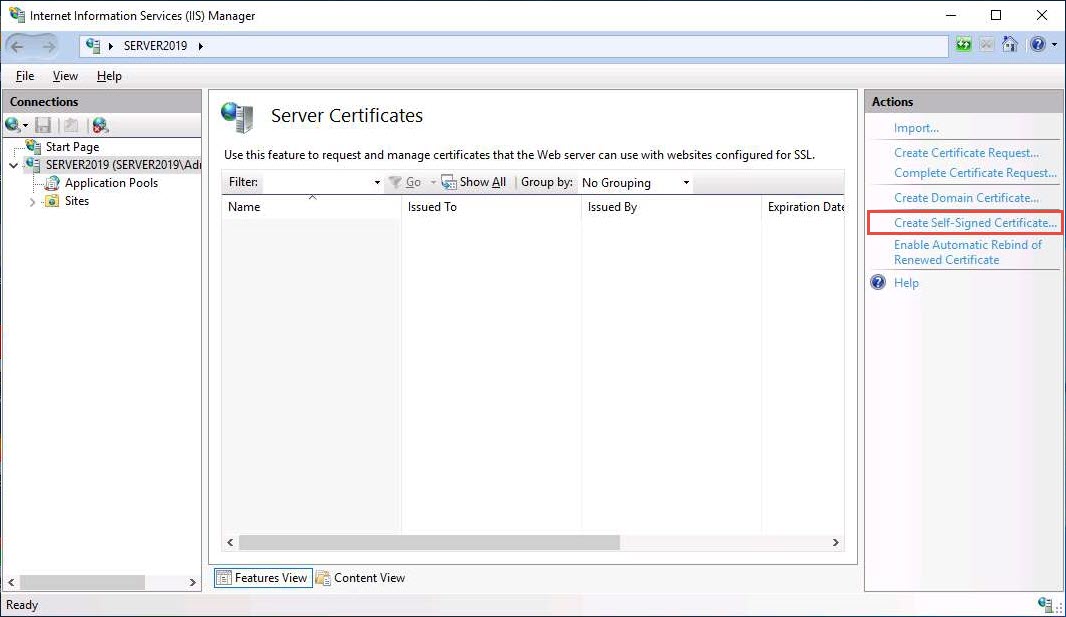
In SERVER2019 Home, double-click Server Certificates in the IIS section.
The Server Certificates wizard appears; click Create Self-Signed Certificate… from the right-hand pane in the Actions section.
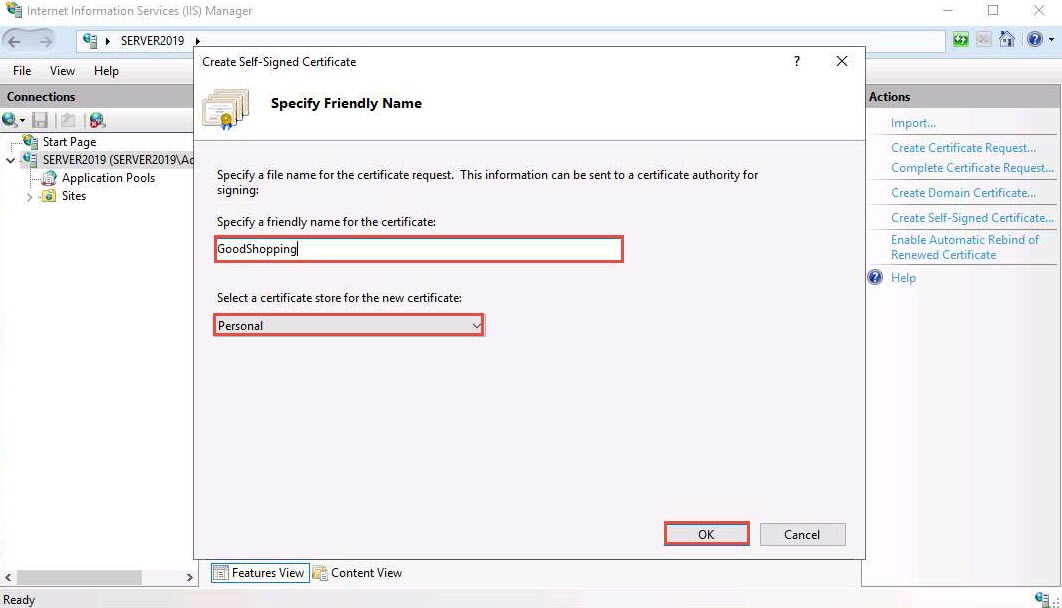
The Create Self-Signed Certificate window appears; type GoodShopping in the Specify a friendly name for the certificate field. Ensure that the Personal option is selected in the Select a certificate store for the new certificate field; then, click OK.
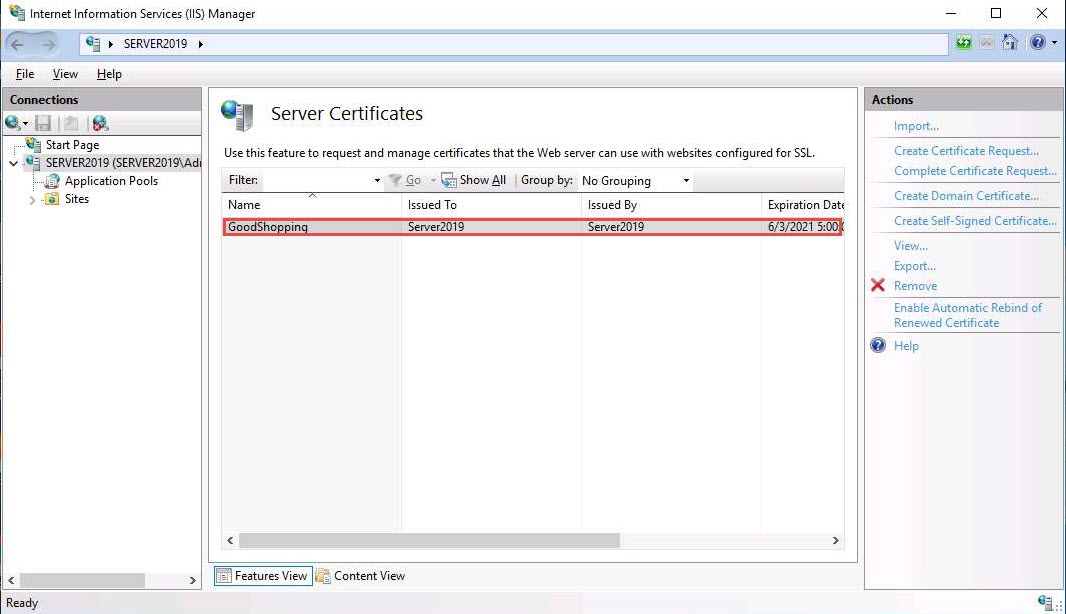
A newly created self-signed certificate will be displayed in the Server Certificates pane, as shown in the screenshot.
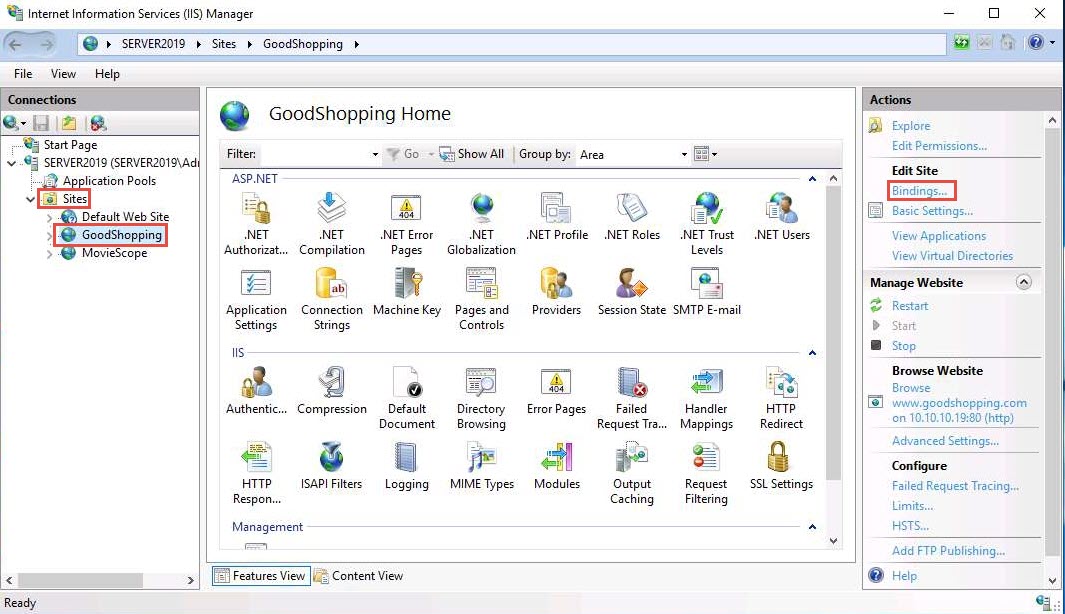
Expand the Sites node from the left-hand pane, and select GoodShopping from the available sites. Click Bindings… from the right-hand pane in the Actions section.
The Site Bindings window appears; click Add….
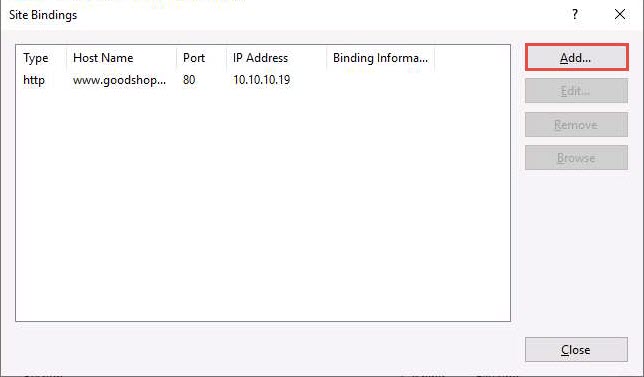
The Add Site Binding window appears; choose https from the Type field drop-down list. Once you choose the https type, the port number in the Port field automatically changes to 443 (the channel on which HTTPS runs).
Choose the IP address on which the site is hosted (here, 10.10.10.19).
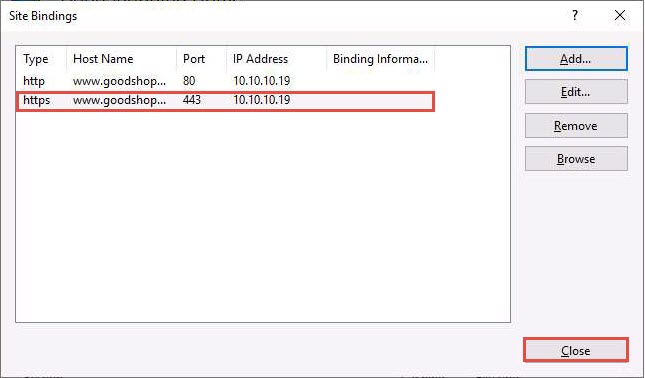
Under the Host name field, type www.goodshopping.com. Under the SSL certificate field, select GoodShopping from the drop-down list, and click OK.

The newly created SSL certificate is added to the Site Bindings window; then, click Close.
Now, right-click the name of the site for which you have created the self-signed certificate (here, GoodShopping) and click Refresh from the context menu.

Minimize the Internet Information Services (IIS) Manager window.
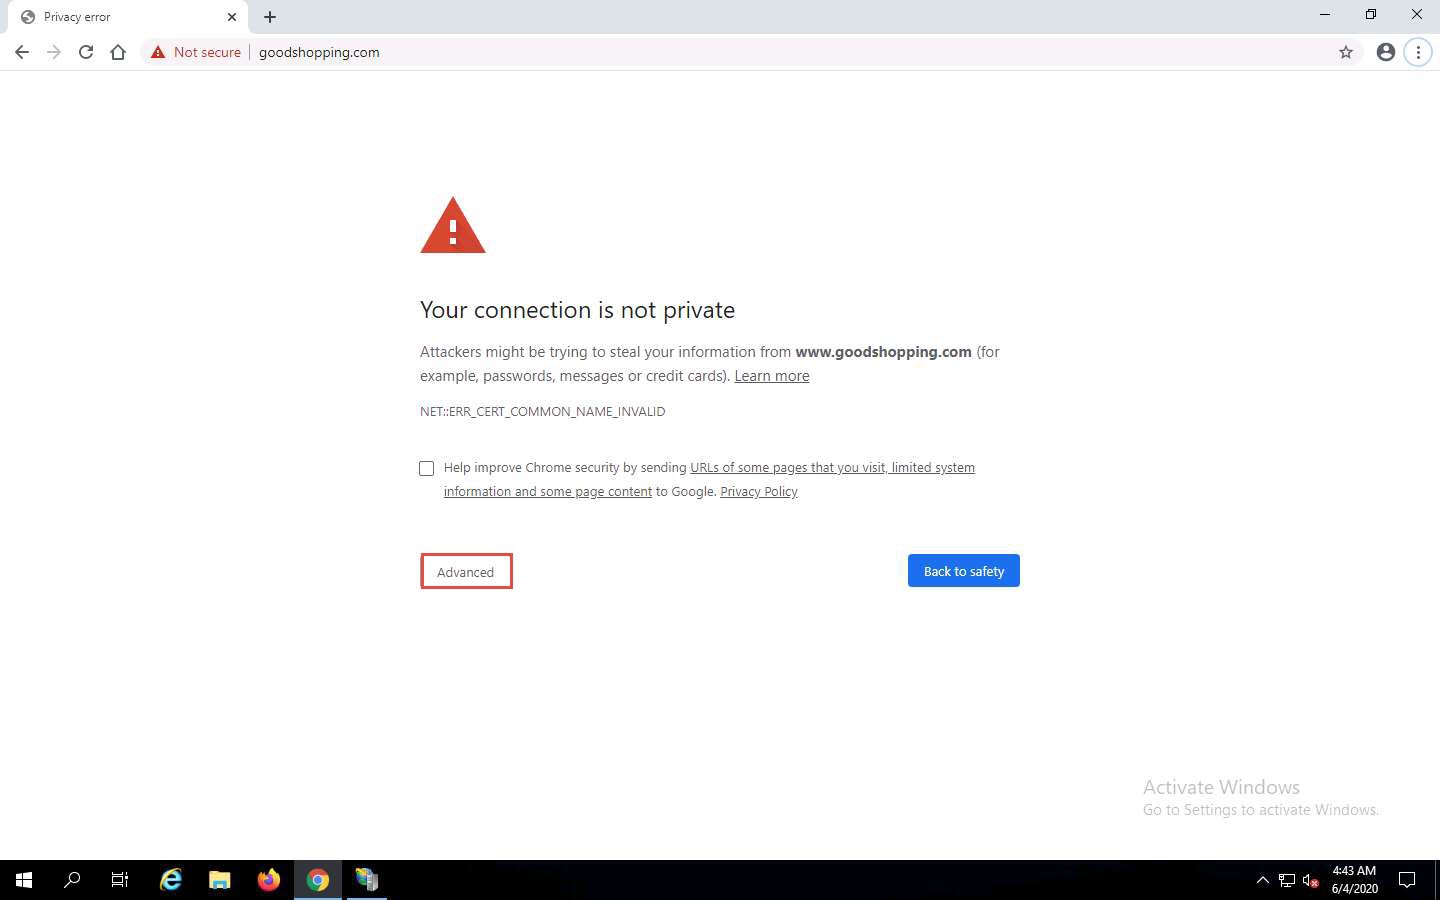
Open the Google Chrome browser place the cursor in the address bar and click on https://www.goodshopping.com, and press Enter.
The Your connection is not private message appears, click ADVANCED to proceed.
Click Proceed to www.goodshopping.com (unsafe).
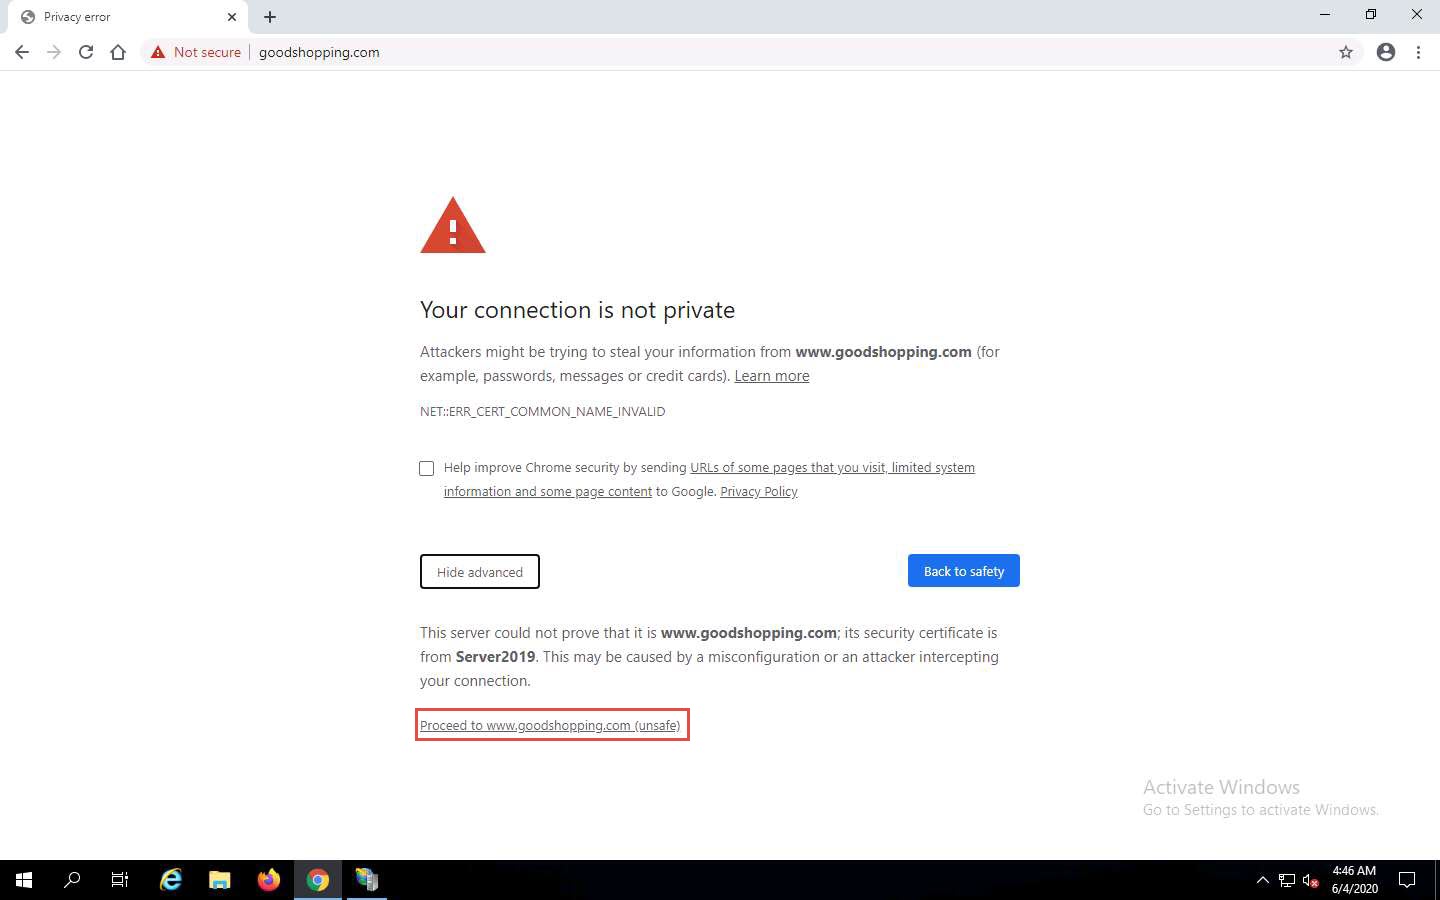
Now you can see Goodshopping webpage with ssl certificate assigned to it, as shown in the screenshot.

This concludes the demonstration of creating and using a self-signed certificate.
Close all open windows and document all the acquired information.


Comments
Post a Comment