Lab 1: Encrypt the Information using Various Cryptography Too
Lab 1: Encrypt the Information using Various Cryptography Tools
Module 20: Cryptography
Lab 1: Encrypt the Information using Various Cryptography Tools
Task 1: Calculate One-way Hashes using HashCalc
D:\CEH-Tools\CEHv11 Module 20 Cryptography\MD5 and MD6 Hash Calculators\HashCalc
setup.exe.
to hash something just click the 3 dots upload it and hit calculate
you can test it by changing the text of the file or code that you uploaded and it will show a new hash
super easy you can open 2 of them to compare the hashes if needed
---------------------------------------------------------------------------------------------------------------------------------------
Module 20: Cryptography
Lab 1: Encrypt the Information using Various Cryptography Tools
Task 2: Calculate MD5 Hashes using MD5 Calculator
D:\CEH-Tools\CEHv11 Module 20 Cryptography\MD5 and MD6 Hash Calculators\MD5 Calculator
md5calc(1.0.0.0).msi.
you just right click on text document and press md5 calculator and it will show you the results
---------------------------------------------------------------------------------------------------------------------------------------
Module 20: Cryptography
Lab 1: Encrypt the Information using Various Cryptography Tools
Task 3: Calculate MD5 Hashes using HashMyFiles
HashMyFiles is a small utility that allows you to calculate the MD5 and SHA1 hashes of one or more files in your system: you can
easily copy the MD5/SHA1 hashes list into the clipboard, or save them into text/html/xml file. HashMyFiles can also be launched from
the context menu of Windows Explorer, and can display the MD5/SHA1 hashes of the selected file or folder.
Here, we will use the HashMyFiles tool to calculate MD5 hashes.
refer to blog
---------------------------------------------------------------------------------------------------------------------------------------
Module 20: Cryptography
Lab 1: Encrypt the Information using Various Cryptography Tools
Task 4: Perform File and Text Message Encryption using CryptoForge
CryptoForge is a file encryption software for personal and professional data security. It allows you to protect the privacy of
sensitive files, folders, or email messages by encrypting them with strong encryption algorithms. Once the information has been
encrypted, it can be stored on insecure media or transmitted on an insecure network—such as the Internet—and remain private. Later,
the information can be decrypted into its original form.
Here, we will use the CryptoForge tool to encrypt a file and text message.
refer to blog
---------------------------------------------------------------------------------------------------------------------------------------
Module 20: Cryptography
Lab 1: Encrypt the Information using Various Cryptography Tools
Task 5: Encrypt and Decrypt Data using BCTextEncoder
BCTextEncoder simplifies encoding and decoding text data. Plain text data are compressed, encrypted, and converted to text format, which
can then be easily copied to the clipboard or saved as a text file. This utility software uses public key encryption methods and
password-based encryption, as well as strong and approved symmetric and public key algorithms for data encryption.
Here, we will use the BCTextEncoder tool to encrypt and decrypt data.
refer to blog
---------------------------------------------------------------------------------------------------------------------------------------
Lab Scenario
As a professional ethical hacker and penetration tester, you should use various cryptography techniques or tools to protect confidential data against unauthorized access. Cryptography protects confidential data such as email messages, chat sessions, web transactions, personal data, corporate data, e-commerce applications, and many other kinds of communication. Encrypted messages can at times be decrypted by cryptanalysis (code breaking), although modern encryption techniques are virtually unbreakable.
The labs in this exercise demonstrate how you can use various cryptography tools to encrypt important information in the system.
Lab Objectives
- Calculate one-way hashes using HashCalc
- Calculate MD5 hashes using MD5 Calculator
- Calculate MD5 hashes using HashMyFiles
- Perform file and text message encryption using CryptoForge
- Encrypt and decrypt data using BCTextEncoder
Overview of Cryptography Tools
System administrators use cryptography tools to encrypt system data within their network to prevent attackers from modifying the data or misusing it in other ways. Cryptography tools can also be used to calculate or decrypt hash functions available in MD4, MD5, SHA-1, SHA-256, etc.
Cryptography tools are used to convert the information present in plain text (readable format) into cipher text (unreadable format) using a key or encryption scheme. The converted data are in the form of a scrambled code that is encrypted and sent across a private or public network.
Task 1: Calculate One-way Hashes using HashCalc
Hash functions calculate a unique fixed-size bit string representation, called a message digest, of any arbitrary block of information. Message digest (One-way Hash) functions distill the information contained in a file (small or large) into a single fixed-length number, typically between 128 and 256 bits. If any given bit of the function’s input is changed, every output bit has a 50% chance of changing. Given an input file and its corresponding message digest, it should be nearly impossible to find another file with the same message digest value, as it is computationally infeasible to have two files with the same message digest value.
HashCalc enables you to compute multiple hashes, checksums, and HMACs for files, text, and hex strings. It supports the Secure Hash Algorithm family: MD2, MD4, MD5, SHA1, SHA2 (SHA256, SHA384, SHA512), RIPEMD160, PANAMA, TIGER, CRC32, ADLER32, and the hash used in the peer-to-peer file sharing applications, eDonkey and eMule.
Here, we will use the HashCalc tool to calculate one-way hashes.
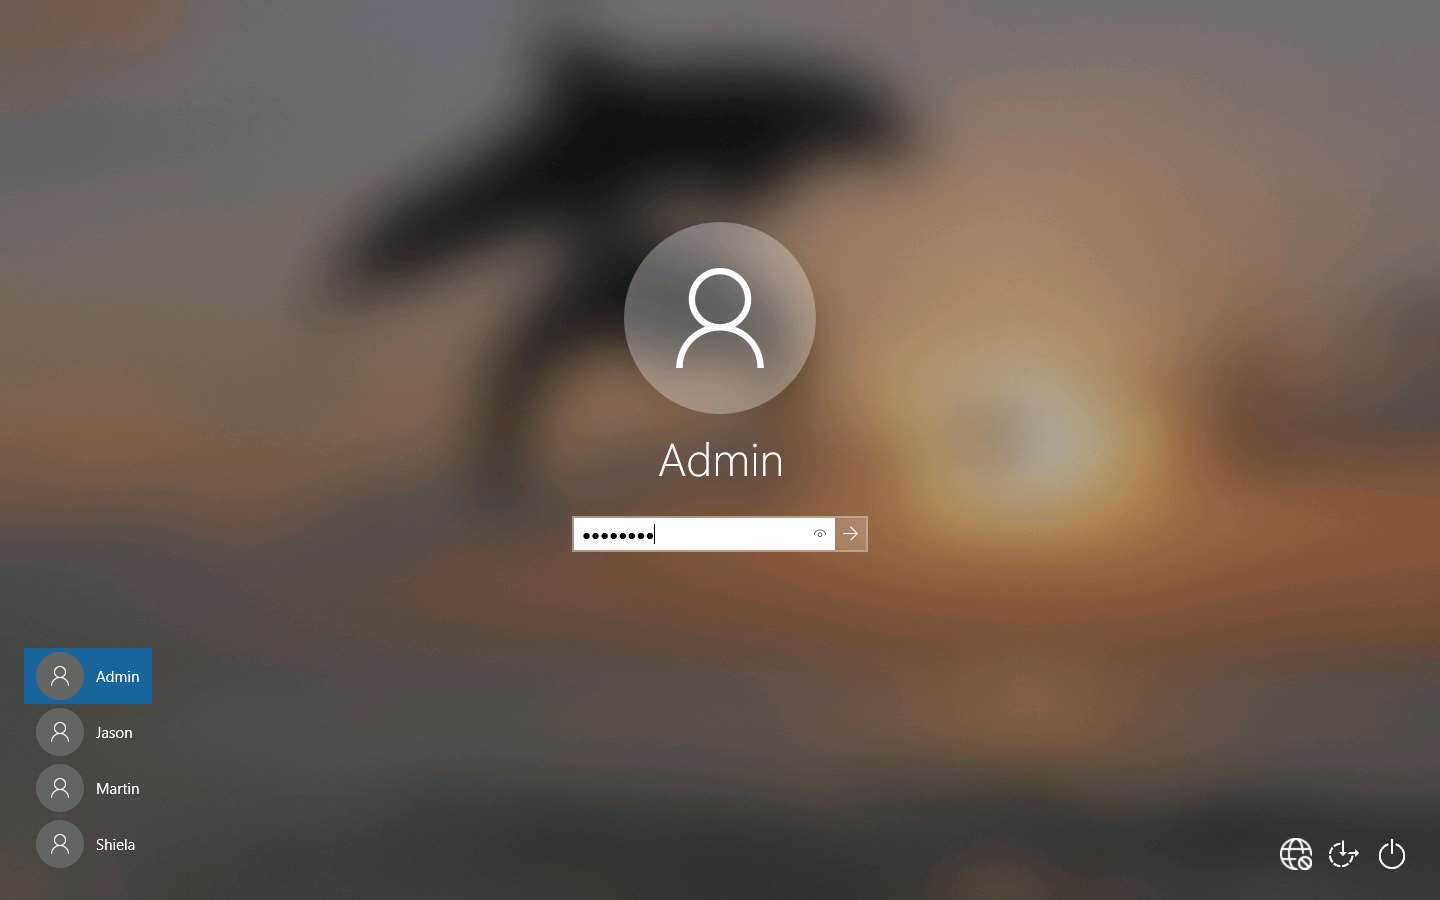
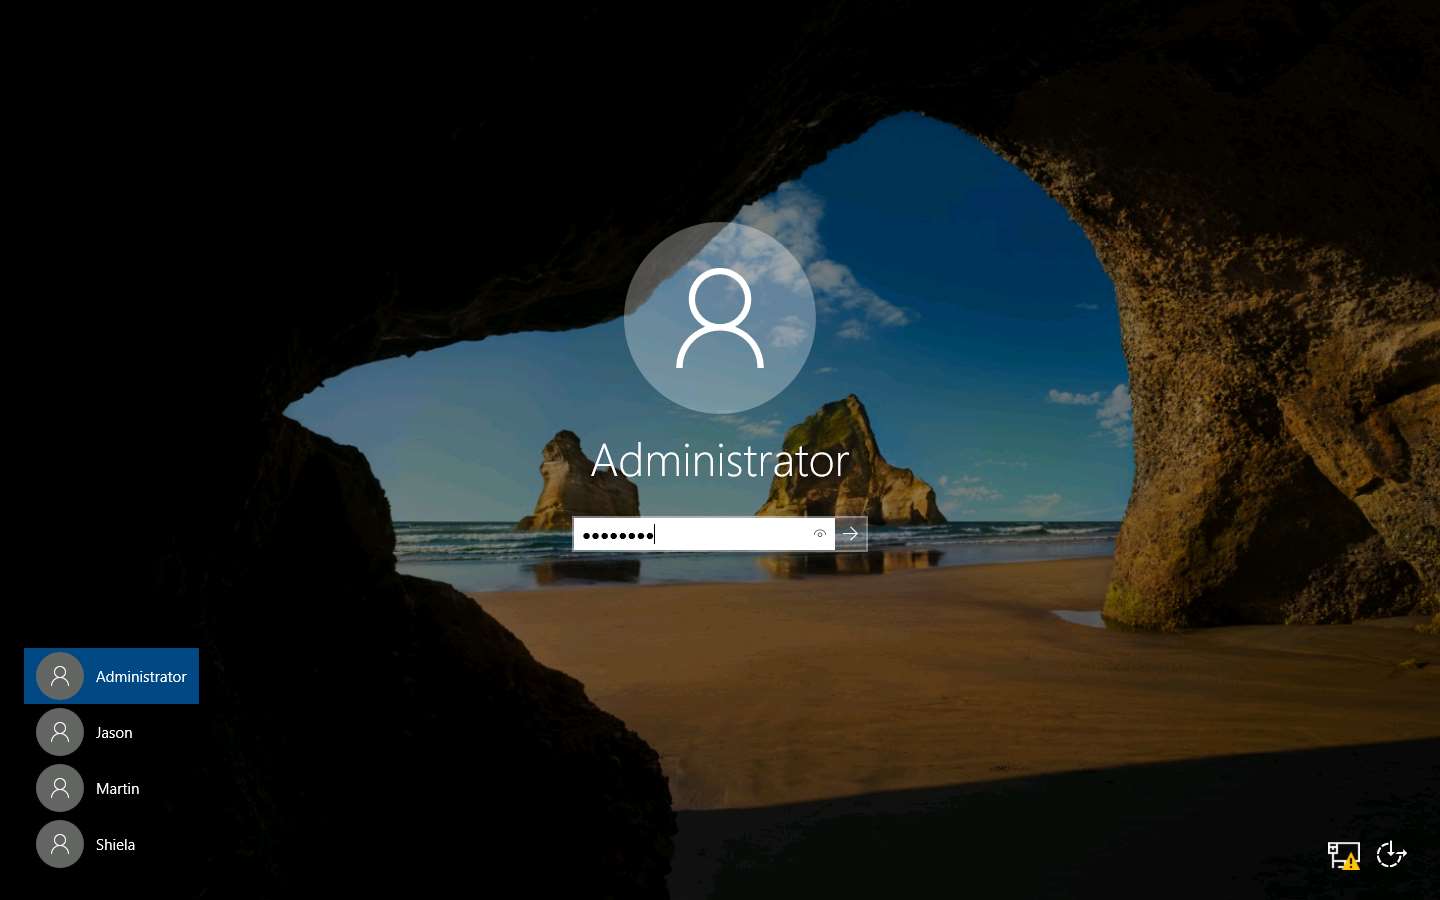
Click Windows 10 to switch to the Windows 10 machine. click Ctrl+Alt+Delete to activate it. By default, Admin user profile is selected, click Pa$$w0rd to paste the password in the Password field and press Enter to login.
Alternatively, you can also click Pa$$w0rd under Windows 10 machine thumbnail in the Resources pane or Click Type Text | Type Password button under Commands (thunder icon) menu.
If Welcome to Windows wizard appears, click Continue and in Sign in with Microsoft wizard, click Cancel.
Networks screen appears, click Yes to allow your PC to be discoverable by other PCs and devices on the network.
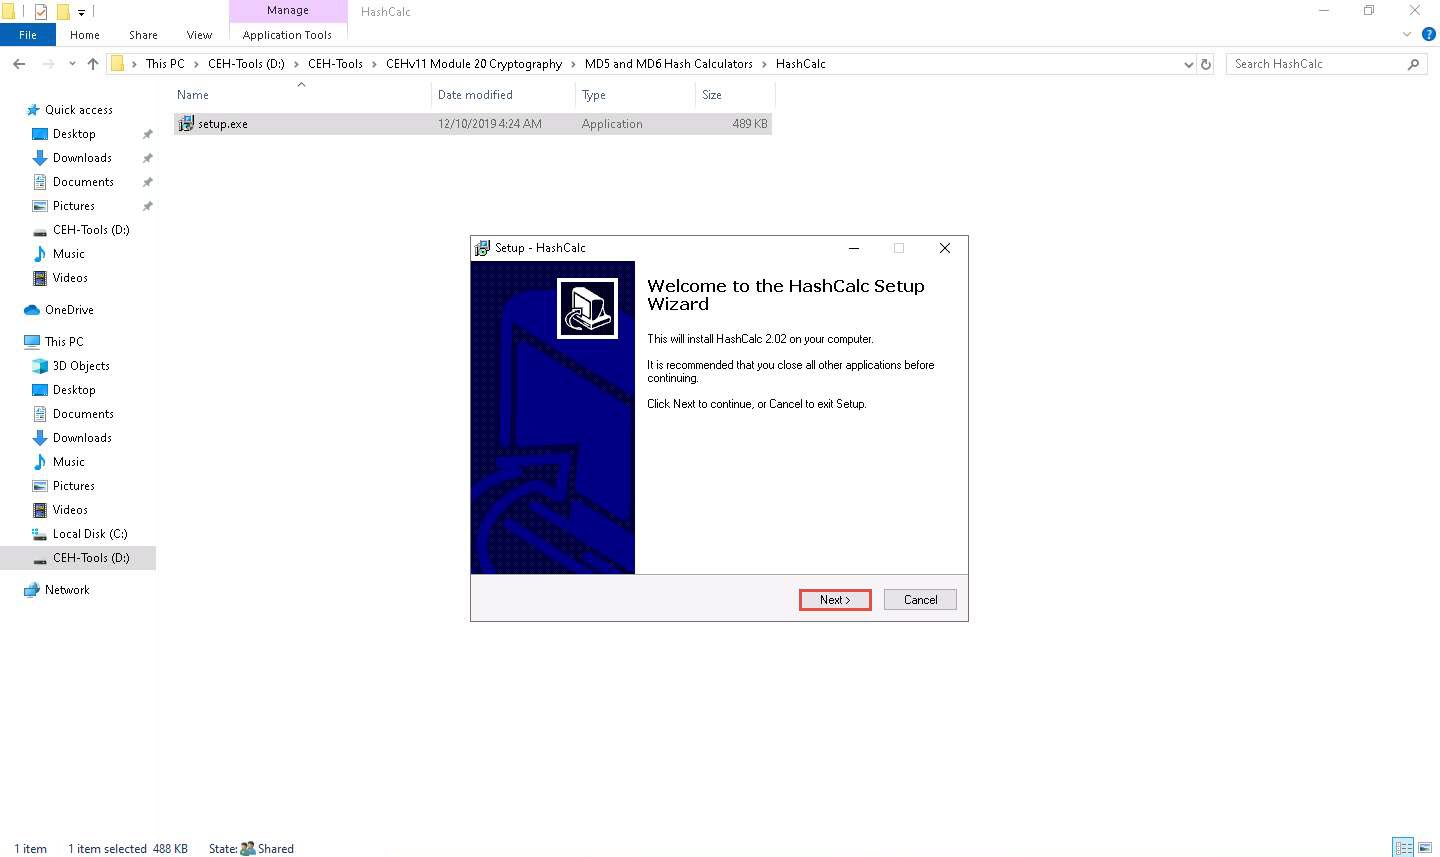
Navigate to D:\CEH-Tools\CEHv11 Module 20 Cryptography\MD5 and MD6 Hash Calculators\HashCalc and double click setup.exe.
If the User Account Control pop-up appears, click Yes.
Setup - HashCalc window appears, click Next.
Follow the installation wizard to install HashCalc using all default settings.
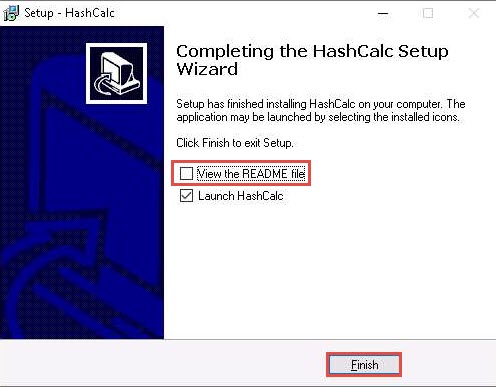
After the completion of the installation, Completing the HashCalc Setup Wizard appears. Uncheck the View the README file checkbox and click Finish.
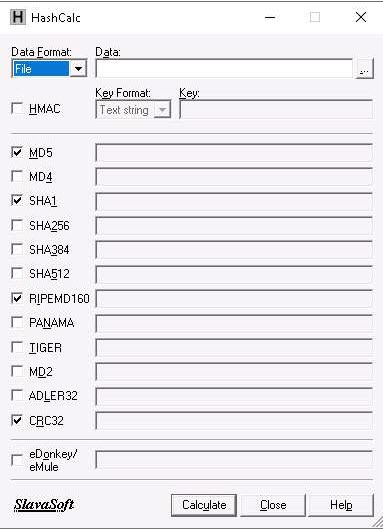
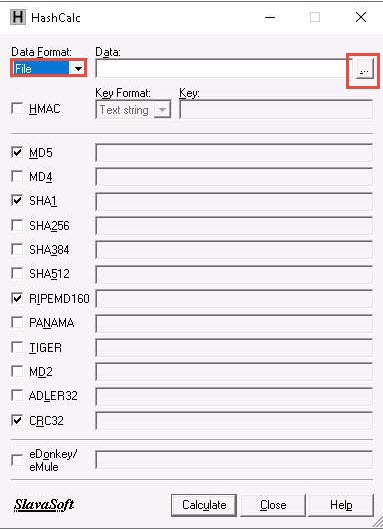
The HashCalc main window appears, as shown in the screenshot.
Minimize the HashCalc window. Navigate to Desktop, right-click on the Desktop window, and navigate to New --> Text Document to create a new text file.
You can create a text file at any location of your choice.
A newly created text file appears; rename it to Test.txt and open it. Write some text in it (here, Hello World !!) and press Ctrl+S to save the file. Close the text file.

Now, switch back to the HashCalc window; ensure that the File option is selected in the Data Format field and click ellipsis icon under the Data filed.
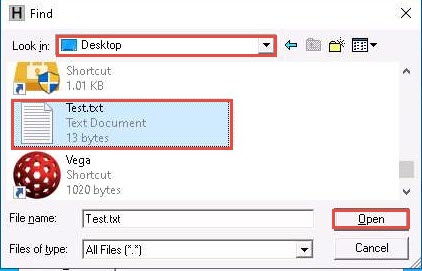
The Find window appears, navigate to the location where you saved the Test.txt file (here, Desktop) and click Open.
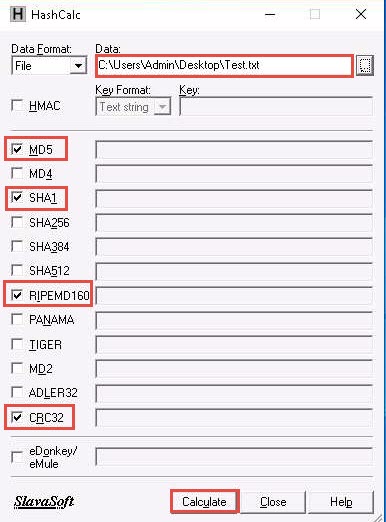
The path of the selected file (Test.txt) appears under the Data field. Ensure that the MD5, SHA1, RIPEMD160, and CRC32 hash functions are selected. Click the Calculate button.
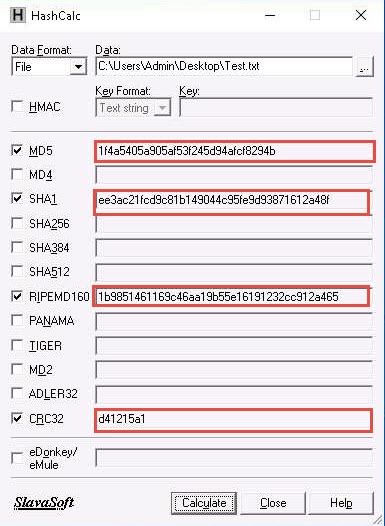
The calculated hash values of the Test.txt file appears, as shown in the screenshot.
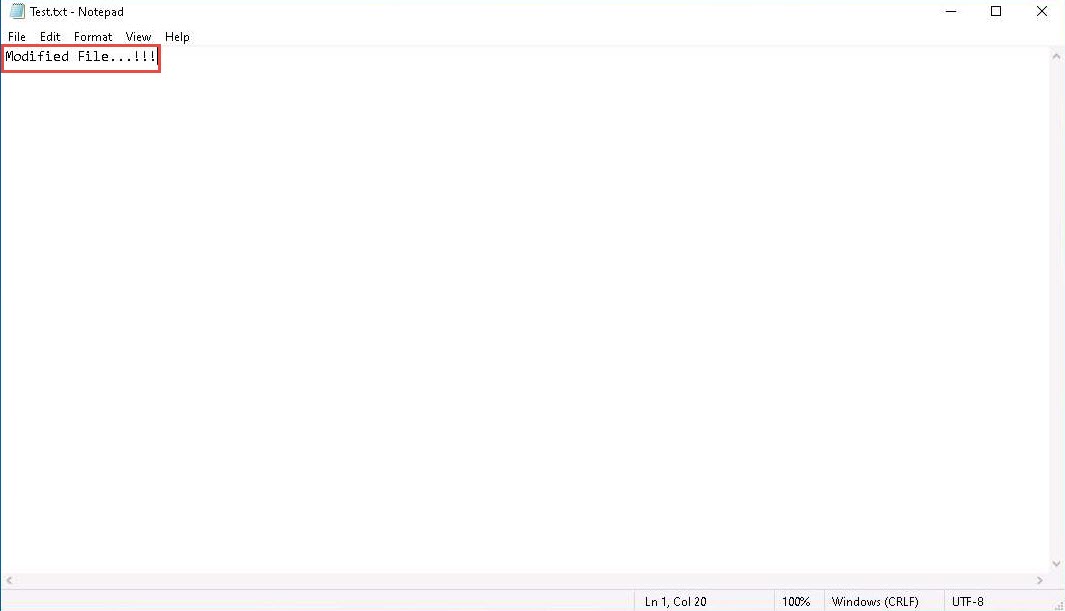
Minimize the HashCalc window, navigate to Desktop, and double-click the Test.txt file to open it. Modify the file content by writing some text (here, Modified File …!!!) and press Ctrl+S to save it. Close the text file.
Now, double-click HashCalc shortcut from Desktop to launch another HashCalc window.
A new HashCalc window appears, perform Steps #9-12
Now, maximize the first HashCalc window and place it beside the second HashCalc window. You can observe changes in the hash values of the text file (Test.txt) before and after the modification, as shown in the screenshot.
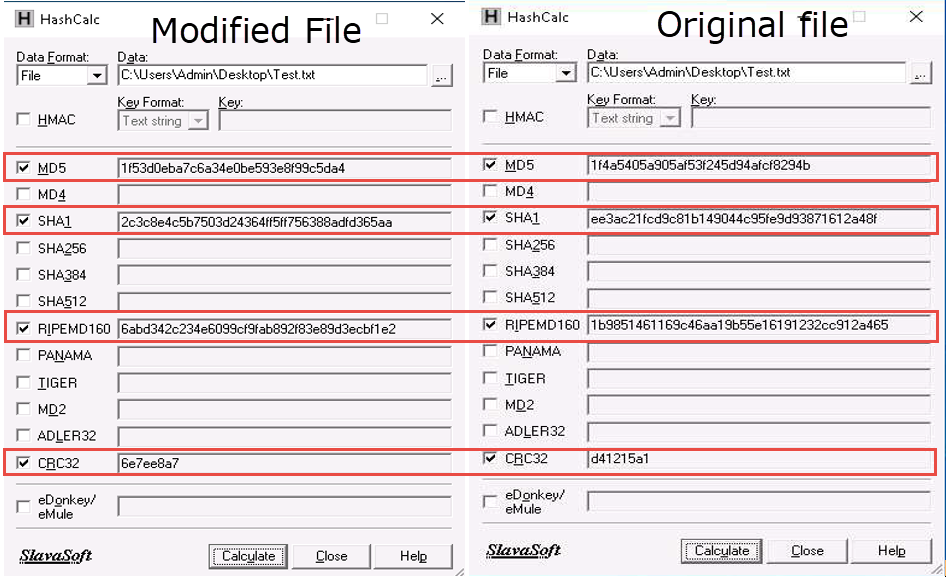
In real-time, the HashCalc tool is used to check the integrity of a file where the changes in the hash values indicate that the file content has been modified.
This concludes the demonstration of calculating one-way hashes using HashCalc.
Close all open windows and document all the acquired information.
Task 2: Calculate MD5 Hashes using MD5 Calculator
MD2, MD4, MD5, and MD6 are message digest algorithms used in digital signature applications to compress documents securely before the system signs it with a private key. The algorithms can be of variable length, but the resulting message digest is always 128 bits.
The MD5 algorithm is a widely used cryptographic hash function that takes a message of arbitrary length as input and outputs a 128-bit (16-byte) fingerprint or message digest of the input. The MD5 algorithm is used in a wide variety of cryptographic applications and is useful for digital signature applications, file integrity checking, and storing passwords.
MD5 Calculator is a simple application that calculates the MD5 hash of a given file, and it can be used with large files (e.g., multiple gigabytes). It features a progress counter and a text field from which the final MD5 hash can be easily copied to the clipboard. MD5 calculator can be used to check the integrity of a file.
Here, we will use the MD5 Calculator tool to calculate MD5 hashes.
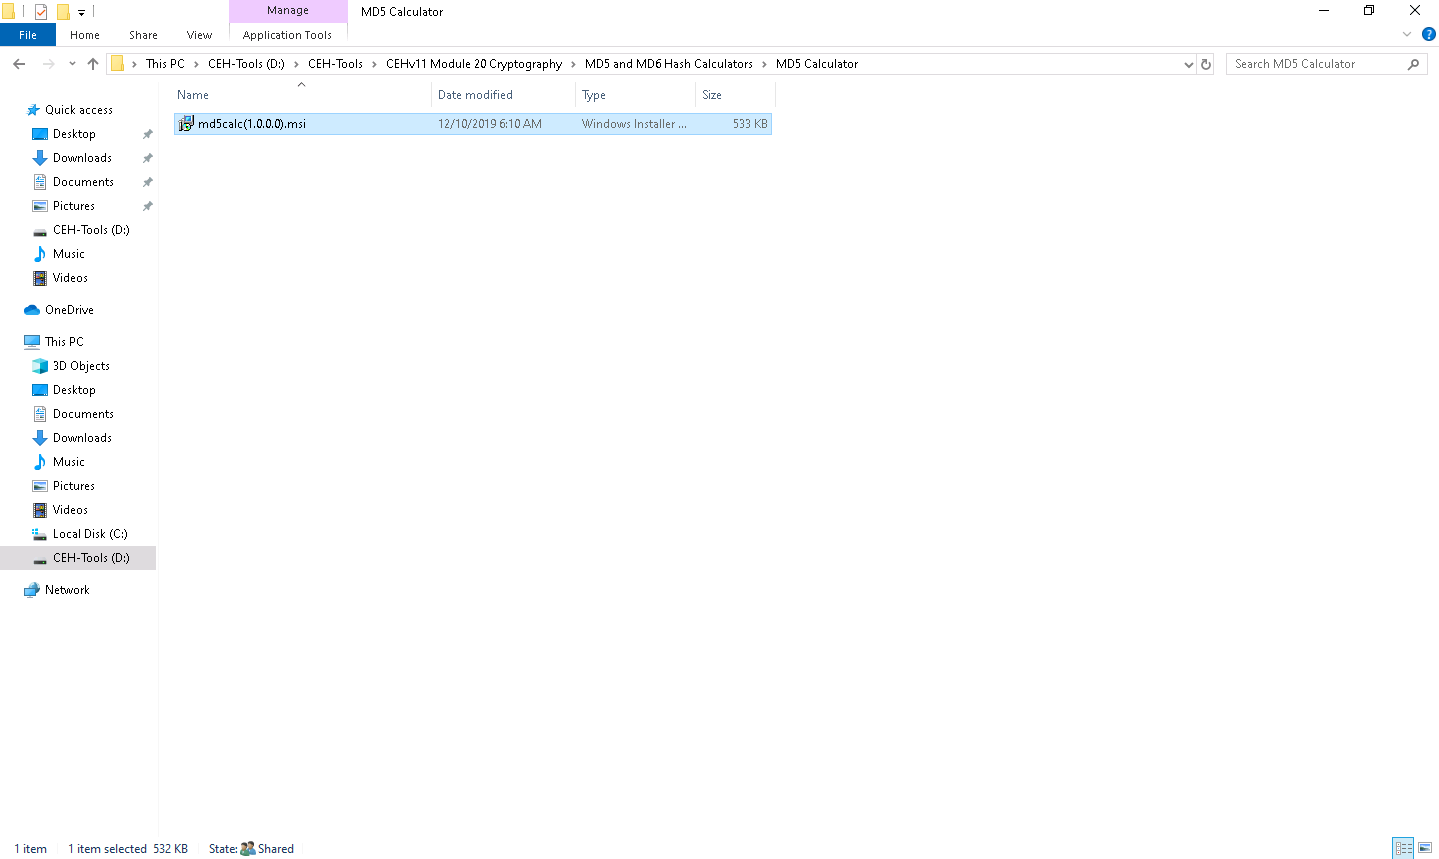
In the Windows 10 machine, navigate to D:\CEH-Tools\CEHv11 Module 20 Cryptography\MD5 and MD6 Hash Calculators\MD5 Calculator and double-click md5calc(1.0.0.0).msi.
The MD5 Calculator setup window appears; click Next.
Follow the installation wizard to install the MD5 Calculator using all default settings.
If a User Account Control pop-up appears, click Yes.
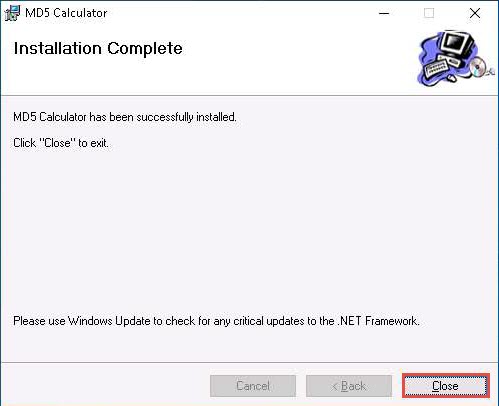
After the completion of the installation, the Installation Complete wizard appears; click Close.
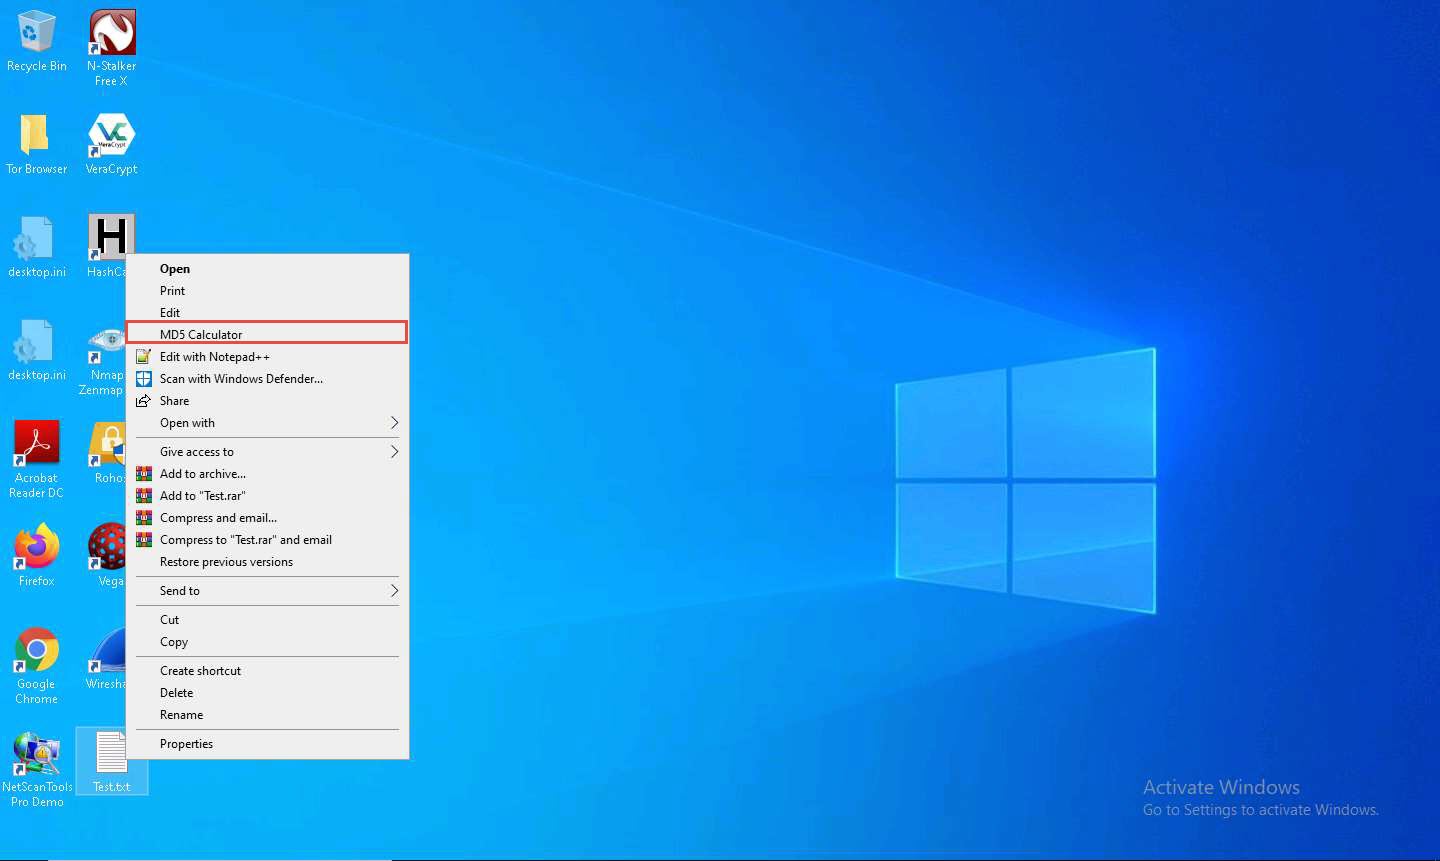
Navigate to Desktop, right-click on the text file (Test.txt) that we created in the previous task, and click MD5 Calculator from the context menu to calculate the MD5 hash of the file.
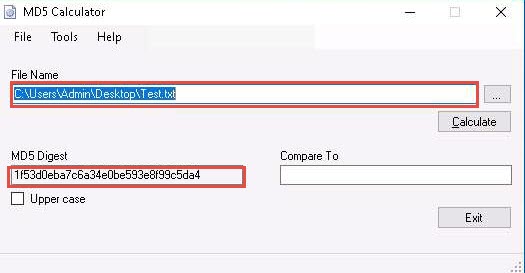
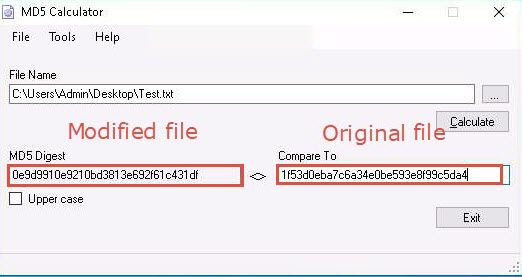
The MD5 Calculator window appears, with the path of file under the File Name field and MD5 hash value under the MD5 Digest field, as shown in the screenshot.
Copy the MD5 hash value from the MD5 Digest field.
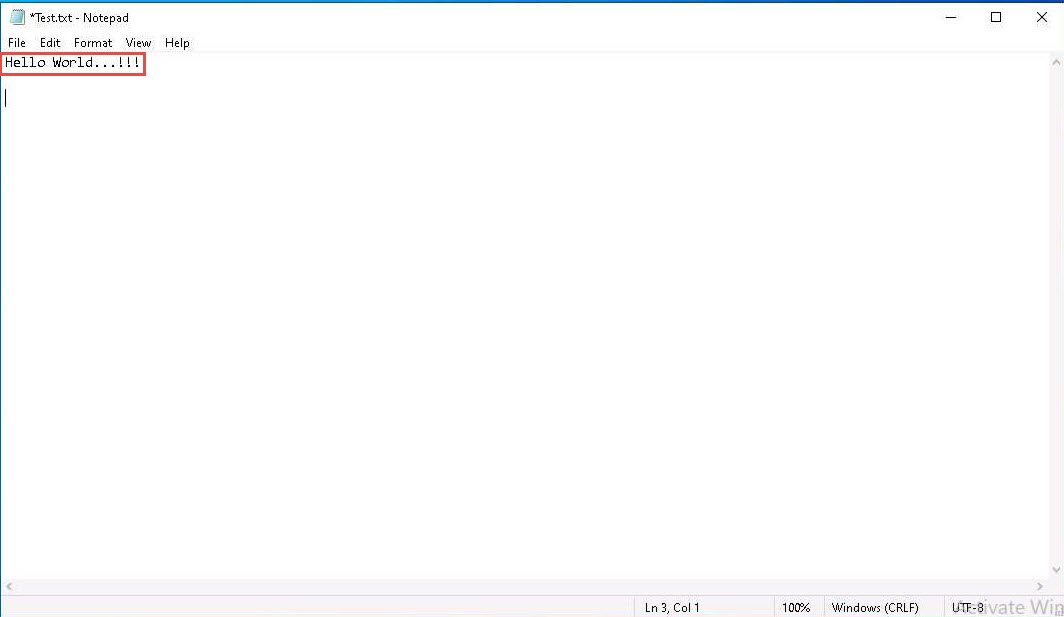
Now, double-click the Test.txt file from Desktop to open it and change the content of the file by inserting text within (here, Hello World…!!!). Save and close the Test.txt file.
After changing the file content, again right-click on the text file (Test.txt) and click MD5 Calculator from the context menu to calculate the MD5 hash of the file.
A new MD5 Calculator window appears, with the MD5 hash value under the MD5 Digest field. In the Compare To field, paste the copied MD5 hash value of the file before it was modified.
The symbol (<>) between the MD5 Digest and Compare To fields indicates that the MD5 hash values of the file before modification is not equal to the MD5 hash value of the file after modification.
If a person wants to send a file to another person via a medium, they will calculate its hashes and send the file (along with the hash value) to the intended person. When the intended person receives the email, they will download the file and calculate its value using the MD5 Calculator.
The recipient compares the generated hash value with the hash value that was sent through email: if both tally, it is evident that they received the file without any modifications by a third person and that the integrity of the file is intact.
This concludes the demonstration of calculating MD5 hashes using MD5 Calculator.
Close all open windows and document all the acquired information.
Task 3: Calculate MD5 Hashes using HashMyFiles
HashMyFiles is a small utility that allows you to calculate the MD5 and SHA1 hashes of one or more files in your system: you can easily copy the MD5/SHA1 hashes list into the clipboard, or save them into text/html/xml file. HashMyFiles can also be launched from the context menu of Windows Explorer, and can display the MD5/SHA1 hashes of the selected file or folder.
Here, we will use the HashMyFiles tool to calculate MD5 hashes.
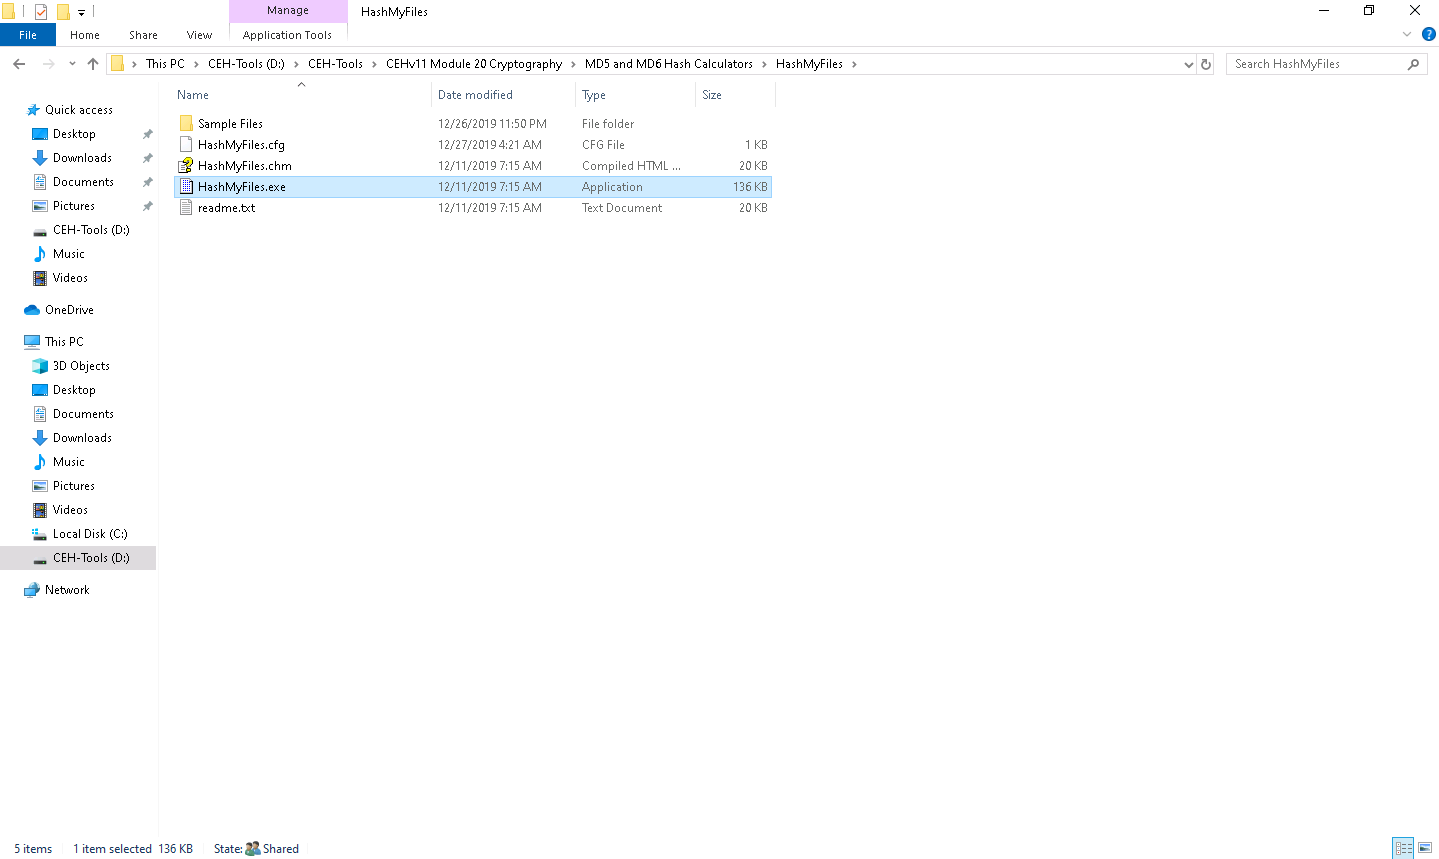
In the Windows 10 machine, navigate to D:\CEH-Tools\CEHv11 Module 20 Cryptography\MD5 and MD6 Hash Calculators\HashMyFiles and double-click HashMyFiles.exe.
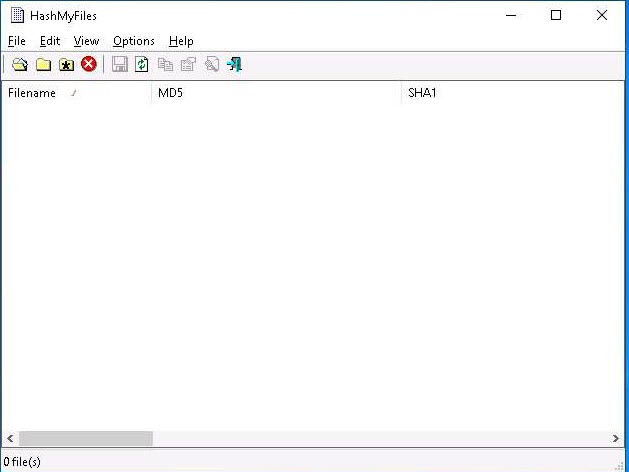
The HashMyFiles main window appears, as shown in the screenshot.
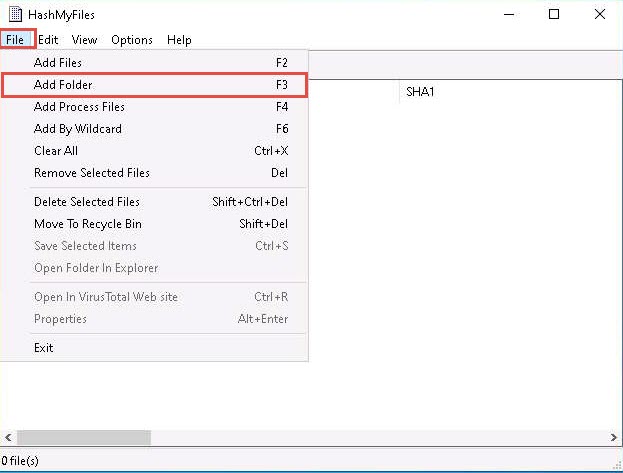
In the HashMyFiles window, click Files from the menu bar. From the drop-down list, click the Add Folder option.
You can also use the Add Files option to add multiple files.
The Select Folder pop-up appears; click on the ellipsis icon to select the folder you want to encrypt.
The Browse for Folder window appears; navigate to D:\CEH-Tools\CEHv11 Module 20 Cryptography\MD5 and MD6 Hash Calculators\HashMyFiles and select the Sample Files folder; then, click OK.
You can select any folder of your choice that you wish to encrypt.
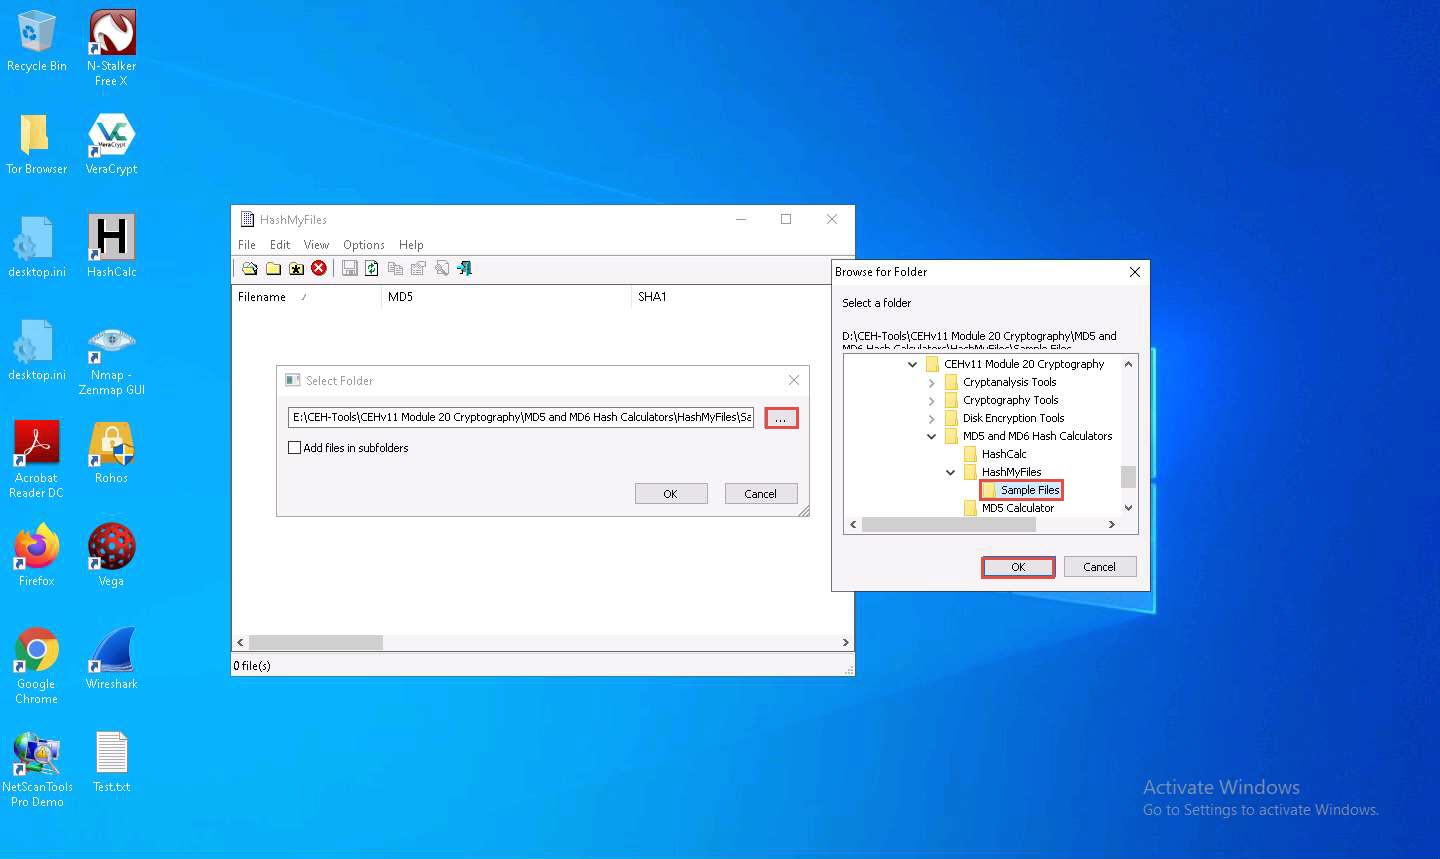
The location of the selected folder appears in the field; click OK.
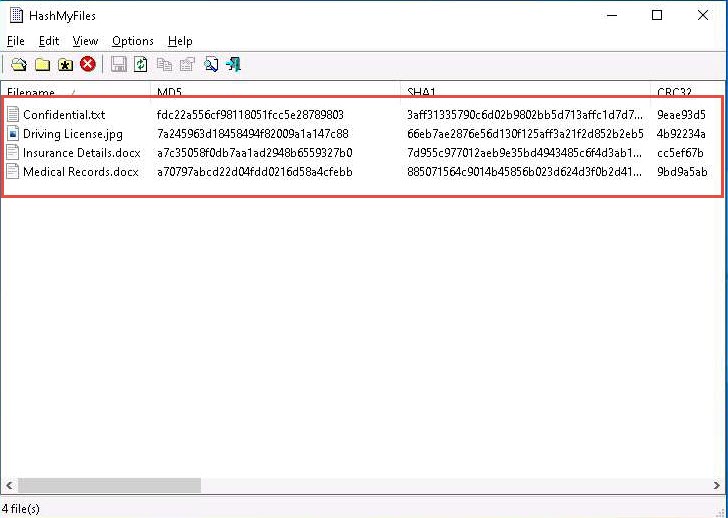
A list of files contained in the folder appears, along with their various hash values such as MD5, SHA1, CRC32, etc.
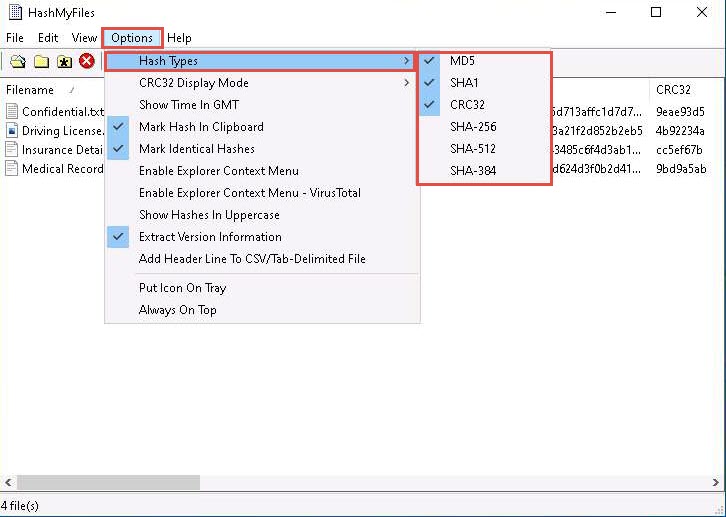
In the HashMyFiles window, click Options from the menu bar and choose Hash Types from the options. You can observe a list of hash functions such as MD5, SHA1, CRC32, SHA-256, SHA-512, and SHA-384, which you can choose (here, the MD5, SHA1, and CRC32 hash functions were selected).
In real-time, you may share confidential information in the folder in an encrypted form to maintain its integrity.
This concludes the demonstration of calculating MD5 hashes using HashMyFiles.
You can also use other MD5 and MD6 hash calculators such as MD6 Hash Generator (https://www.browserling.com), All Hash Generator (https://www.browserling.com), MD6 Hash Generator (https://convert-tool.com), and md5 hash calculator (https://onlinehashtools.com) to calculate MD5 and MD6 hashes.
Close all open windows and document all the acquired information.
Task 4: Perform File and Text Message Encryption using CryptoForge
CryptoForge is a file encryption software for personal and professional data security. It allows you to protect the privacy of sensitive files, folders, or email messages by encrypting them with strong encryption algorithms. Once the information has been encrypted, it can be stored on insecure media or transmitted on an insecure network—such as the Internet—and remain private. Later, the information can be decrypted into its original form.
Here, we will use the CryptoForge tool to encrypt a file and text message.
Click on Windows Server 2019 to switch to the Windows Server 2019 machine, click Ctrl+Alt+Delete to activate the machine. By default, Administrator profile is selected, click on Pa$$w0rd to enter password in the password field and press Enter.
Networks screen appears, click Yes to allow your PC to be discoverable by other PCs and devices on the network.
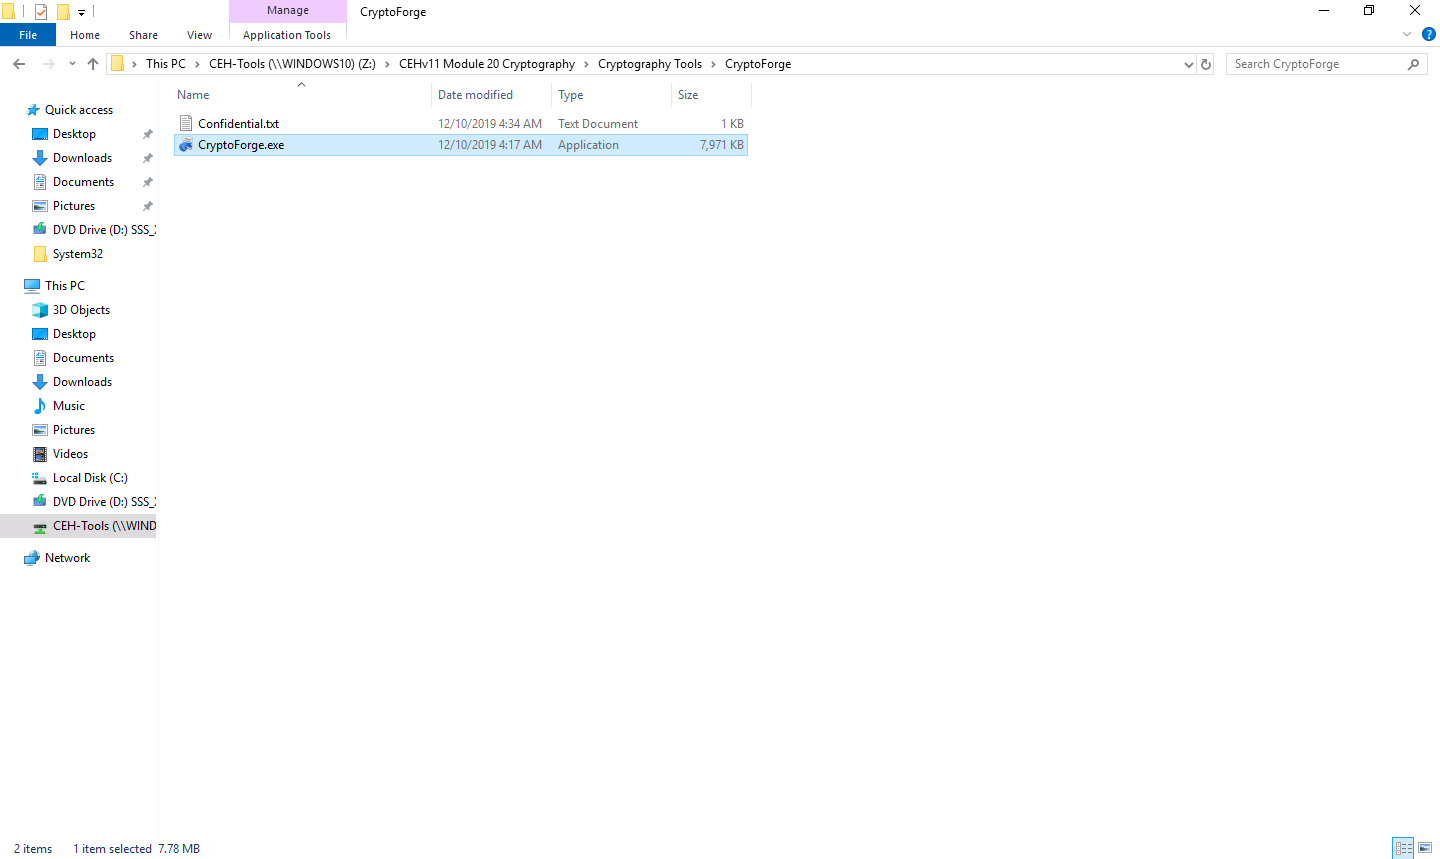
Navigate to Z:\CEHv11 Module 20 Cryptography\Cryptography Tools\CryptoForge and double-click CryptoForge.exe.
If a User Account Control pop-up appears, click Yes.
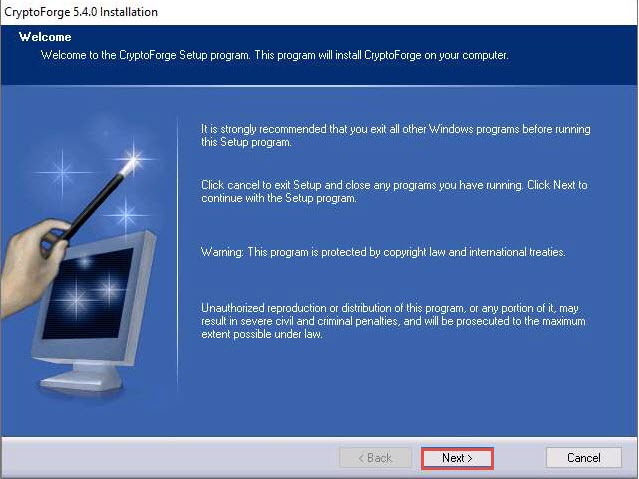
The CryptoForge Installation window appears; click Next.
Follow the installation steps to install the application using all default settings.
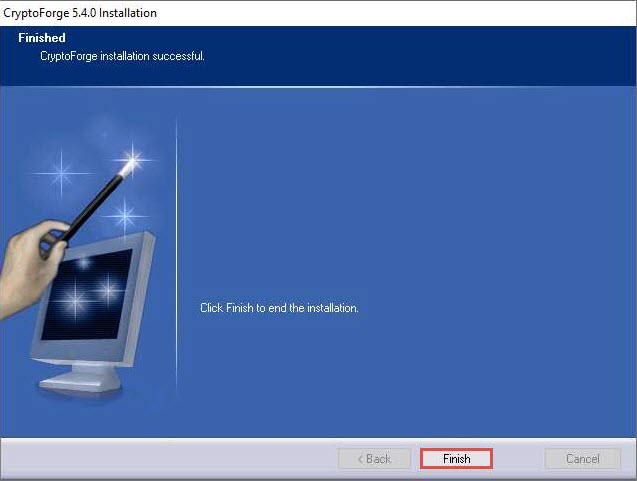
After completion of the installation, CryptoForge installation successful wizard appears; click Finish.
Now, click on Windows 10 to switch to the Windows 10 machine.
Navigate to D:\CEH-Tools\CEHv11 Module 20 Cryptography\Cryptography Tools\CryptoForge, double-click CryptoForge.exe, and follow the steps to install the application using default settings.
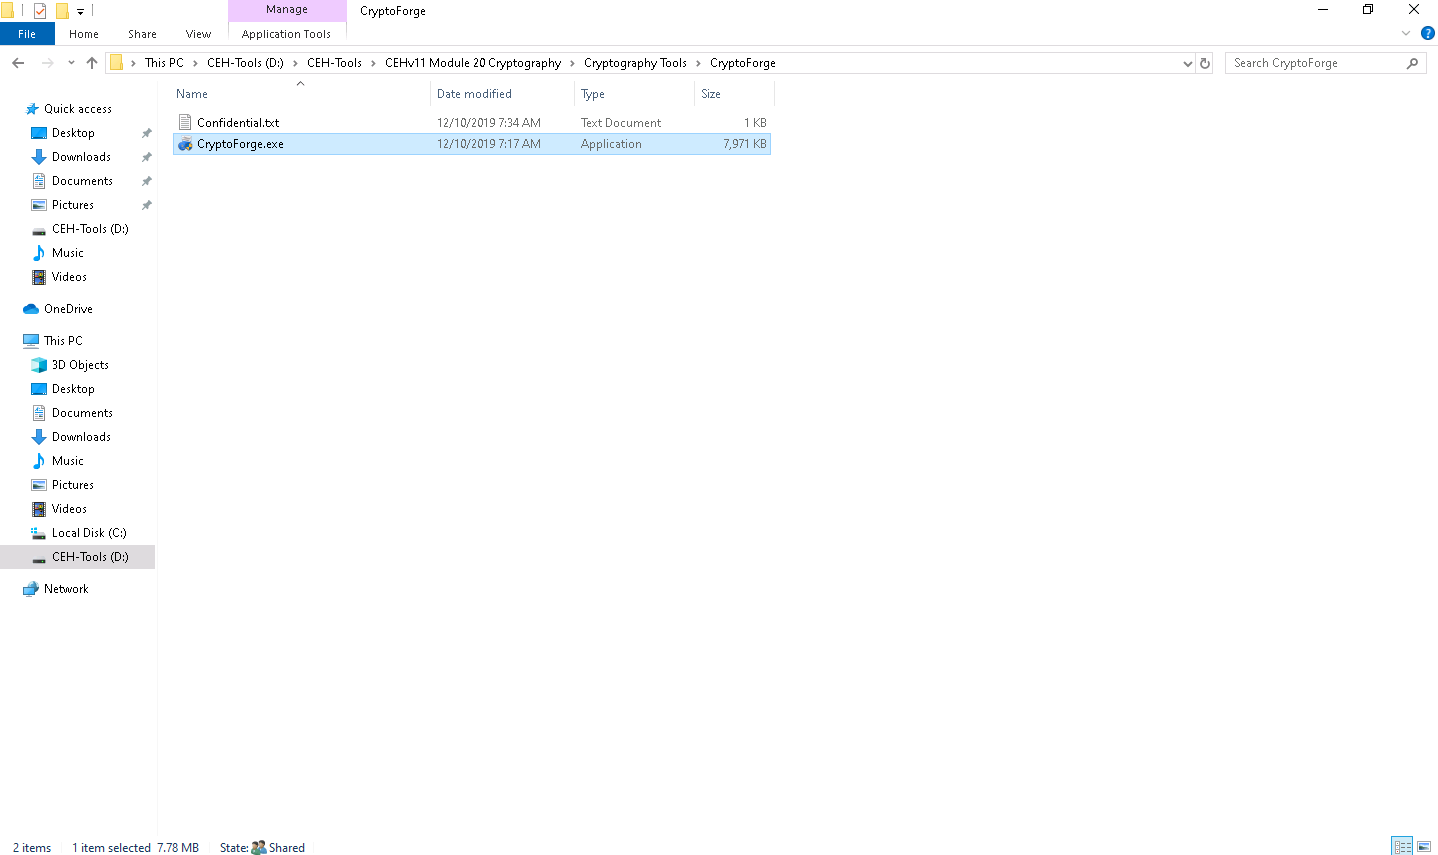
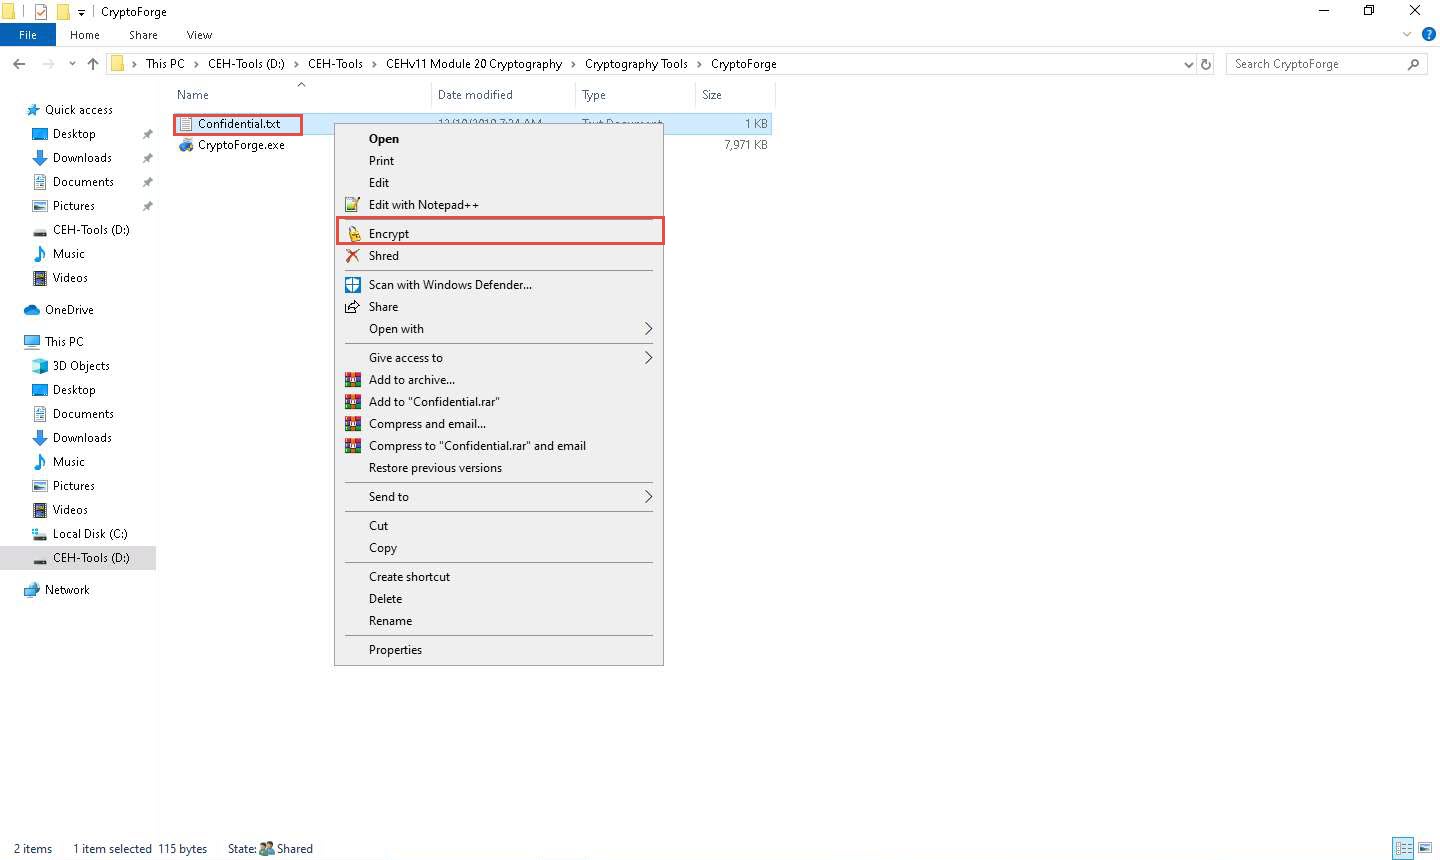
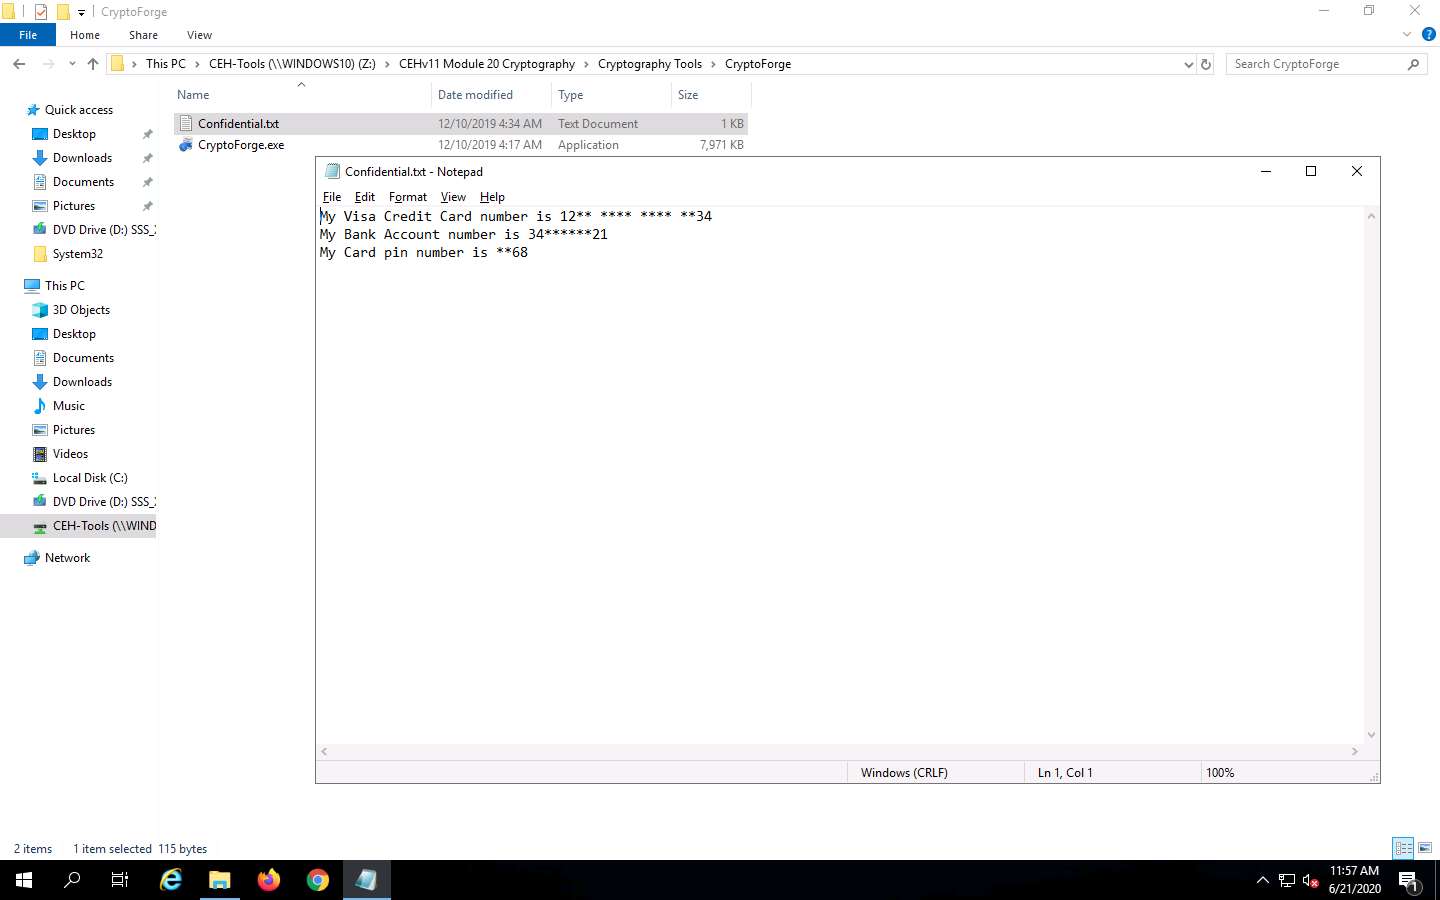
Right-click the Confidential.txt file located at the same location (D:\CEH-Tools\CEHv11 Module 20 Cryptography\Cryptography Tools\CryptoForge) and select Encrypt from the context menu.
In this task, we are encrypting the Confidential.txt file, although you can encrypt any file of your choice.
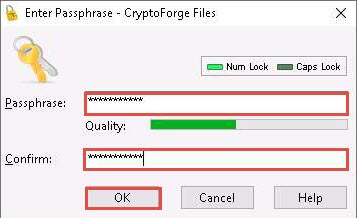
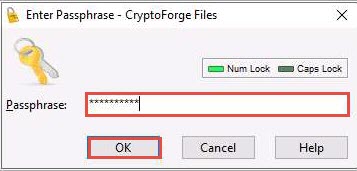
The Enter Passphrase - CryptoForge Files dialog-box appears; type a password in the Passphrase field, retype it in the Confirm field, and click OK. The password used in this lab is qwerty@1234.
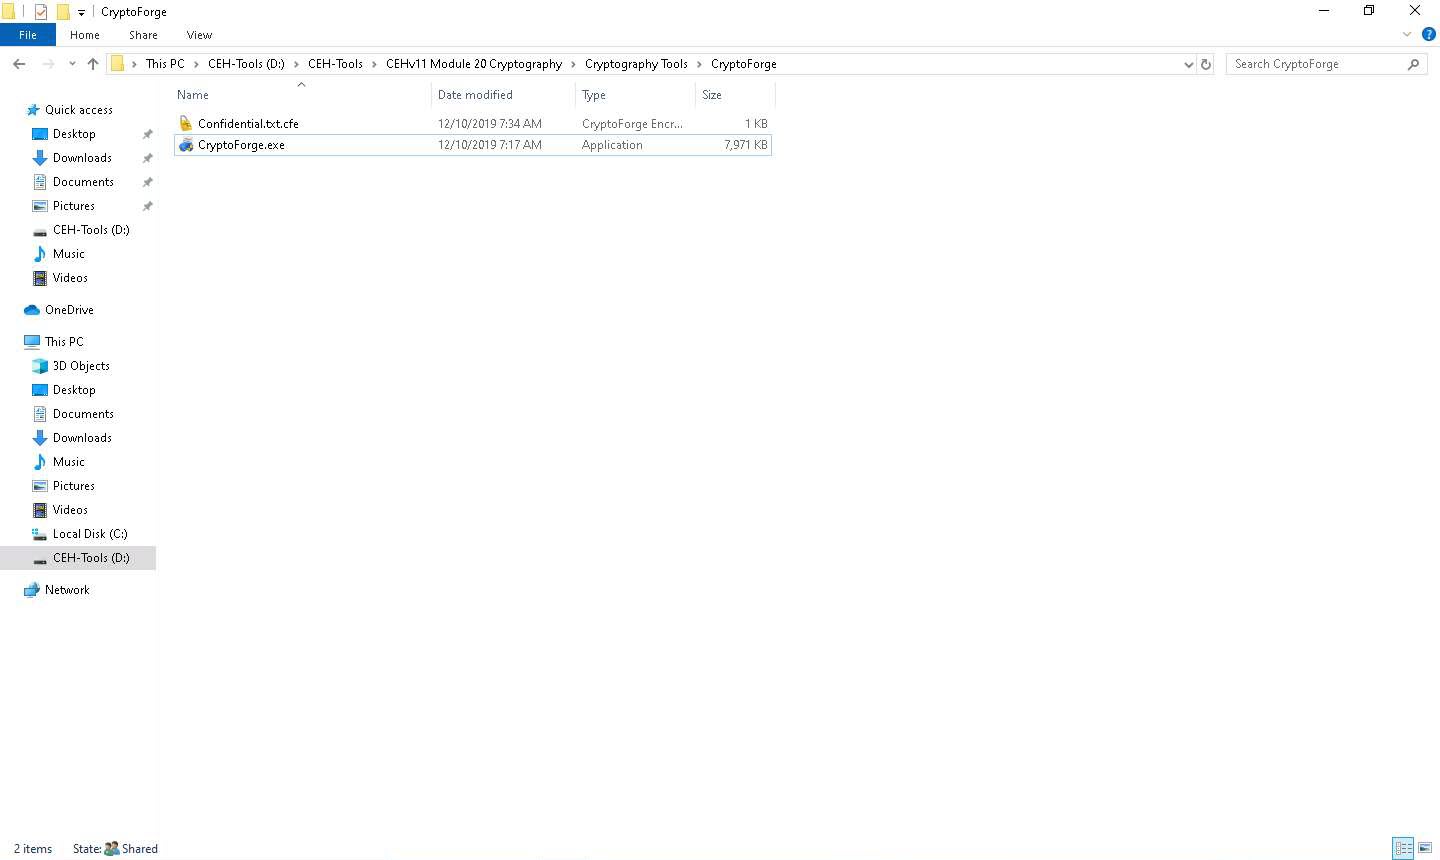
Now, the file will be encrypted in the same location, and the old file will be deleted automatically, as shown in the screenshot.
No one can access this file unless the user provides the password for the encrypted file. You will have to share the password with the user through message, email, or any other means.
Let us assume that you shared this file through a shared network drive.
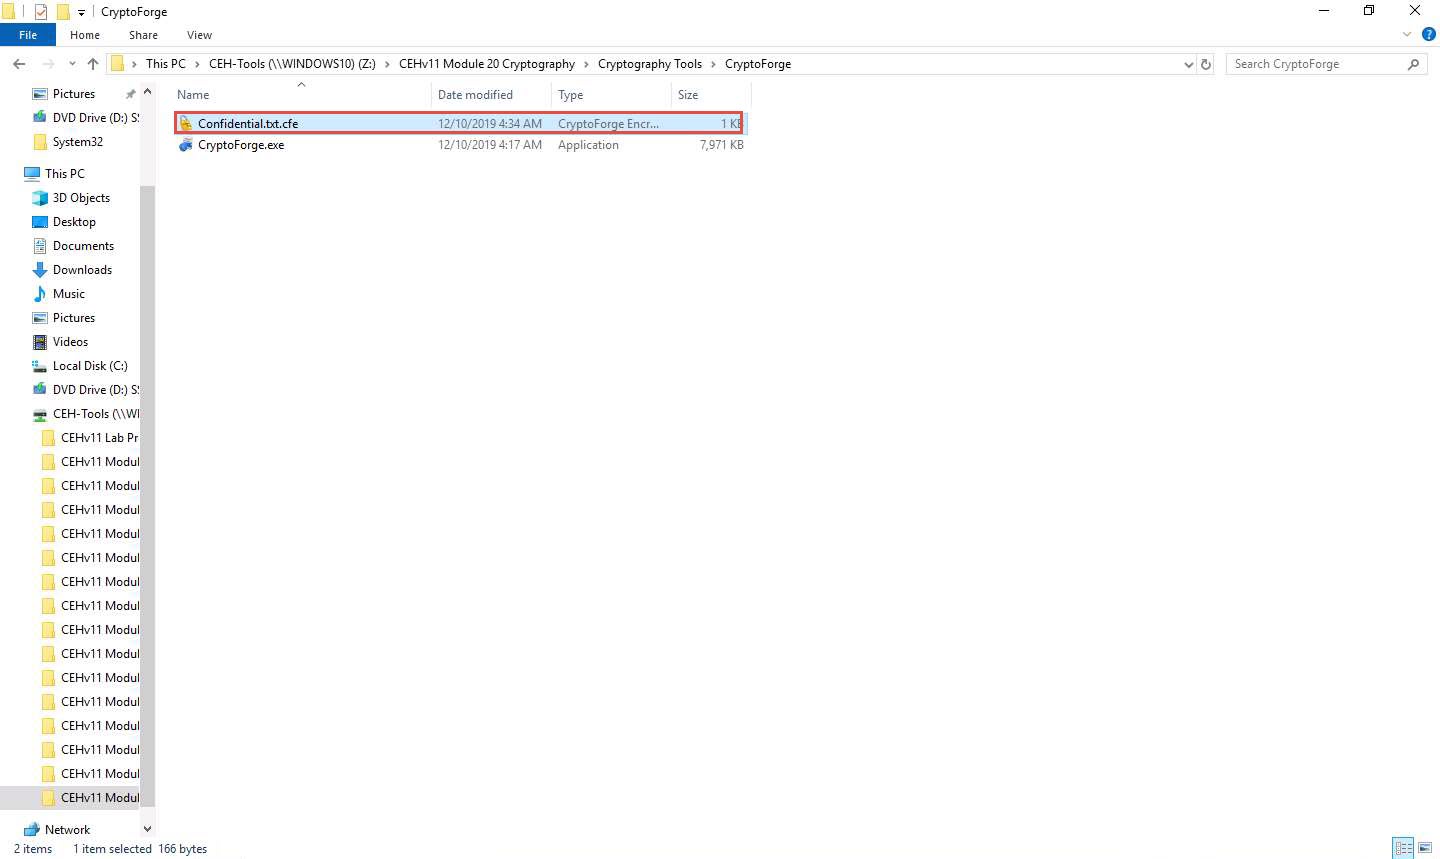
Now, click on Windows Server 2019 to switch to the Windows Server 2019 machine and navigate to Z:\CEHv11 Module 20 Cryptography\Cryptography Tools\CryptoForge. You will observe the encrypted file in this location.
Double-click the encrypted file to decrypt it and view its contents.
The Enter Passphrase - CryptoForge Files dialog-box appears; enter the password that you have provided in Step#9 to encrypt the file and click OK.
Upon entering the password, the file will be successfully decrypted. You may now double-click the text file to view its contents.
So far, you have seen how to encrypt a file and share it with the intended user. Now, we shall share an encrypted message with a user.
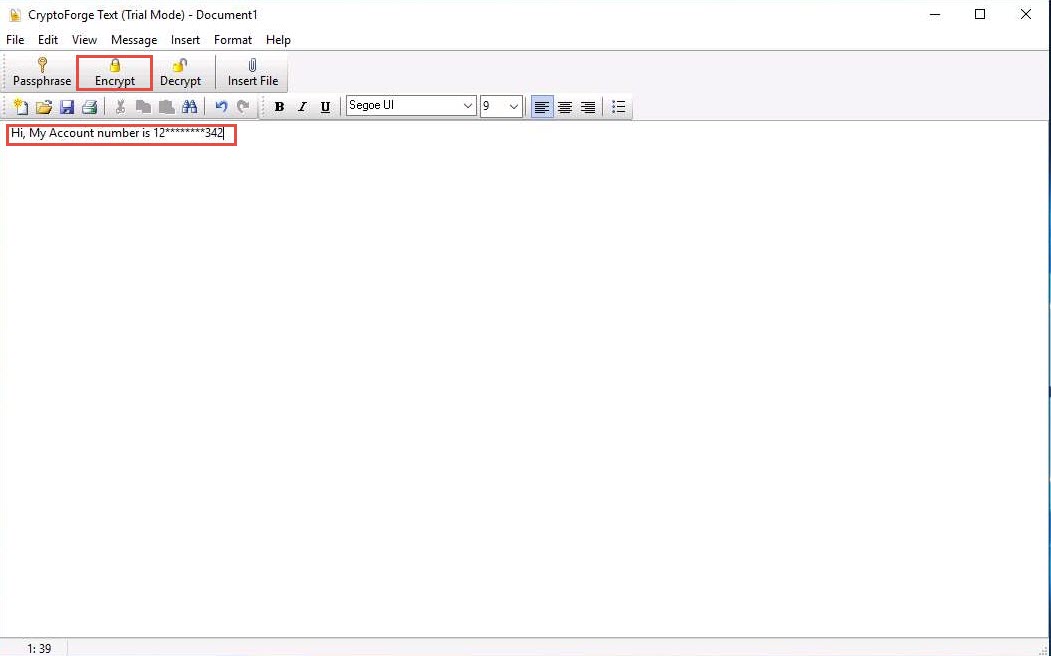
In the Windows Server 2019 machine, click the Start icon present in the bottom-left corner of Desktop and click CryptoForge Text from the apps to launch the application.
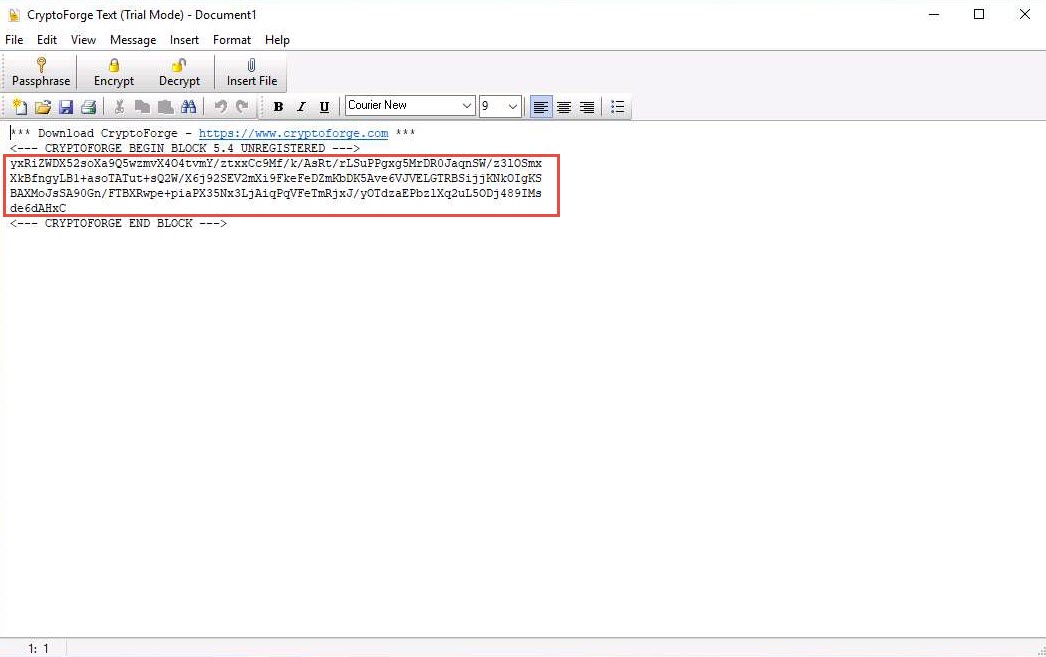
The CryptoForge Text window appears; type a message and click Encrypt from the toolbar.
The Enter Passphrase - CryptoForge Text dialog-box appears; type a password in the Passphrase field, retype it in the Confirm field, and click OK. The password used in this lab is test@123.
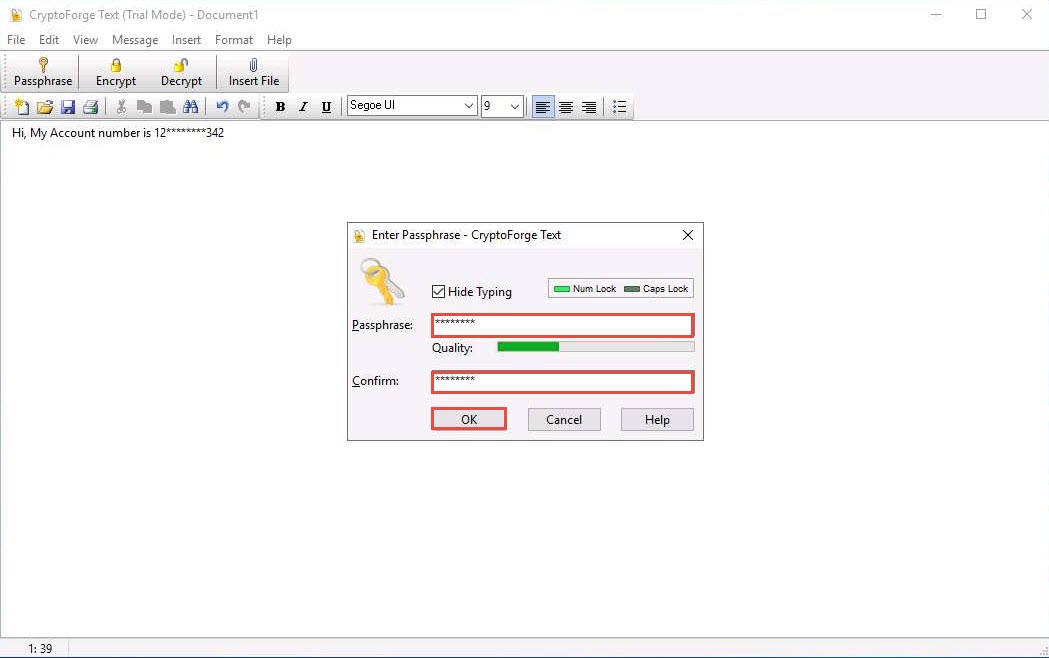
The message that you have typed will be encrypted, as shown in the screenshot.
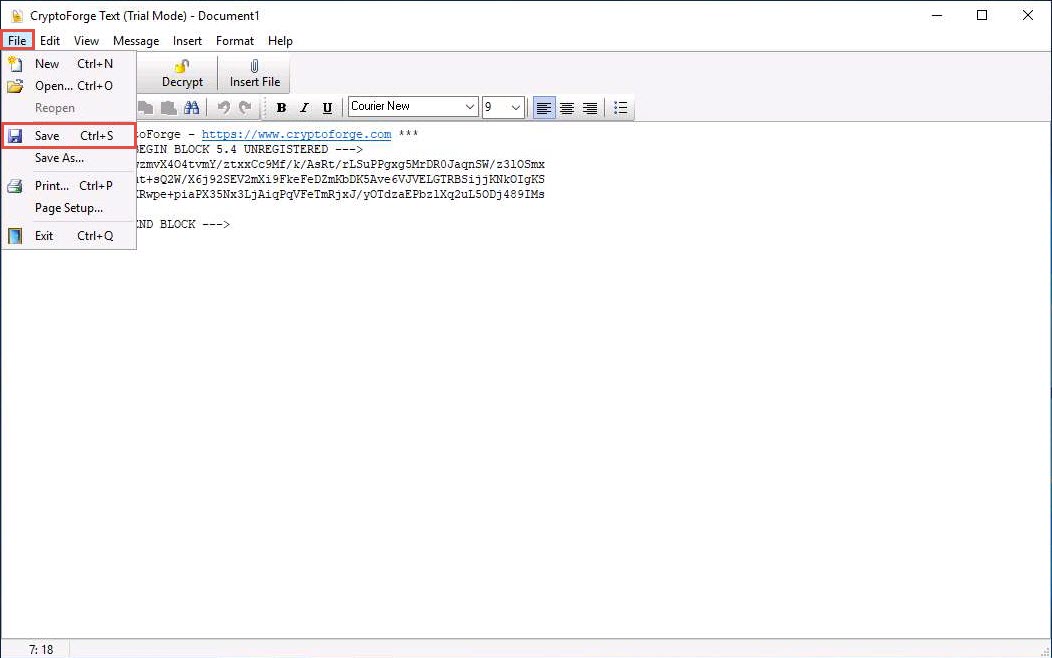
Now, you need to save the file. Click File in the menu bar and click Save.
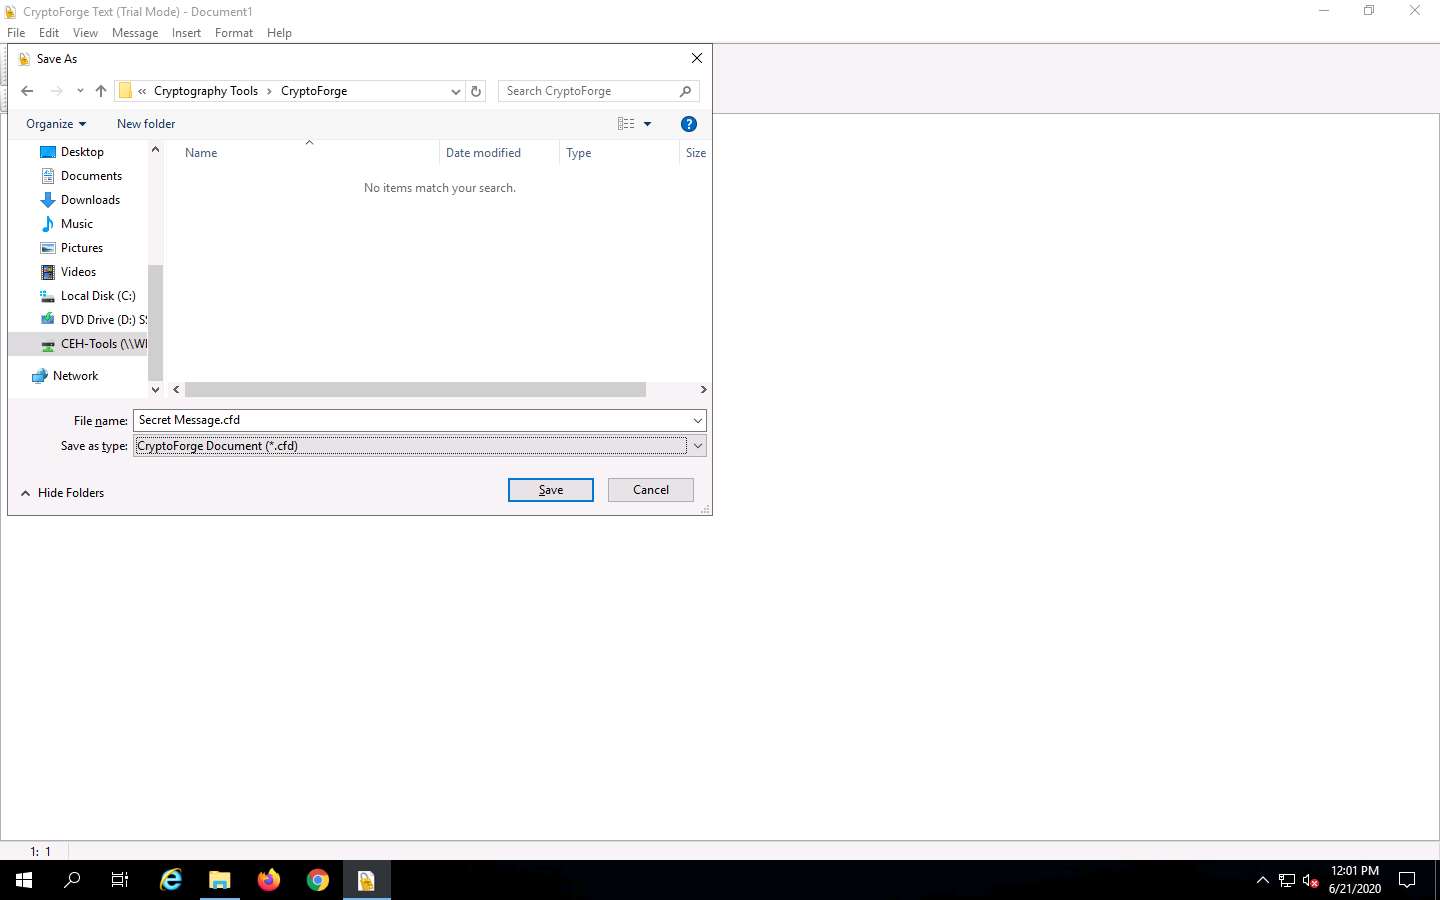
The Save As window appears; navigate to Z:\CEHv11 Module 20 Cryptography\Cryptography Tools\CryptoForge, specify the file name as Secret Message.cfd, and click Save.
Close the CryptoForge Text window.
Now, let us assume that you shared the file through the mapped network drive and shared the password to decrypt the file in an email message or through some other means.
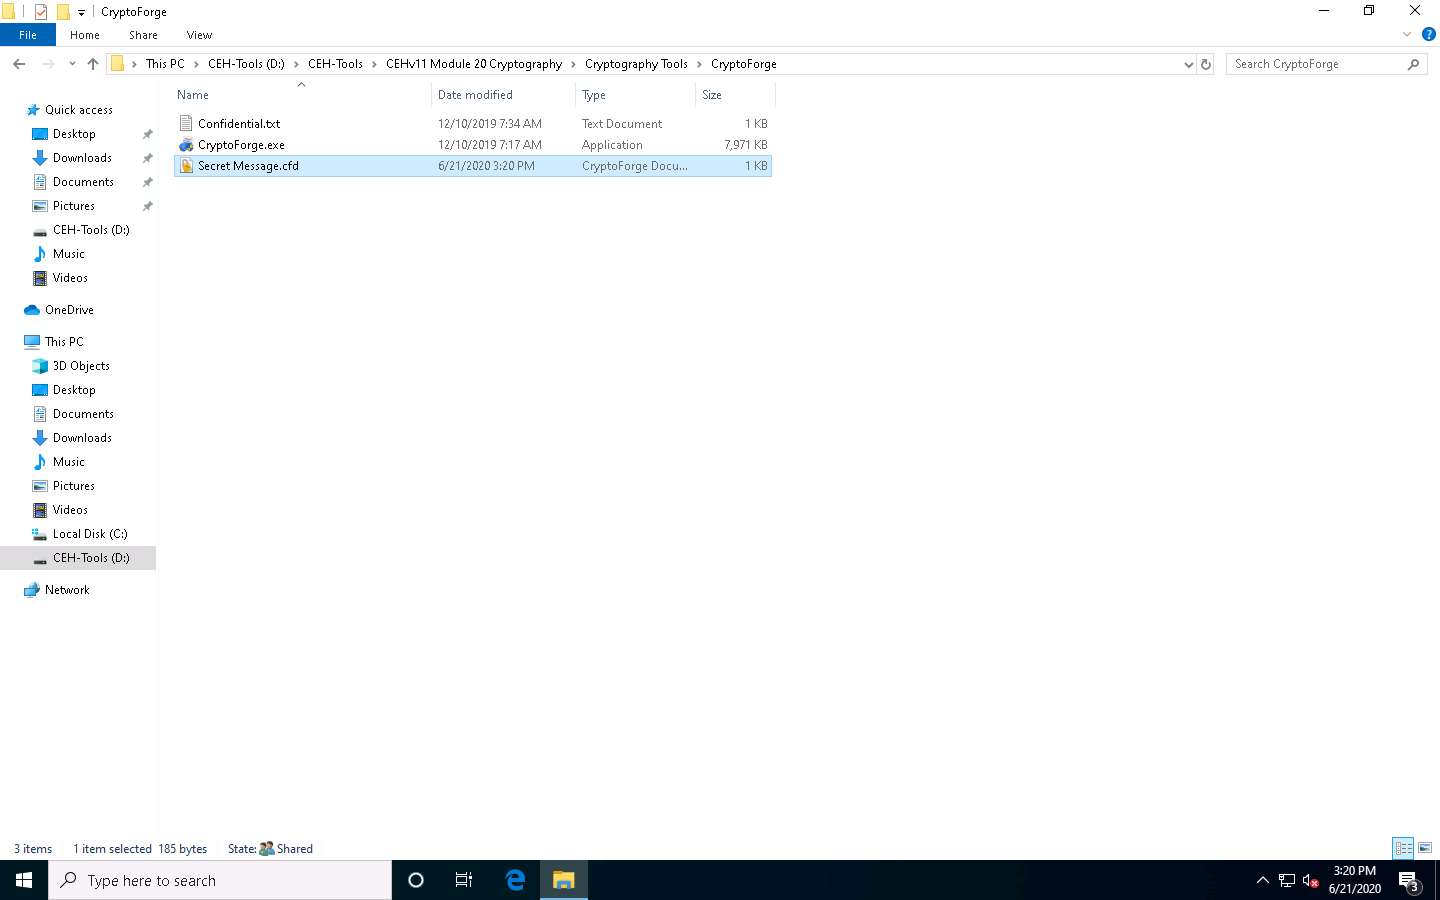
Click on Windows 10 to switch to the Windows 10 machine and navigate to D:\CEH-Tools\CEHv11 Module 20 Cryptography\Cryptography Tools\CryptoForge.
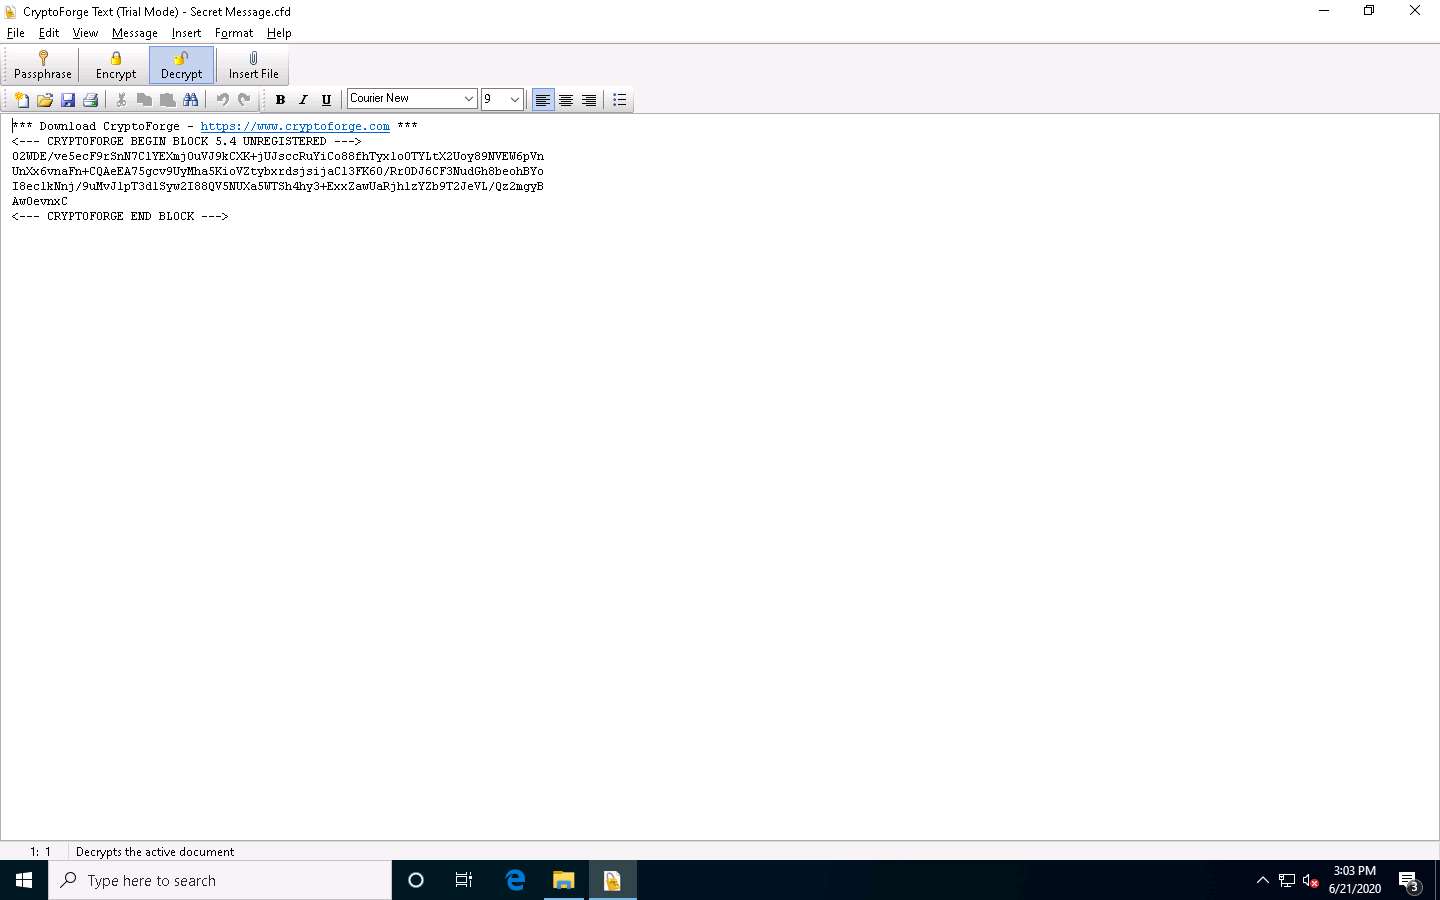
You will observe the encrypted file in this location; double-click the file Secret Message.cfd.
The CryptoForge Text window appears, displaying the message in an encrypted format. Click Decrypt from the toolbar to decrypt it.
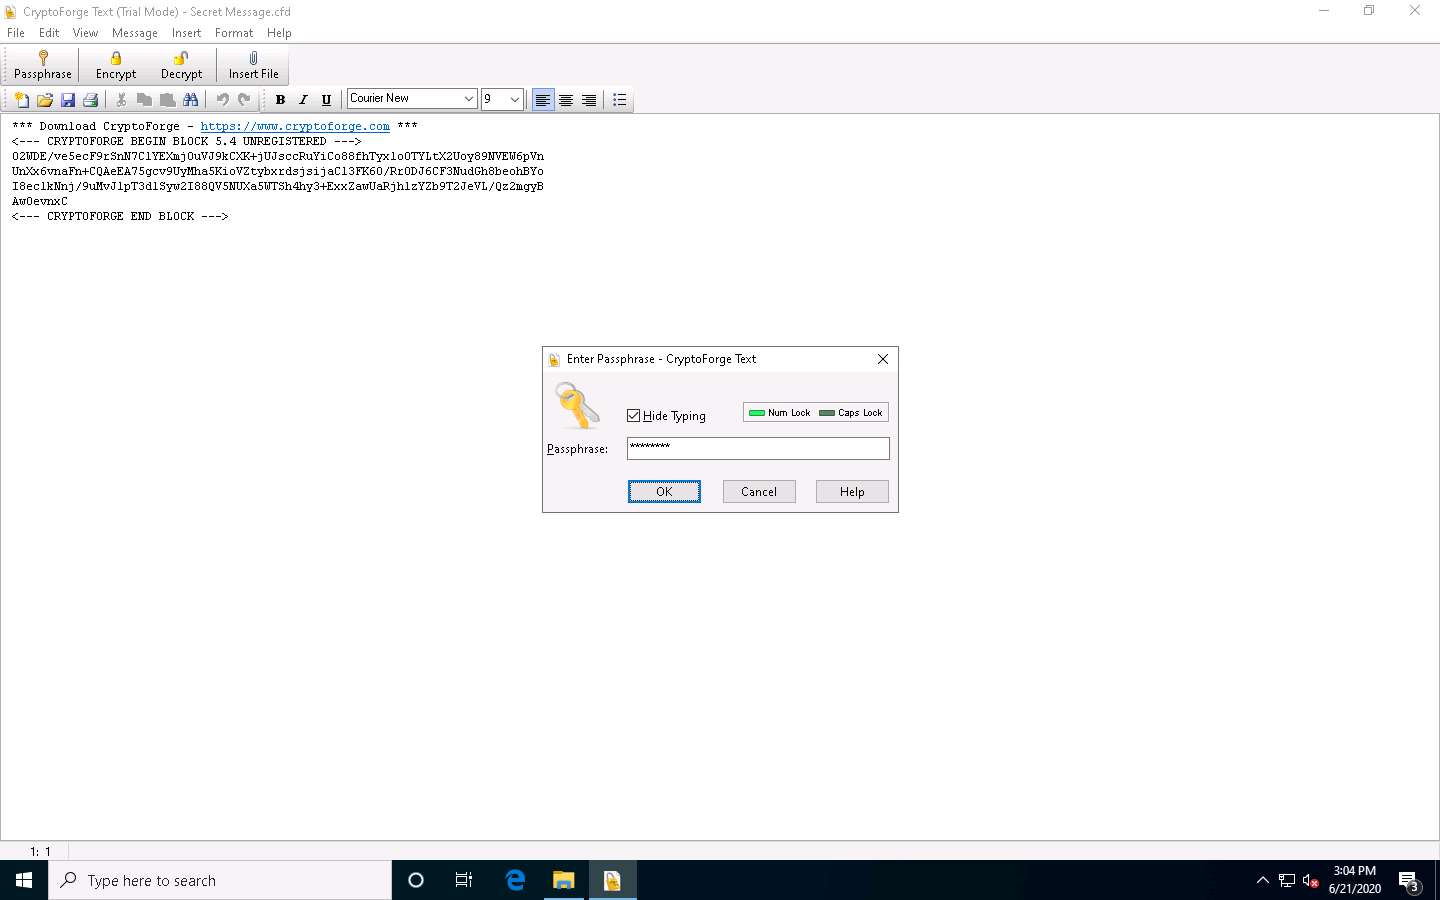
The Enter Passphrase - CryptoForge Text dialog-box appears; enter the password you provided in Step#19 to decrypt the message in the Passphrase field and click OK.
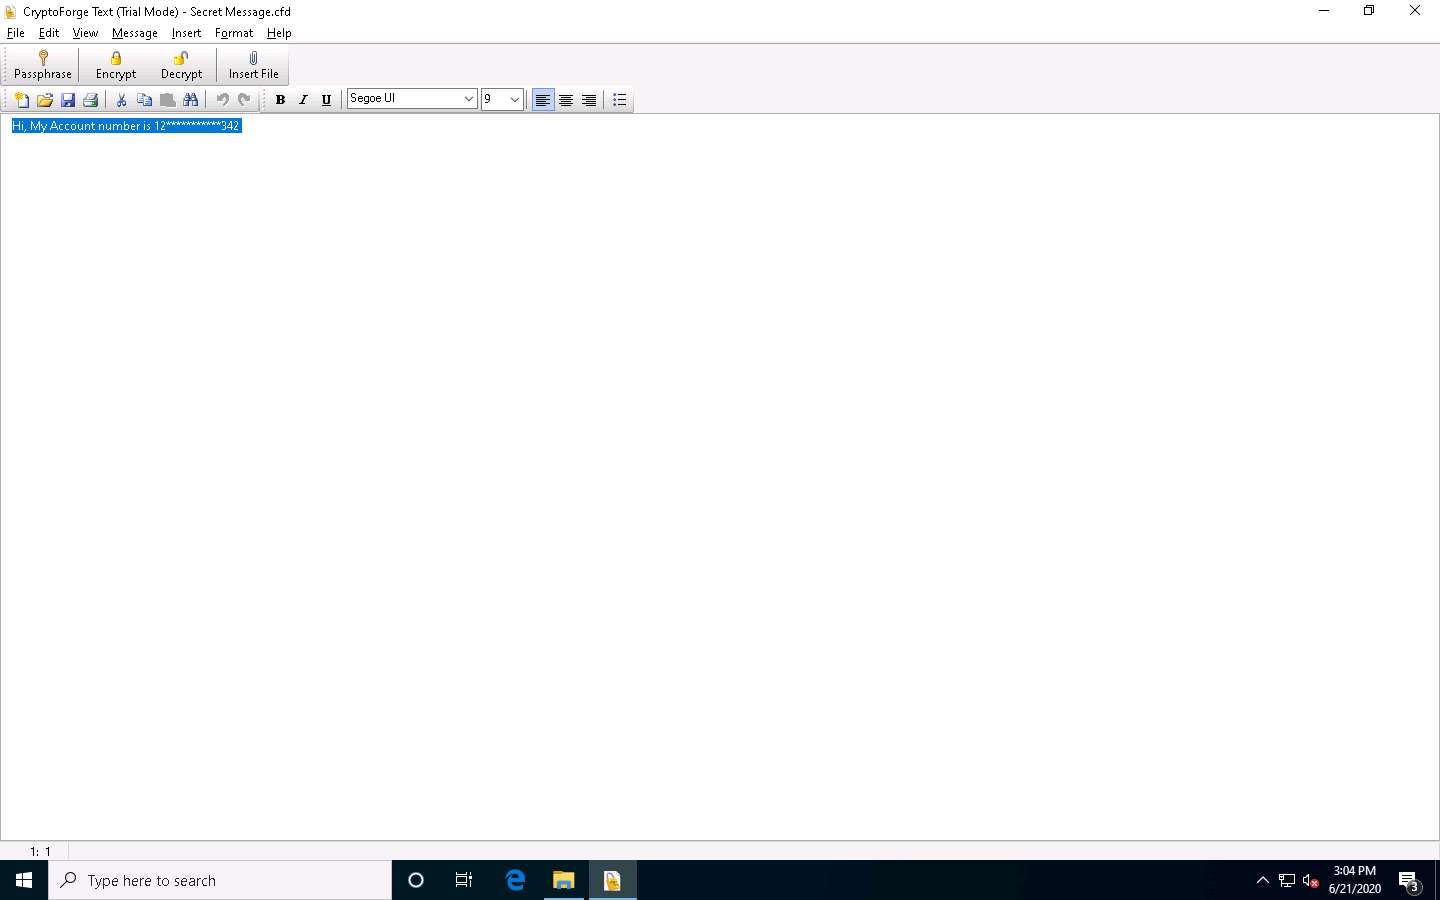
The CryptoForge Text window appears, displaying the message in plain-text format, as shown in the screenshot.
In real-time, you may share sensitive information through email by encrypting data using CryptoForge.
This concludes the demonstration of performing file and text message encryption using CryptoForge.
Close all open windows and document all the acquired information.
Task 5: Encrypt and Decrypt Data using BCTextEncoder
BCTextEncoder simplifies encoding and decoding text data. Plain text data are compressed, encrypted, and converted to text format, which can then be easily copied to the clipboard or saved as a text file. This utility software uses public key encryption methods and password-based encryption, as well as strong and approved symmetric and public key algorithms for data encryption.
Here, we will use the BCTextEncoder tool to encrypt and decrypt data.
In the Windows 10 machine, navigate to D:\CEH-Tools\CEHv11 Module 20 Cryptography\Cryptography Tools\BCTextEncoder and double click BCTextEncoder_v.1.03.2.1.exe.
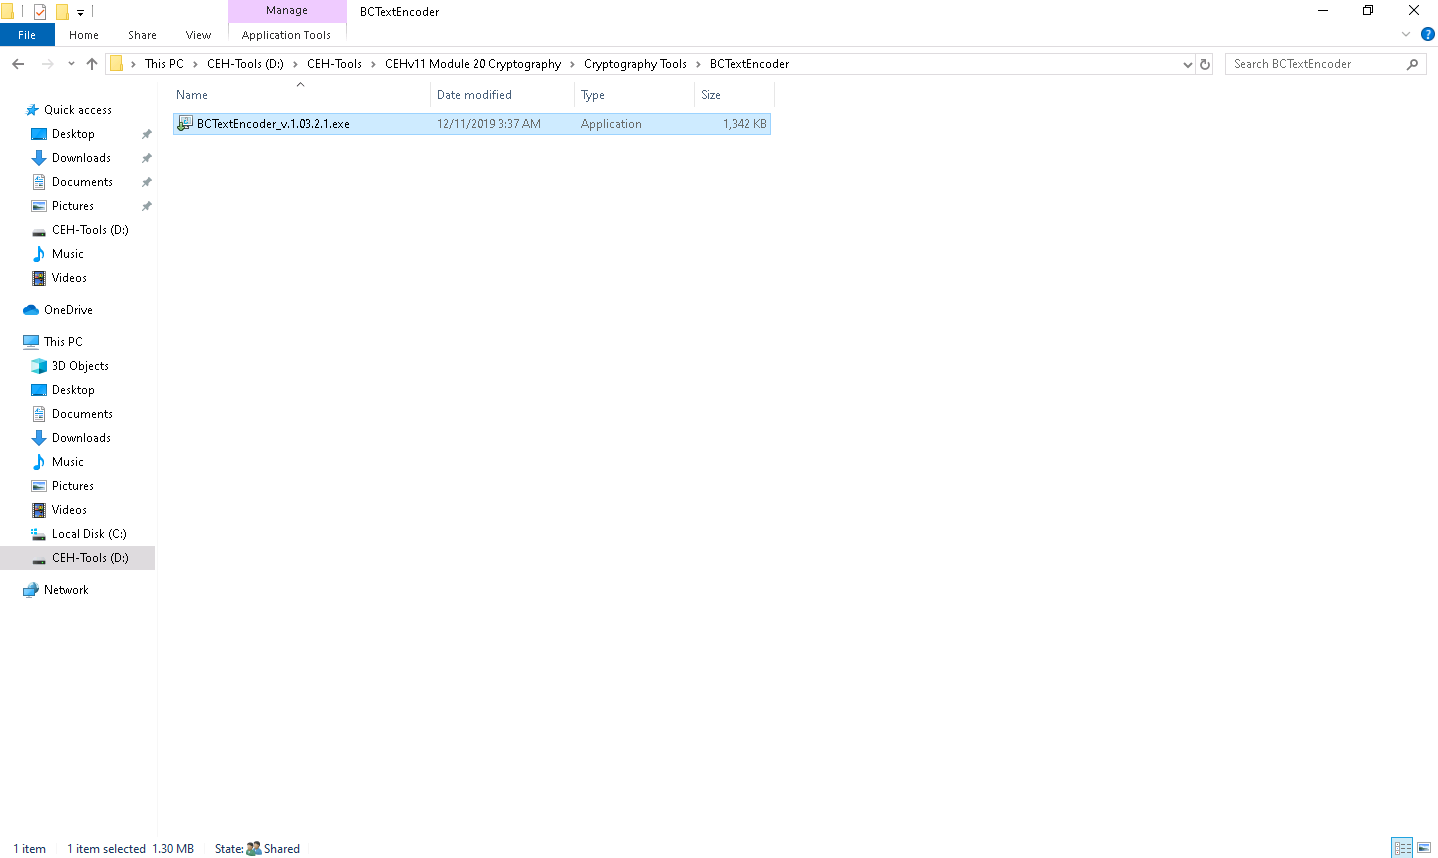
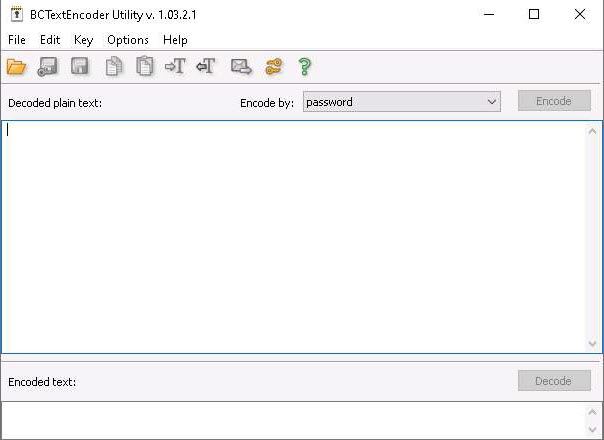
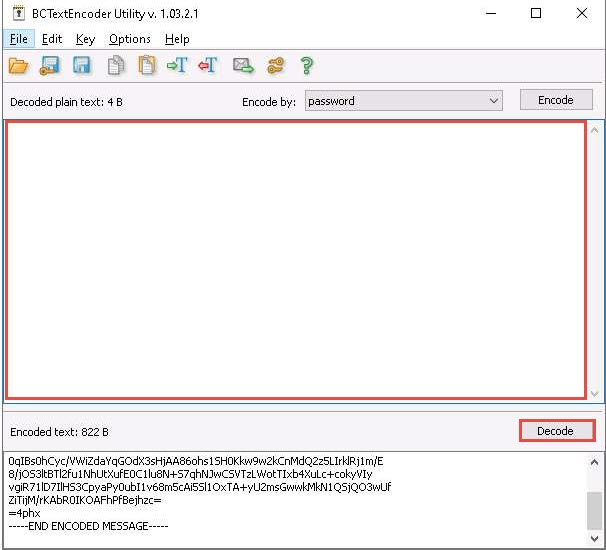
The BCTextEncoder Utility window appears, as shown in the screenshot.
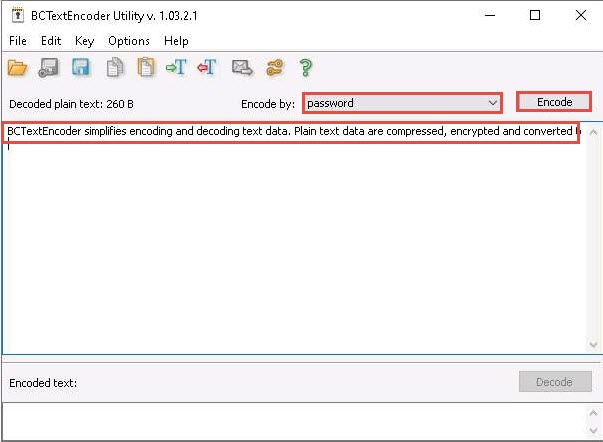
To encrypt the text, insert text in the clipboard.
Or
Select the data that you want to encode and paste it to the clipboard by pressing Ctrl+V.
Ensure that the password option is selected in the Encode by field and click Encode.
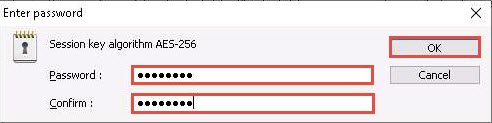
The Enter password pop-up appears; enter the password into the Password field and retype it in the Confirm field; then, click OK. (Here, we use the password test@123).
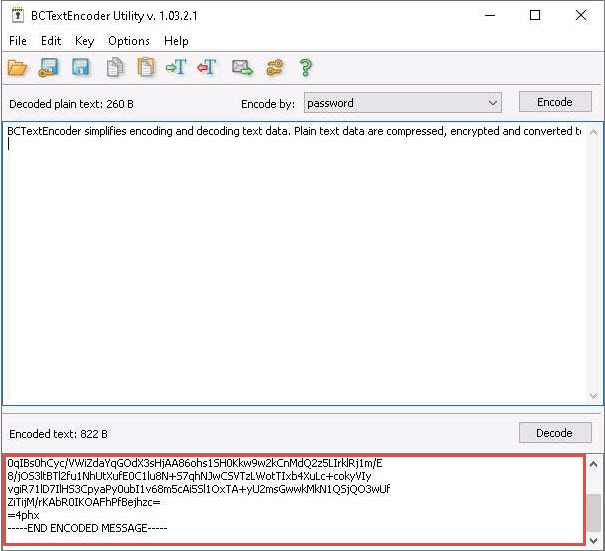
BCTextEncoder encodes the text and displays it in under the Encoded text section, as shown in the screenshot.
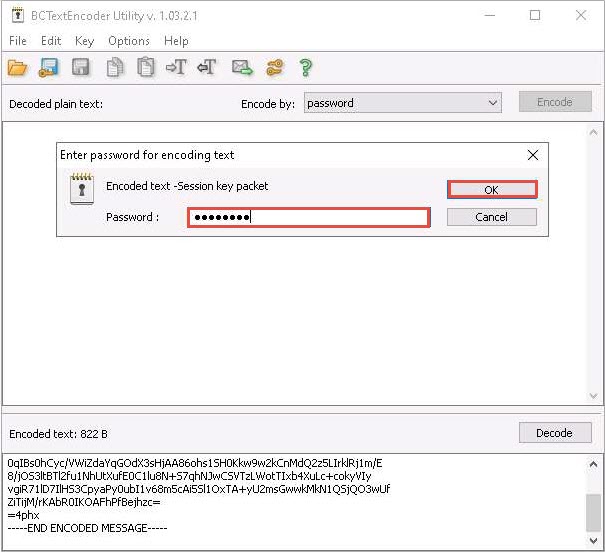
To decrypt the data, first, you need to clean the Decoded plain text in the clipboard, and then click the Decode button.
The Enter password for encoding text dialog-box appears; insert the Password (test@123) into the password field and click OK.
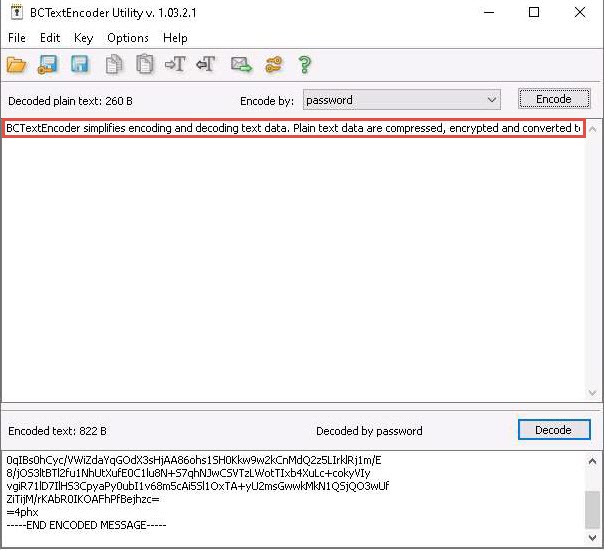
The decoded plain text appears under the Decoded plain text section, as shown in the screenshot.
In real-time, using this procedure, you can encode the text while sending it to the intended user along with the password used for encryption. The user for whom the text is intended should have the BCTextEncoder application installed on his/her machine. He/she will have to paste the encoded text into the Encoded text section and use the password you shared, to decode it to plain text.
This concludes the demonstration of encrypting and decrypting the data using BCTextEncoder.
You can also use other cryptography tools such as AxCrypt (https://www.axcrypt.net), Microsoft Cryptography Tools (https://docs.microsoft.com), and Concealer (https://www.belightsoft.com) to encrypt confidential data.
Close all open windows and document all the acquired information.


Comments
Post a Comment