Lab 1: Footprint the Web Infrastructure
Lab 1: Footprint the Web Infrastructure
Module 14: Hacking Web Applications
Lab 1: Footprint the Web Infrastructure
Task 1: Perform Web Application Reconnaissance
In web application reconnaissance, you must perform various tasks such as server discovery, service discovery, server
identification or banner grabbing, and hidden content discovery. A professional ethical hacker or pen tester must gather
as much information as possible about the target website by performing web application footprinting using various techniques
and tools.
In this task, we will perform web application reconnaissance to gather information about server IP address,
DNS names, location and type of server, open ports and services, make, model, version of the web server software,
and server-side technology.
pretty much using nmap to enum plus other stuff
refer to blog short one
---------------------------------------------------------------------------------------------------------------------------------------
Module 14: Hacking Web Applications
Lab 1: Footprint the Web Infrastructure
Task 2: Perform Web Application Reconnaissance using WhatWeb
WhatWeb identifies websites and recognizes web technologies, including content management systems (CMS), blogging platforms,
statistics and analytics packages, JavaScript libraries, web servers, and embedded devices. It also identifies version
numbers, email addresses, account IDs, web framework modules, SQL errors, and more.
Here, we will perform web application reconnaissance using the WhatWeb tool.
refer to blog
---------------------------------------------------------------------------------------------------------------------------------------
Module 14: Hacking Web Applications
Lab 1: Footprint the Web Infrastructure
Task 3: Perform Web Spidering using OWASP ZAP
OWASP Zed Attack Proxy (ZAP) is an integrated penetration testing tool for finding vulnerabilities in web applications.
It offers automated scanners as well as a set of tools that allow you to find security vulnerabilities manually. ZAP
provides functionality for a range of skill levels—from developers to testers new to security testing, to security
testing specialists.
Here, we will perform web spidering on the target website using OWASP ZAP.
refer to blog
---------------------------------------------------------------------------------------------------------------------------------------
Module 14: Hacking Web Applications
Lab 1: Footprint the Web Infrastructure
Task 4: Detect Load Balancers using Various Tools
Organizations use load balancers to distribute web server load over multiple servers and increase the productivity
and reliability of web applications. Generally, there are two types of load balancers, namely, DNS load balancers
(Layer 4 load balancers) and http load balancers (layer 7 load balancers). You can use various tools such as dig and
load balancing detector (lbd) to detect the load balancers of the target organization along with their real IP addresses.
Here, we will detect load balancers using dig command and lbd tool.
refer to blog short
---------------------------------------------------------------------------------------------------------------------------------------
Module 14: Hacking Web Applications
Lab 1: Footprint the Web Infrastructure
Task 5: Identify Web Server Directories
Web servers host the web applications, so misconfigurations while hosting these web applications may lead to the exposure
of critical files and directories over the Internet. A professional ethical hacker or pen tester must identify the target
web application’s files and directories exposed on the Internet using various automated tools such as Nmap and Gobuster.
This information further helps to gather sensitive information stored in the files and folders.
Here, we will use Nmap and Gobuster tool to identify web server directories on the target website.
refer to blog short
---------------------------------------------------------------------------------------------------------------------------------------
Module 14: Hacking Web Applications
Lab 1: Footprint the Web Infrastructure
Task 6: Perform Web Application Vulnerability Scanning using Vega
Vega is a web application scanner used to test the security of web applications. It helps you to find and validate
SQL Injection, XSS, inadvertently disclosed sensitive information, and other vulnerabilities.
Here, we will discover vulnerabilities in the target web application using Vega.
refer to blog short
---------------------------------------------------------------------------------------------------------------------------------------
Module 14: Hacking Web Applications
Lab 1: Footprint the Web Infrastructure
Task 7: Identify Clickjacking Vulnerability using iframe
Clickjacking, also known as a “UI redress attack,” occurs when an attacker uses multiple transparent or opaque layers
to trick a user into clicking on a button or link on another page when they intend to click on the top-level page. Thus,
the attacker is “hijacking” clicks meant for the top-level page and routing them to another page, most likely owned by
another application, domain, or both.
Here, we will identify clickjacking vulnerability using iframe.
refer to blog short super short
---------------------------------------------------------------------------------------------------------------------------------------
Lab Scenario
The first step in web application hacking for an ethical hacker or pen tester is to gather the maximum available information about the target organization website by performing web application footprinting using various techniques and tools. In this step, you will use techniques such as web spidering and vulnerability scanning to gather complete information about the target web application.
Web infrastructure footprinting helps you to identify vulnerable web applications, understand how they connect with peers and the technologies they use, and find vulnerabilities in specific parts of the web app architecture. These vulnerabilities can further help you to exploit and gain unauthorized access to web applications.
The labs in this exercise demonstrate how easily hackers can gather information about your web application and describe the vulnerabilities that exist in web applications.
Lab Objectives
- Perform web application reconnaissance
- Perform web application reconnaissance using WhatWeb
- Perform web spidering using OWASP ZAP
- Detect load balancers using various tools
- Identify web server directories
- Perform web application vulnerability scanning using Vega
- Identify clickjacking vulnerability using iframe
Overview of Footprinting the Web Infrastructure
Footprinting the web infrastructure allows attackers to engage in the following tasks:
- Server Discovery: Attackers attempt to discover the physical servers that host a web application using techniques such as Whois Lookup, DNS Interrogation, and Port Scanning
- Service Discovery: Attackers discover services running on web servers to determine whether they can use some of them as attack paths for hacking a web app
- Server Identification: Attackers use banner-grabbing to obtain server banners; this helps to identify the make and version of the web server software
- Hidden Content Discovery: Footprinting also allows attackers to extract content and functionality that is not directly linked to or reachable from the main visible content
Task 1: Perform Web Application Reconnaissance
In web application reconnaissance, you must perform various tasks such as server discovery, service discovery, server identification or banner grabbing, and hidden content discovery. A professional ethical hacker or pen tester must gather as much information as possible about the target website by performing web application footprinting using various techniques and tools.
In this task, we will perform web application reconnaissance to gather information about server IP address, DNS names, location and type of server, open ports and services, make, model, version of the web server software, and server-side technology.
In this task, the target website (www.moviescope.com) is hosted by the victim machine, Windows Server 2019. Here, the host machine is the Parrot Security machine.
Click Parrot Security to switch to the Parrot Security machine.

In the login page, the attacker username will be selected by default. Enter password as toor in the Password field and press Enter to log in to the machine.
Perform a Whois lookup to gather information about the IP address of the web server and the complete information about the domain such as its registration details, name servers, IP address, and location.
Use tools such as Netcraft (https://www.netcraft.com), SmartWhois (https://www.tamos.com), WHOIS Lookup (http://whois.domaintools.com), and Batch IP Converter (http://www.sabsoft.com) to perform the Whois lookup.
Perform DNS Interrogation to gather information about the DNS servers, DNS records, and types of servers used by the target organization. DNS zone data include DNS domain names, computer names, IP addresses, domain mail servers, service records, etc.
Use tools such as Professional Toolset (https://tools.dnsstuff.com), DNSRecon (https://github.com), and DNS Records (https://network-tools.com), Domain Dossier (https://centralops.net) to perform DNS interrogation.
Now, we will perform port scanning to gather information about the open ports and services running on the machine hosting the target website.
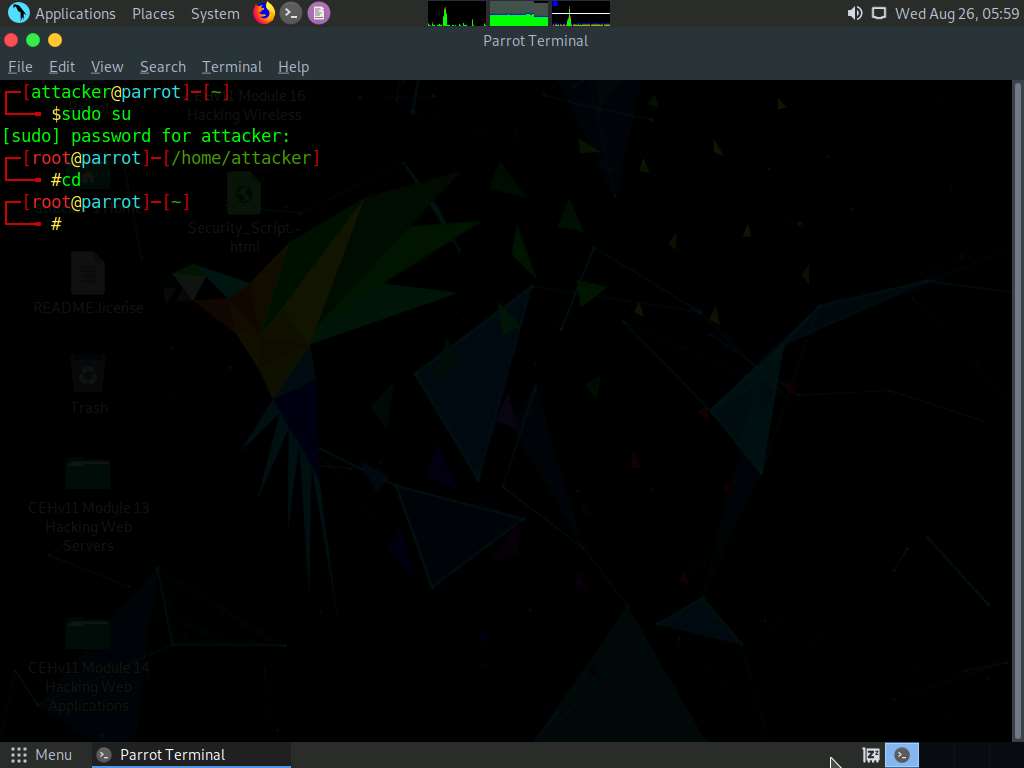
Click the MATE Terminal icon at the top of the Desktop window to open a Terminal window.

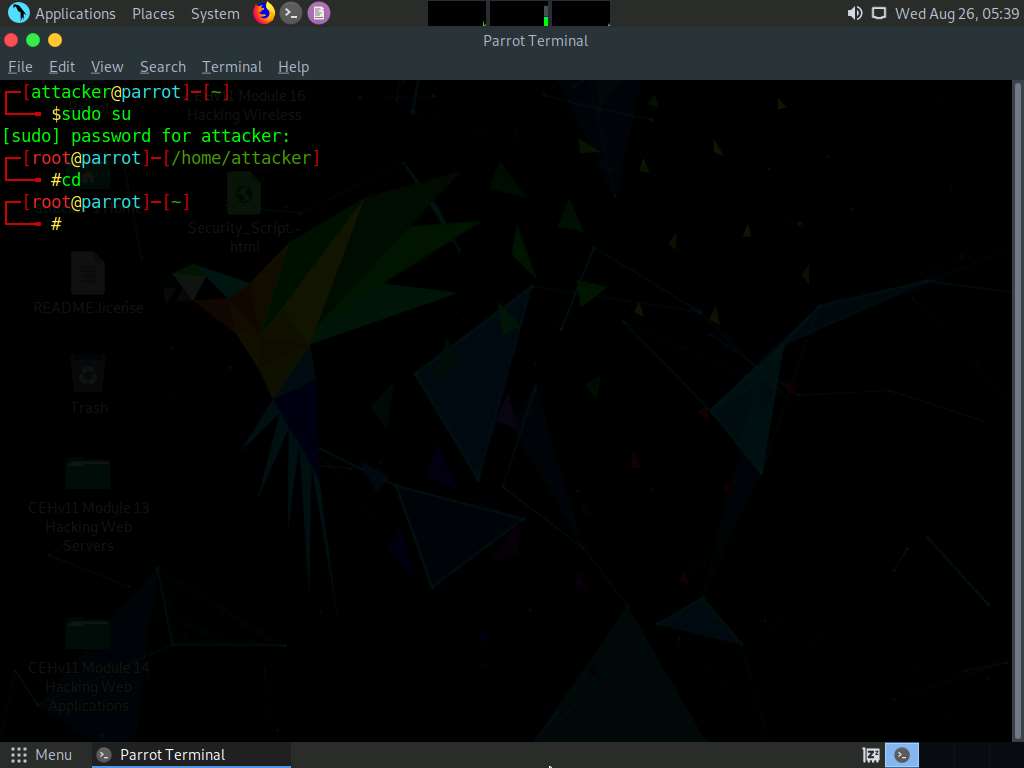
A Parrot Terminal window appears. In the terminal window, type sudo su and press Enter to run the programs as a root user.
If a Question pop-up window appears, asking for you to update the machine, click No to close the window.
In the [sudo] password for attacker field, type toor as a password and press Enter.
The password that you type will not be visible.
Now, type cd and press Enter to jump to the root directory.
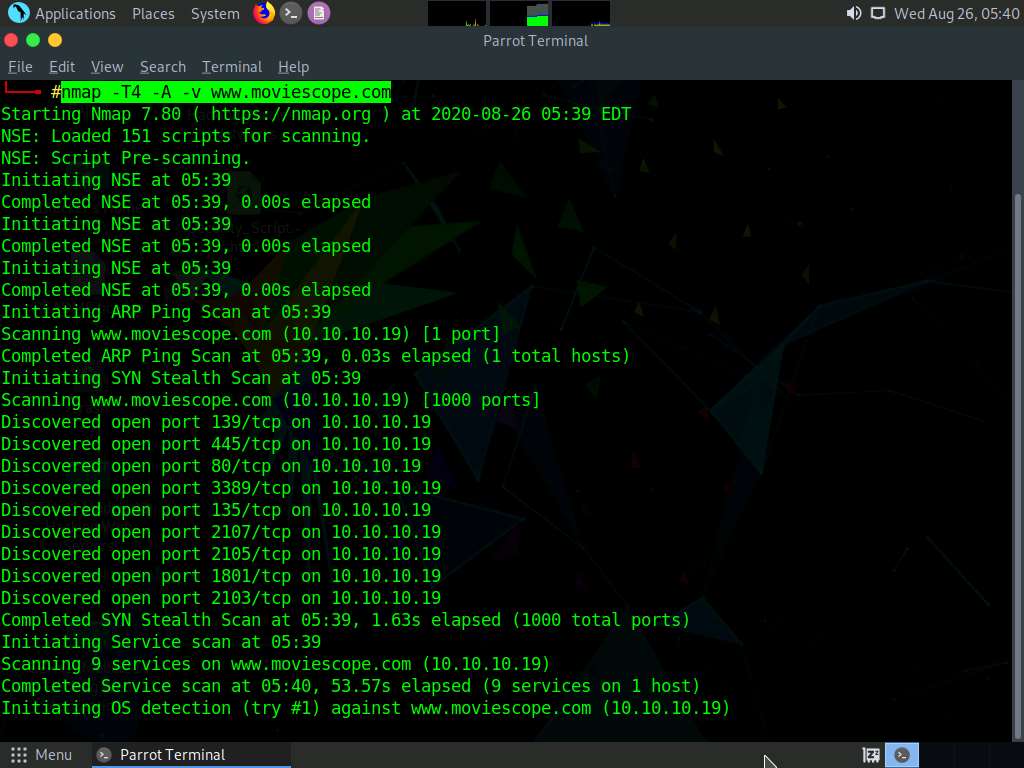
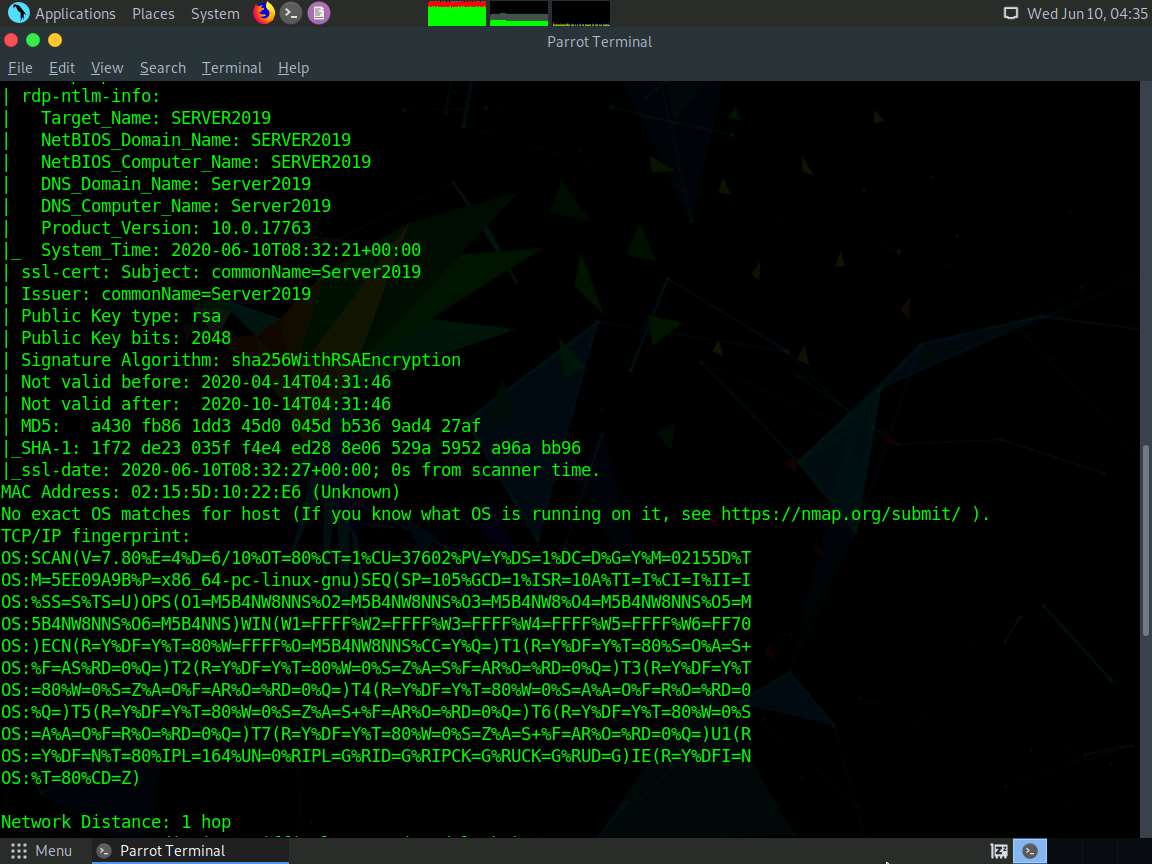
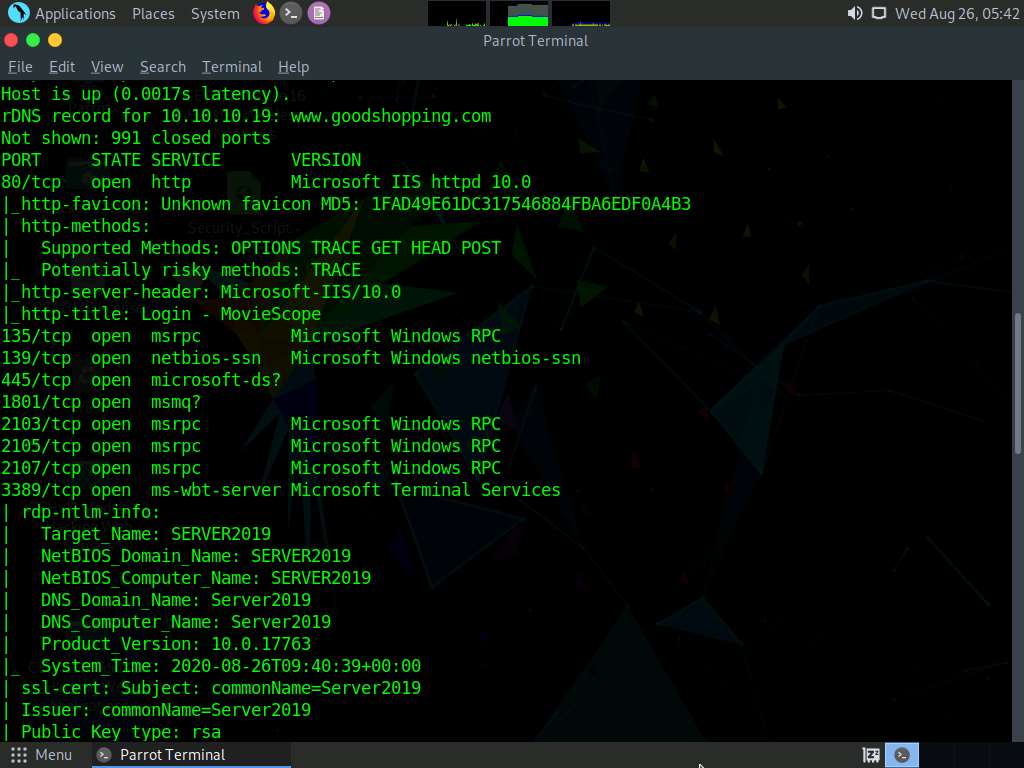
In the Parrot Terminal window, type nmap -T4 -A -v [Target Web Application] (here, the target web application is www.moviescope.com) and press Enter to perform a port and service discovery scan.
In this command, -T4: specifies setting time template (0-5), -A: specifies setting ACK flag, and -v: enables the verbose output (include all hosts and ports in the output).
The result appears, displaying the open ports and services running on the machine hosting the target website.
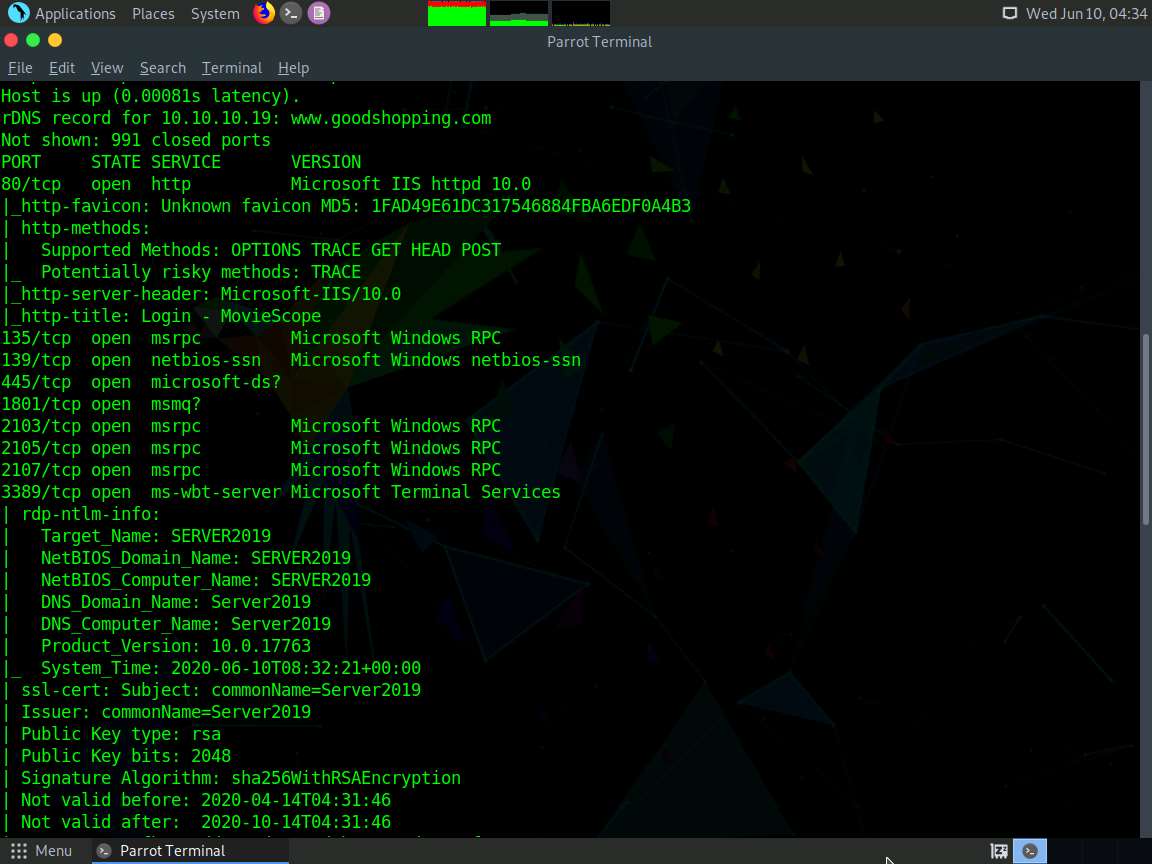
Scroll down to see the complete results. You can observe that the target machine name, NetBIOS name, DNS name, MAC address, OS, and other information is displayed, as shown in the screenshot.
Now, perform banner grabbing to identify the make, model, and version of the target web server software.
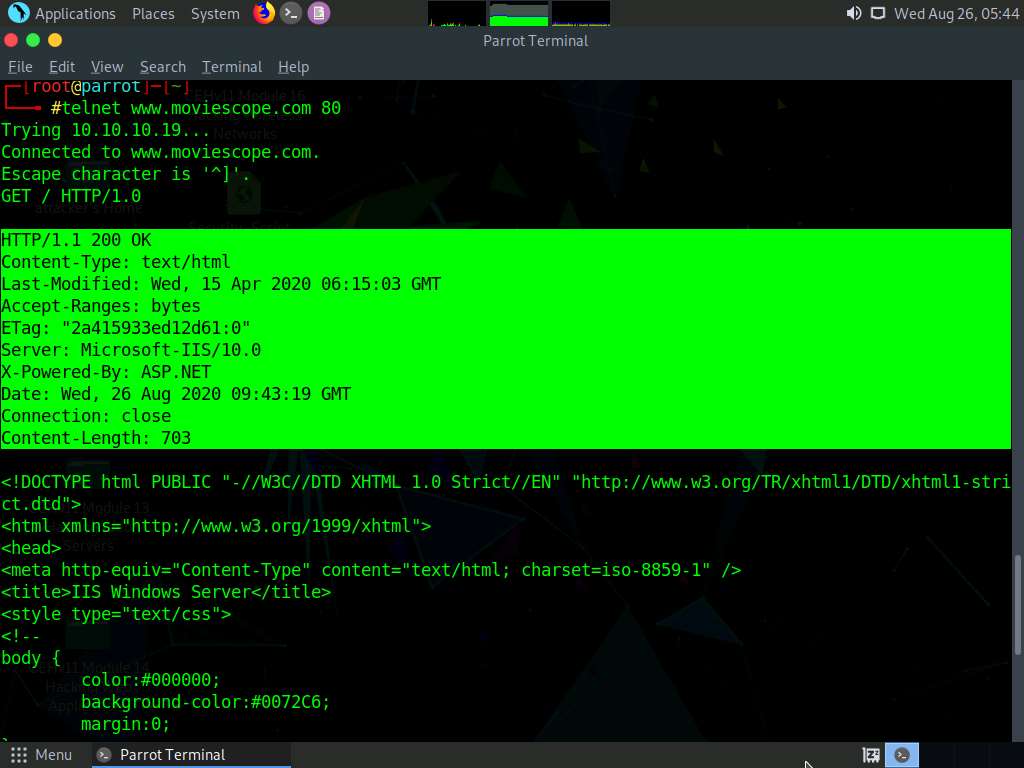
In the terminal window, type telnet www.moviescope.com 80 and press Enter to establish a telnet connection with the target machine.
Port 80 is the port number assigned to the commonly used Internet communication protocol, Hypertext Transfer Protocol (HTTP).
The Trying 10.10.10.19… message appears; type GET / HTTP/1.0 and press Enter two times.

The result appears, displaying information related to the server name and its version, technology used.
Here, the server is identified as Microsoft-IIS/10.0 and the technology used is ASP.NET.
This concludes the demonstration of how to perform web application reconnaissance (Whois lookup, DNS interrogation, port and services discovery, banner grabbing, and firewall detection).
Close all open windows and document all the acquired information.
Task 2: Perform Web Application Reconnaissance using WhatWeb
WhatWeb identifies websites and recognizes web technologies, including content management systems (CMS), blogging platforms, statistics and analytics packages, JavaScript libraries, web servers, and embedded devices. It also identifies version numbers, email addresses, account IDs, web framework modules, SQL errors, and more.
Here, we will perform web application reconnaissance using the WhatWeb tool.
In this task, the target website (www.moviescope.com) is hosted by the victim machine, Windows Server 2019. Keep this machine running until the end of the task. Here, the host machine is the Parrot Security machine.
Click the MATE Terminal icon at the top of the Desktop window to open a Terminal window.

A Parrot Terminal window appears. In the terminal window, type sudo su and press Enter to run the programs as a root user.
In the [sudo] password for attacker field, type toor as a password and press Enter.
The password that you type will not be visible.
Now, type cd and press Enter to jump to the root directory.

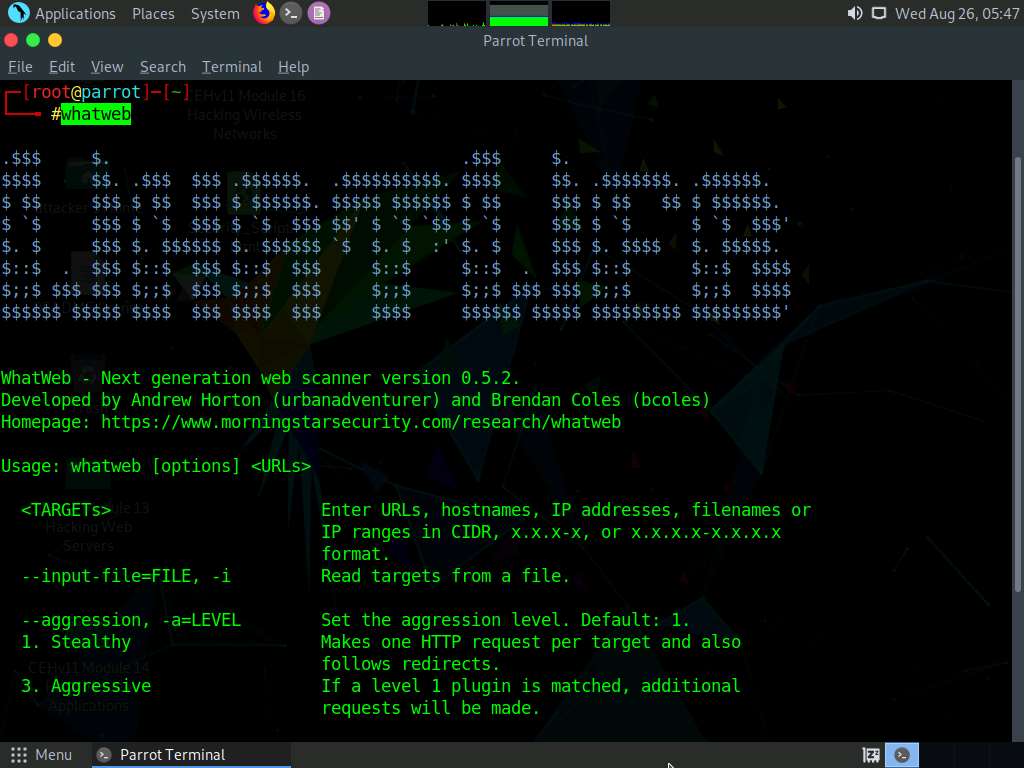
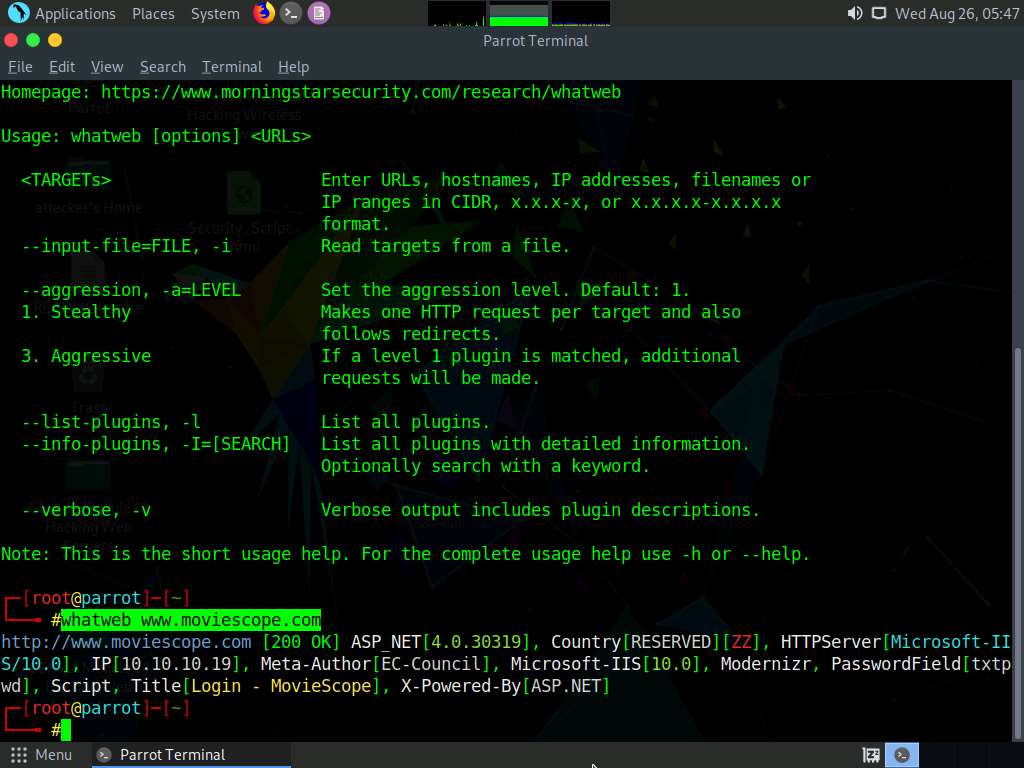
In the Terminal window, type whatweb and press Enter. It displays a list of the commands available with WhatWeb.
Now, type whatweb [Target Web Application] (here, the target web application is www.moviescope.com) and press Enter to perform website footprinting on the target website.
The result appears, displaying the MovieScope website infrastructure, as shown in the screenshot.
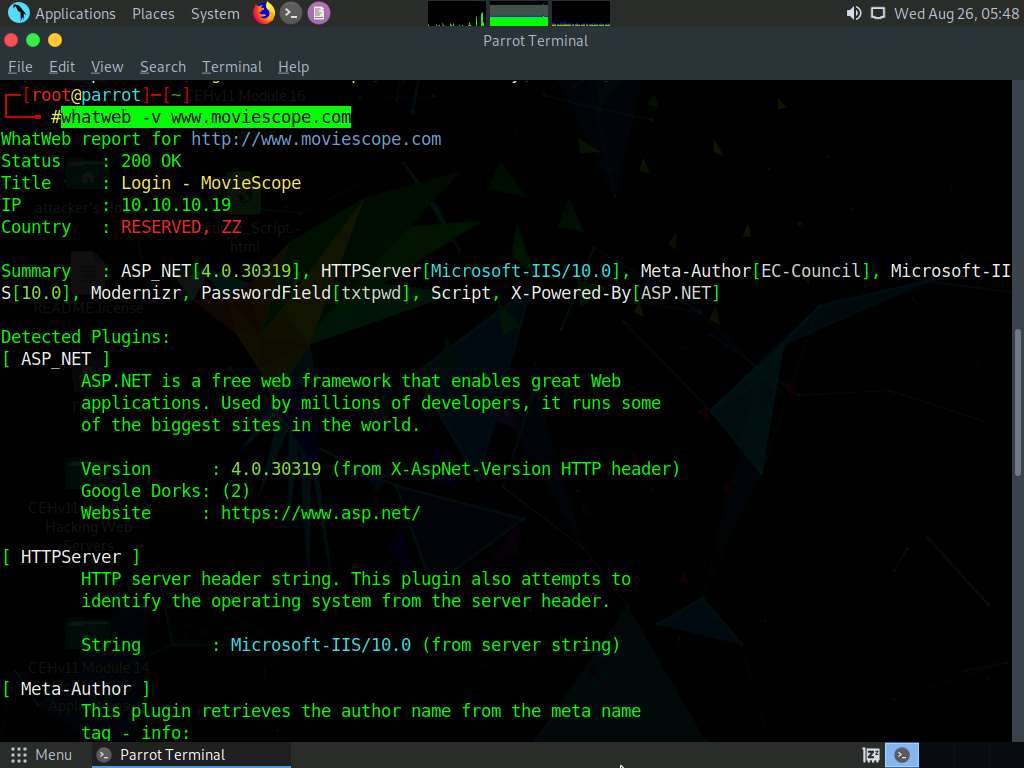
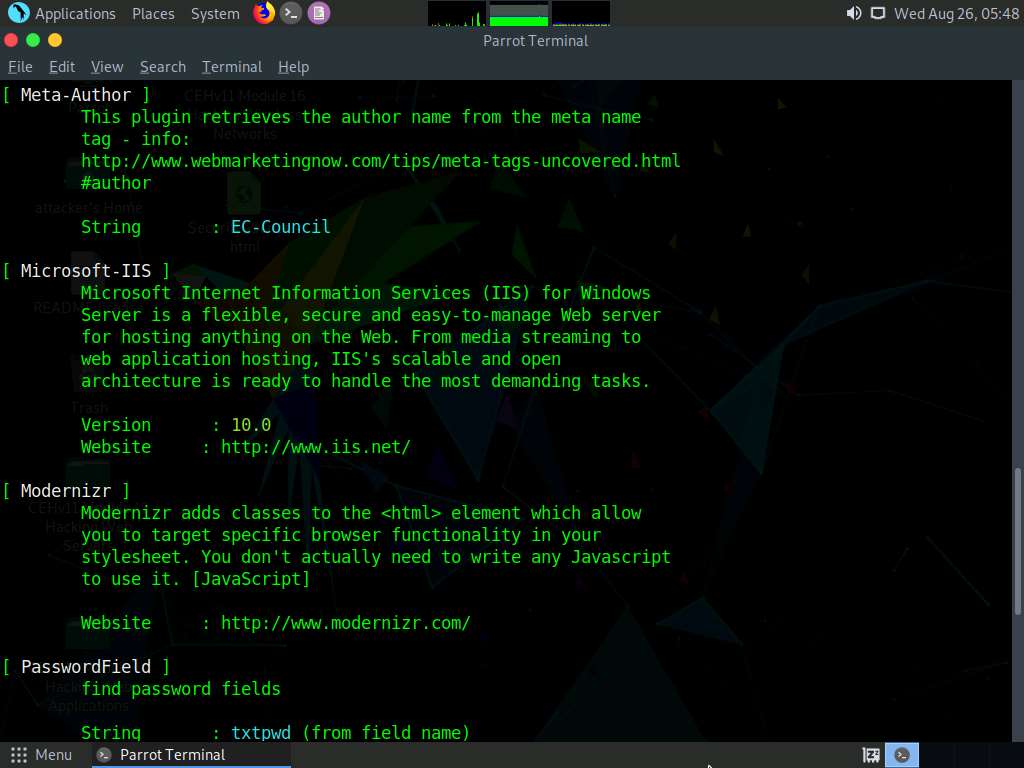
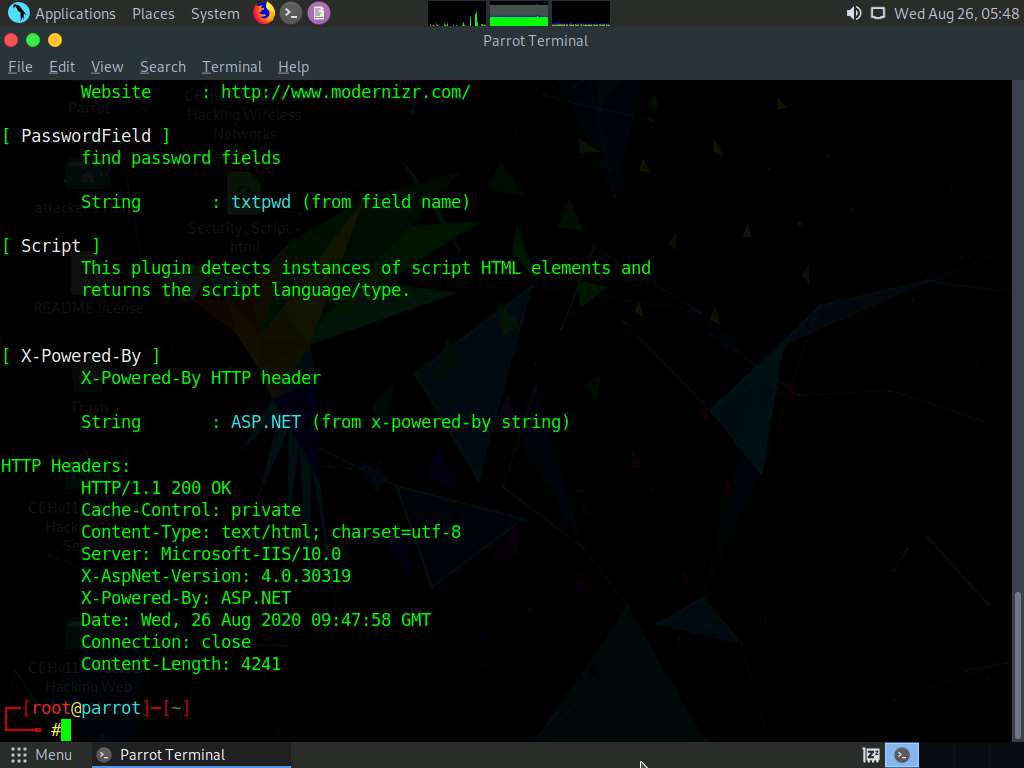
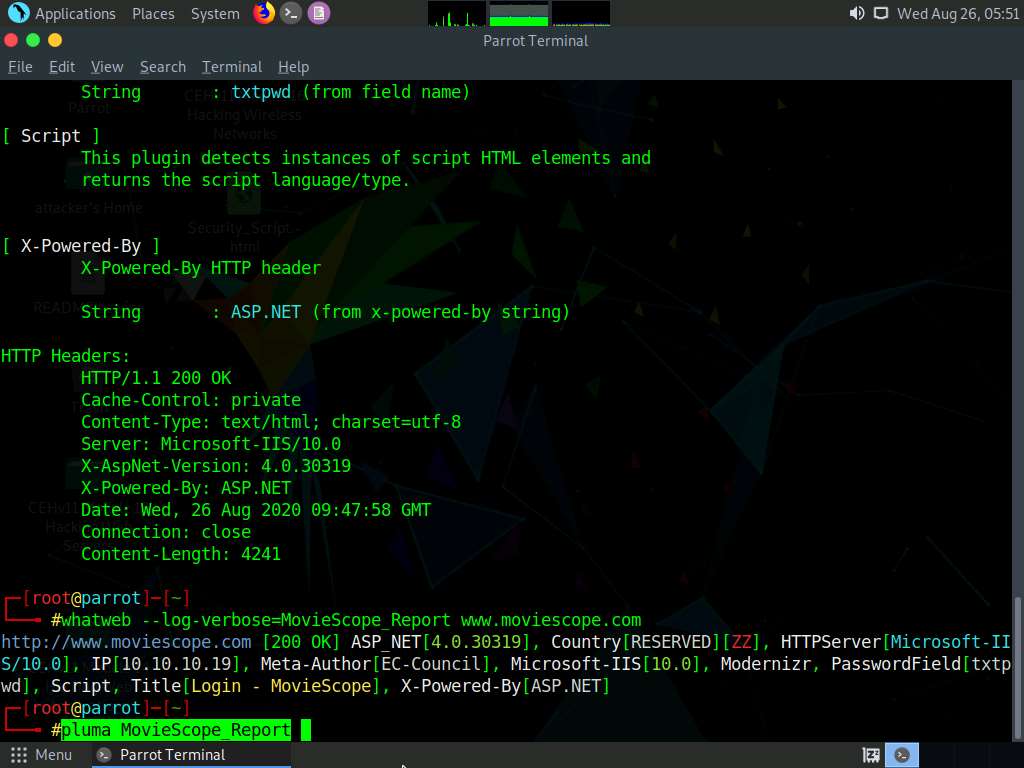
In the terminal, type whatweb -v [Target Web Application] (here, the target web application is www.moviescope.com) and press Enter to run a verbosity scan on the target website.
The result appears, displaying a detailed report on the target website such as its IP address, plugin information, and HTTP header information, as shown in the screenshot.
Now, type whatweb --log-verbose=MovieScope_Report www.moviescope.com and press Enter to export the results returned by WhatWeb as a text file.
This will generate a report with the name MovieScope_Report and save this file in the root folder.

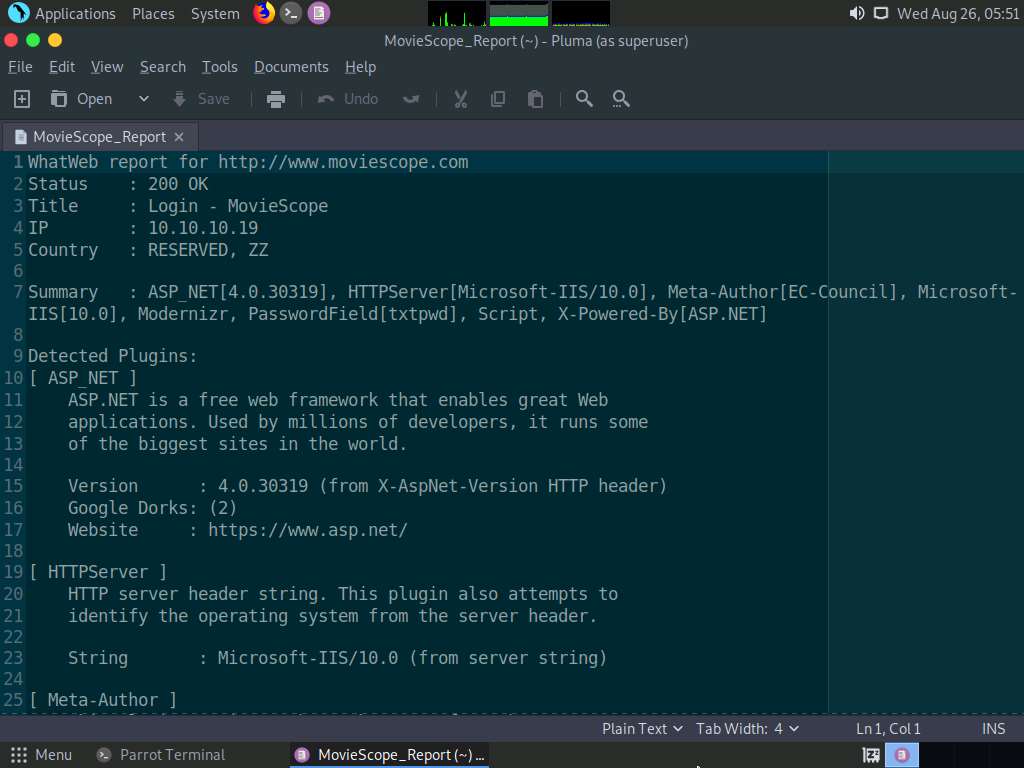
Type, pluma MovieScope_Report and press Enter to open the file.
The MovieScope_Report text file appears, as shown in the screenshot.
In real-time, attackers use this information to determine the website infrastructure and find underlying vulnerabilities, and later exploit them to launch further attacks.
This concludes the demonstration of how to perform website reconnaissance on a target website using the WhatWeb tool.
Close all open windows and document all the acquired information.
Task 3: Perform Web Spidering using OWASP ZAP
OWASP Zed Attack Proxy (ZAP) is an integrated penetration testing tool for finding vulnerabilities in web applications. It offers automated scanners as well as a set of tools that allow you to find security vulnerabilities manually. ZAP provides functionality for a range of skill levels—from developers to testers new to security testing, to security testing specialists.
Here, we will perform web spidering on the target website using OWASP ZAP.
In this task, the target website (www.moviescope.com) is hosted by the victim machine, Windows Server 2019. Keep this machine running until the end of the task. Here, the host machine is the Parrot Security machine.
Click the MATE Terminal icon at the top of the Desktop window to open a Terminal window.
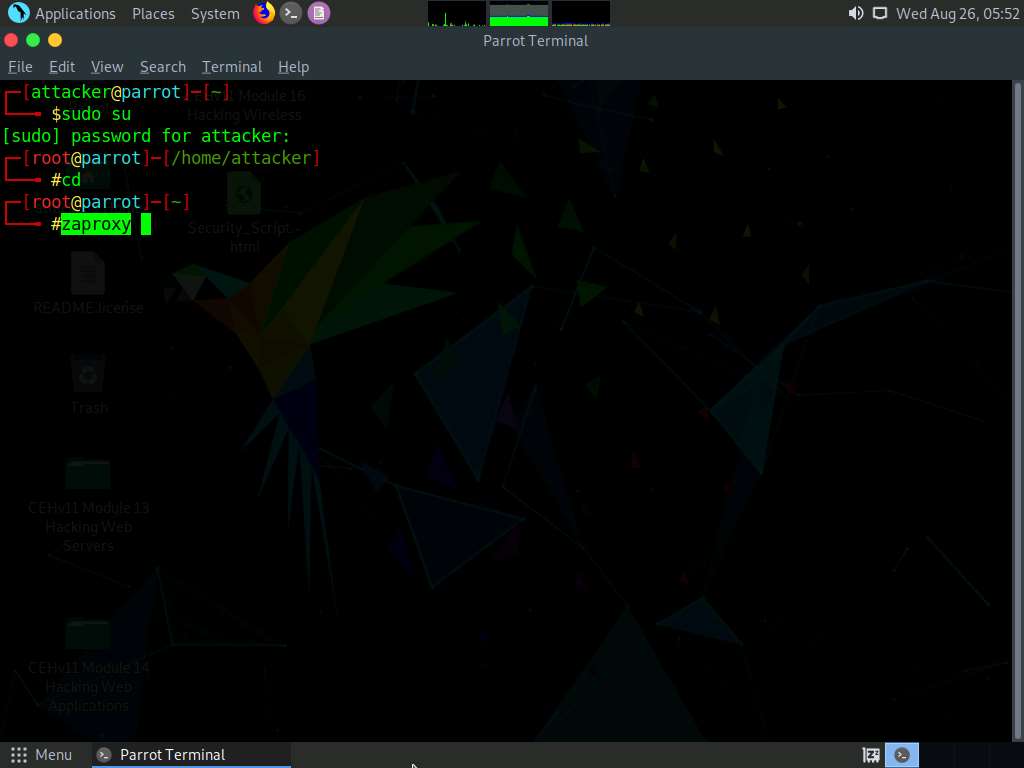
A Parrot Terminal window appears. In the terminal window, type sudo su and press Enter to run the programs as a root user.
In the [sudo] password for attacker field, type toor as a password and press Enter.
The password that you type will not be visible.
Now, type cd and press Enter to jump to the root directory.

In the Terminal window, type zaproxy and press Enter to launch OWASP ZAP.
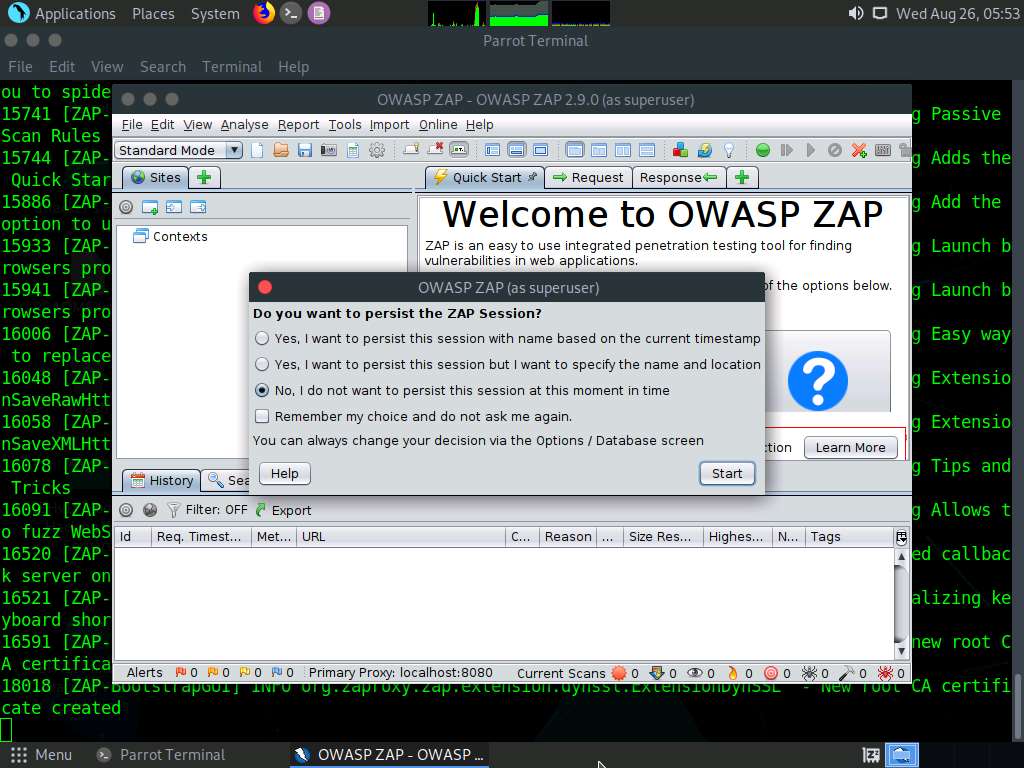
The OWASP ZAP initializing window appears; wait for it to complete.
After completing initialization, a prompt that reads Do you want to persist the ZAP Session? appears; select the No, I do not want to persist this session at this moment in time radio button and click Start.
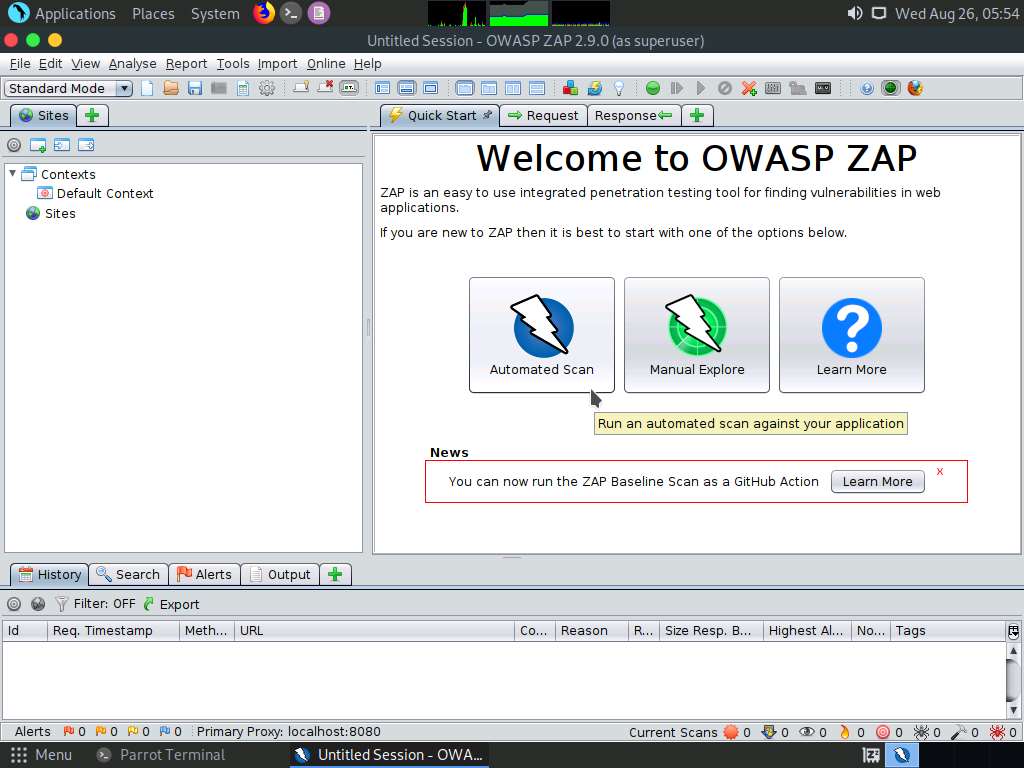
If a Manage Add-ons window appears, click the Close button.
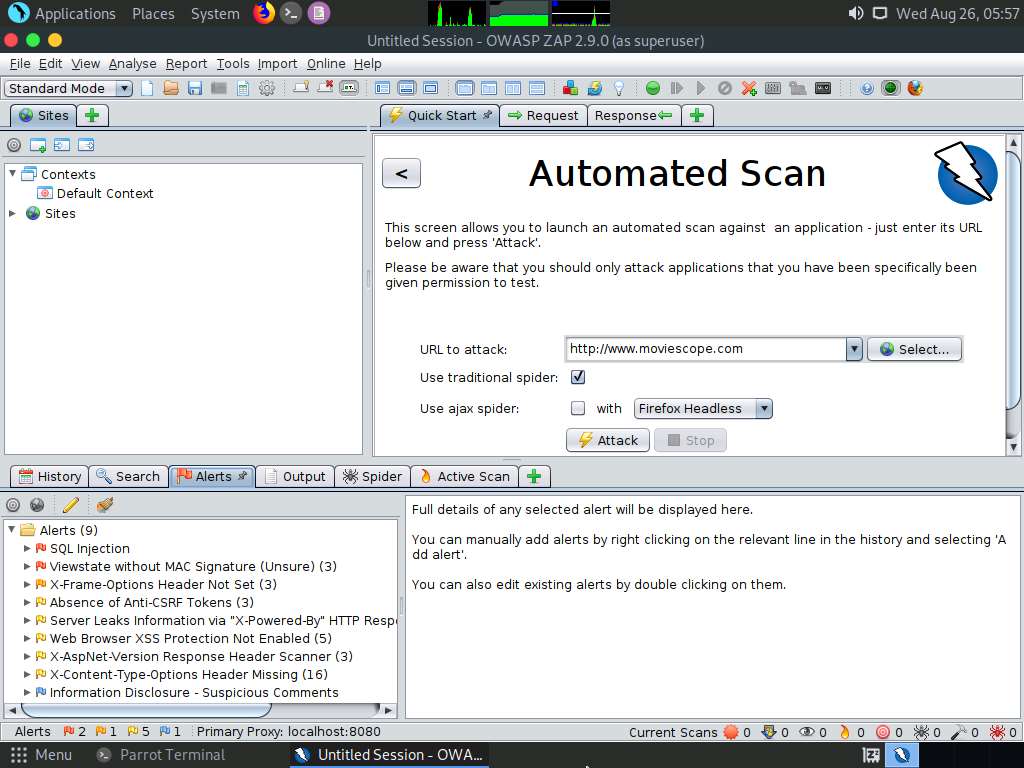
The OWASP ZAP main window appears. Under the Quick Start tab, click the Automated Scan option under Welcome to OWASP ZAP.
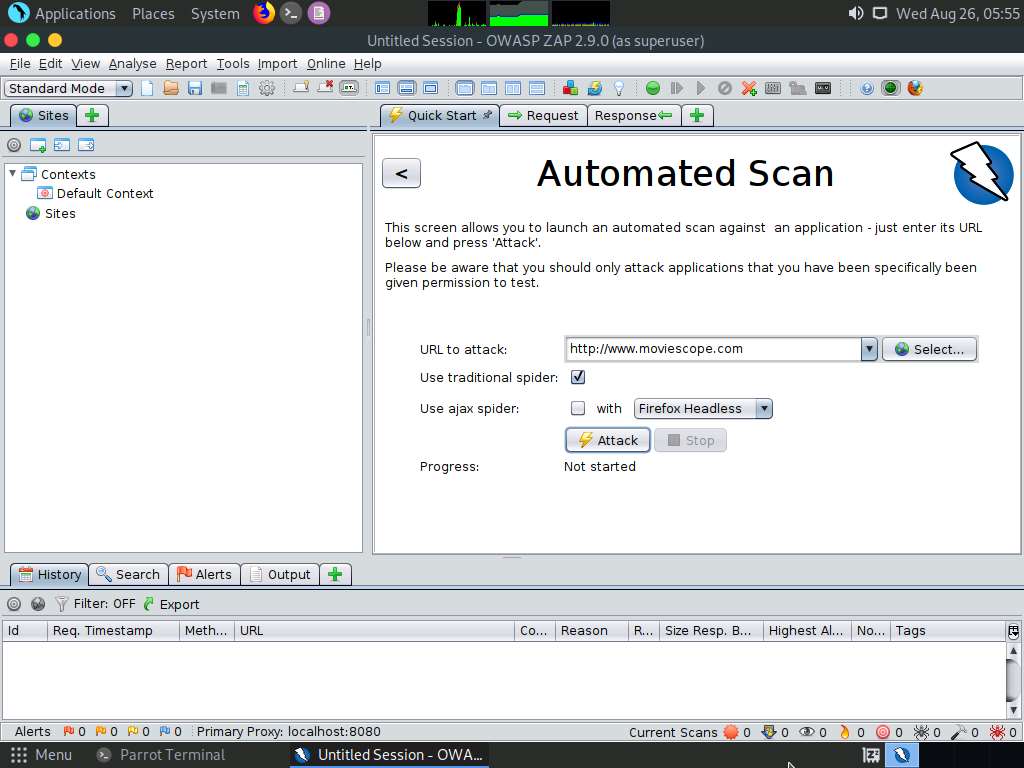
The Automated Scan wizard appears; enter the target website under the URL to attack field (here, www.moviescope.com). Leave the other settings to default and click the Attack button.
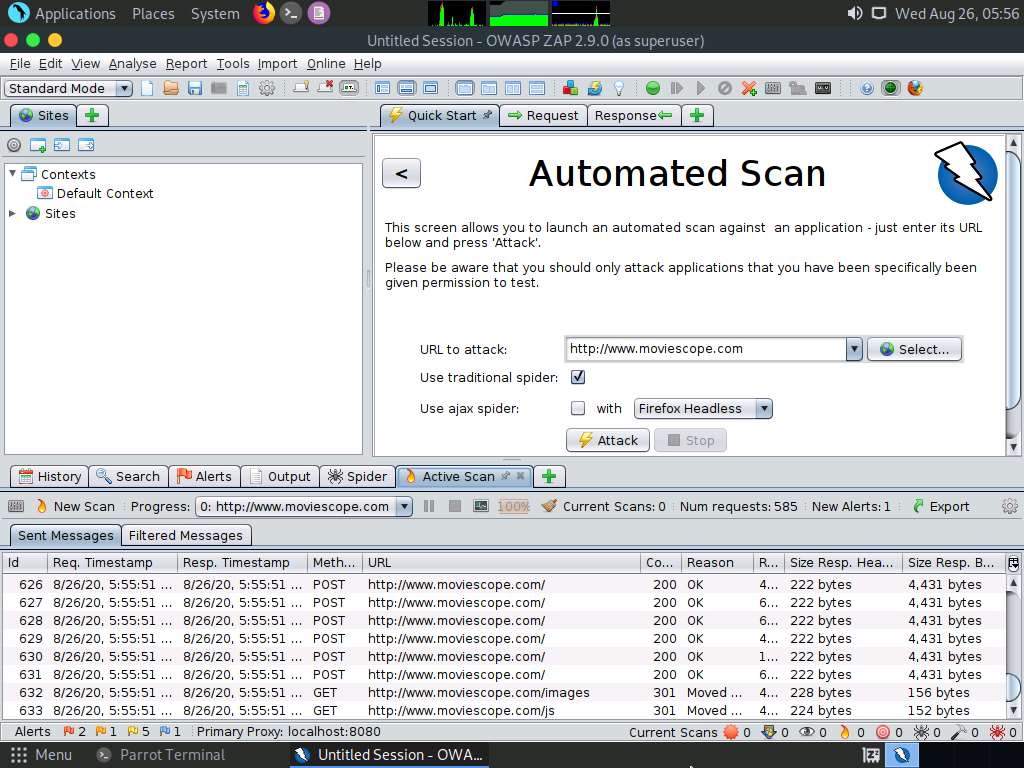
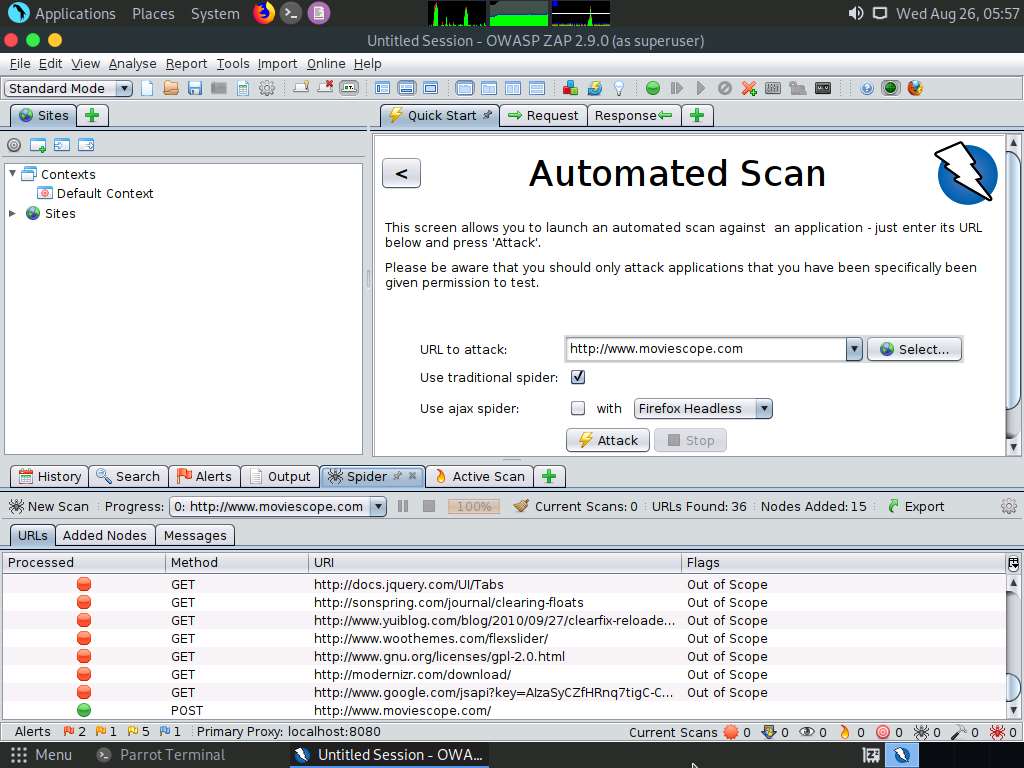
OWASP ZAP starts scanning the target website. You can observe various URLs under the Spider tab.

After performing web spidering, OWASP ZAP performs active scanning. Navigate to the Active Scan tab to observe the various scanned links.
After completing the active scan, the results appear under the Alerts tab, displaying the various vulnerabilities and issues associated with the target website, as shown in the screenshot.
In this task, the objective being web spidering, we will focus on the information obtained while performing web spidering.
Now, click on the Spider tab from the lower section of the window to view the web spidering information. By default, the URLs tab appears under the Spider tab.
The URLs tab contains various links for hidden content and functionality associated with the target website (www.moviescope.com).
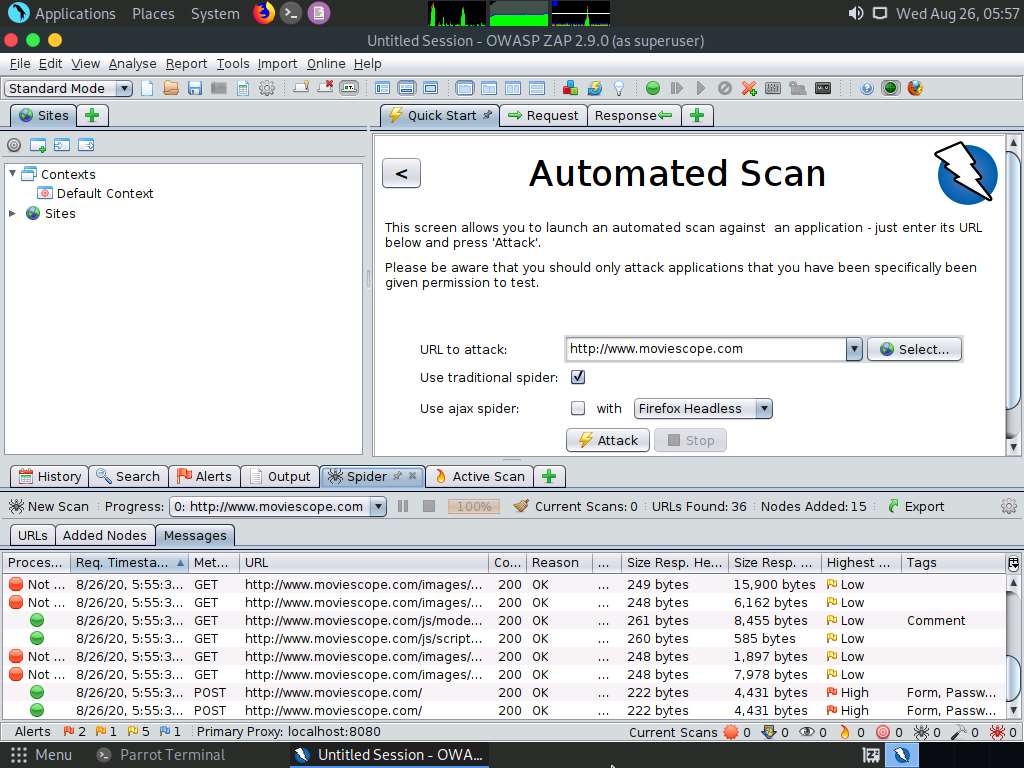
Now, navigate to the Messages tab under the Spider tab to view more detailed information regarding the URLs obtained while performing the web spidering, as shown in the screenshot.
This concludes the demonstration of how to perform web spidering on a target website using OWASP ZAP.
Close all open windows and document all the acquired information.
Task 4: Detect Load Balancers using Various Tools
Organizations use load balancers to distribute web server load over multiple servers and increase the productivity and reliability of web applications. Generally, there are two types of load balancers, namely, DNS load balancers (Layer 4 load balancers) and http load balancers (layer 7 load balancers). You can use various tools such as dig and load balancing detector (lbd) to detect the load balancers of the target organization along with their real IP addresses.
Here, we will detect load balancers using dig command and lbd tool.
In this task, we will detect the load balancers on the website www.yahoo.com, as the websites hosted by our lab environment do not use load balancers.
Click the MATE Terminal icon at the top of the Desktop window to open a Terminal window.

A Parrot Terminal window appears. In the terminal window, type sudo su and press Enter to run the programs as a root user.
In the [sudo] password for attacker field, type toor as a password and press Enter.
The password that you type will not be visible.
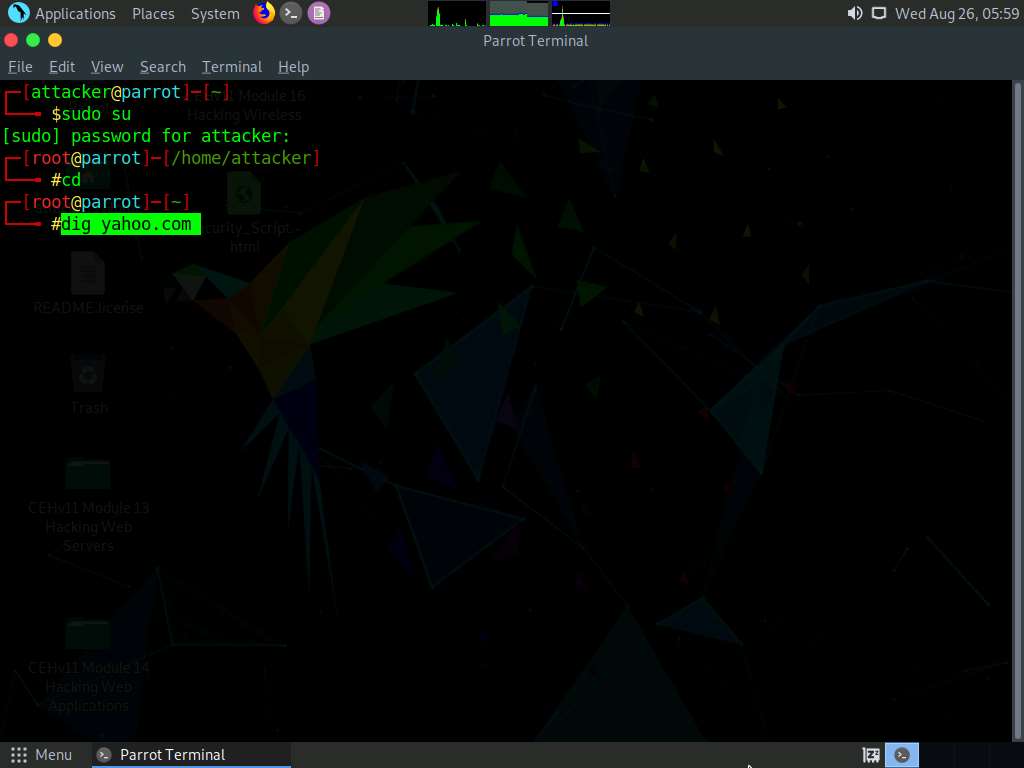
Now, type cd and press Enter to jump to the root directory.
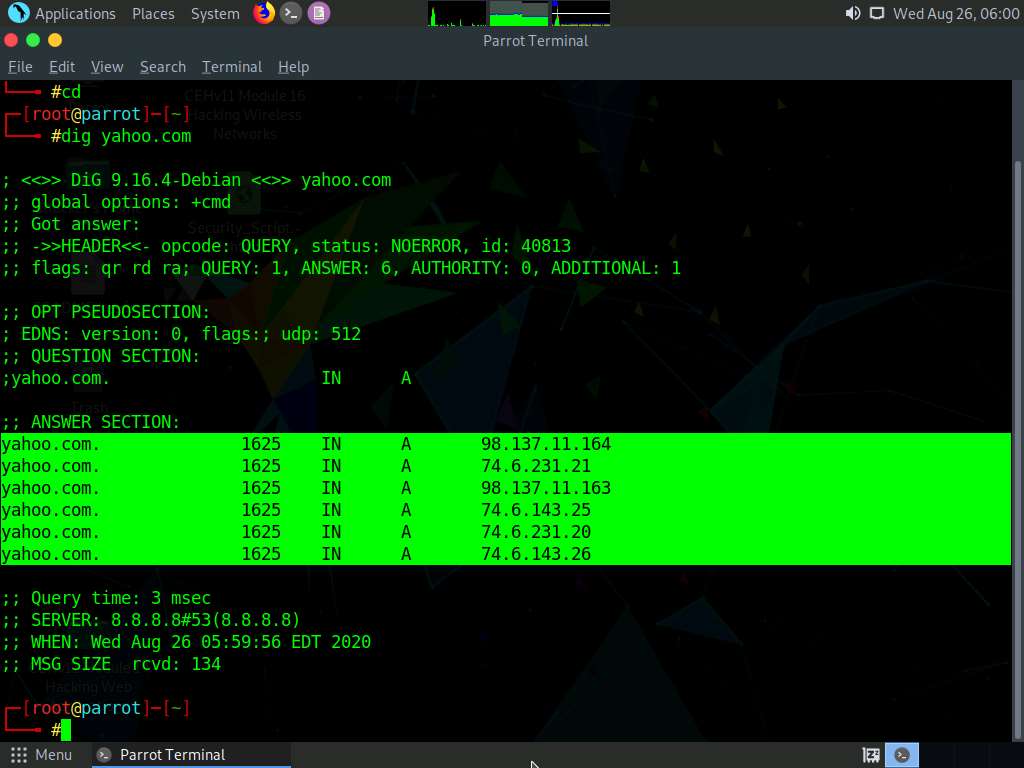
A Parrot Terminal window appears; type dig yahoo.com and press Enter.
The result appears, displaying the available load balancers of the target website, as the screenshot demonstrates. Here, a single host resolves to multiple IP addresses, which possibly indicates that the host is using a load balancer.
dig command provides detailed results and is used to identify whether the target domain is resolving to multiple IP addresses.
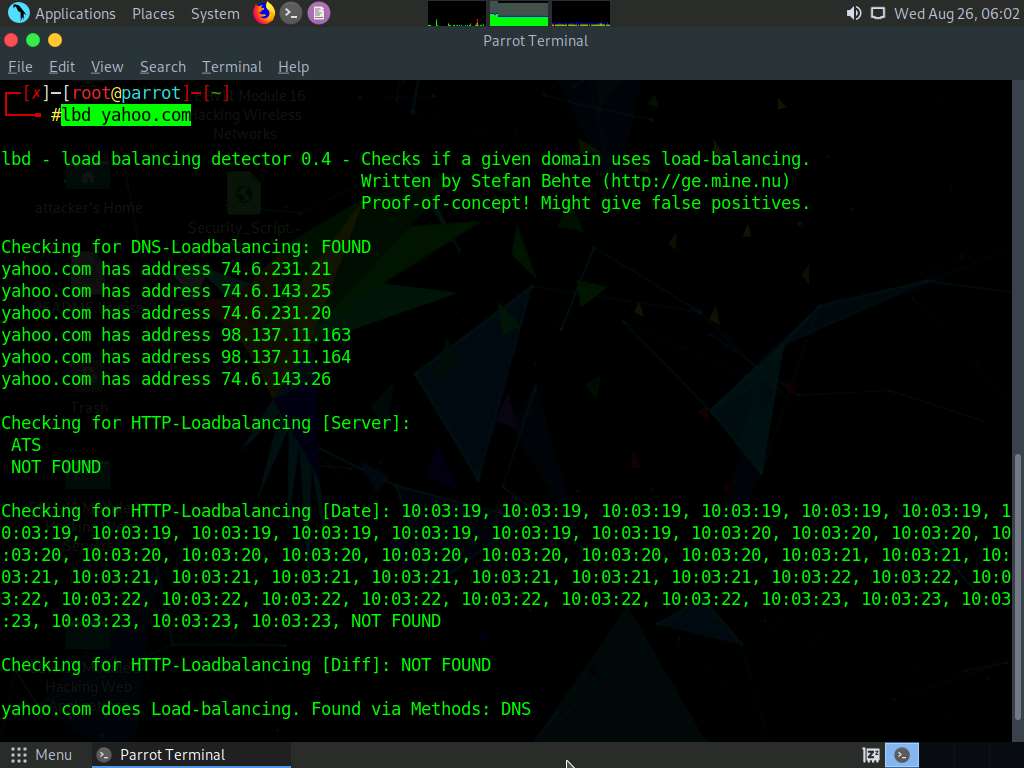
Now, type lbd yahoo.com and press Enter.
The result appears, displaying the available DNS load balancers used by the target website, as shown in the screenshot.
lbd (load balancing detector) detects if a given domain uses DNS and http load balancing via the Server: and Date: headers and the differences between server answers. It analyzes the data received from application responses to detect load balancers.
This concludes the demonstration of how to detect load balancers using dig command and lbd tool.
Close all open windows and document all the acquired information.
Task 5: Identify Web Server Directories
Web servers host the web applications, so misconfigurations while hosting these web applications may lead to the exposure of critical files and directories over the Internet. A professional ethical hacker or pen tester must identify the target web application’s files and directories exposed on the Internet using various automated tools such as Nmap and Gobuster. This information further helps to gather sensitive information stored in the files and folders.
Here, we will use Nmap and Gobuster tool to identify web server directories on the target website.
In this task, the target website (www.moviescope.com) is hosted by the victim machine, Windows Server 2019. Keep this machine running until the end of the task. Here, the host machine is the Parrot Security machine.
Click the MATE Terminal icon at the top of the Desktop window to open a Terminal window.
A Parrot Terminal window appears. In the terminal window, type sudo su and press Enter to run the programs as a root user.
In the [sudo] password for attacker field, type toor as a password and press Enter.
The password that you type will not be visible.
Now, type cd and press Enter to jump to the root directory.
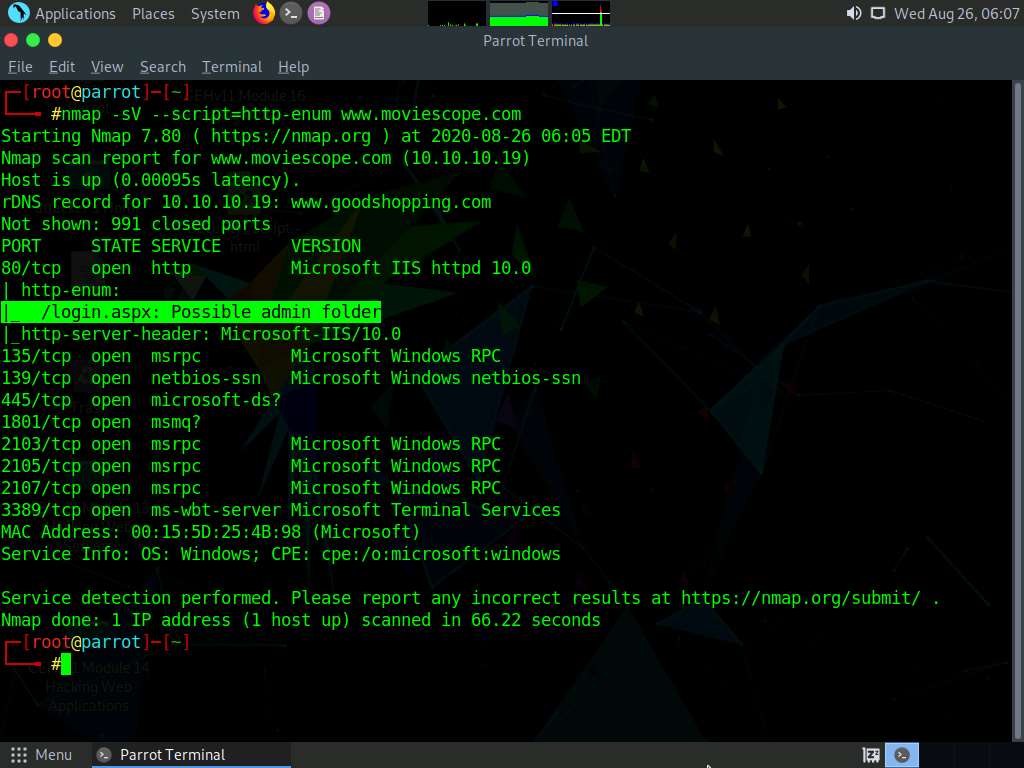
A Parrot Terminal window appears; type nmap -sV --script=http-enum [target domain or IP address] (here, the target website is www.moviescope.com) and press Enter.
The result appears, displaying open ports and services, along with their version.
Scroll-down in the result and observe the identified web server directories under the http-enum section, as shown in the screenshot.
Now, we shall copy the wordlist file (common.txt) from a shared network drive. We will use this file in the Gobuster tool.
Minimize the Terminal window.
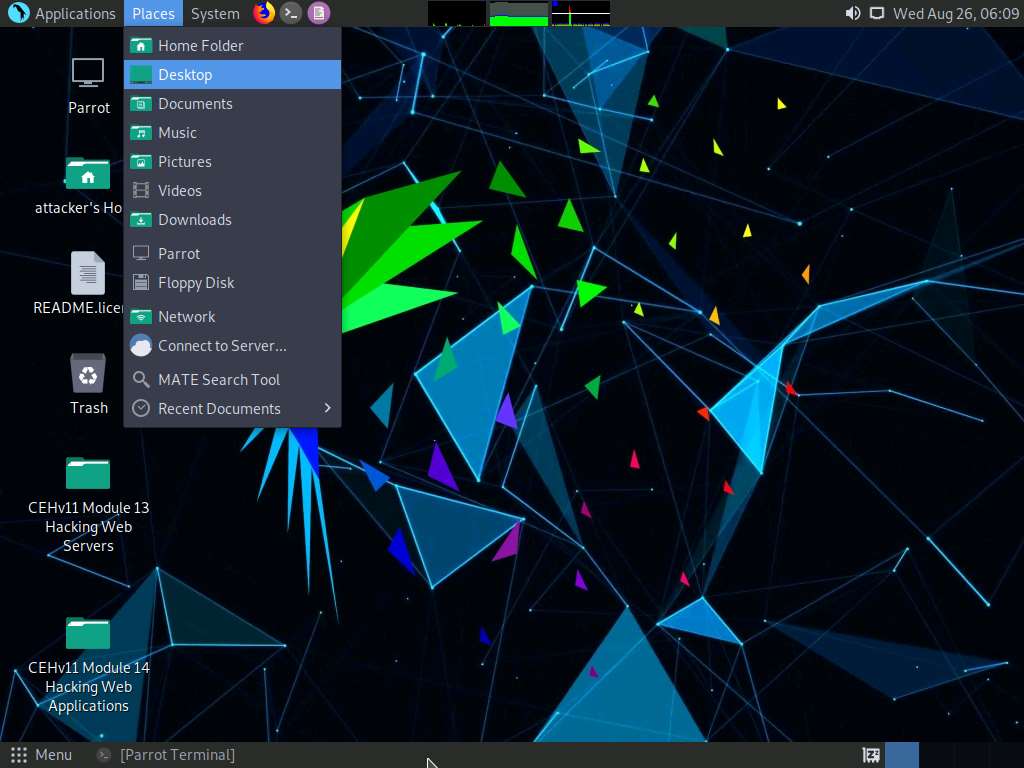
Click Places from the top-section of the Desktop and click Desktop from the drop-down options.
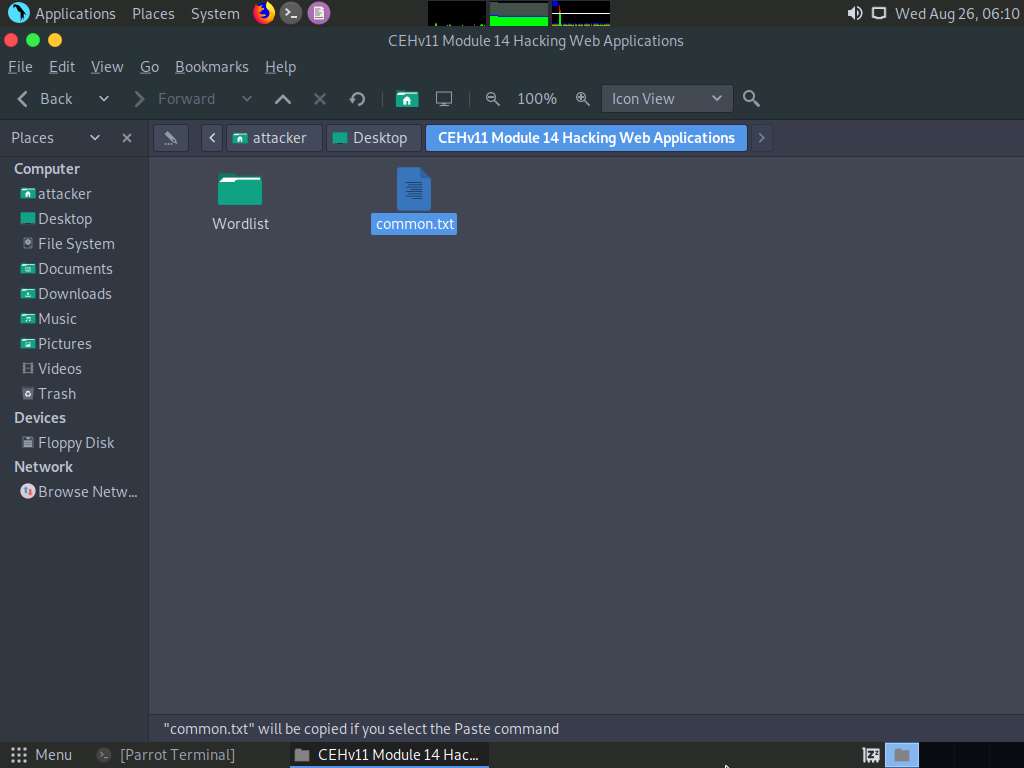
Navigate to CEHv11 Module 14 Hacking Web Applications folder and copy common.txt file.
Press Ctrl+C to copy the folder.
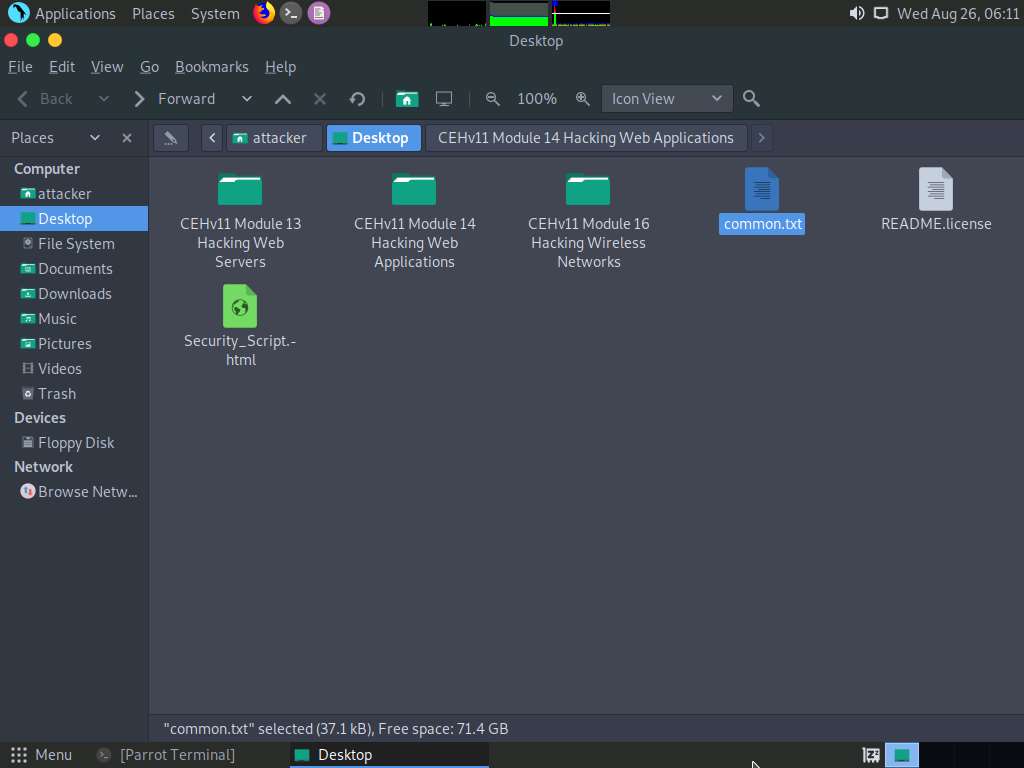
Paste the copied file (common.txt) on the Desktop. Close the window.
Press Ctrl+V to paste the folder.
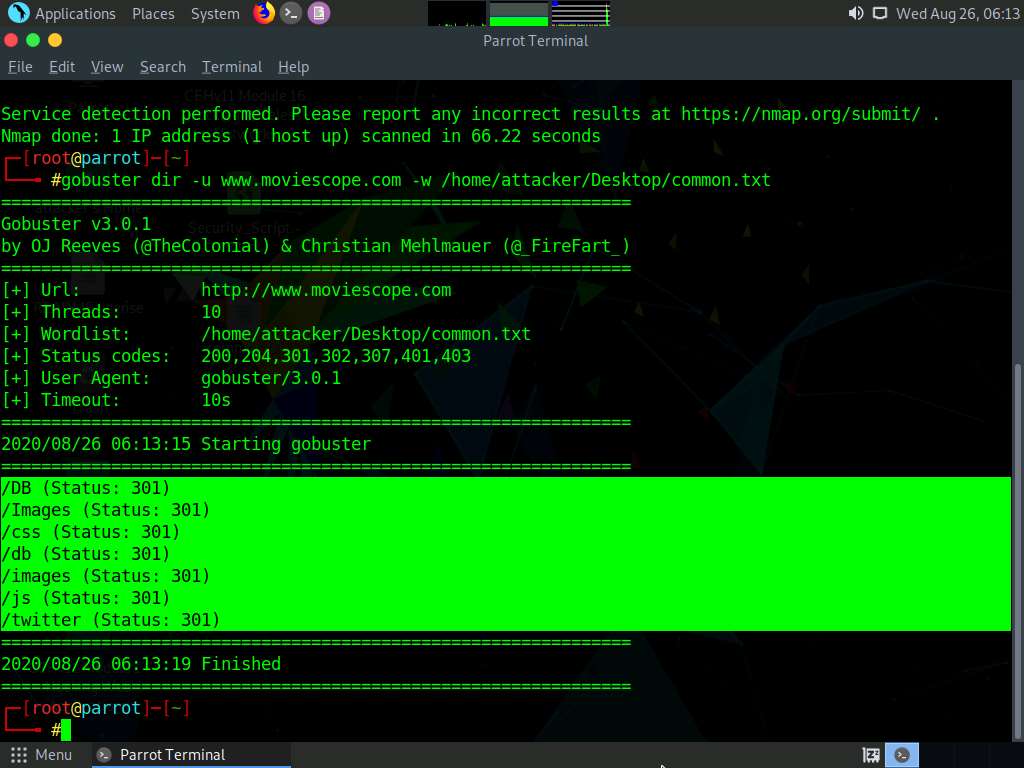
Now, switch back to the terminal window, type gobuster dir -u [Target Website] -w /home/attacker/Desktop/common.txt, and press Enter.
dir: uses directory or file brute-forcing mode, -u: specifies the target URL (here, www.moviescope.com), and -w: is the wordlist file used for directory brute-forcing (here, common.txt).

The result appears, displaying the identified web server directories, as shown in the screenshot.
In real-time, attackers use Gobuster to scan the target website for web server directories and perform fast-paced enumeration of the hidden files and directories of the target web application. Gobuster is a command-oriented tool used to brute-force URIs in websites, DNS subdomains, and names of the virtual hosts on the target server.
This concludes the demonstration of how to identify web server directories using Nmap and Gobuster.
Close all open windows and document all the acquired information.
Task 6: Perform Web Application Vulnerability Scanning using Vega
Vega is a web application scanner used to test the security of web applications. It helps you to find and validate SQL Injection, XSS, inadvertently disclosed sensitive information, and other vulnerabilities.
Here, we will discover vulnerabilities in the target web application using Vega.
In this task, the target website (http://10.10.10.16:8080/dvwa) is hosted by the victim machine Windows Server 2016; keep this machine running until the end of the task. Here, the host machine is the Windows 10 machine.
Click Windows Server 2016 to switch to the Windows Server 2016 machine Click Ctrl+Alt+Delete to activate the machine, by default, CEH\Administrator account is selected, click Pa$$w0rd to enter the password and press Enter.
Now, in the right corner of Desktop, click the Show hidden icons icon, observe that the WampServer icon appears.
Wait for this icon to turn green, which indicates that the WampServer is successfully running.

Click Windows 10 to switch to the Windows 10 machine, click Ctrl+Alt+Delete to activate the machine.
Alternatively, you can also click Ctrl+Alt+Delete button under Windows 10 machine thumbnail in the Resources pane or Click Ctrl+Alt+Delete button under Commands (thunder icon) menu.
By default, Admin user profile is selected, click Pa$$w0rd to paste the password in the Password field and press Enter to login.
Alternatively, you can also click Pa$$w0rd under Windows 10 machine thumbnail in the Resources pane or Click Type Text | Type Password button under Commands (thunder icon) menu.
Networks screen appears, click Yes to allow your PC to be discoverable by other PCs and devices on the network.
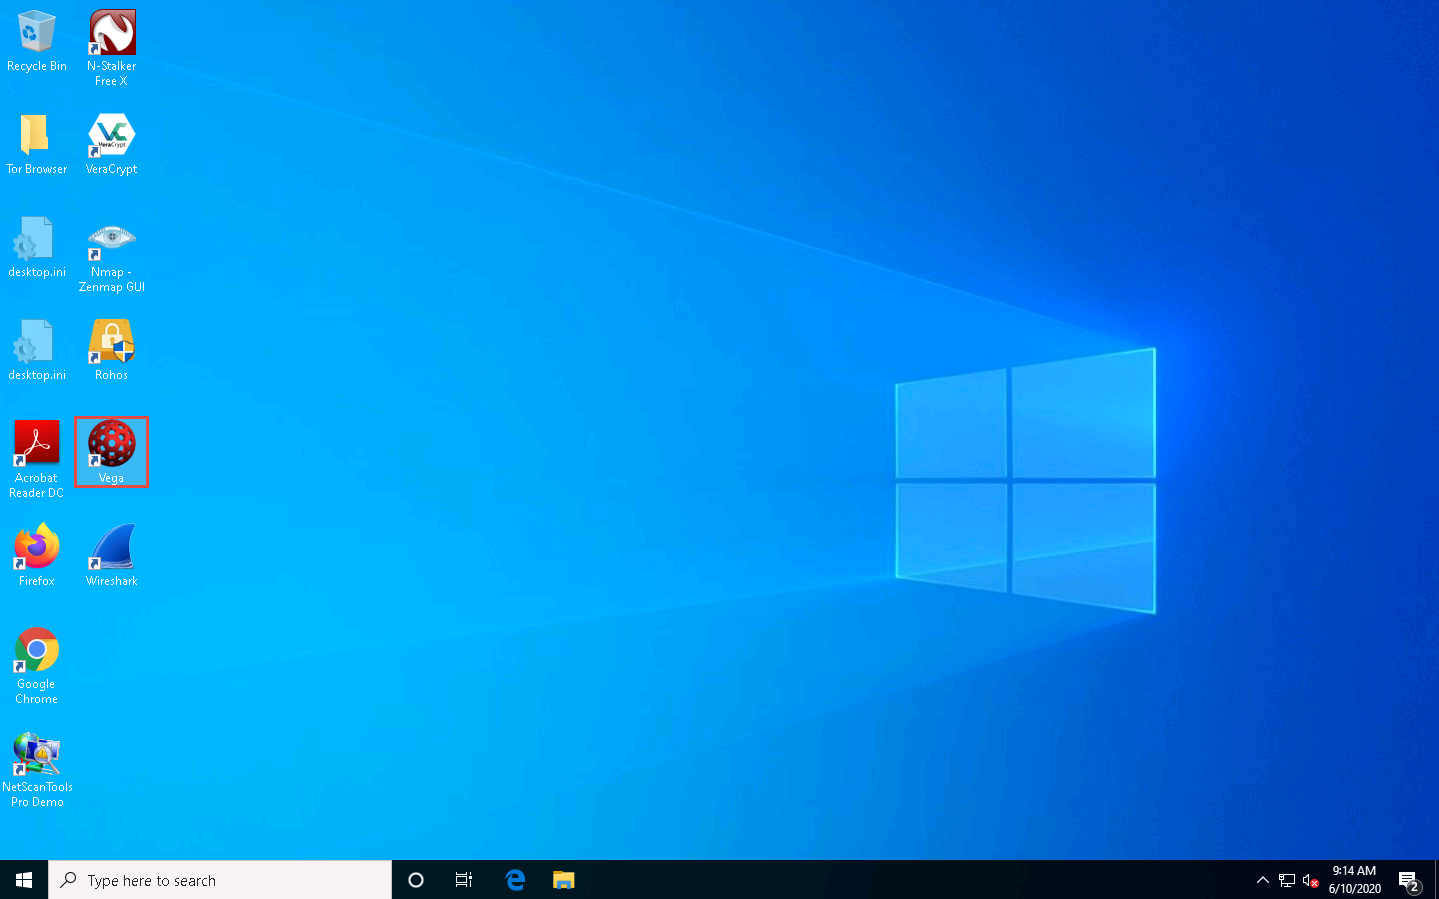
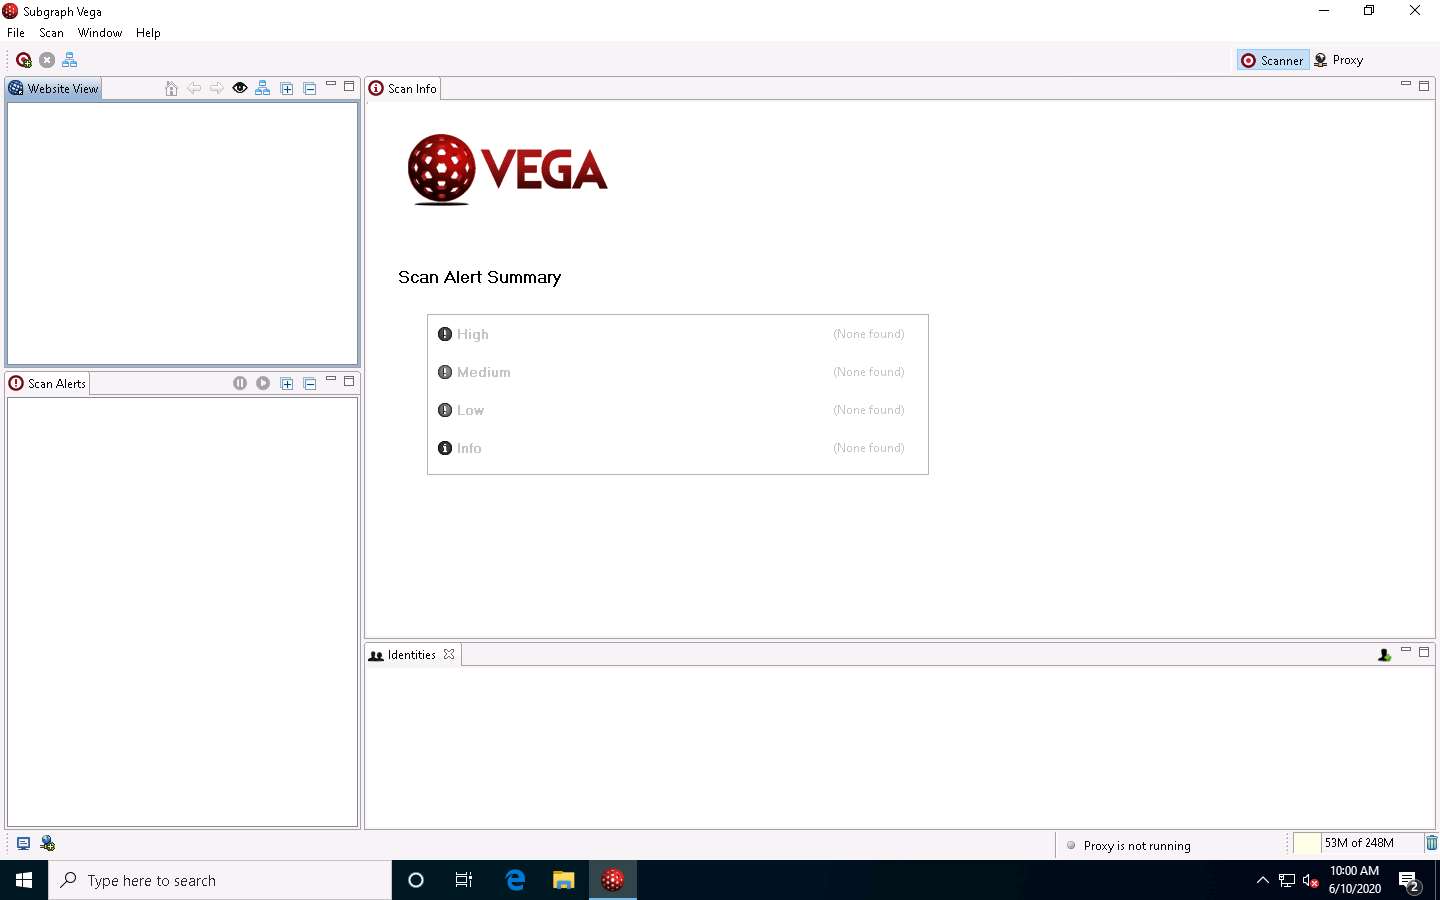
In the Desktop, double-click Vega shortcut to launch the tool.
The Subgraph Vega main window appears, as shown in the screenshot.
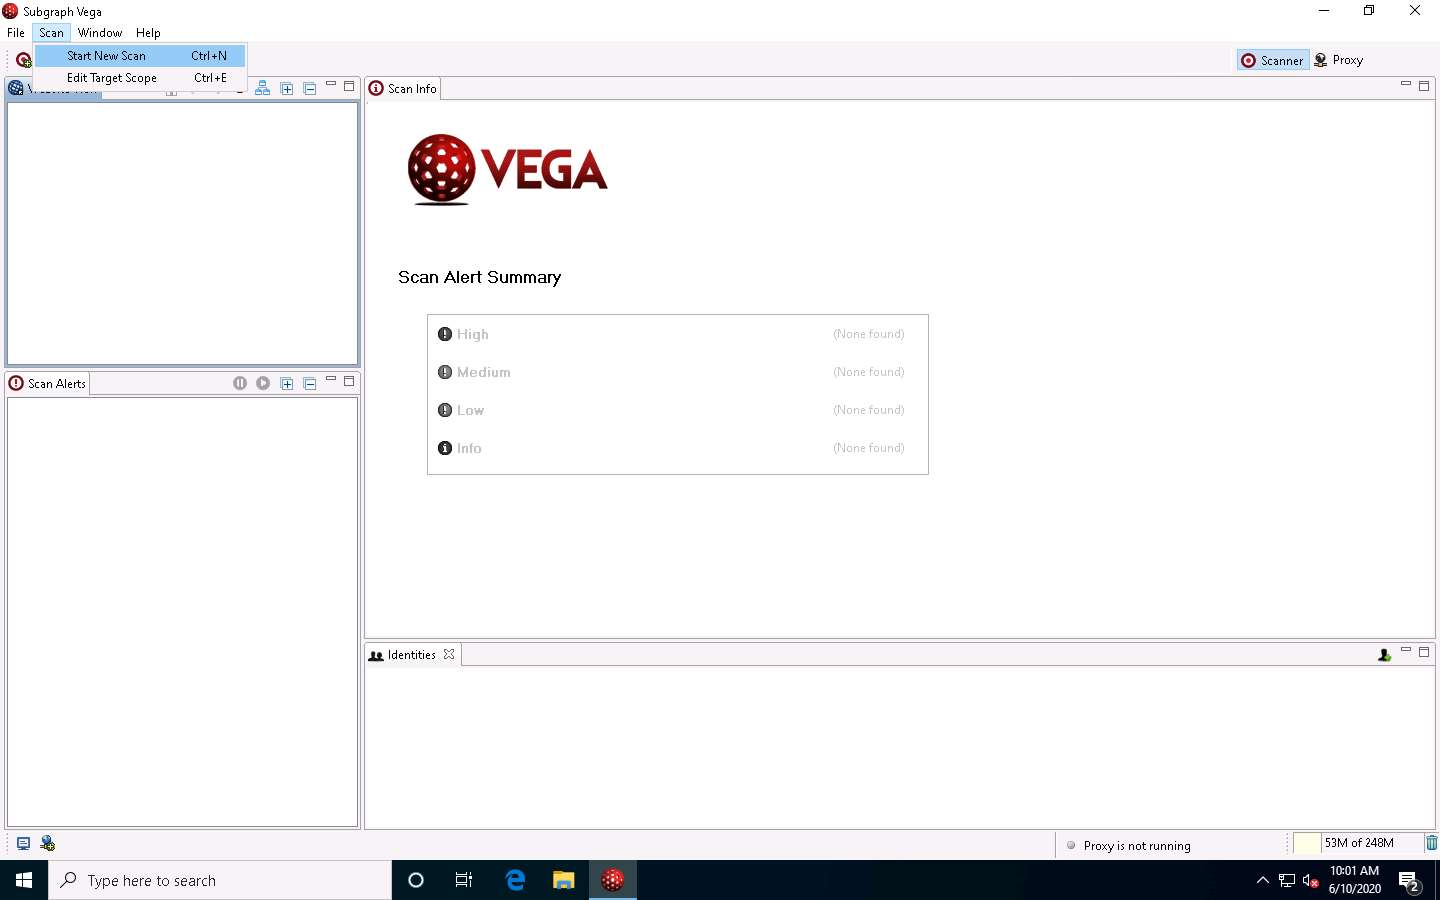
Click Scan from the menu bar and select Start New Scan from the available options.
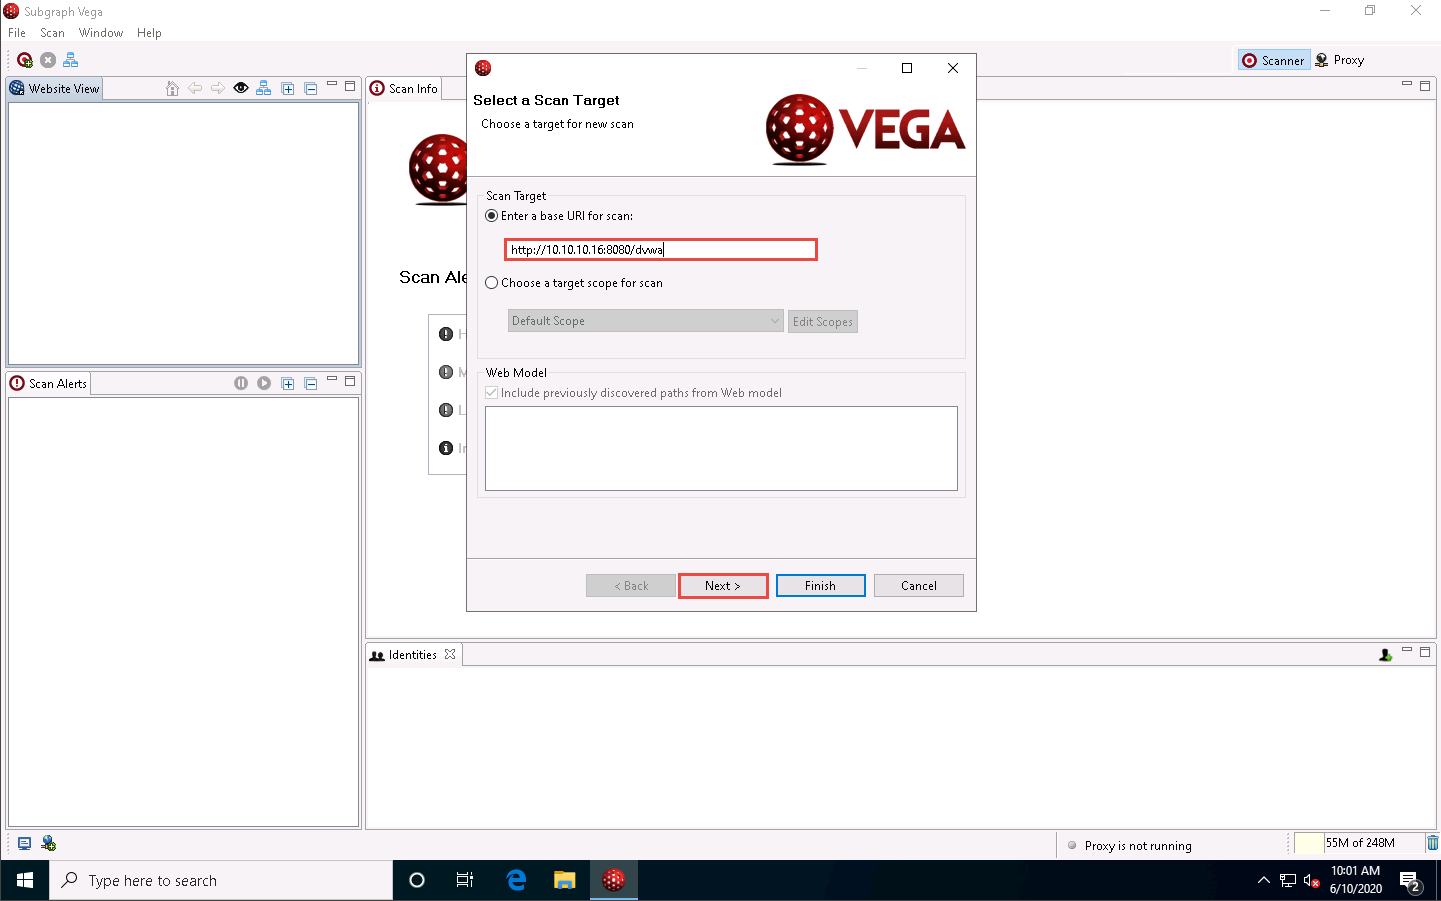
The Select a Scan Target window appears on the screen. Ensure that the Enter a base URI for scan radio button is selected under the Scan Target section.
In the Enter a base URI for scan field, enter the target URL as http://10.10.10.16:8080/dvwa and click Next.
10.10.10.16 is the IP address of Windows Server 2016, where the DVWA site is hosted on port 8080.
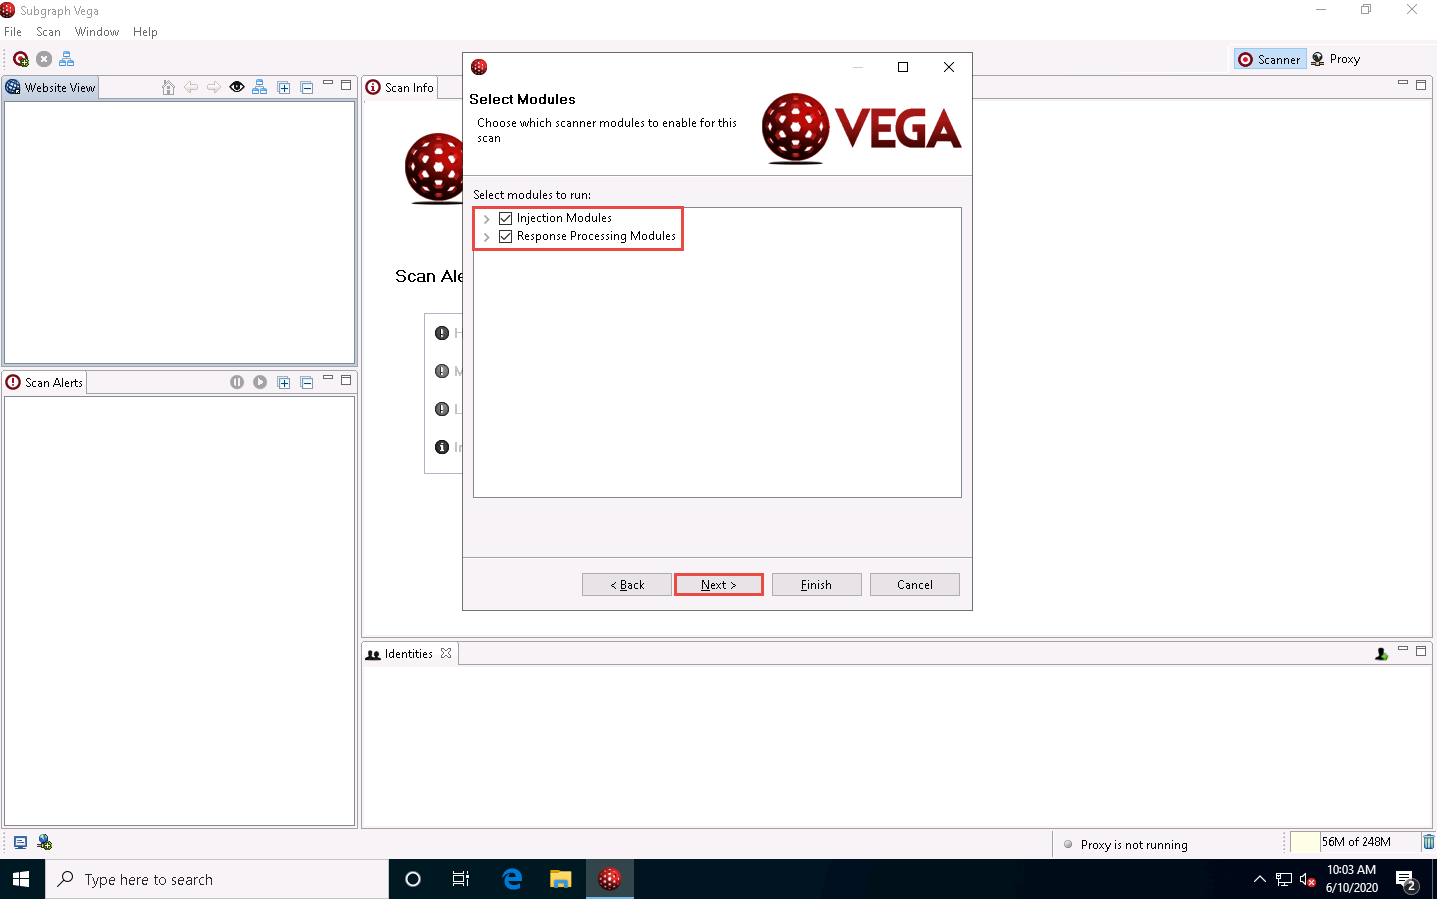
The Select Modules wizard appears; double-click on both of the checkboxes (Injection Modules and Response Processing Modules) to select all options.
By checking these options, all modules under these options will be selected. Click Next.
In the Authentication Options wizard, leave the settings to default and click Next.
In Parameters wizard, leave the settings to default and click Finish to initiate the scan.

The Follow Redirect? pop-up appears; click Yes to continue.
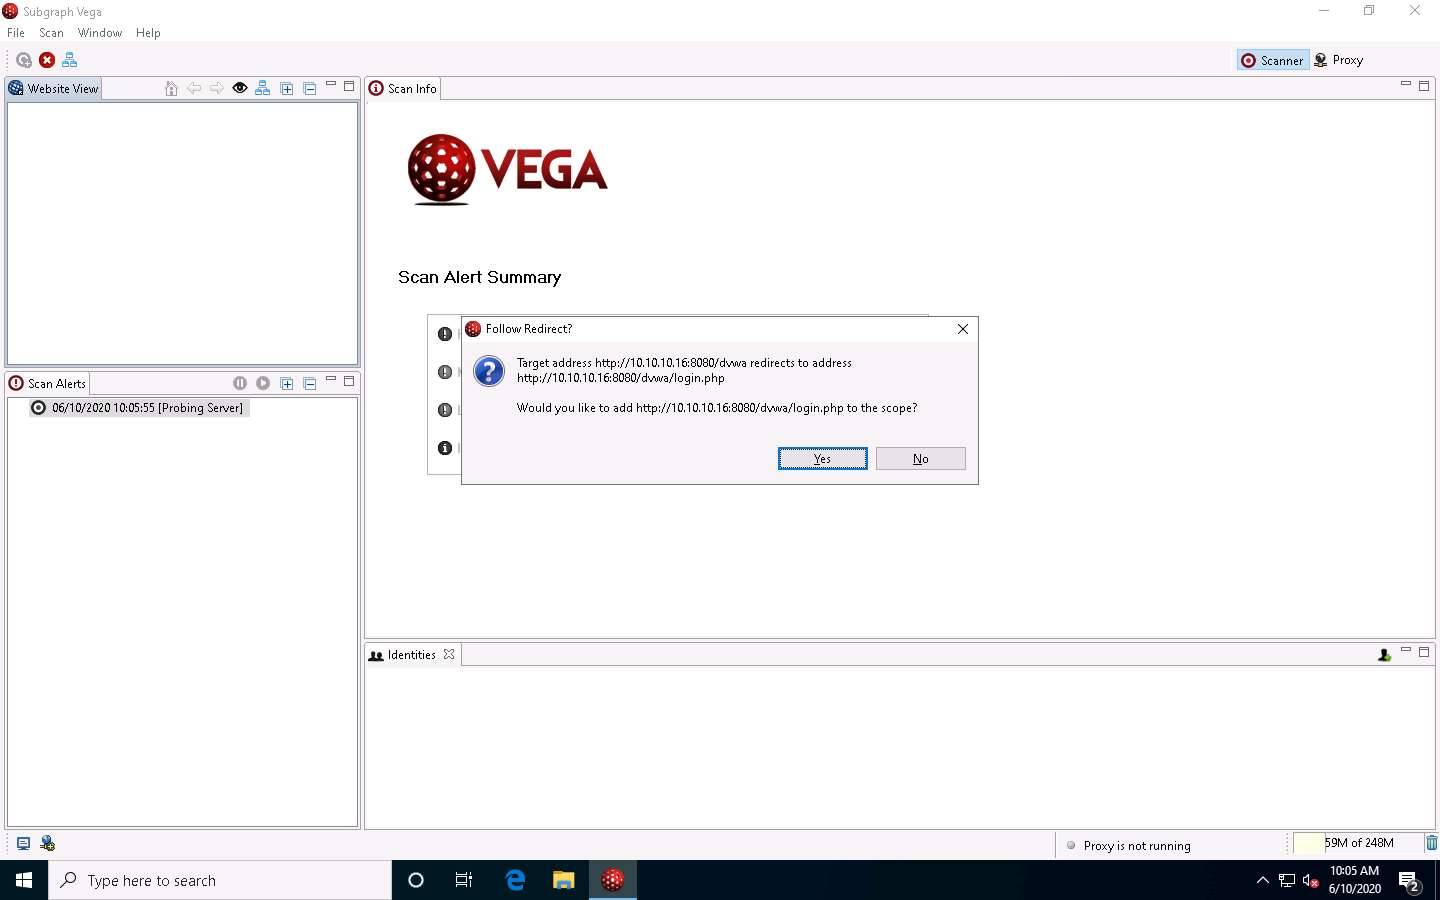
The Vega application starts scanning the target website for vulnerabilities. Observe the Scanner Progress bar and wait for it to finish.
In the left-hand pane, under the Scan Alerts section, you can see the scan status as Auditing. As soon as Vega completes, the scan status changes to Completed.
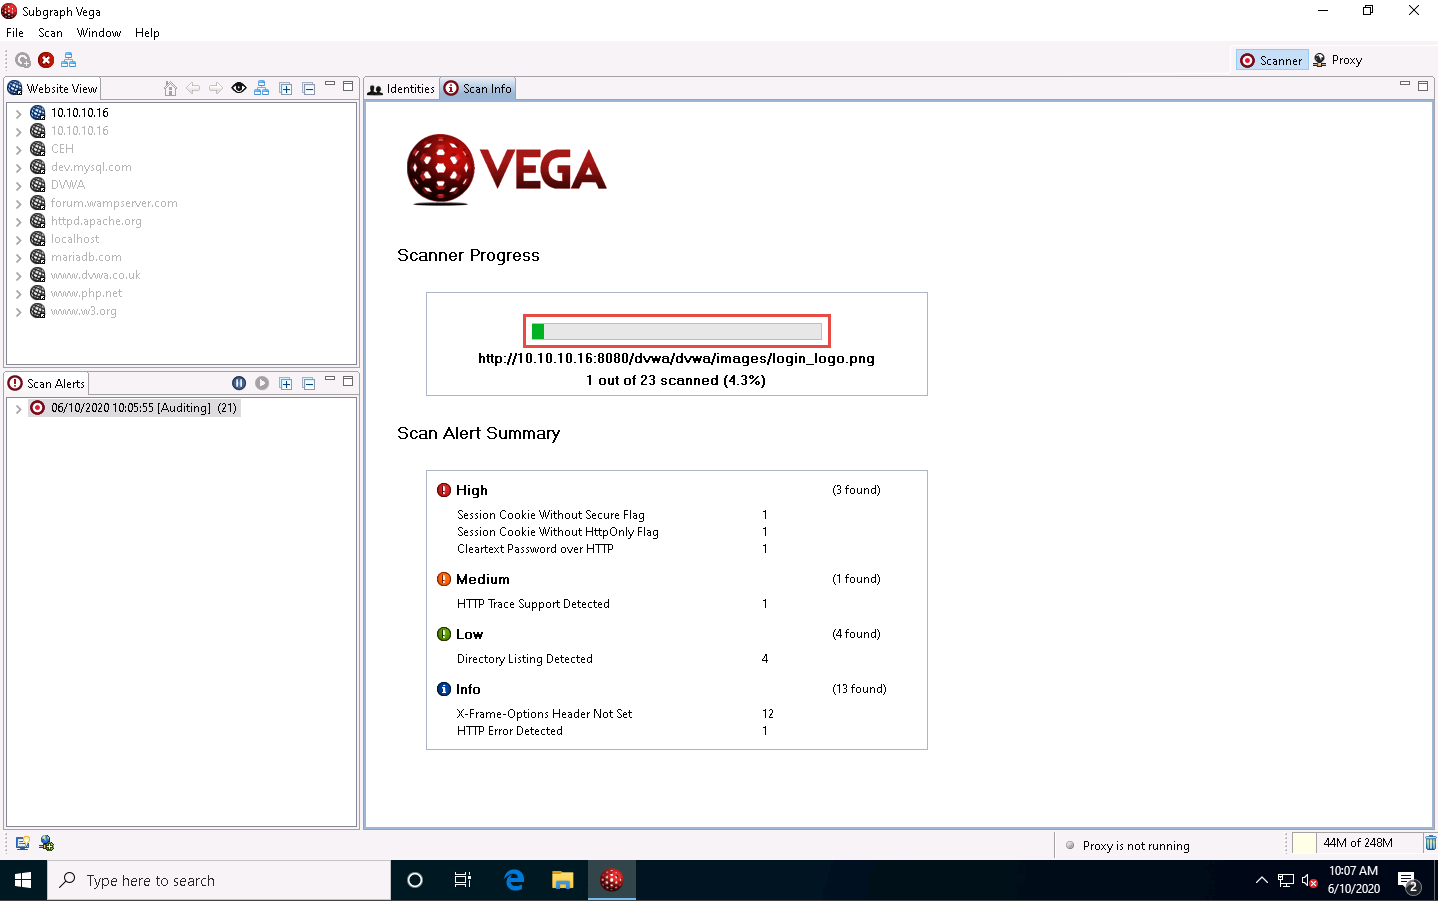
After the scanner finishes performing its vulnerability assessment on the target website, it lists the discovered vulnerabilities under Scan Alert Summary.
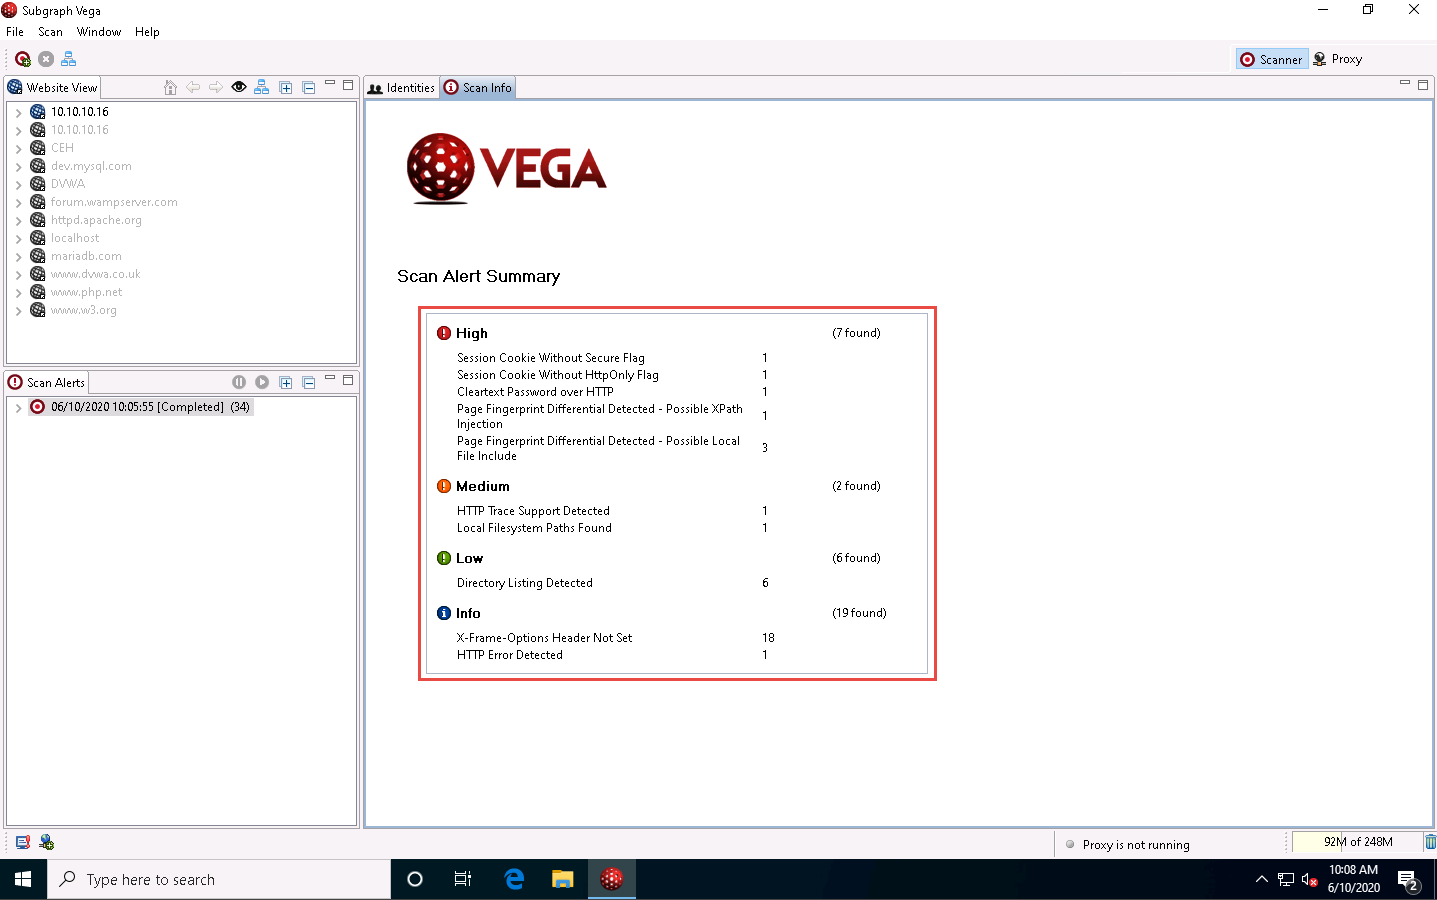
In the left-pane under Scan Alerts, expand the nodes to view the complete vulnerability scan result. Now, choose any one of the discovered vulnerabilities to display it on the respective page, as in the dashboard section shown in the screenshot.
Choose any one vulnerability under the Scan Alerts section in the left-hand pane. Here, we are selecting the Cleartext Password over HTTP vulnerability; detailed information regarding the selected vulnerability will be displayed in the right section of the window, as shown in the screenshot.
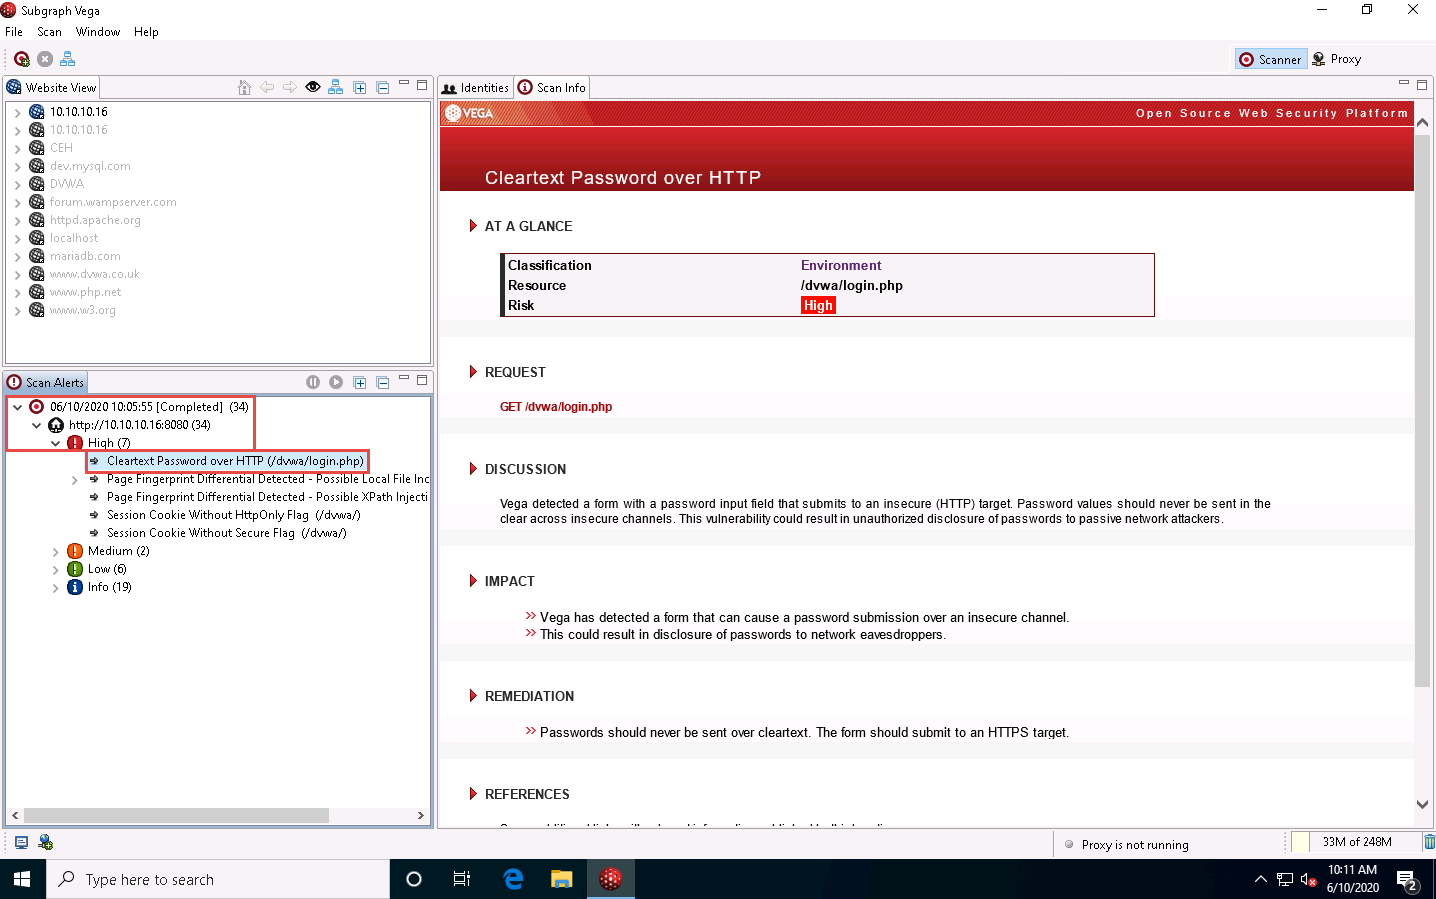
Similarly, you can select any vulnerability from the list of discovered vulnerabilities to view its detailed information and then apply appropriate fixes for all the vulnerable codes in your web application.
This concludes the demonstration of how to discover vulnerabilities in a target website scanning using Vega.
You can also use other web application vulnerability scanning tools such as WPScan Vulnerability Database (https://wpscan.com), Arachni (https://www.arachni-scanner.com), appspider (https://www.rapid7.com), or Uniscan (https://sourceforge.net) to discover vulnerabilities in the target website.
Close all open windows and document all the acquired information.
Task 7: Identify Clickjacking Vulnerability using iframe
Clickjacking, also known as a “UI redress attack,” occurs when an attacker uses multiple transparent or opaque layers to trick a user into clicking on a button or link on another page when they intend to click on the top-level page. Thus, the attacker is “hijacking” clicks meant for the top-level page and routing them to another page, most likely owned by another application, domain, or both.
Here, we will identify clickjacking vulnerability using iframe.
In this task, we will identify clickjacking vulnerability in the target website (www.moviescope.com) hosted by the Windows Server 2019 machine, and we will use the Windows 10 machine as the host machine.
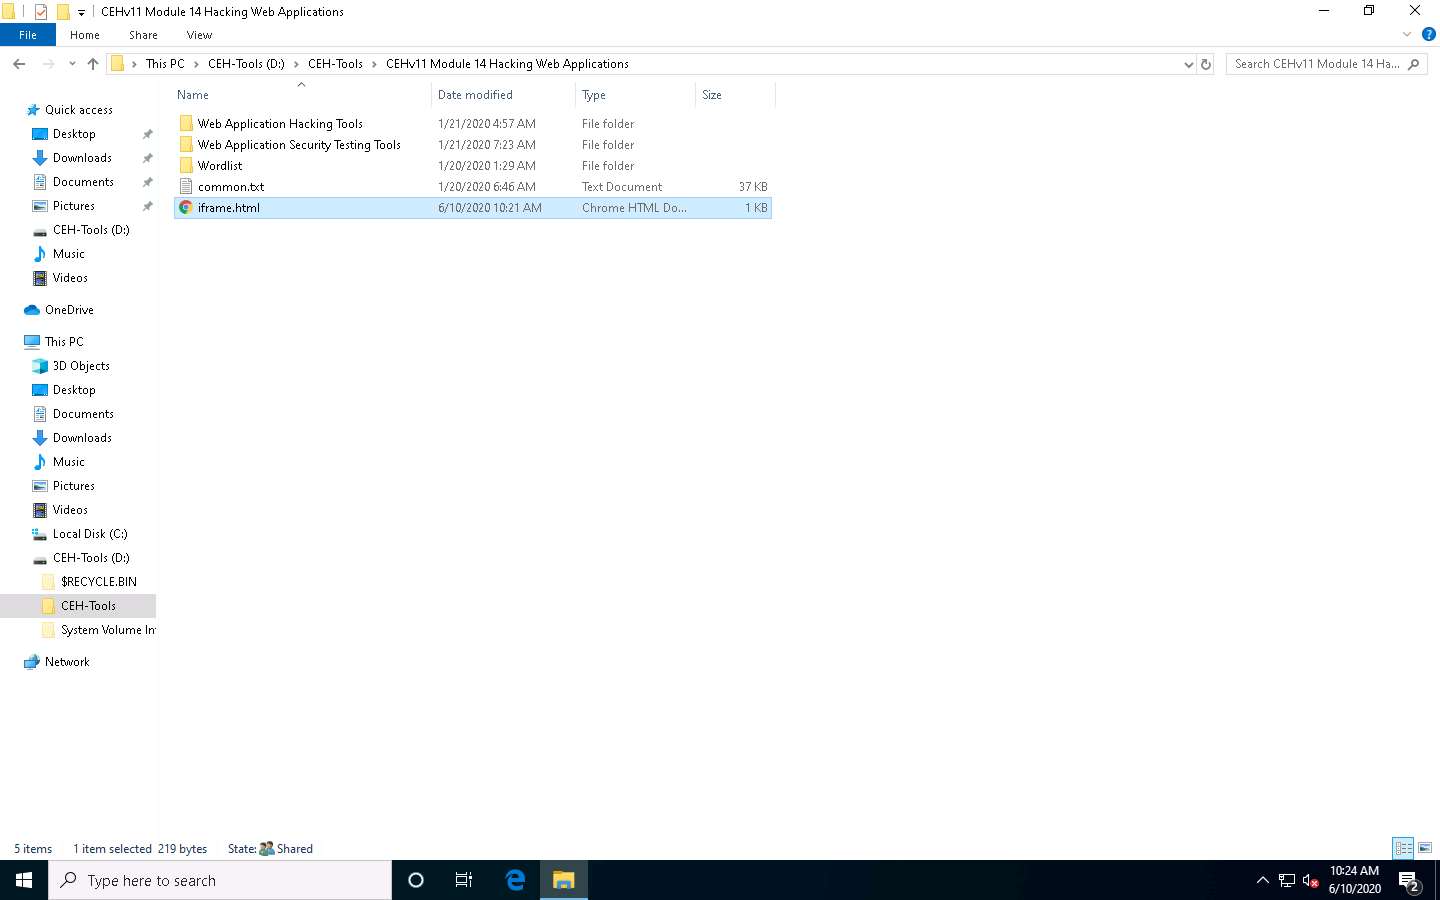
In Windows 10 machine, navigate to D:\CEH-Tools\CEHv11 Module 14 Hacking Web Applications and double-click the iframe.html file; the file opens in the default web browser (here, Google Chrome).
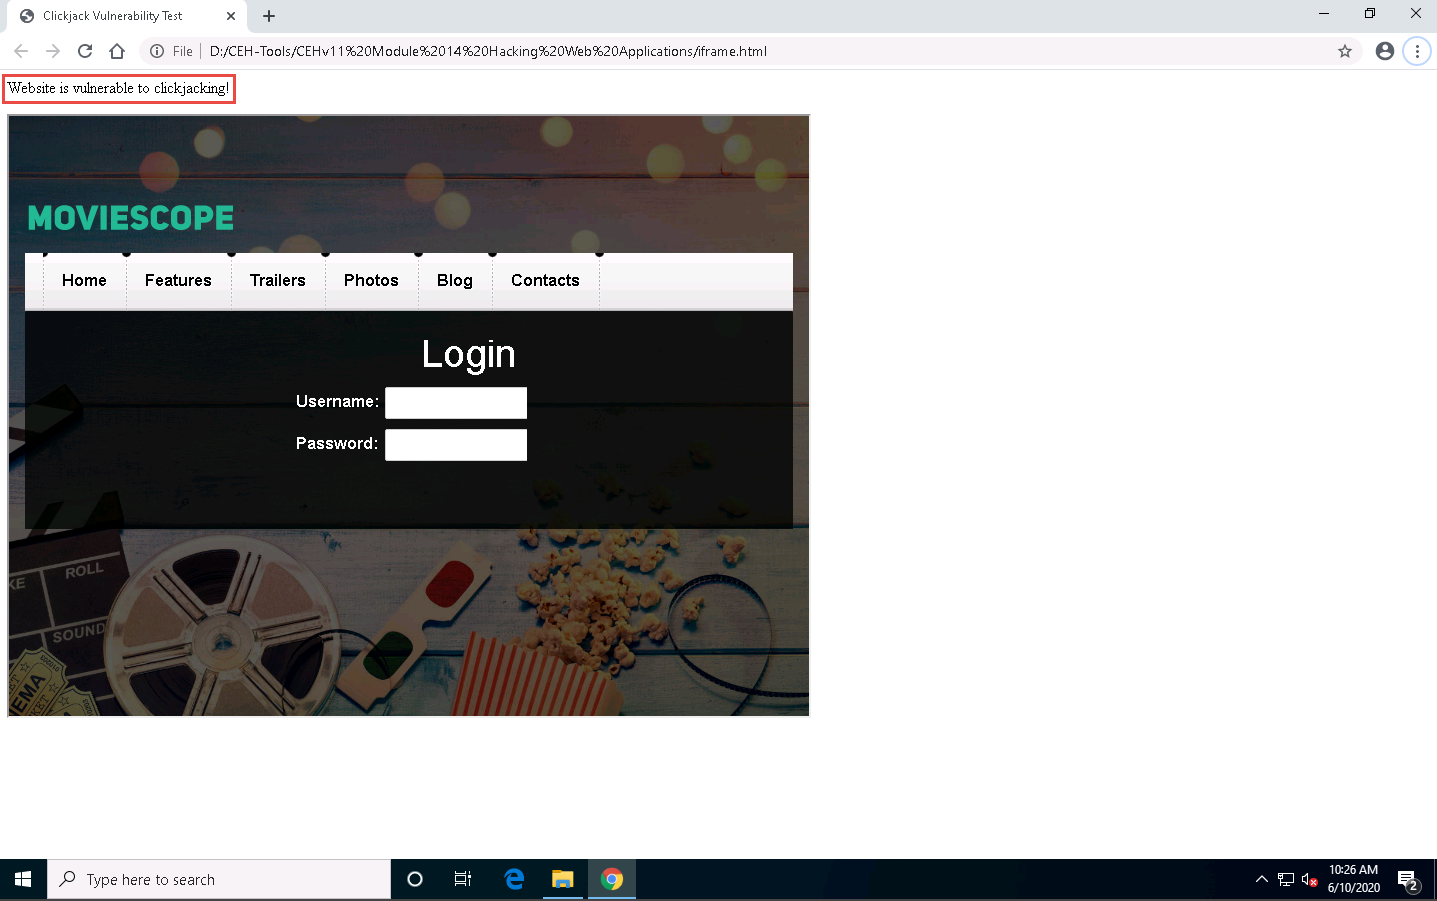
The target website appears in the created iframe, indicating that the target website is vulnerable to clickjacking, as shown in the screenshot.
If you can see the text “Website is vulnerable to clickjacking!” at the top of the page, and your target web page is also successfully loaded into the frame, then your site is vulnerable and has no type of protection against Clickjacking attacks.
This concludes the demonstration of how to identify clickjacking vulnerability on a target website.
Close all open windows and document all the acquired information.


Comments
Post a Comment